2. Computer-Aided Design
Assignment for the week
- Model (raster, vector, 2D, 3D, render, animate, simulate, etc.) a possible final project
In week 2, I worked on creating a model of my final project through Fusion 360. I worked with other computer-aided design tools, such as XDesign, Corel Draw, TinkerCAD, and FreeCAD too. I also built a 3D printer and CNC machine to have at my house.
Corel Draw - Vector
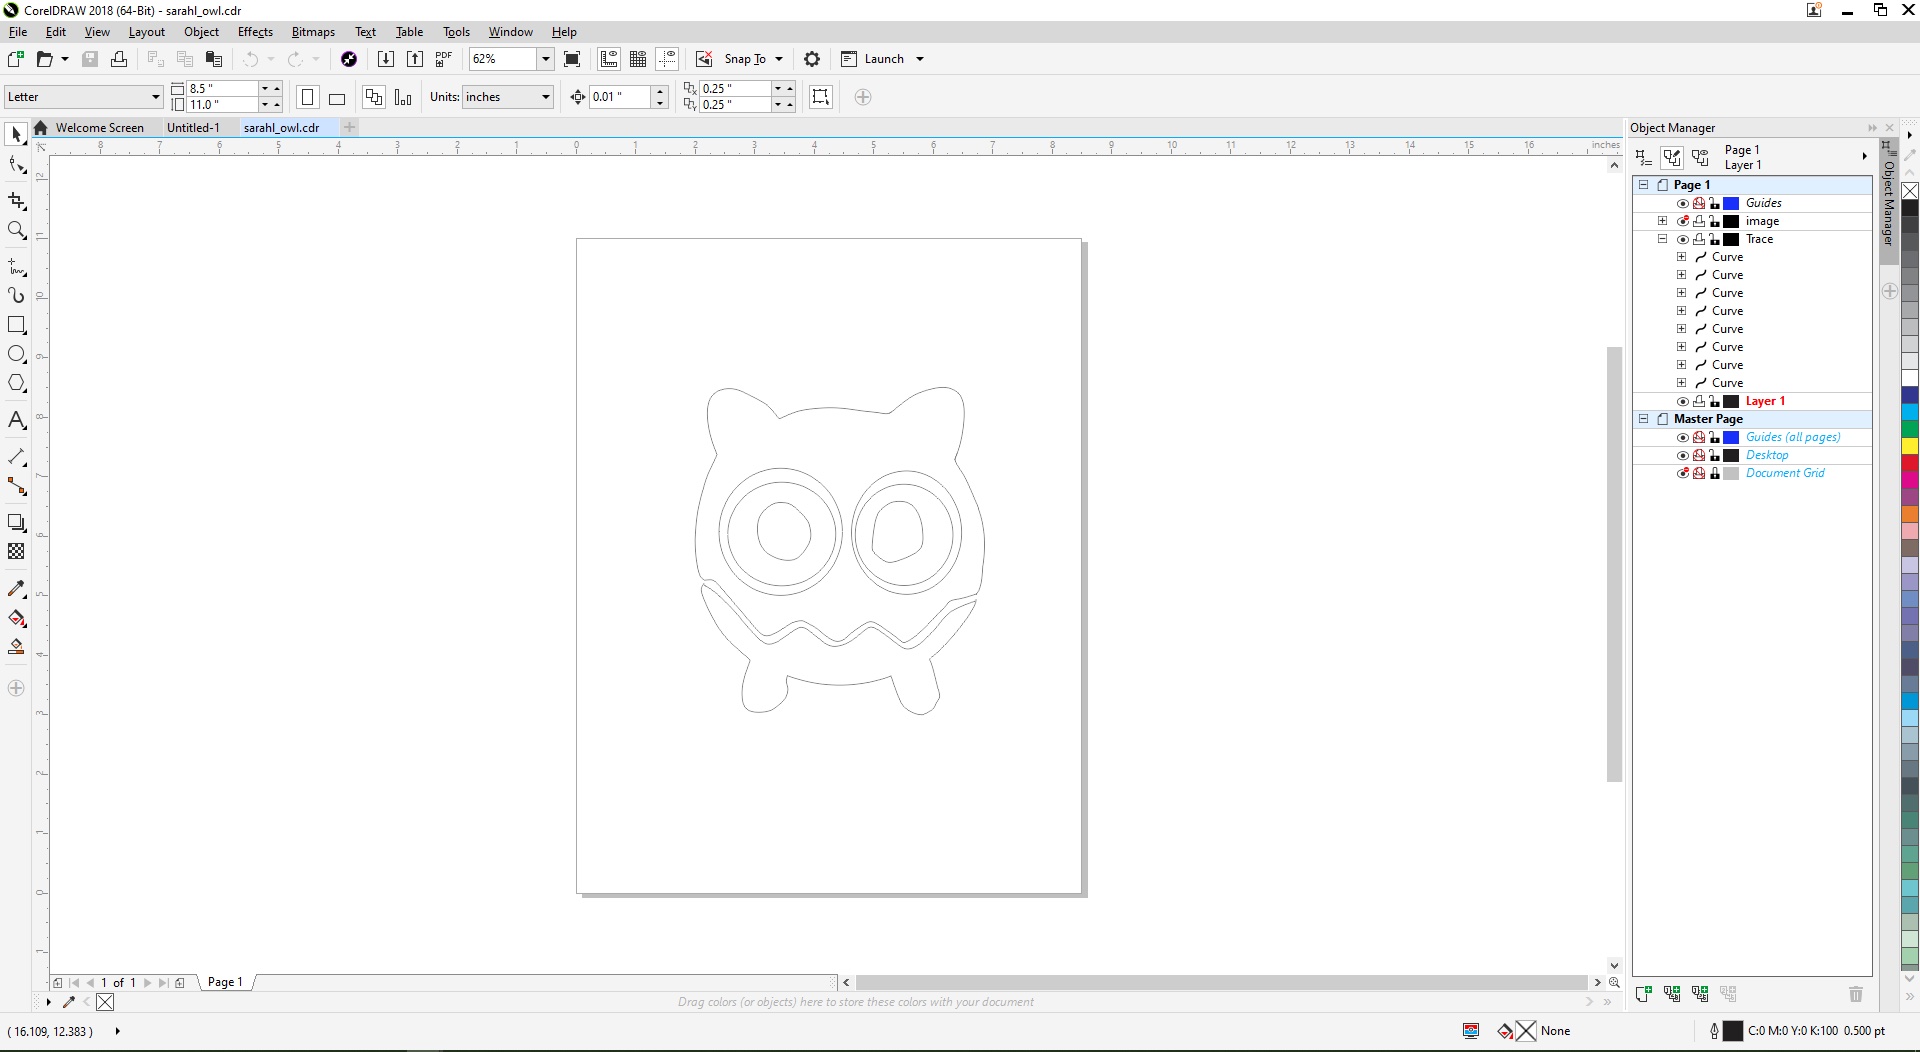
I got to know and learn Corel Draw in the 9th grade engineering class. This is a really convinience 2D sketch software. Students are able to draw their sketch, export as files, and even open in .dxf and print in the laser cutter or other machine to cut out. This is the design I did in 9th grade inspired by one of my favourite Chinese anime characters - Nezha(哪吒) below. I downloaded the image from internet to Corel Draw, opened the file in the first layer, and then designed the drawing referring the original image on the second layer using pen tool in Corel Draw. This is the final sketch.

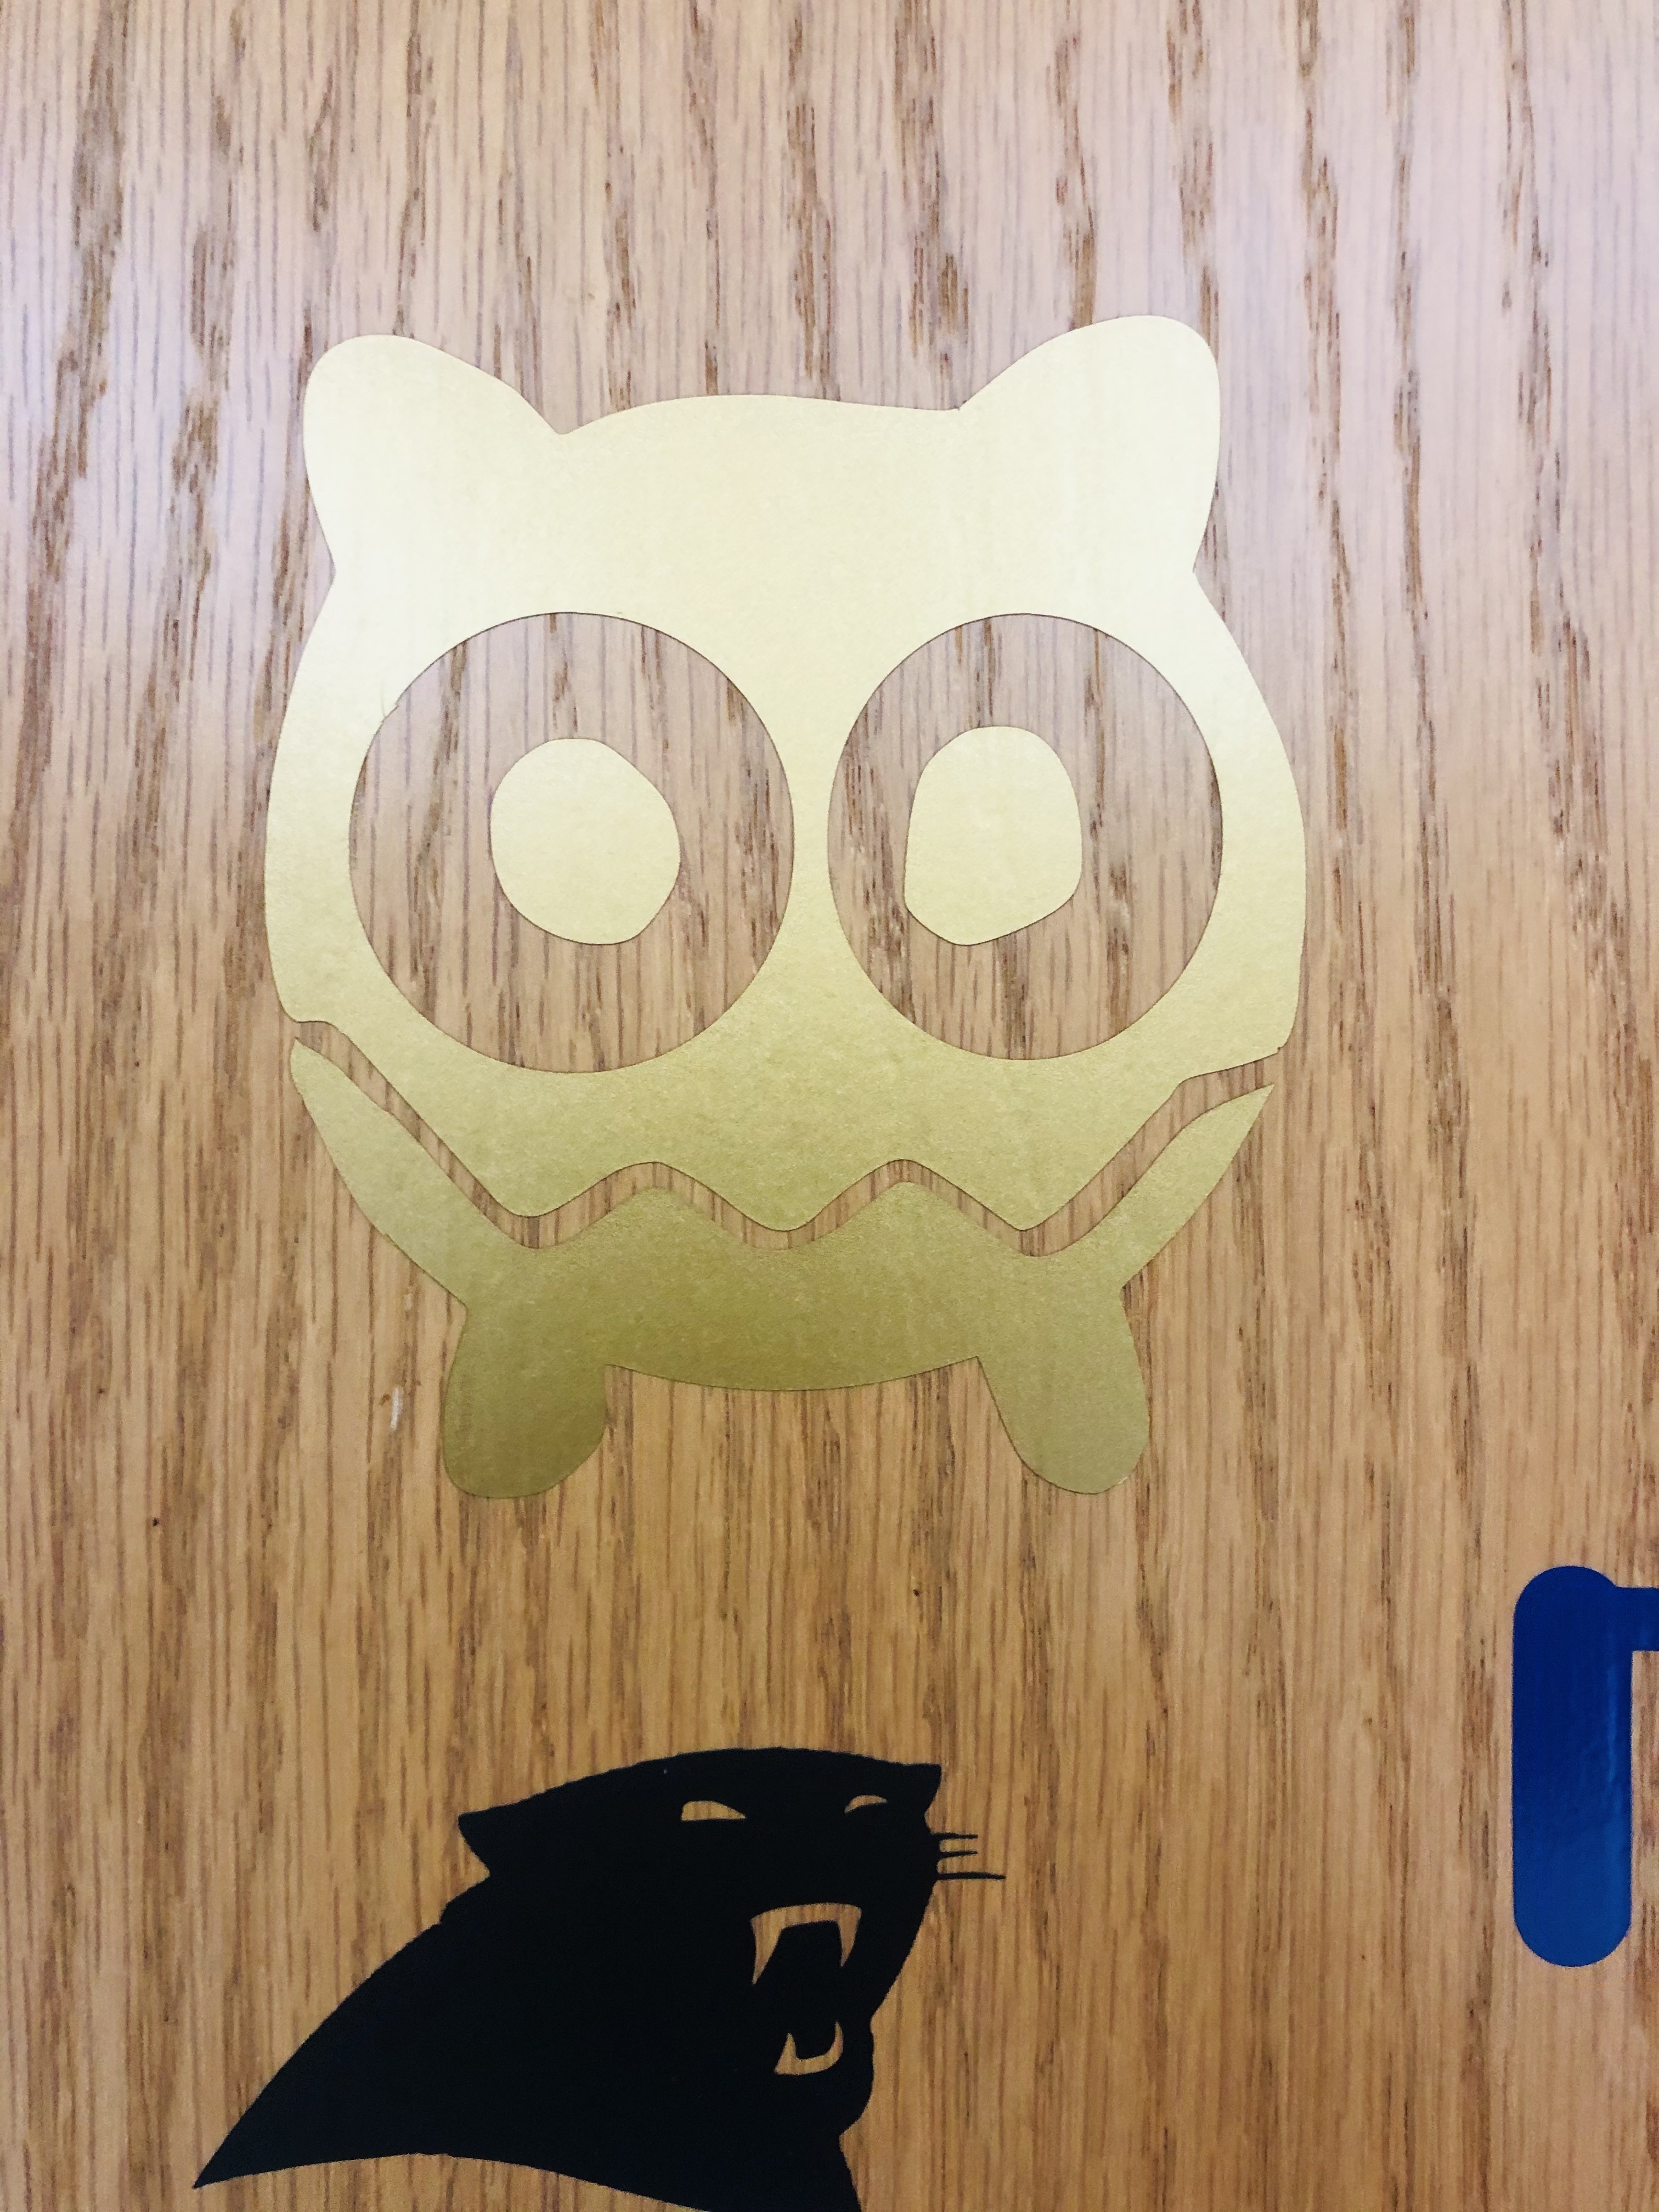
After that, I cut it in the vinyl cutter in Fab Lab. This is picture I took for the final golden Nezha sticker I made.
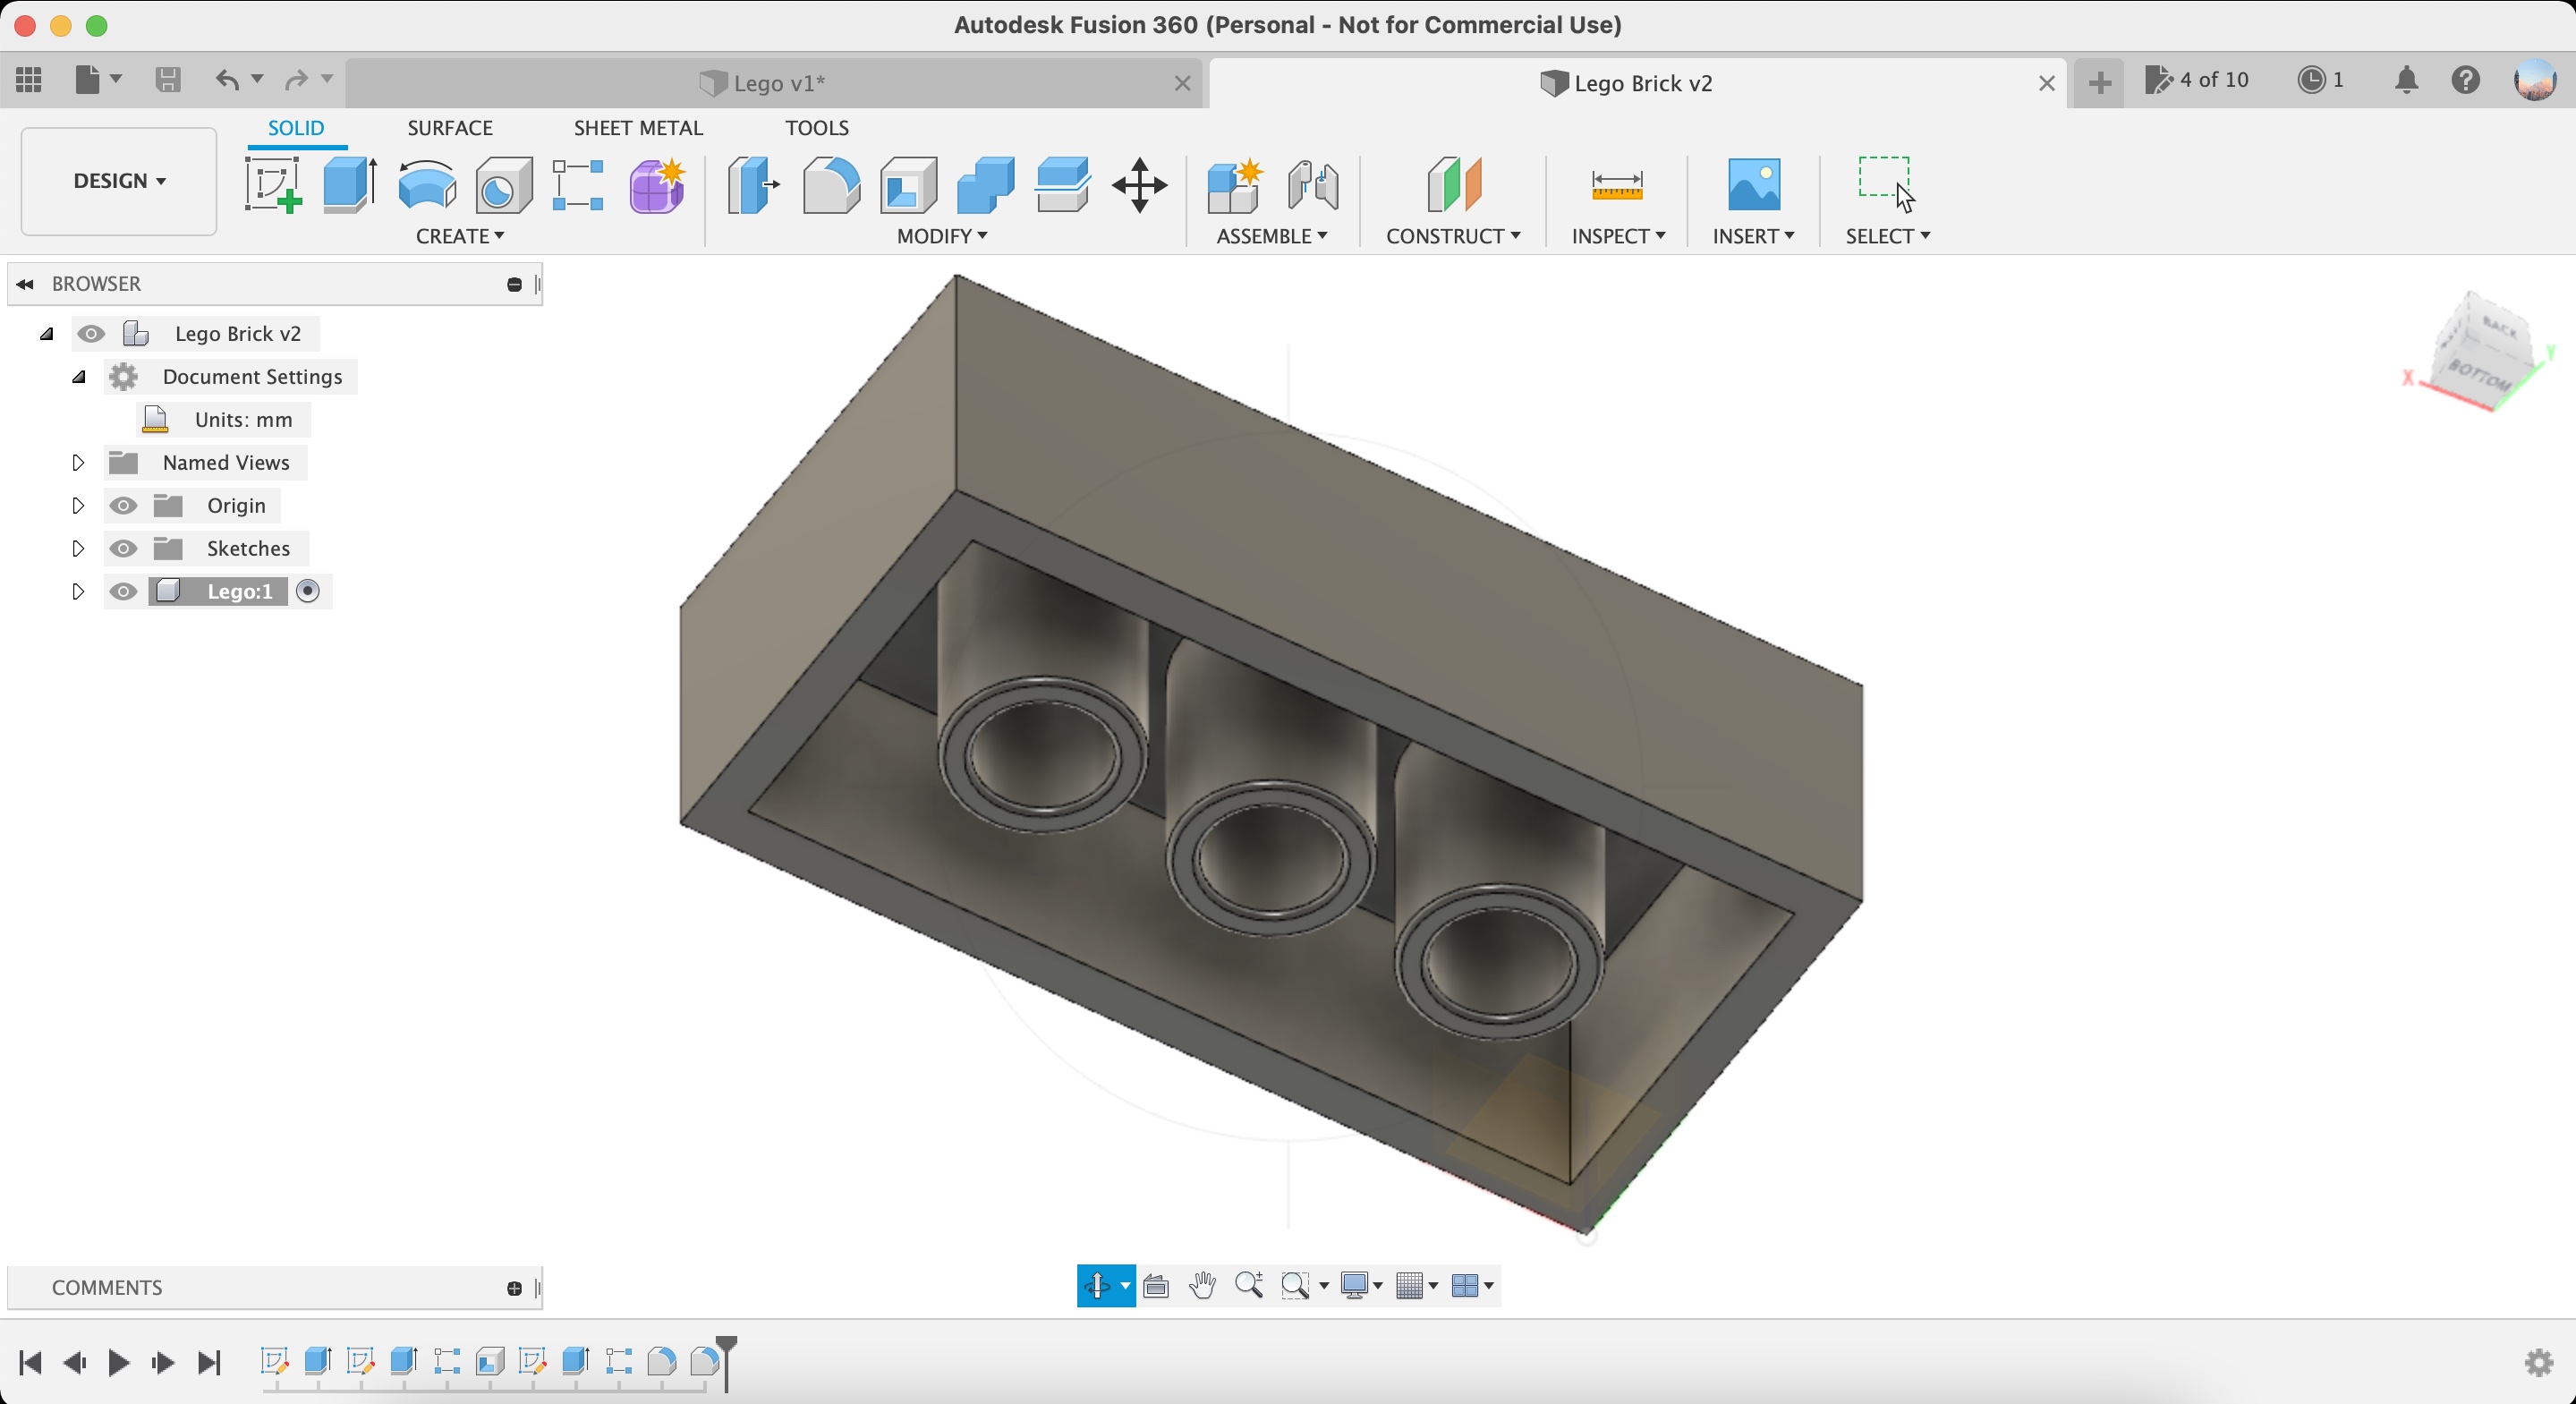
Fusion360 - 3D Design
Fusion360 is the first, and also the only one CAD software that I have used before. I am most comfortable with the shortcuts, icons and the functions in this software, so I am possibly using this 3D CAD app for designing my final project. This is the Lego brick I learned to make from this tutorial Learn Autodesk Fusion 360 in 30 Days on youtube. I will keep exploring on Fusion360 as the course going on.
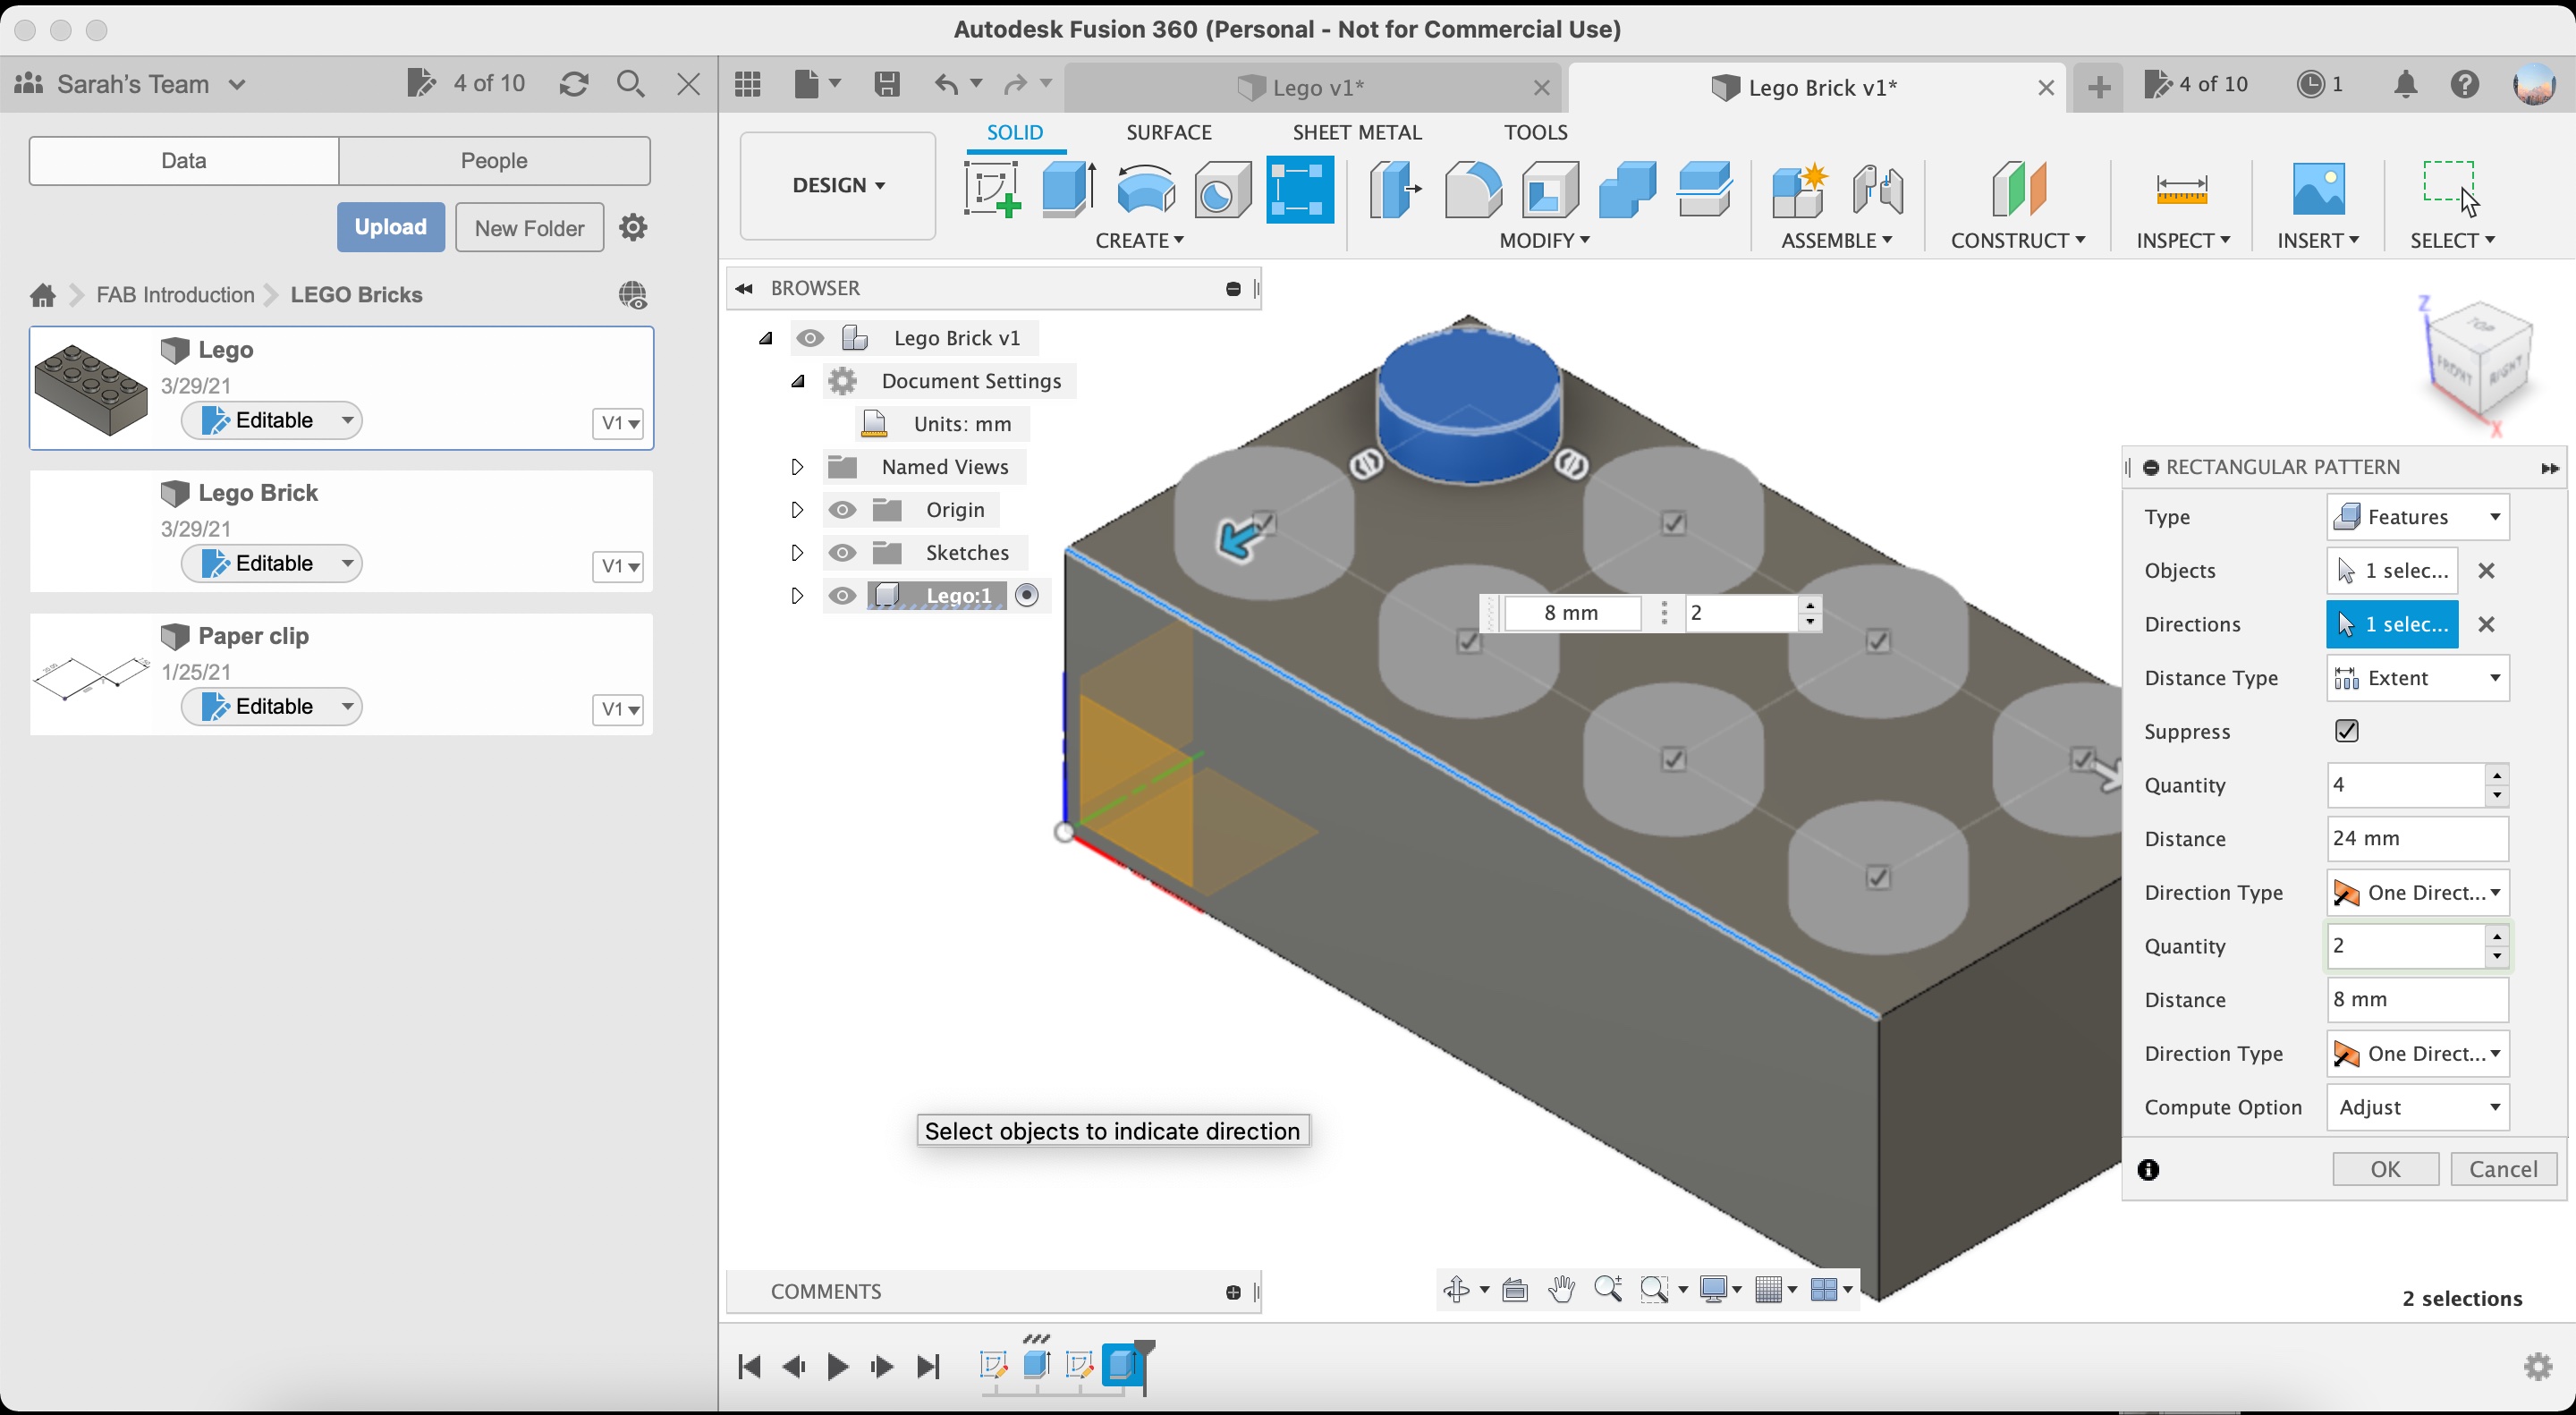
This is a screenshot took during the process of making the Lego brick. Here is the simple steps:
- Creating a new sketch with a rectangle
- Extrude the 2D rectangle into the 3D model
- Sketch 6 same size circles by using rectangular pattern
- Extrude the circles
- Shell the bottom of the Lego brick
- Fillet the edge of Lego brick avoiding the sharp edge
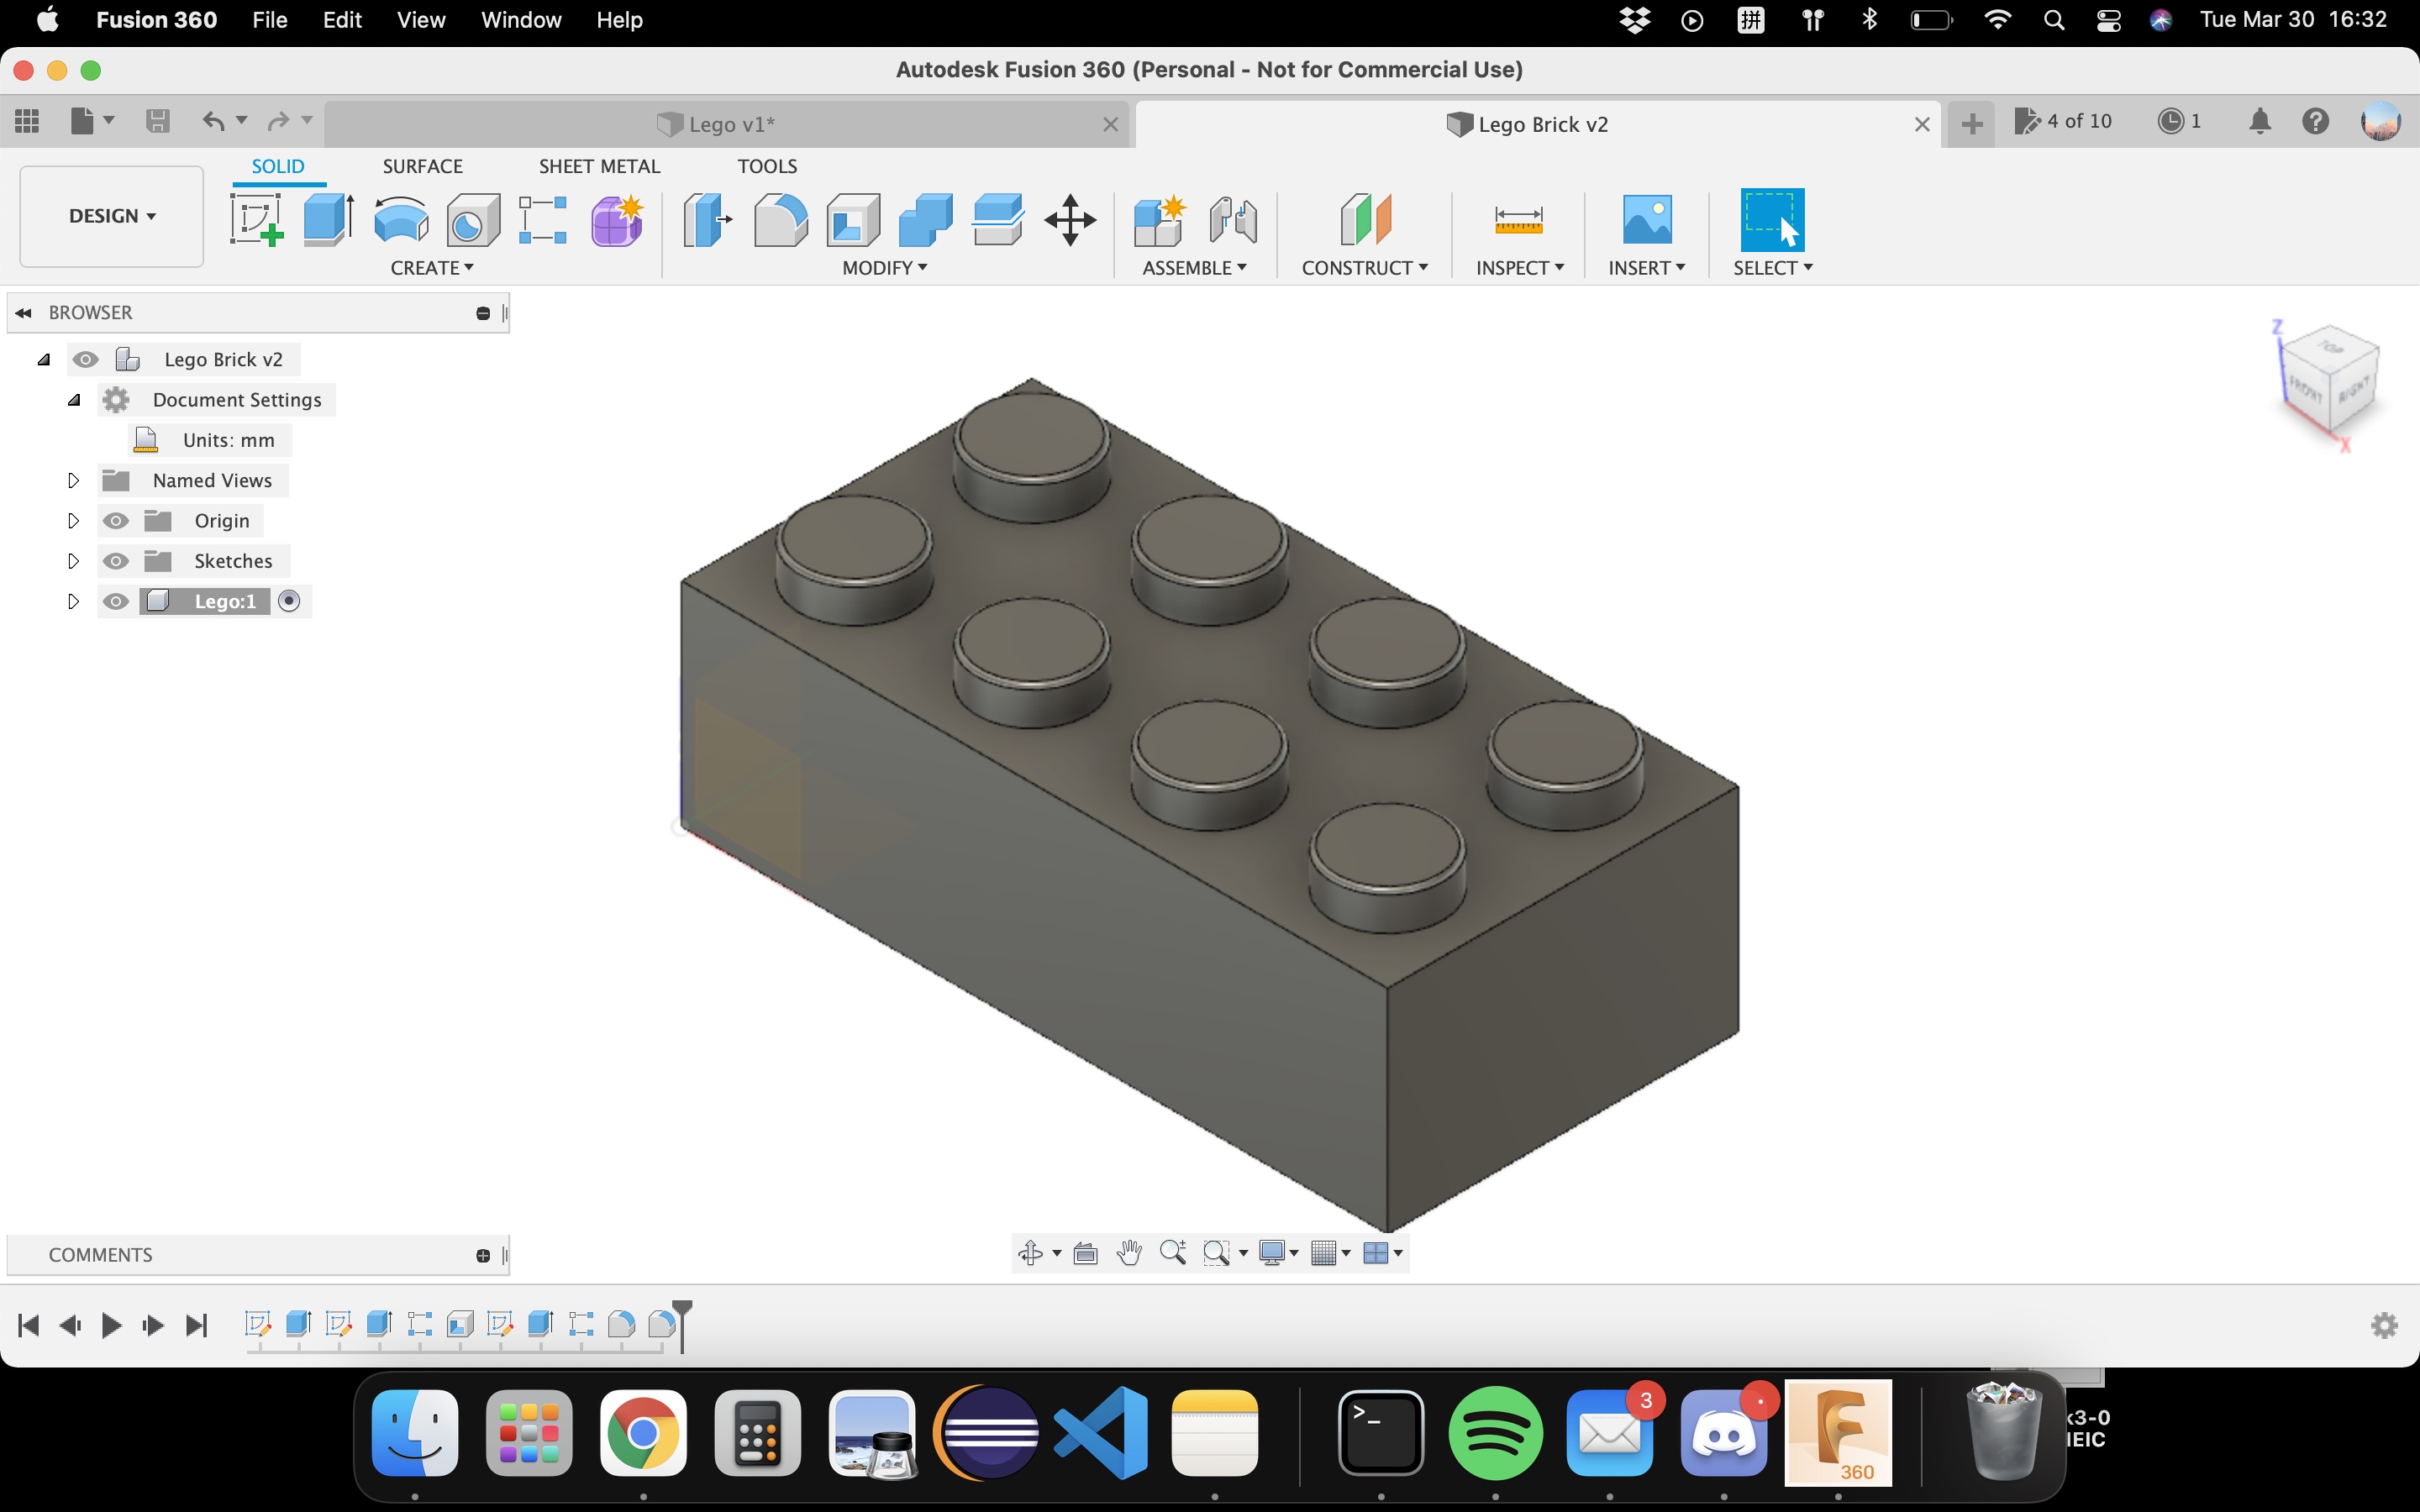
And here is what final CAD project looks like from the top view and the bottom view:
XDesign - 3D Design
TinkerCAD - 3D Design
Build 3D printer & CNC machine
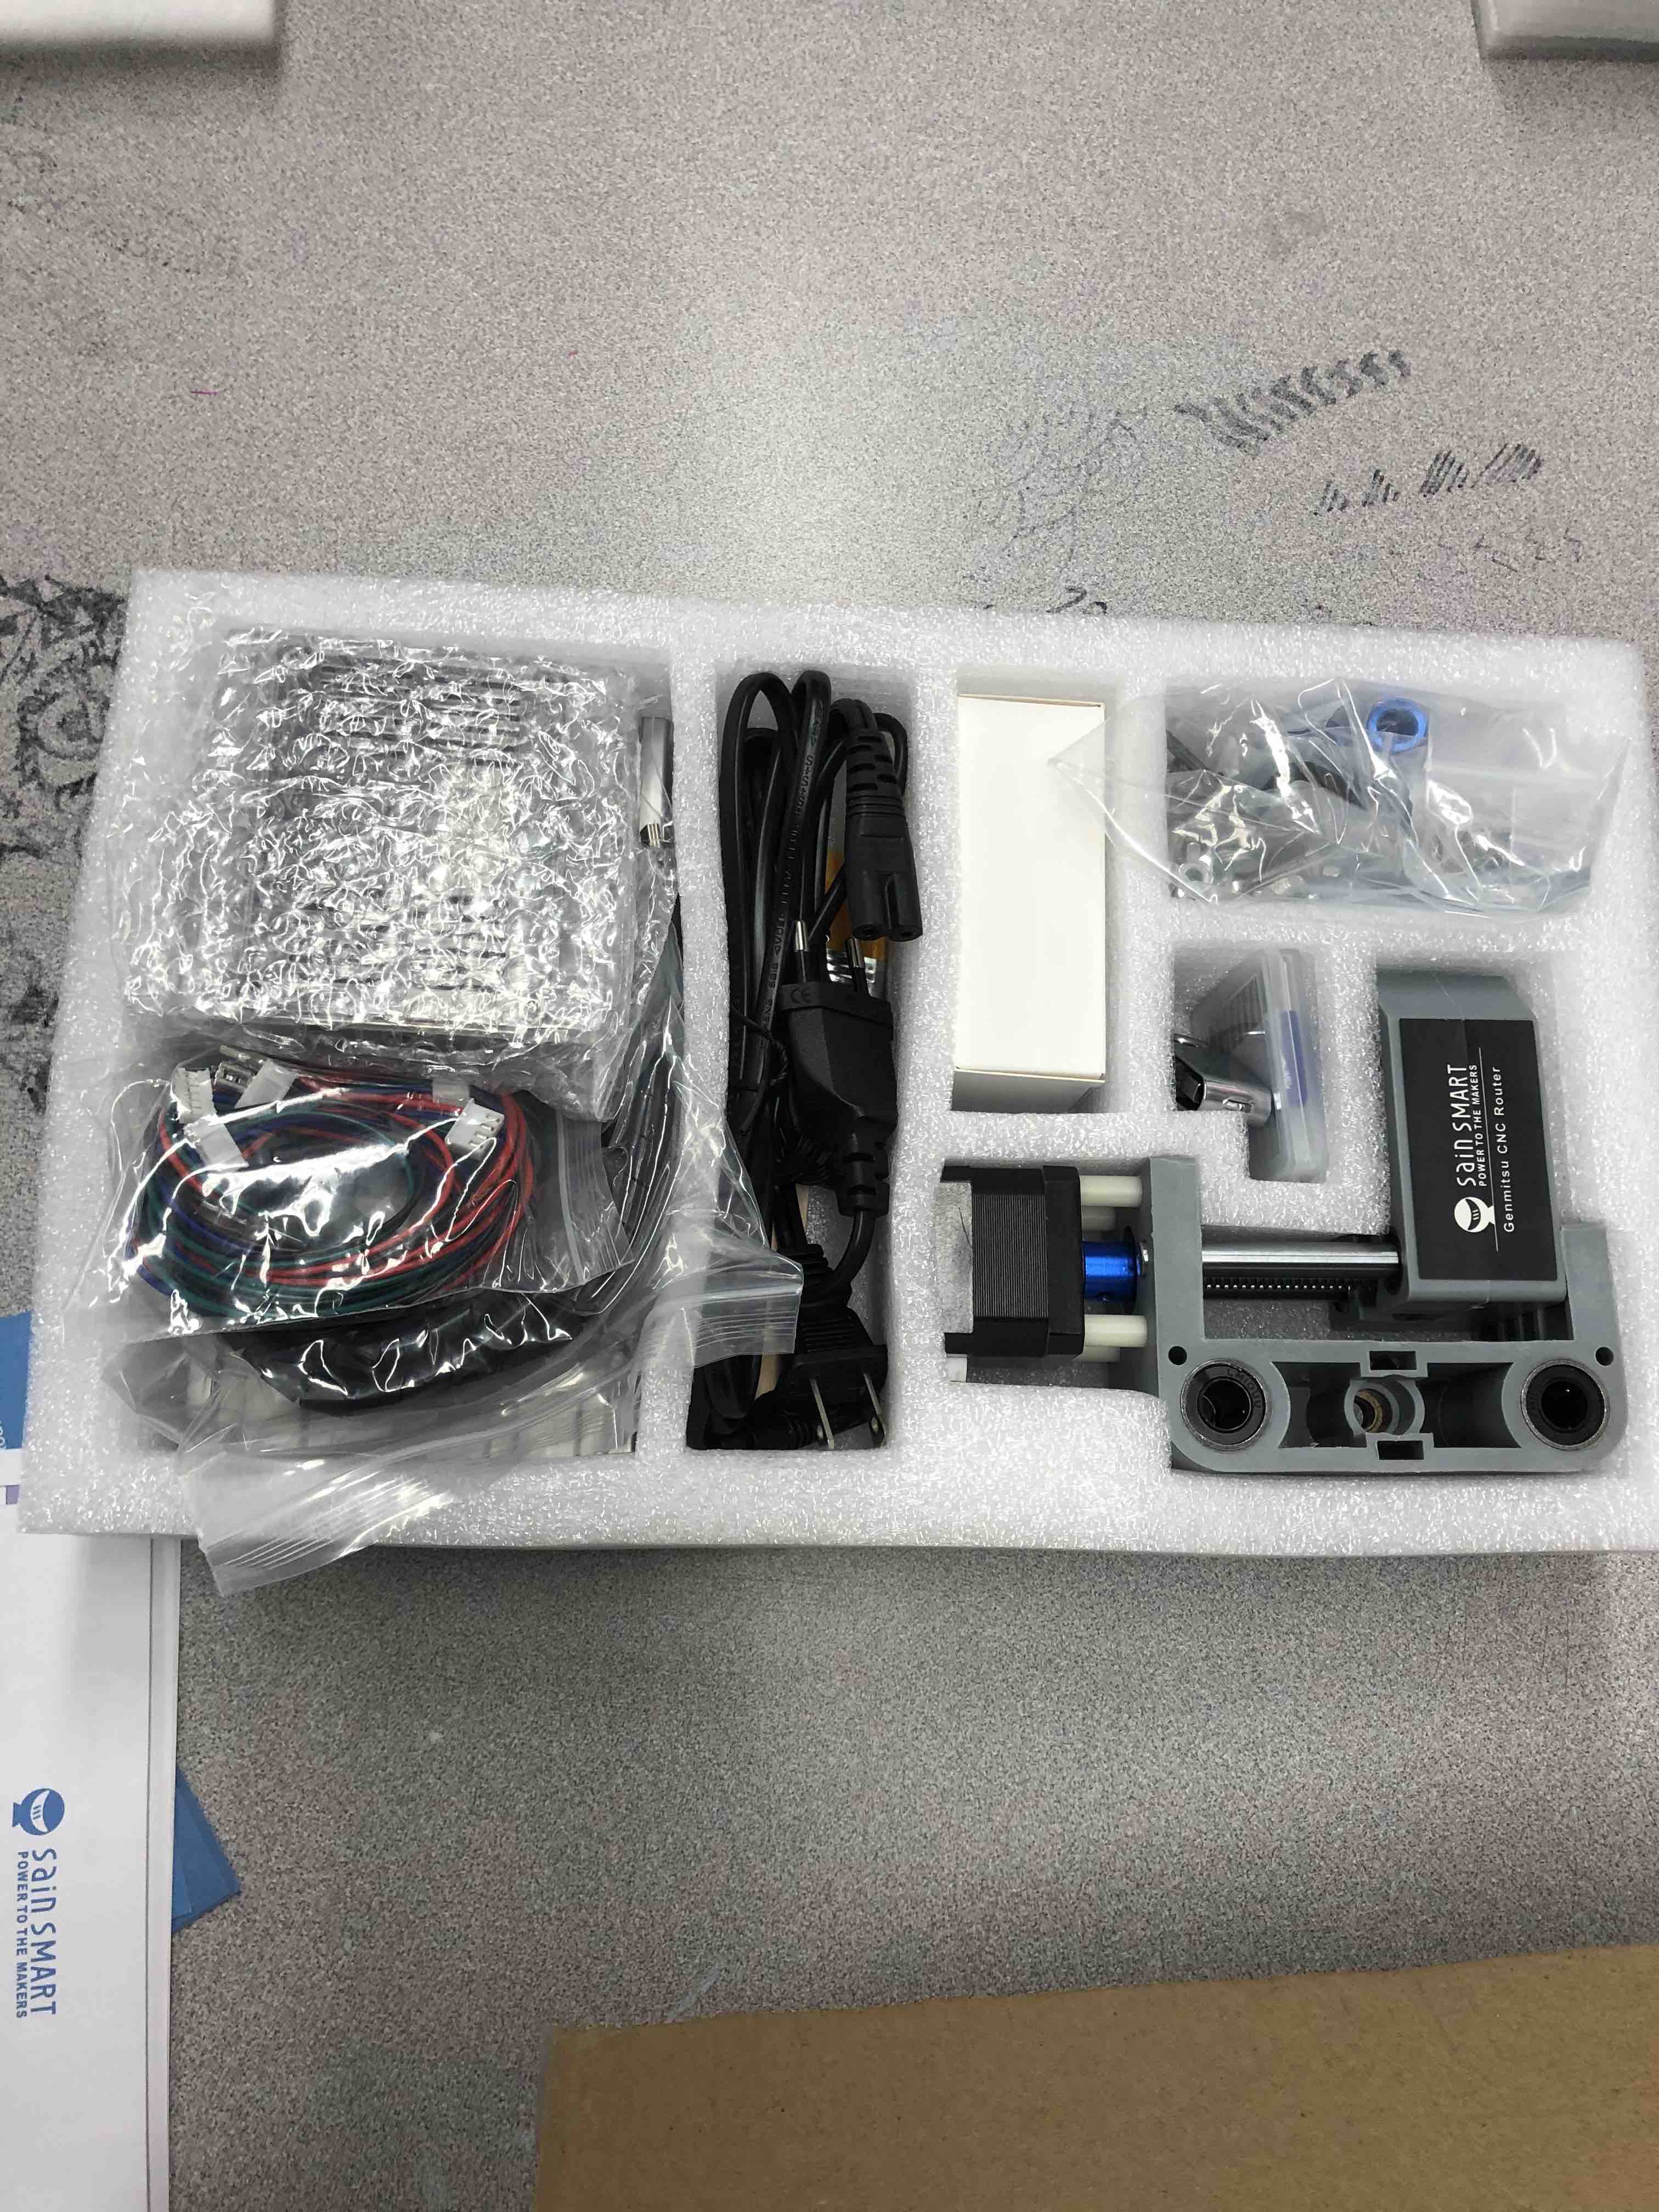
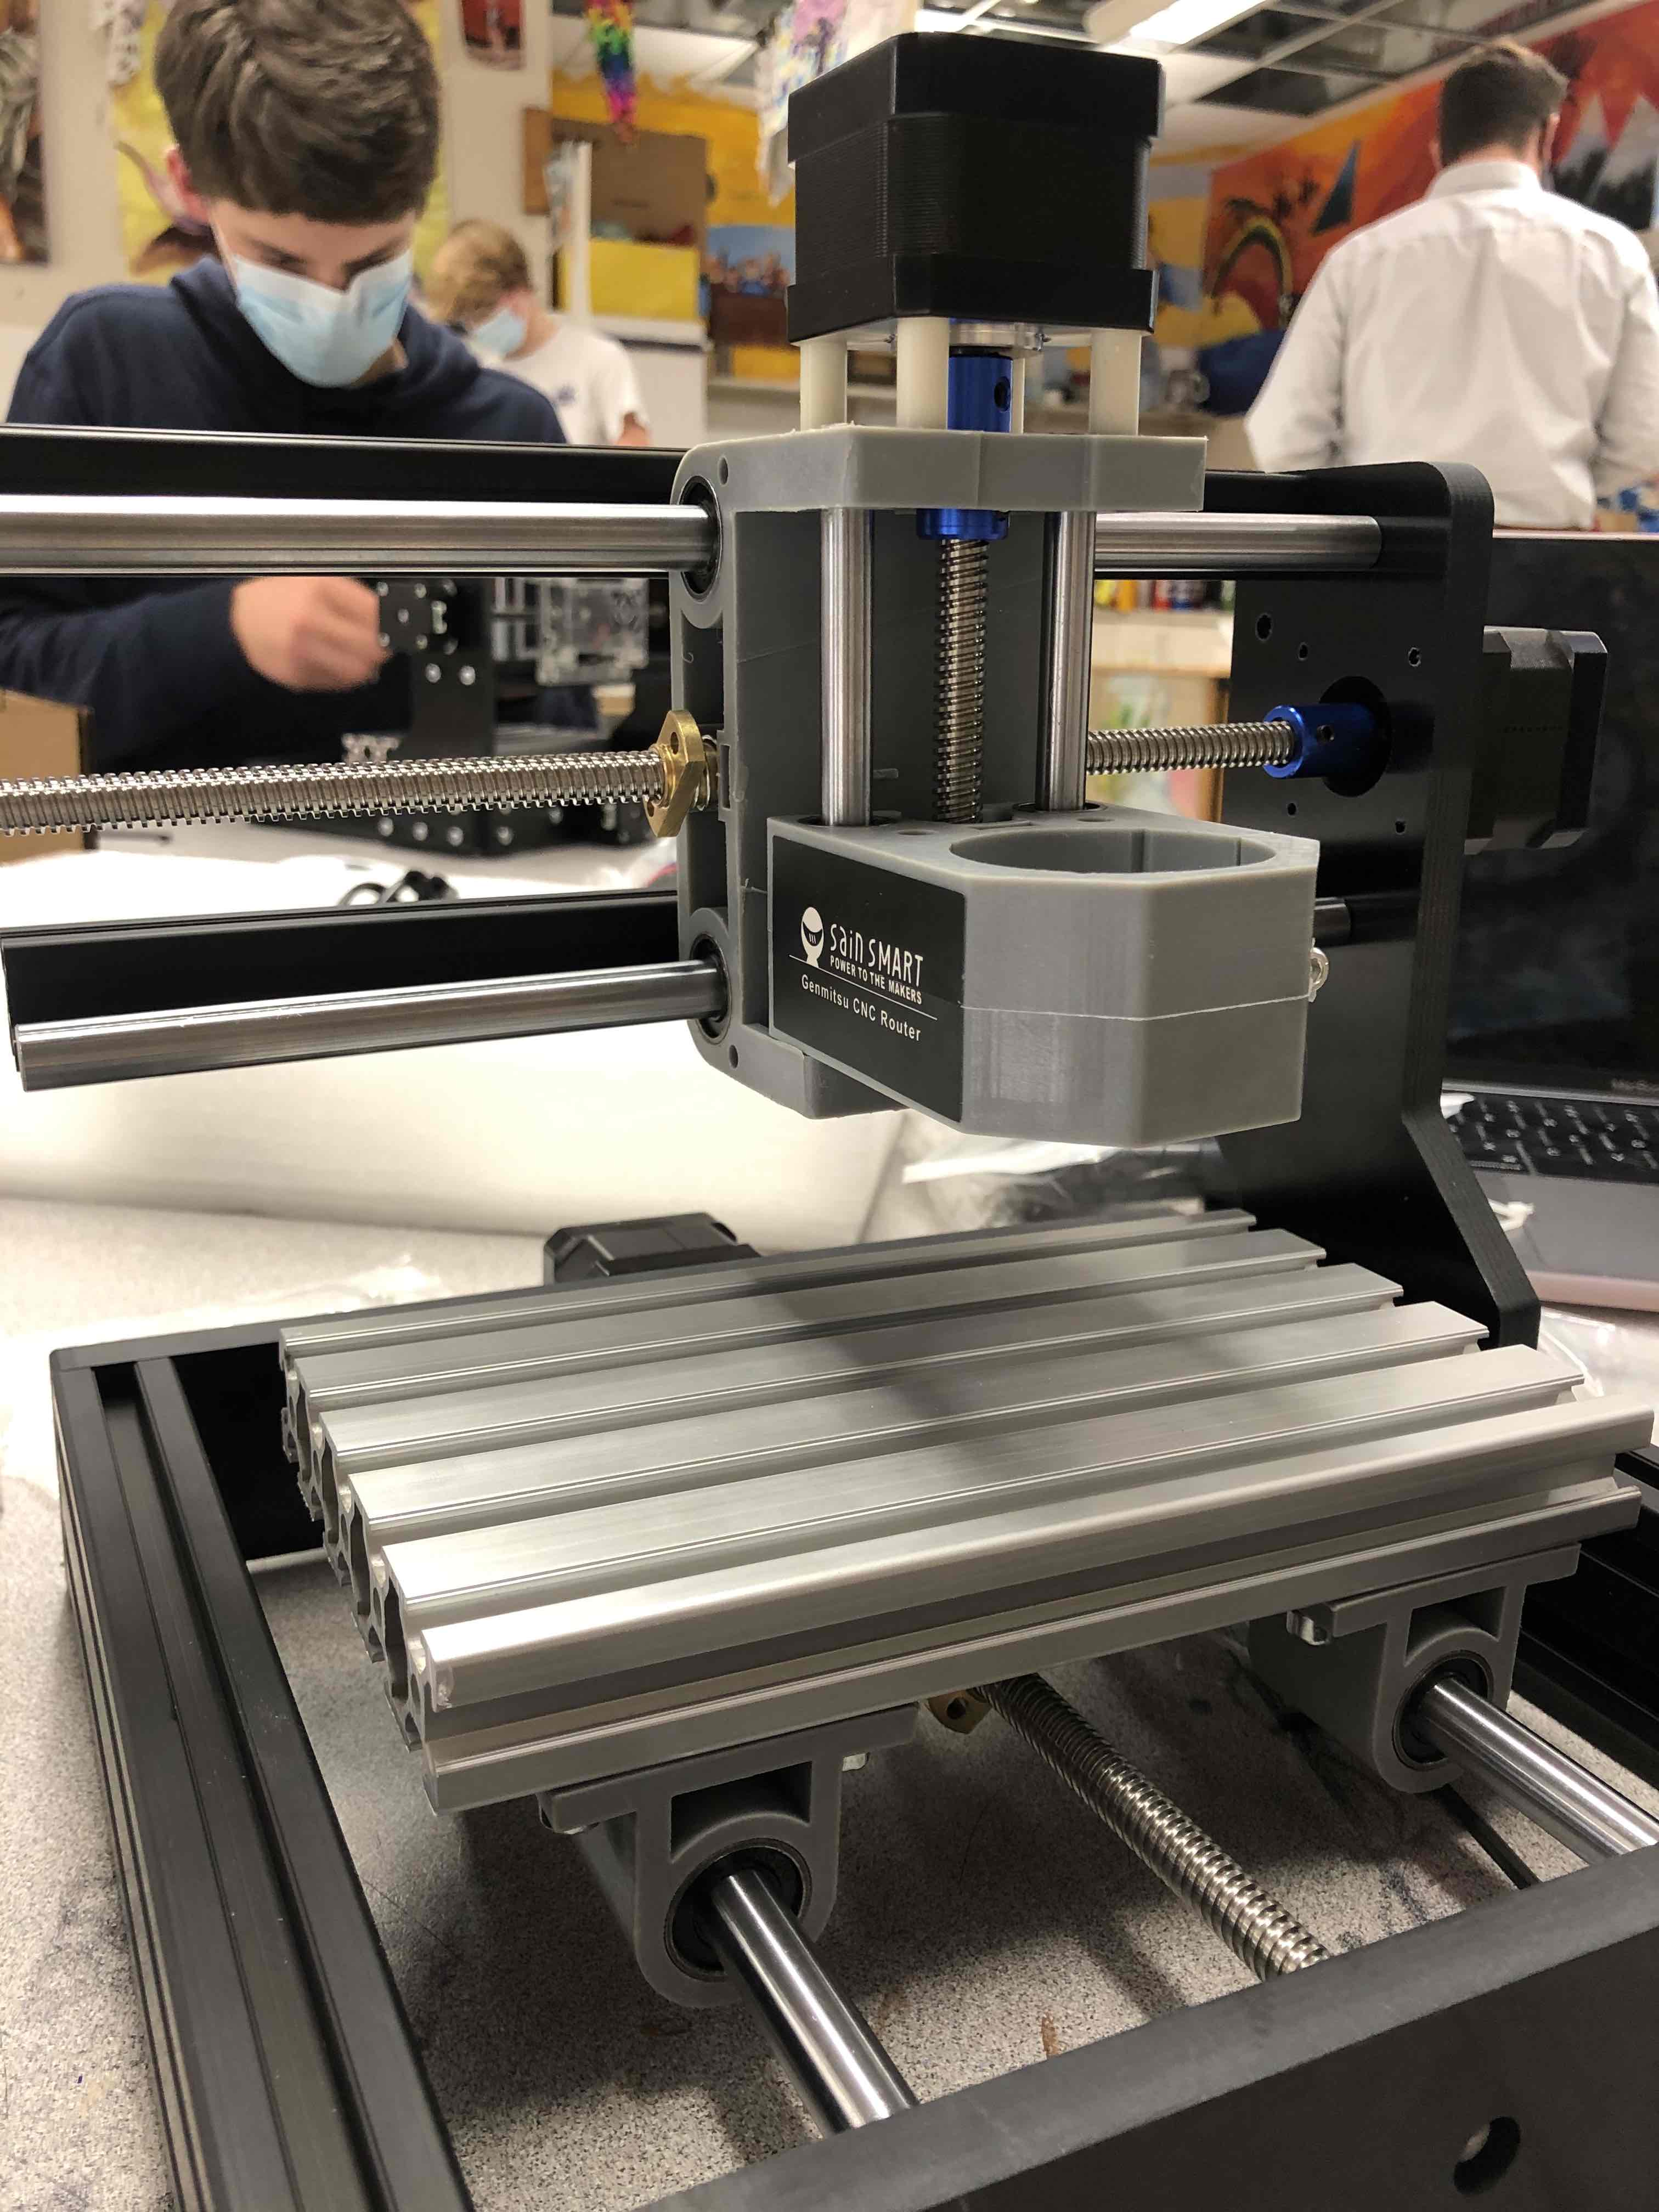
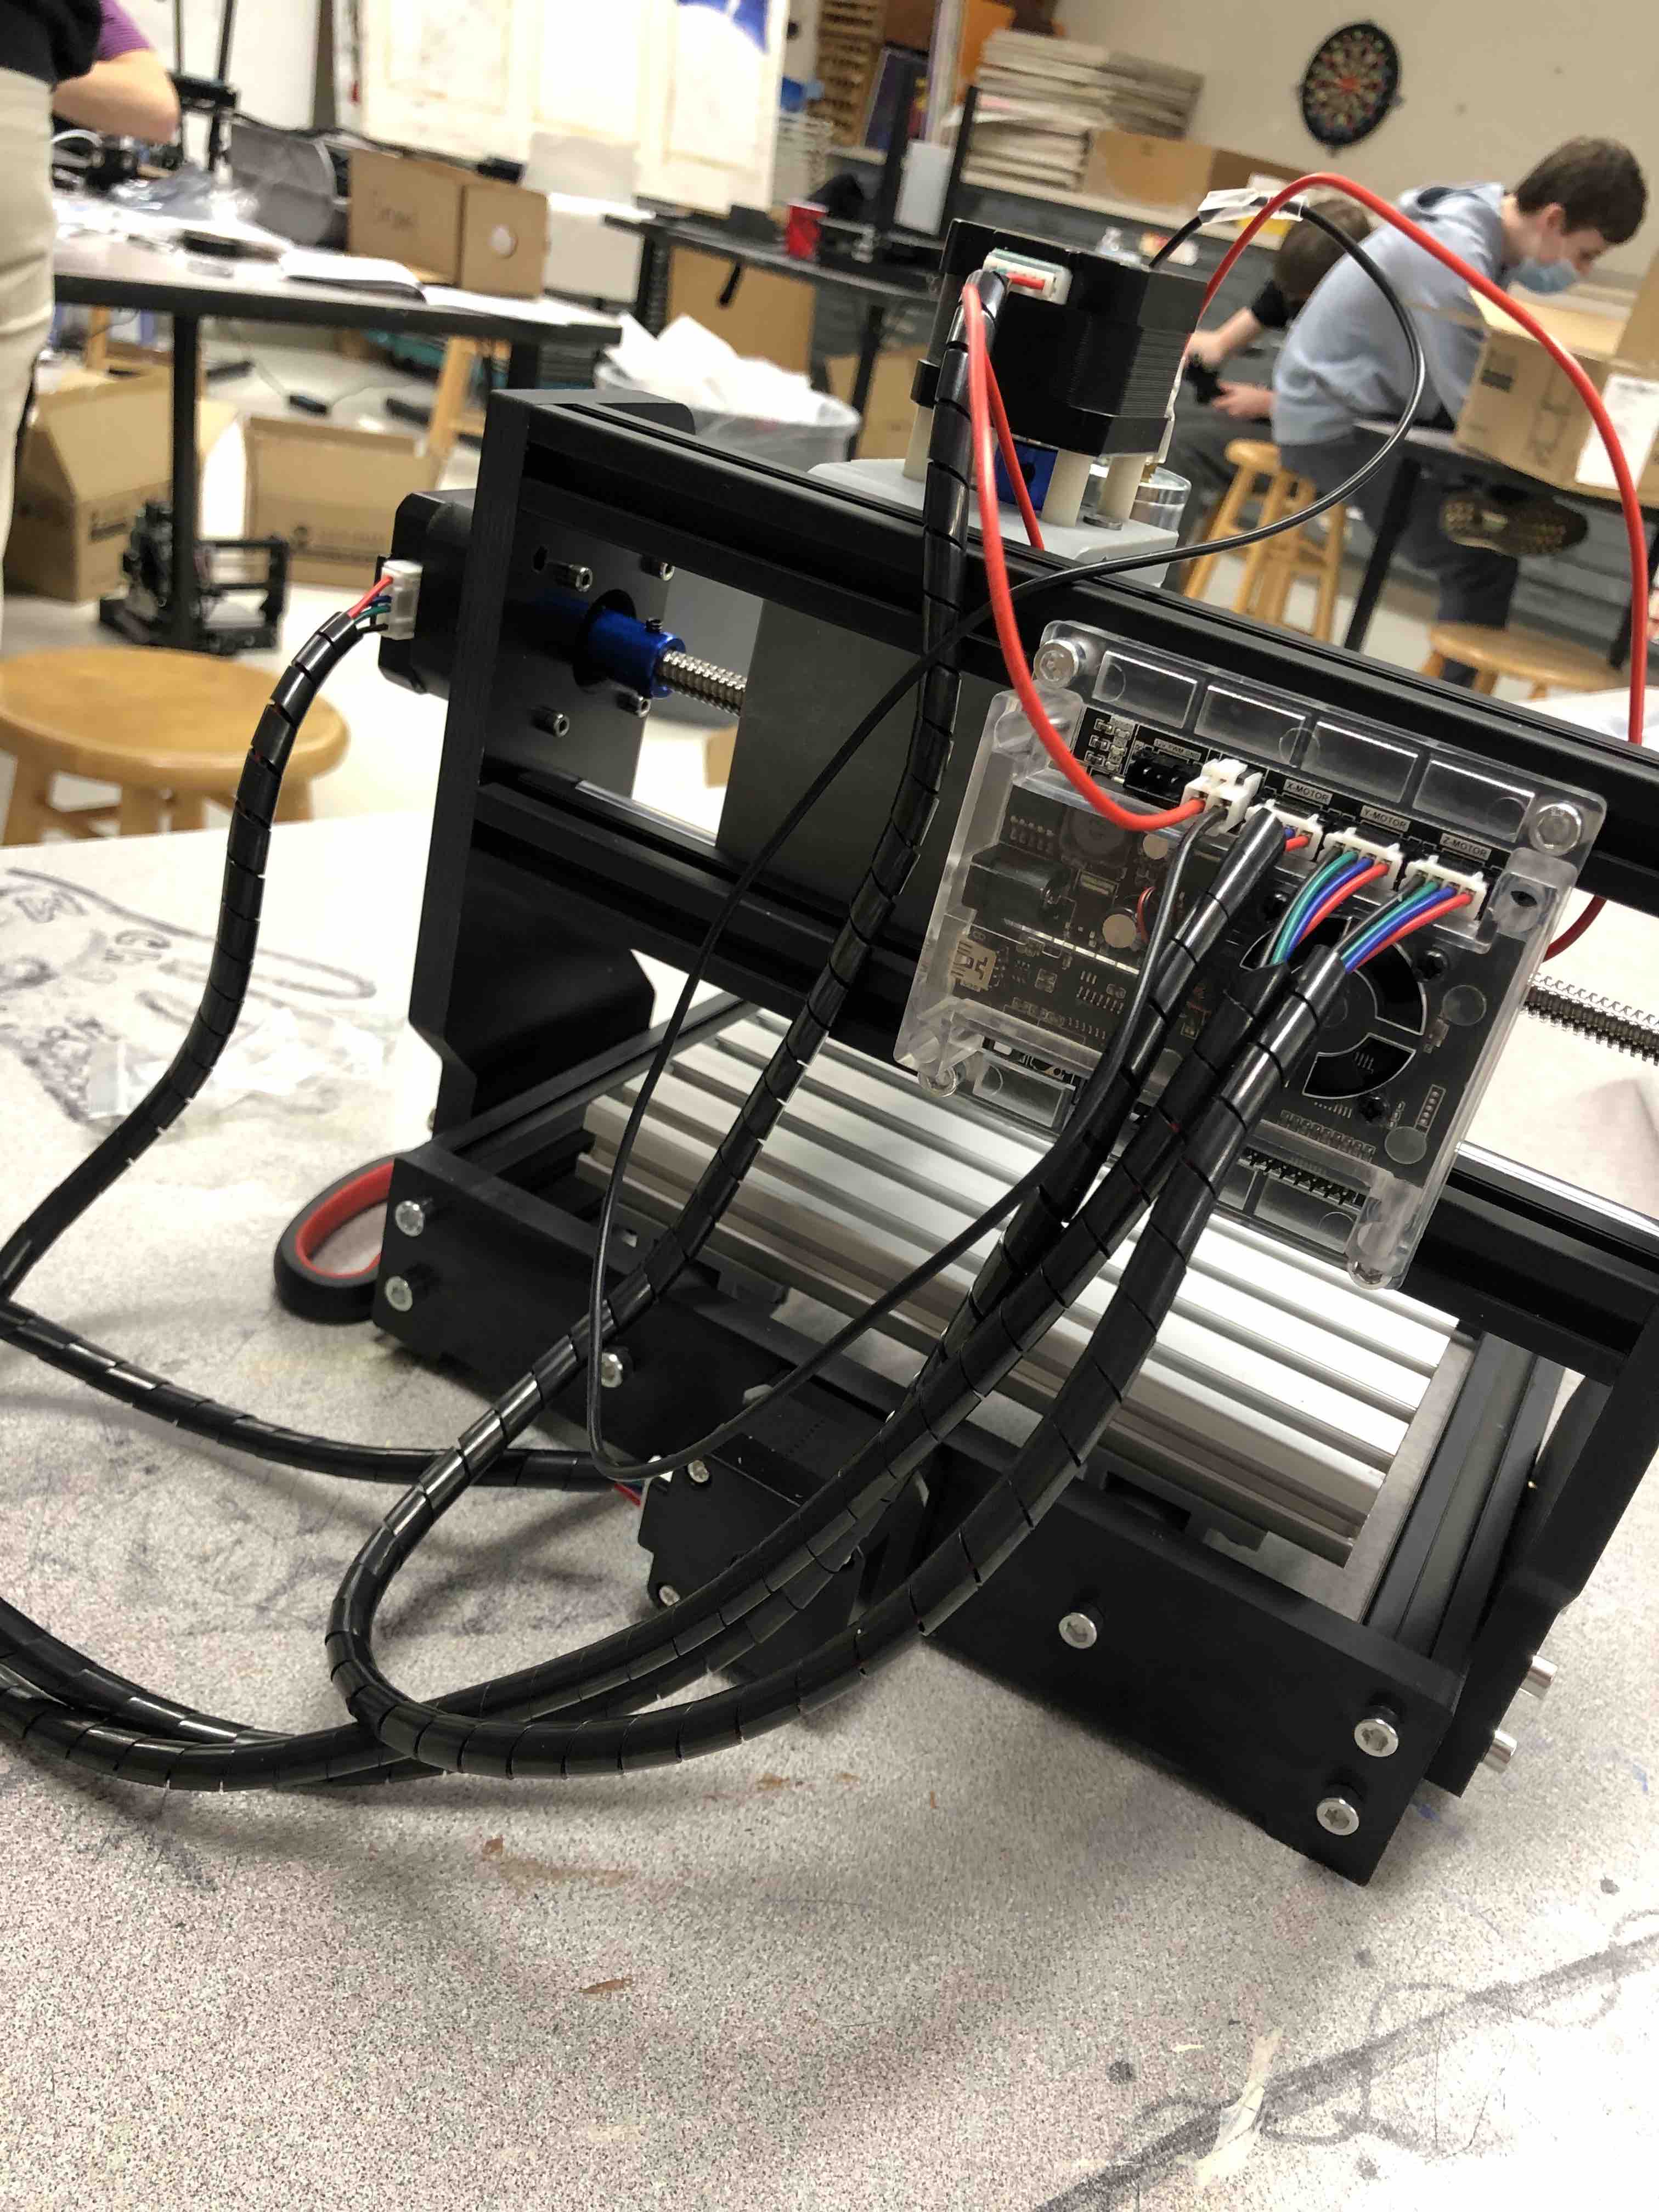
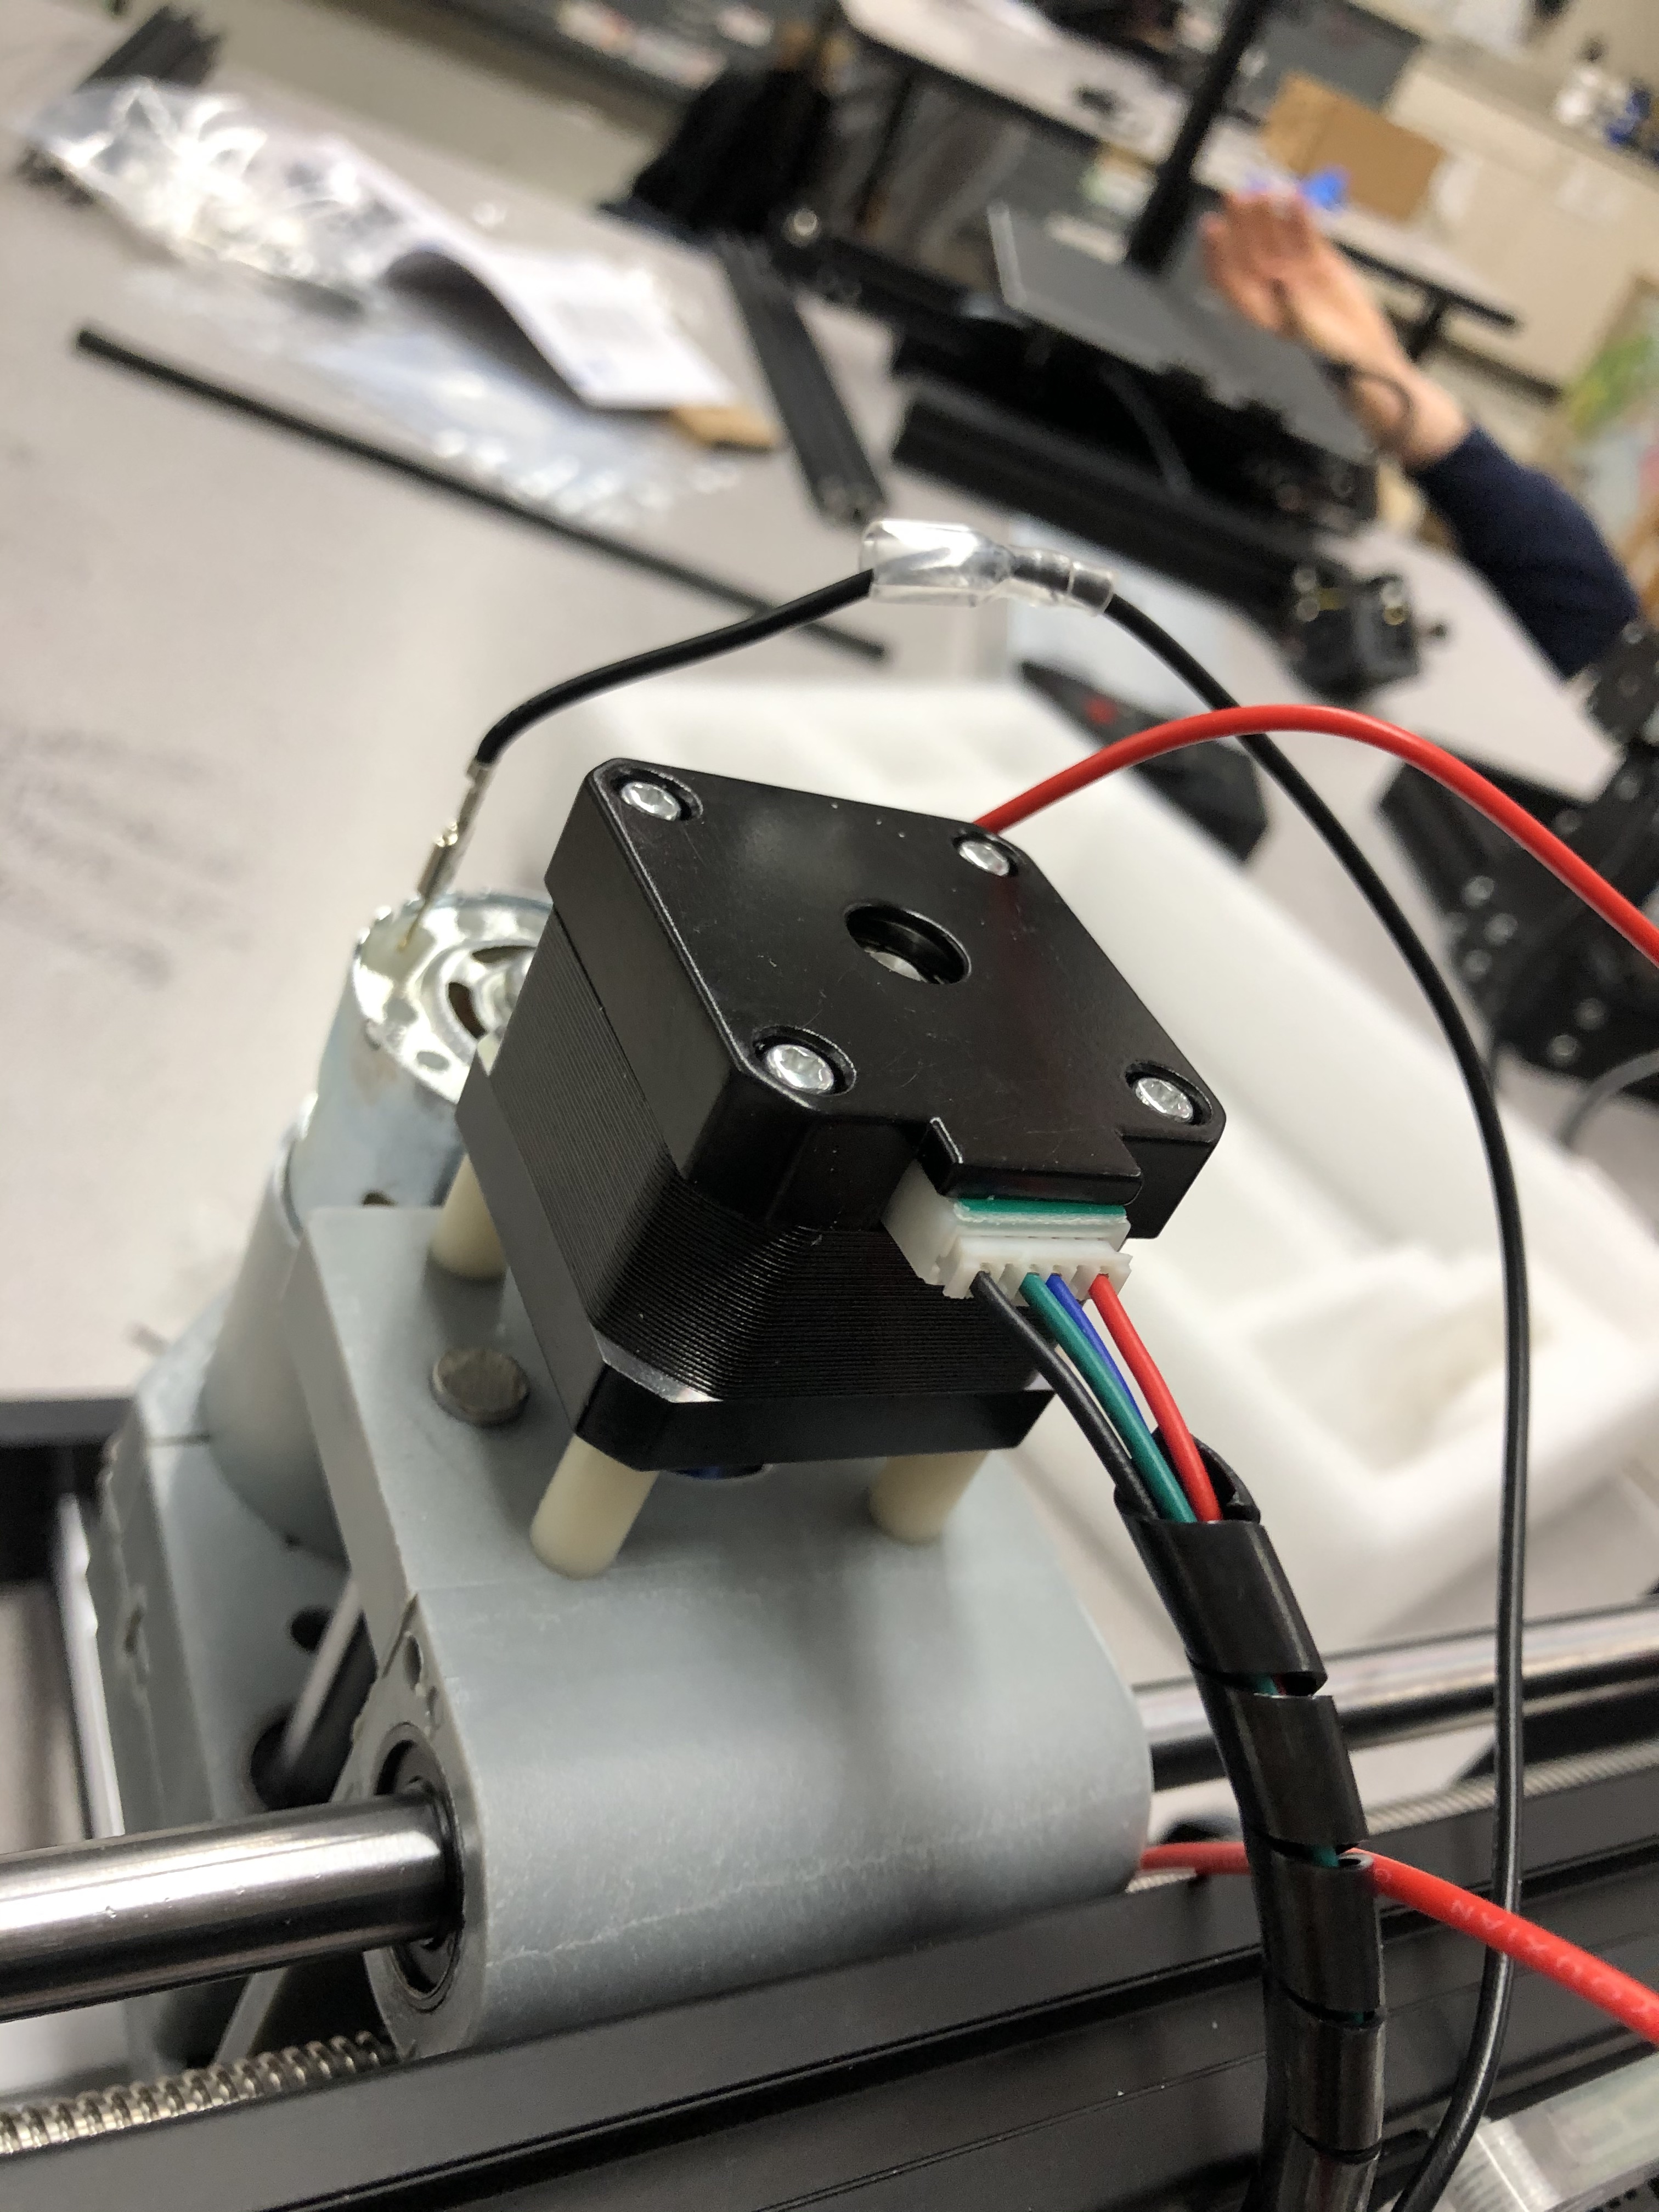
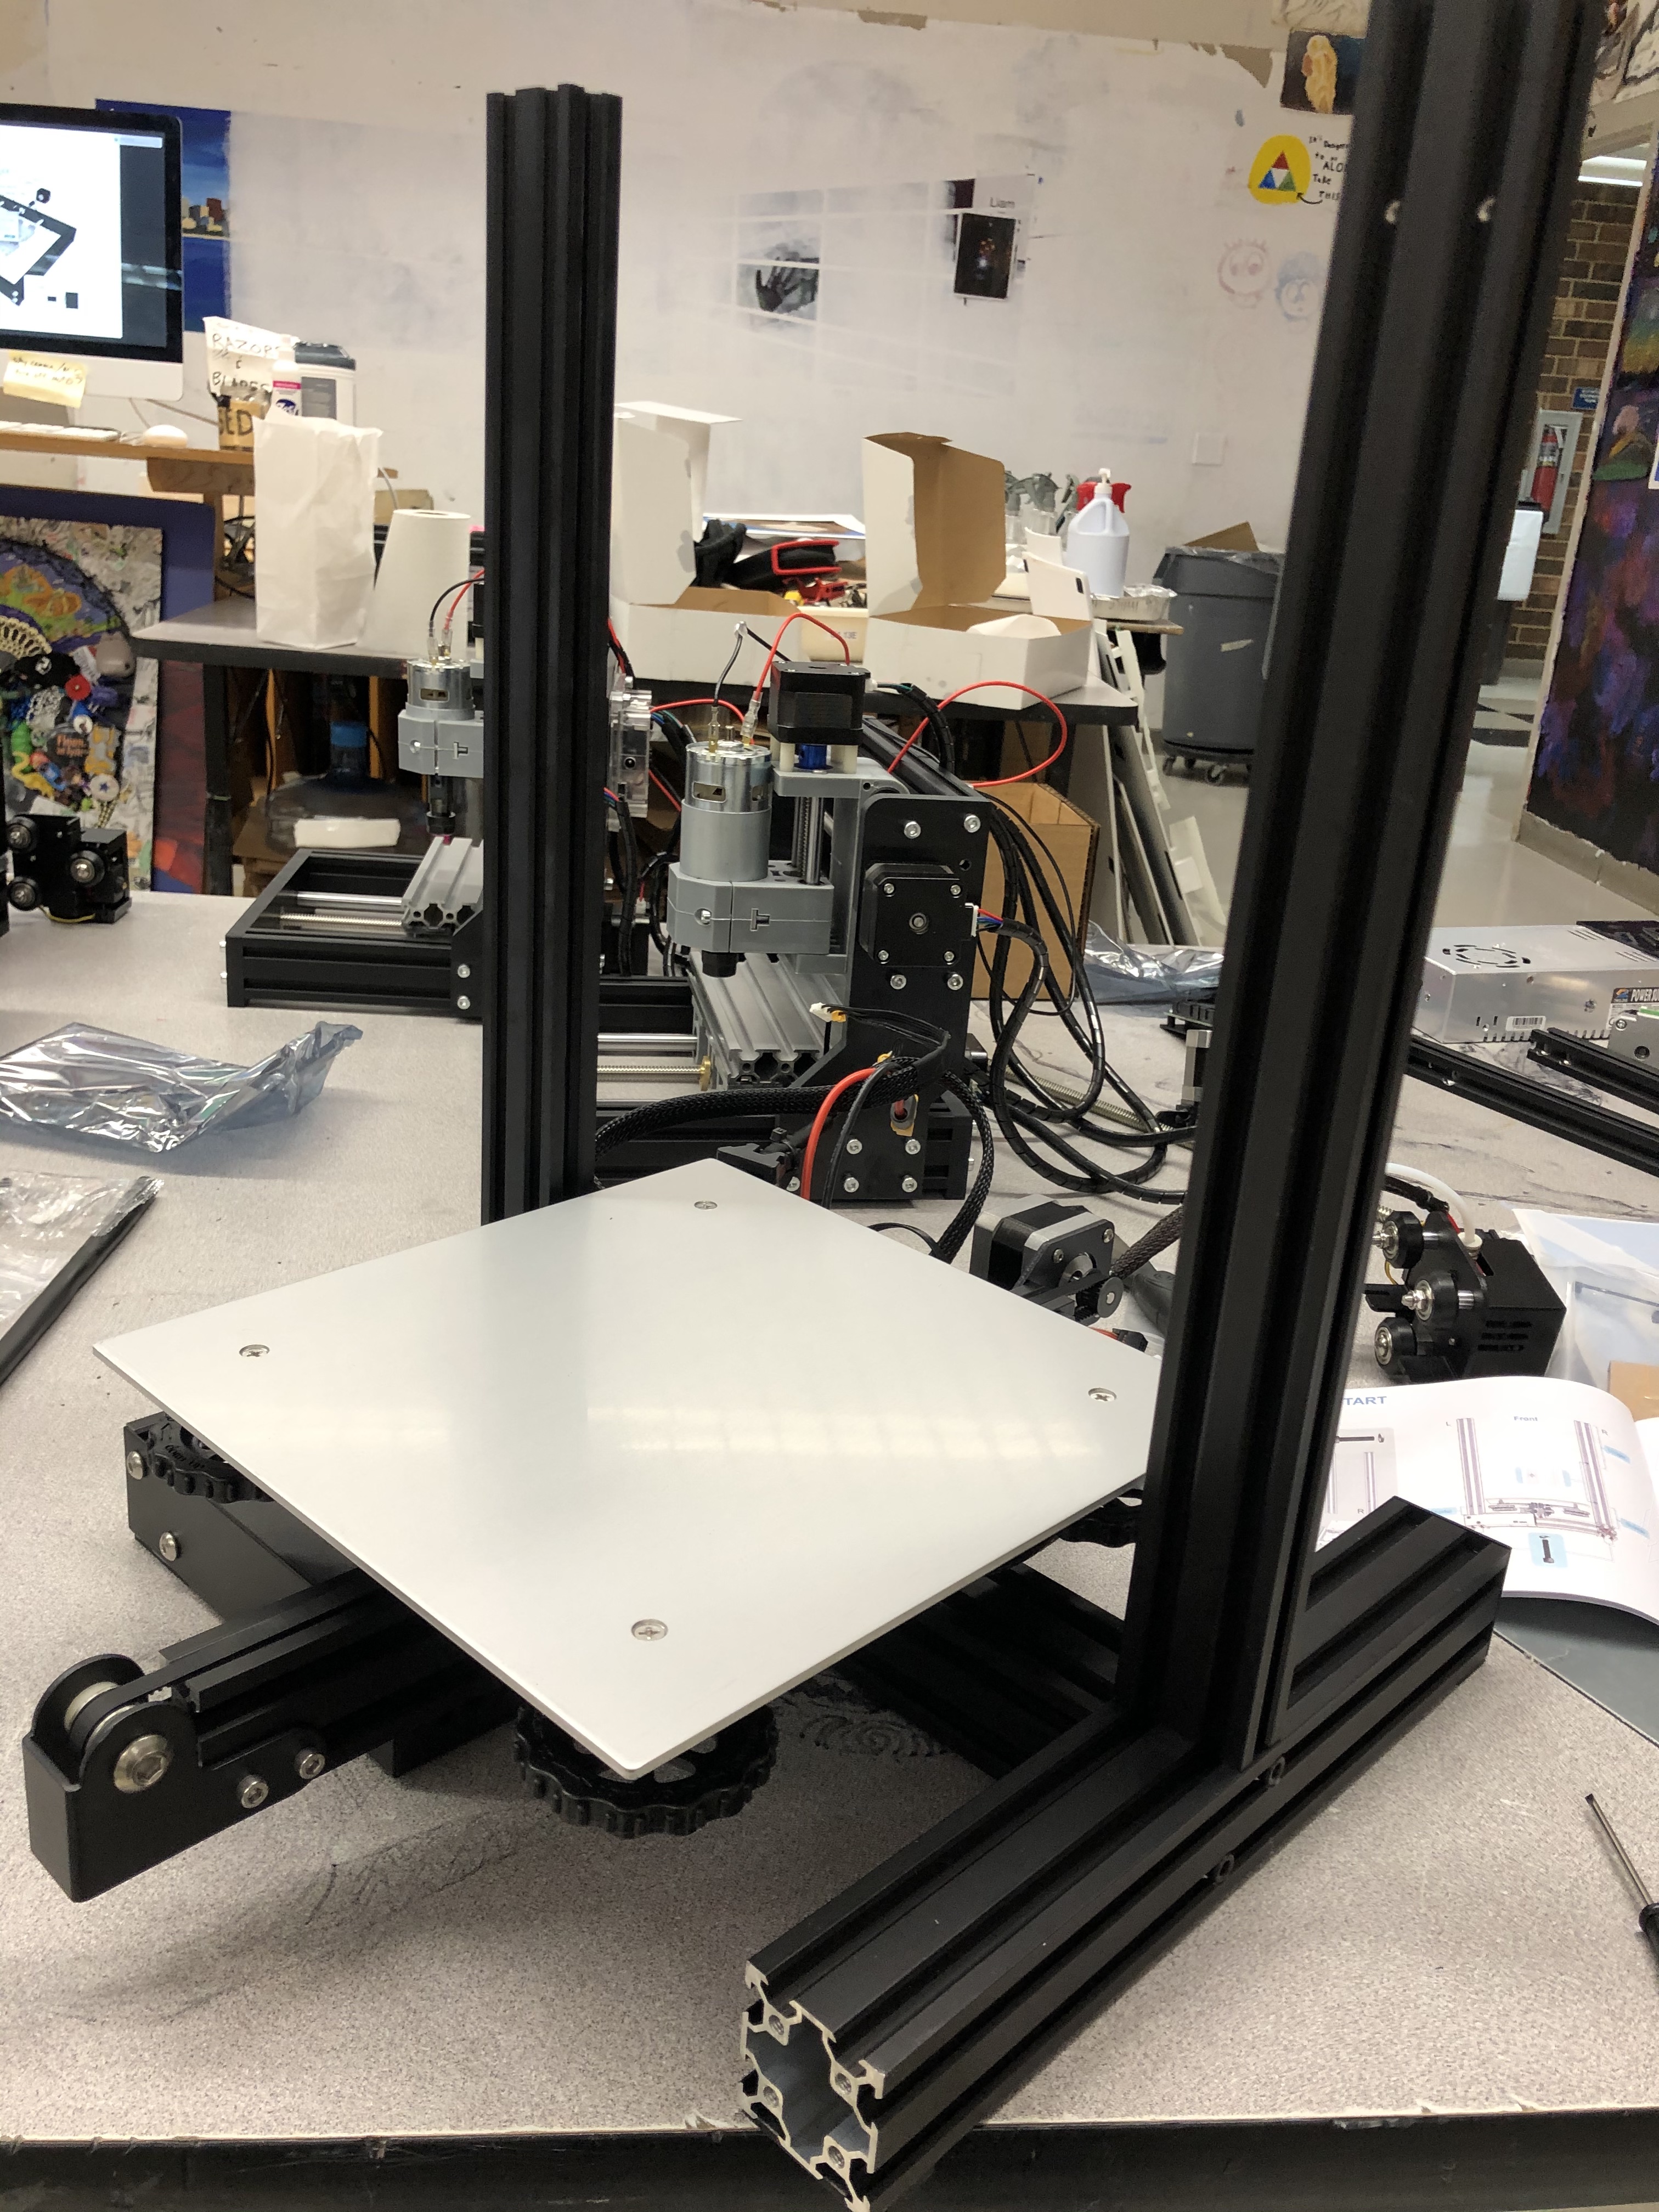
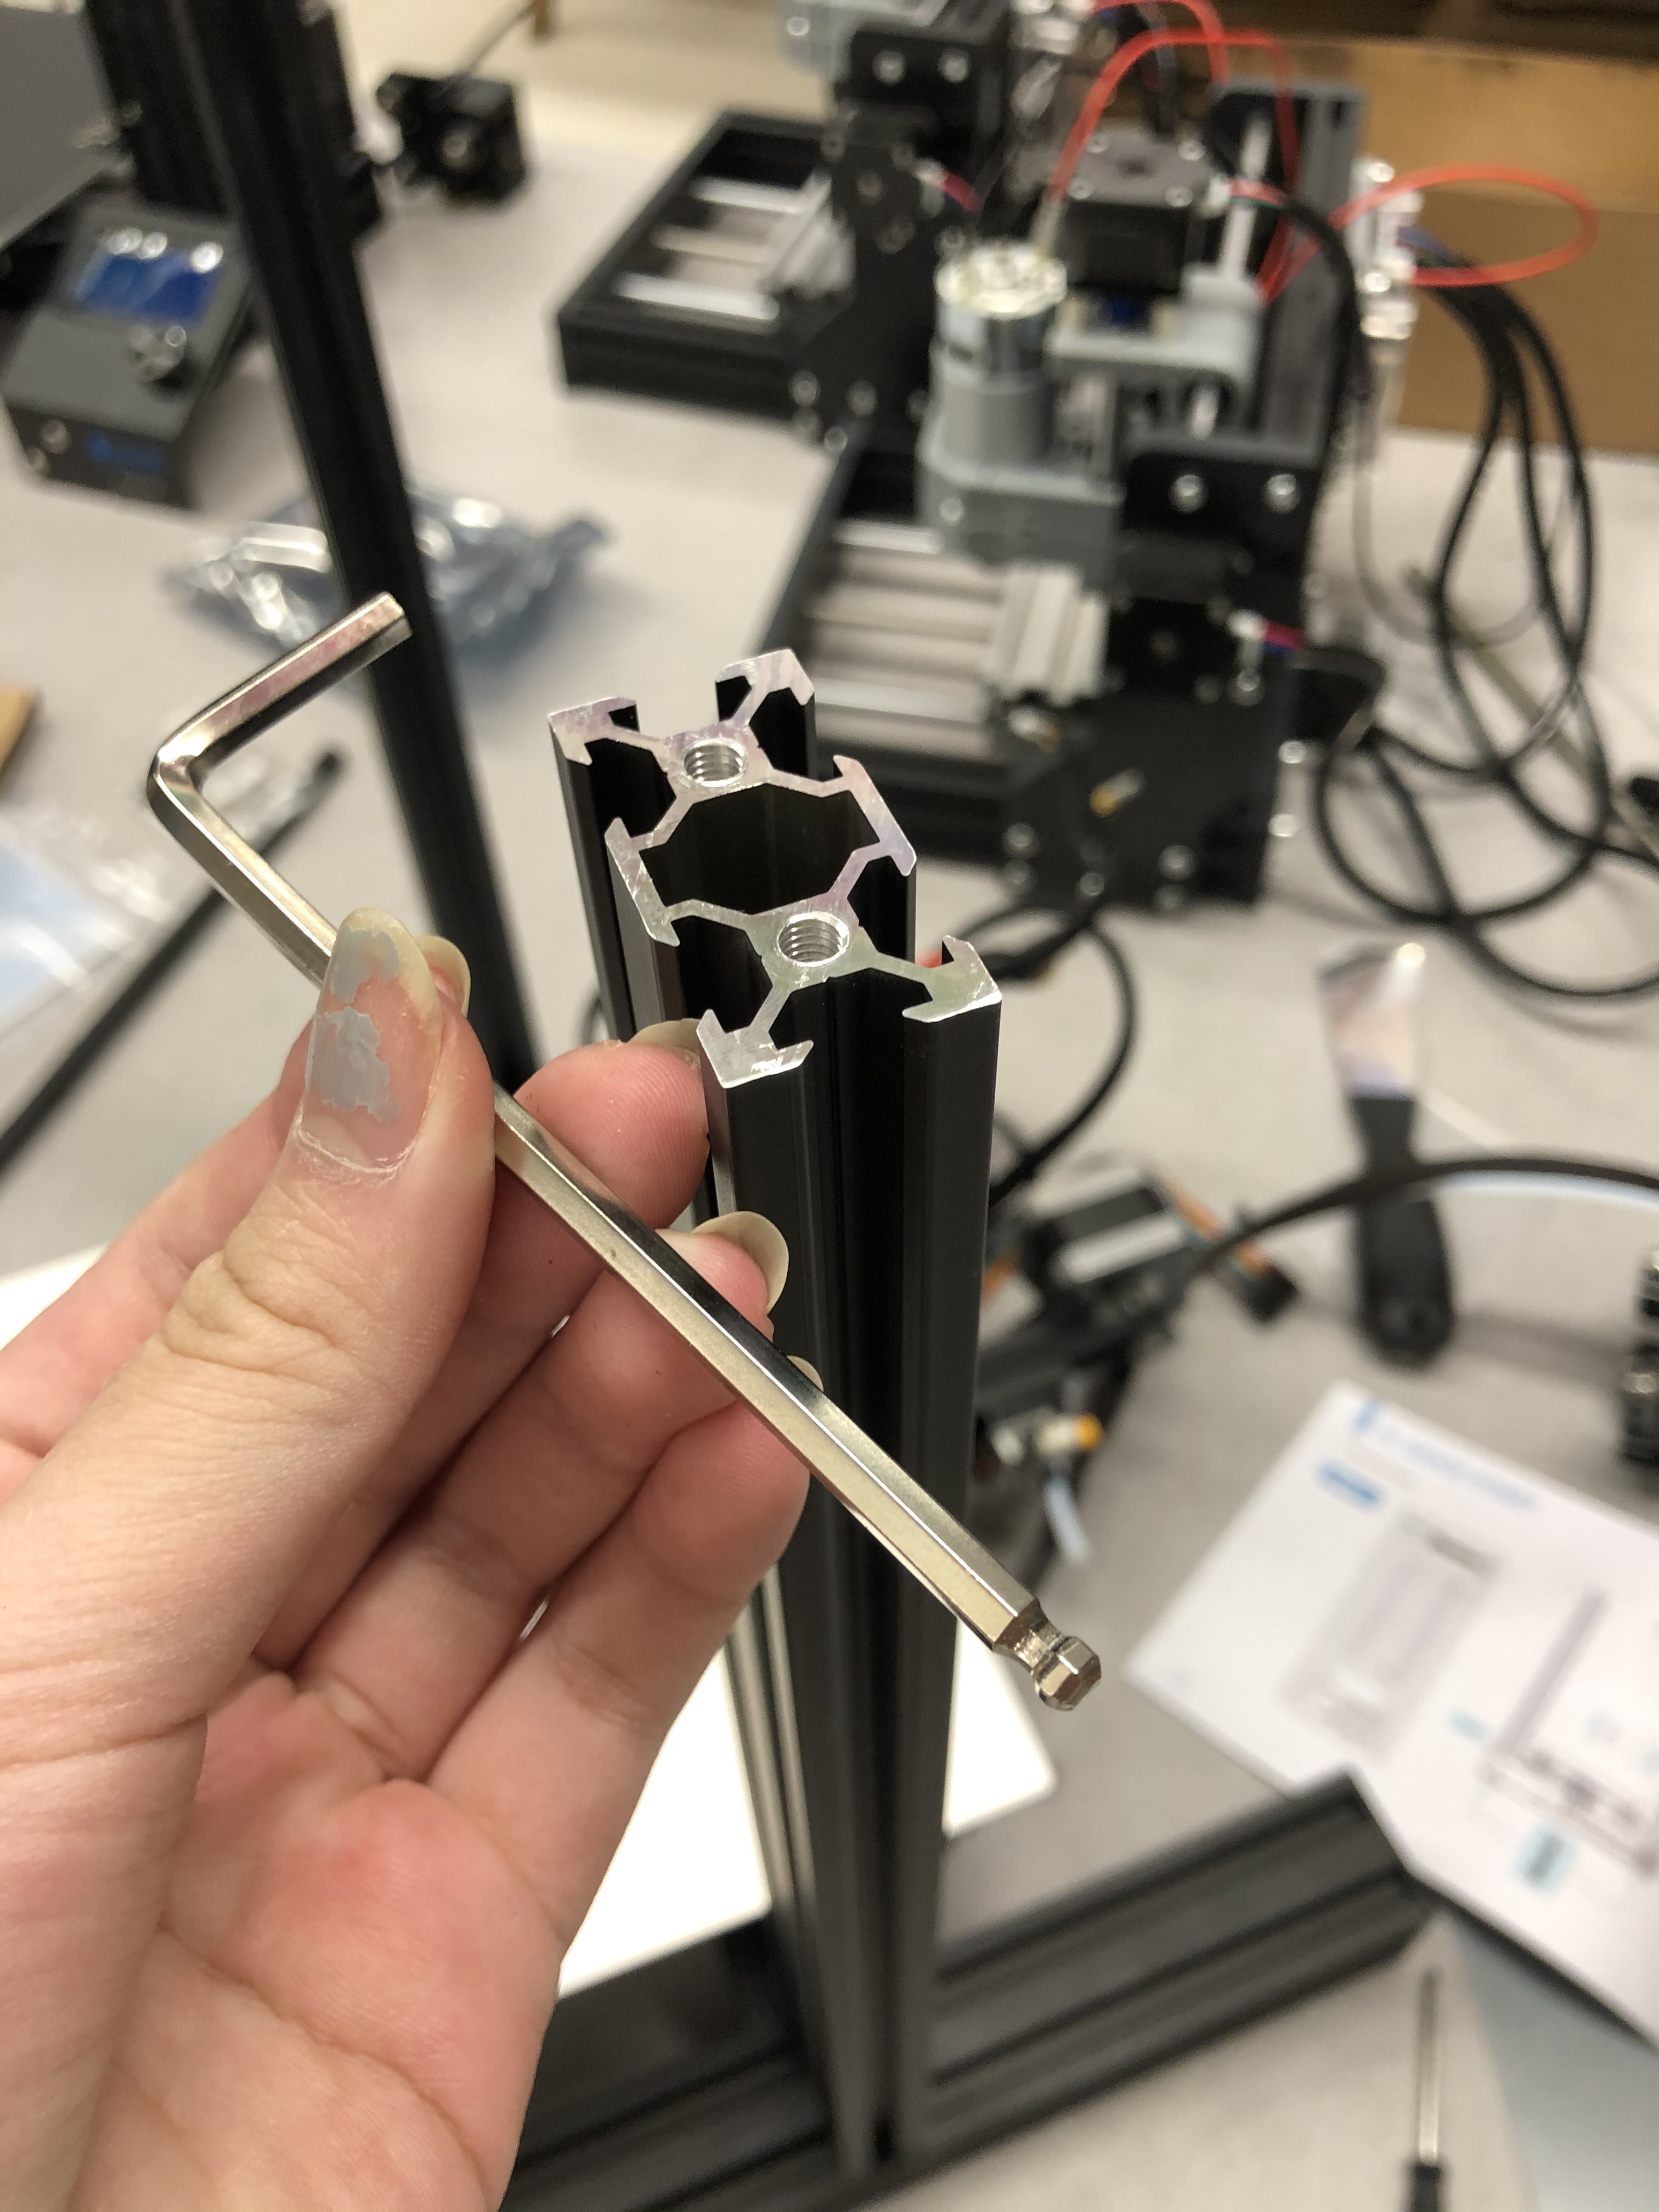
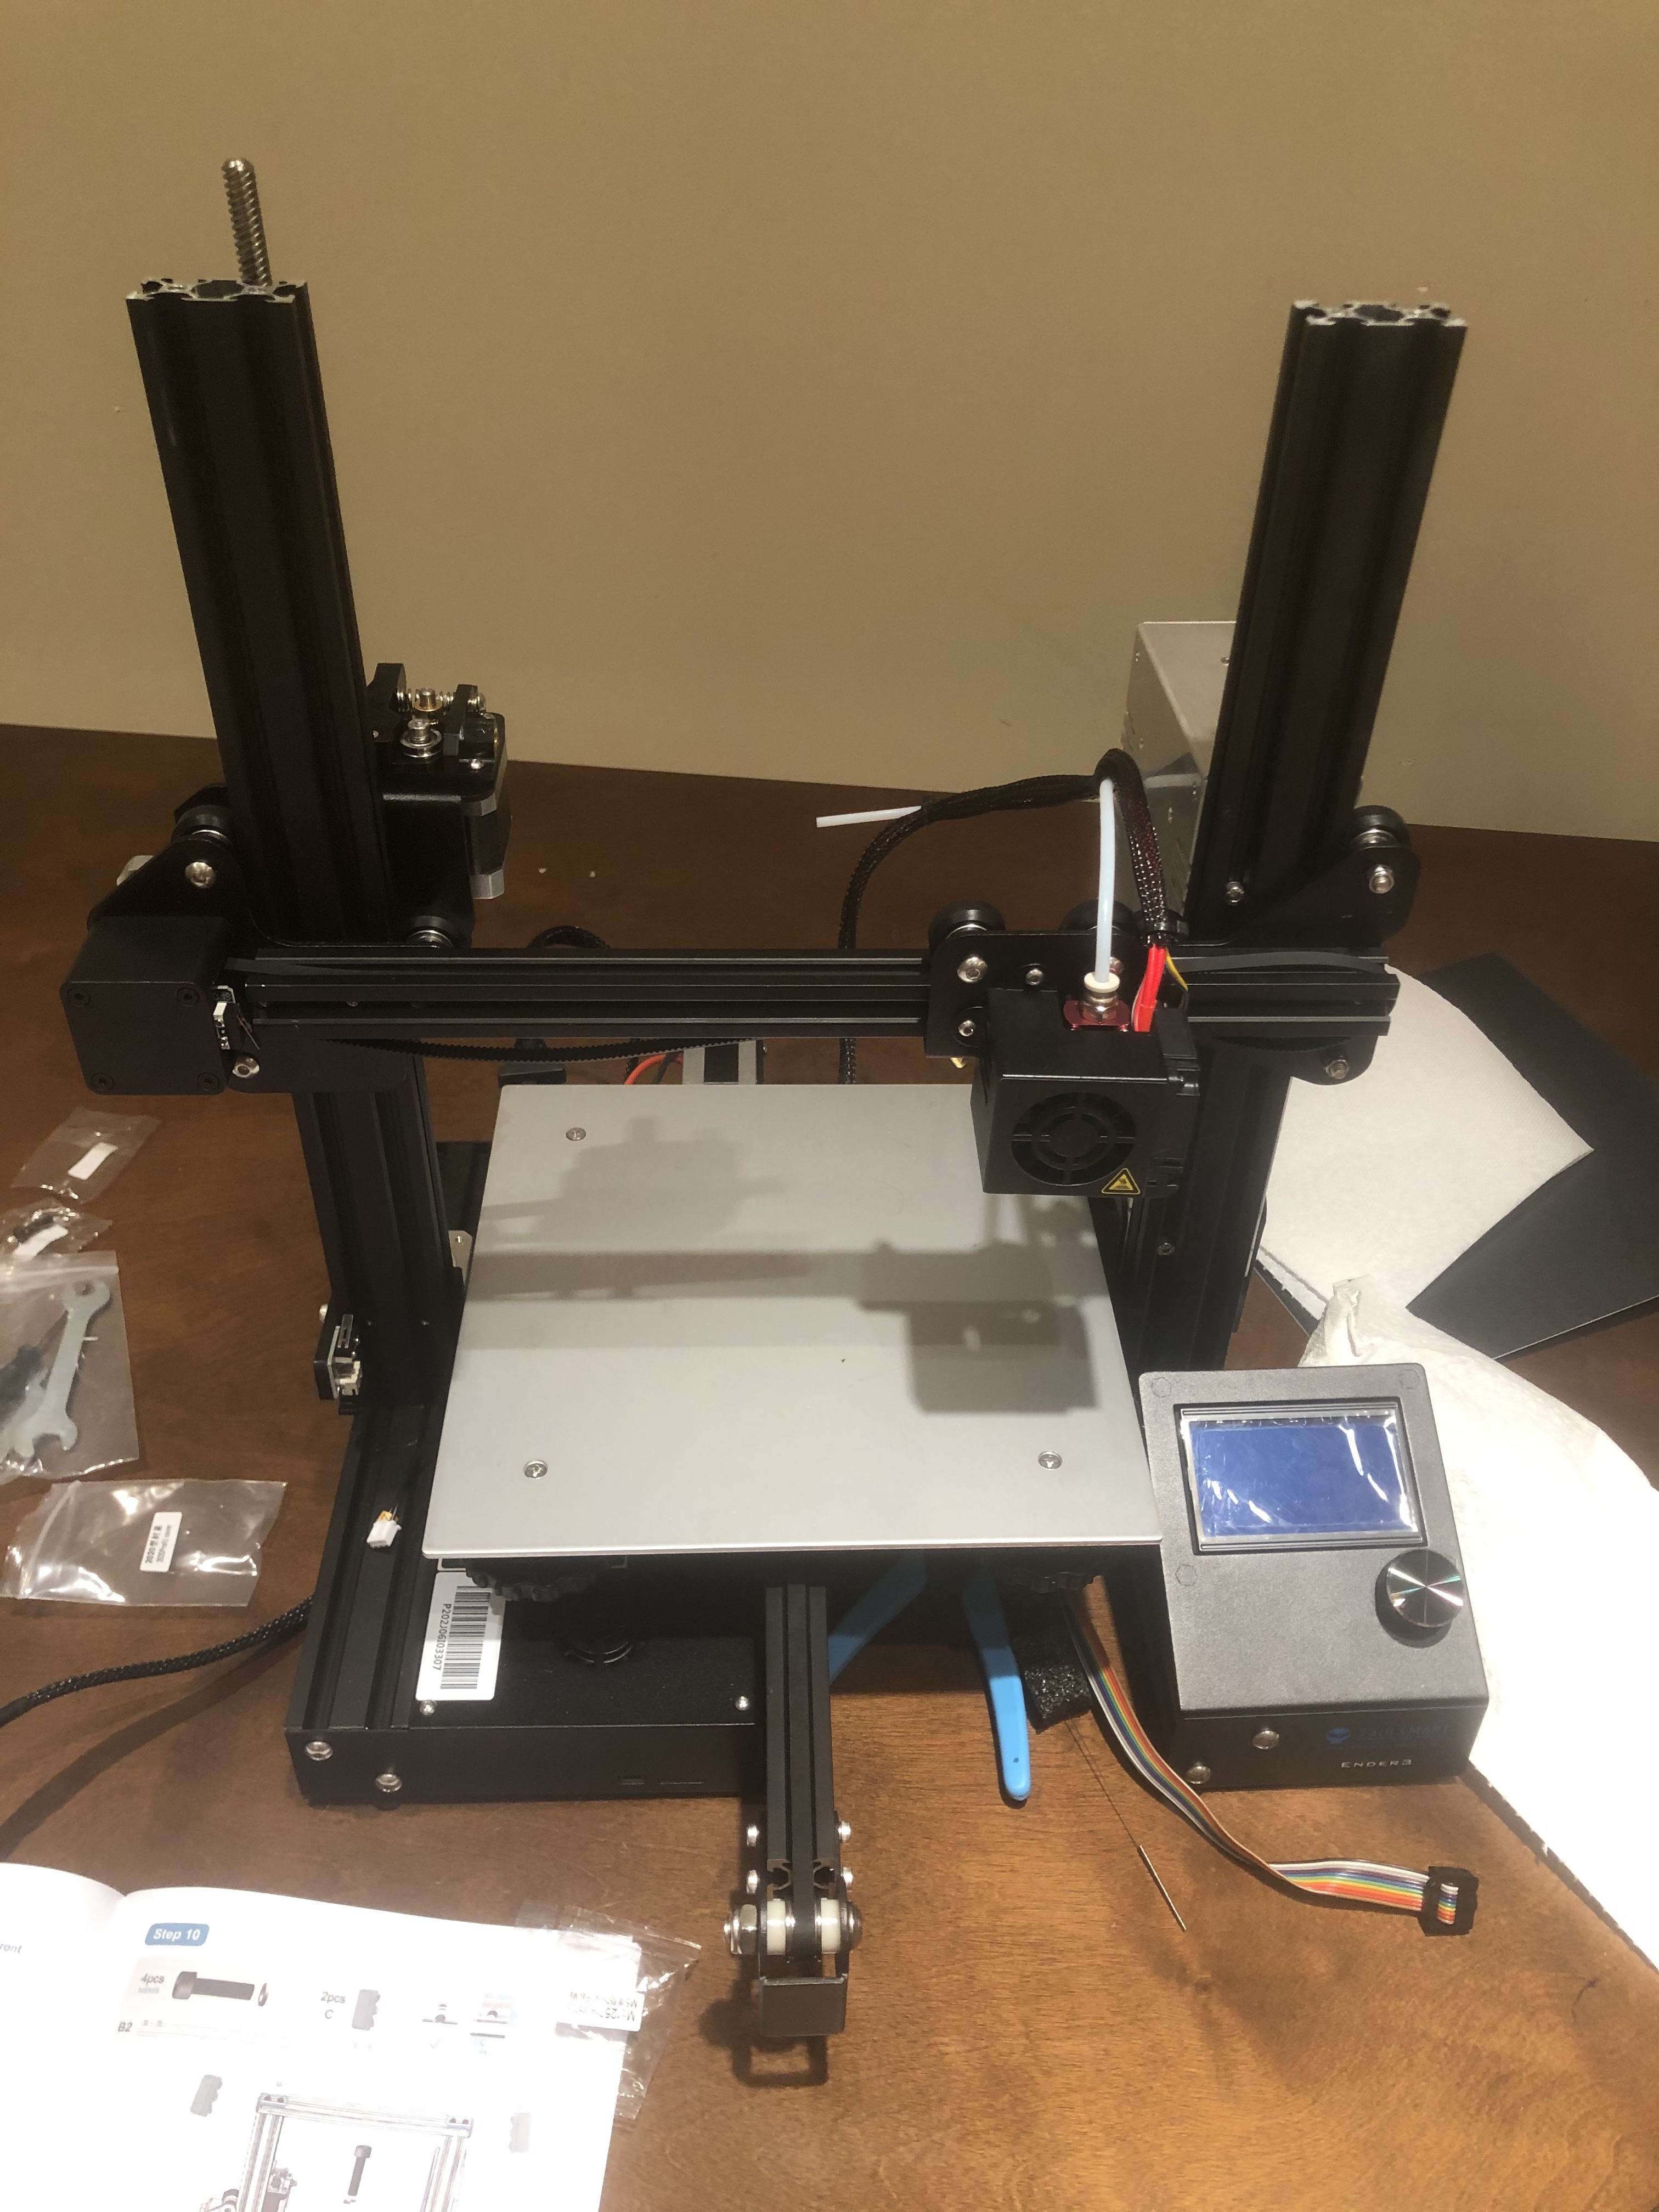
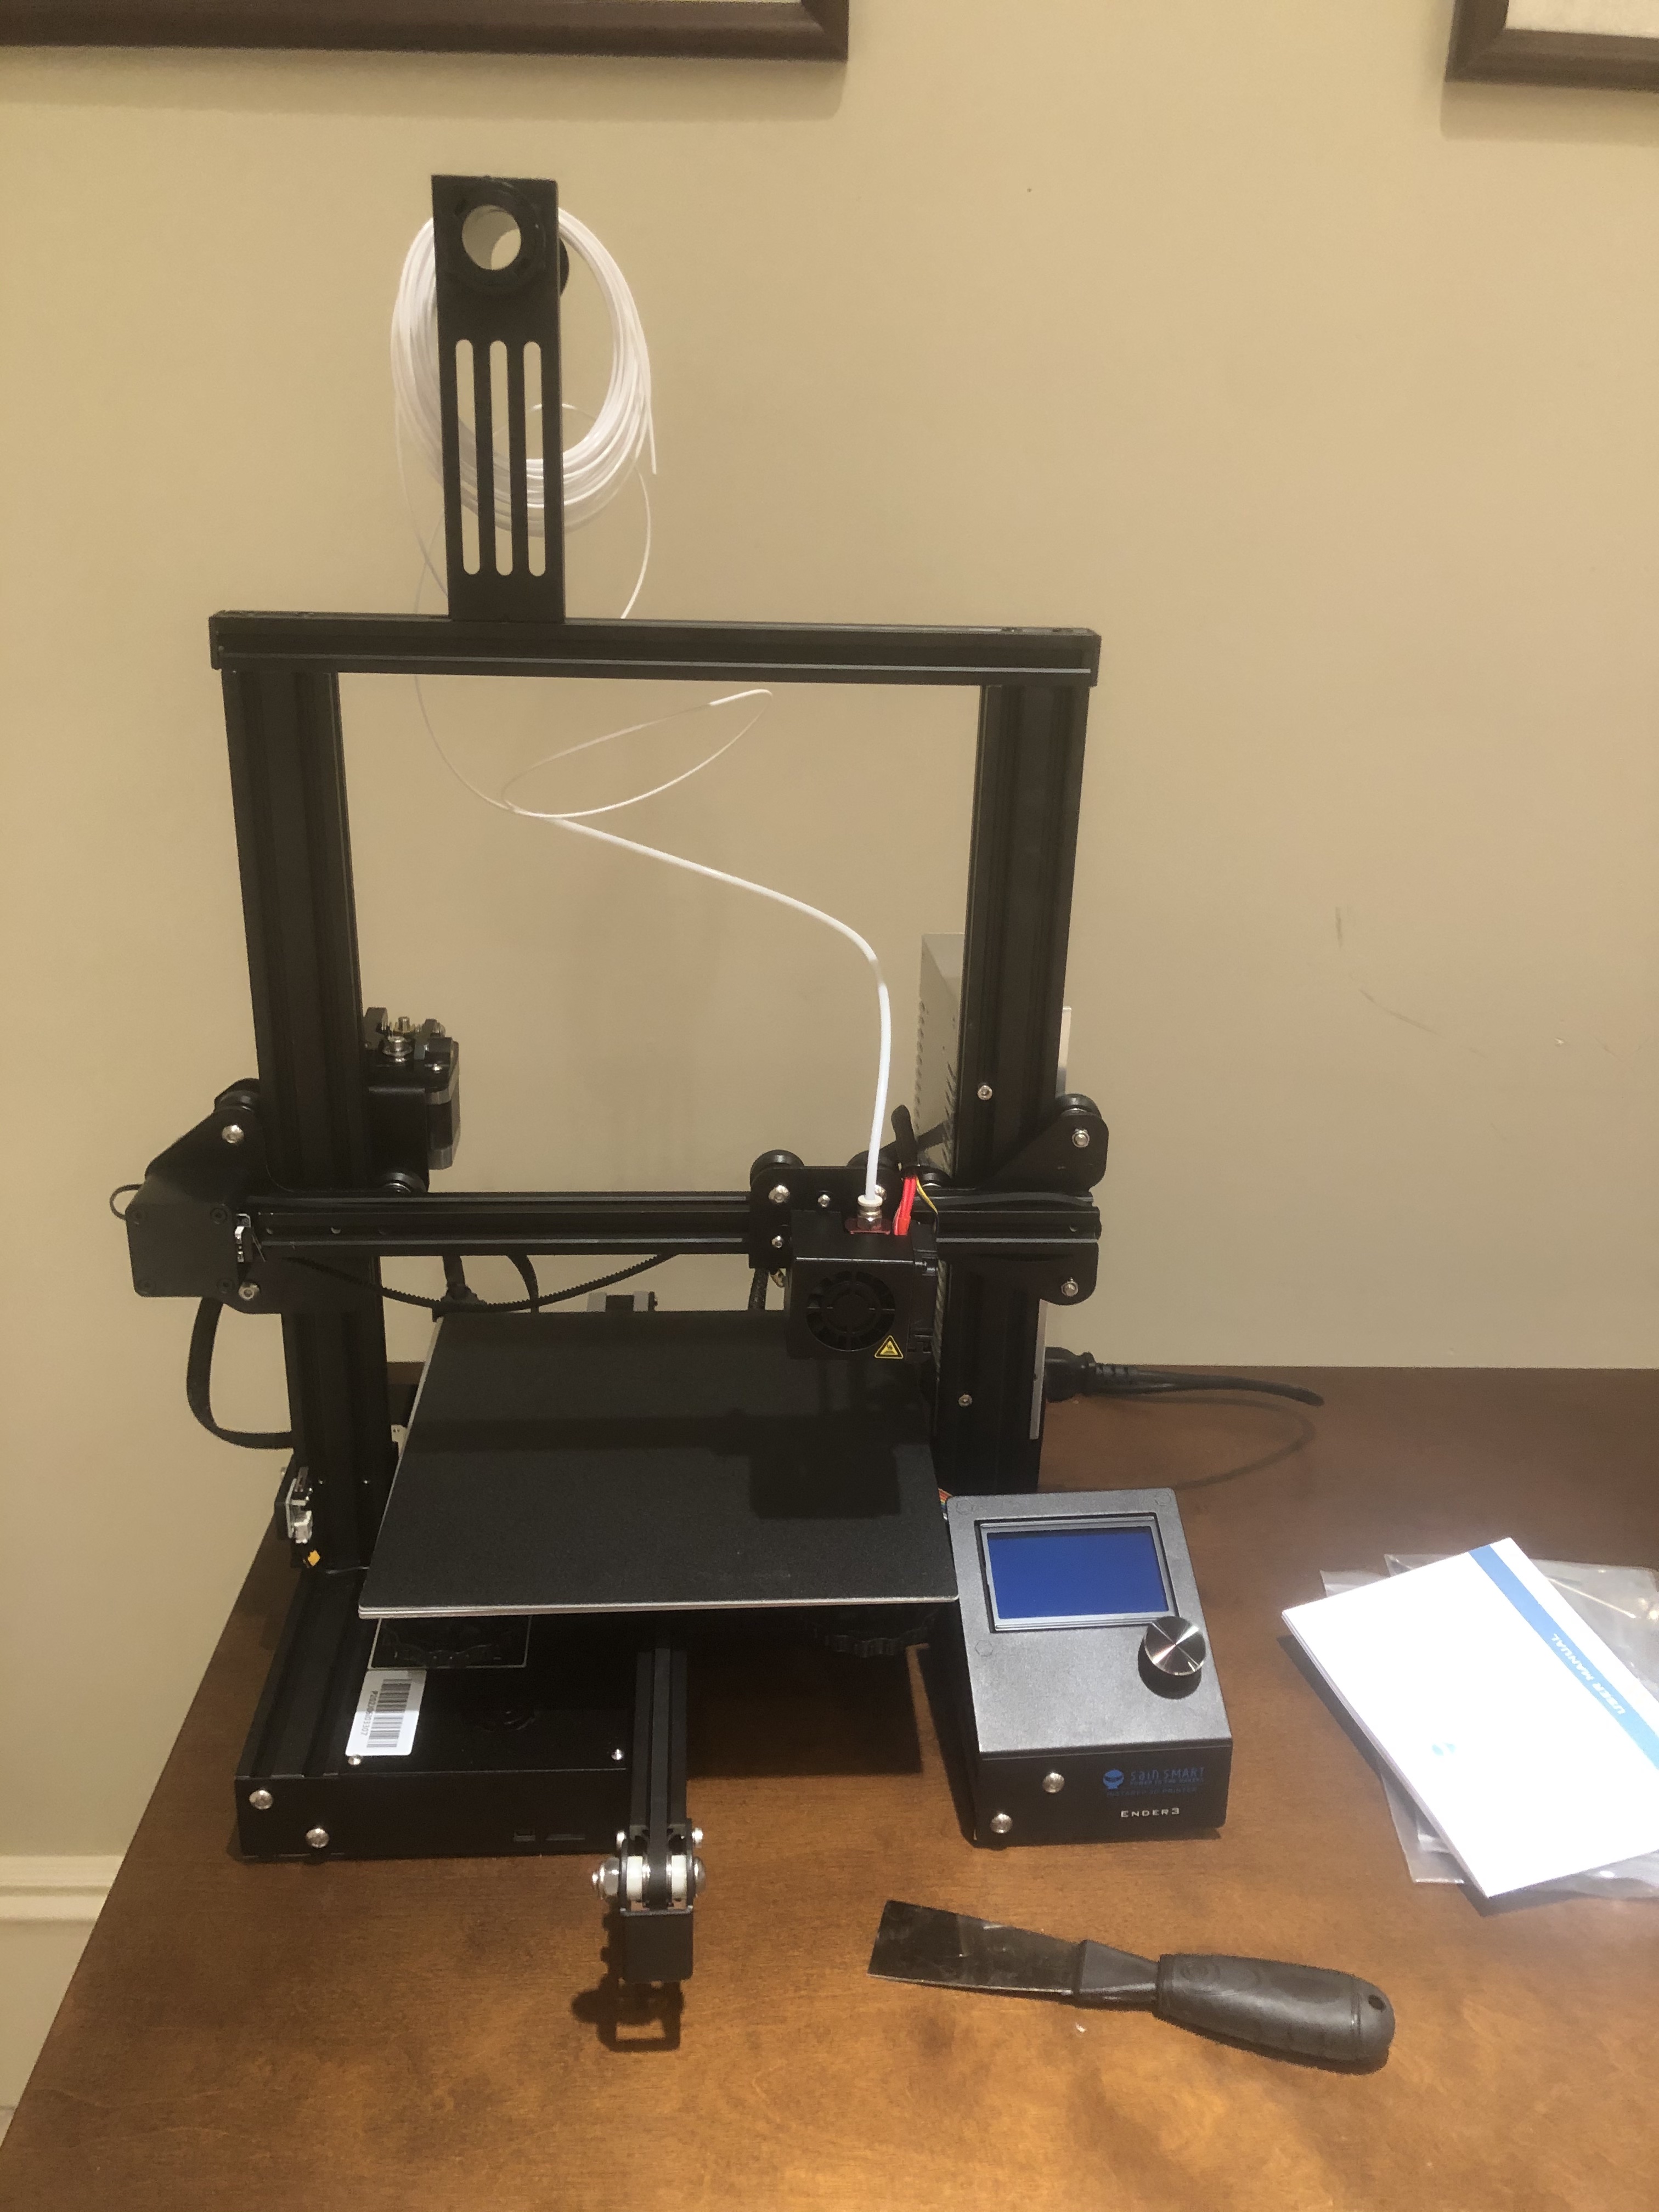
For fear that we would not return to attending school in person, Mr. Dubick ordered us each a 3D-printer and a CNC machine to have at home. We had testing one day and were done at about 1:30 so we decided to assemble both of the two machines in one afternoon. These are the photos I took while building them and also some things I made using them.
CNC machine assembling
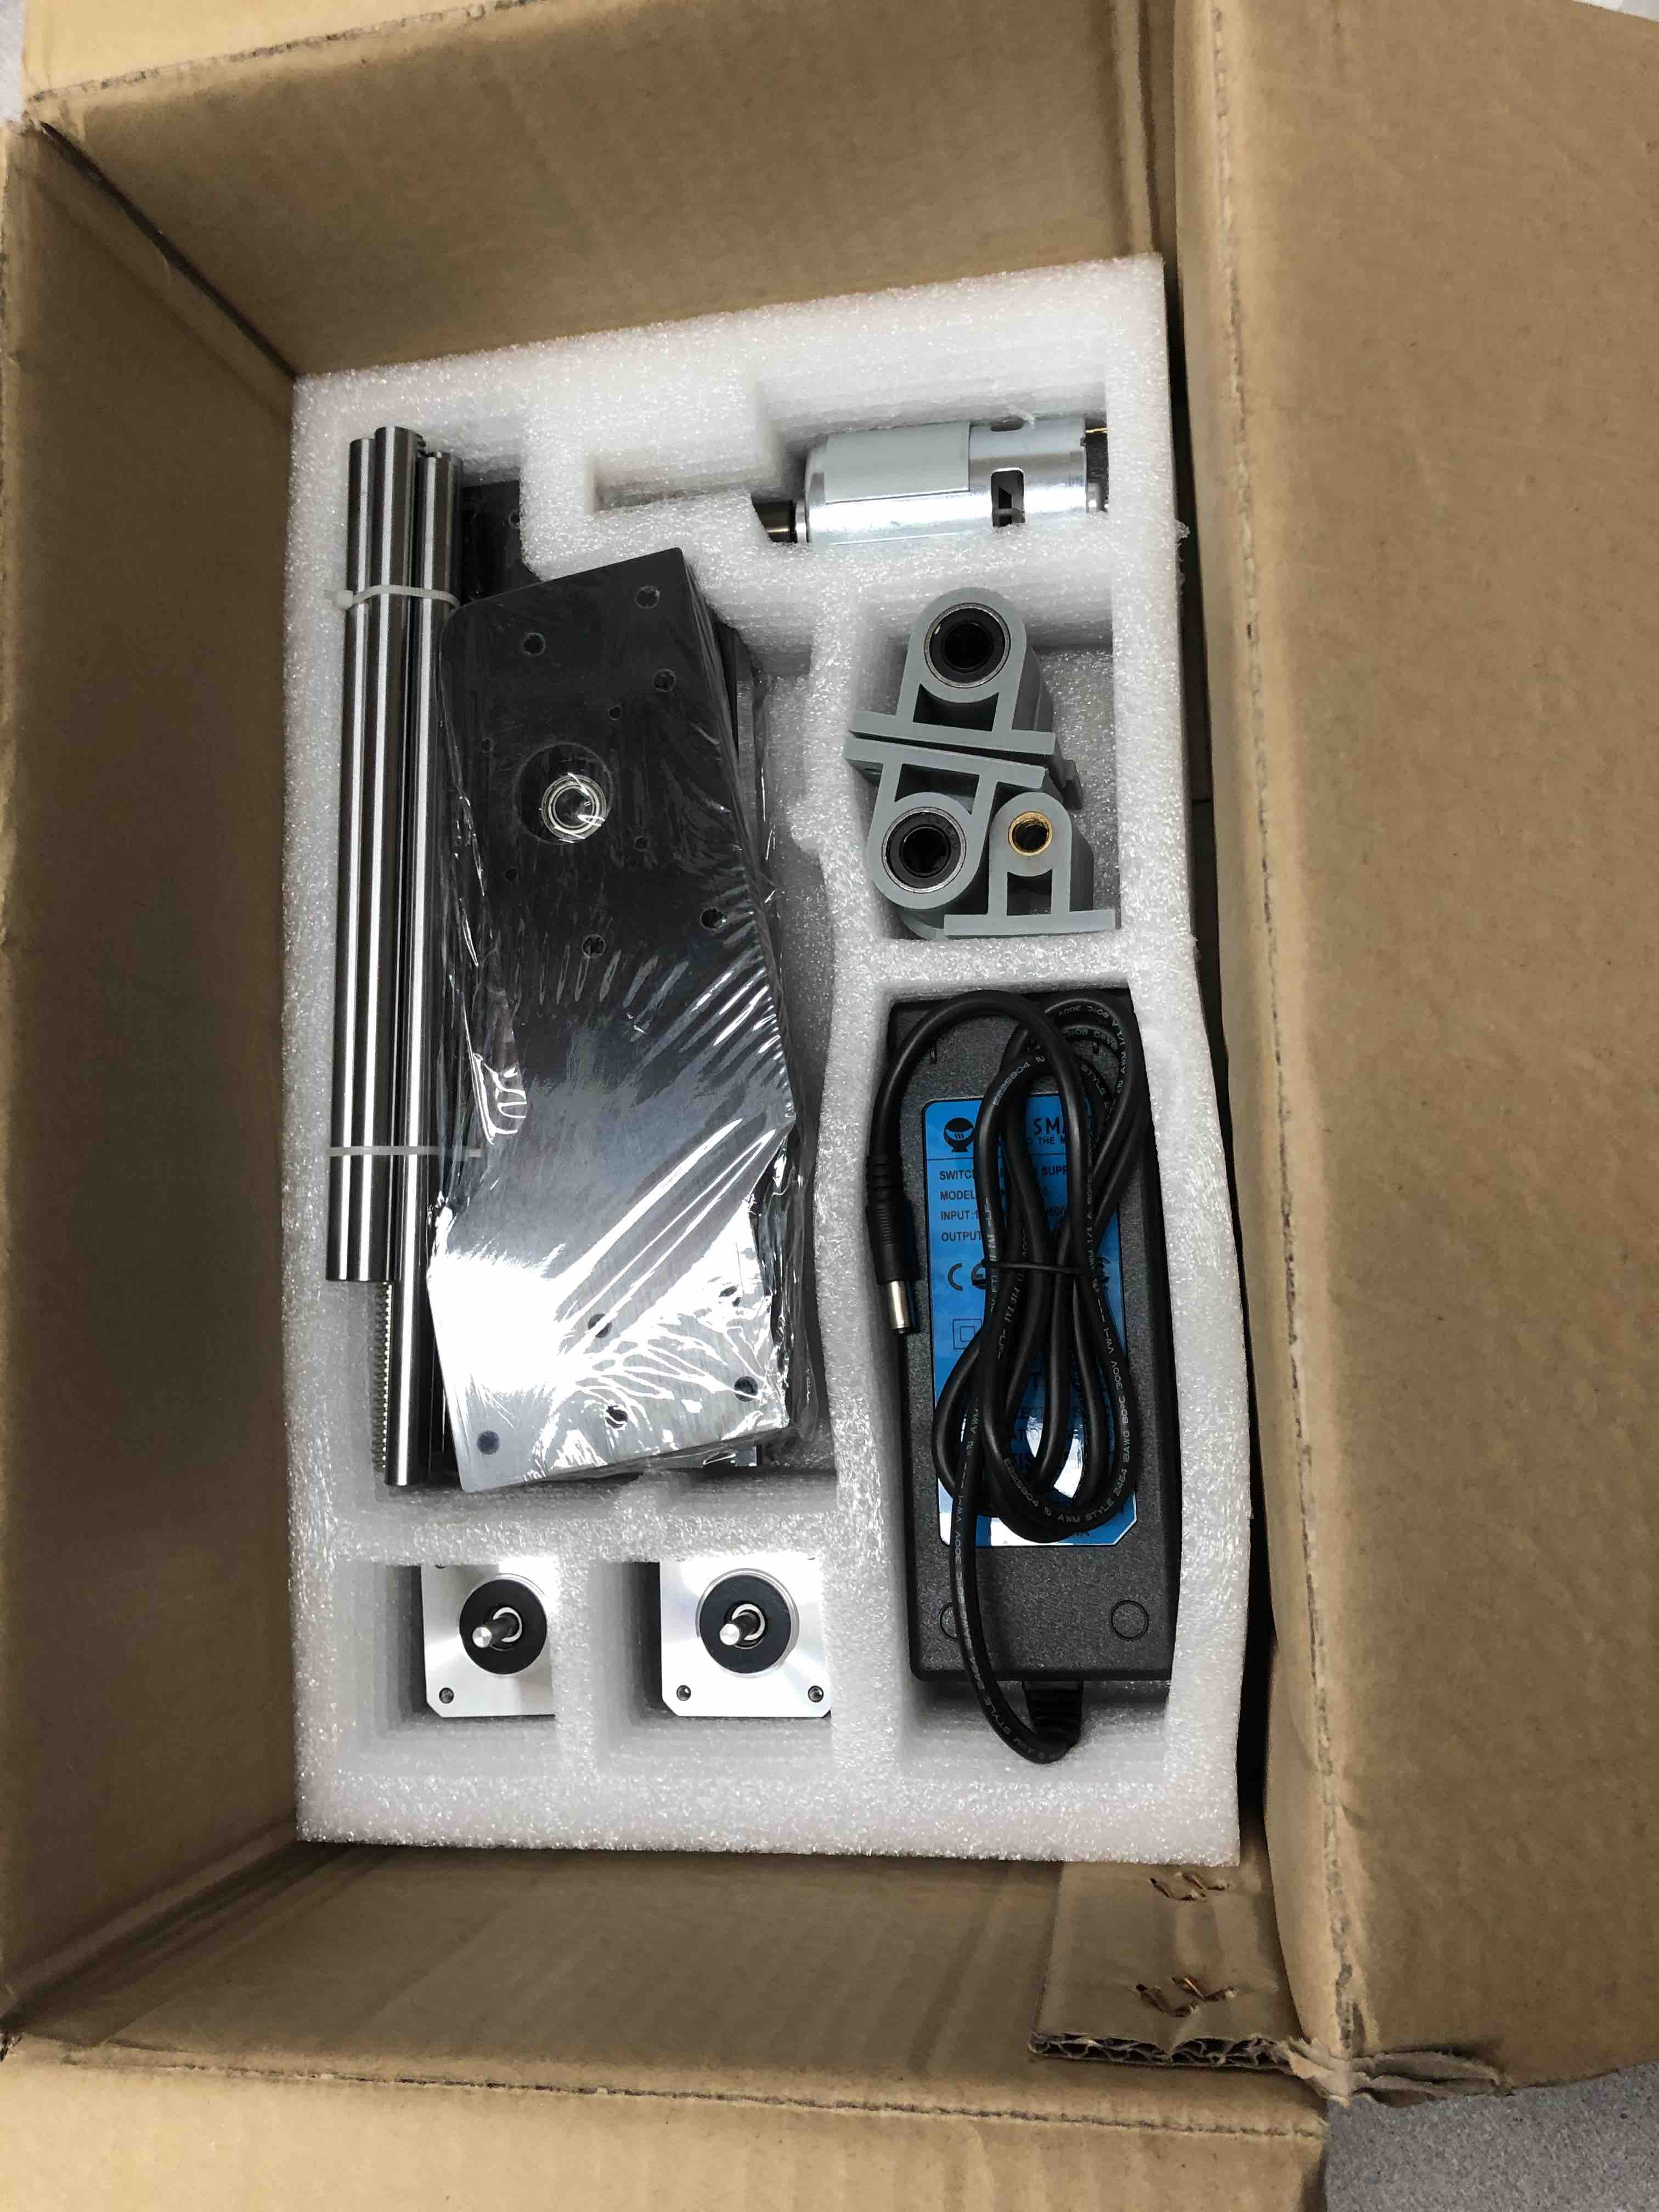

3D Printer assembling
I didn’t finish assembling them in the afternoon, so I took the machine back home and spent another night to complete the steps in instruction book, install and test the software in Mac.
Week 2 File
You could access this week’s files here: Week 2 File
And here is the local documents: