Week 16: Wildcard Week
Wildcard week! We can choose one out of few fields on which we wish to make our assigment.
I will got with composites!
Assignments for this week!
   group assignment:
      produce test coupons for your composite fabrication process(es)
   individual assignment:
      read the safety data sheet (SDS) and technical data sheet (TDS)
         for the resins that you're using
      design and fabricate a 3D mold (~ft2)
         and produce a fiber composite part in it,
         with resin infusion and compaction
Google drive with all files
Invidual Assignment
1st try
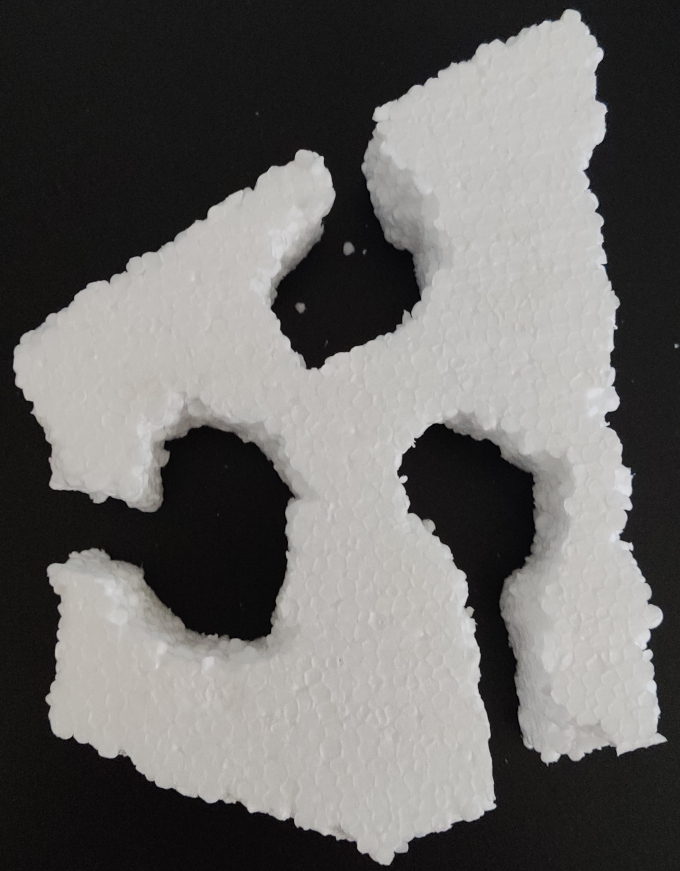
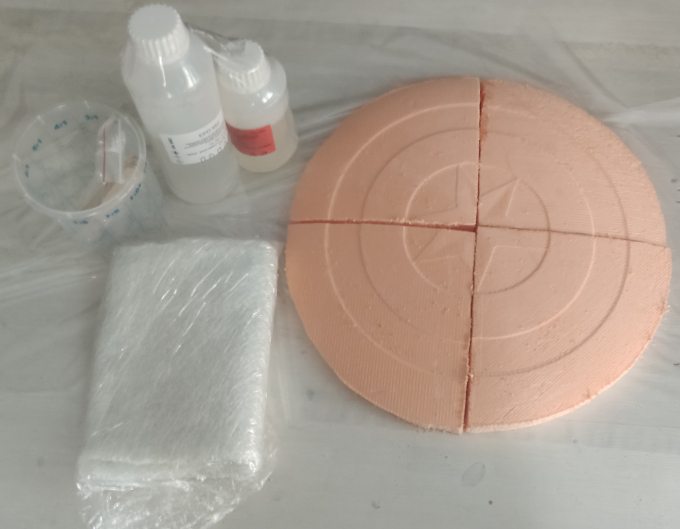
In this week my task is to create a composite with use of resin and CNC made form.I decided to use the shape that I got from my wire cutter machine that I made on Mechanical Design week.
Next let's ready some stickers on the resins...
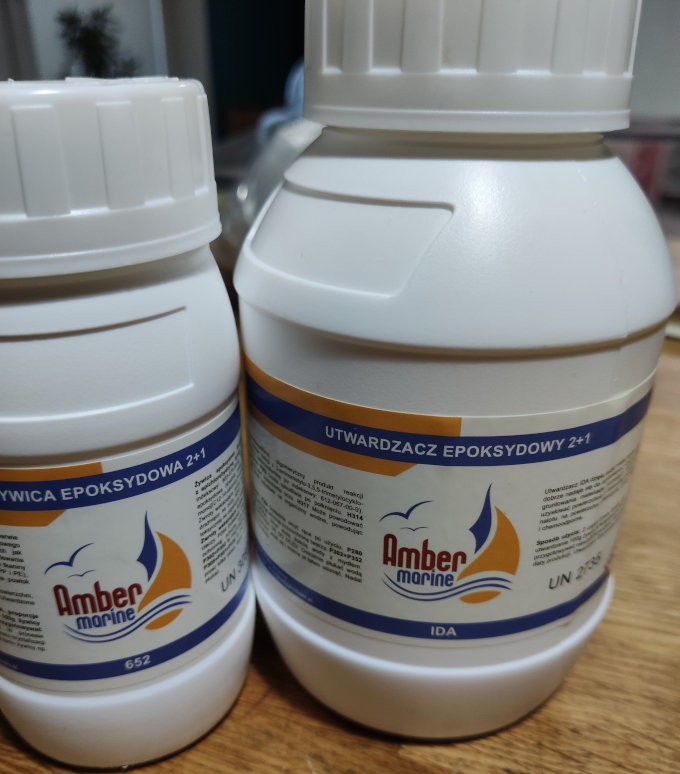
From this I know I have to mix the resin with solidifier in proportion 2:1.
Also both of the botlles contains all safety informations that I should respect during using the resin.
OK so lets mix them!
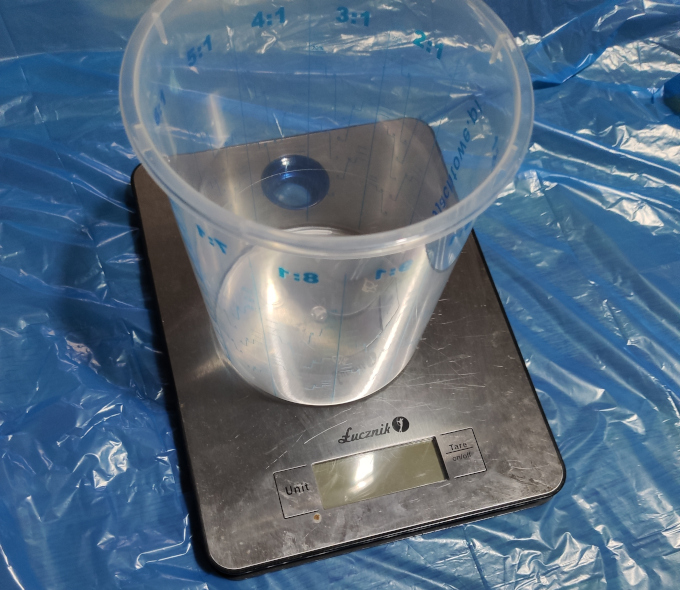
I also need to inform that I am not in the lab and I am performing this in my home in the kitchen... I putted everything on the sheet of plastic bag to make sure that my wife won't kill me!
Safety 1st! :P
As 1st I pour the resin, 100 ml.
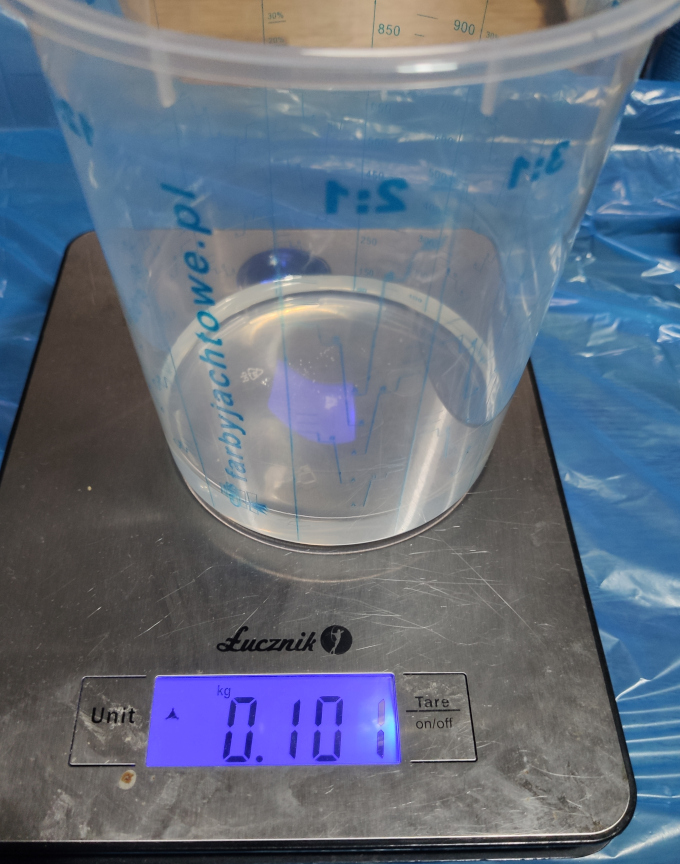
And now 50g of solidifier.
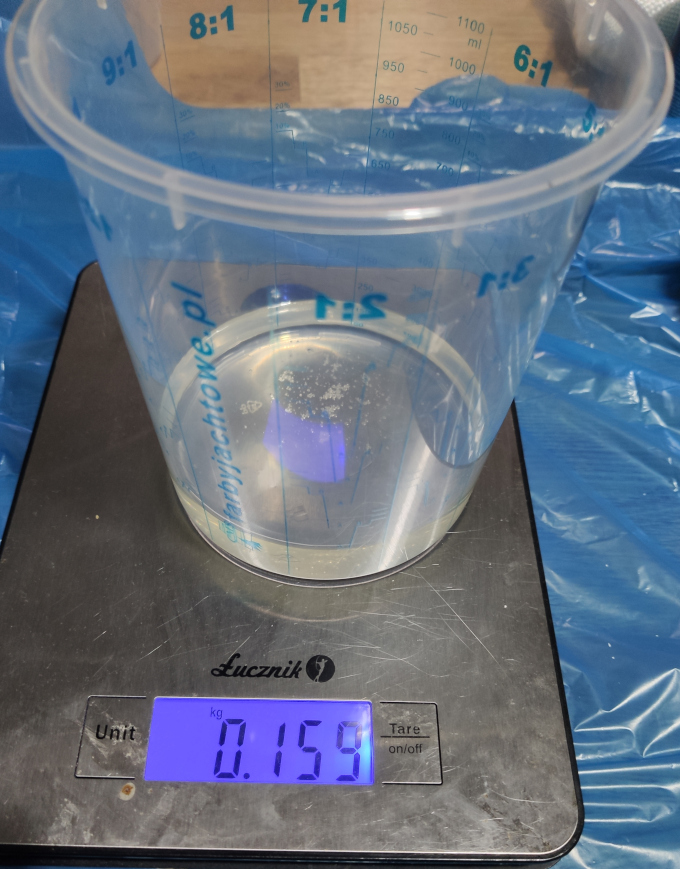
OK now manual mixing of the mixture...
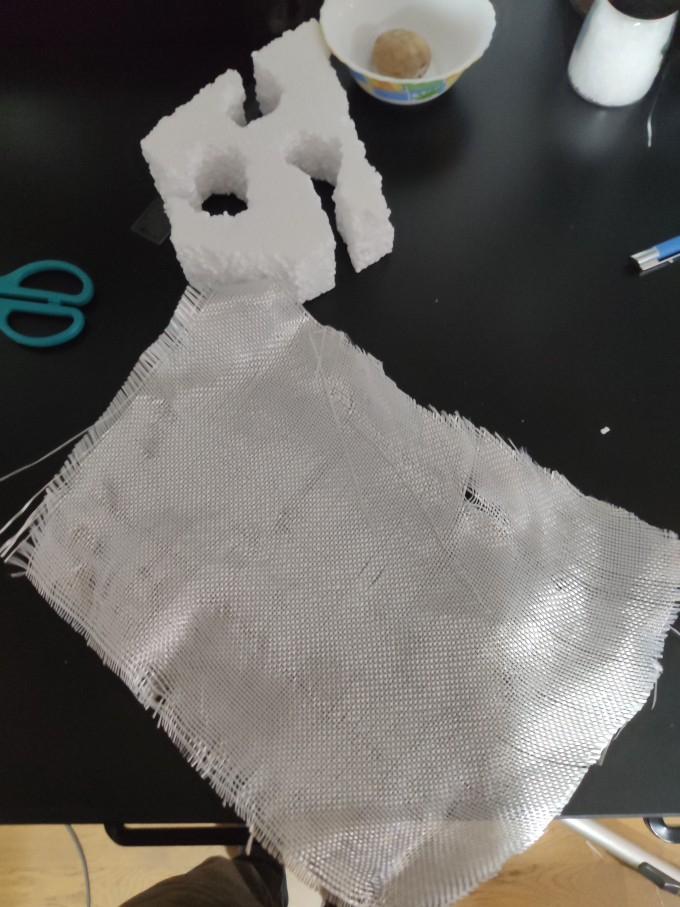
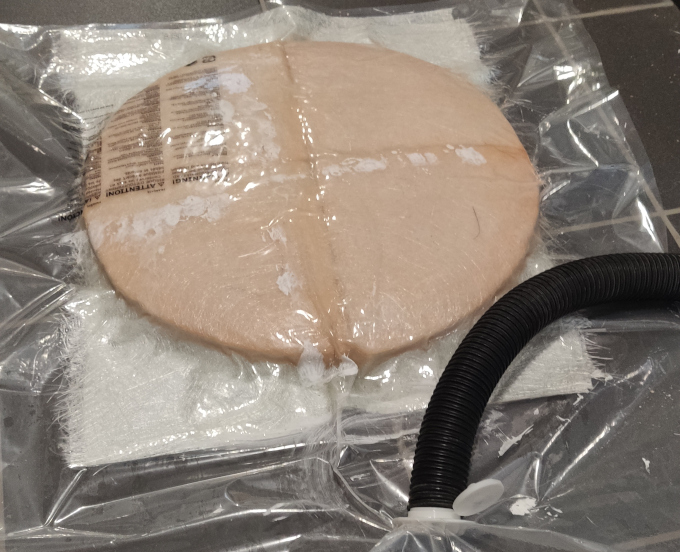
After everything is well mixed I can put the fabri on the 3D part.
As my vacuum I will use my vacuum cleaner and vacuum bags for home use... HOME DIY at it's finest :)
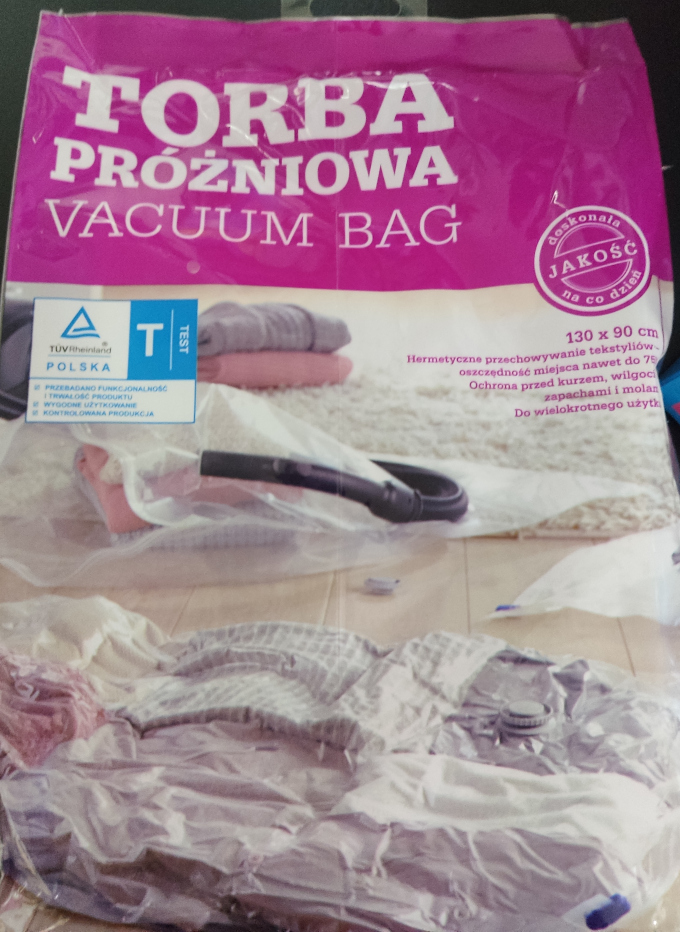
As it is said in on the bag "Quality everyday!" so I'm hoping for good resulsts!
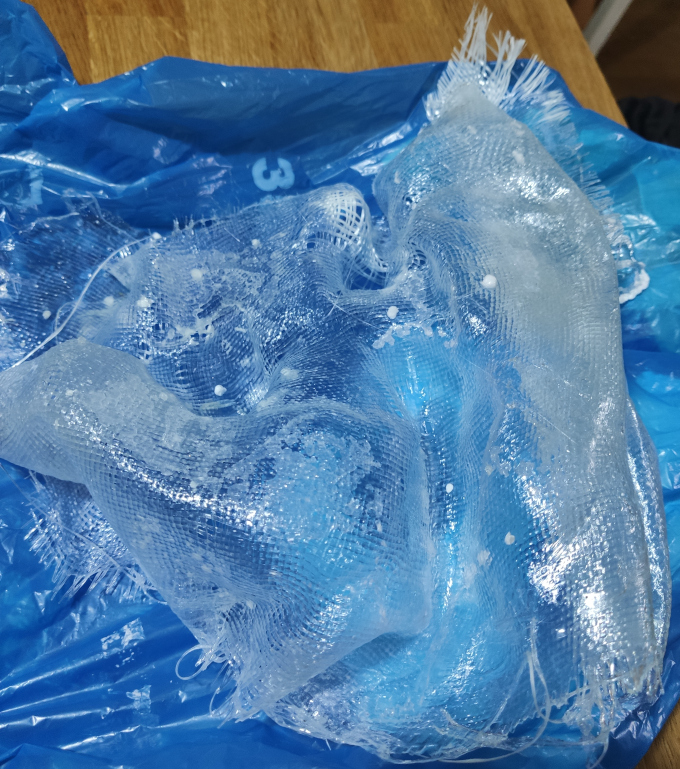
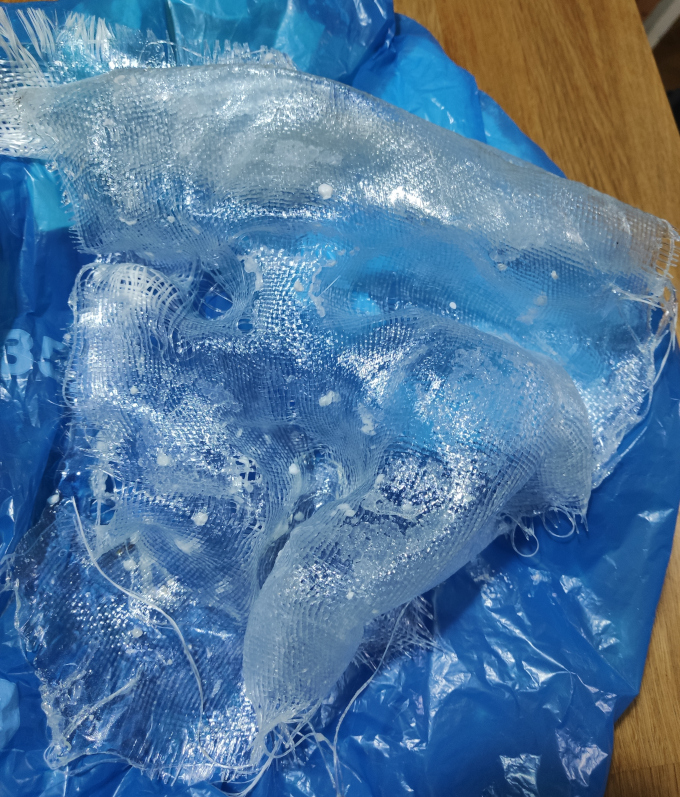
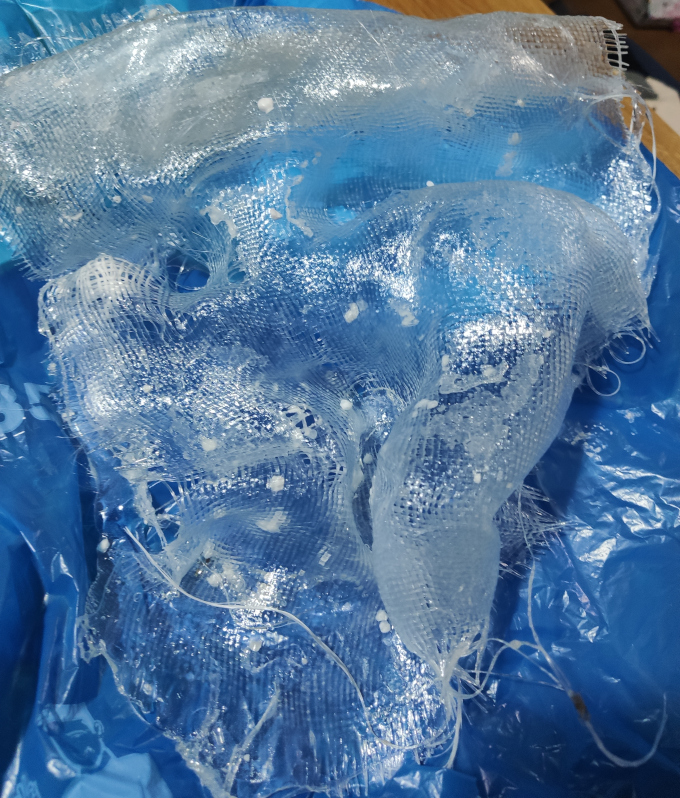
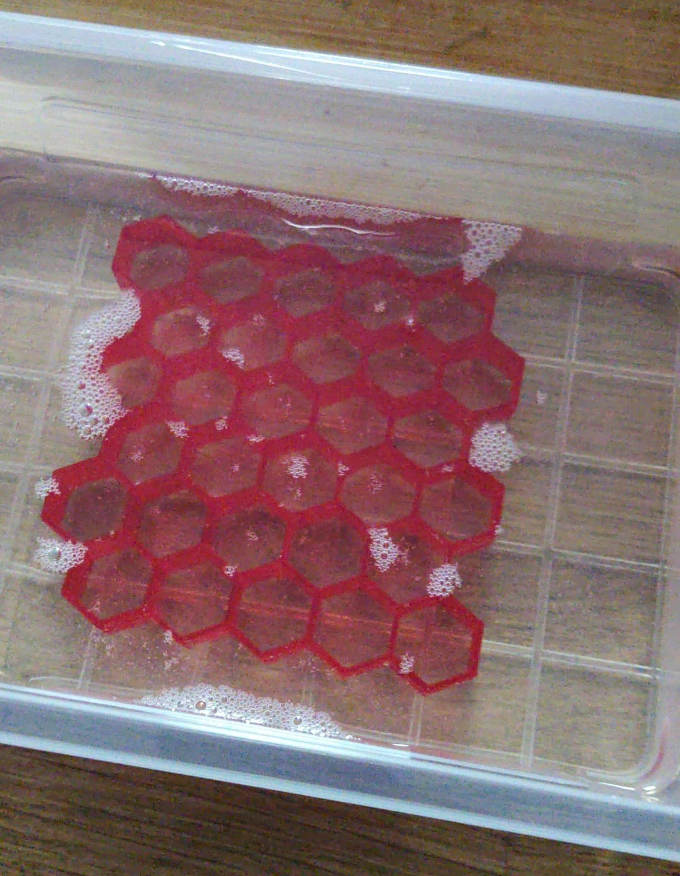
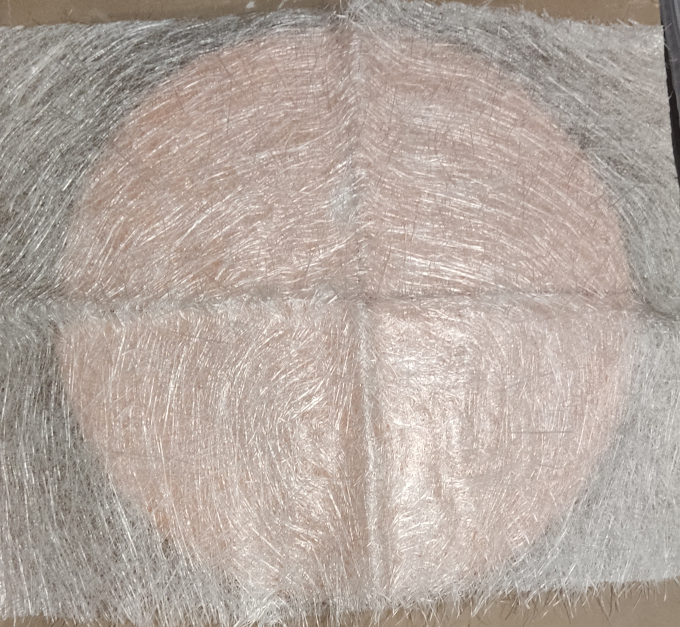
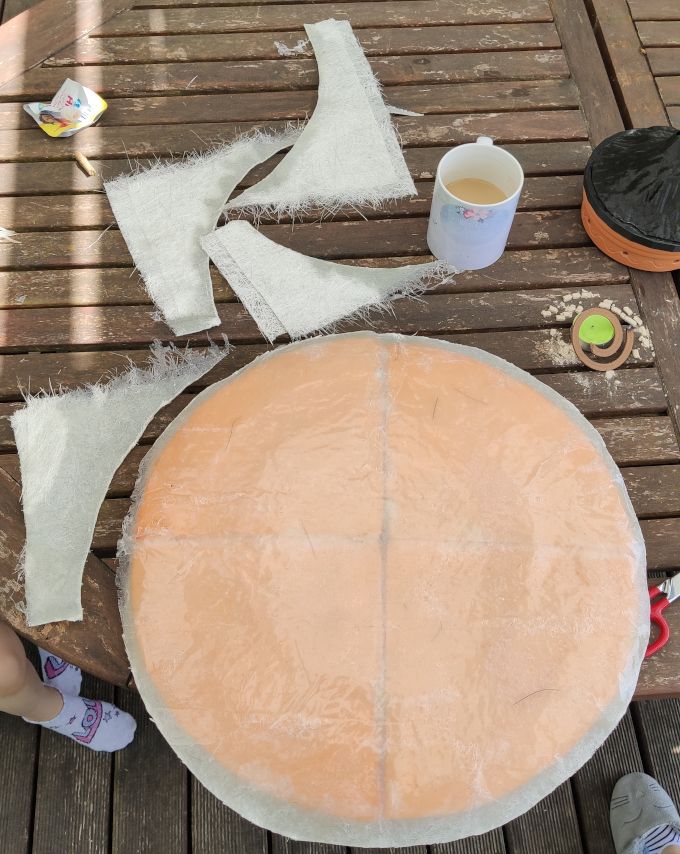
OK lets put the patern with fabric in the bag.
It is not visibile but I also added a aluminium grid under the pattern and around it till the vaccum socket so the air suction is well distributed around the pattern.
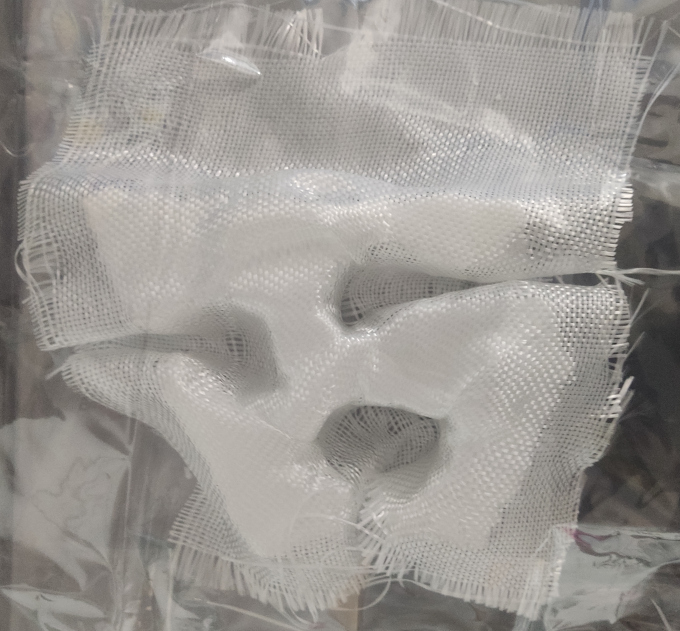
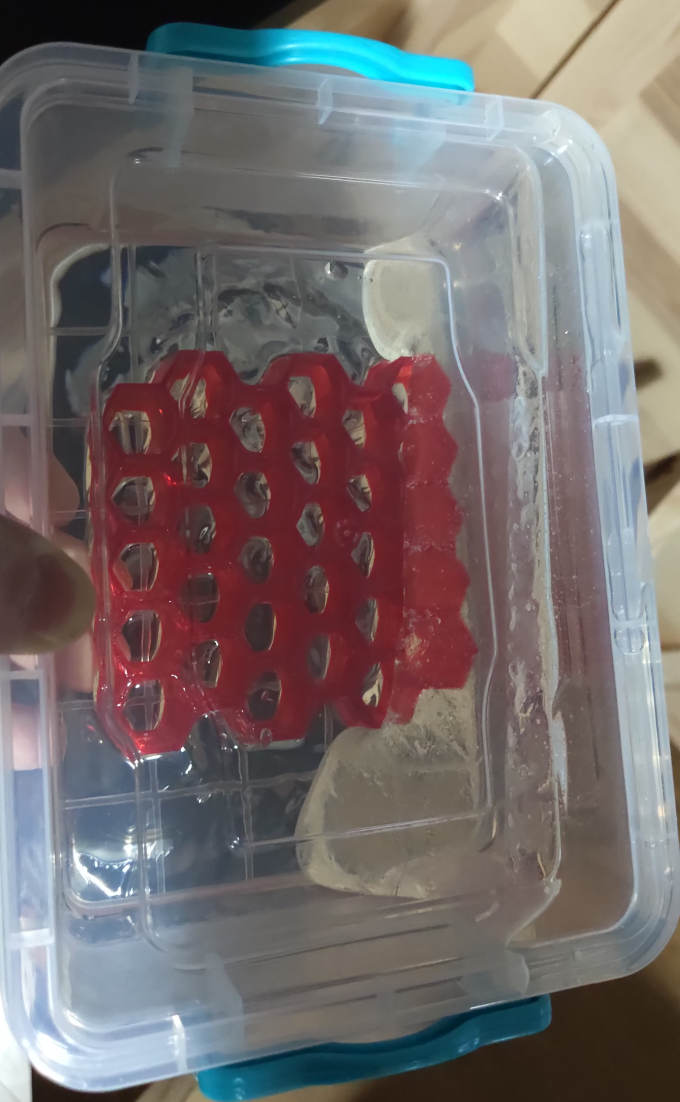
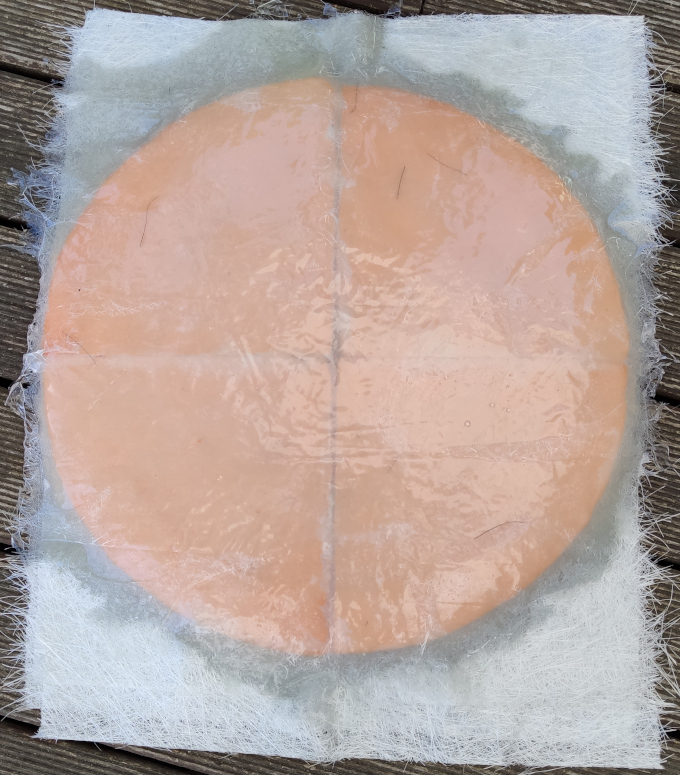
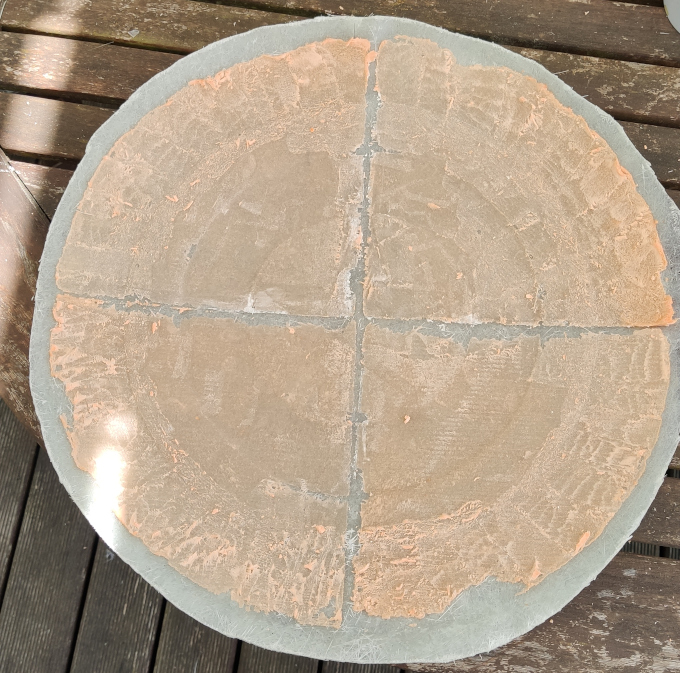
After vacuuming:

Vacuuming itself worked quite nice but...
I left the resin to set for few days but unfortunately it did not. :(
After short consultation with my FabAcademy mate, Maciek, we concluded that cutting the air from the resin completly might disturb the solidification.
I have to try again but this time I will take the pattern out from the bag after 15-20 minutes.
2nd try
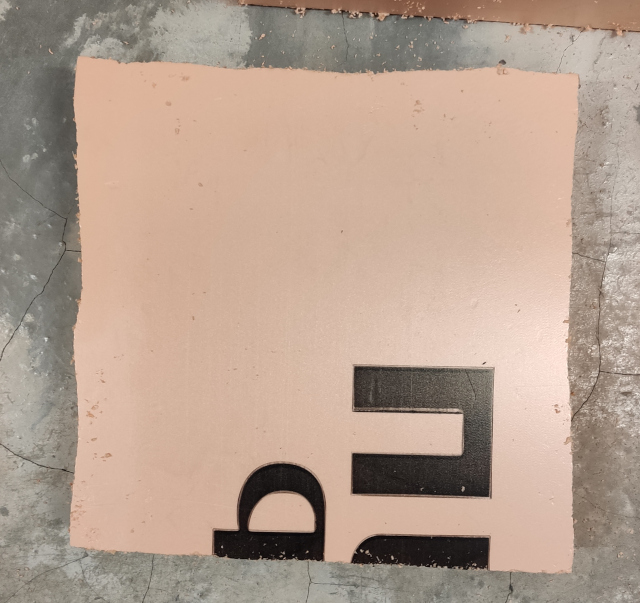
Final results of the second try: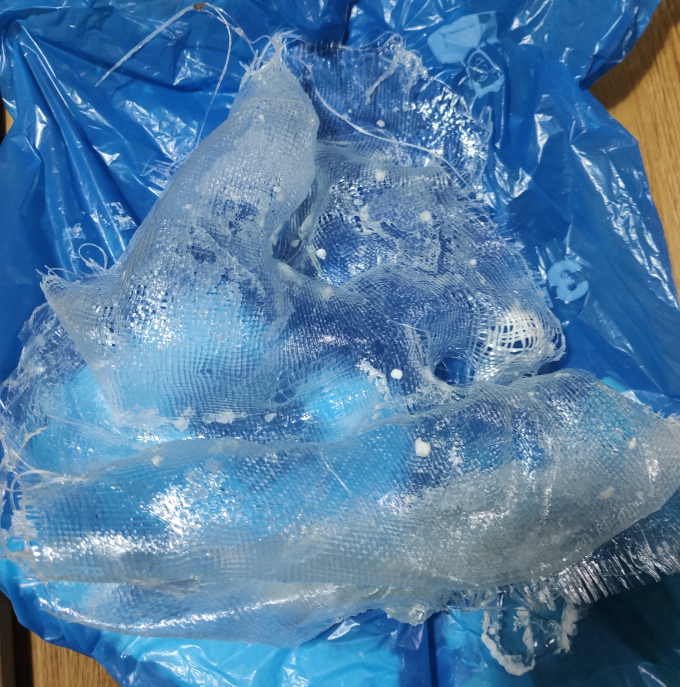
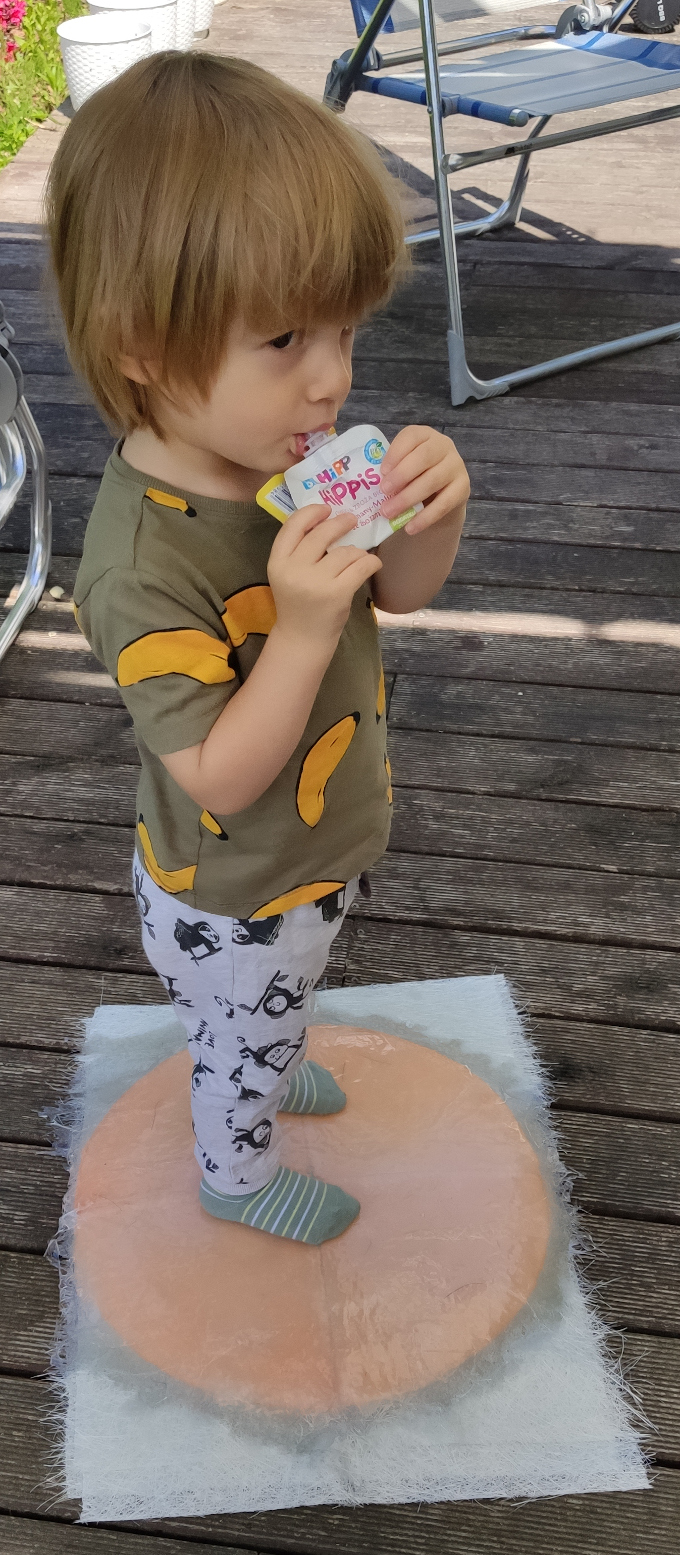
The fabric holds the shape of the pattern and I am quite happy with it. One thing that I could do better next time is to put more layers of fabric or use more dense fibers.
Reason of 1s failute
After this assigment I got a bit into resins so I decided to make some more. Just for fun, not as an assigment. :)Also I have learned that the lack of air should not be a reason for resin to not to set at all.
I printed a hexagonal shape of of PETG and poured the right mixture onto it. (I triple checked the values!).
The resin did not set even after three days!
But I made last test!
I had two separate bottles with resin so I tought that maybe something is wrong with one of them. For the PETG print I used one of them so I decided to use other one on something else. Due to the lack of specimen I poured the mixture to the simple plastic cup and it worked perfectly!
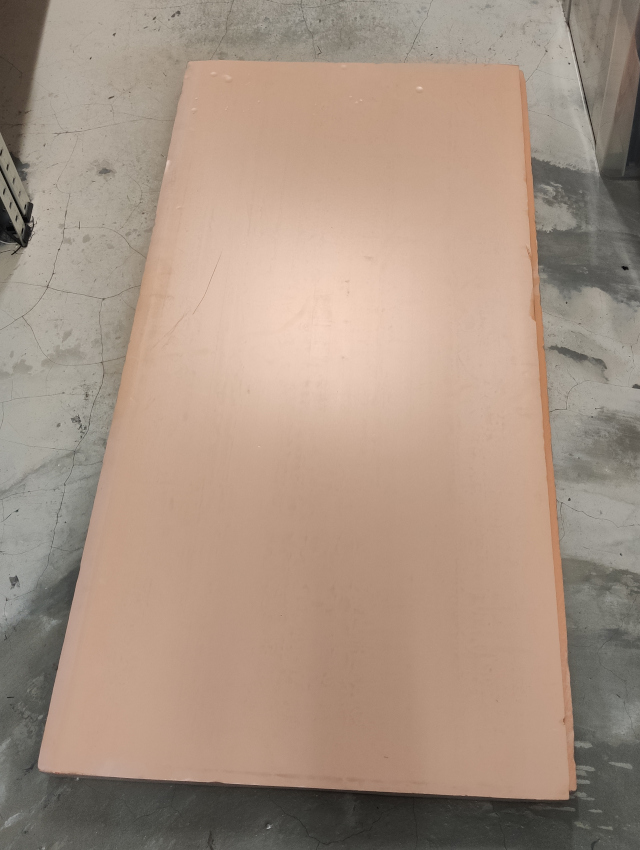
Here is the set resin already taken out:
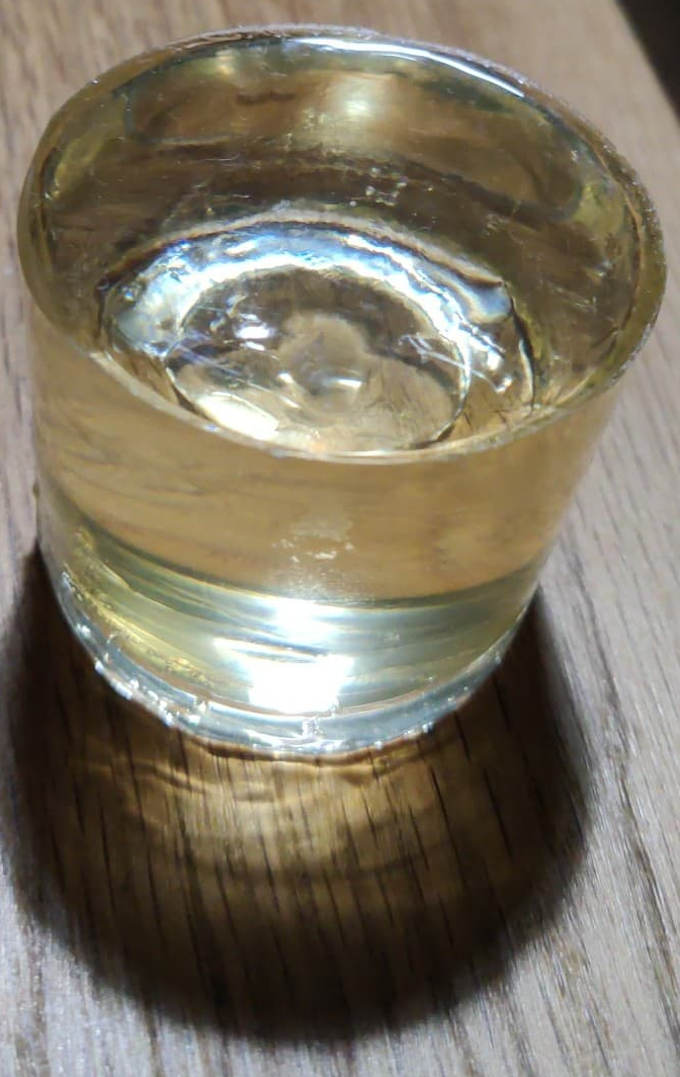
It looks like the one of the resins must have been faulty!
Another Attempt - Captain America Shield!
Since my 1st attempt was a failure I had to make it again... But this time with better preparation.I started with the 3D model. For a long time I had in my mind making a real size Captain America Shield!
I searched for got STL and found this one: Thingiverse link
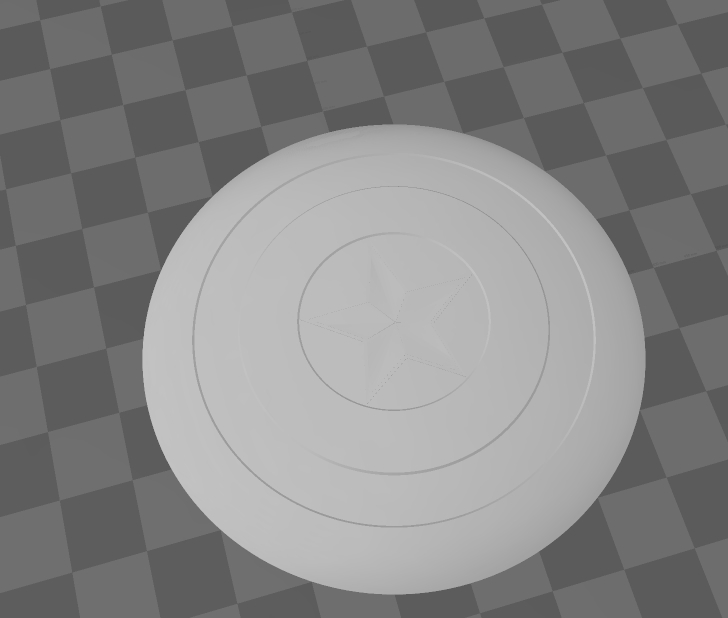
Making the real size shield might be hard so I decided to go small scale 1st. I will do a half of the size at 1st shoot then I will go big.
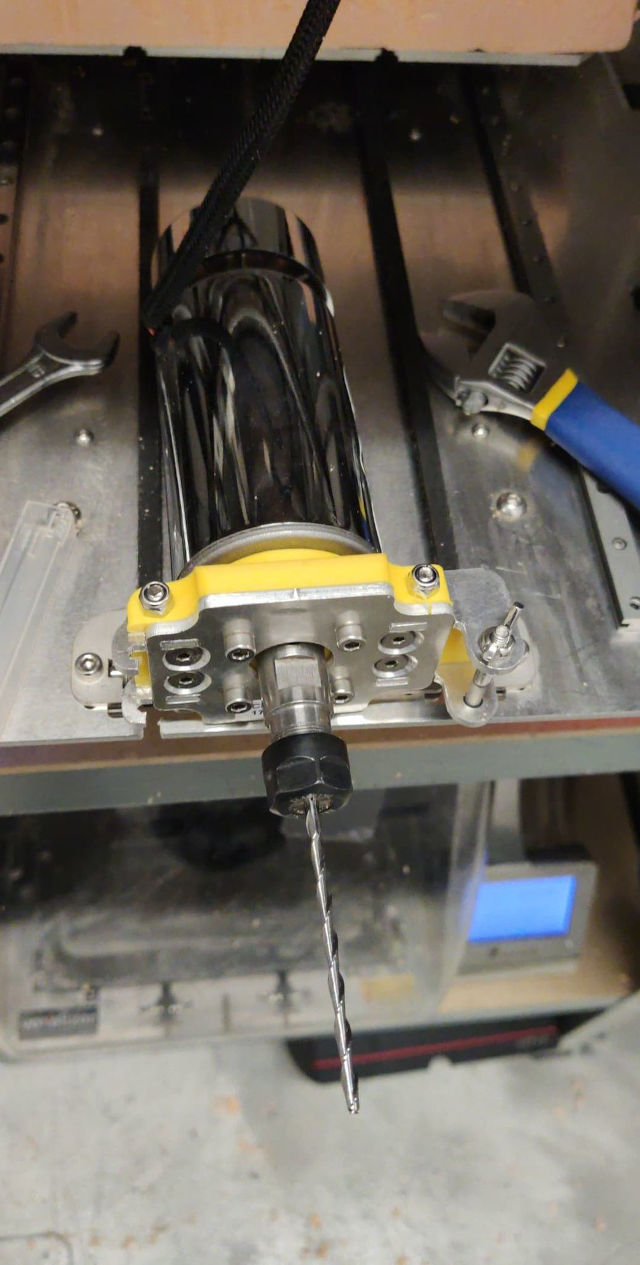
Since I am away from my lab I will work on the hardware that my company makes. It is Zmorph Multitool machine. Size of work area of Zmorph VX is 235x250x85 mm. First thing that I did, was to cut the model into four equal pieces and scaled them to mach the size of the work area of my Zmorph. I used Windows build-in 3D Builder software for that.
To gerate the cnc milling paths I could use the dedicated software called Voxelizer for the Zmorph machines but I am more comfortable with Fusion 360 - Manufacture mode, wich work fine with this machine too.
1st step was to upload the models and prepare the cnc milling paths just like in the cnc week. Each part will be cut in the styrodur foam. It is cheap, have good machinability and makes a good casts :)
I bouth 1 sheet of styrodur foam from local construction store.
Now I need to cut it... I cutted it into pieces that maches the work area of Zmorph.
And I have to mount it on the machines CNC aluminium bed, I will use double sided tape for that.
Now I can mount the CNC Bed on the machine and run the gcode made in Fusion 360.
I have bought myself a 52 mm miller to mill this foam.
Beginning of milling:
In the same way I milled four quaters. As you might see on the next photo, I have experimented a bit with settings. After 1st two quaters I realised that I can just cut only the shape I need and even on one roughing stepdown. That realy shortened the time for each part. From 4 hours into 1h and 20 minutes!!!
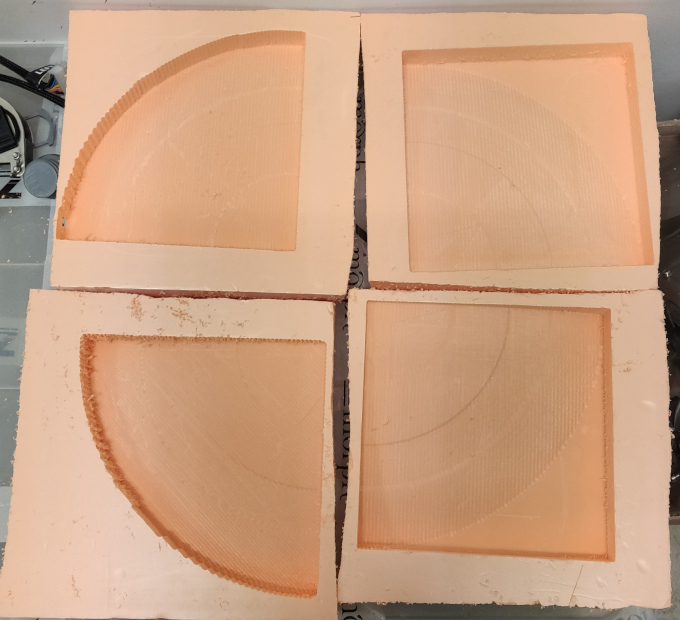
I need to cut out the material I do not need.
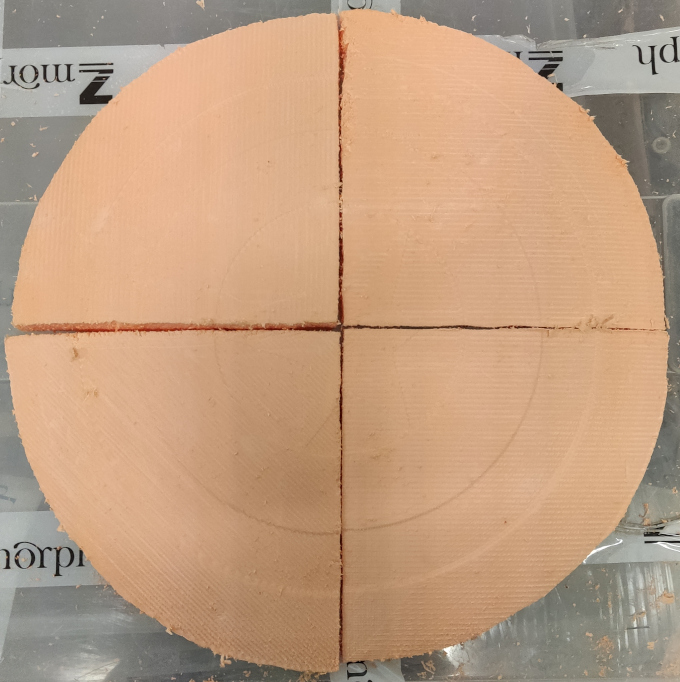
Glueing the parts togather. I did not put any attention how the start is placed since I realised it will be hardly visible on the top layer of the cast.
Prepering all the stuff before work:
And it is time to lay some glass-fiber layers :)
My method is to put a cutted sheet of glassfiber, lay gently a layer of resin on the top of the glassfiber sheet with paint brush. I will lay 3 layers like that.
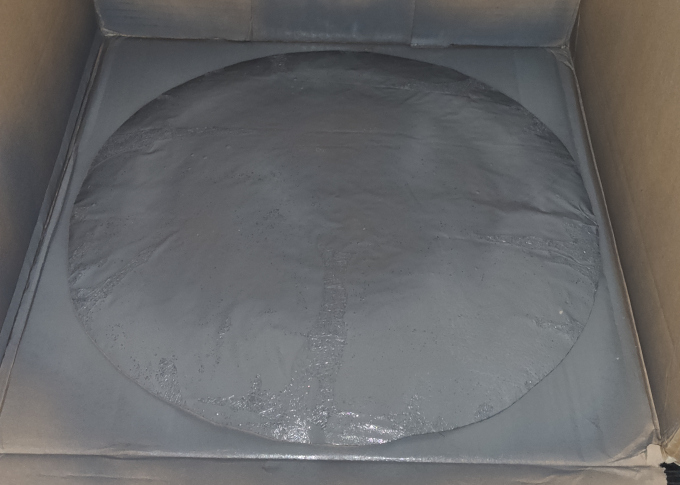
And after laying all 3 layers and covering them with resin, the mold goes into a bag.
I left it like that for 24h.
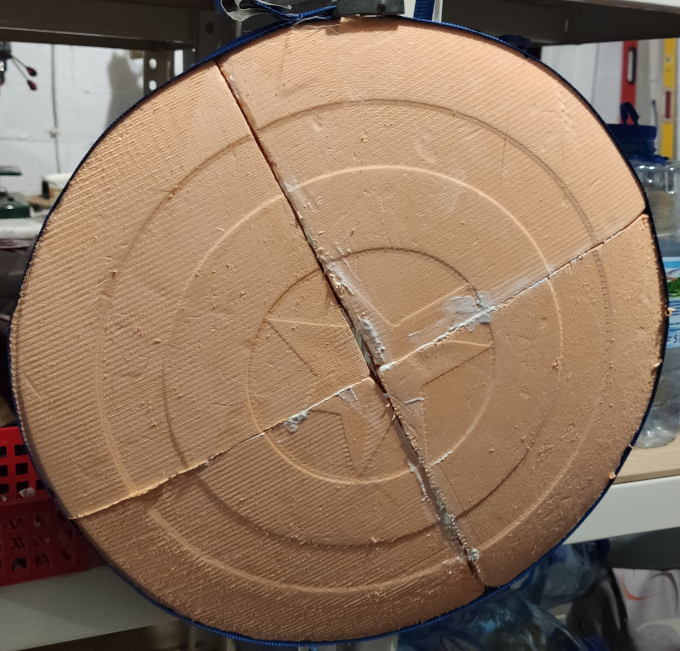
After taking it out:
And Banana for scale:
Now using strong and sharp scissors I cutted out the extra material that I do not need and I also removed the styrodur form from the bottom.
The foam welded a bit , due to epoxy, with the resin but I was able to take it off.
Next steps are putting primer, sanding, putting primer, sanding and finally paiting.
But for now I can check how it flies :)
For now I have put already 1st layer of filler on the shield. It looks like it will need way more! After many cycles of sanding and filling I will paint it and fight crime!
Group Assignment
The group assigment for this week was to "Produce test coupons for your composite fabrication process(es) and test the characteristics of different composites."We are going to test: Glass Fiber, Jute and Carbon Fiber.
The epoxy we will use is EPIDIAN 652, the same one that we used in our Invidual project with Maciek from my Lab.
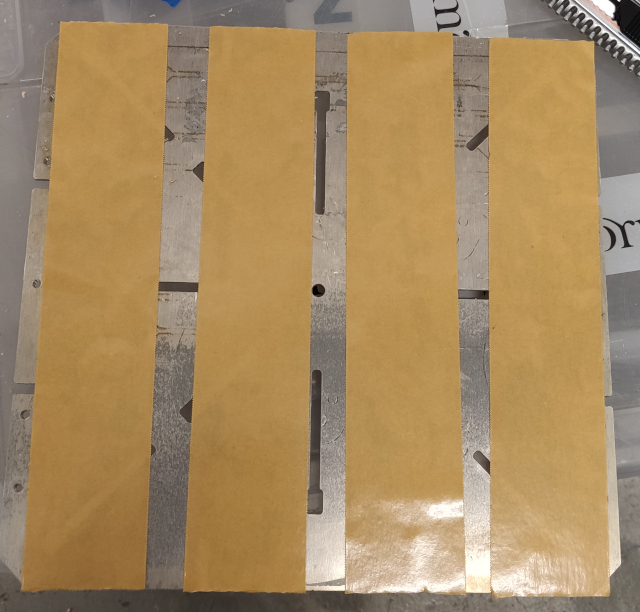
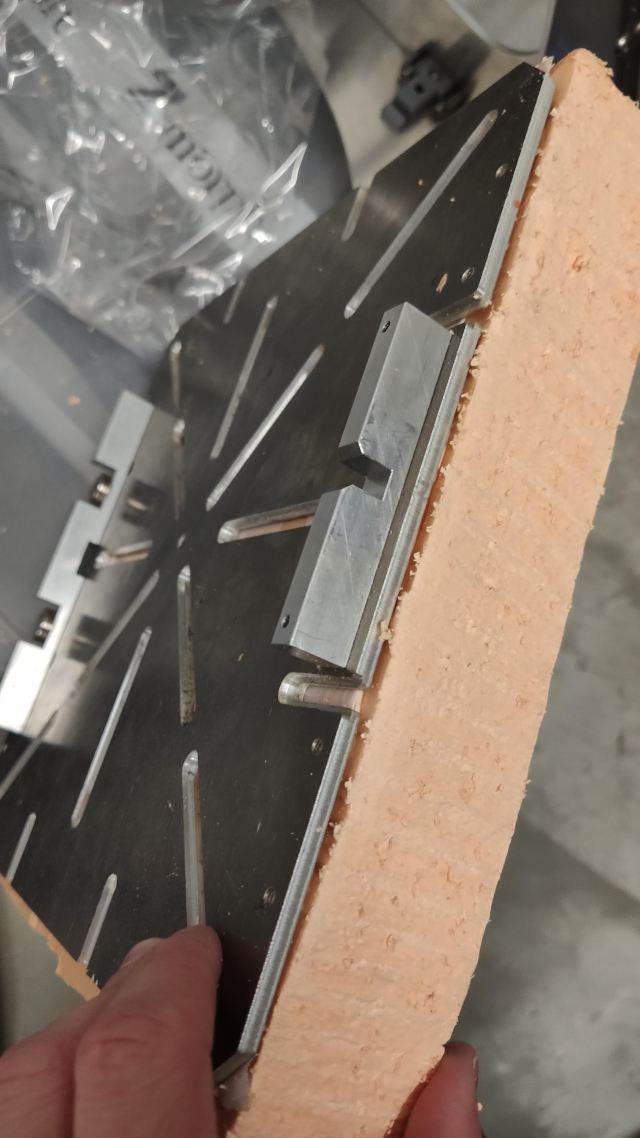
We have cut all of the materials into small rectangle pieces and squeezed them between two layers of wood with wood working clamps.
| Material | Layers | Effect |
|---|---|---|
| Every | 1 and 2 | Flexible |
| Glass Fiber | 3-4 | Still a bit flexible but getting much stiffer |
| Jute | 3-4 | Stiff and breaks with 4 layers |
| Carbon Fiber | 3 | Sitff and strong |
The conclusion from the test is that most of the composites are flexible till 2-3 layers. On 4th and after they are strong and stiff and also might start to become brittle and breakable.