Week 15: Molding and casting
This week assigments:Group assignment:
* review the safety data sheets for each of your molding and casting materials, then make and compare test casts with each of them
individual assignment:
* design a mold around the stock and tooling that you'll be using, mill it (rough cut + (at least) three-axis finish cut), and use it to cast parts
Google drive with all files
Group Assignment
As group assignment we had to read the safety instruction datasheets of any materials that we will use for molding and casting. We used only one material due to being unable to buy another. For our modling and casting assigment we used two different materials:- 2-Compund silicone elastomer "BLUESIL RTV 3325" for molding
- Epoxy Resin Epidian 652 for casting
Silicone RTV 3325:
Safety Data SheetReading the safety data sheet of the silicone we can learn what safety precusions we need to take to performe the molding process safely.

This part of safety data sheet tells us that using this silicone under normal conditions if safe and does not need us to take any additional precusions. But is does not mean that we will not :)
Better safe then sorry!
Epoxy Resin Epidian 652
Safety Data SheetIn this Safety Data Sheet we can find all hazard informations in standardized form of Global Hazard Statements.

H315 - Causes skin irritation
H319 - Causes serious eye irritation
H317 - May cause an allergic skin reaction
H411 - Toxic to aquatic life with long-lasting effects
The tests and performances of the materials are available on students personal sites as part of Invidual Assigments.
Invidual Assignment
Toolpath for mold
For the mold I have choose one of my old designs that I made for my daughter (Badge of Chase from Paw Patrol).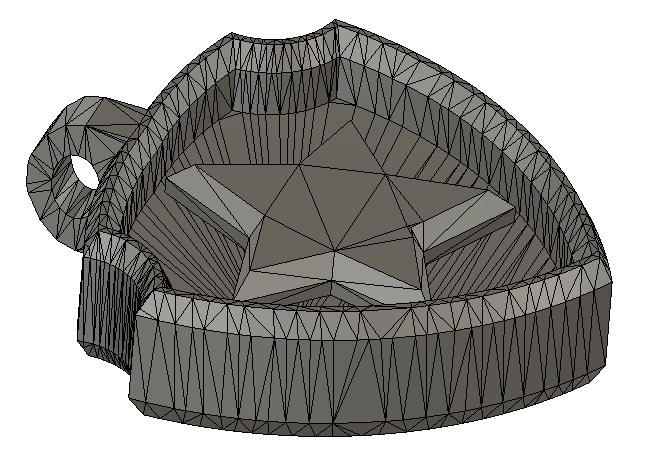
1st thing that I made after importing the design into "Fusion 360" was scaling the objct to proper dimensions.
Next I go to "Manufacture" workspace, where I will set and generate the toolpath for the CNC machine.
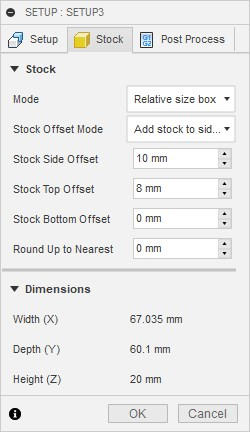
1st thing is to set the stock.
Now I can start with setting milling operations.
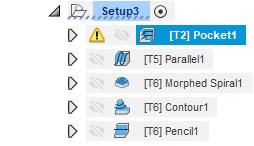
I start with the 3D Pocket with big size (12 mm) flat end-mill bit. This operation allows me to remove the bigger parts for the material around the design in fast way.
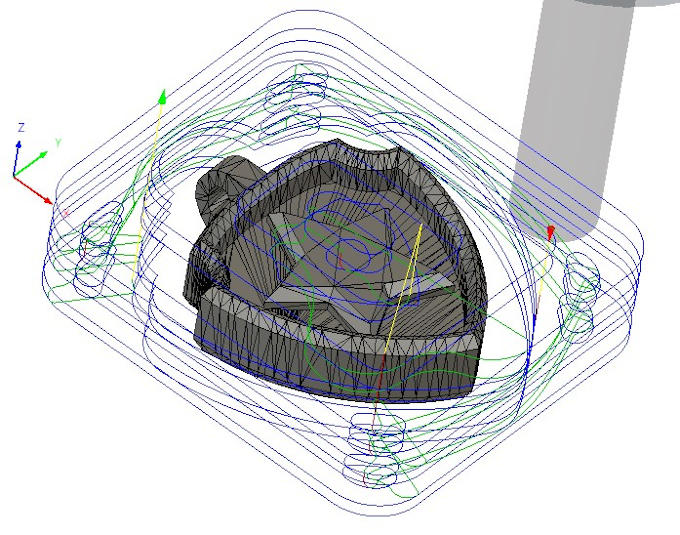
Next operation, 3D Parallel milling, this operation goes with smaller 6mm flat end-mill bit. It gives the stock a general look of the design.
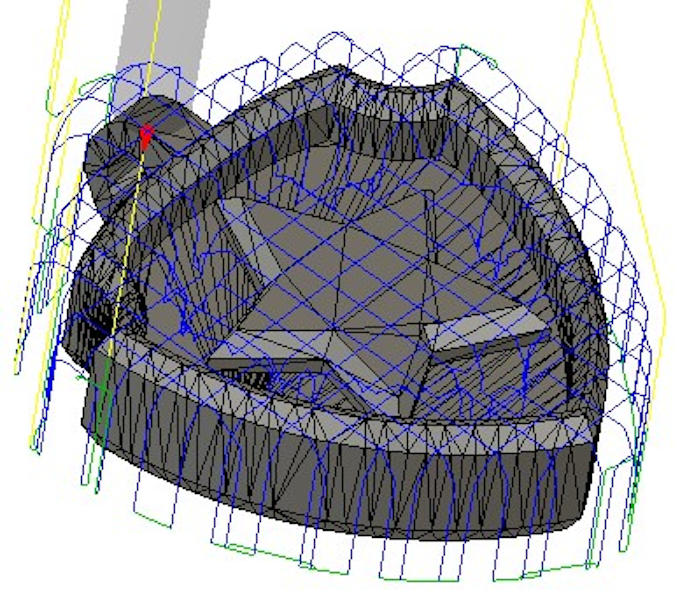
The morphed spiral operation is performed with 3mm ball end-mill. This operation is a finishing type operation.
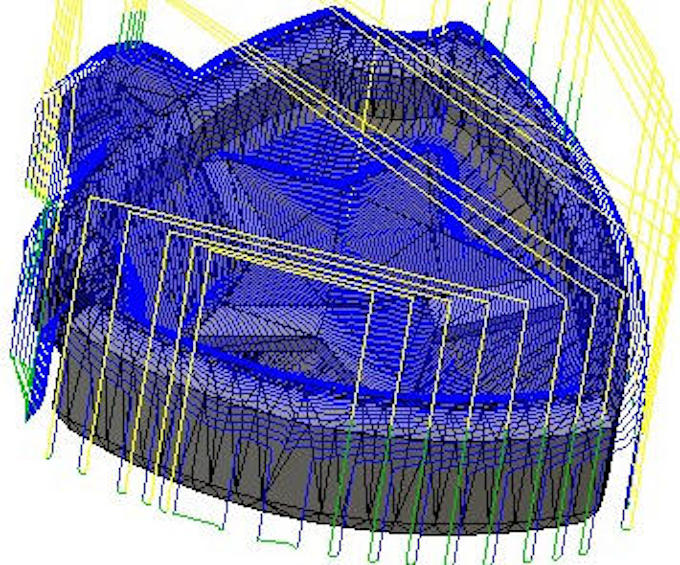
The contour operation is a operation that corrects the contour/edges of the part.
My last and final finishing operation will be 3D Pencil. This operation runs through inner corners of the design making them sharp and nicely finished.
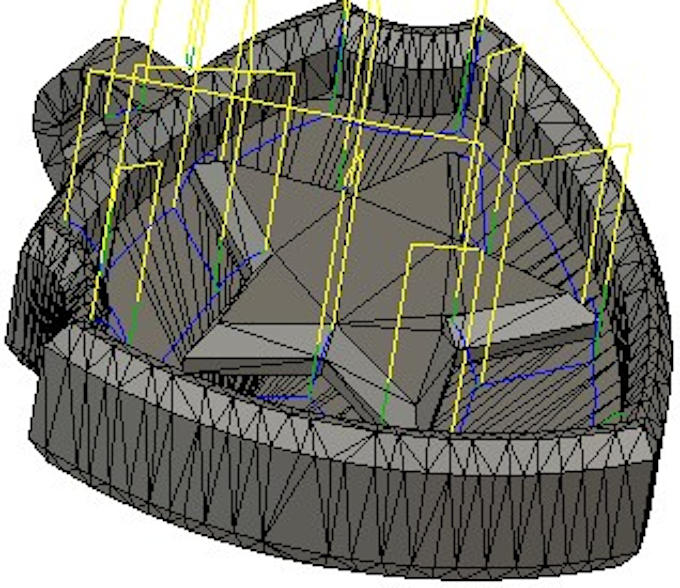
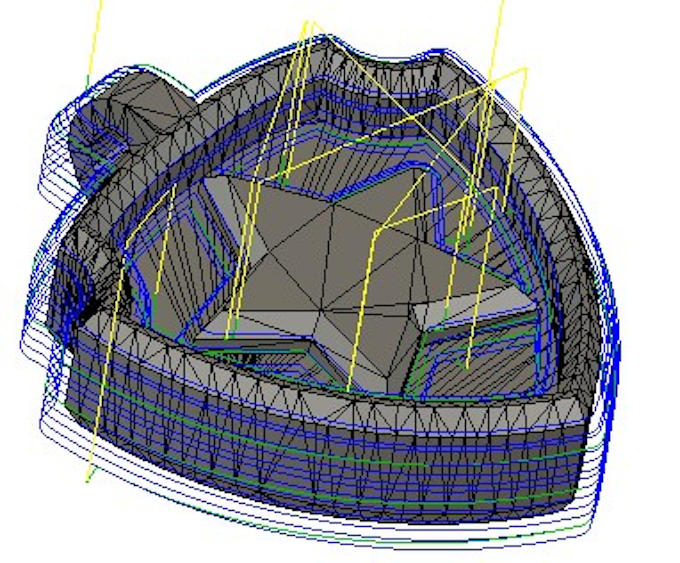
Now all the paths are ready it is good to make a check of the operation in virtual simulation inside the software. Fusion 360 gives such possibility. To enter the simulation option you need to press "Simulate"
 button first. Then you will see new window, in which you need to check box next to "Stock". Checking this box will make the stock visible on simulation. Now all is left is to press "Play" button on control panel.
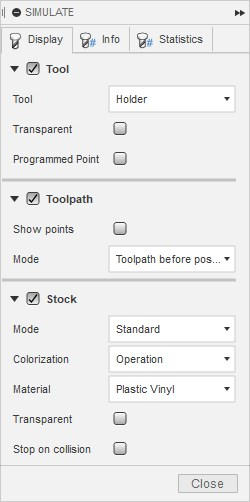
Video of simulation:
From the simulation I can see that the operation is OK so I can now take the toolpath file to the real CNC machine.
Milling
With the process of milling I will proced with the same steps as with Week 07.
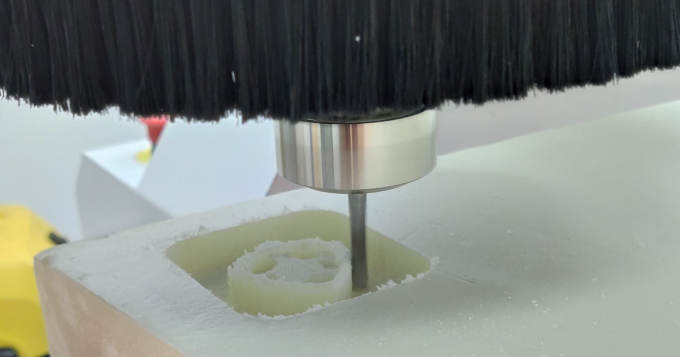
After the milling I realised that I have made a mistake.
The part height is the same as height of foam around it. To correct this I need to add offset for stock on the top of the part in the process of toolpath generation.
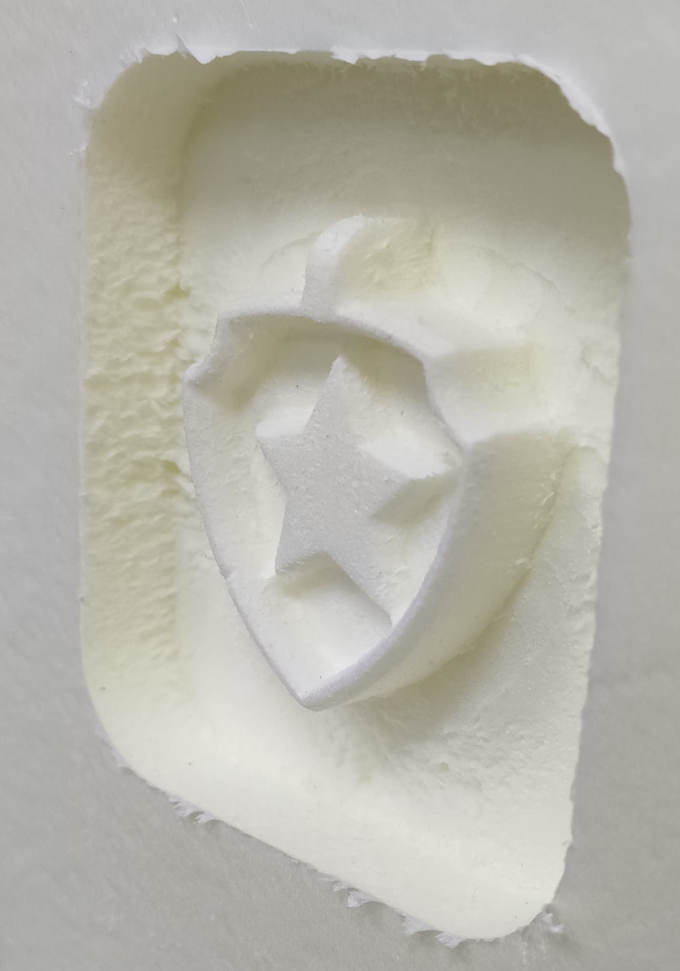
After correction the 2nd milling (in the back) is deeper and there is a space to cast the mold with epoxy resin.
Casting the silicone mold
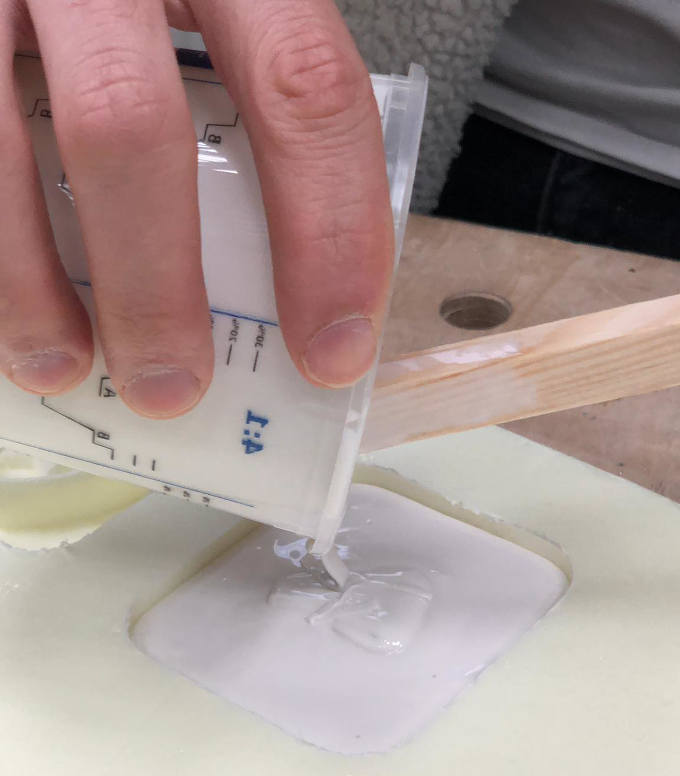
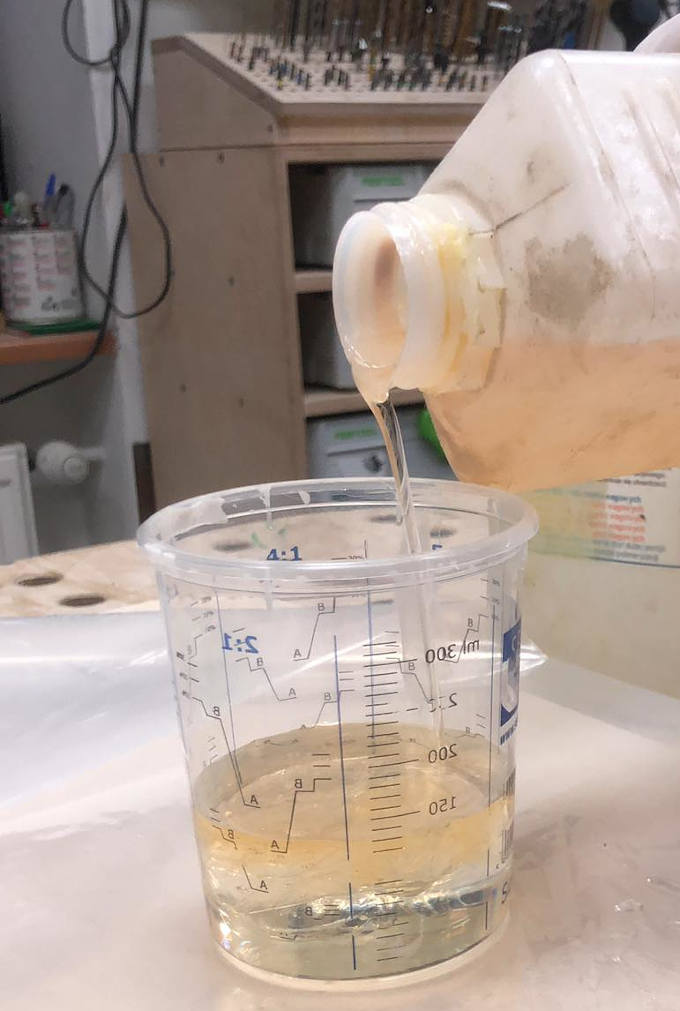
For mold casting we used Silicone RTV 3325. It is important to mix the silicone with a catalyst in proper amount. If I add too much calayst the silicone cures too fast and will be too britle. Adding not enough of calayst might make the mixture unable to cure at all.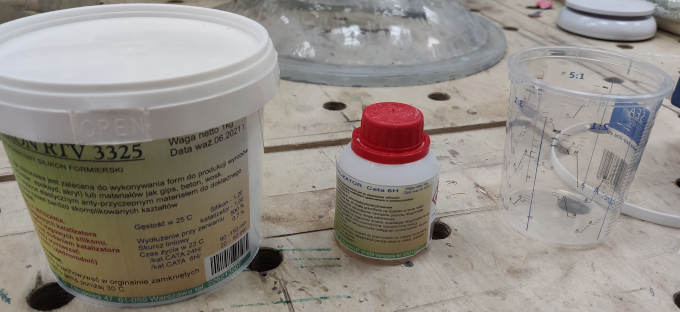
1st step it to pour the silicone into a special plastic cup with measures on sides. The measures allows us to measure the amount of silicone and catalyst in exact ratio.
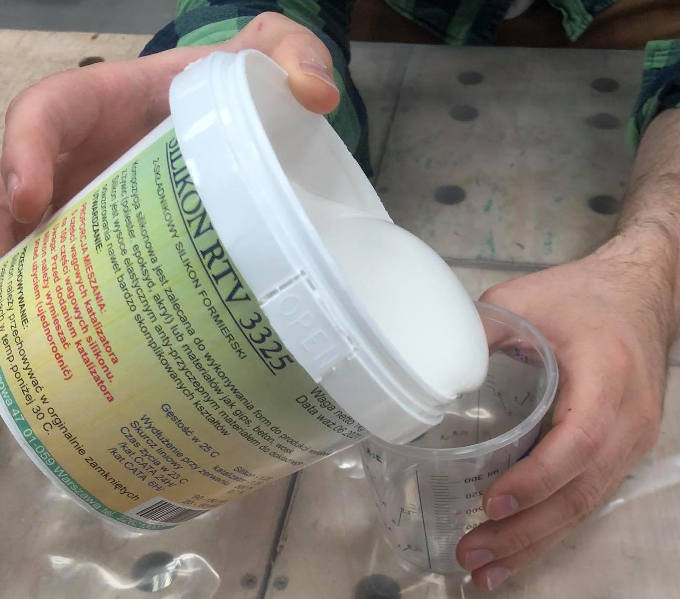
We poured 100 grams of silicone and 5 grams of catalyst.
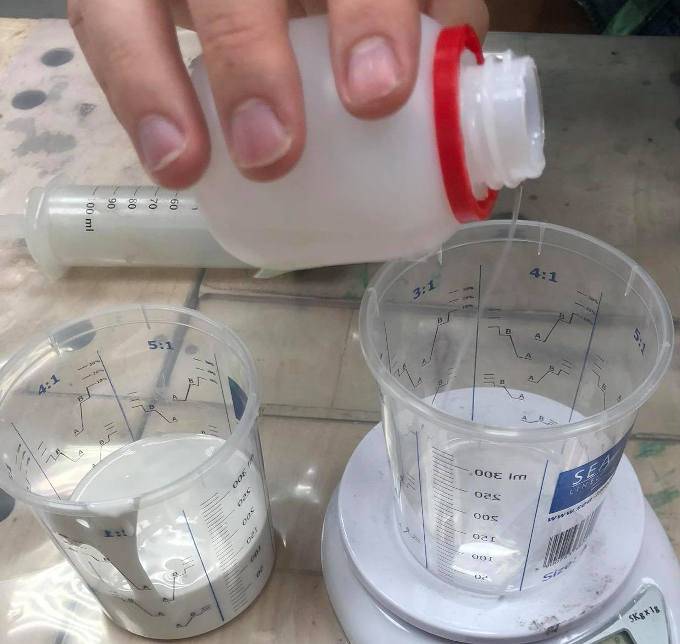
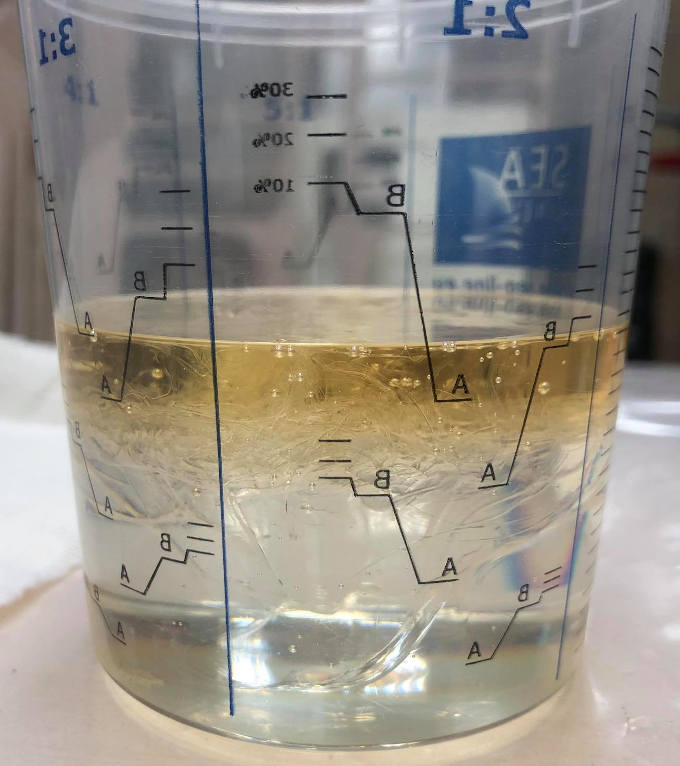
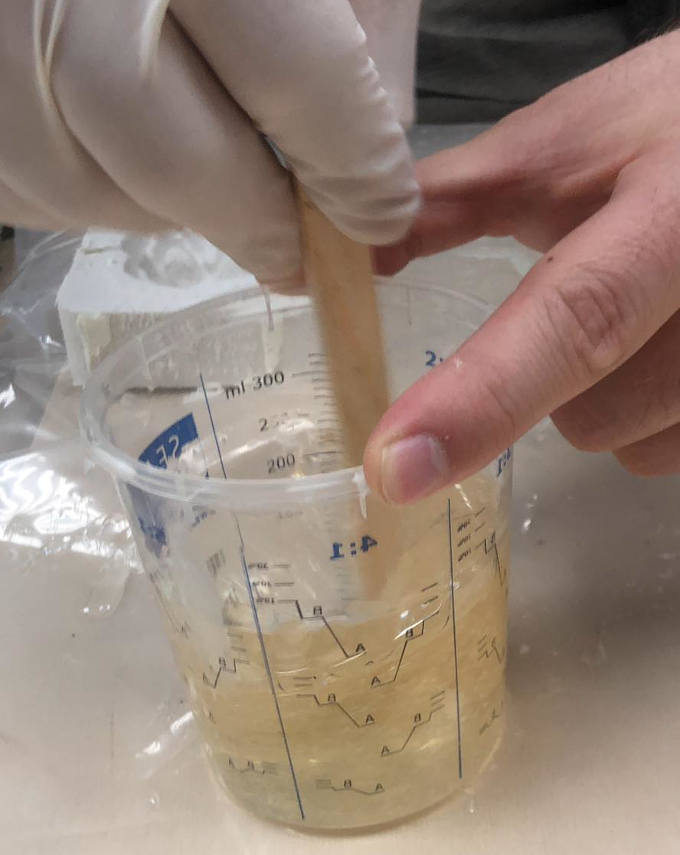
After pouring calayst into the silicone, the mixture needs to be mixed well.
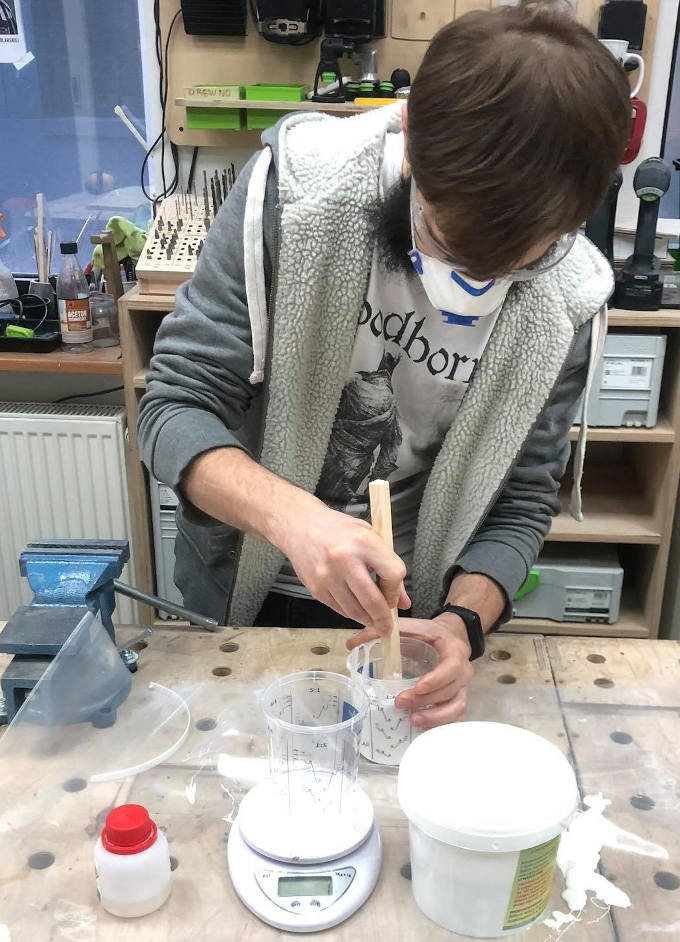
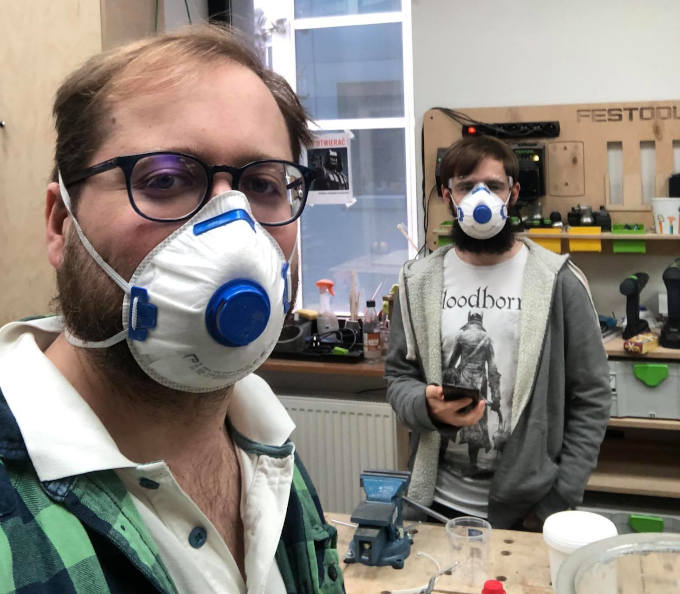
Next step is to put the cup with mixture in vacuum chamber to make sure that there are no air bubbles inside the mixture. This is our fablab DIY vacuum chamber:
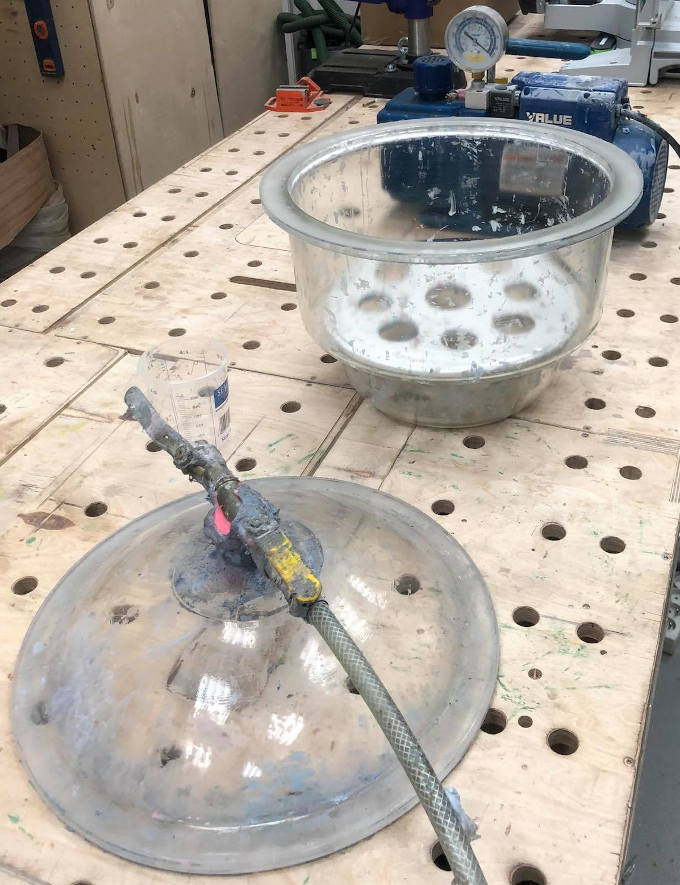
The process of air going through the mixture can be easily observed:
It is recomended to repeat the process twice.
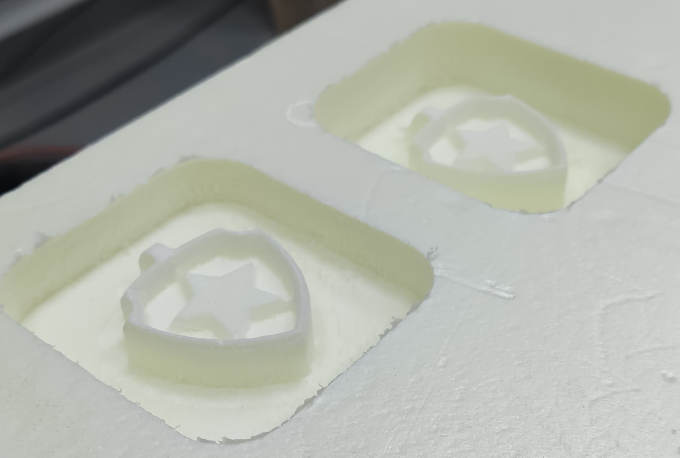
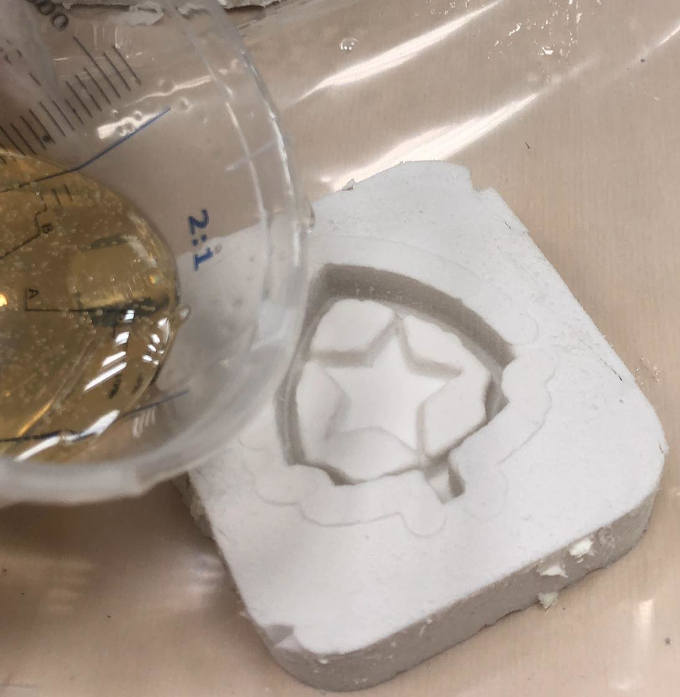
After we got rid of the air inside the mixture it is ready to be poured into the mold.
Now the silicone cast need to cure. It should take around 6 hours but I will left it over night.
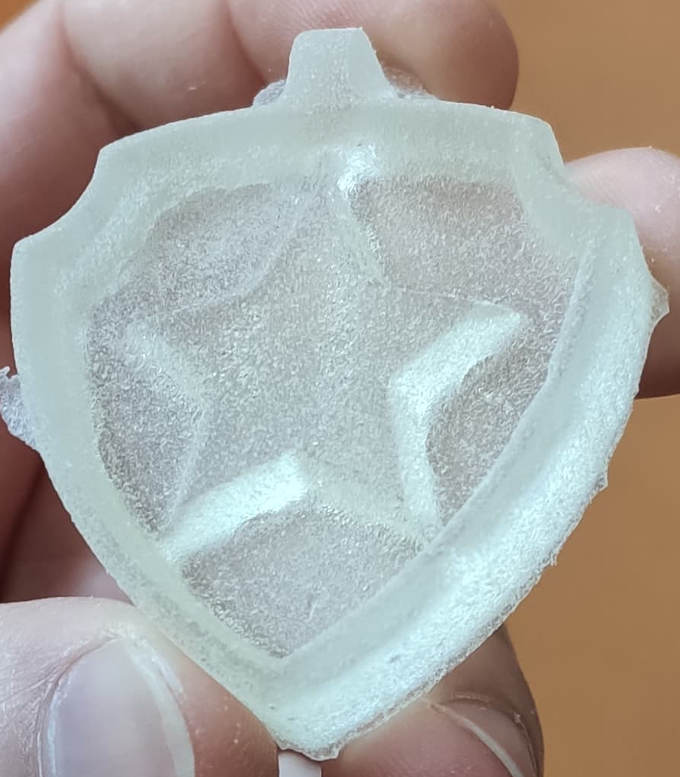
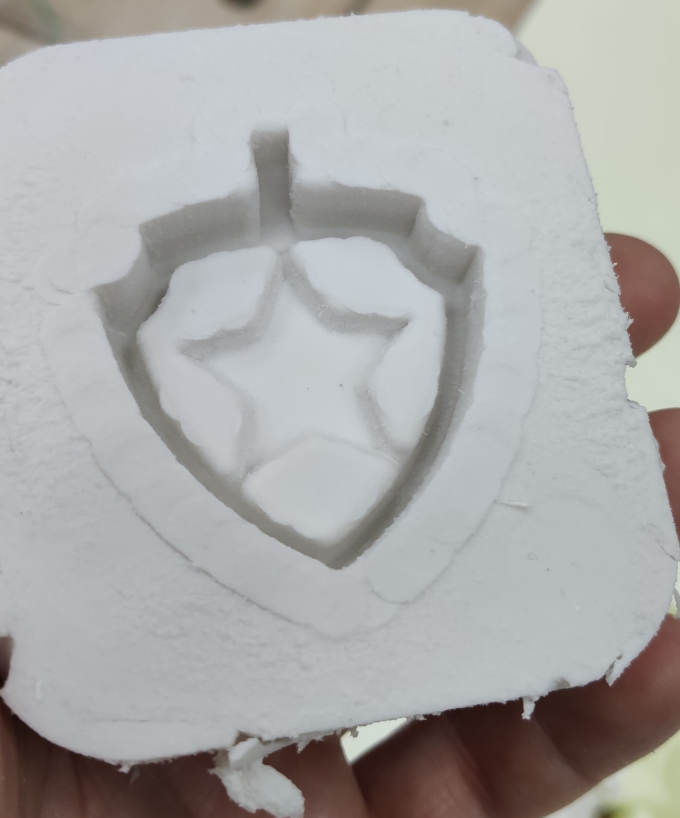
On next day I am ready to take out the silicone out from the mold.
And here is the result:
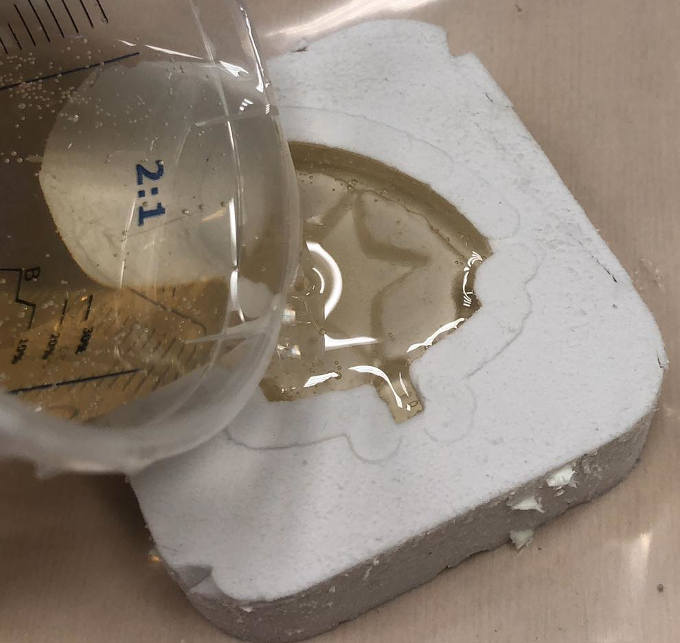
Casting the epoxy resin part
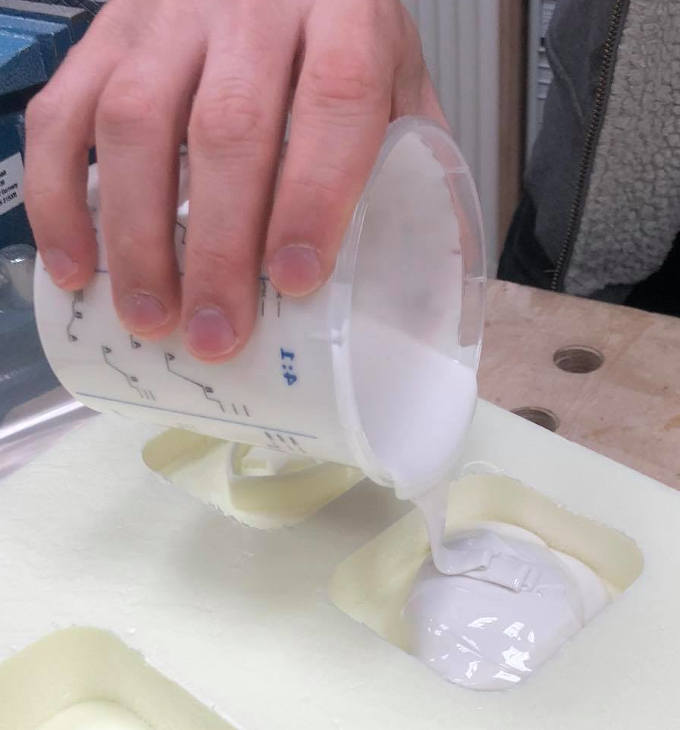
Now I can use the silicone cast as a mold to cast the bage with Epoxy Resin.The epoxy resin works in similar way as the silicone does. It need to be mixed with calayst in proper amout to cure correctly.
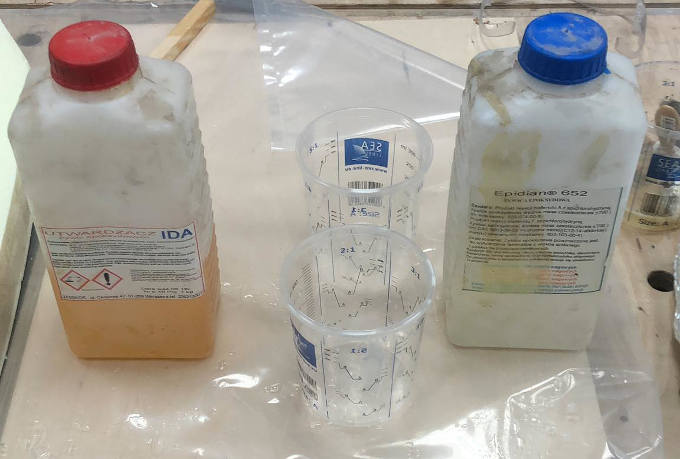
Now we mix the resin with calayst by measuring the amounts 1st.
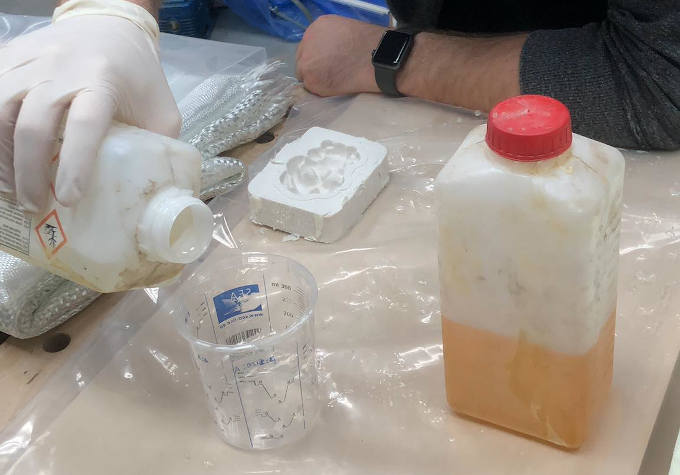
After mixing the resin with calayst we can pour the mixture into the silicone molds.
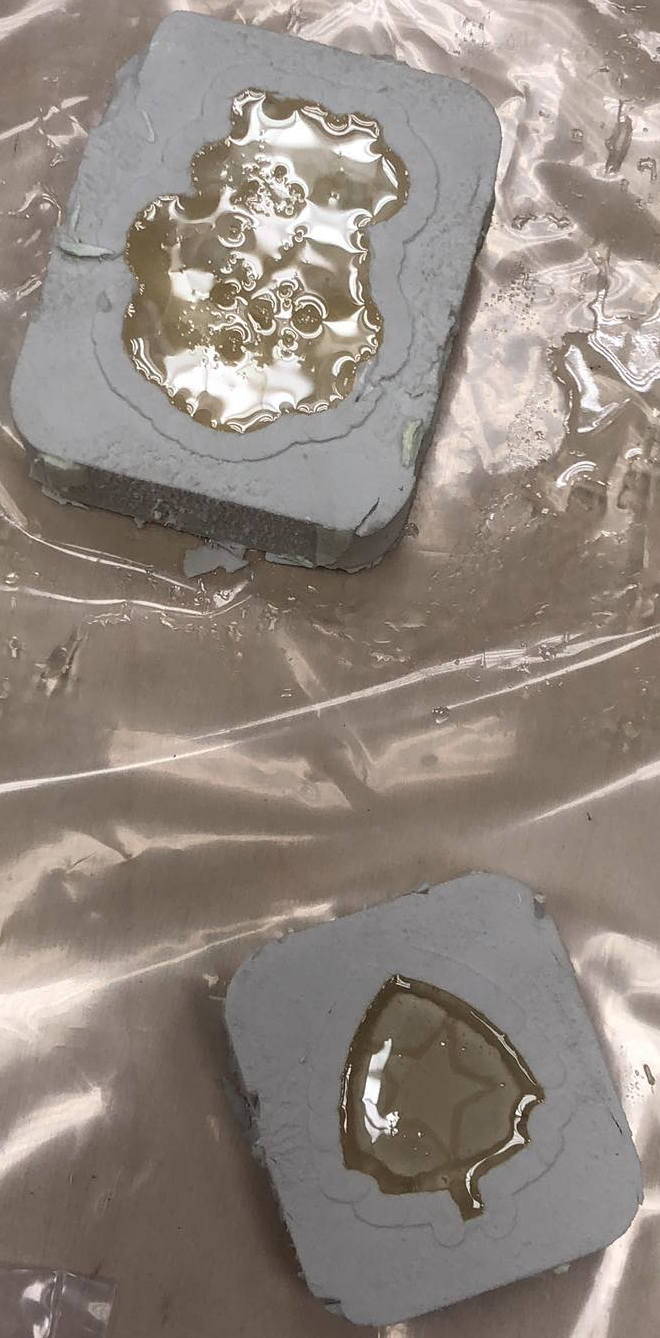
As same as with silicone it is good to put the cast into the vacuum chamber so we can get rid of all air bubbles inside the resin.
After short vacuum treatment the resin needs to cure for few hours.
After few hours the resin is ready to be taken out and here is the reslut: