Week 02:Computer Aided Designs

After 1st week which was quite challenging due to much new stuff in the form of learning how to use GIT or recalling all knowledge connected with HTML and website making. Time as come for week number TWO! The second week is about 2D and 3D CAD, I already know a bit of both so it was a bit easier for me than the previous week assignment. Our assignment for this week was to design a 2D drawing and basic 3D model of our potential Final Project. My work at this assignment I started from small research that inspired me to design the model.

Google drive with all files

Inspiration

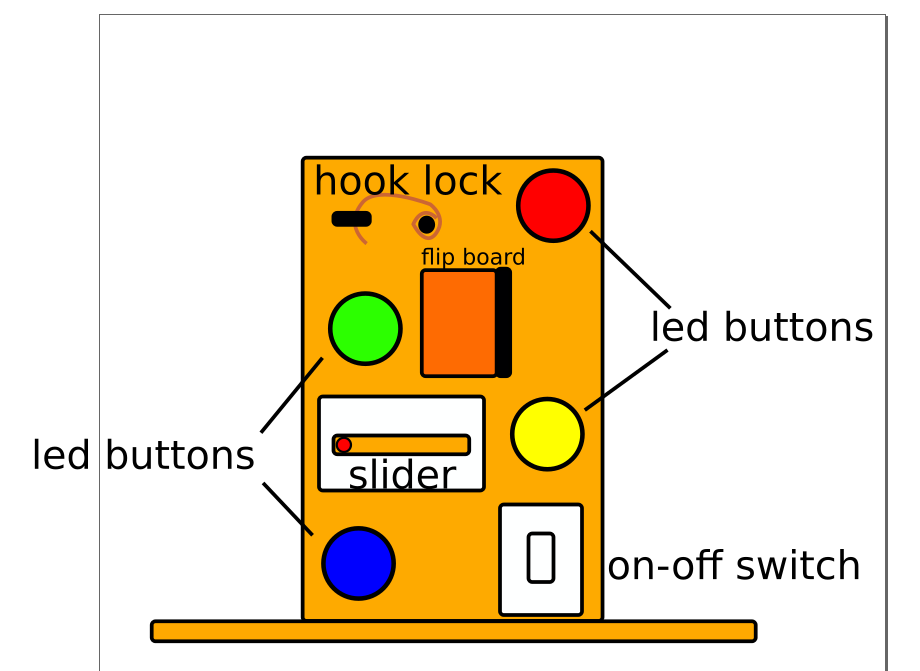
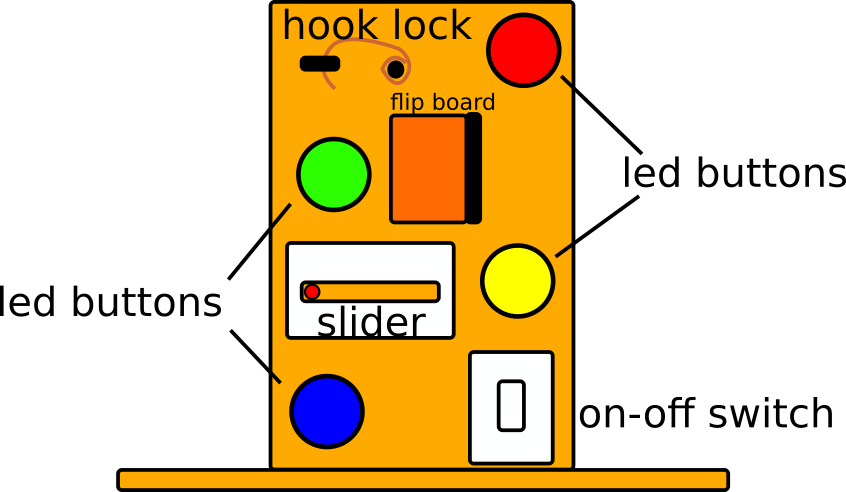
Getting my inspiration I started from typing "Sensory board" in google search and looking on all possible boards that are available.
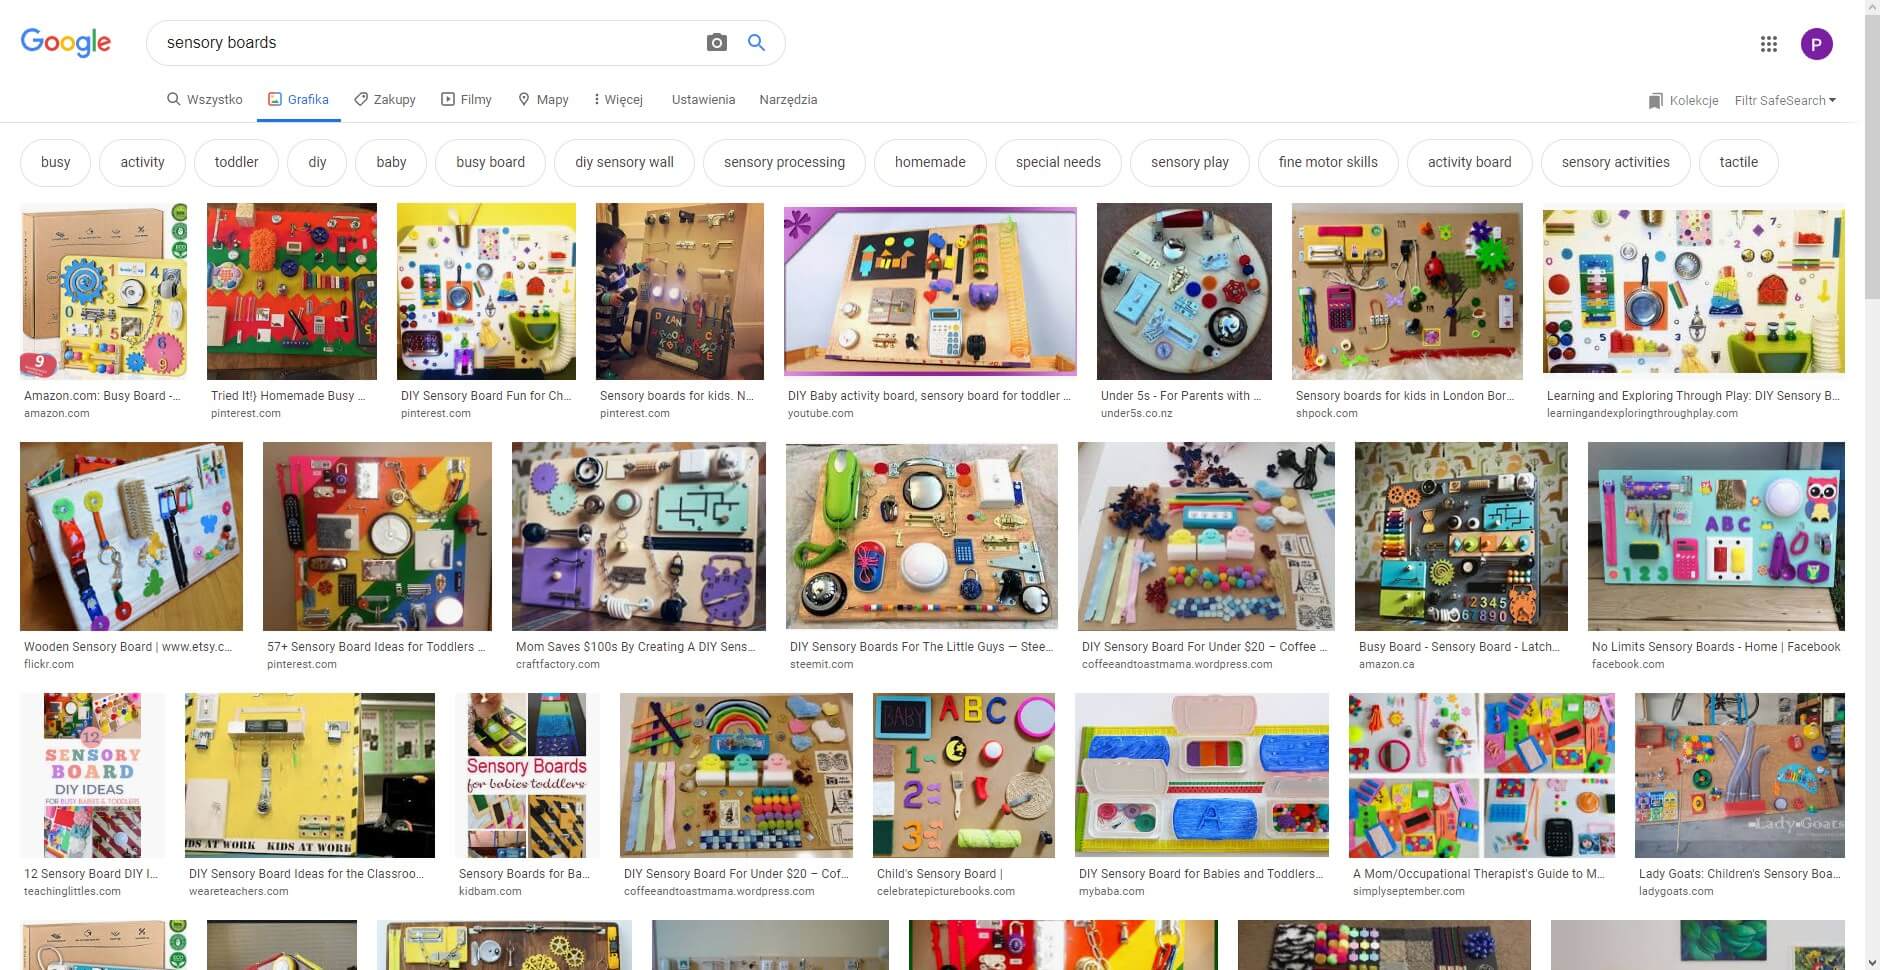
2D Drawing

After gaining enough of inspiration and ideas the time for 2D drawing has come!
2D drawing... Easy peasy lem... Oh no!
via GIPHY
My biggest nemesis! 2D graphics/drawing/designing etc... I had many attempts with Inkscape but never had such big motivation to actually finish anything worth sharing.
I told myself "This time it is gona be different! I will finish this design!"
Not wasting any more time I just googled Inkscape tutorials and wandered through few websites with Inkscape tutorial but in the end stayed at:
Inkscape tutorial
Perfect site for me, show the software from the very basics and explains a lot on many examples!
So with some additioal knowledge I can now challange my biggest enemy... 2D drawing!
I started slowly with two rectangles that made the main body of the prototype of the project.

Then I added few circles that are supposed to be a big LED buttons and changed their infill color. OK it is not that hard!

Next to come is slider and a switch.

As a last accessories I added flip board and a hook lock.

In the end I named all components to make it clear for everyone.
After all I finished with something. Making the 2D design made me think about most of the accessories that I should place and how big they should be. Most likely the final project will be a bit different.

Modeling

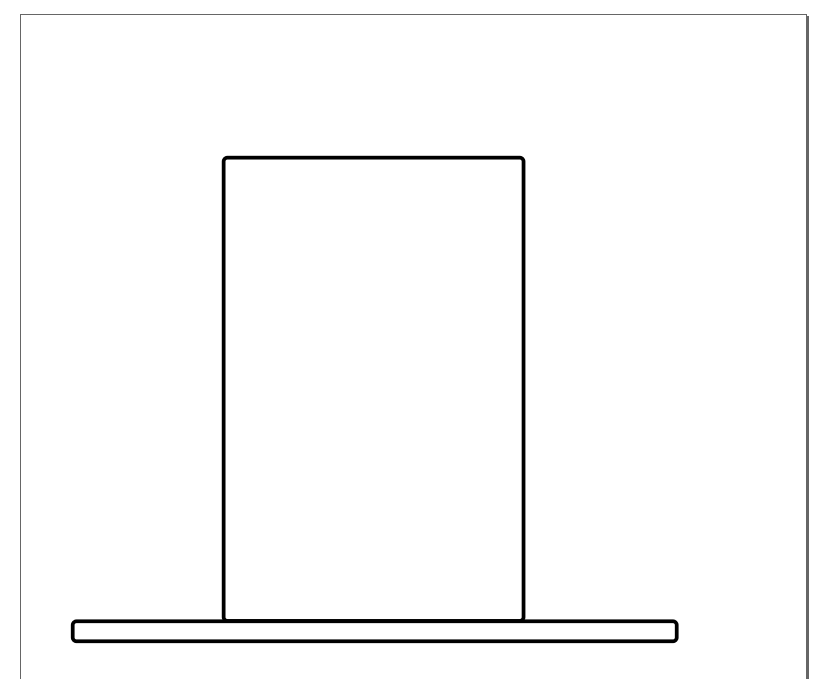
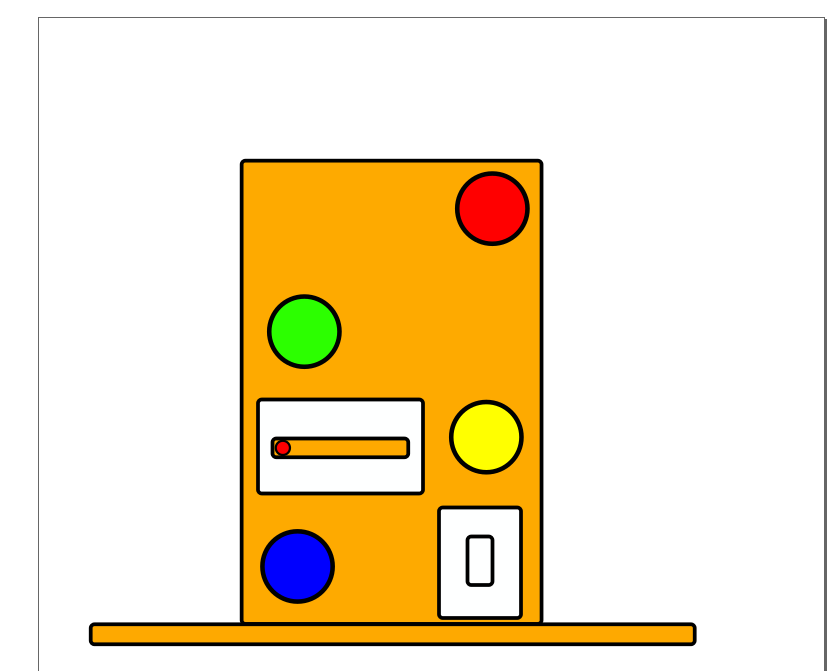
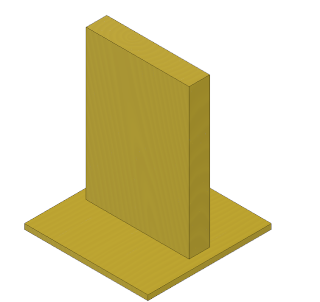
After making 2D design there is time for a bit easier part for me which is 3D modeling
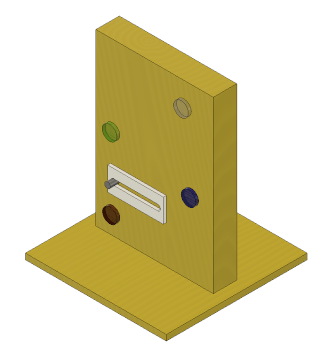
Such construction is easies to start with the biggest parts that make a body of the construction. The main body was made out of two simple skaches of square and rectangle and then extruded.

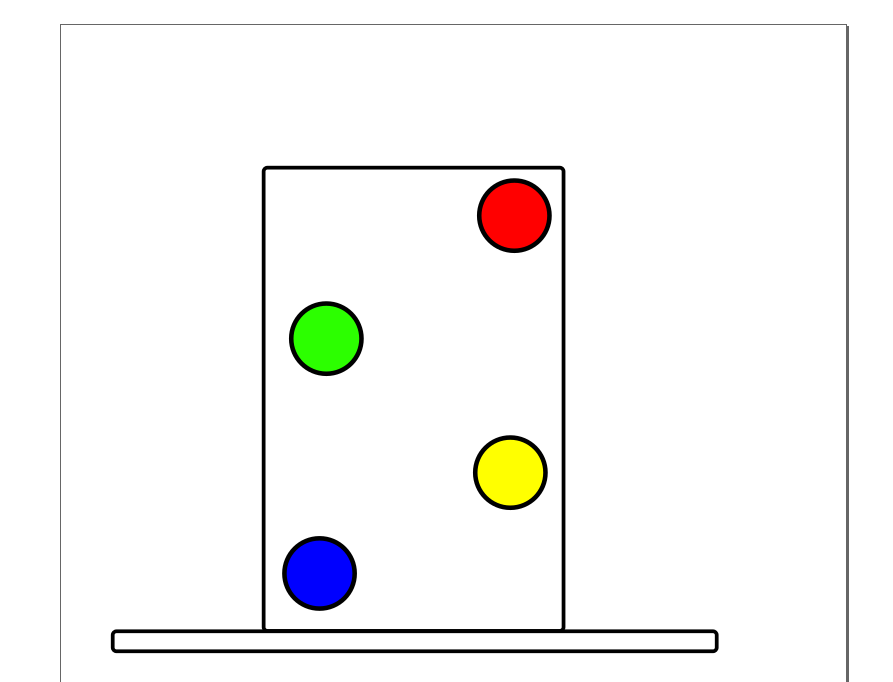
Then I added some smaller parts. Colorfull LEDs are made out of one sketch that include 4 circles in proper places, then extruded and colored. To make the slider I made a bigger rectangle that has a slot made with slot feature applied to Fusion 360 and the handle is just a simple extrudede circle.

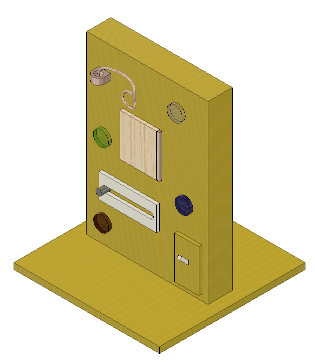
Add finall parts for the prototype model.

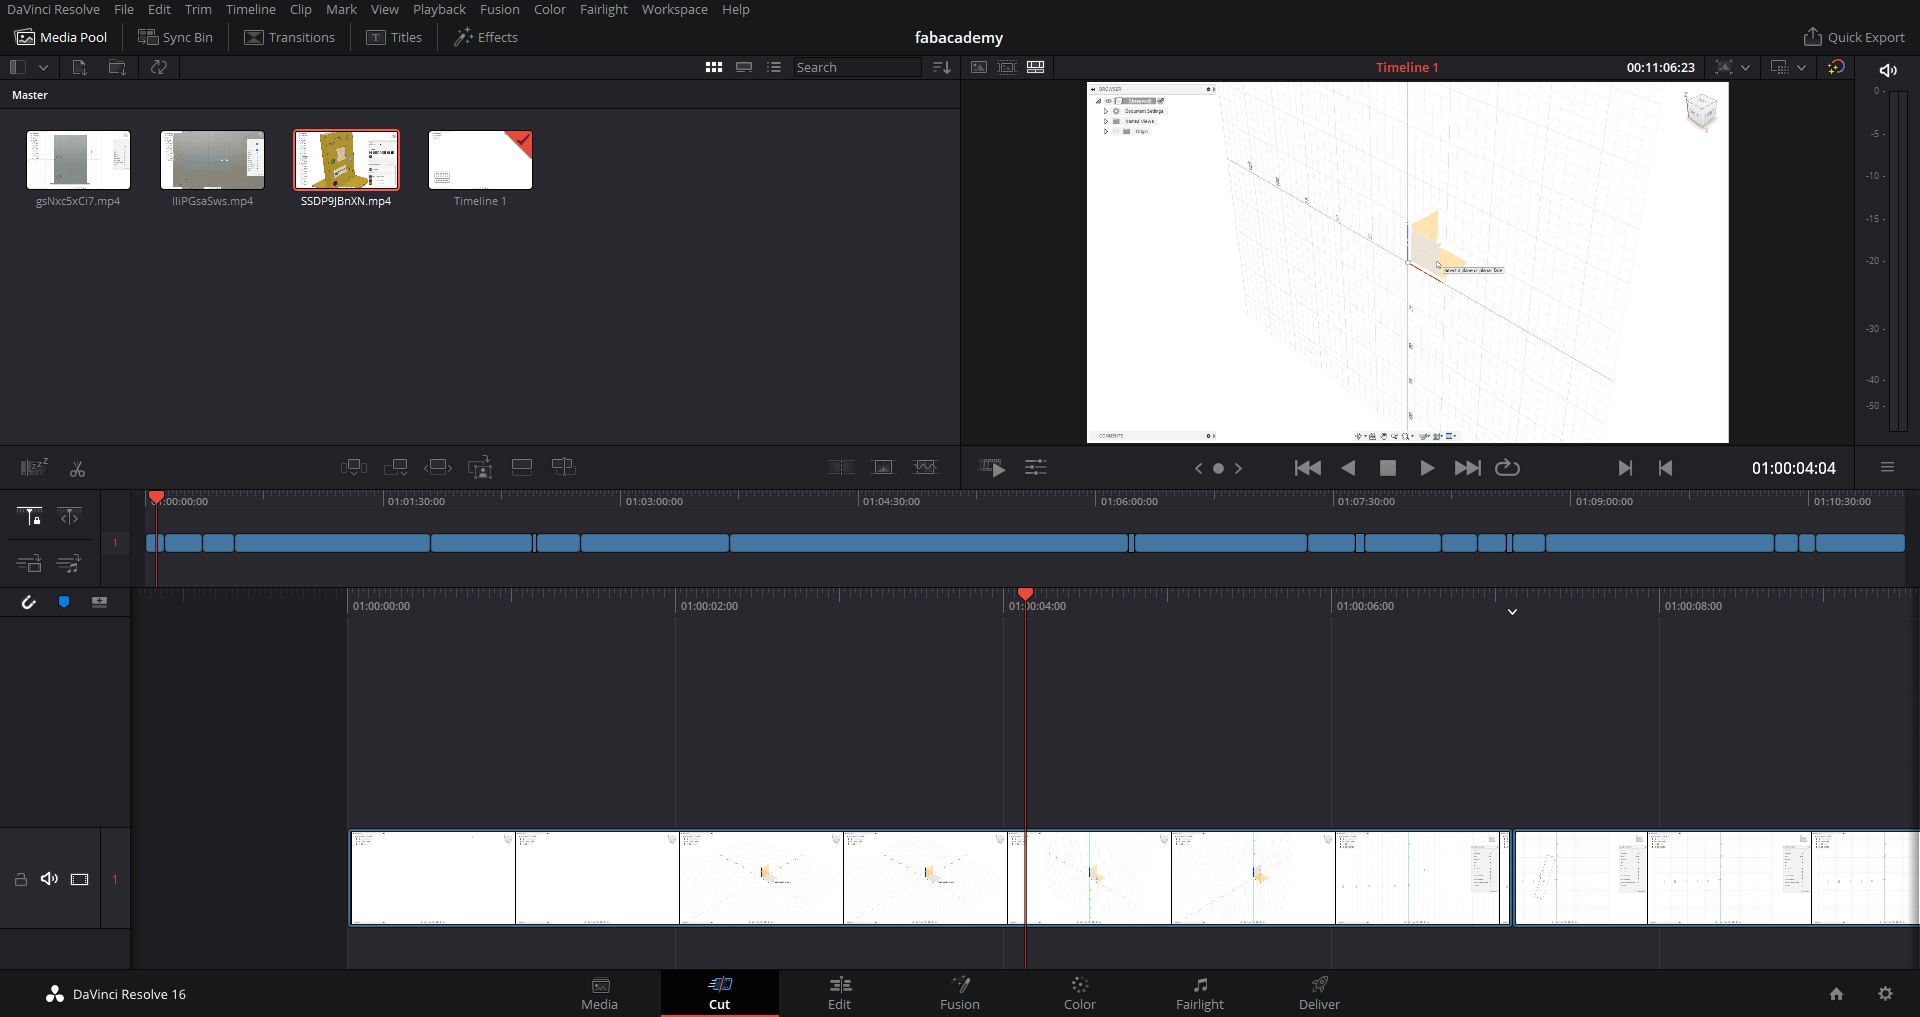
To show the process as best as possible I decided to make a video of me modeling the model.

Video Editing

Another skill that I have to recall. But what software should I use? Hmmm...
via GIPHY
So after few seconds of thinking I choose "Da Vinci Resolve". I know what we had a courses in our FabLab with use of this software so it must be simple to start going and of course it is free!
So let's DIG IN!
via GIPHY
Screen from the software:

Decided to give it a try without any tutorial. I already used once some software like that.
It was not that hard, the UI is very intuitive and clear.
The software allowed me to review the video frame by frame and cut unecessary parts so the video is shortert and contains only the important parts.
Effect of my work in the software was visible in previous section.

Render

I also decided to make a render of the model to present the end result of this week assignment.
Go back to front page Go back to Week 01 To Week 03