Print something you can't make subtractively & scan something
Tools Used in This Assignment
The 3D printing process builds a three-dimensional object from a computer-aided design (CAD) model, usually by successively adding material layer by layer, which is why it is also called additive manufacturing,unlike conventional machining, casting and forging processes, where material is removed from a stock item (subtractive manufacturing) or poured into a mold and shaped by means of dies, presses and hammers. In the 1990s, 3D-printing techniques were considered suitable only for the production of functional or aesthetic prototypes and a more appropriate term for it was rapid prototyping.As of 2019 the precision, repeatability and material range have increased to the point that some 3D-printing processes are considered viable as an industrial-production technology, whereby the term additive manufacturing can be used synonymously with "3D printing".
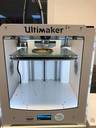
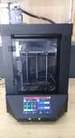
For the group assignment,we want to use different 3d prints to learn how to use them and also to test their performance and make a comparison between them. So first we use Raise 3D N1 printer and ultimaker 2.
For the first test with Raise 3D N1, we used a design from thingiverse and printed it to understand the different prenting parameters. This is the Test file.
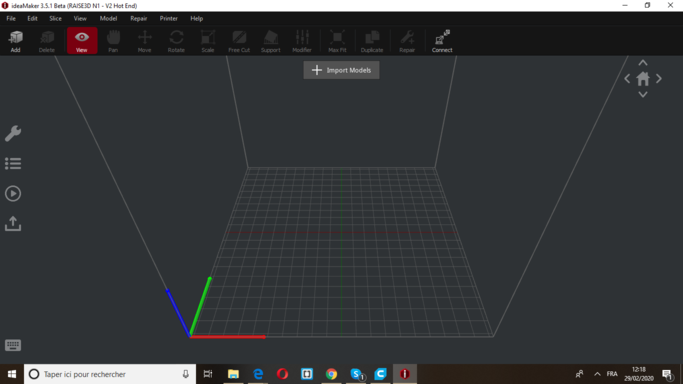
We also use the ideaMaker as a software to set the parameters, in the following pictures I will detail what we did:
Import file from your computer, click on the import button
Choose your file.
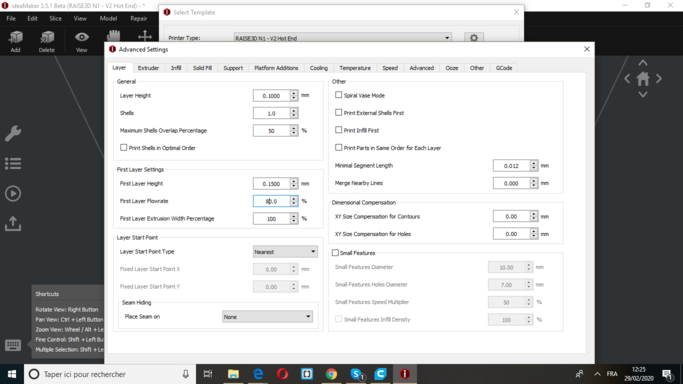
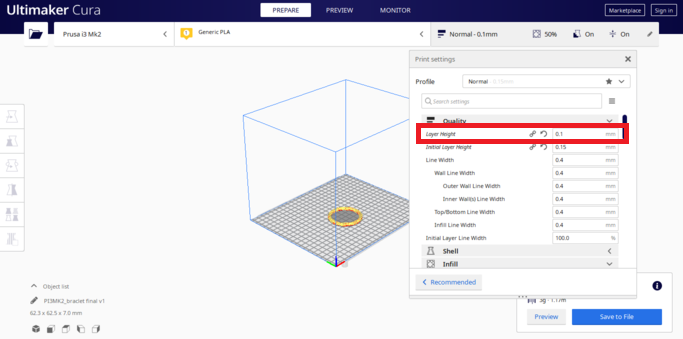
Modify the layer parameters : set the height of the layers to 0.1mm and the first layer height to 0.15mm
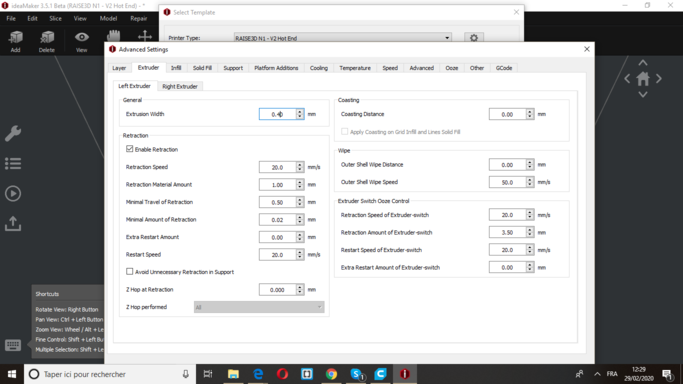
Since the diameter of the extruder is 4 mm the extrusion width has to be changed to 4mm too.
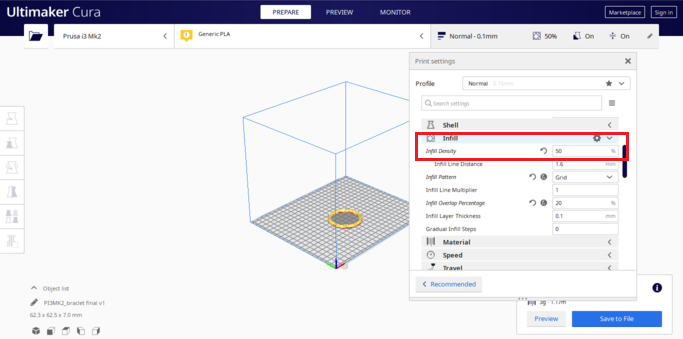
Modify Infill density to 10% and infill pattern type to Grid
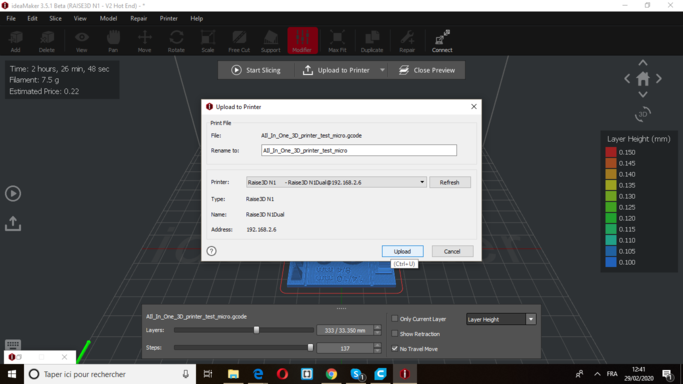
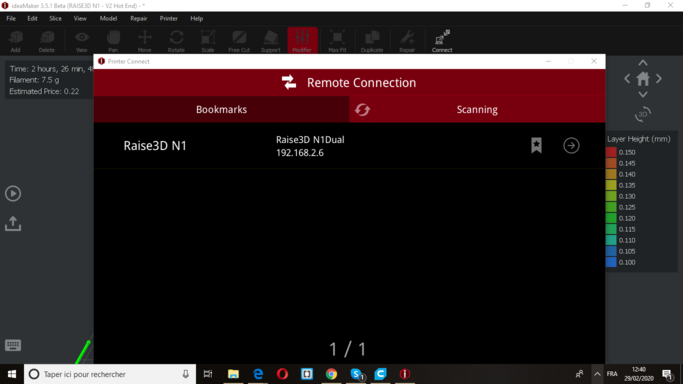
Several other optional parameters have been modified during this assignment group. After we were done, we connected my computer to the printer (it was really cool, just open your printer and control it from your desk).
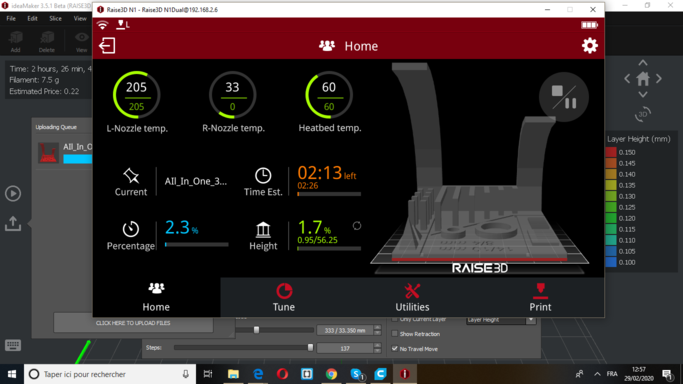
When the download is finished you can see your part and its information indicating the printing time, the current printing level, and the temperature of your printer ...
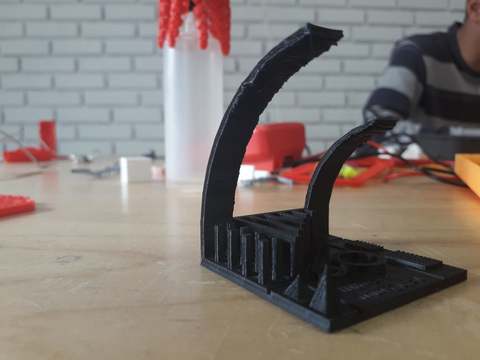
This was our first test , you can see that there are defaults so it is necessary to choose the parameters well.
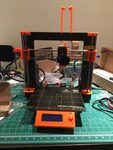
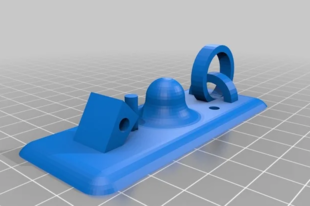
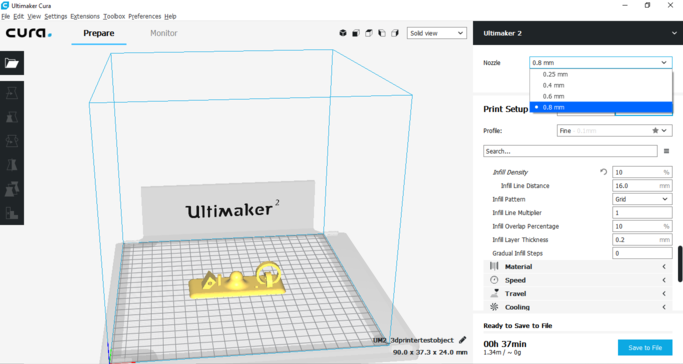
Now, move on to our second test but this time with the ultimaker 2. Noting that from the beginning we could see several differences such as the diameter of the extruder (0.8mm for this printer and 0.4mm for the Raise 3D). We used a design from thingiverse and printed it to understand the different prenting parameters Test file
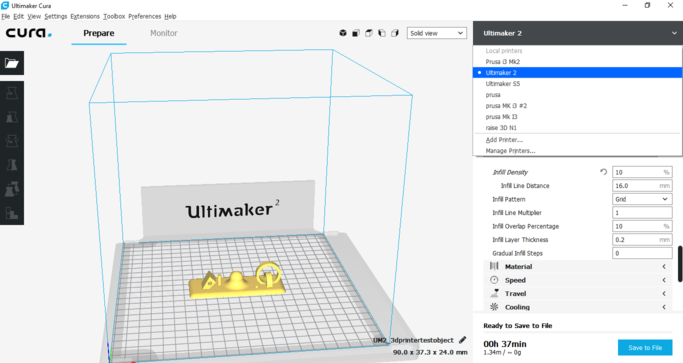
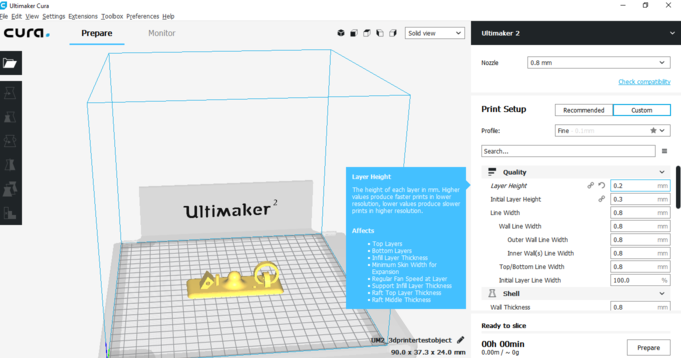
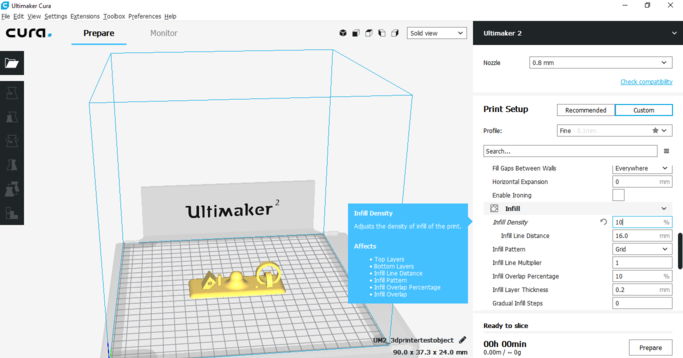
This time we use Cura as a software to adjust the parameters, in the following pictures you can find the different parameters:
Individual assignment
3D printing
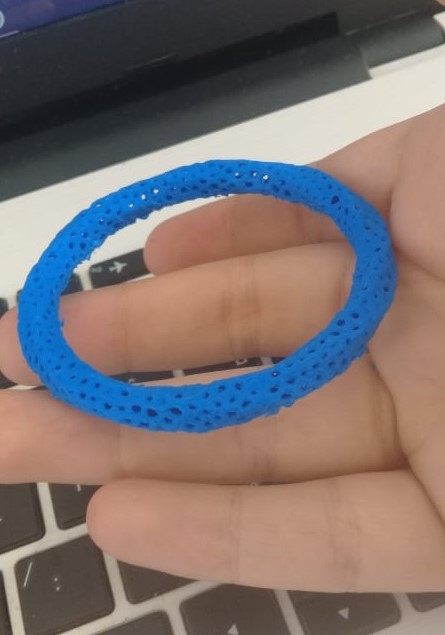
Since my project contains just parts can easily be done subtractively, I chose to make another part a little bit different, so I started my design on Fusion360
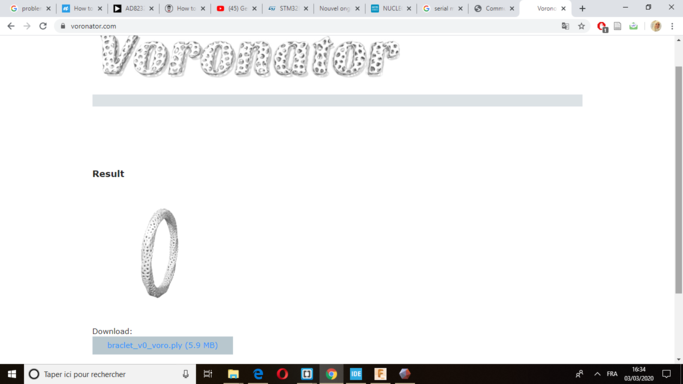
Then I chose to switch it to Voronator to create a Voronoi effect such part can't subtractively because it has holes in it and also holes in surfaces so that a tool can't get into particular parts. It was very easy , you should just import your file and then wait to download the new file.
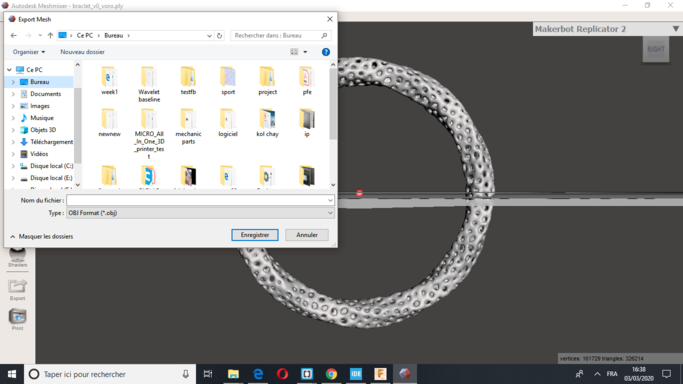
Since Voronator can't convert my file to a shape that can be read in Fusion 360 (.ply instead of .obj) so I used Meshmixer to do the conversion from file.ply to file.obj.
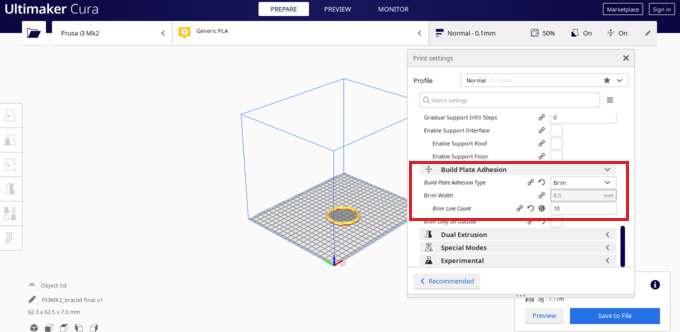
I printed the part in Prusa i3 mk2 using PLA filament and I use Cura to modify the setting. I set the height of the layers to 0.1mm ,the infill density to 50% ,and I let cura generates a support and a brim.
And the final result was good
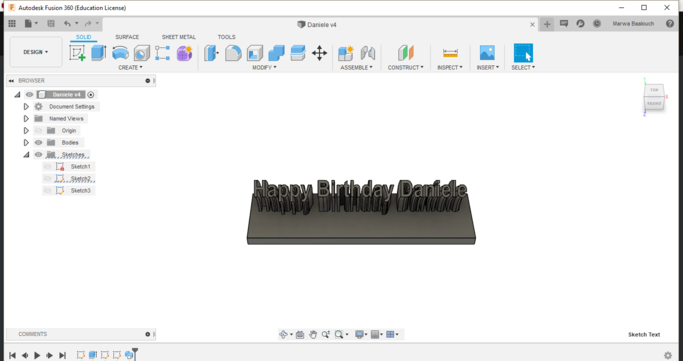
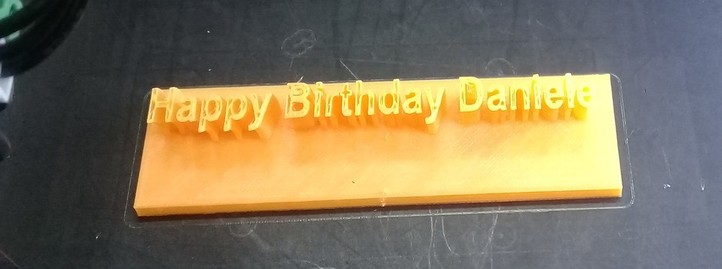
One more thing, since our instructor celebrated his birthday, I decided to make another piece, like the following one, I made it in 360 fusion and I used Raise to print it : I wish you all the Best Daniele.
I set tha layer height to 0.2mm , 10% infill ,no support and I add a skirt only
Personally, I used before prusa i3 mk2 as a 3D printer, I find Raise 3D N1 easier to handle, also its touch screen and the possibility of remote control through wifi or cloud connection.But for the software, I will always use Cura because it is suitable for several brands of prints and it offers informations for every parameter.
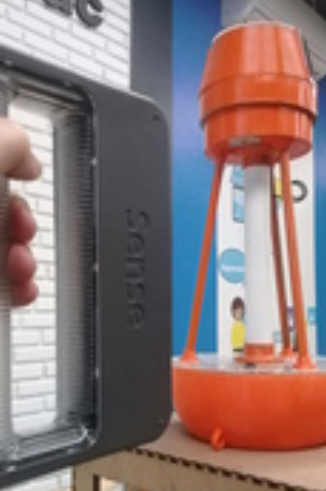
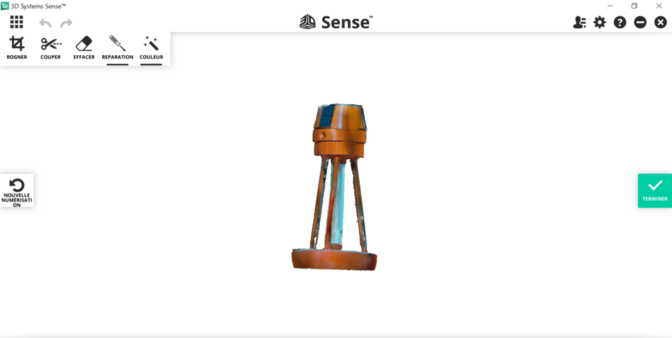
3D Scanning
3D scanning is the process of analyzing a real-world object or environment to collect data on its shape and possibly its appearance (e.g. colour). The collected data can then be used to construct digital 3D models.A 3D scanner can be based on many different technologies, each with its own limitations, advantages and costs.
I used sense 3D scanner. it is small compatible scanner. it projects IR on to the object and then read its reflection. it has another camera that catures the image of the object.