Group assignment
Link for the group assignment
Individual assignment
We decided to build a CNCplotter machine.It was Kais's idea.We started to see the different types and structures of plotter machine to finally choose and have a general idea about the components and parts to design. Our design was initially inspired from this model with a xy core.
Machine Design
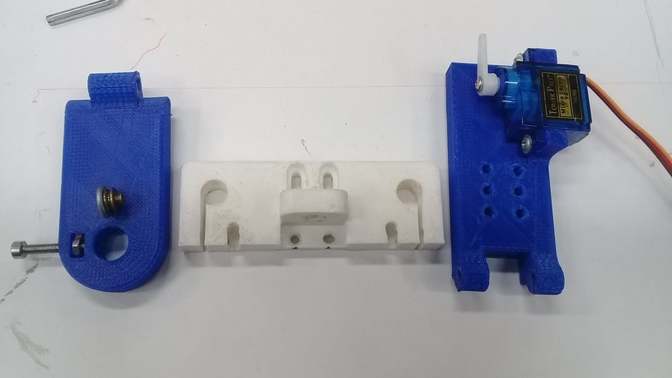
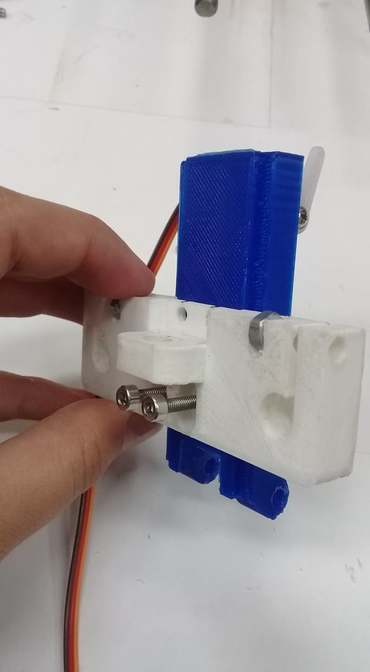
At the design level, I was responsible for the design of the penholder mechanism. It will be composed of two parts, one that will contain the servo motor responsible for the movement of the pen and a lower part on which the pen will be fixed.
so first I started with the first part, I took at the beginning the dimensions of the servo motor then I made the scketch and then I extruded it.
.png)
.png)
Then I added some fixing holes and some guiding part so that the handler will be fixed correctly on the rest of the machine.
.png)
For the second part where the pen has to be fixed, I started with the general shape then I put a place for a screw and a nut to fix it.
.png)
.png)
And here's the final result, I think it's the simplest pen holder but it's also very practical since it allows the pen to be fixed and also its movement by means of a servomotor.
.png)
you can find here thefusion file of this piece
3D Printing
for 3D printing, I was in charge of printing my pieces. So I used our Raise3D N1 for that.

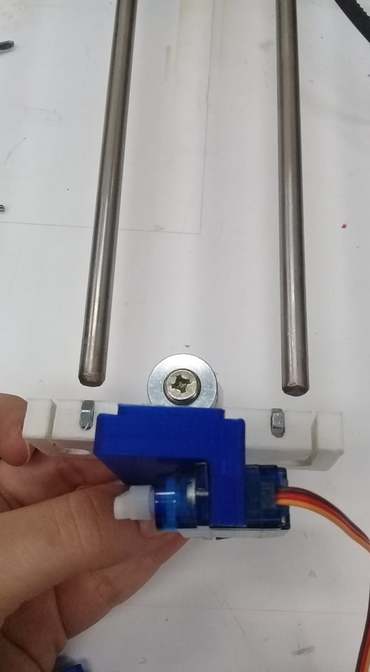
During the fixing of the engine it seems that my part was perfectly adequate with it.
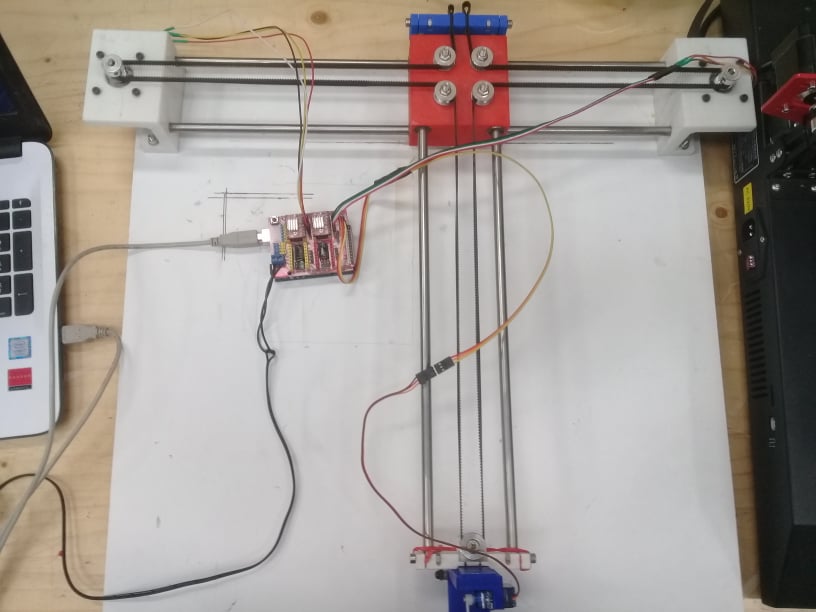
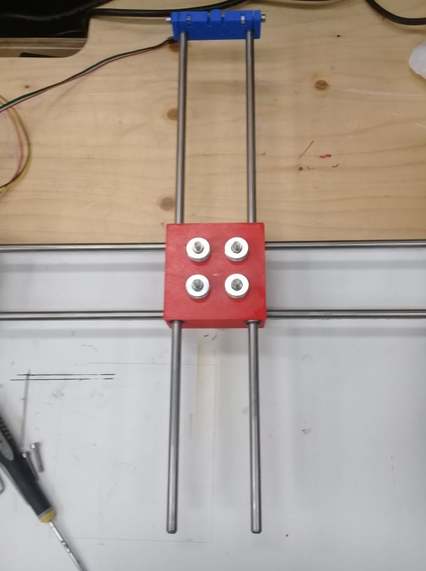
Machine assembly
For the assembly, I was in charge of assembling the pen holder, to fix the motors on the axis which was already assembled by kais and to finish the assembly of the machine.

Electronic assembly
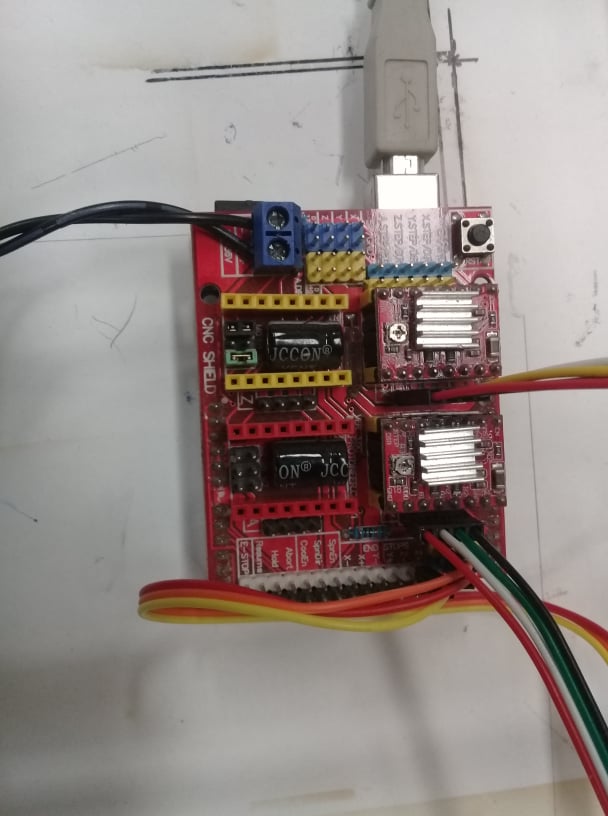
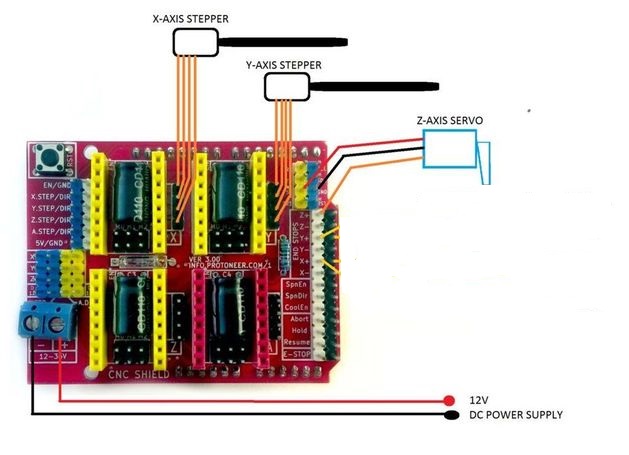
So for our machine we need an arduino Uno and a cnc shield , 2 motors and 2 A4998 drivers and a servo motor.the following figure will show the circuit to be made. Of course the CNC shield will be mounted on the Arduino.
The next step of my work was to check and prepare the motors so far that they can be connected to the motor drivers on the shield. A simple trick to check which pair of cables belongs together is to connect the cables one after the other and to check on the axis whether the resistance increases. If the resistance increases noticeably, the right pair of cables has been found. I also lengthened the servo motor cables and connected all the motors to the cnc shield