
ii.Fabrication:
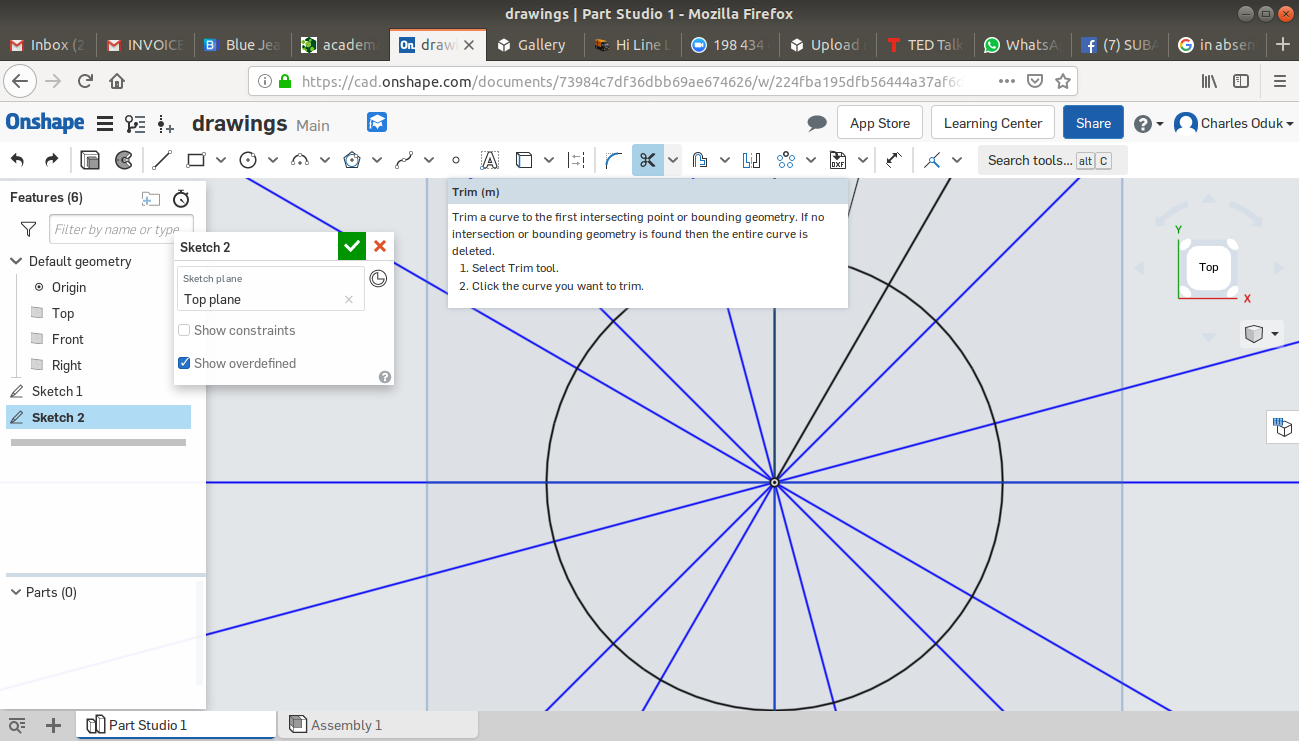
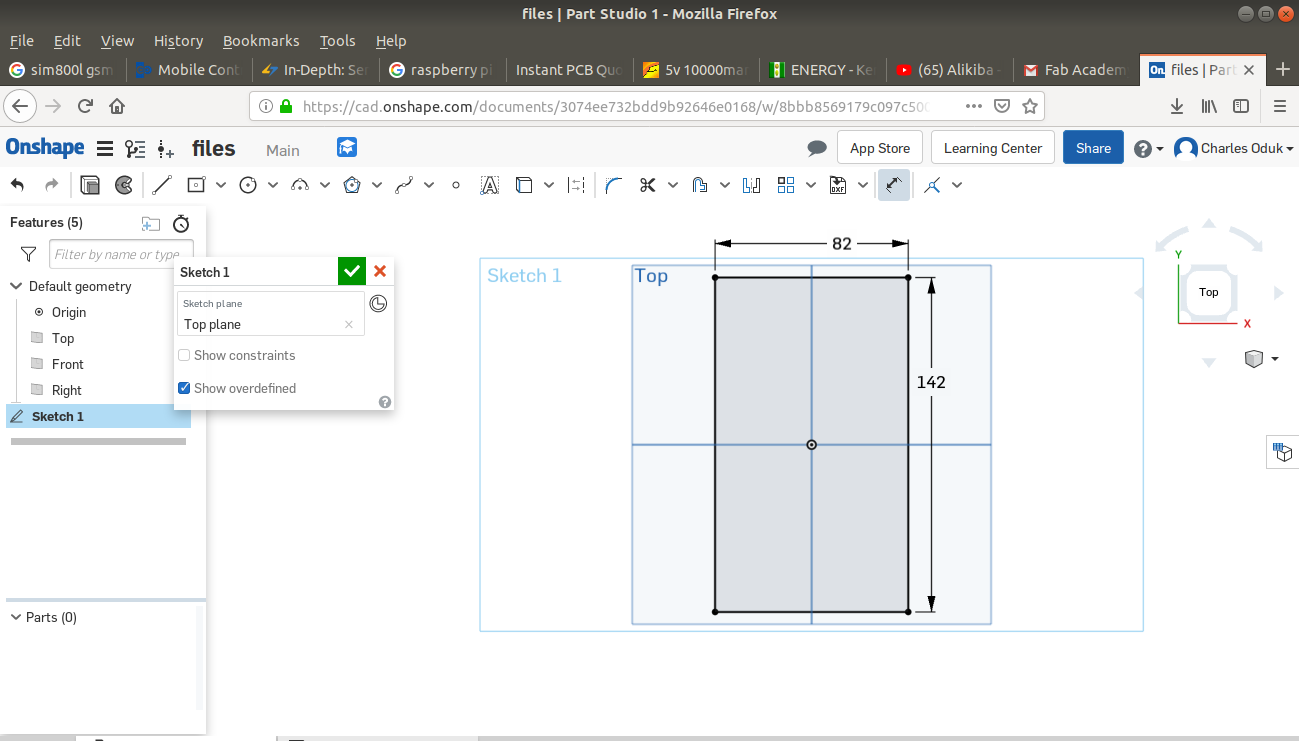
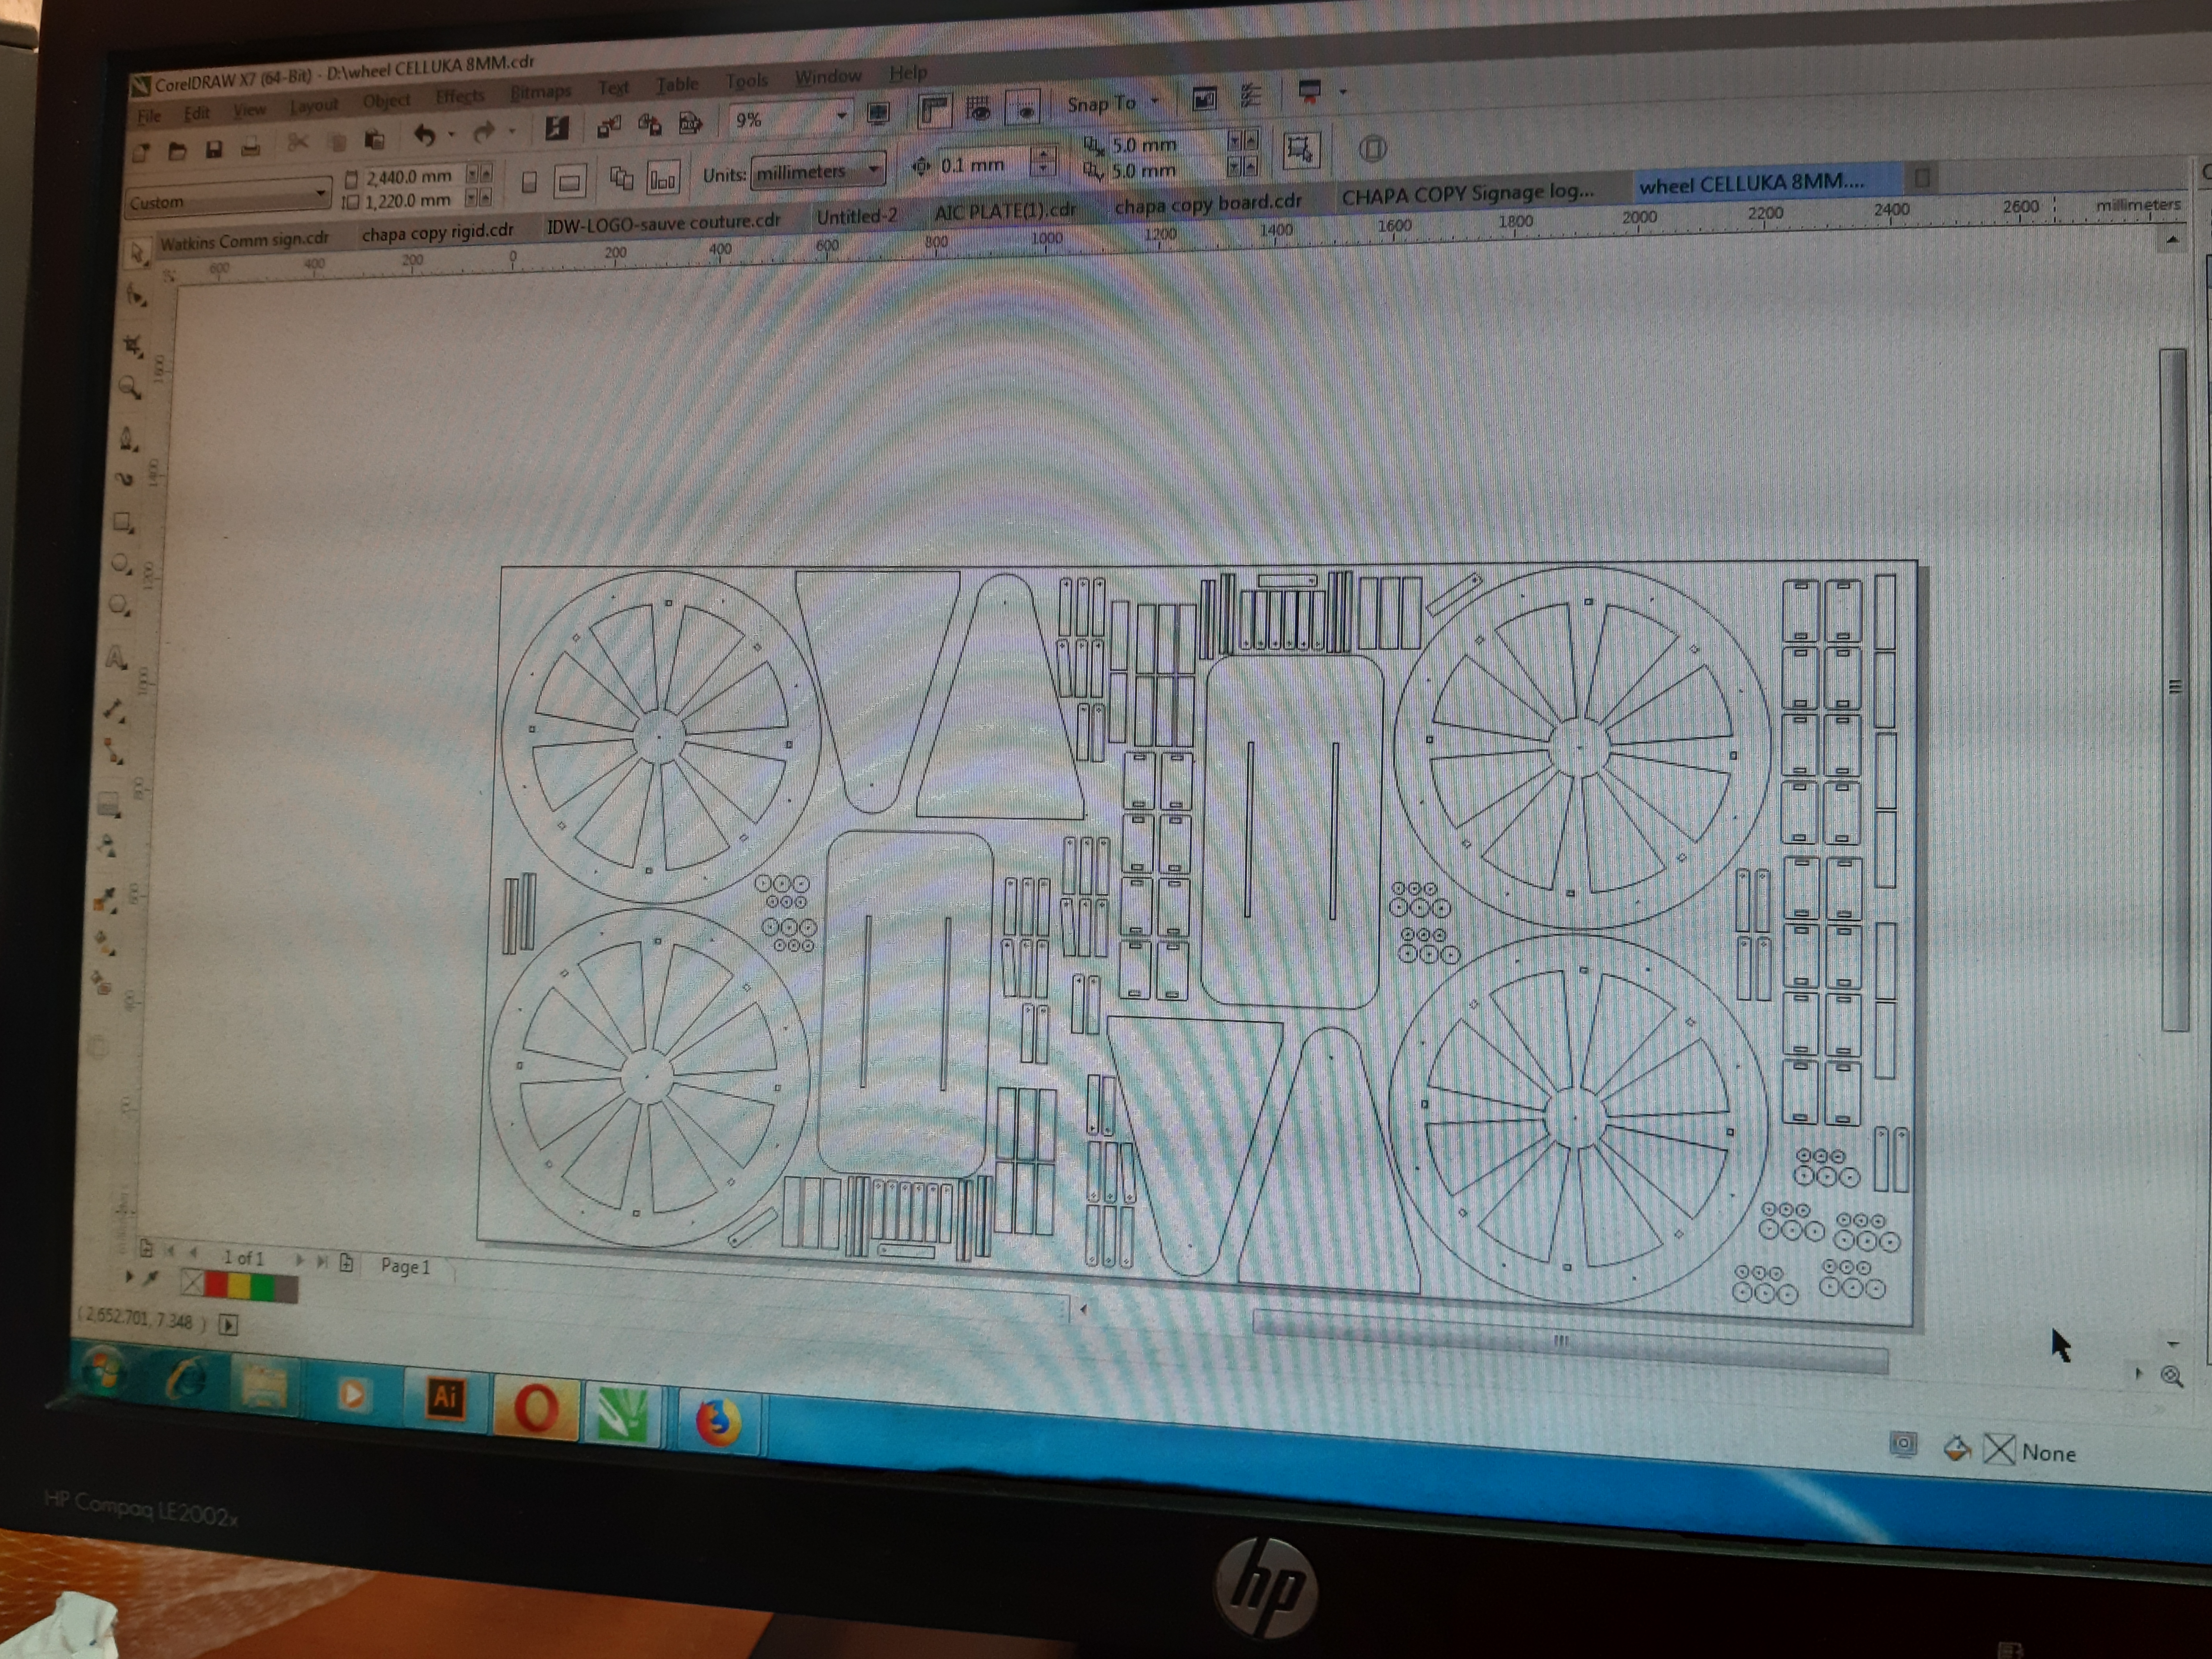
For the fabrication of the parts, I used the CNC router which directly took codes from another software known as CorelDraw. This prompted me to convert and download the files from ONSHAPE in DWG format(as other formarts such as DXF would distort the drawings)
The shapes were then organised on a 8ft by 4ft white AlucoBoard(also refered to as Forex Board), which is basically a softer but relatively strong version of PVC plastic.
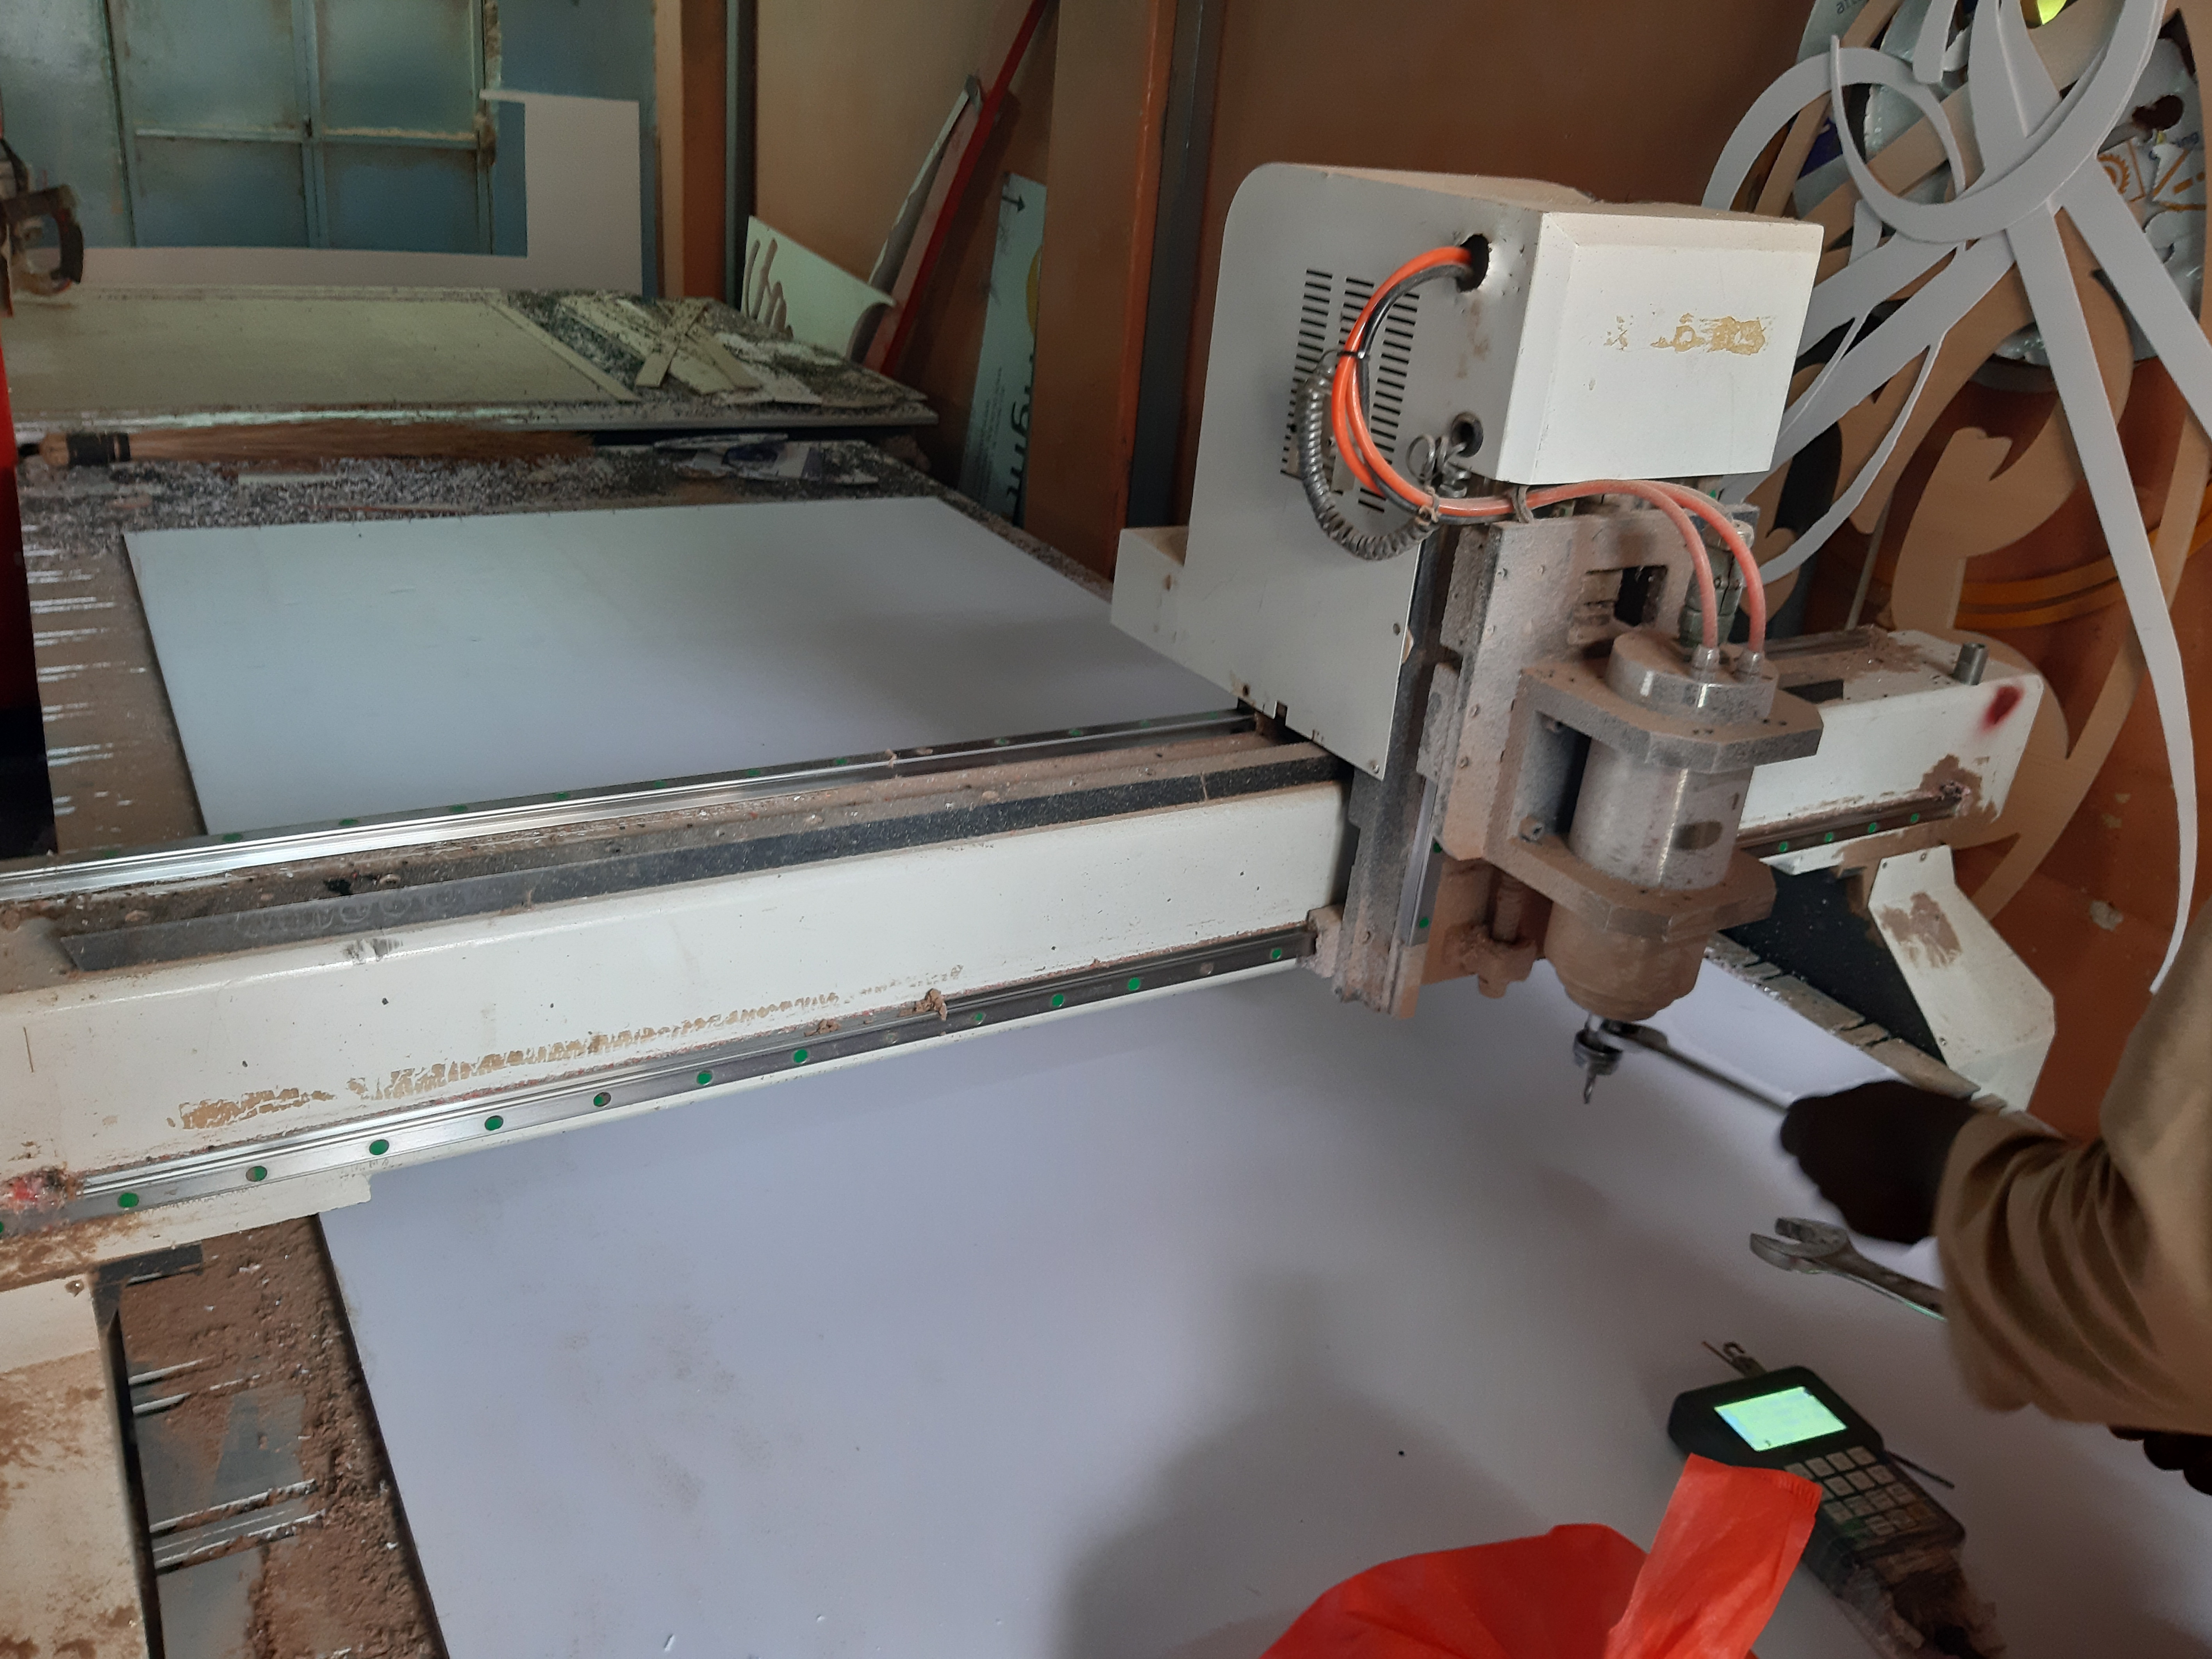
I then set up the AlucoBoard on the CNC router machine using 3mm drill bit. and began machining. This took approximately 1 hour.
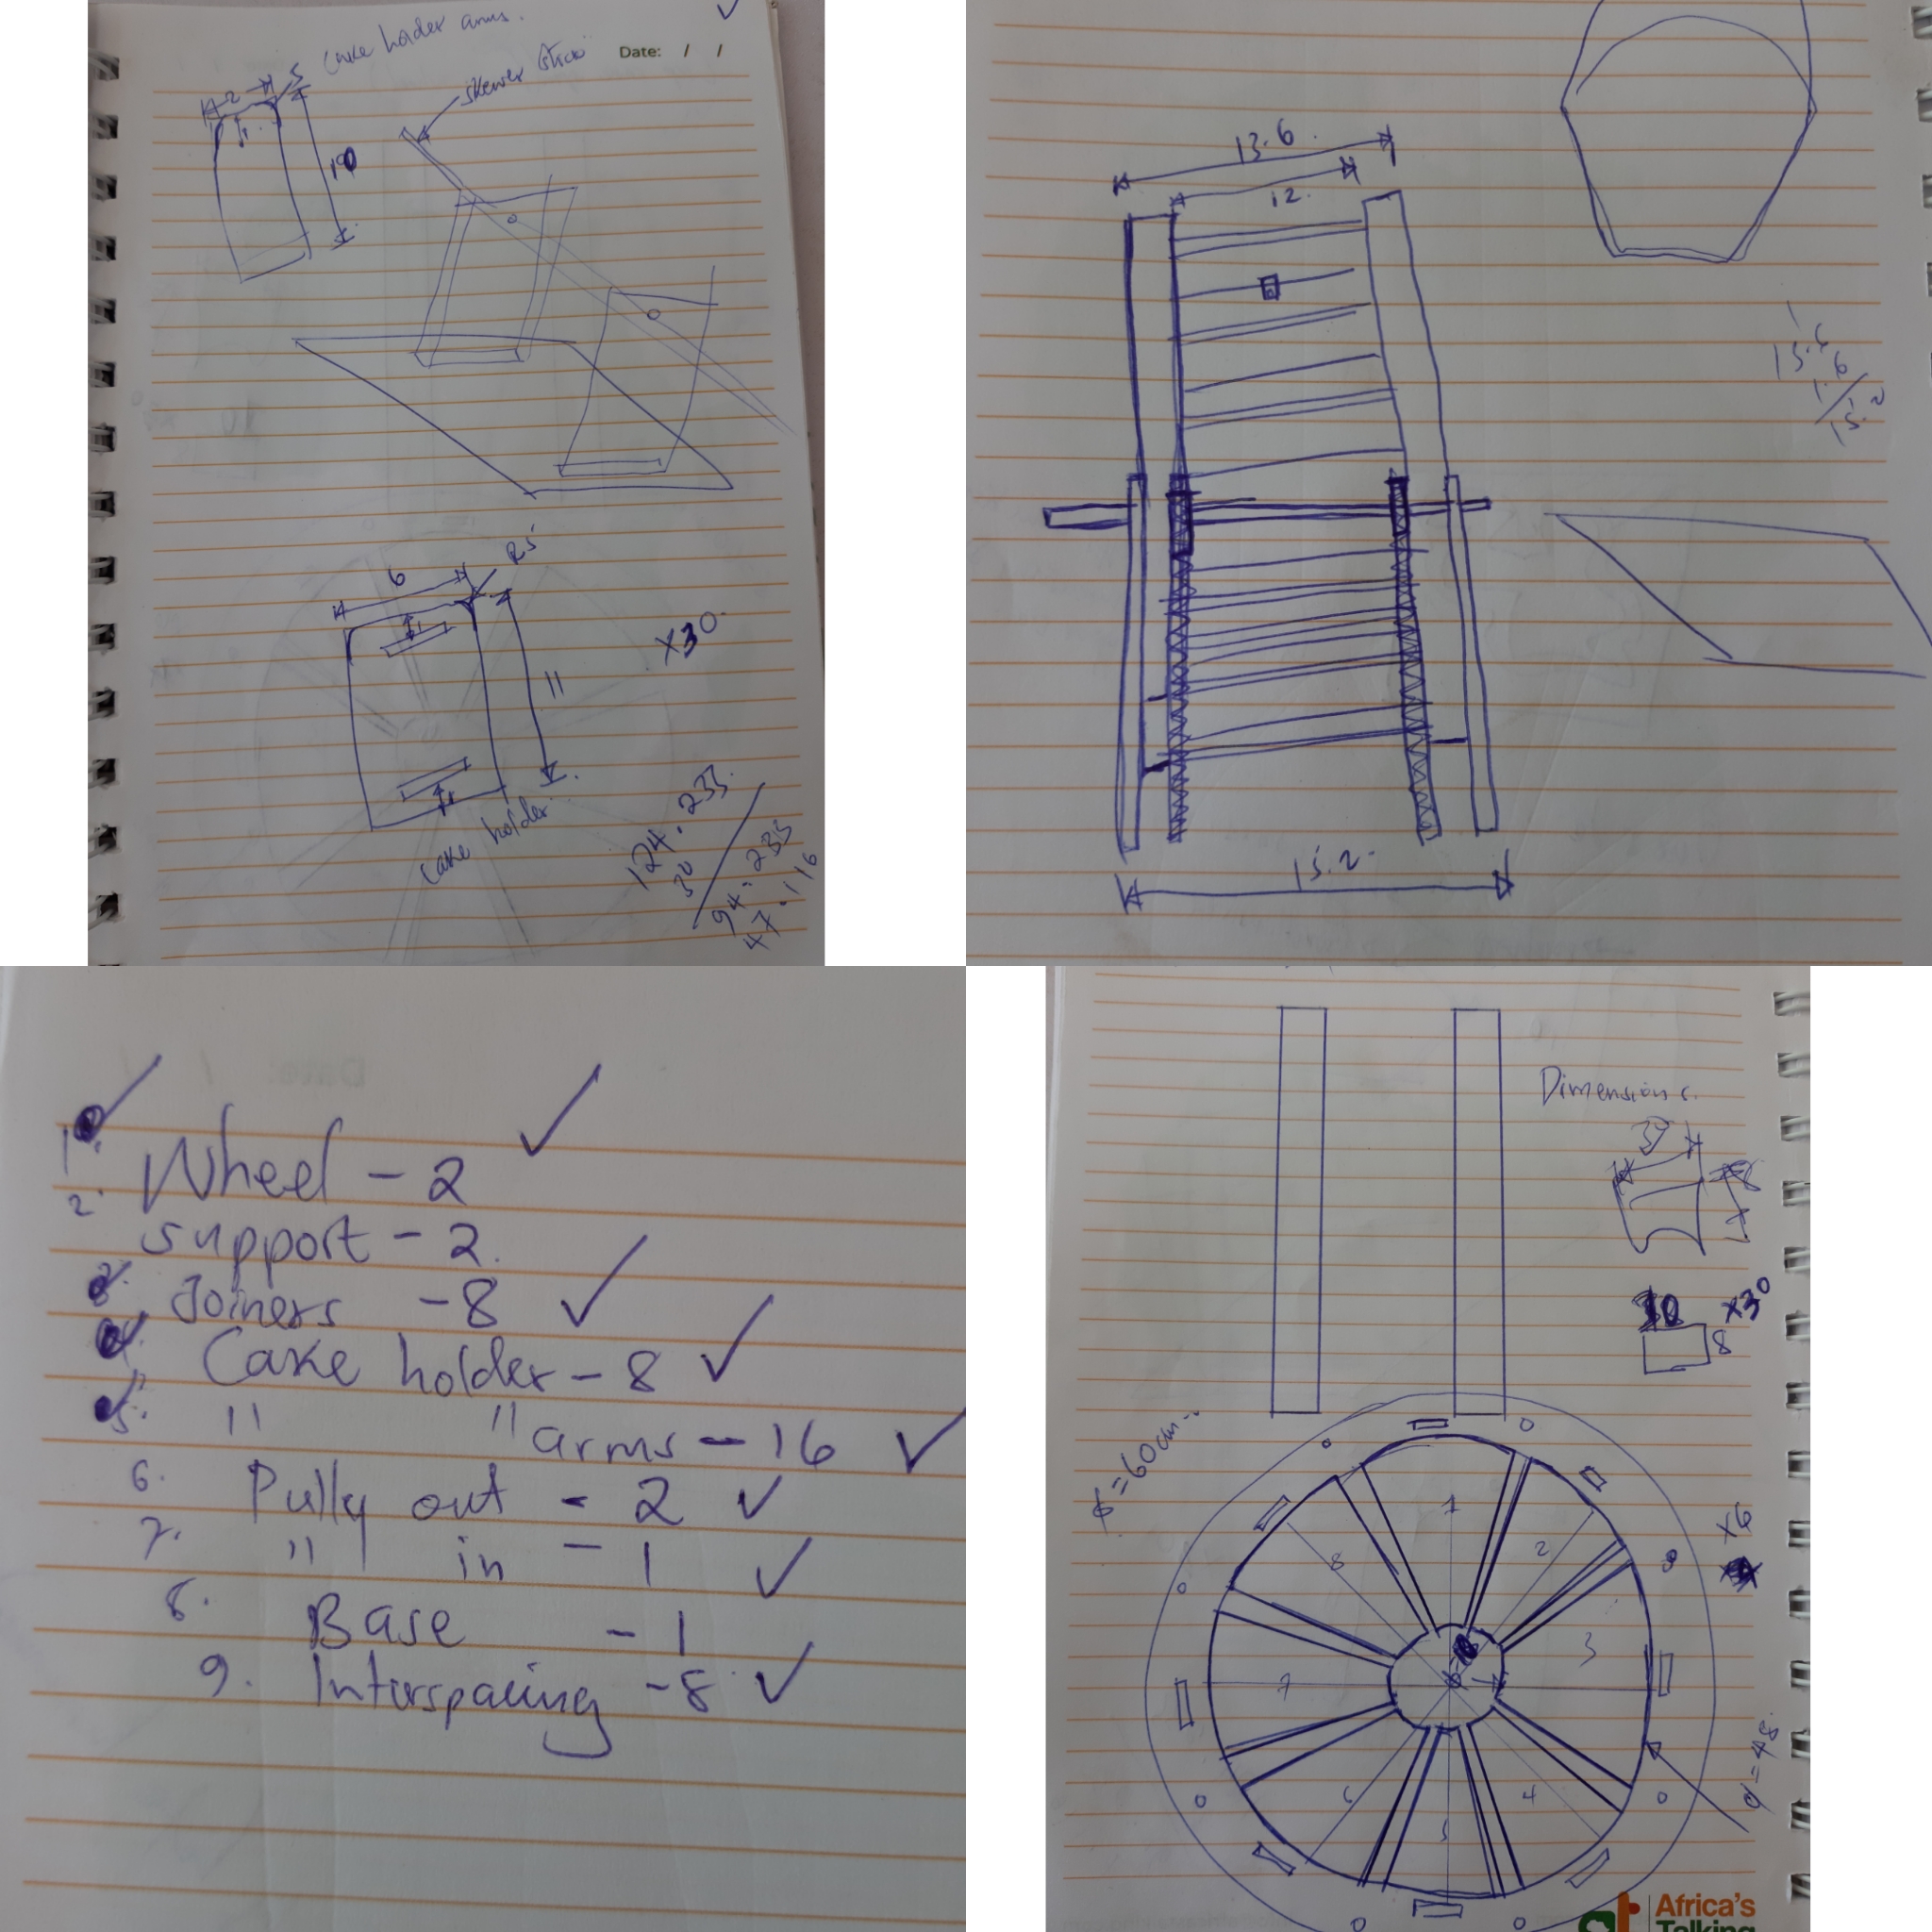
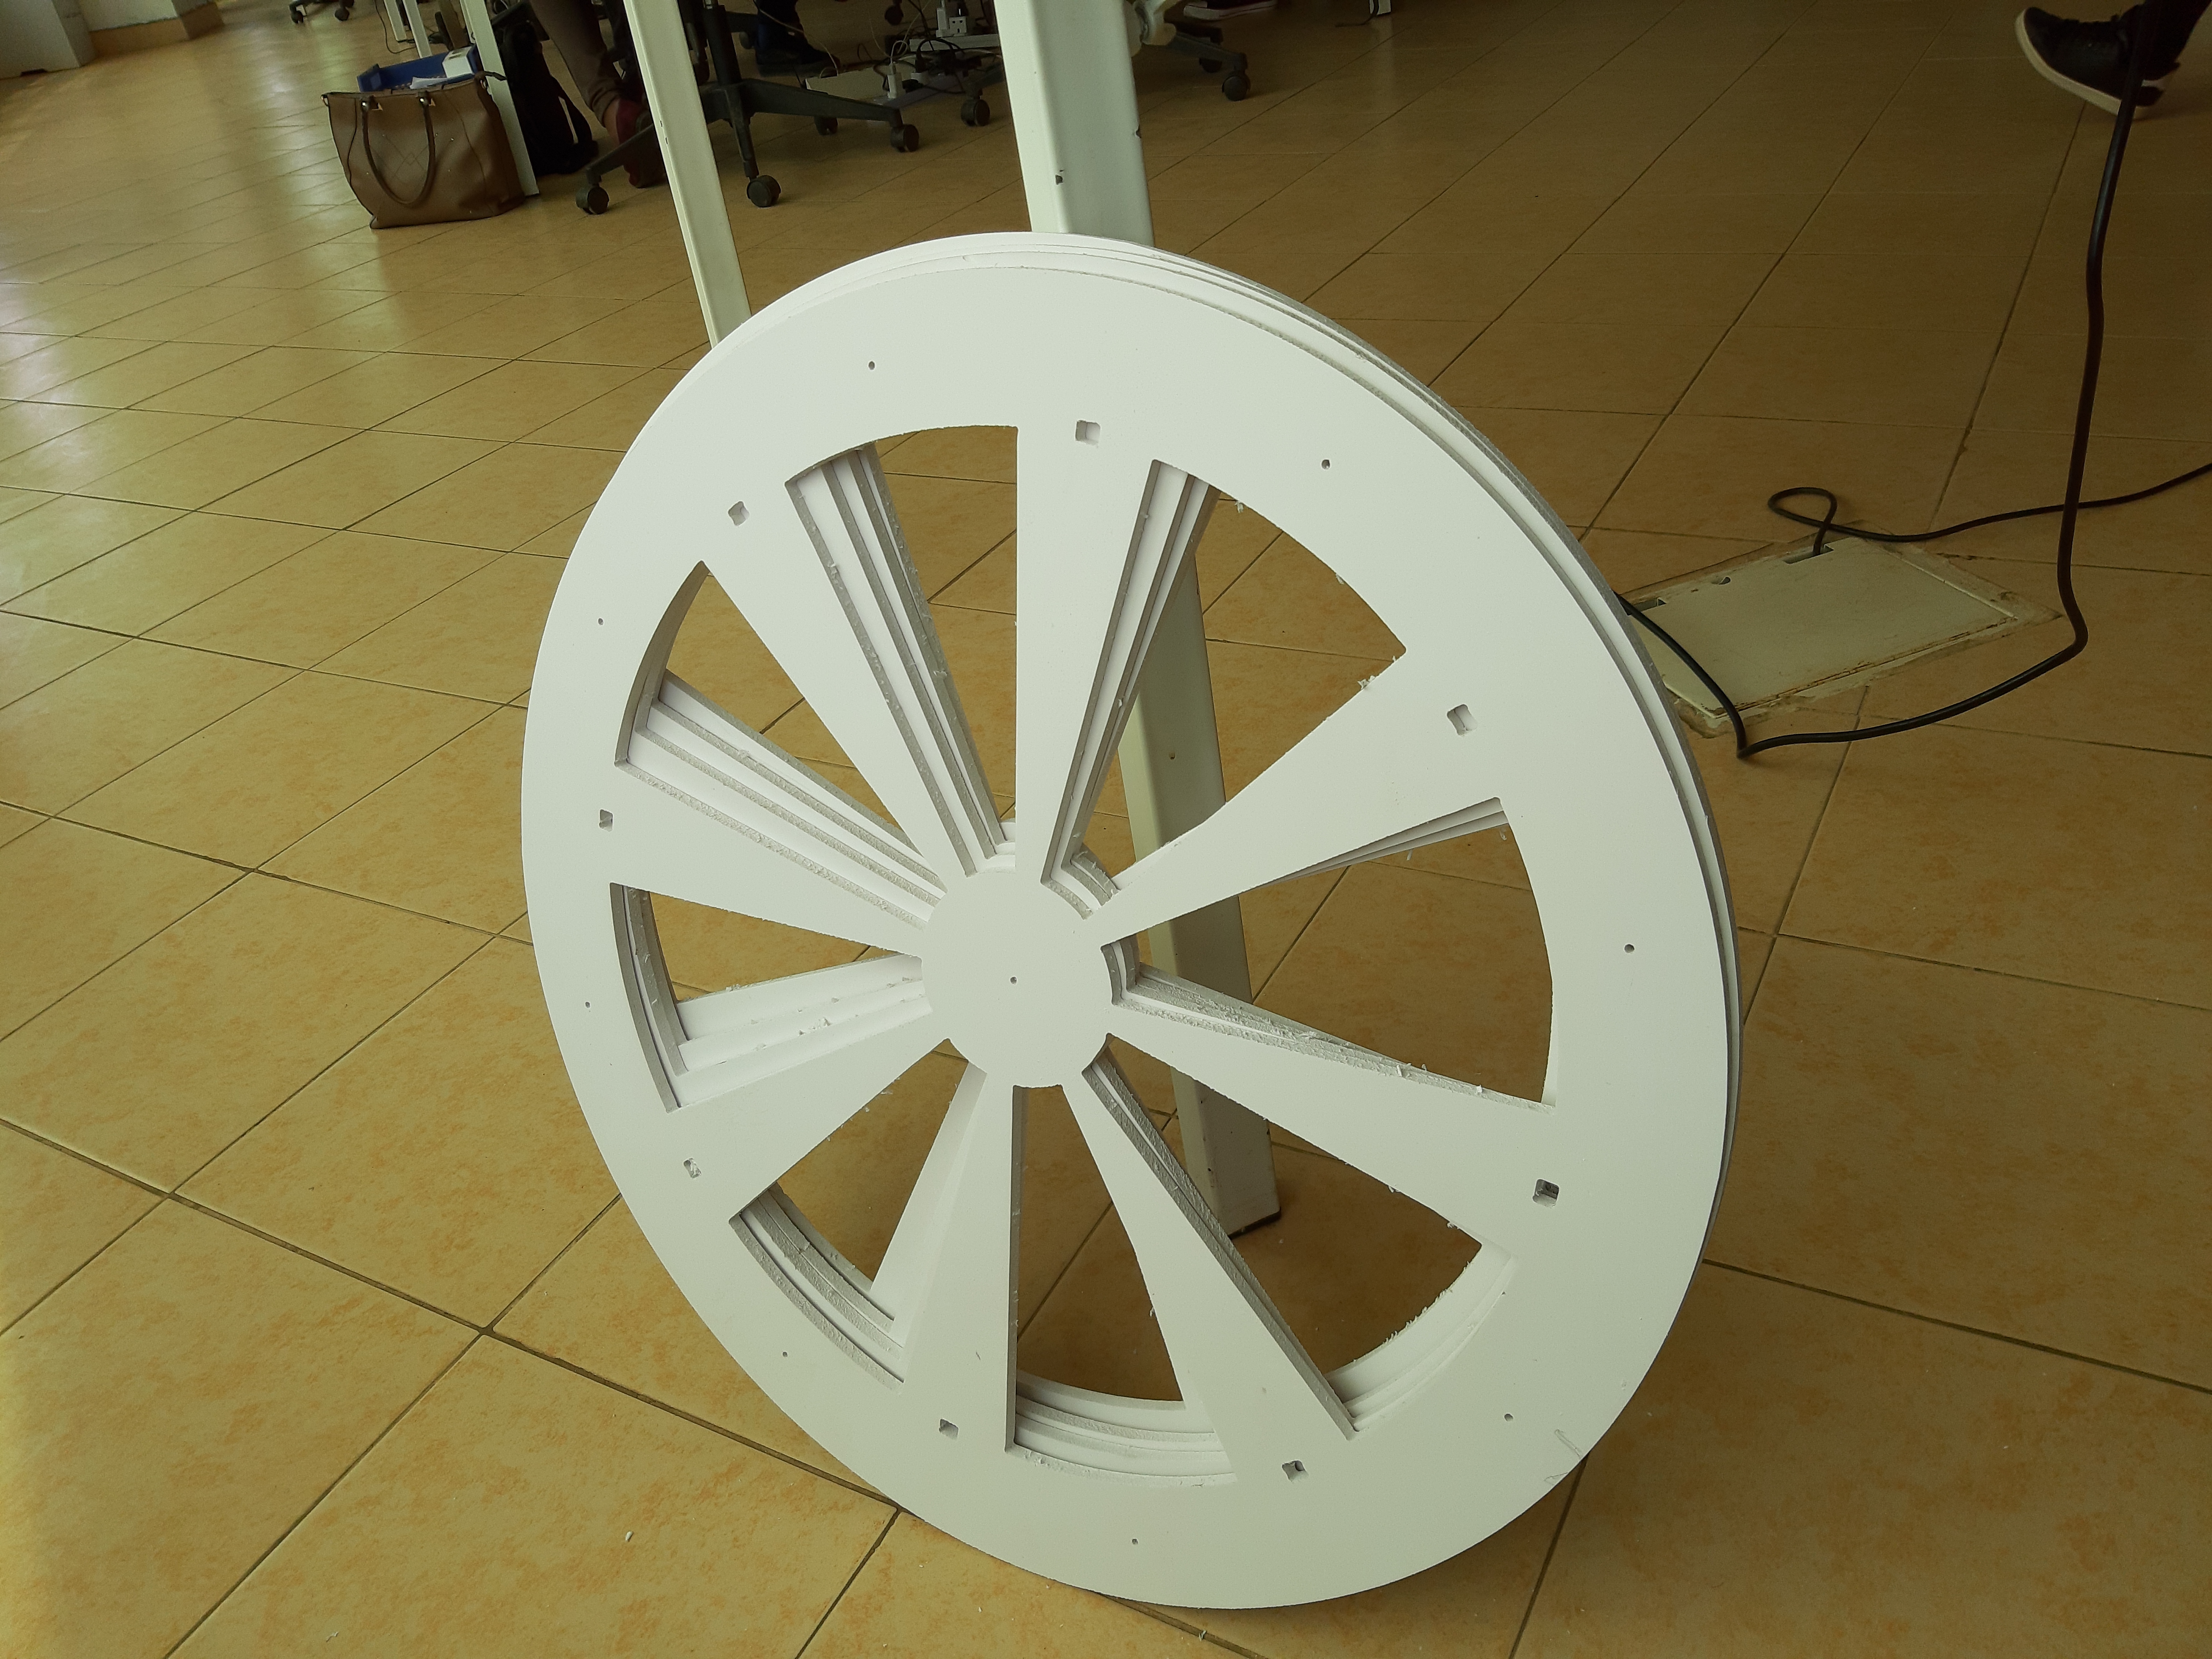
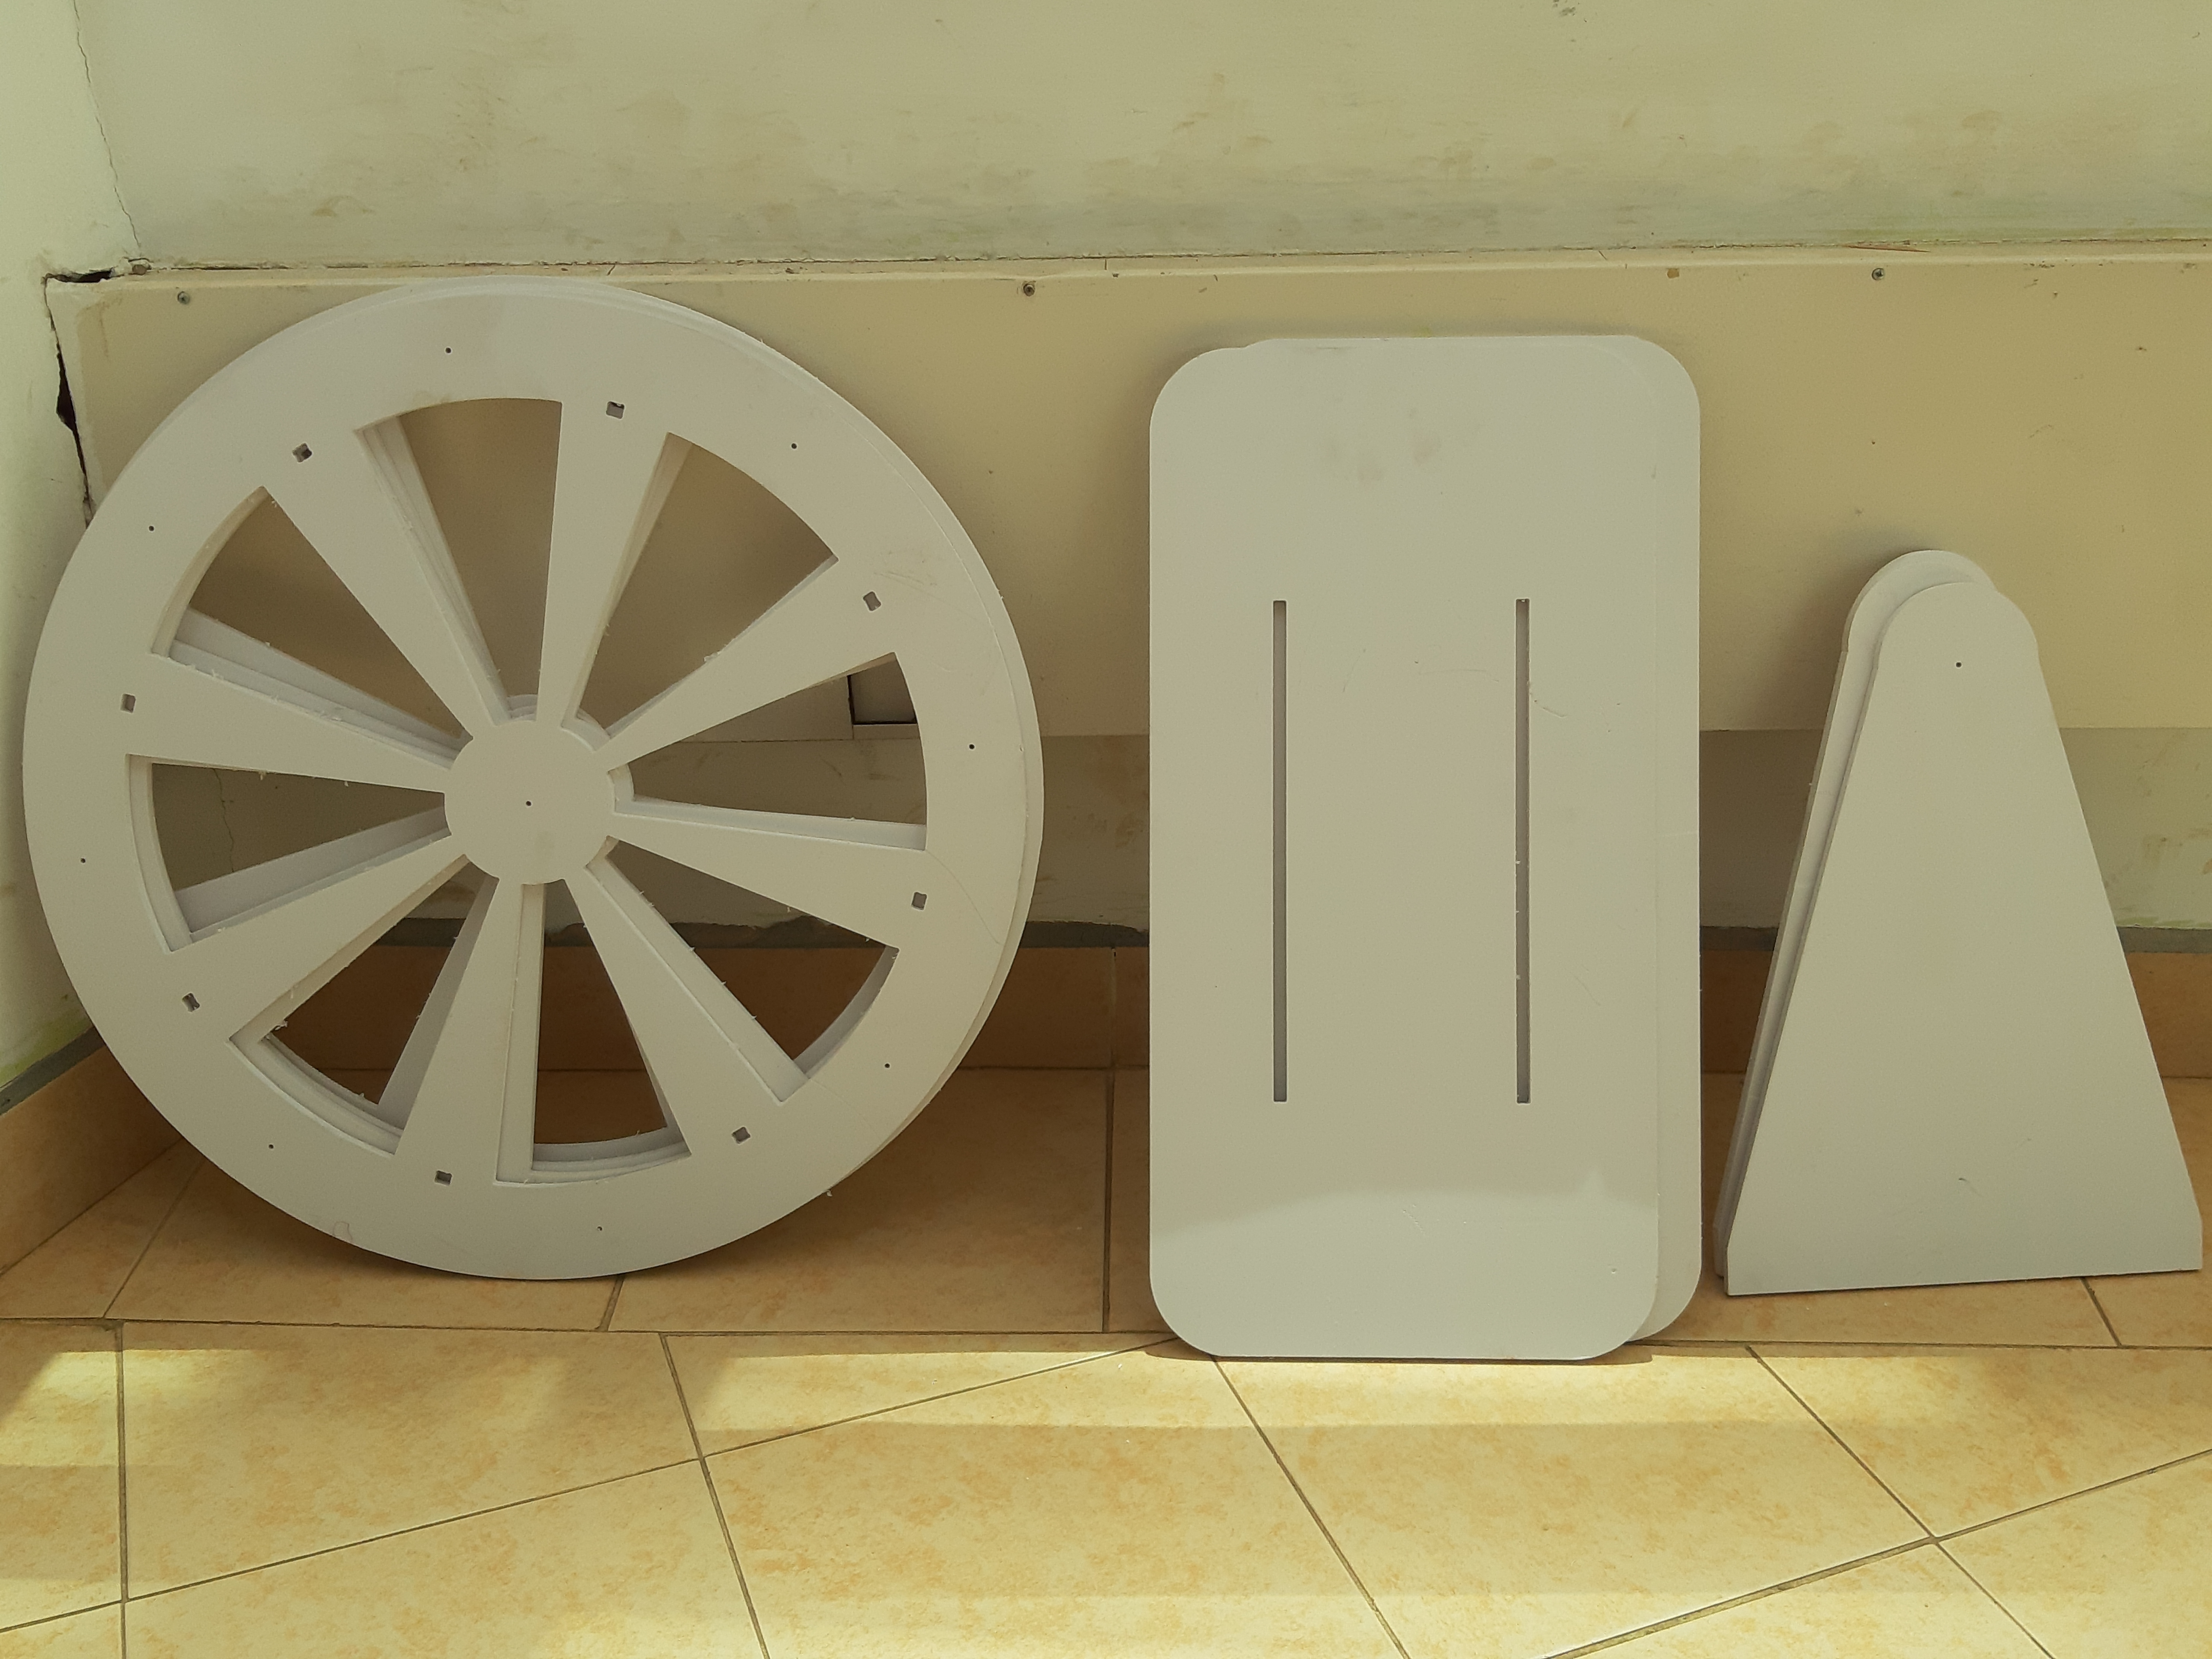
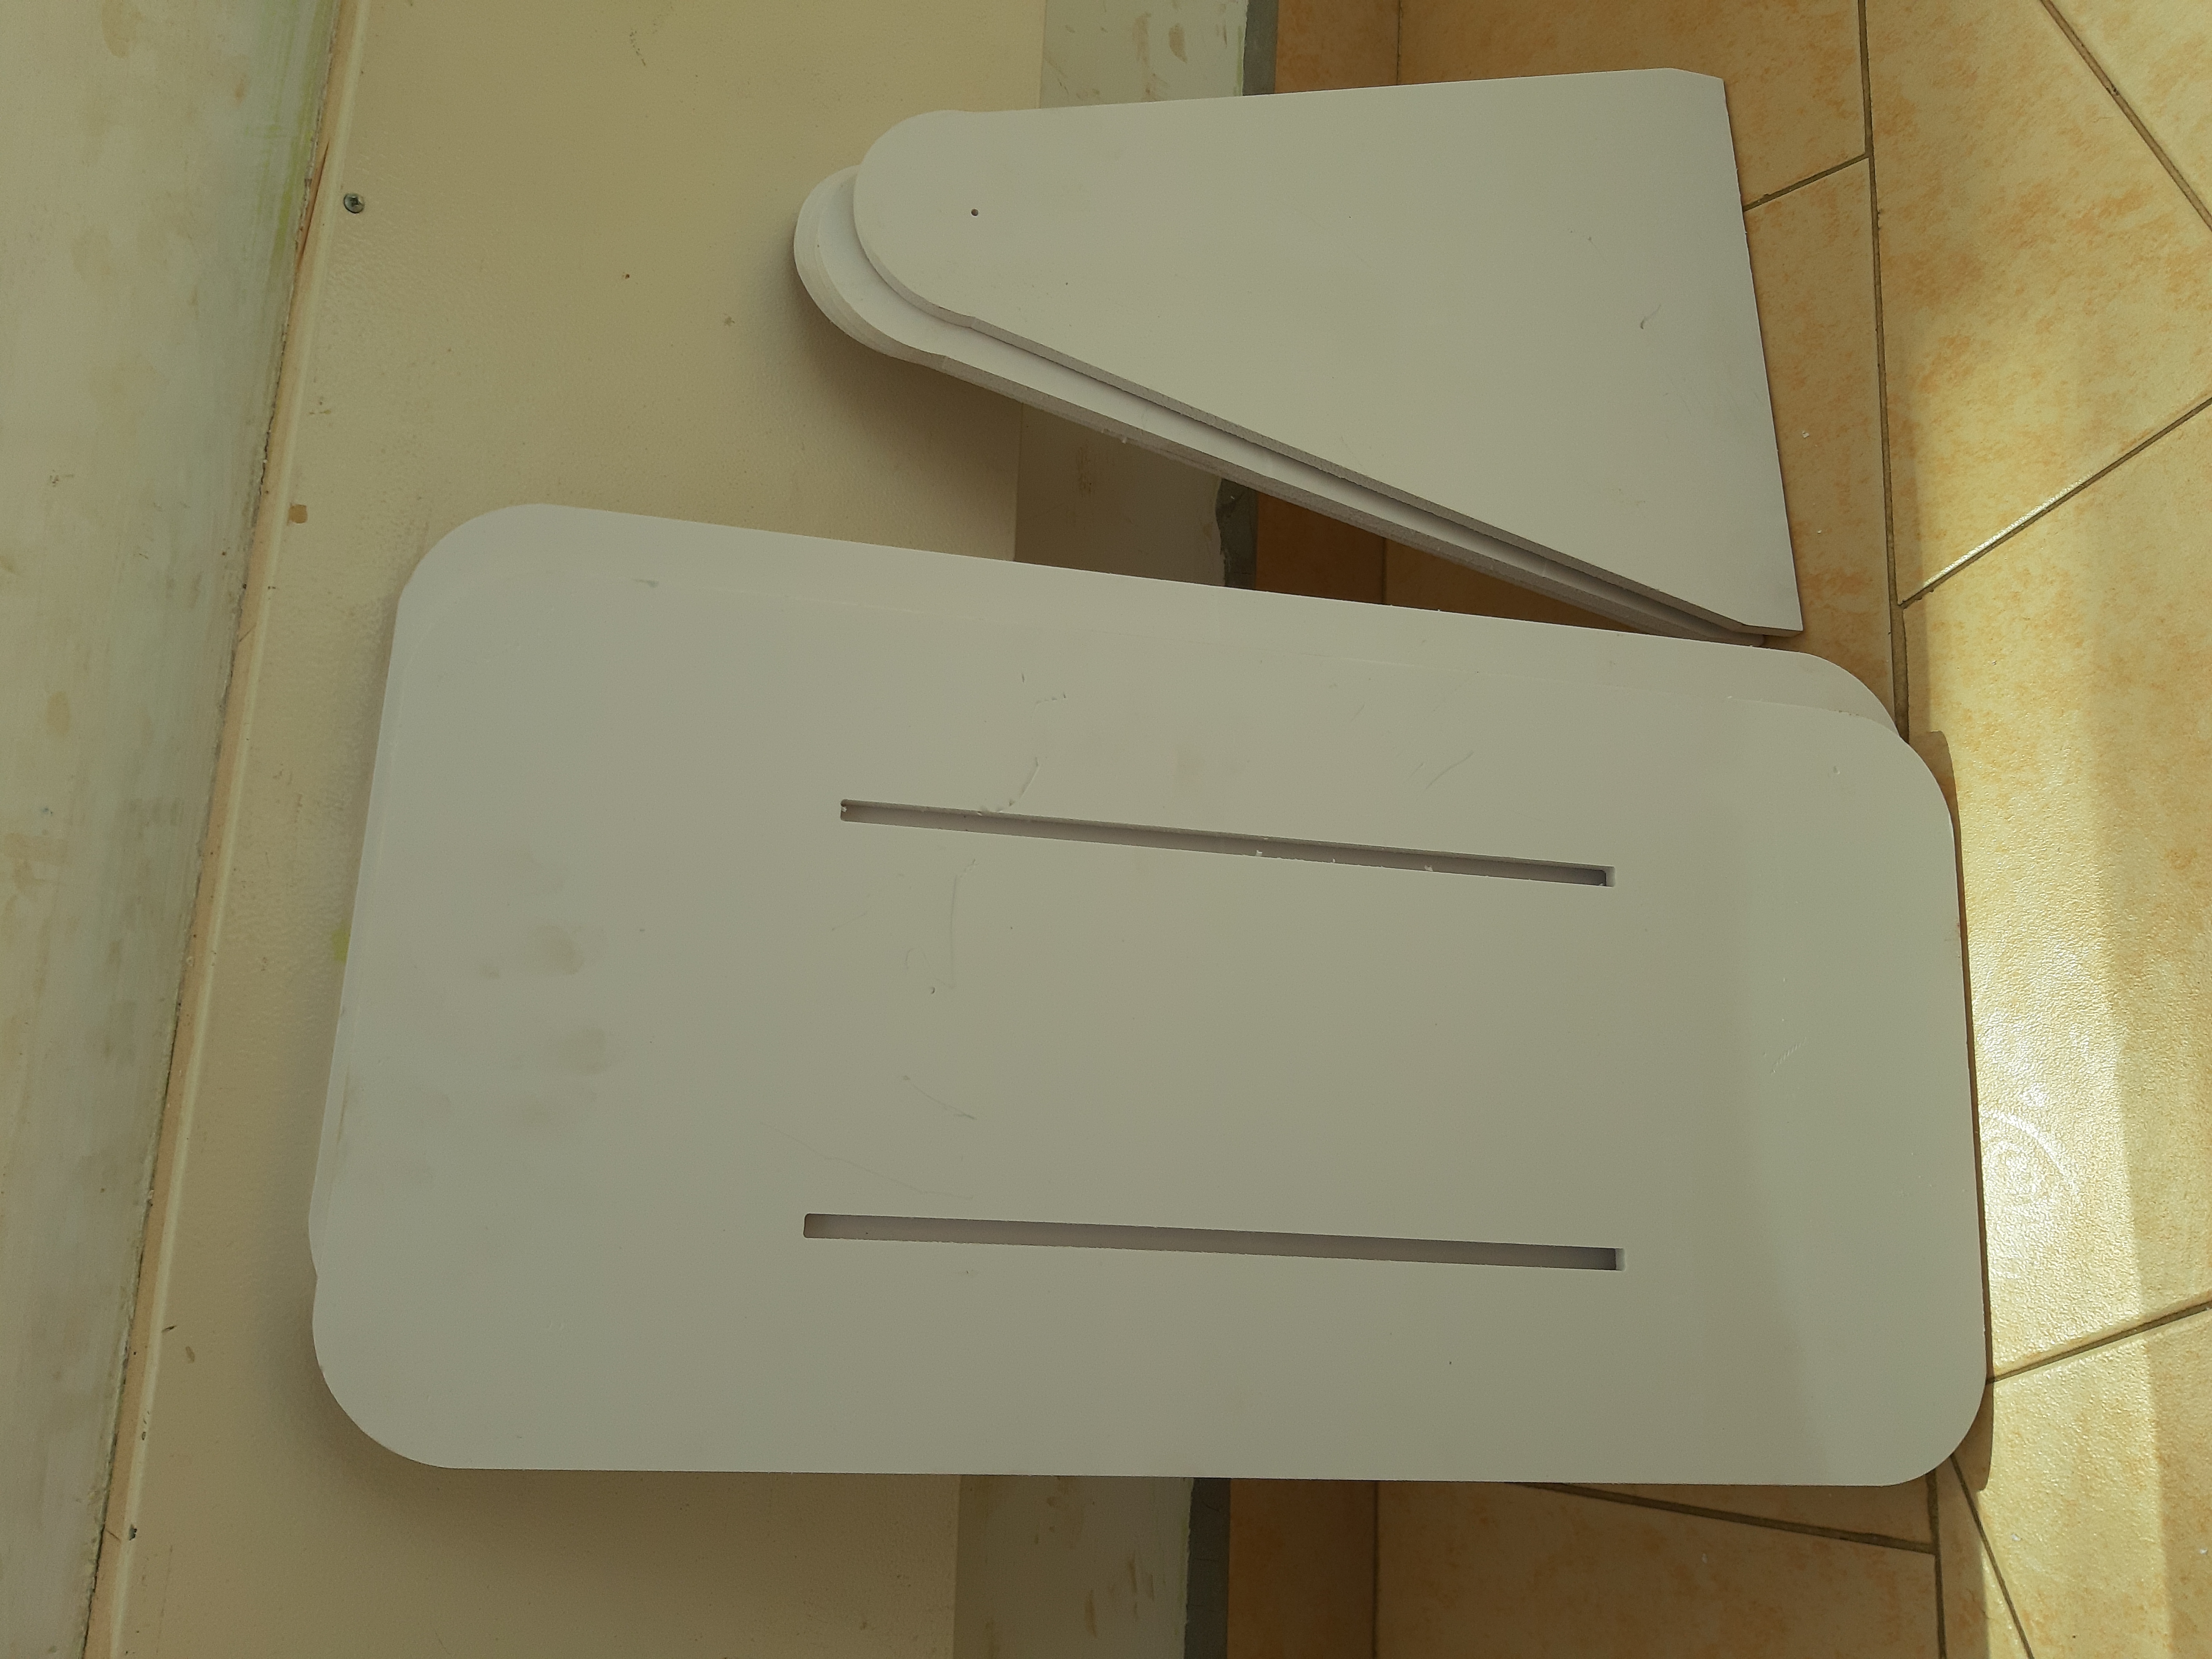
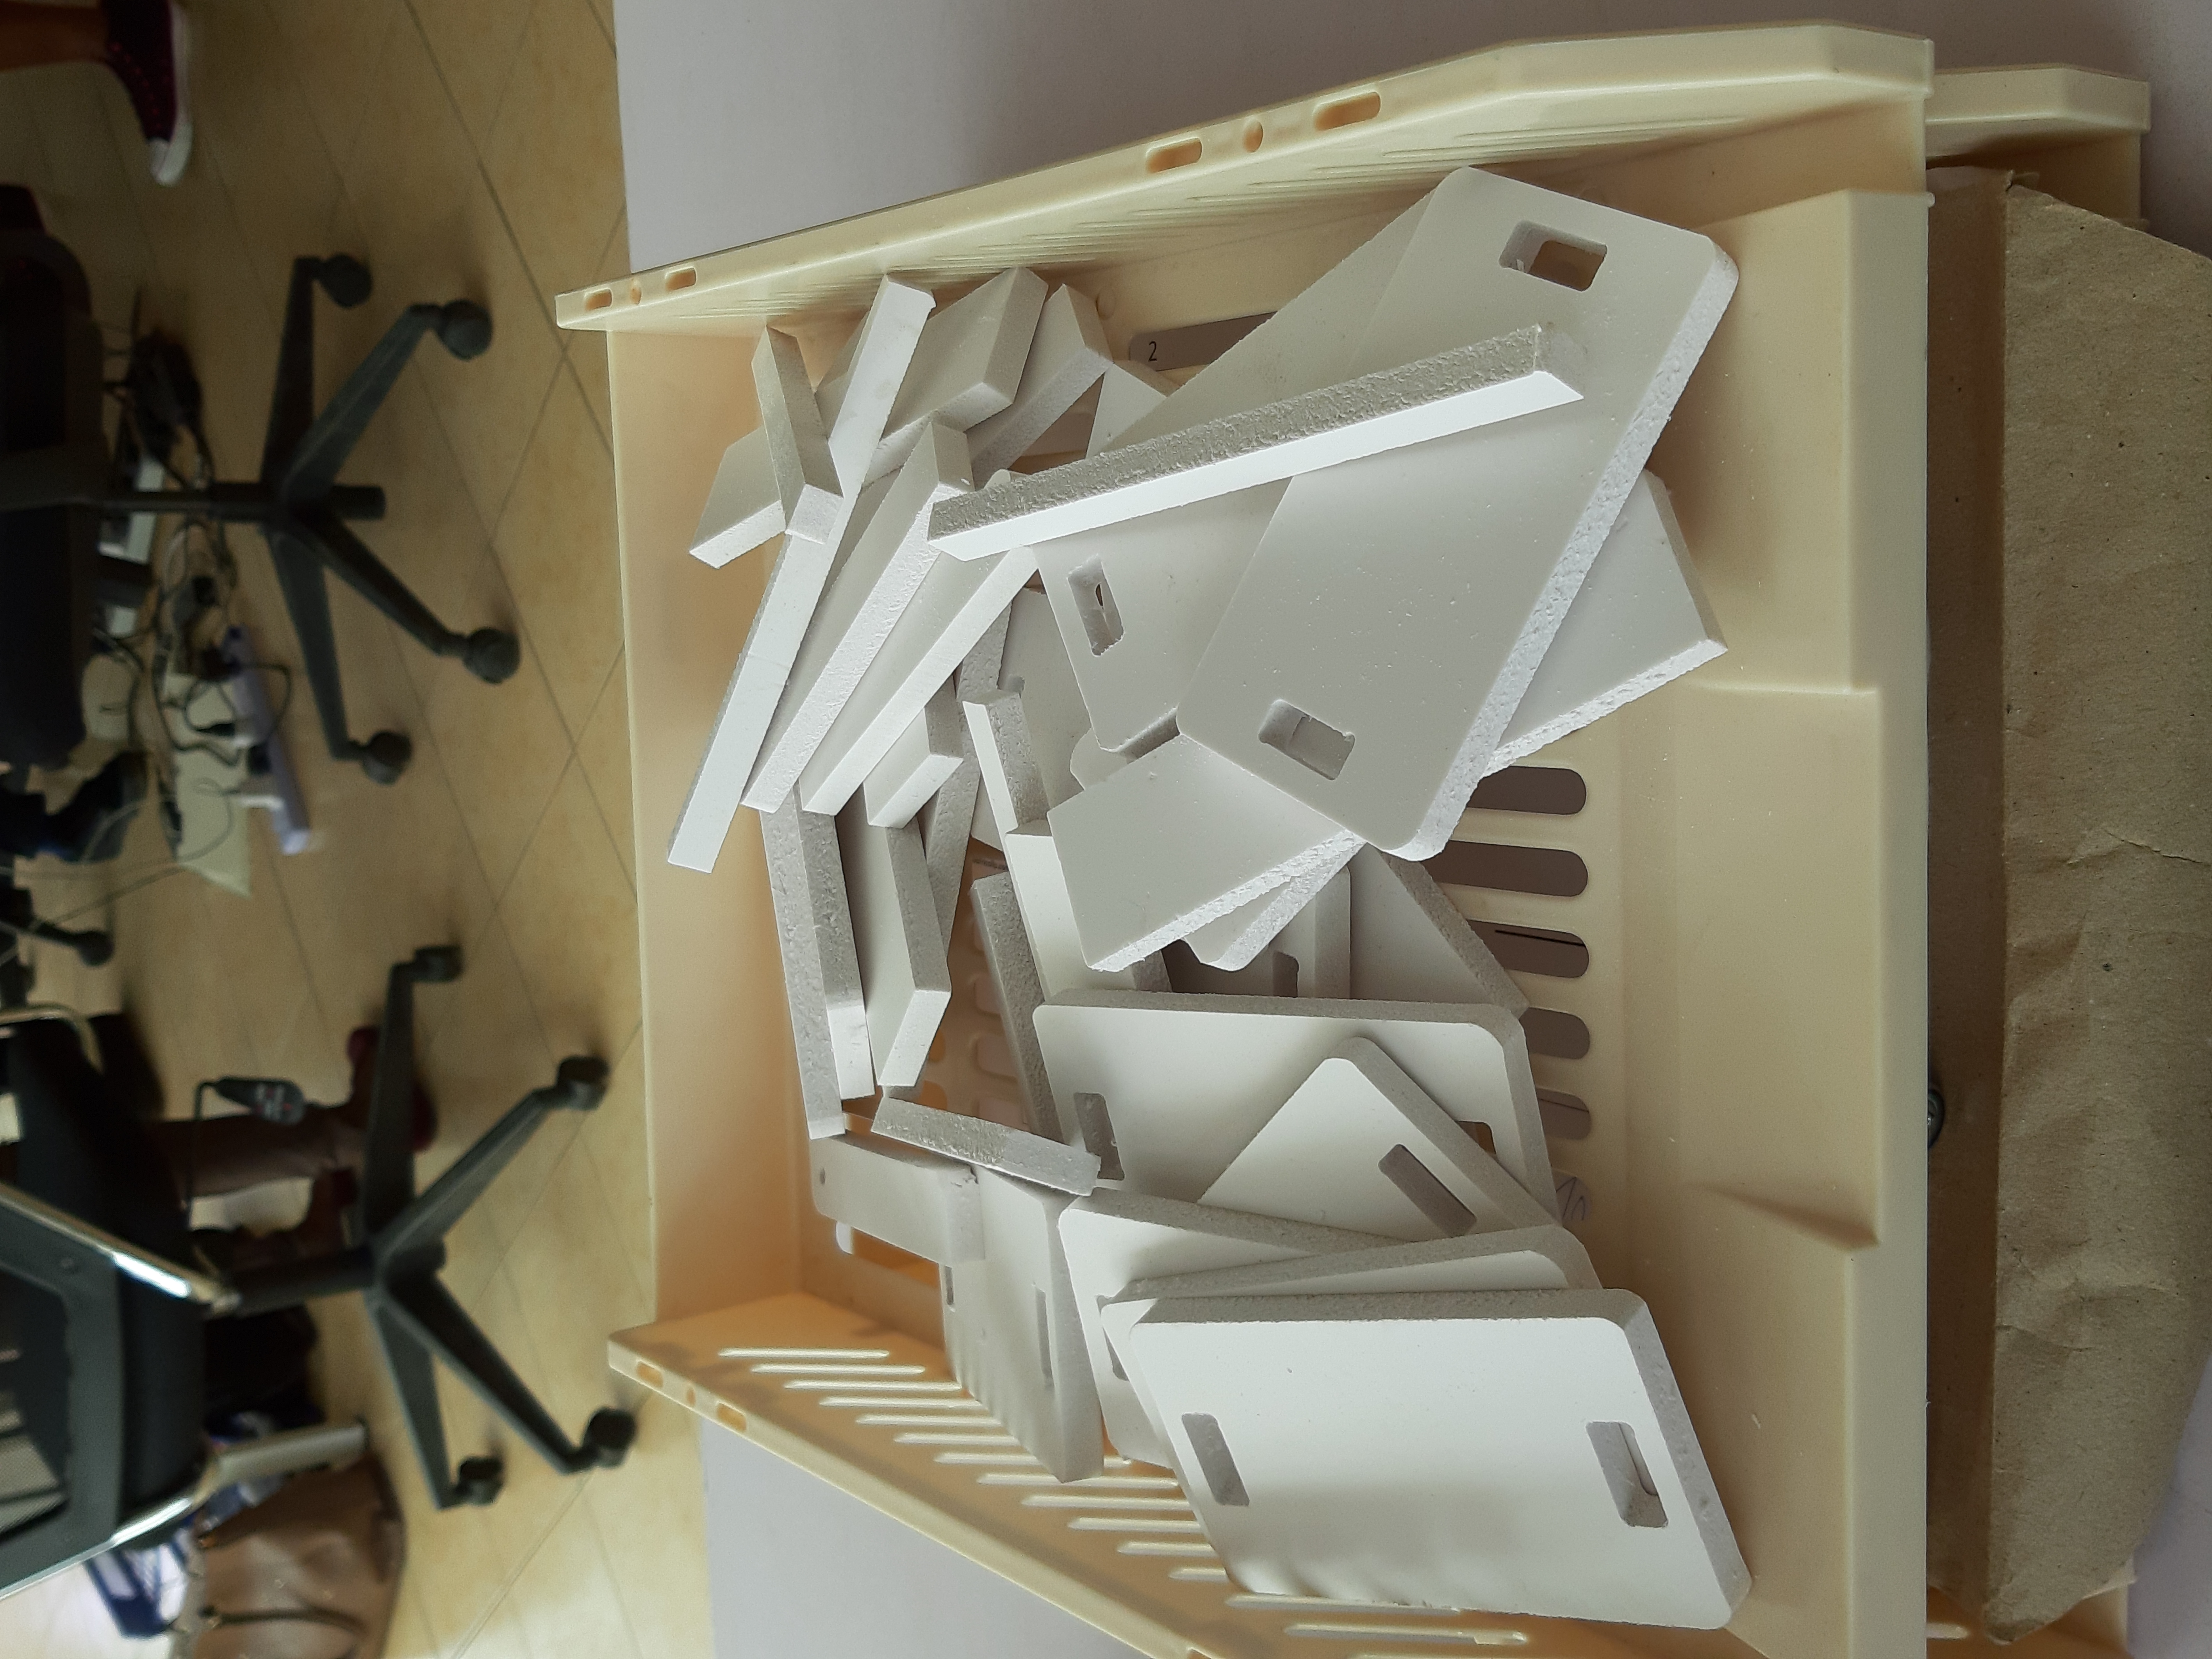
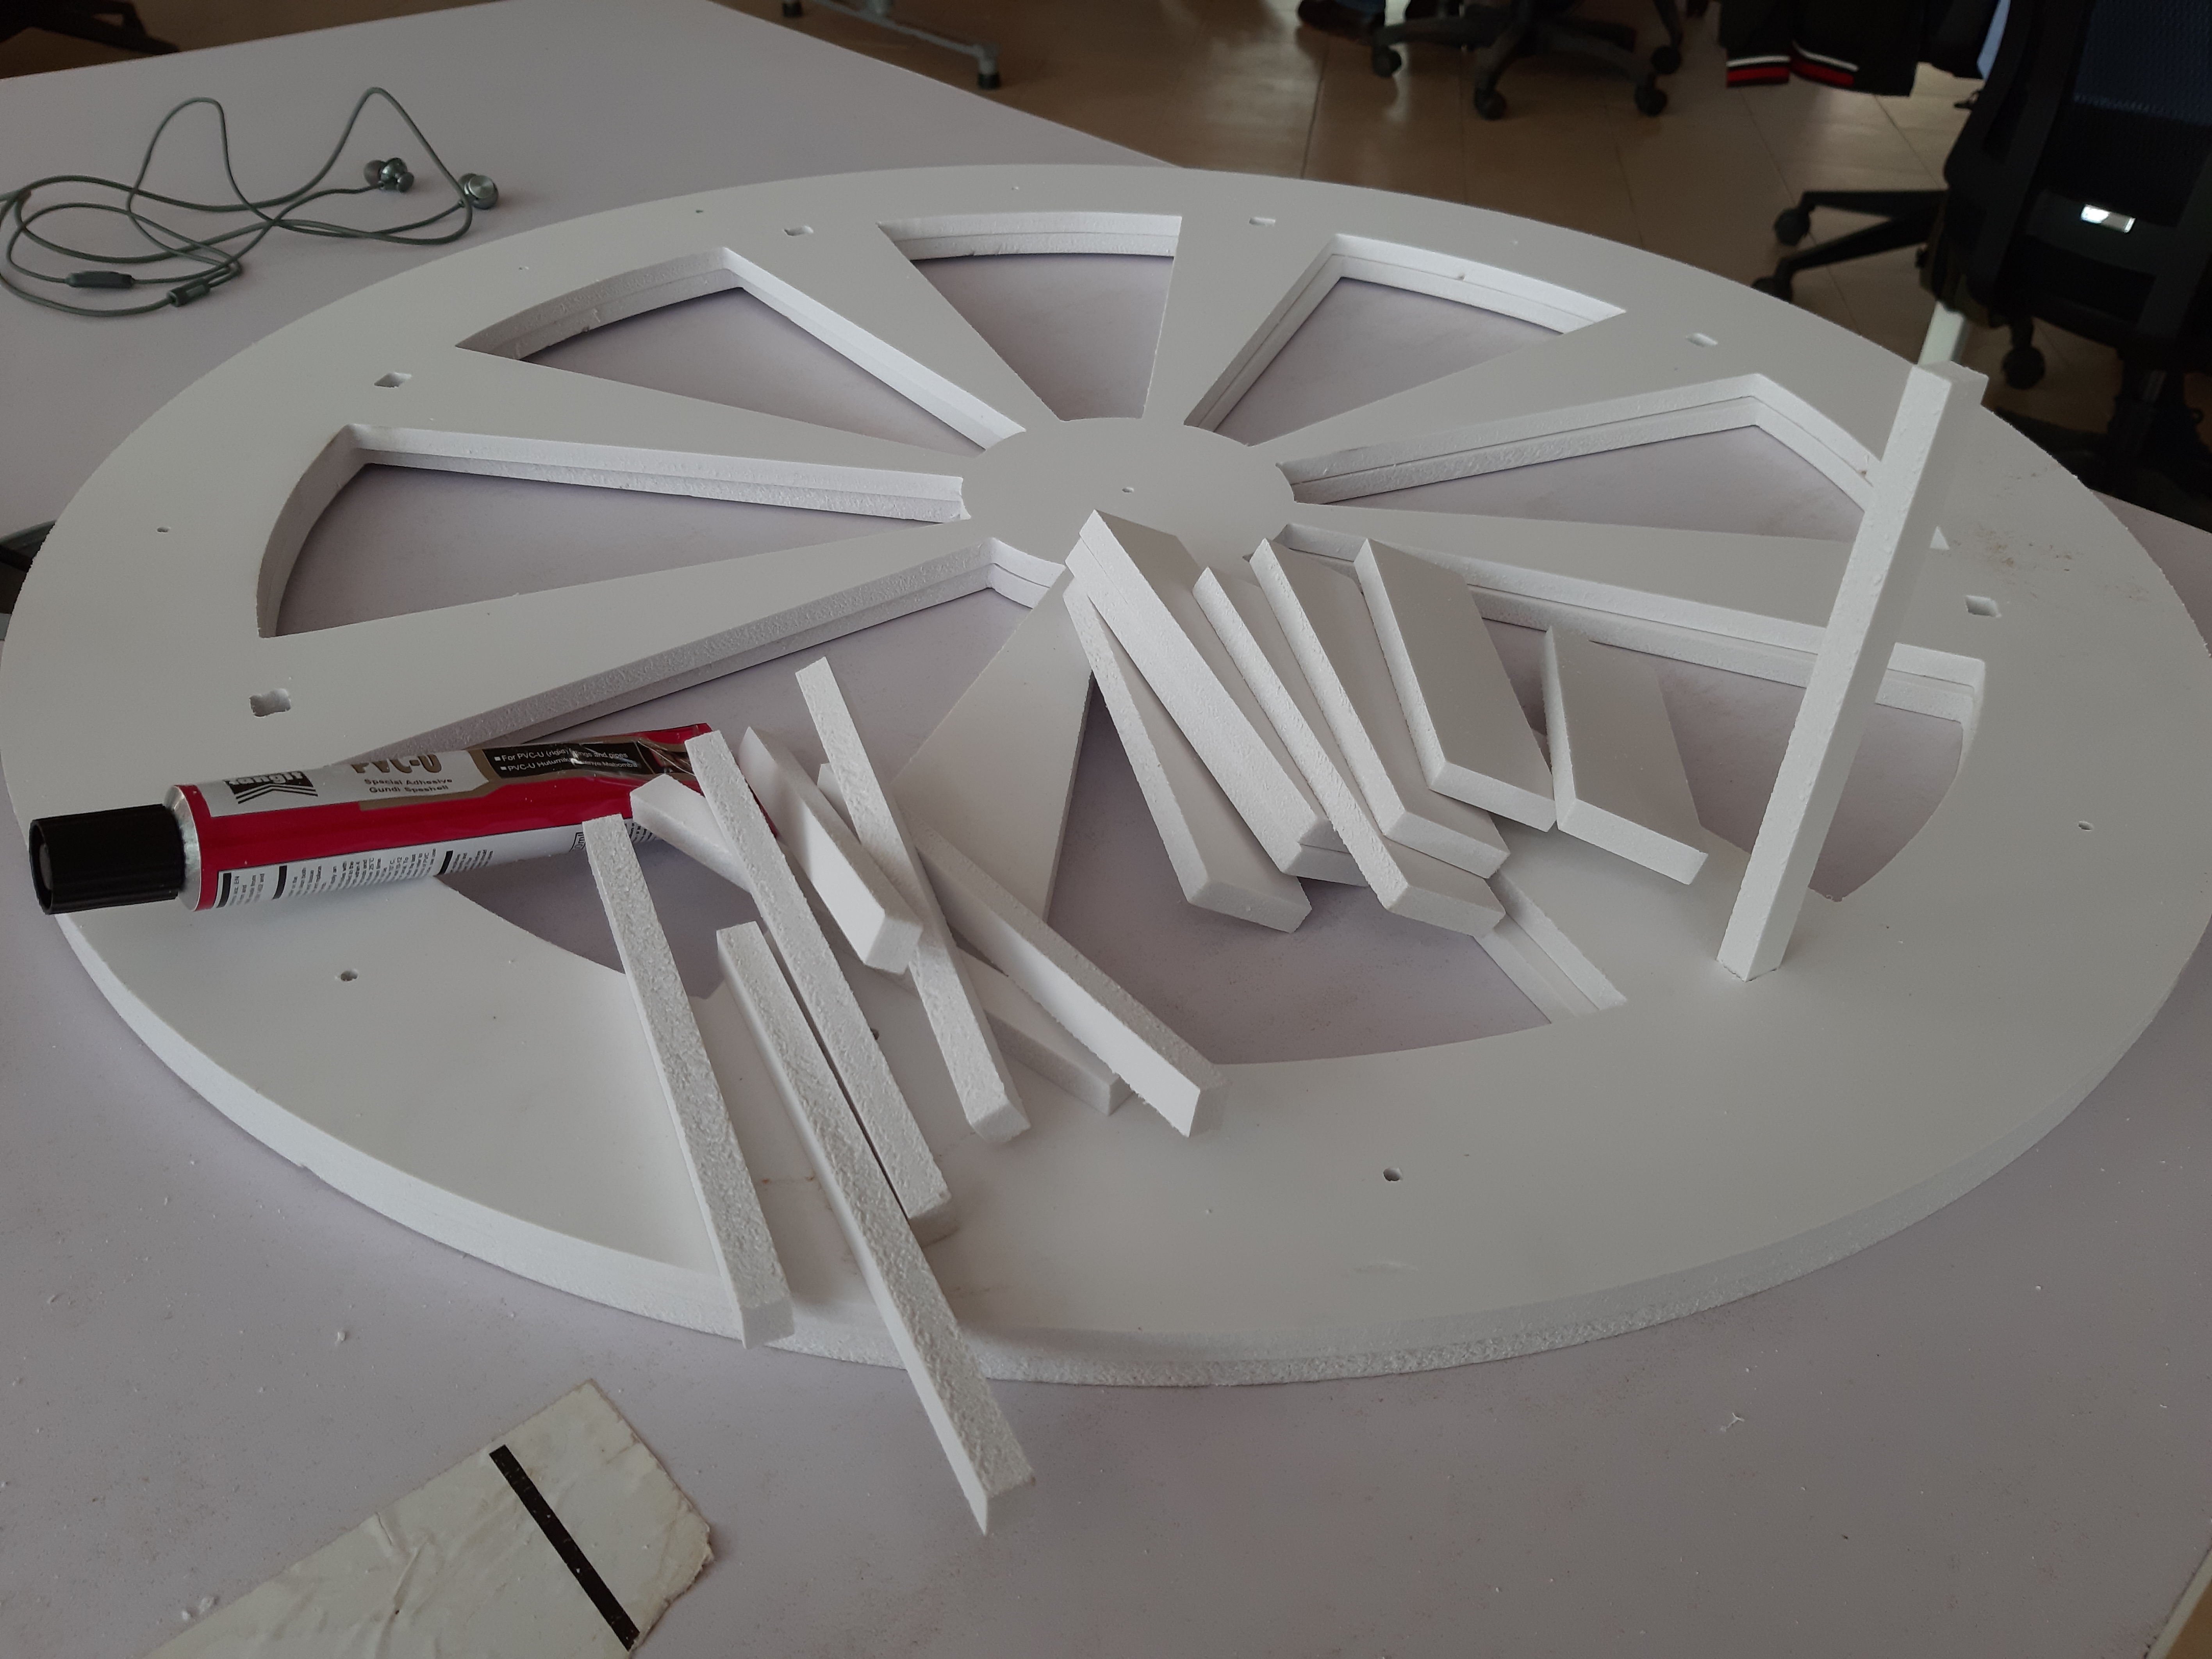
iii.Ferris Wheel Parts:
iv.Assembly:
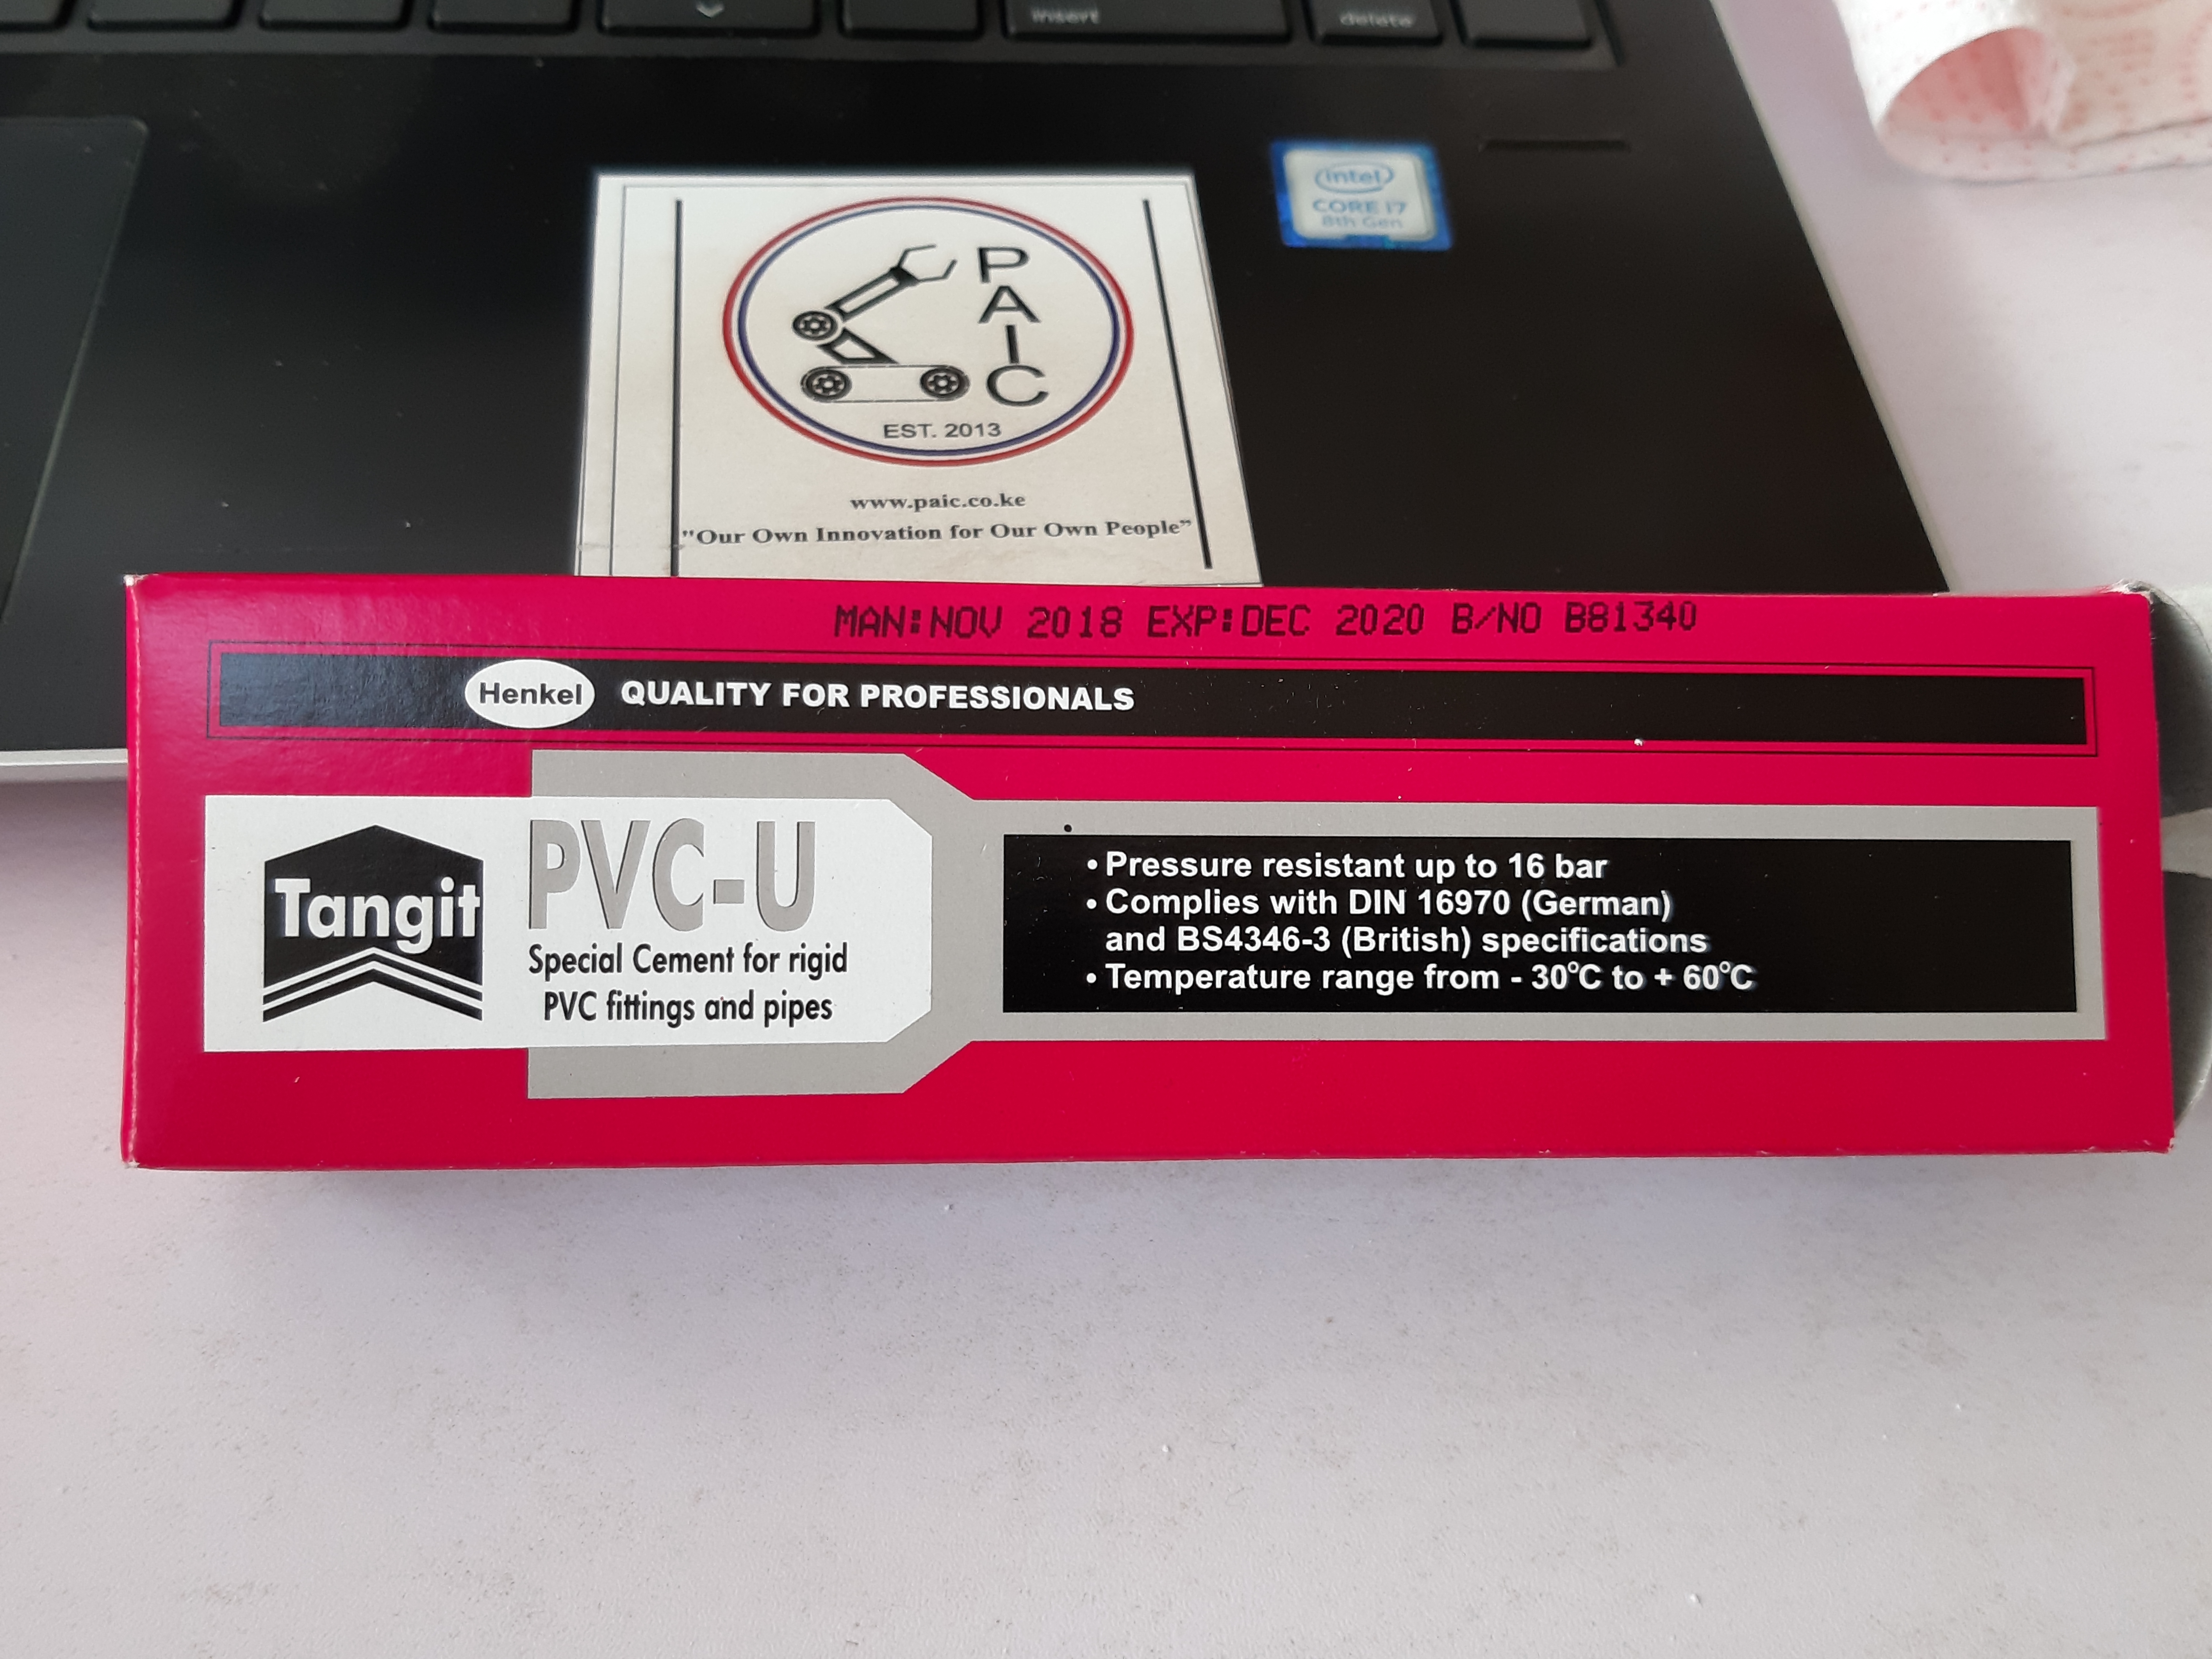
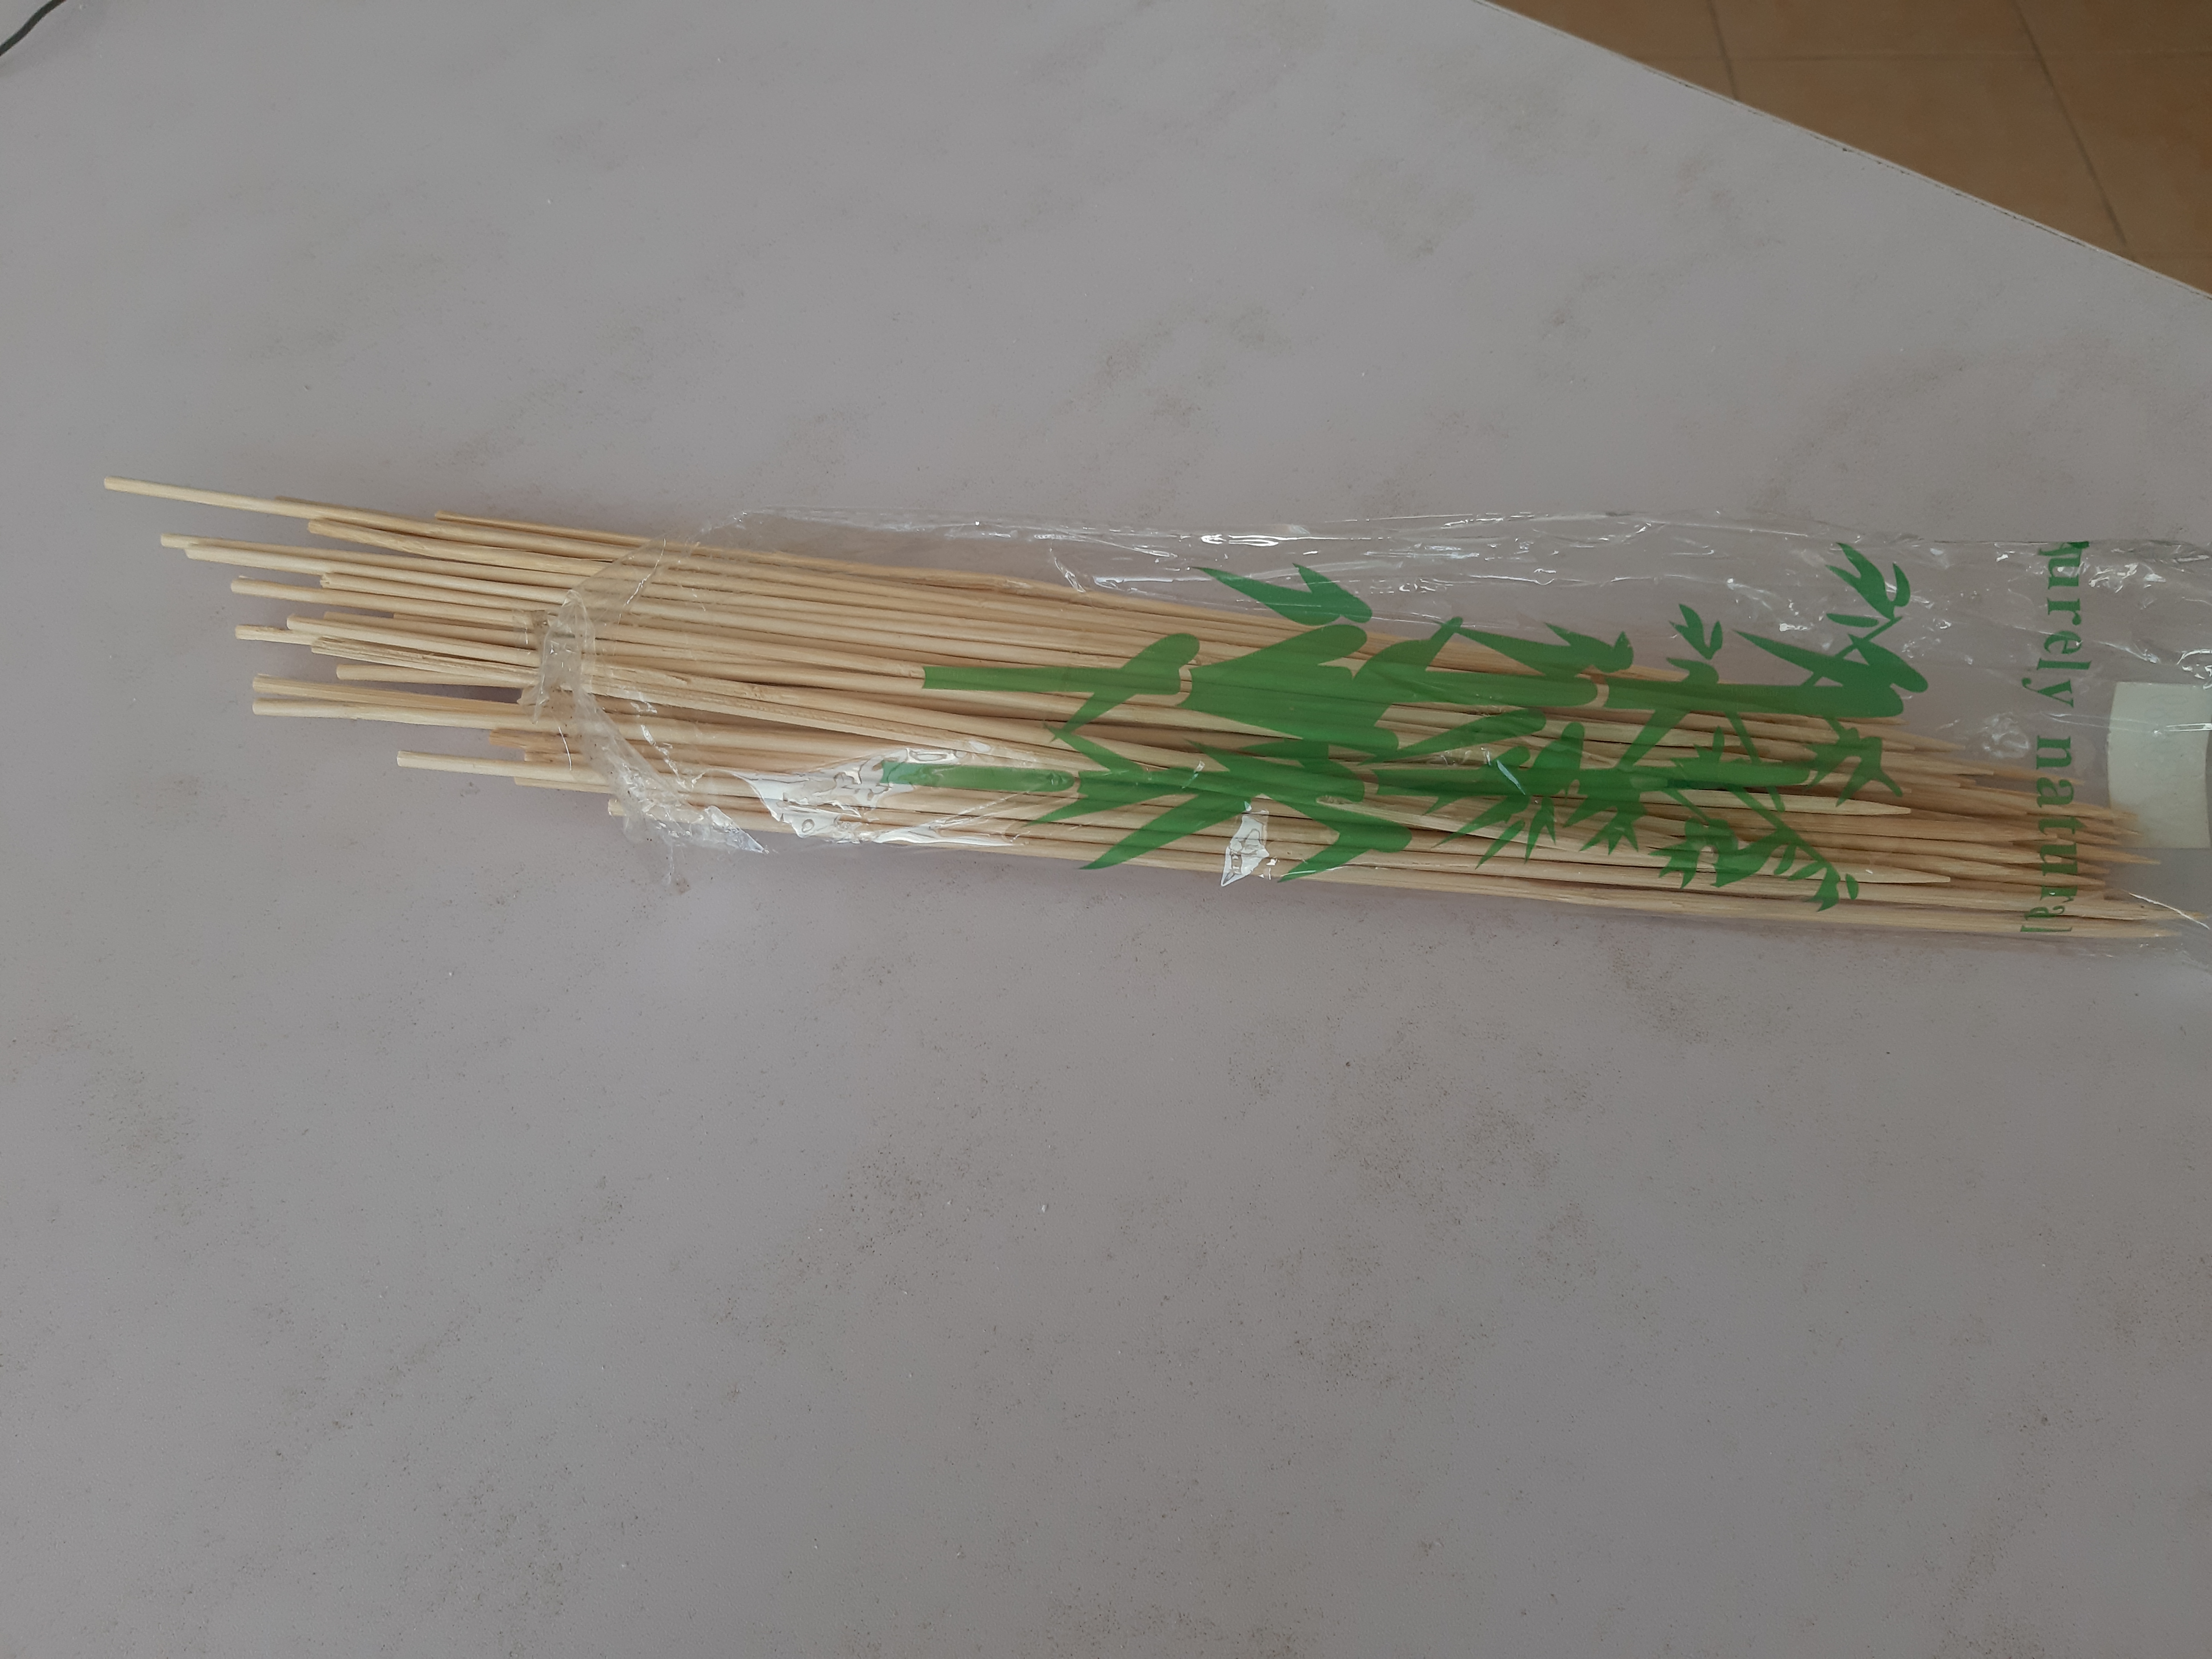
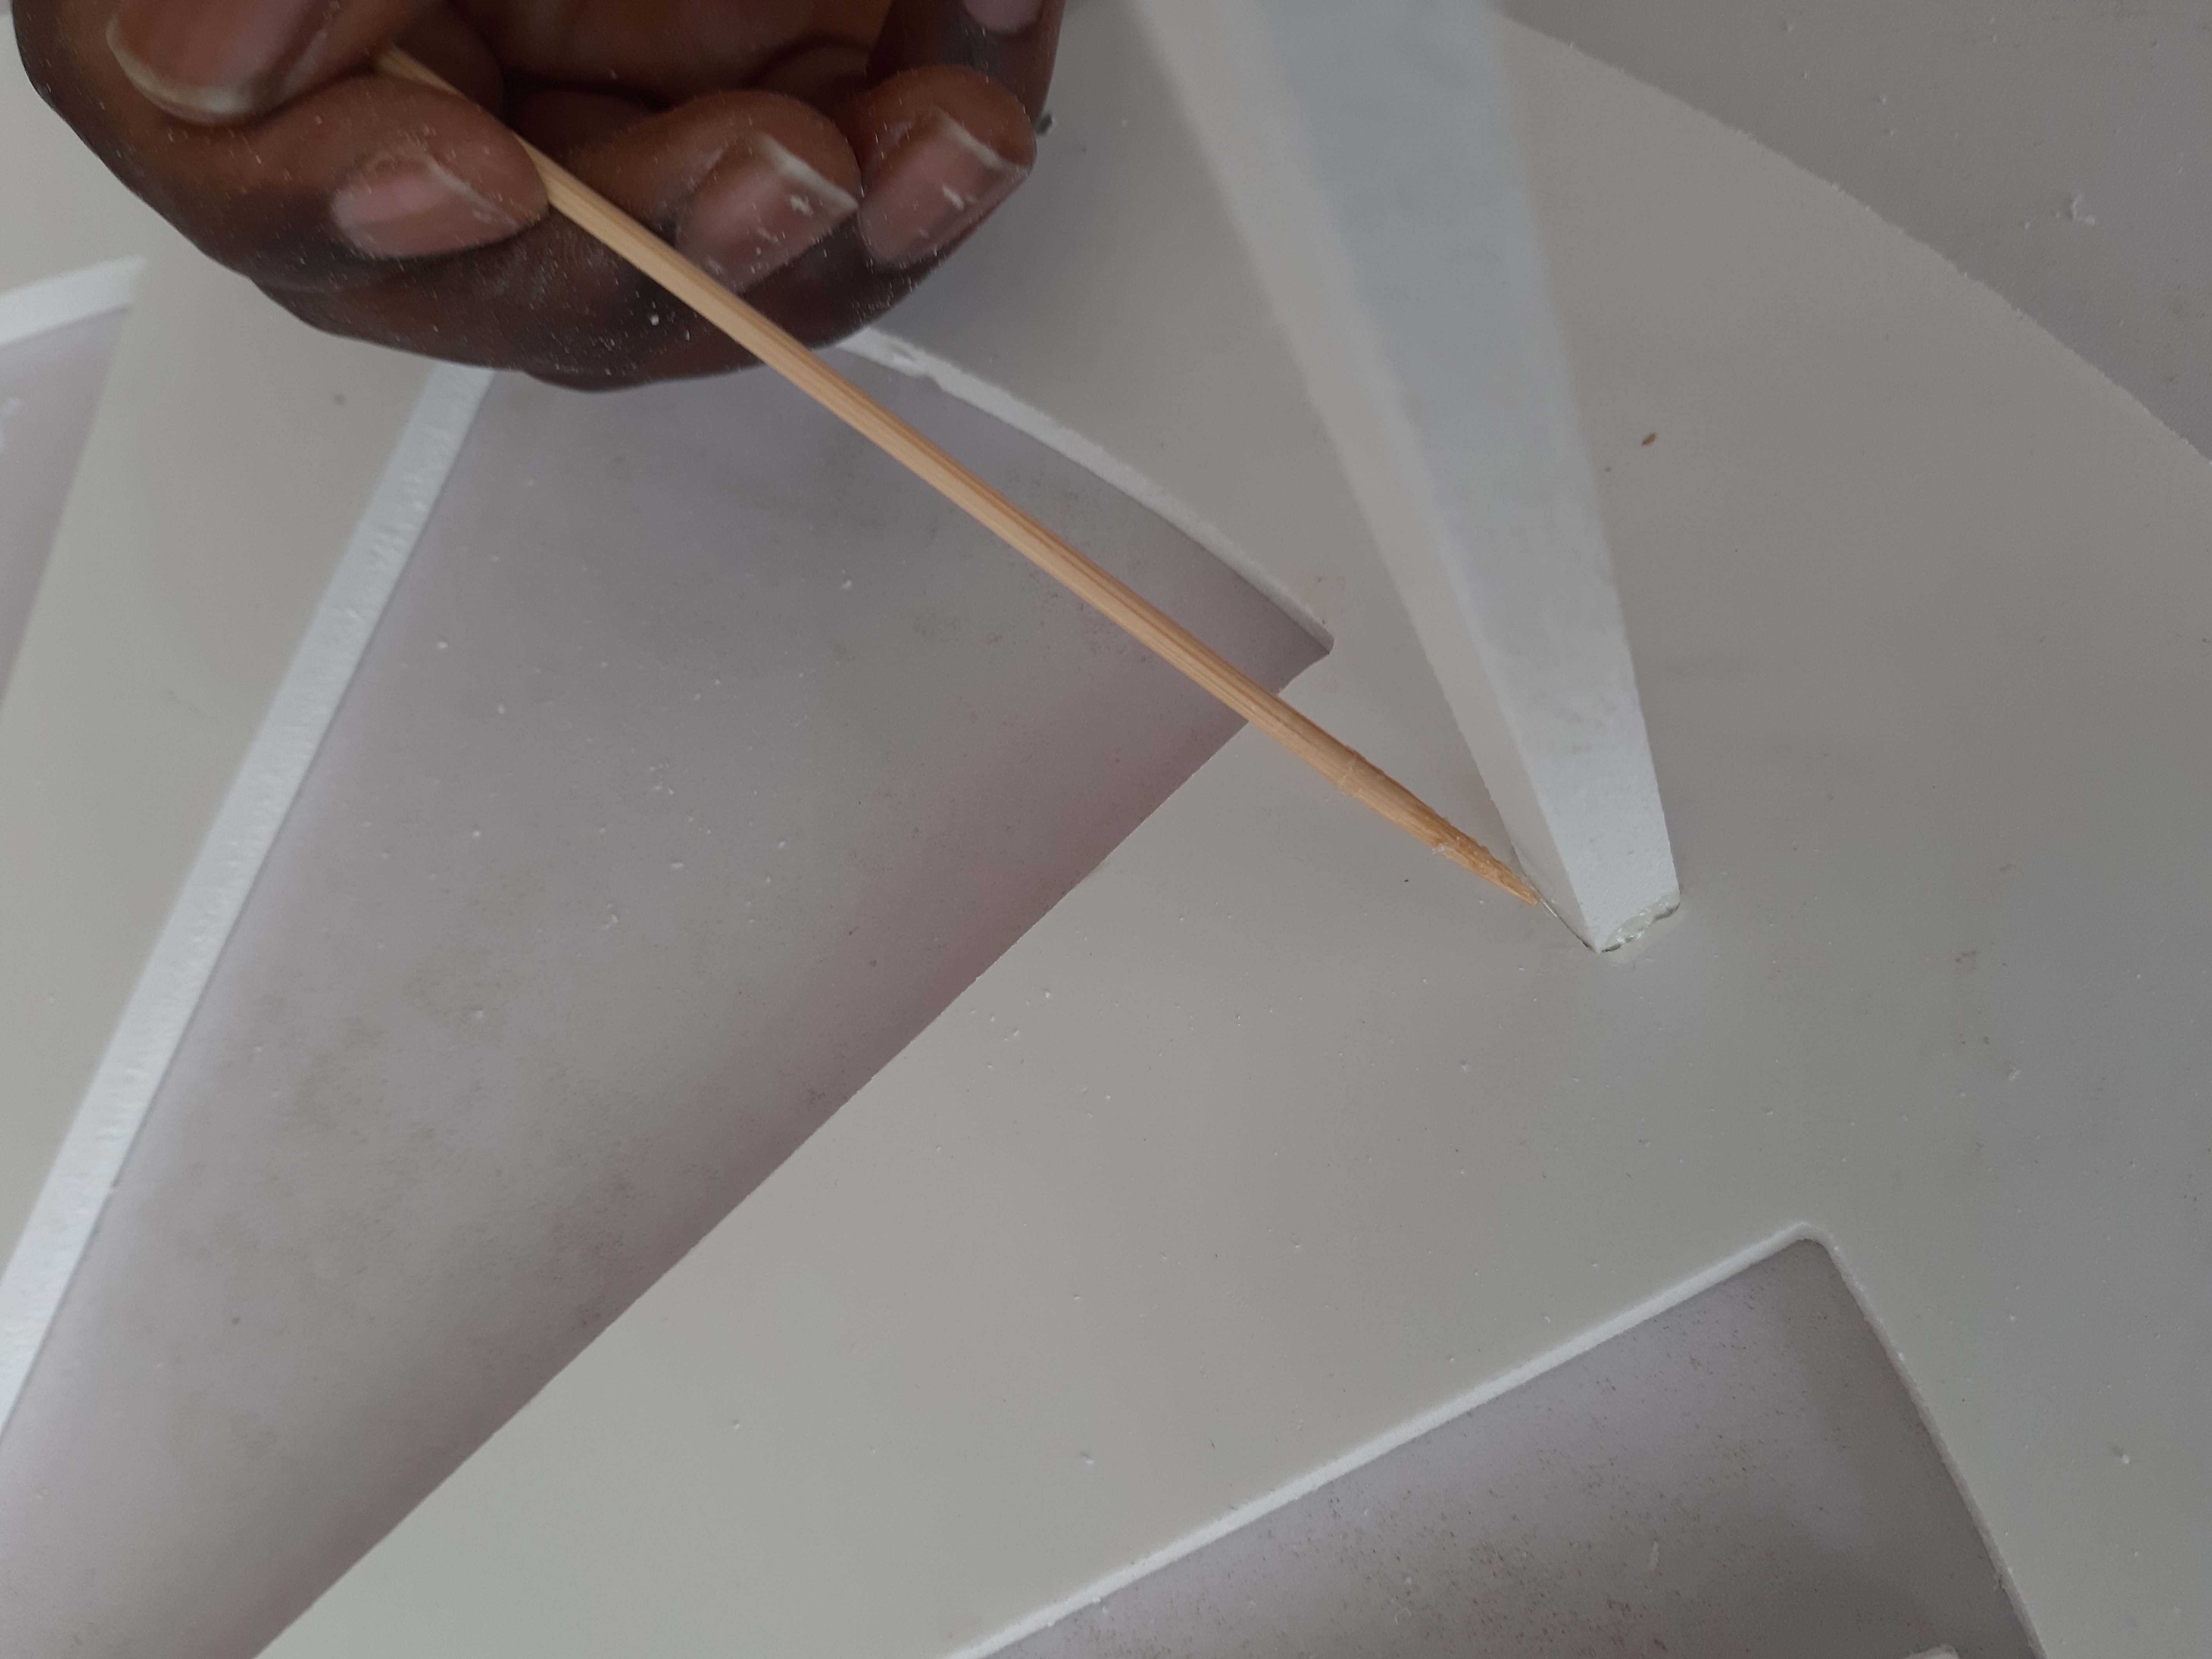
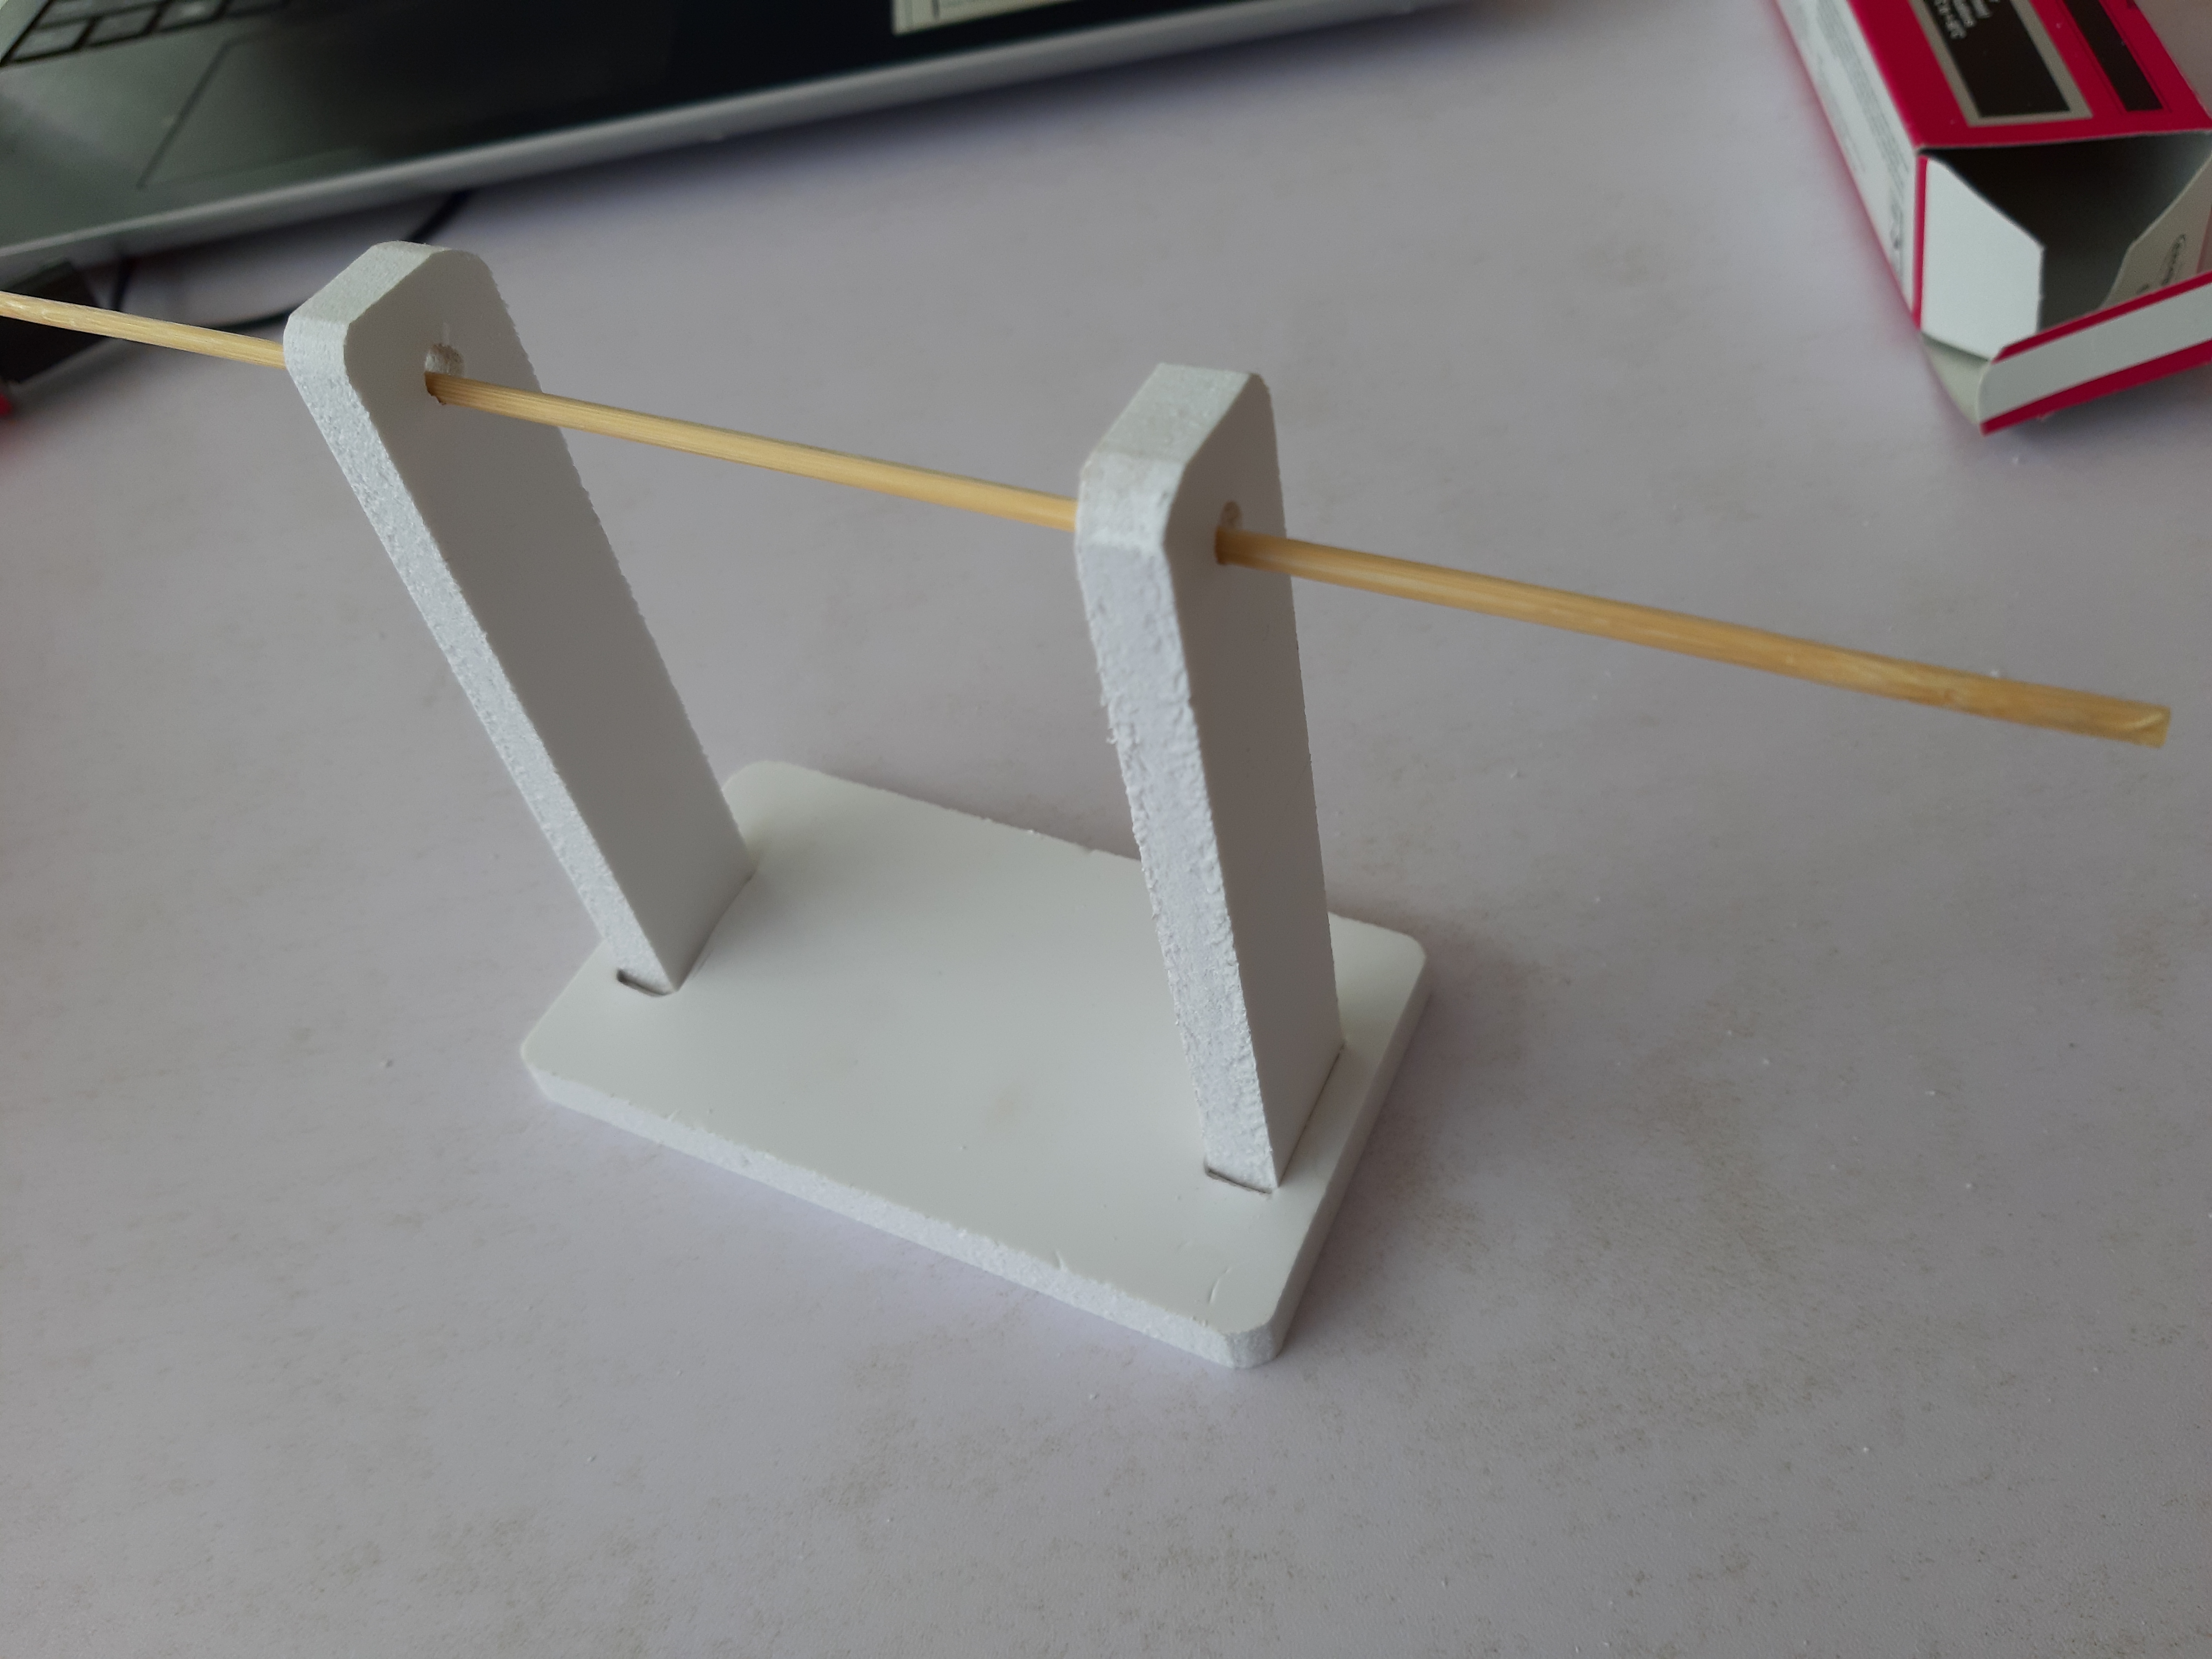
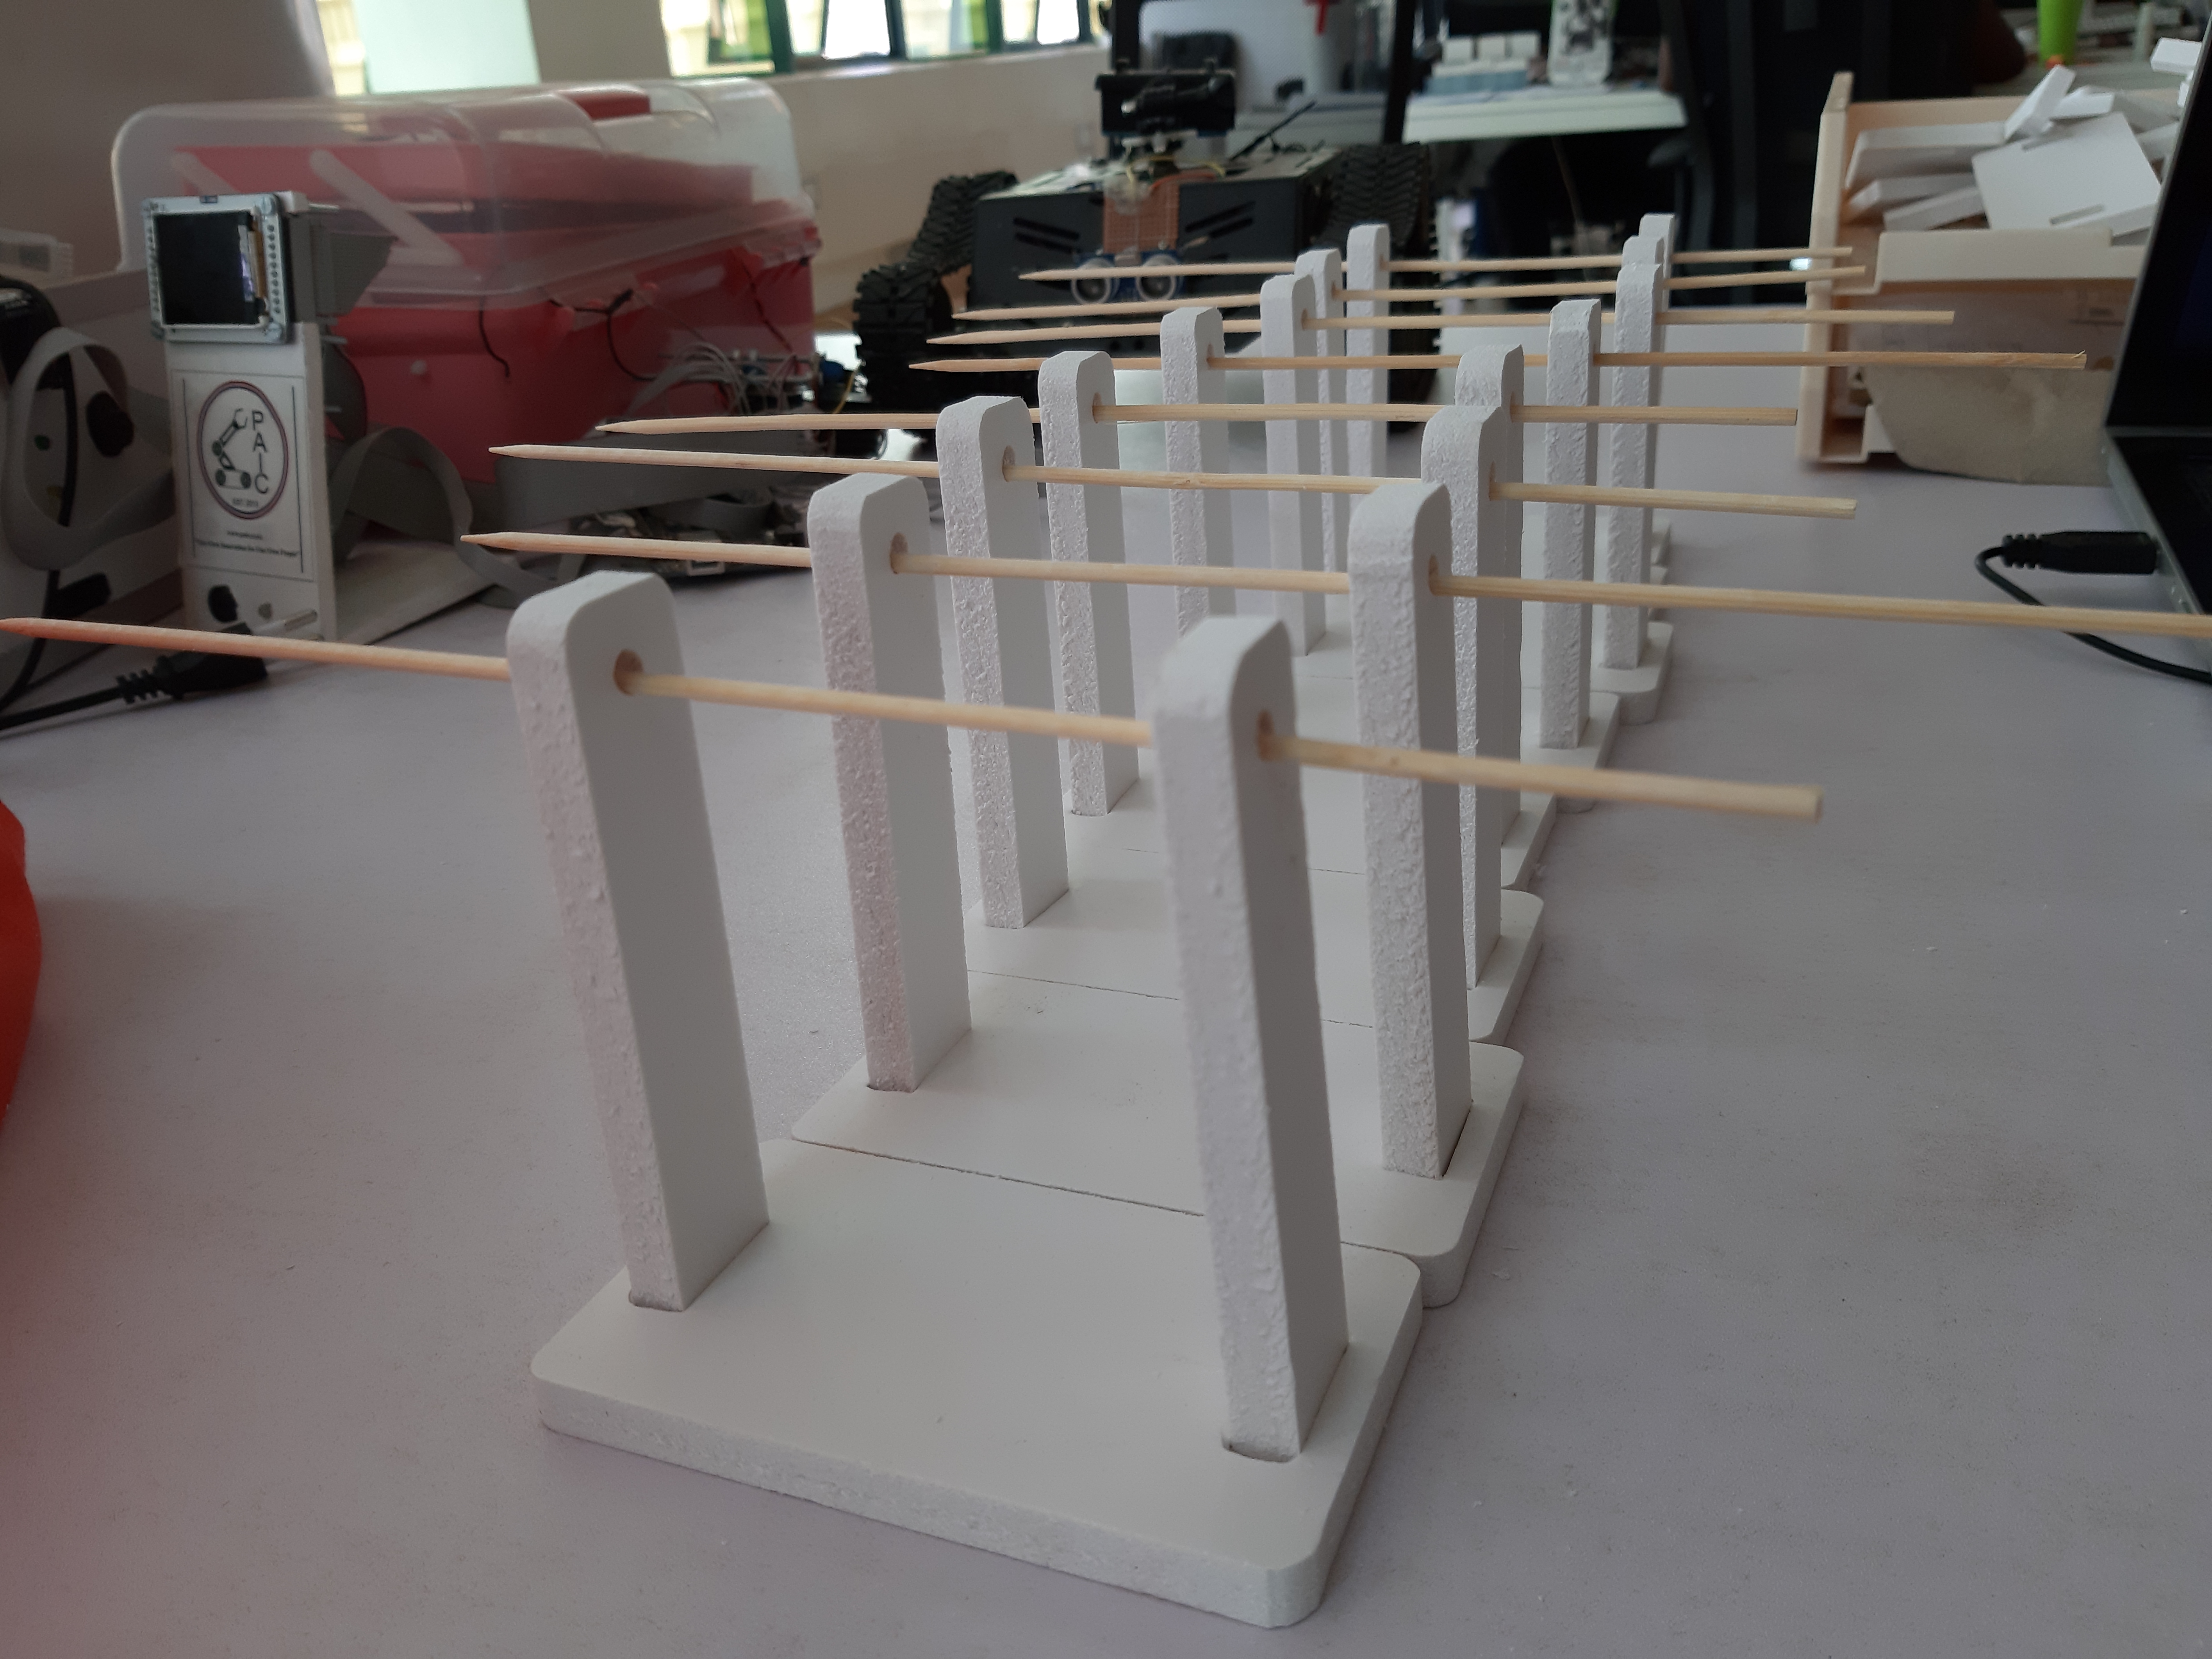
I used skewer sticks and PVC glue to link and assemble the already machined ferris wheel parts as shown below:
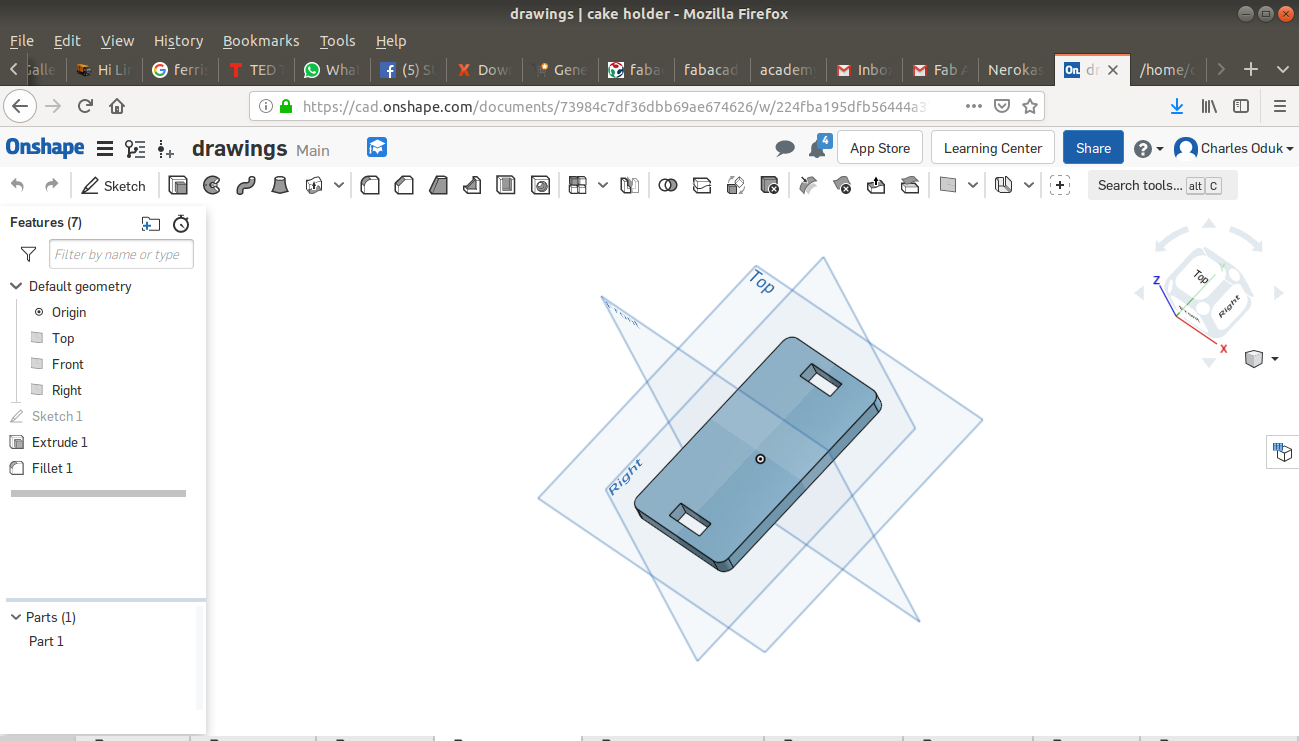
 The cake holder Assembly
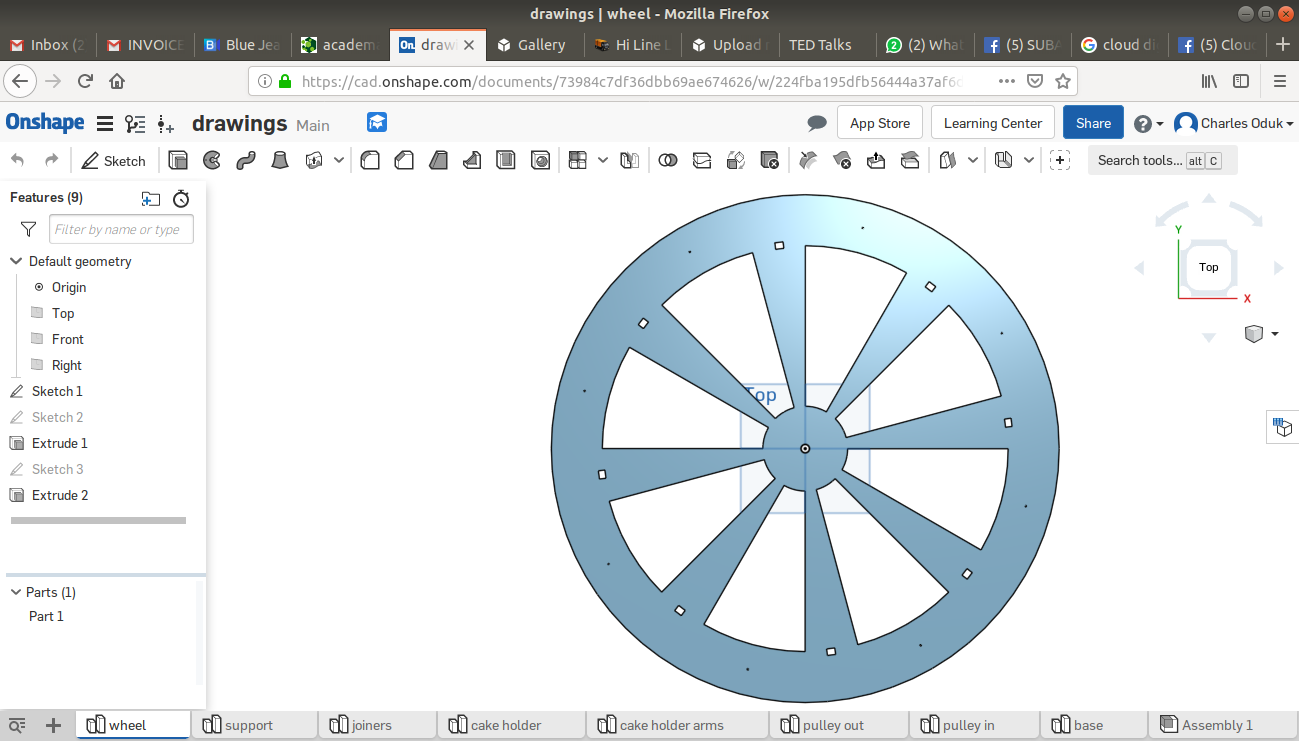
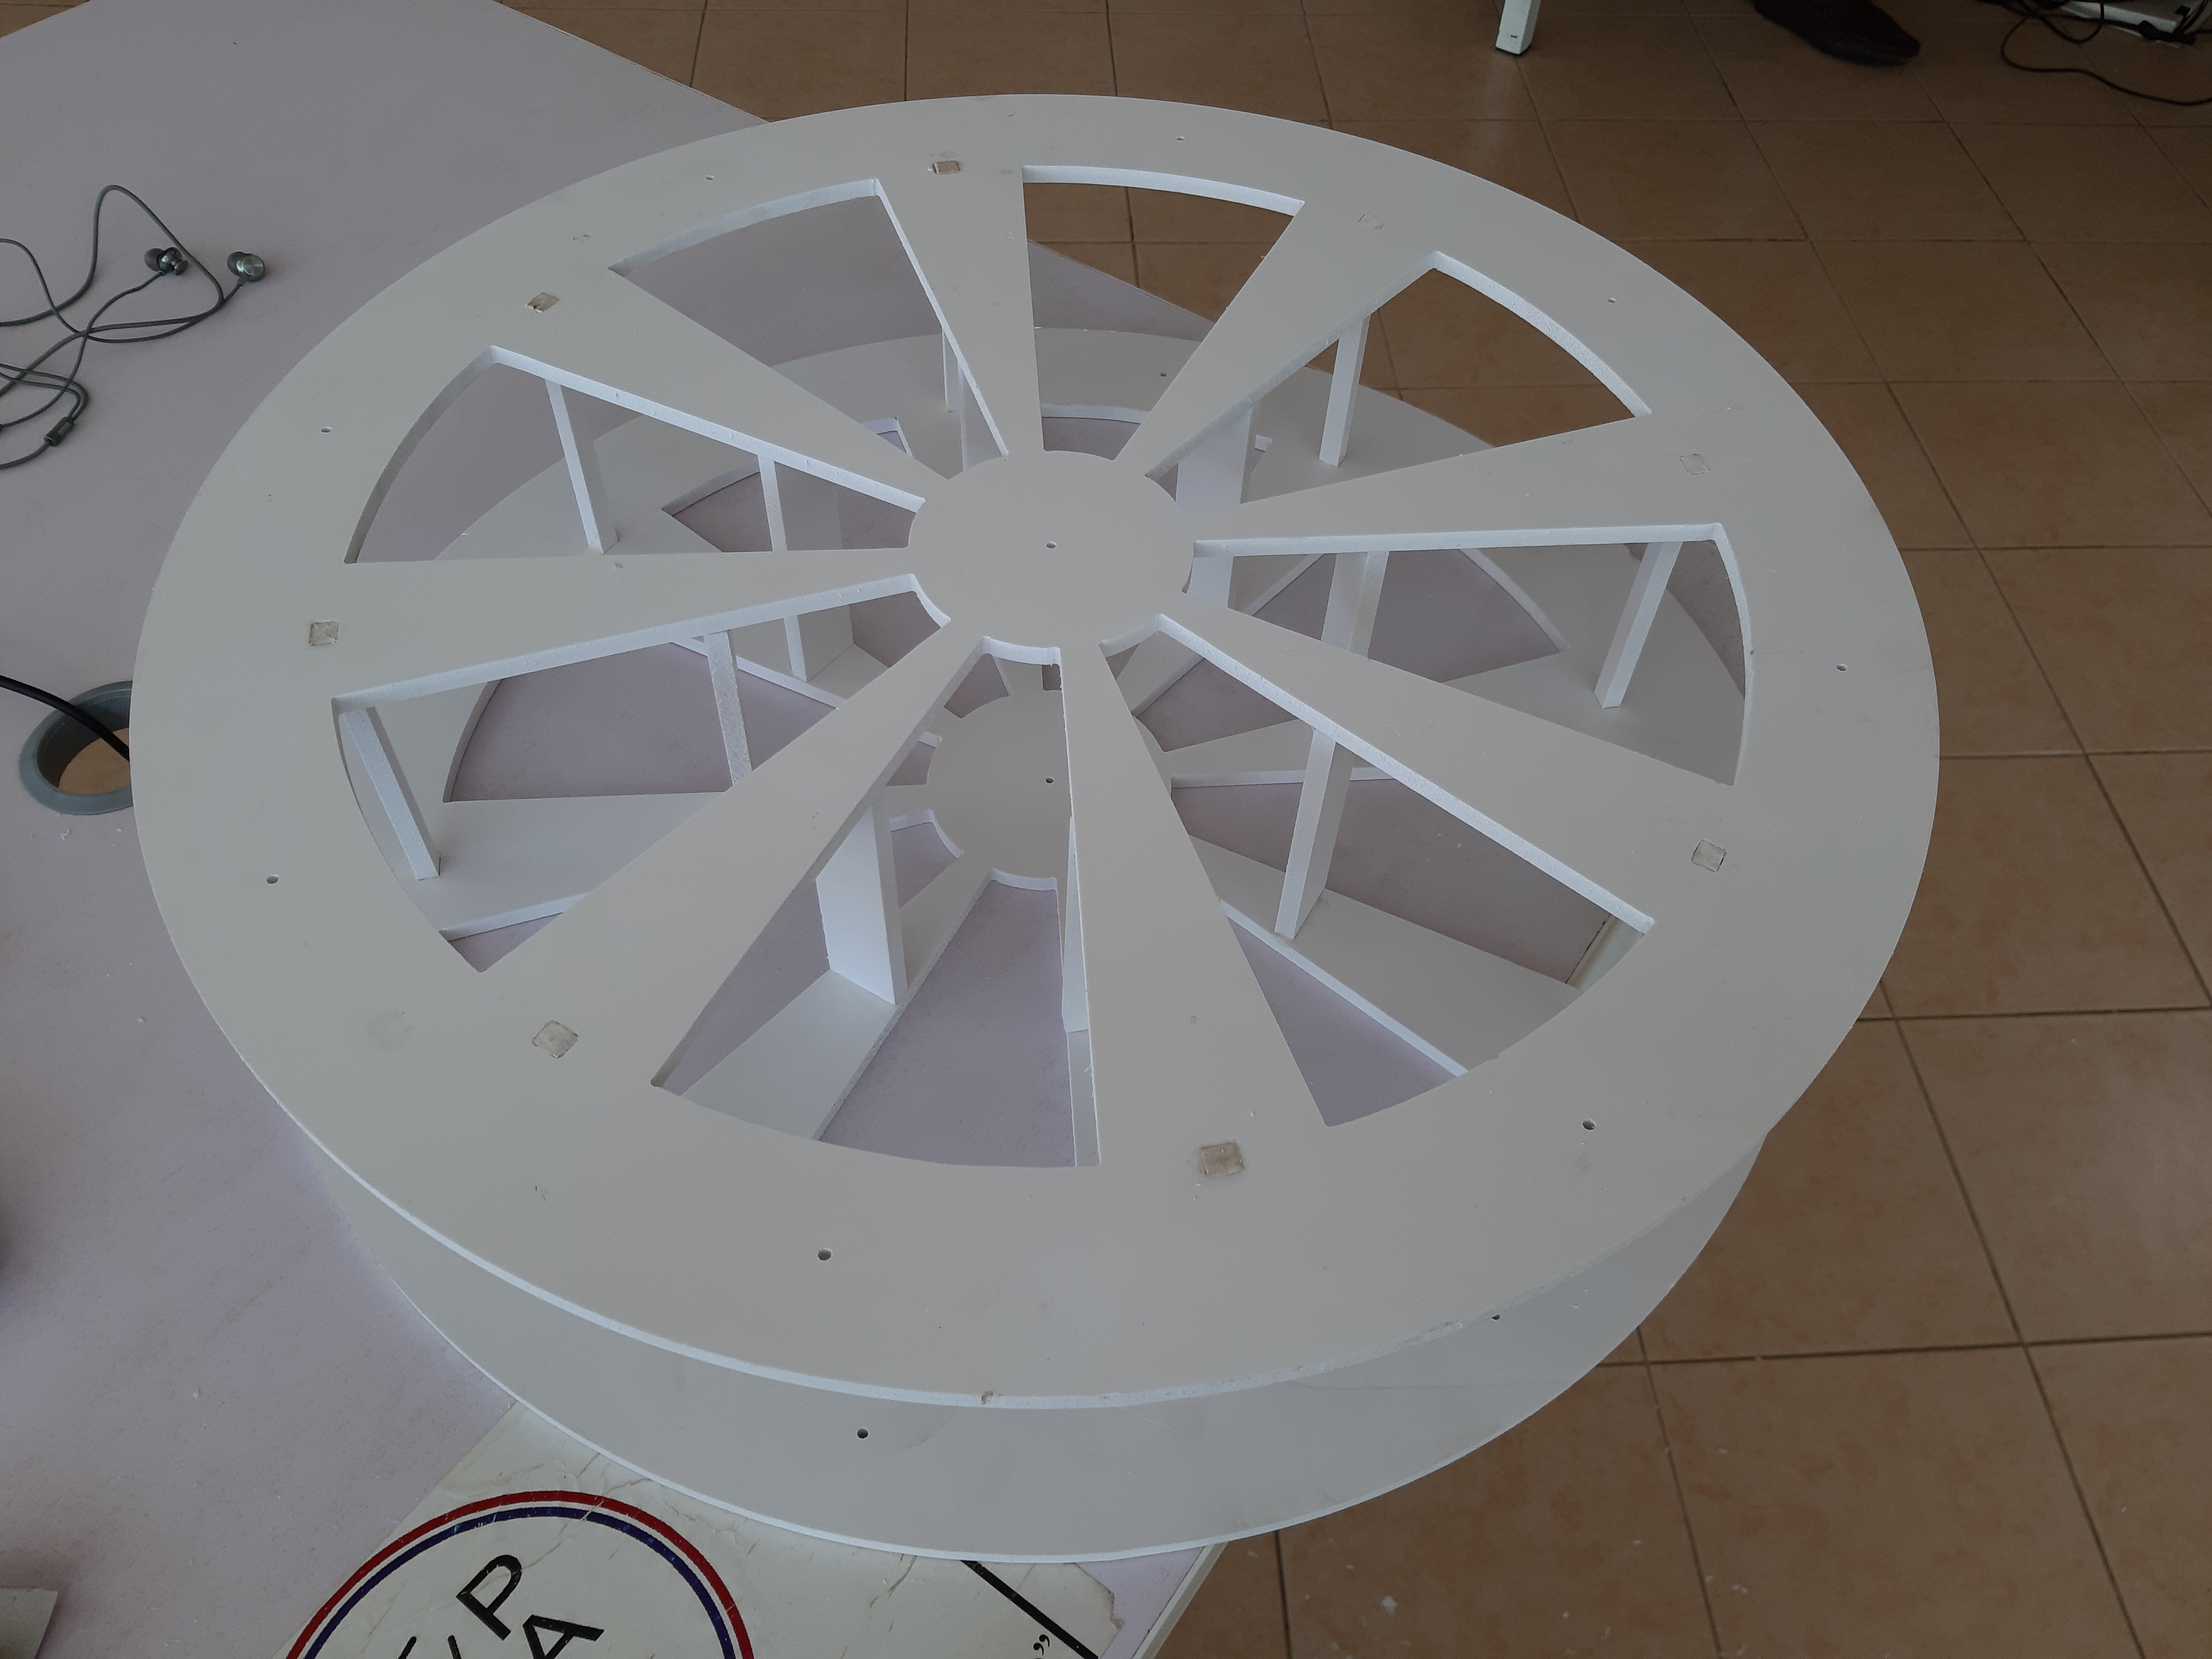
 The wheel Assembly
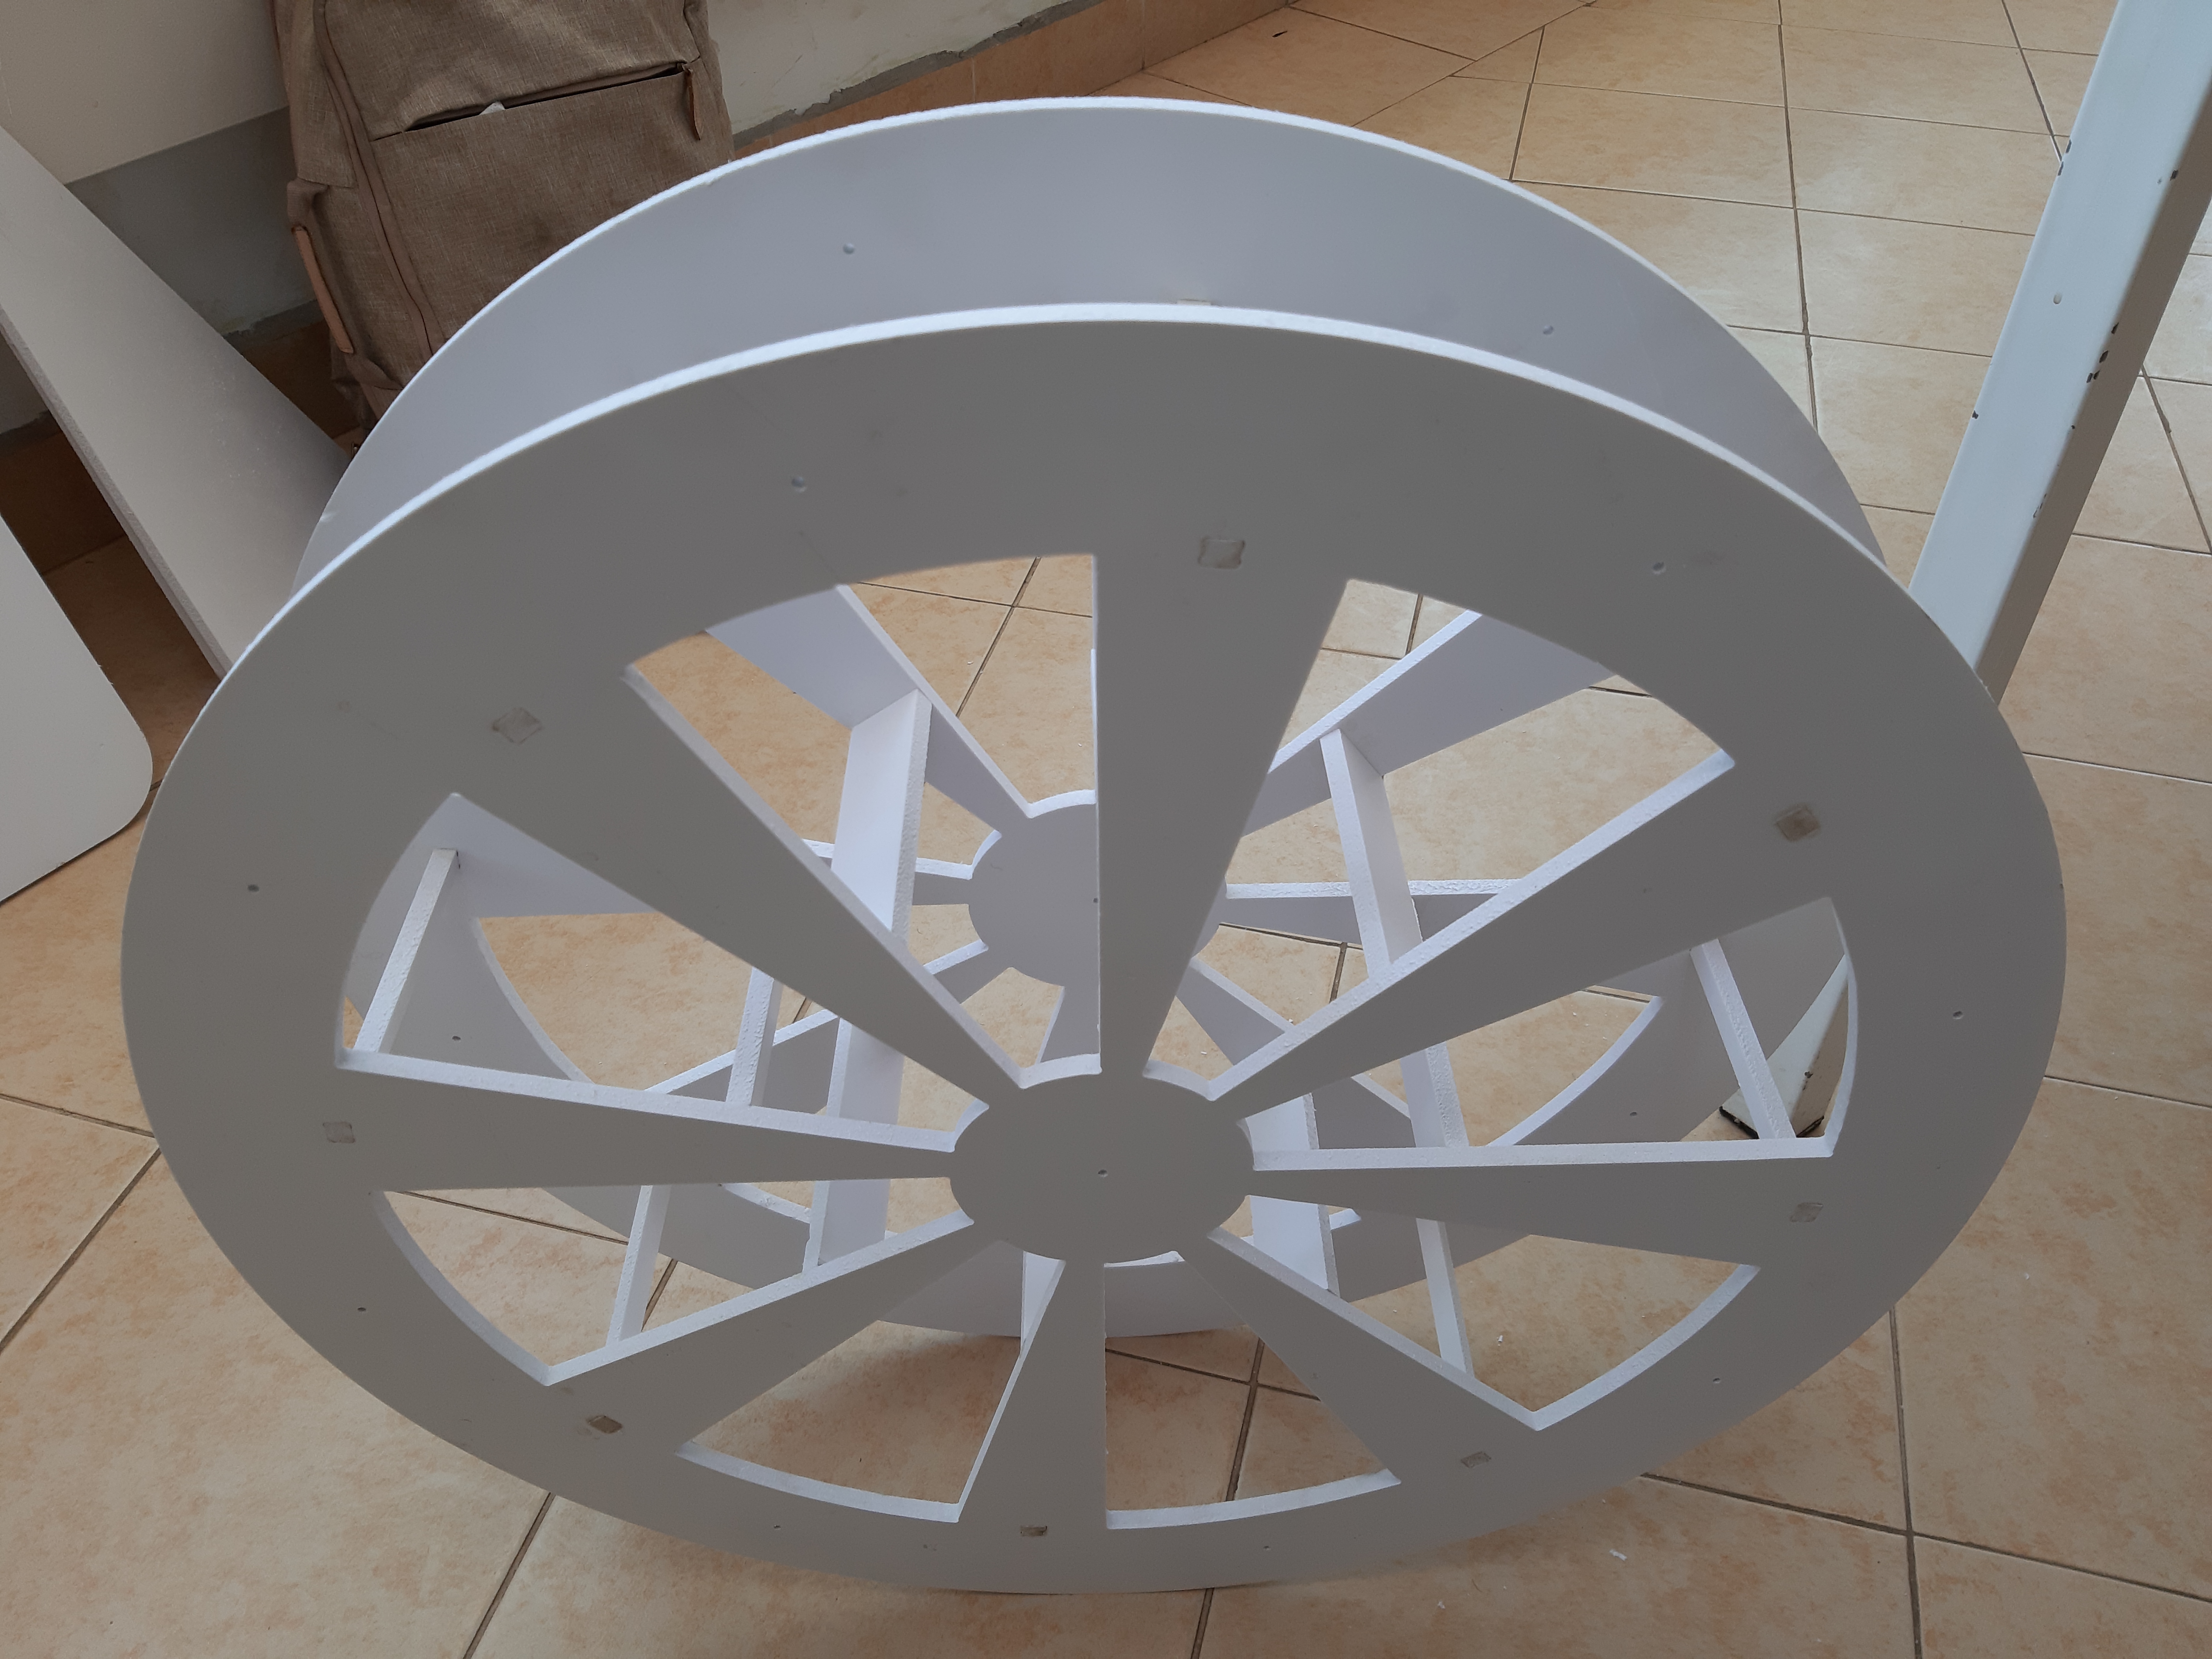
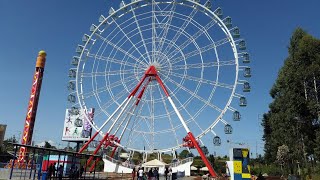
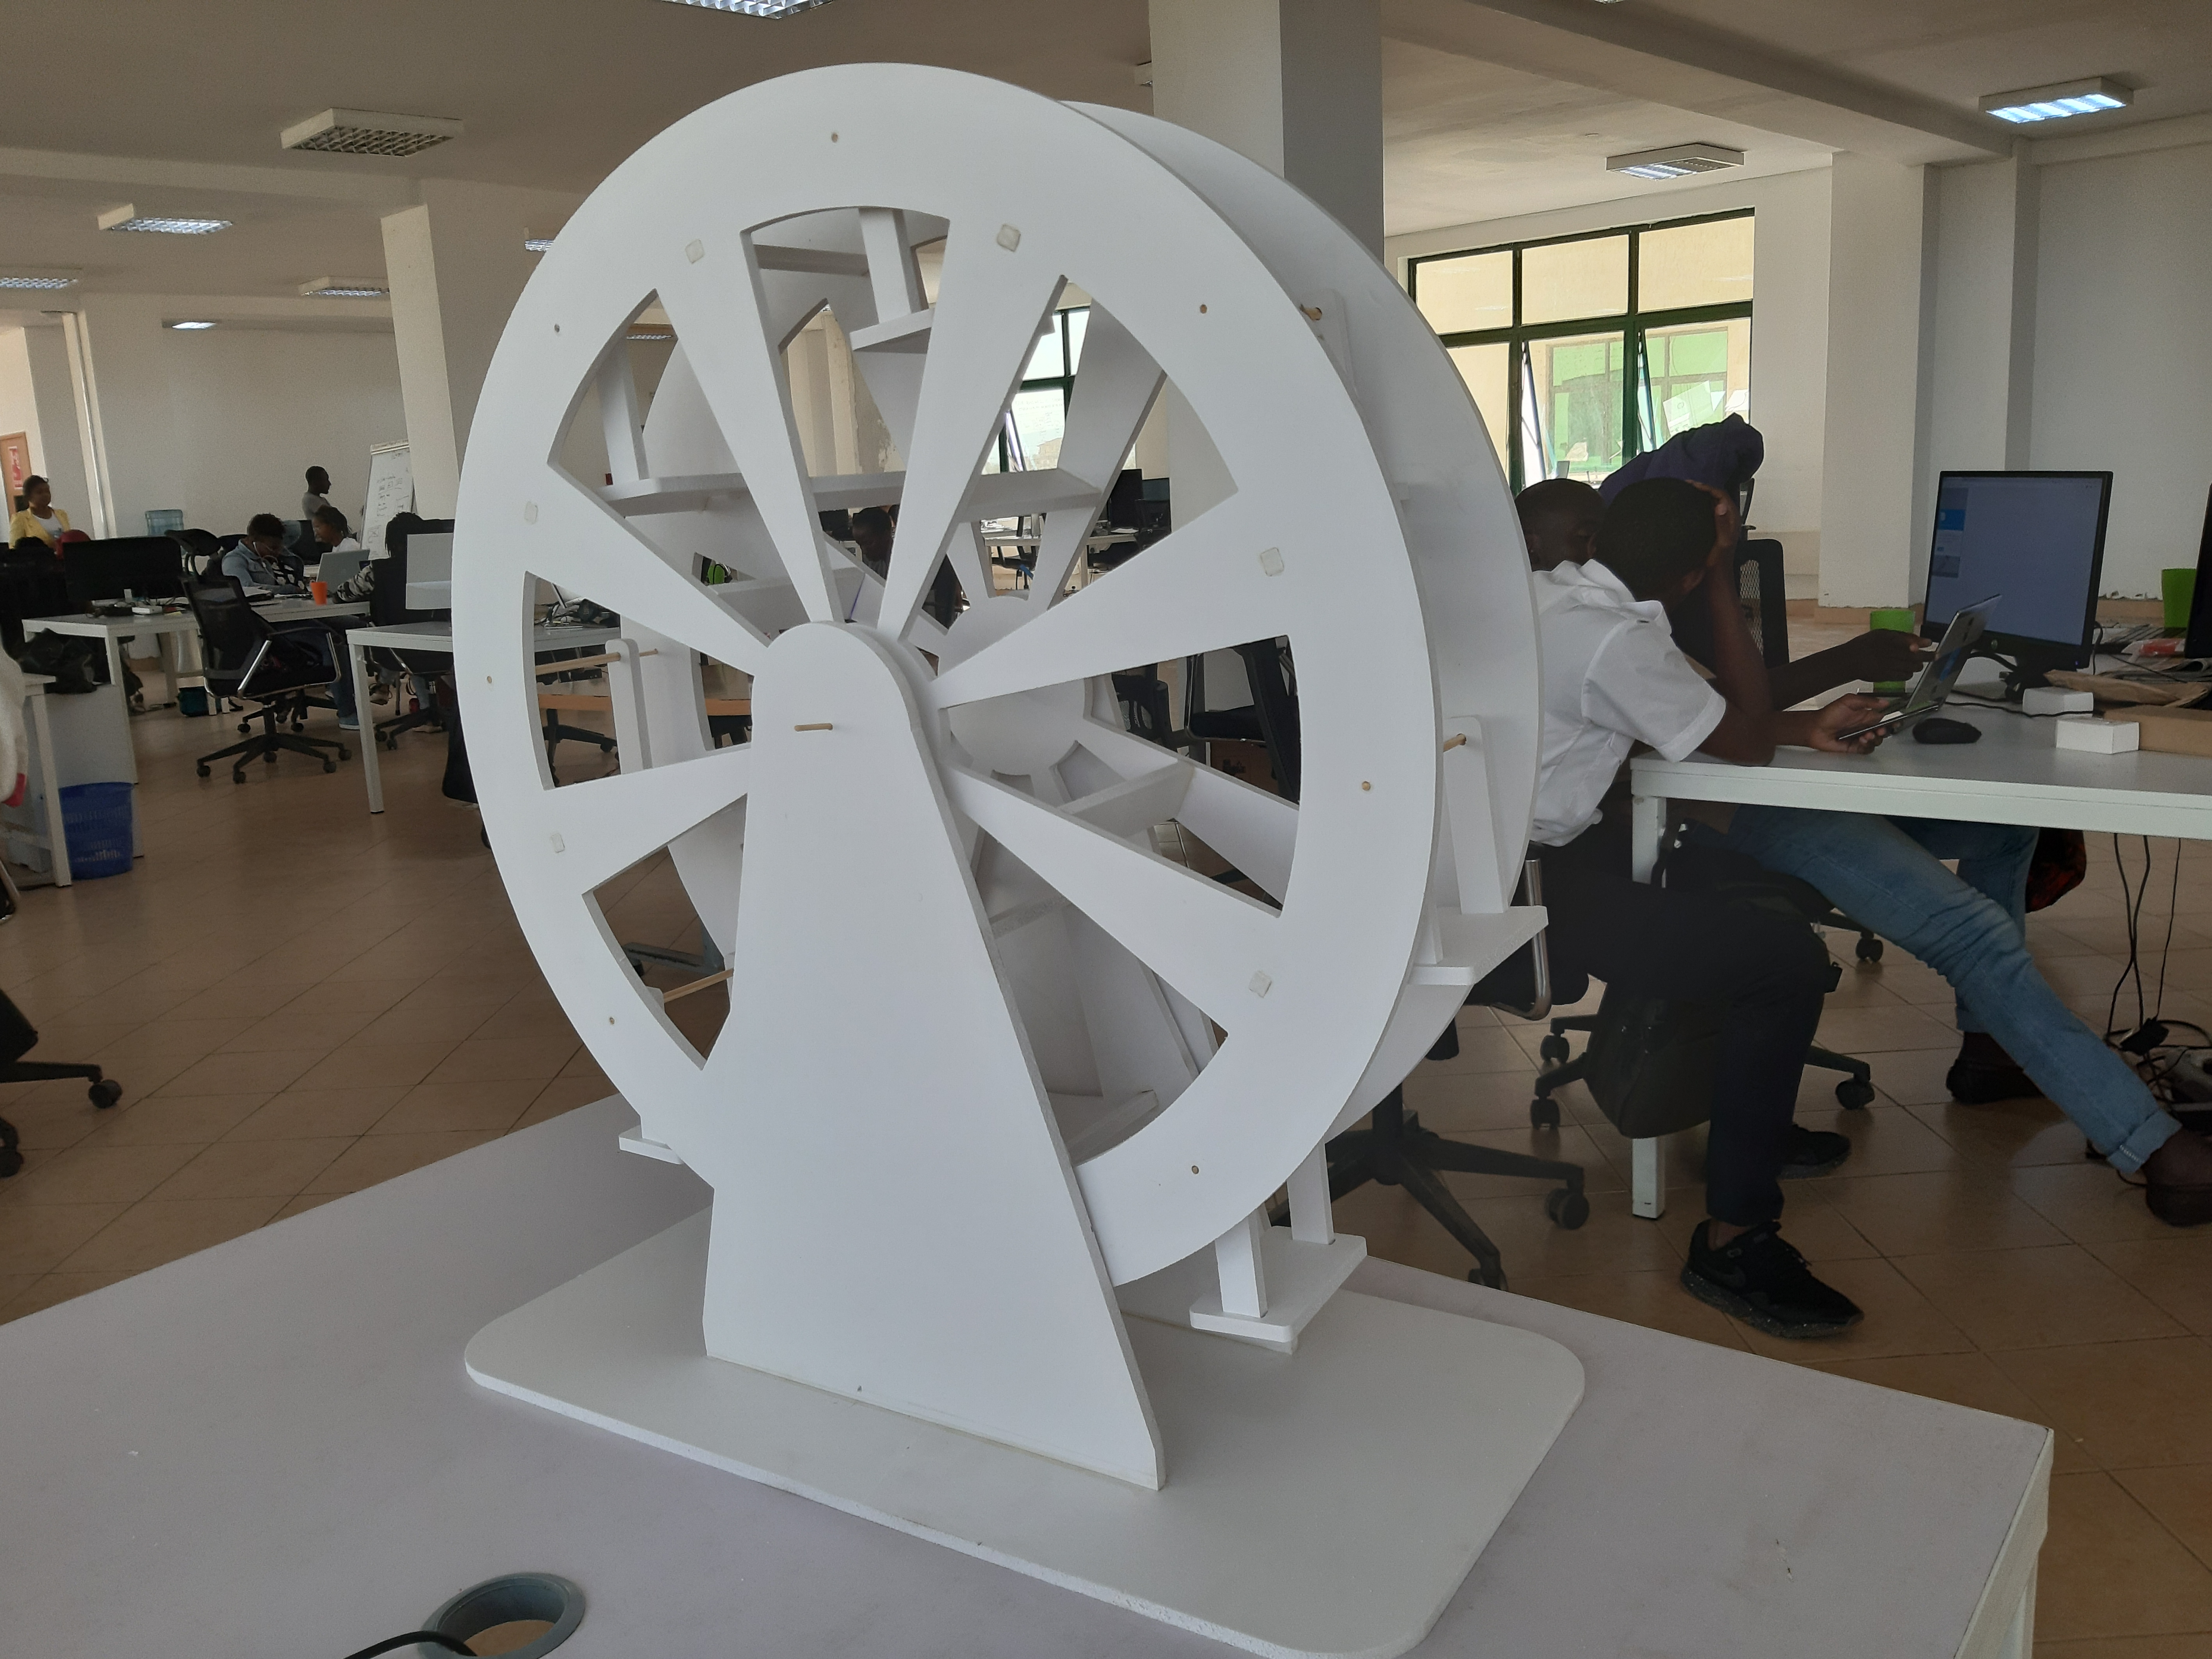
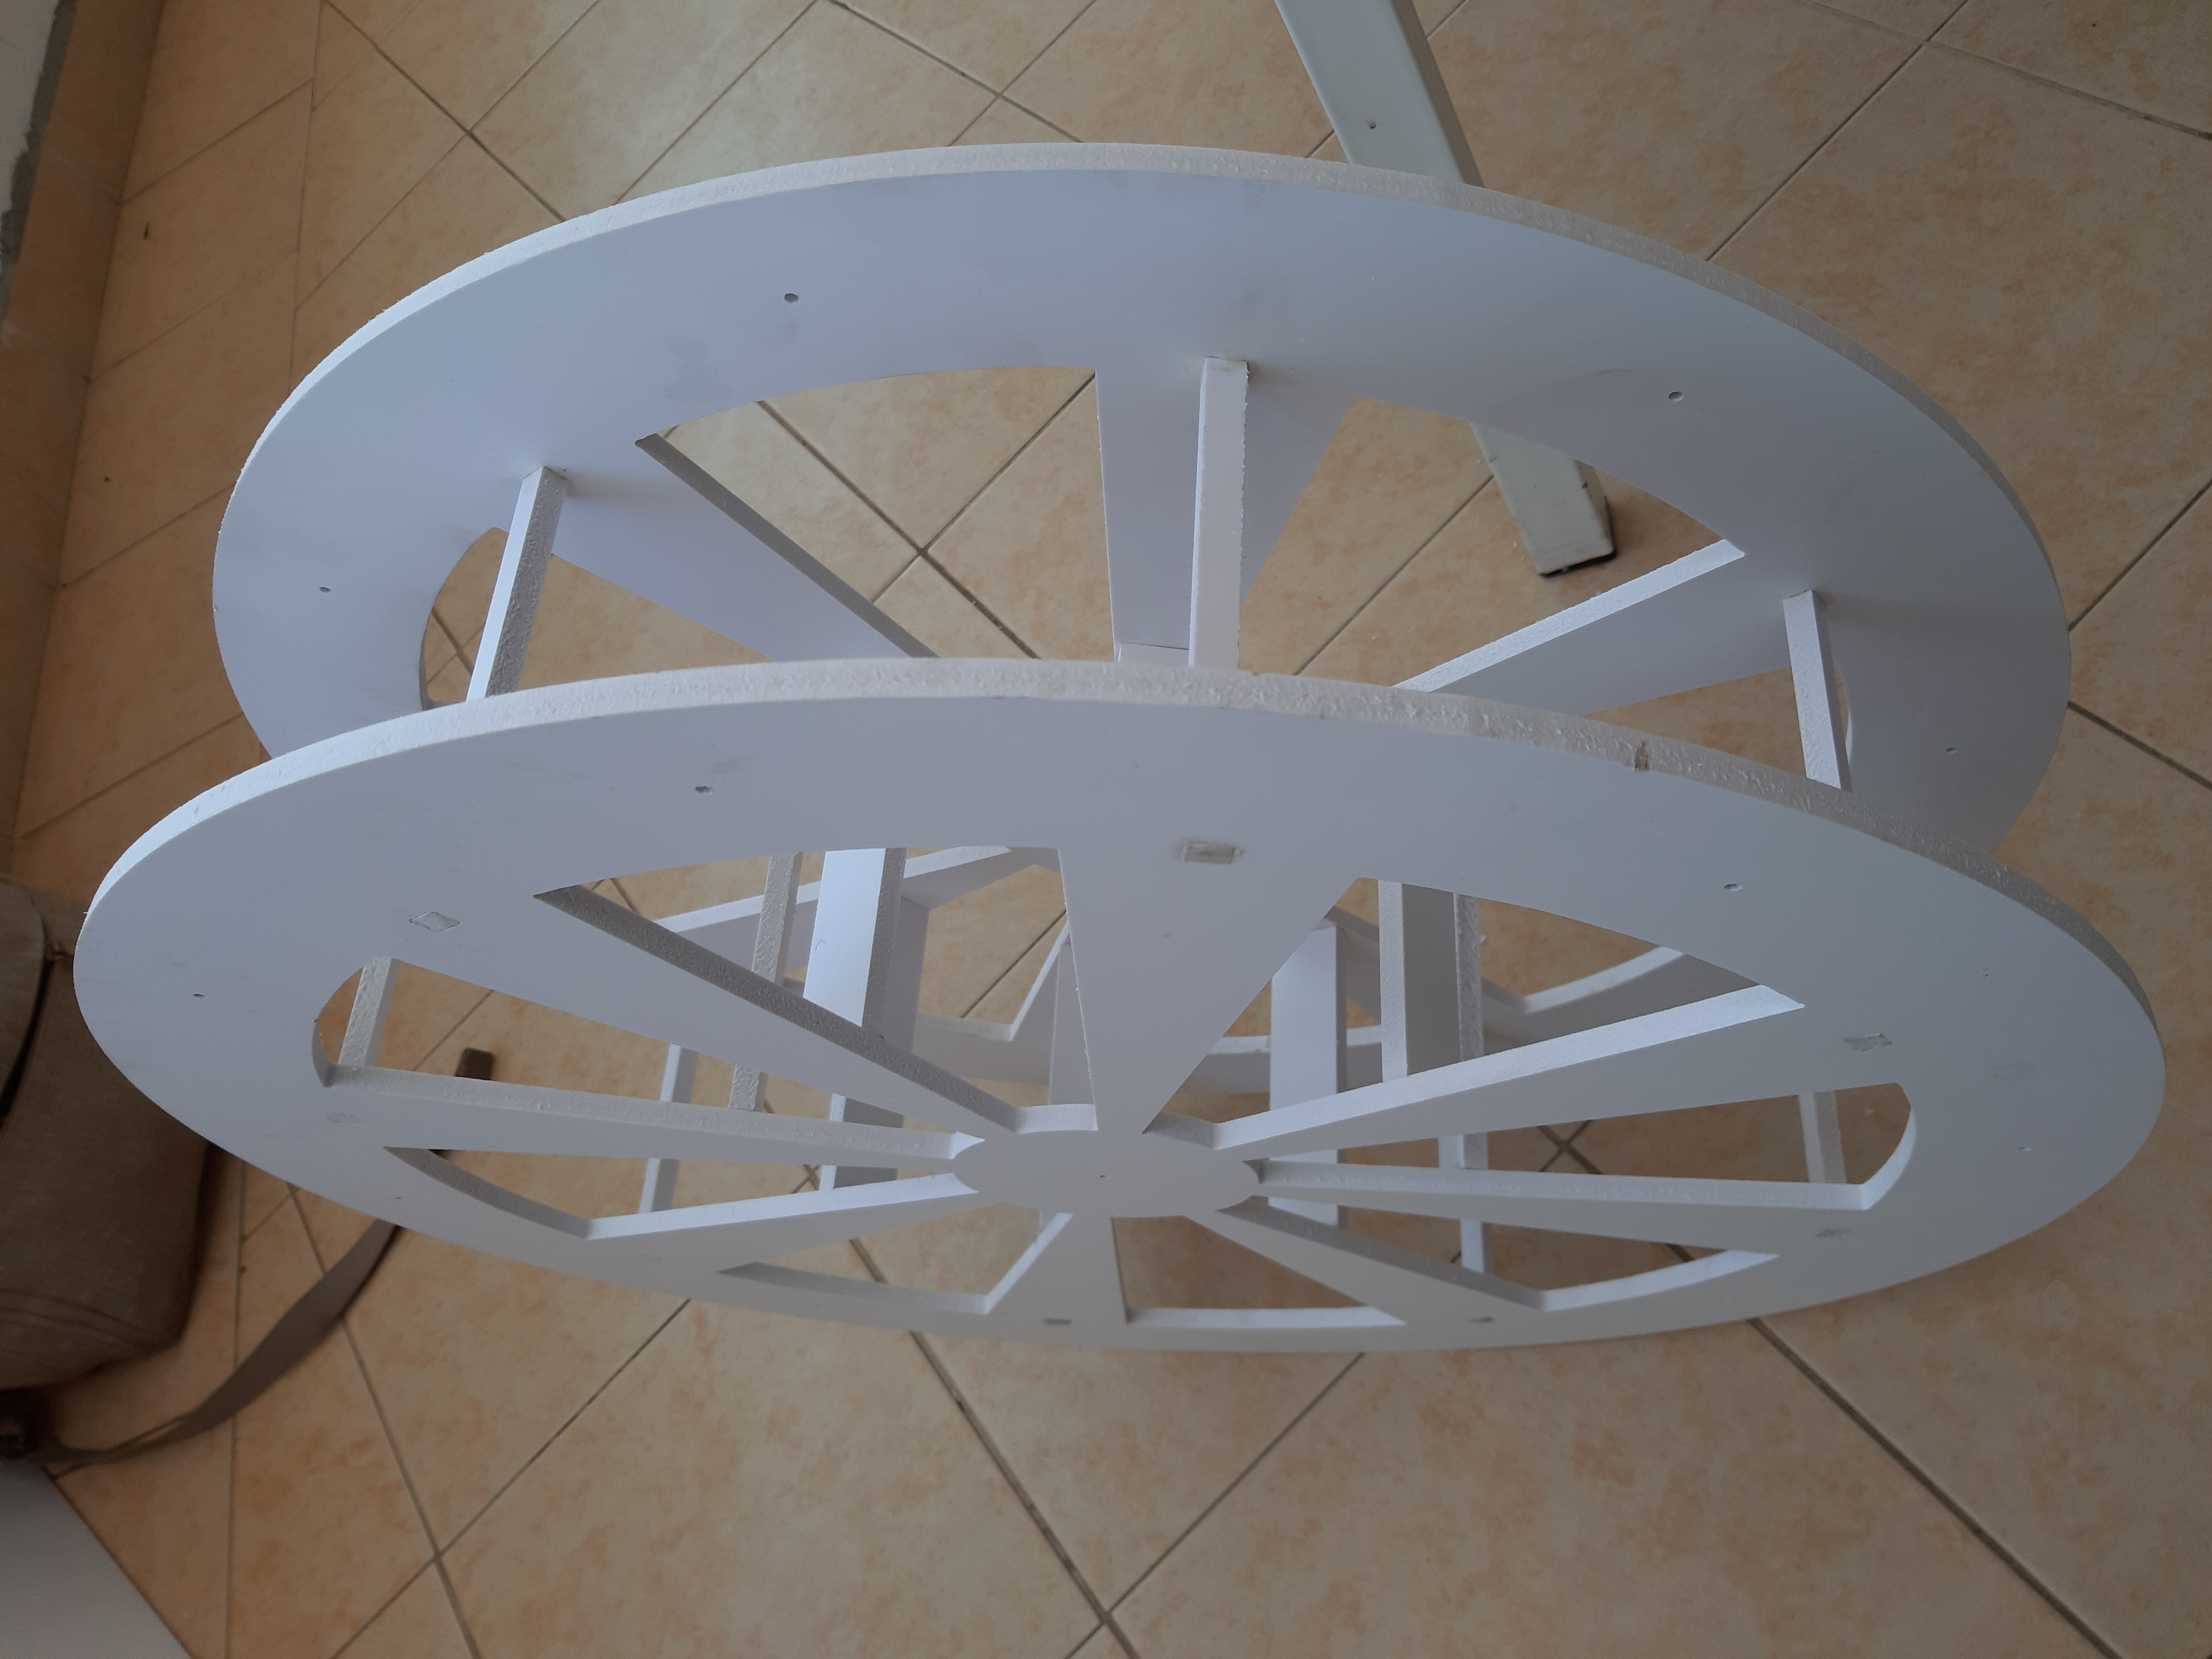 The Final Ferris Wheel Assembly
Problems encountered this week:
- Switching between one software to another to convert the CAD files proved hectic. At one point the files were seriously disconfigures; I however solved this by trasfering the DWG files.
- On transferring the DWG files to the CorelDraw software, the drawing imported with distorted dimensions. This was easy solved by simply scaling them to the original dimensions the were designed with.
- The AlucoBoard would occassionaly slide off the drill bit; I however solved this by nailing them to the rigid table.