8. Computer controlled machining
This project had a big challenge, I had to design a project, cut it at the CNC machine and build it. In the coming lines let me share my experience.
Group assignment
TECSUP lab has a CNC Shopbot machine. You may see the specification at the previous link. Some area specifications of the Alpha machine are: 2.49m x 1.27m x 0.2m (length, width, plunge)
At the previous link you will se all the specifications of the machine.
Assignment:
The assignment consist of:
- test runout
- alignment
- speed
- feeds
- toolpaths
Test runout
Since it is an electrical machine some recommendation need to be consider such as:
- Check if the power supply key is on.
- Check the correct bit diameter for the job. In our case we use a Bit of 1/4 “.
- Check the area of the table.
- Check the position of the screwdriver bolts. Otherwise if the bit passes over it may got broken.
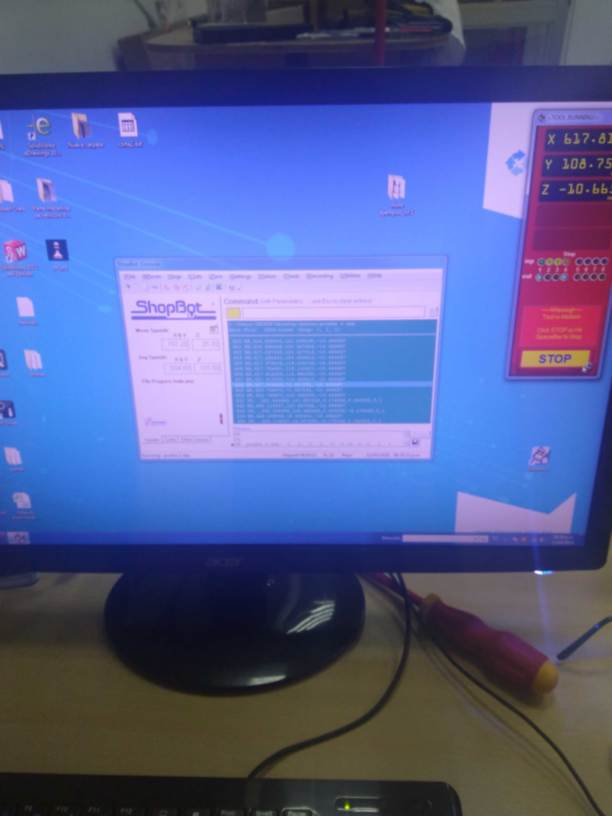
- At the Shopbot we have to set the X, Y home position. Also the Z axis need to be set.
- Prior the operation of the Shopbot you have to power on the spindle otherwise the bit could be broken once it hits the material.
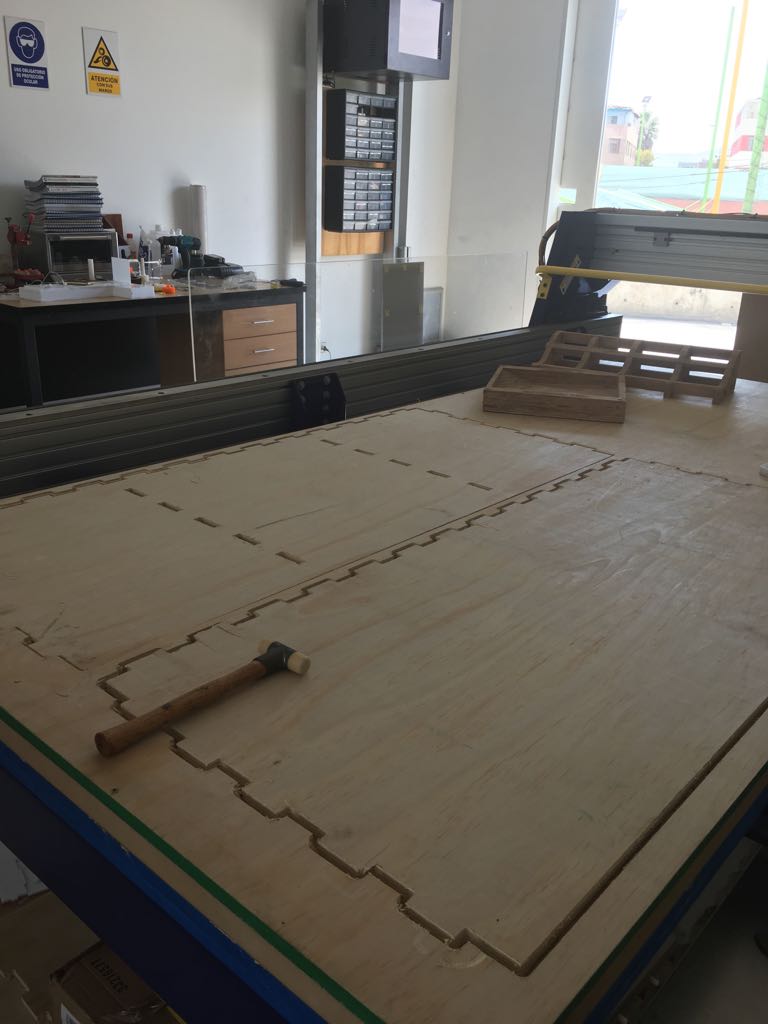
We have follow up all the previous steps with exception of the last one, but as the story says, if there is a possibility of failure it will fail, as consequence, we have broken a bit and the proof is:
 
Press fit
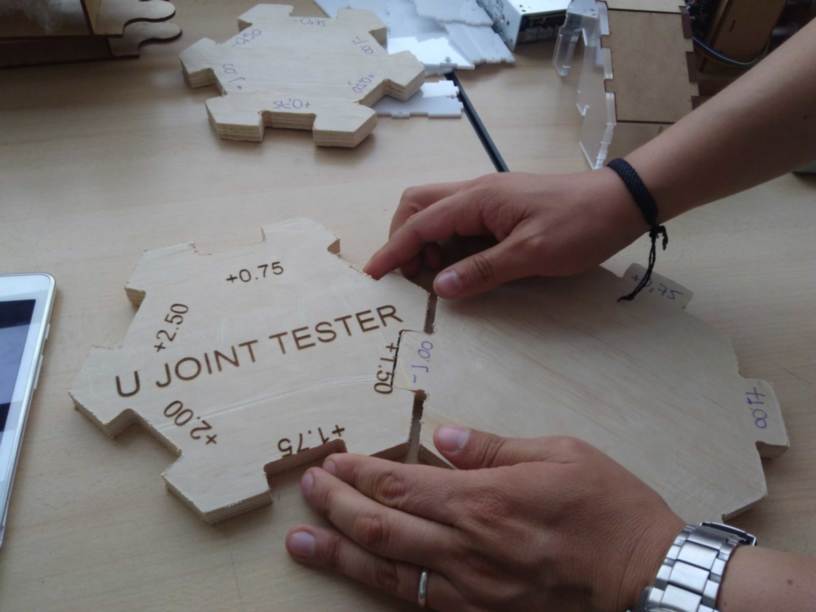
We have done a similar template at the laser cutting test, although we had some experience we fail, since we consider all the dimension below +/- 1 mm.
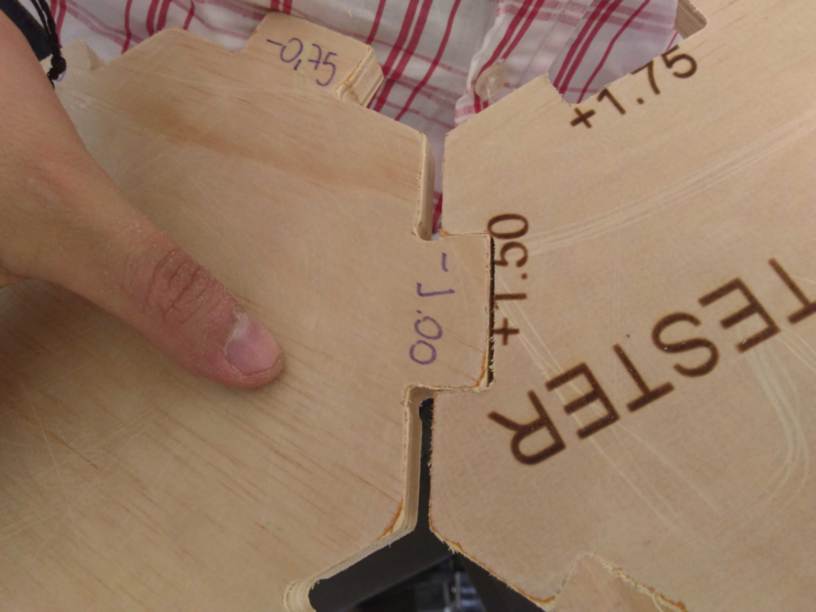
So, at the second try we succeed, we design the same template with bigger differences than before.
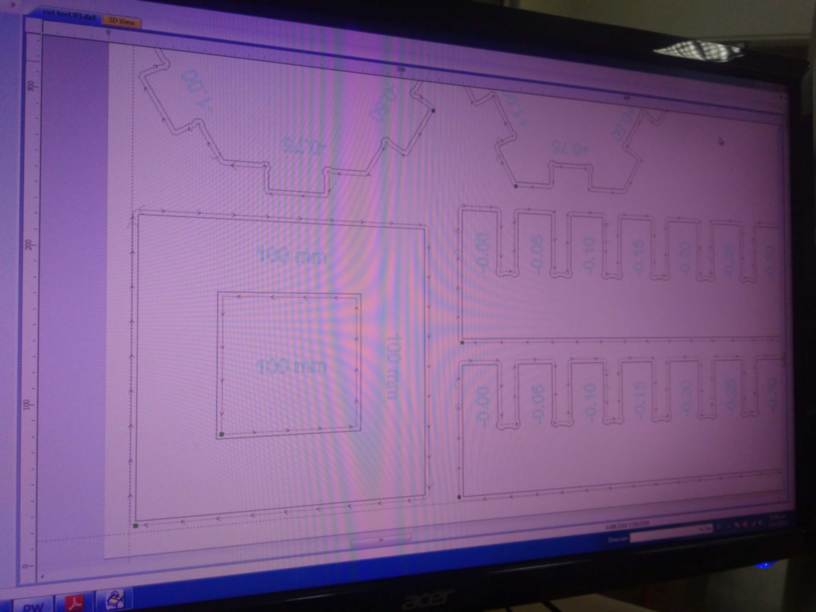
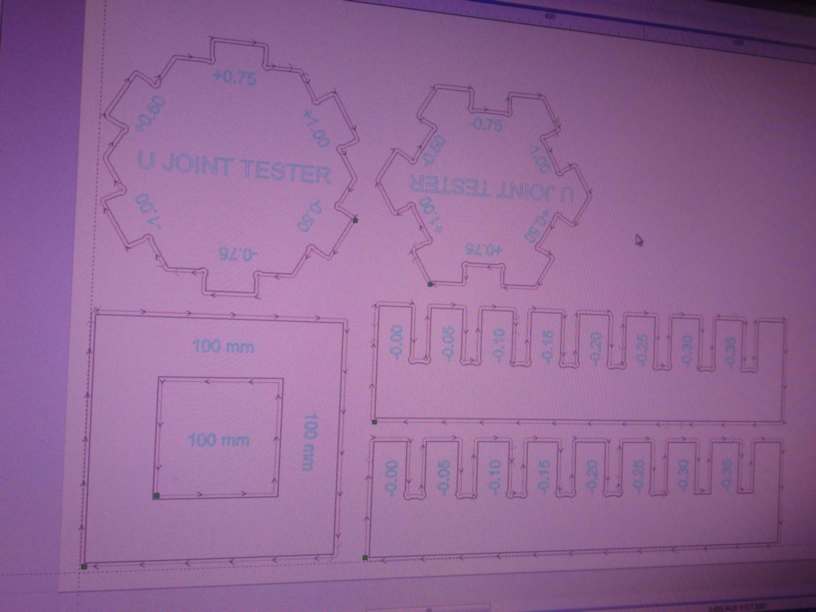

The best dimensions for the pressfit at 1/4 ” bit are:
-1 mm / +1.50 mm
Tool paths
Please consider these recommendations: In the case of holes, the inner part of the geometry should be taken. Additionally before cutting it should be release first prior than other sketch. Other paths should consider the outer part of the geometry, in case of corner, we must draw a dogbone at the joint. A dogbone will help to match two pieces perfectly. For cutting, please consider 2 mm more of the wood thickness, otherwise you may have a little part without cutting because the wood raises up a little when the tool is working.
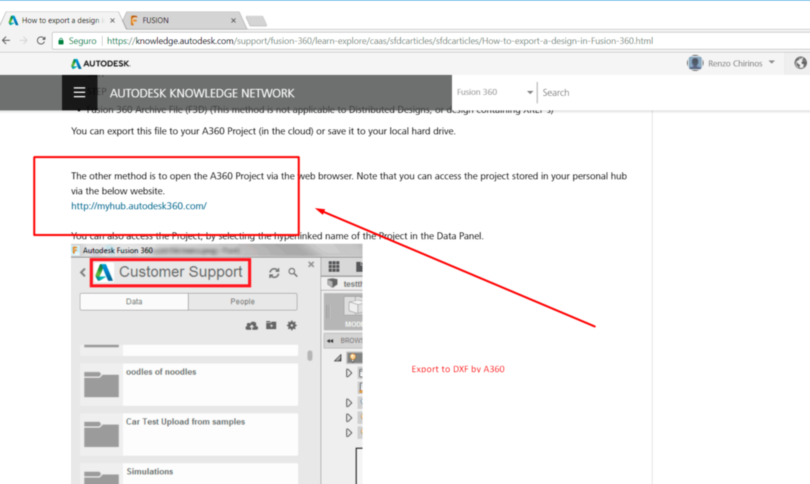
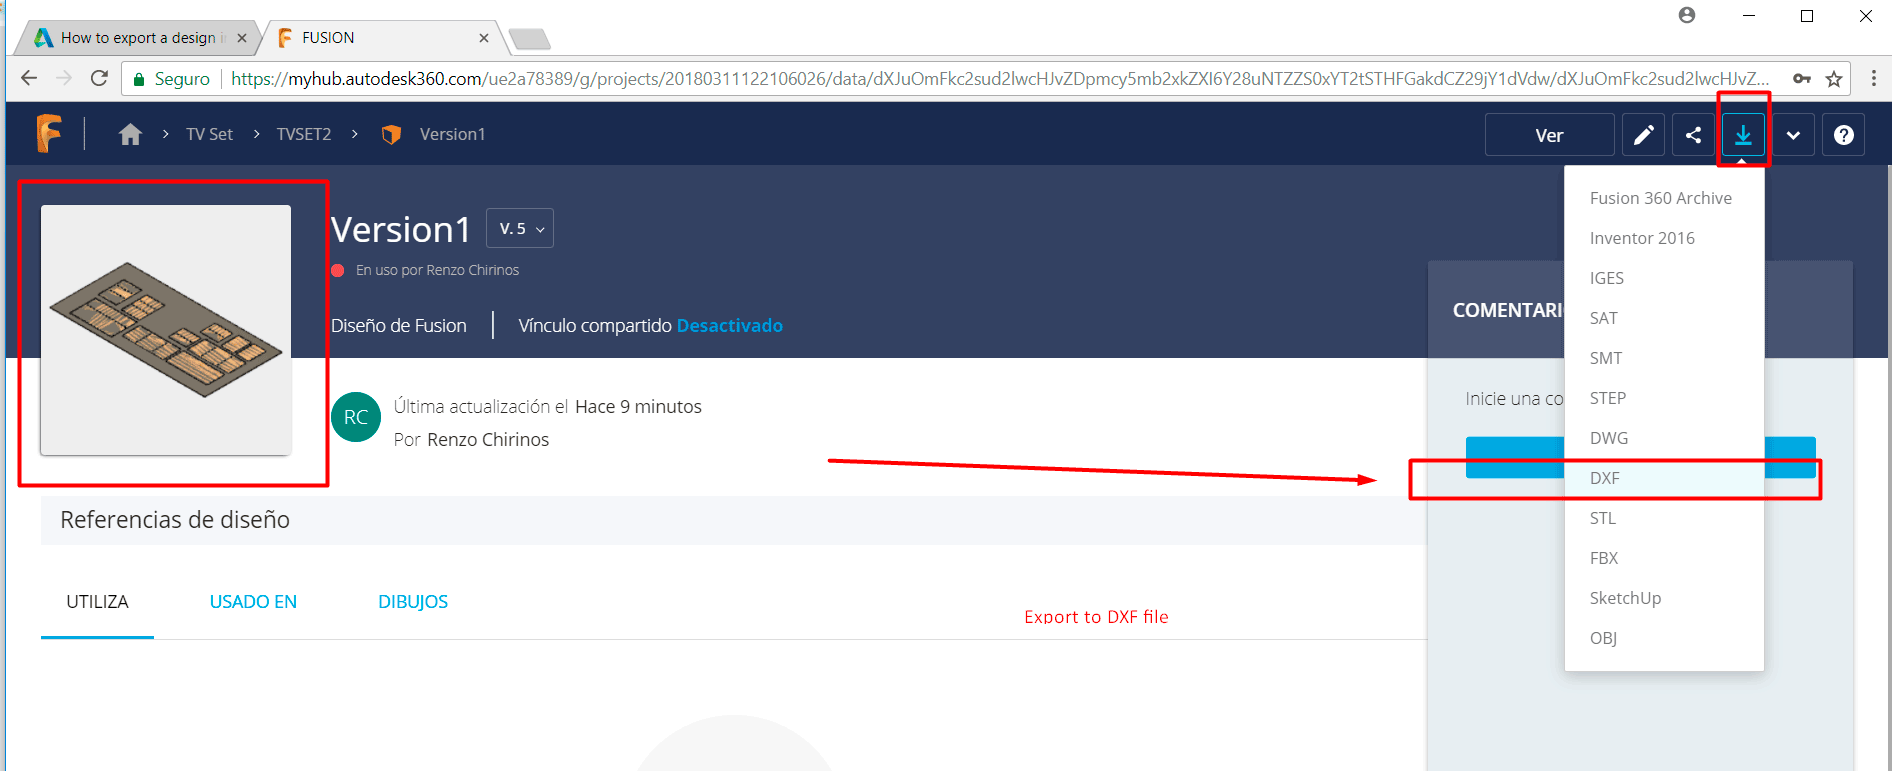
Additional information
Please take a look at the Group assignment part of Silvia Lugo web page.
Individual assignment
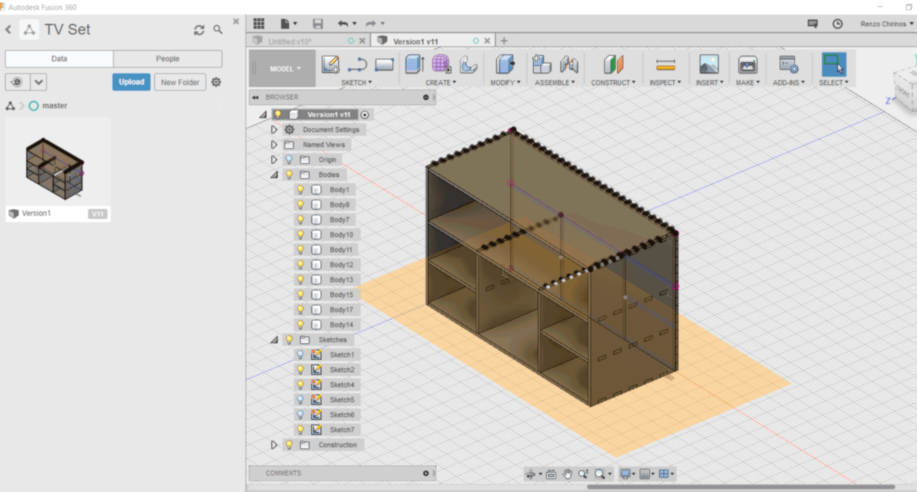
For these part, we need to build something big. I would like to build a TV or computer set. I have seen that it could be some areas where it could be needed in order to save the disk, maybe a flower on it, or other important things.
Please see the sketch done at Fusion. I have really enjoy these activity. The sketch is done using a parametric design, it help me, because I did not know the thickness of the wood before.
Something interesting is that you can make mathematical operations at Fusion. My design consider the phi relation on the squares and rectangles.


I have already done the cutting however I am still putting all the pieces together. I will update the pictures soon.
Update
Although the Nester script is really useful, I had to be really careful about it. I had a couple of imcomplete pieces.
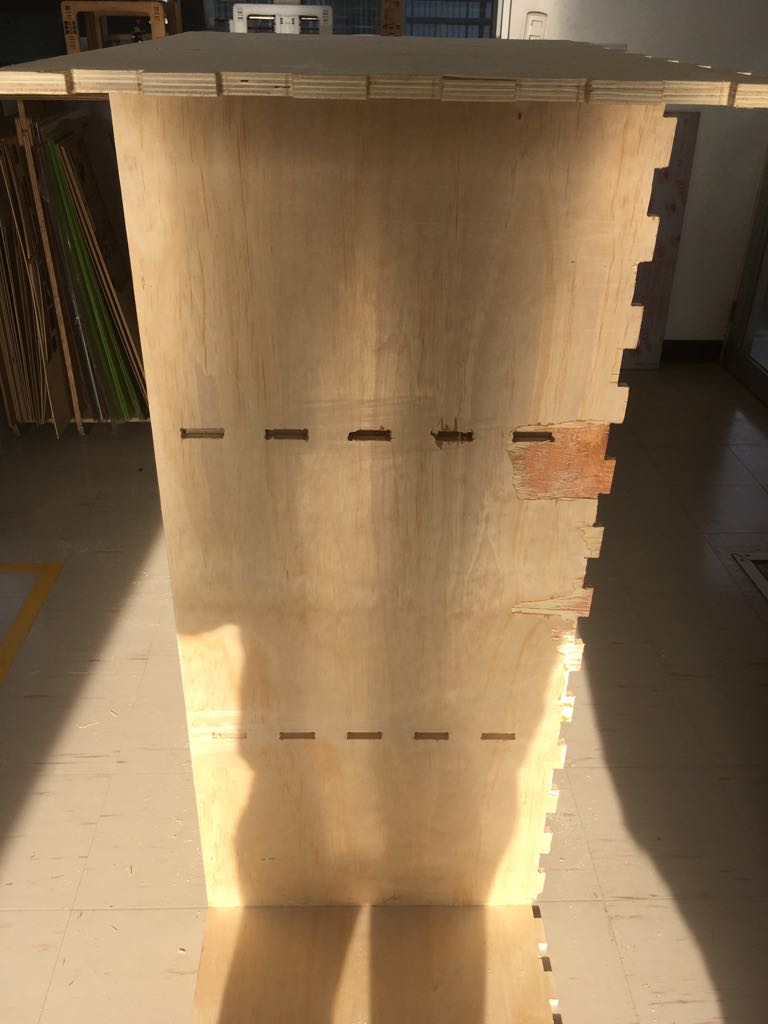
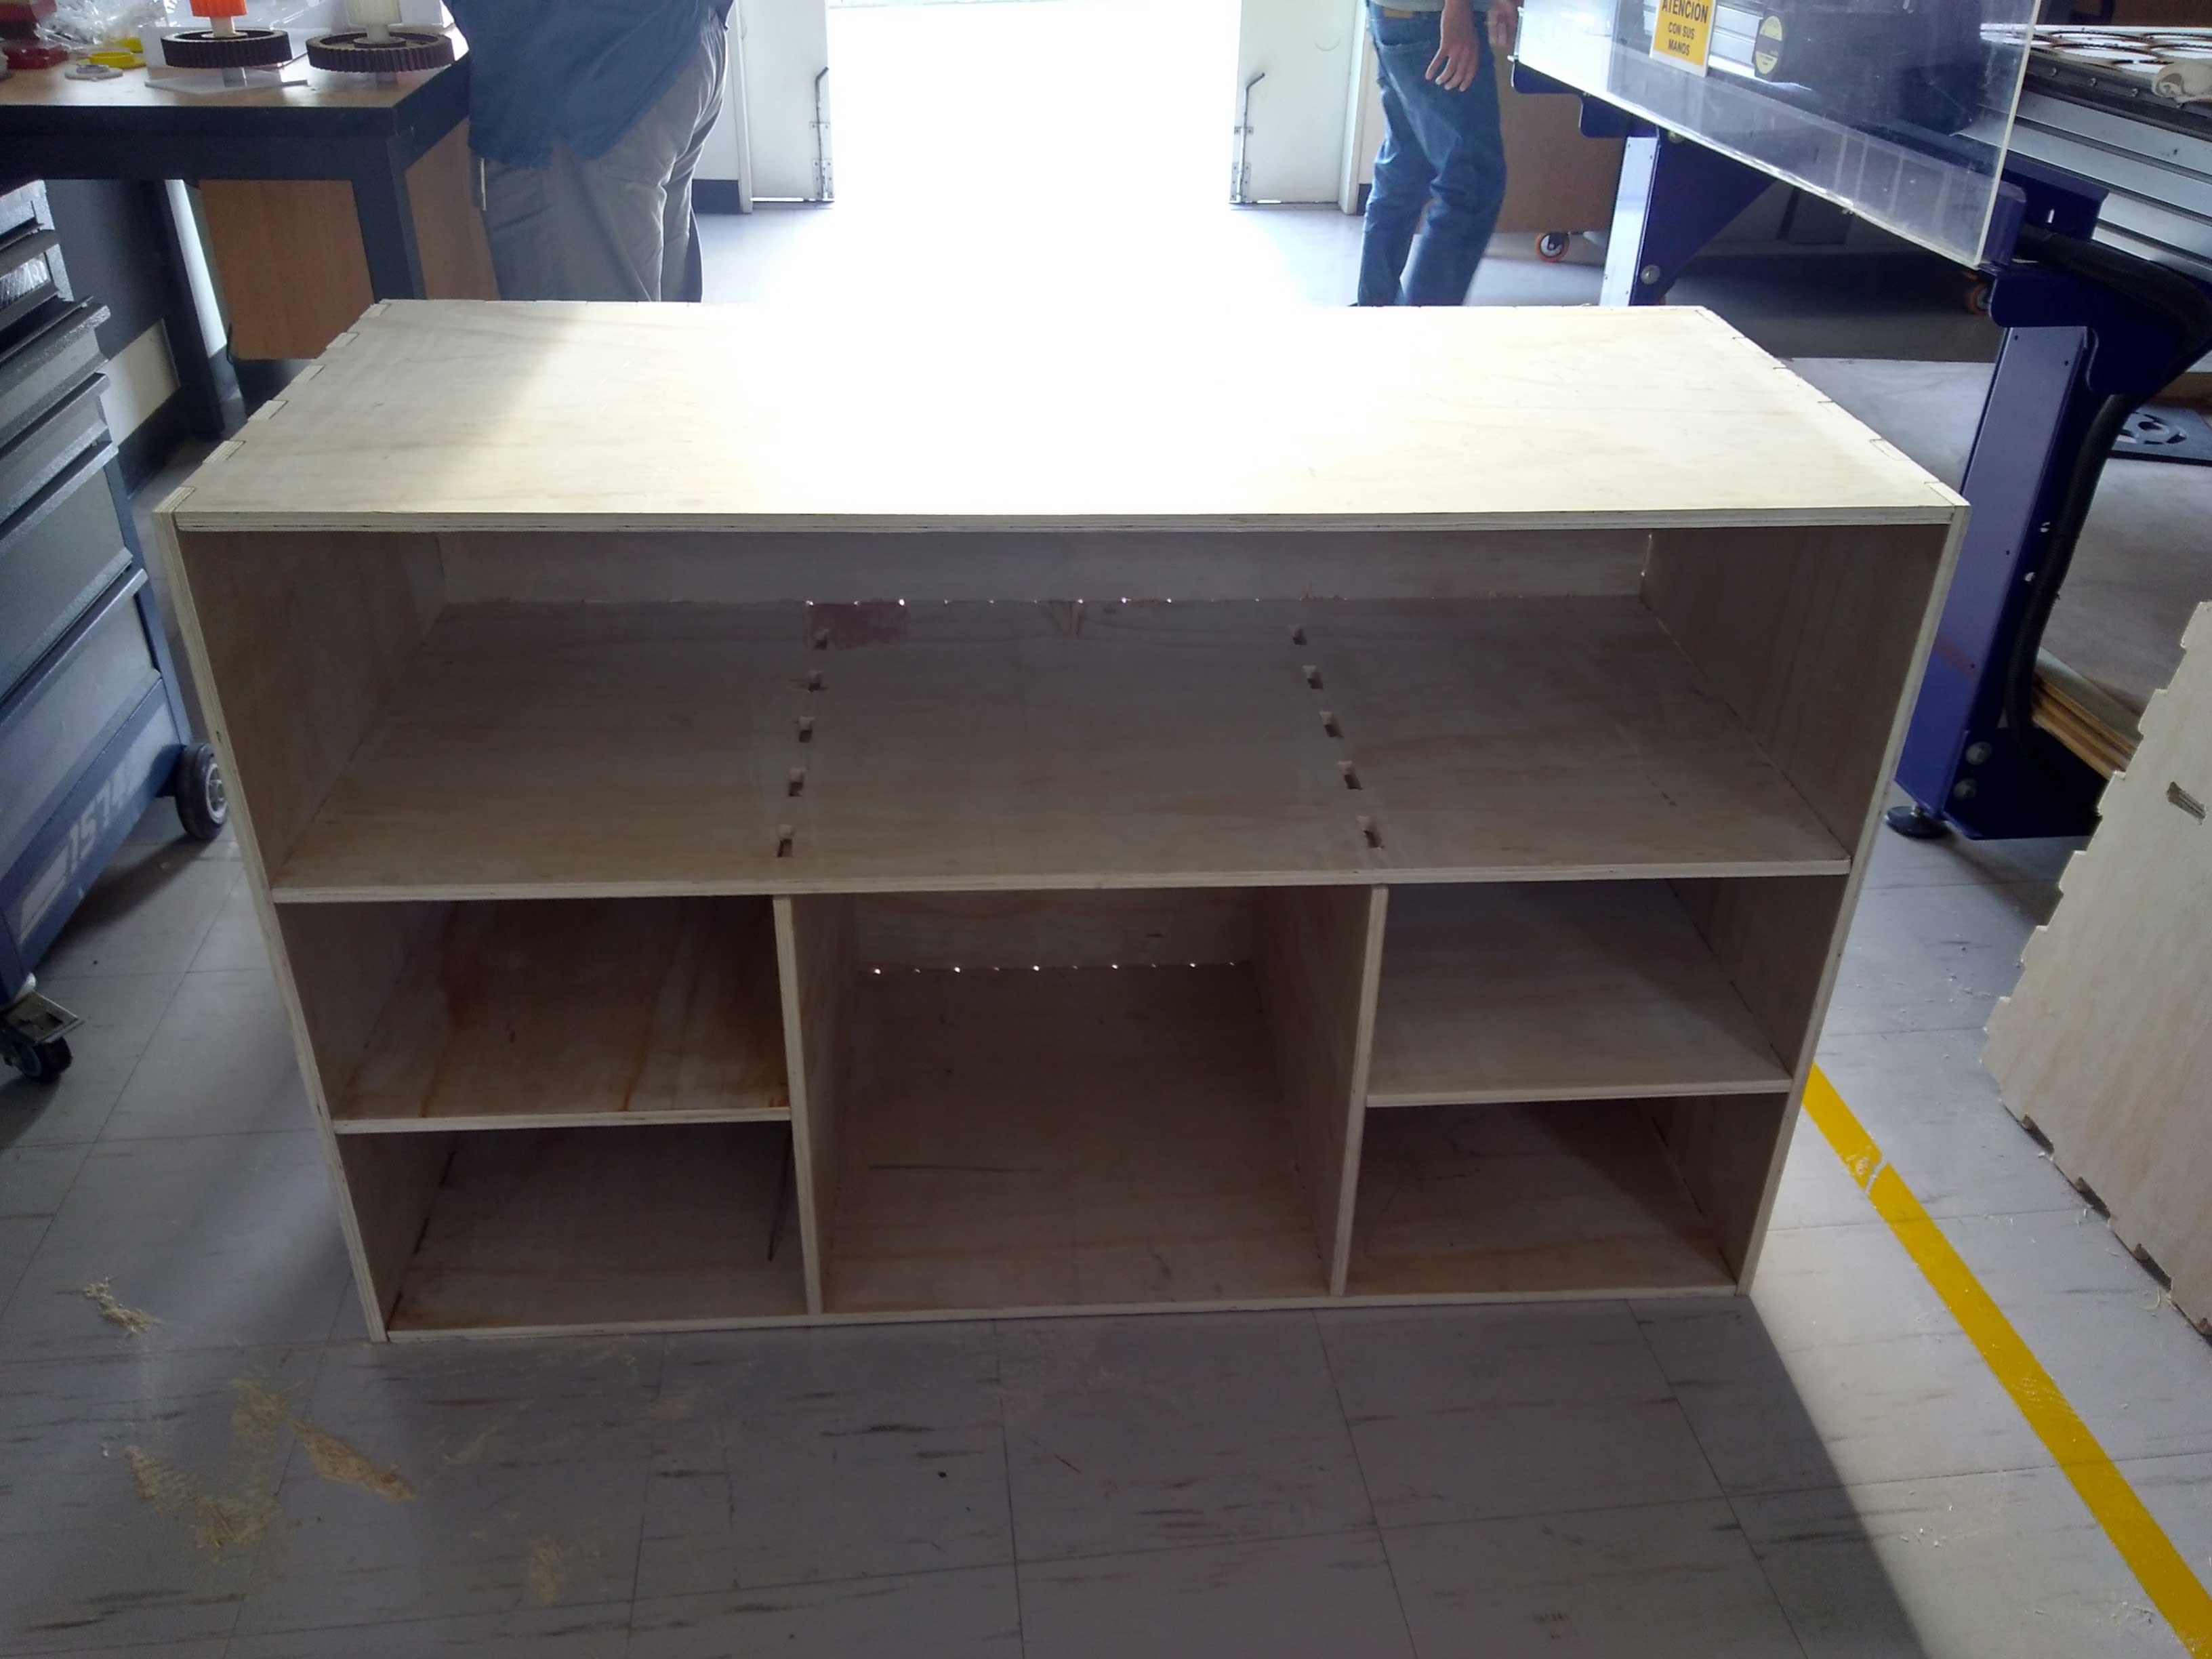
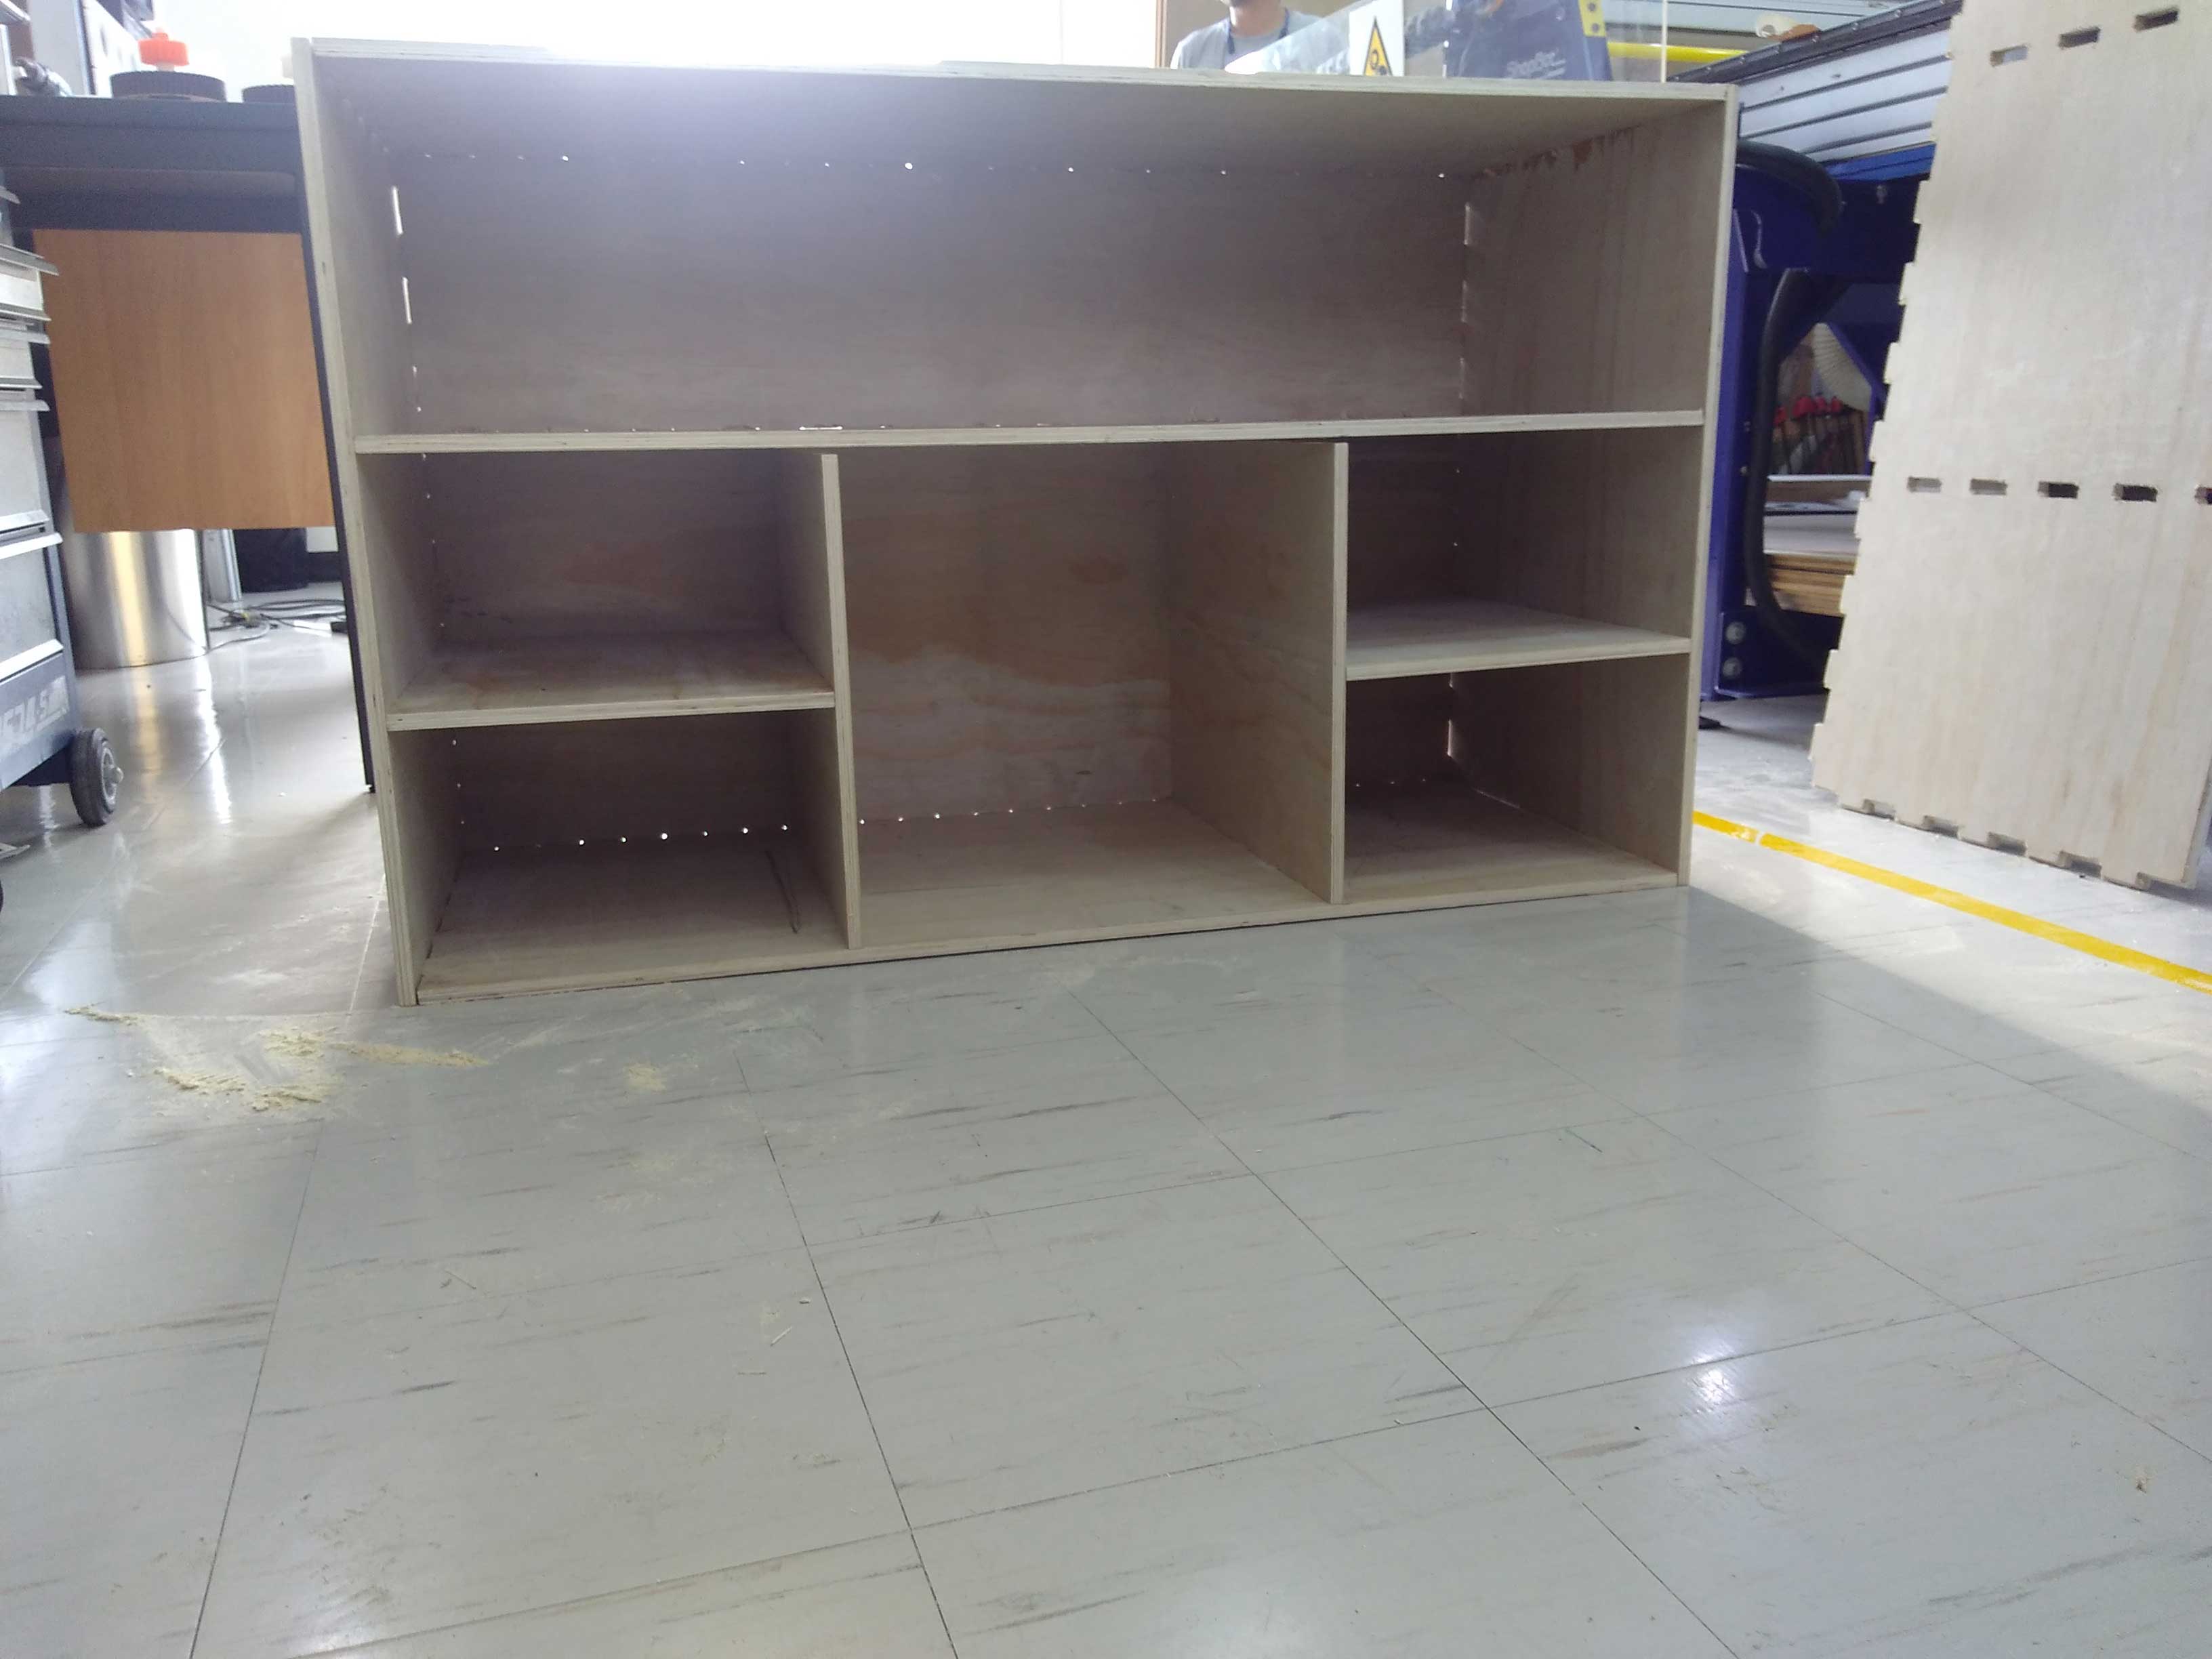
The building of the boards was easy. The corner joints had not problem to be installed. However I forgot to consider the wood thickness at the holes of the pieces. I had to used sandpaper and wood lime, in order to get the 2 mm consider at the previous steps.
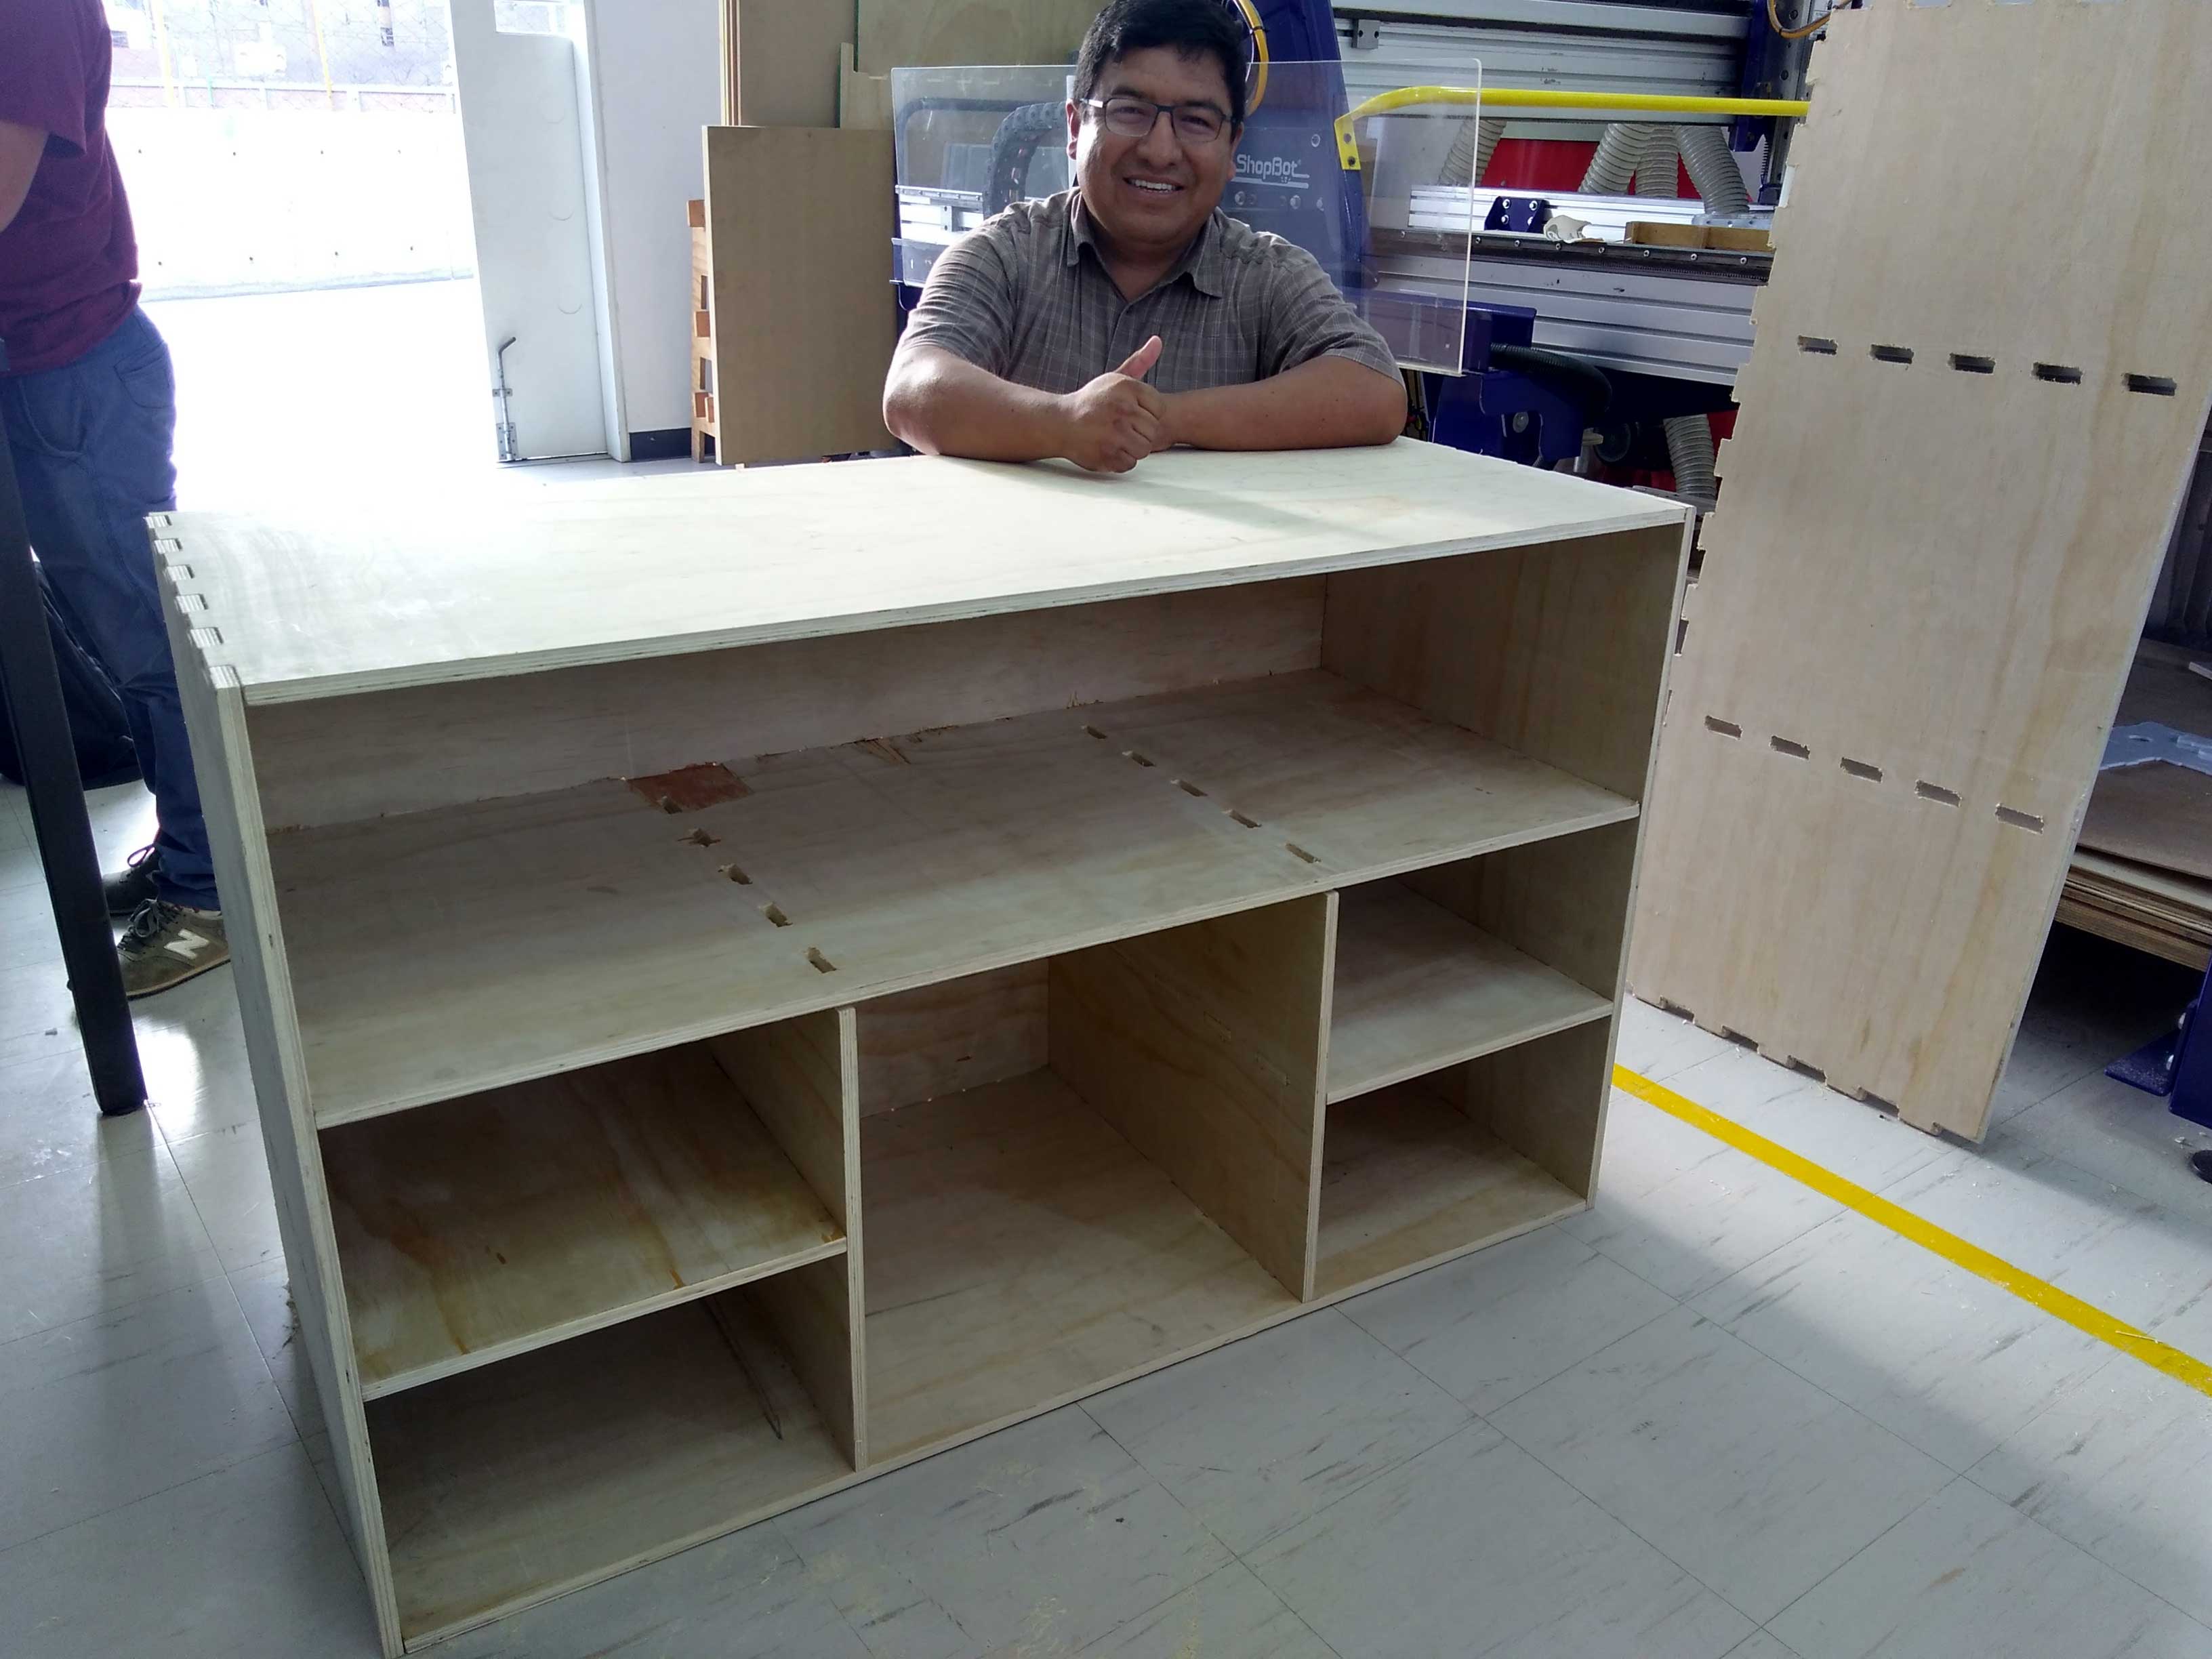
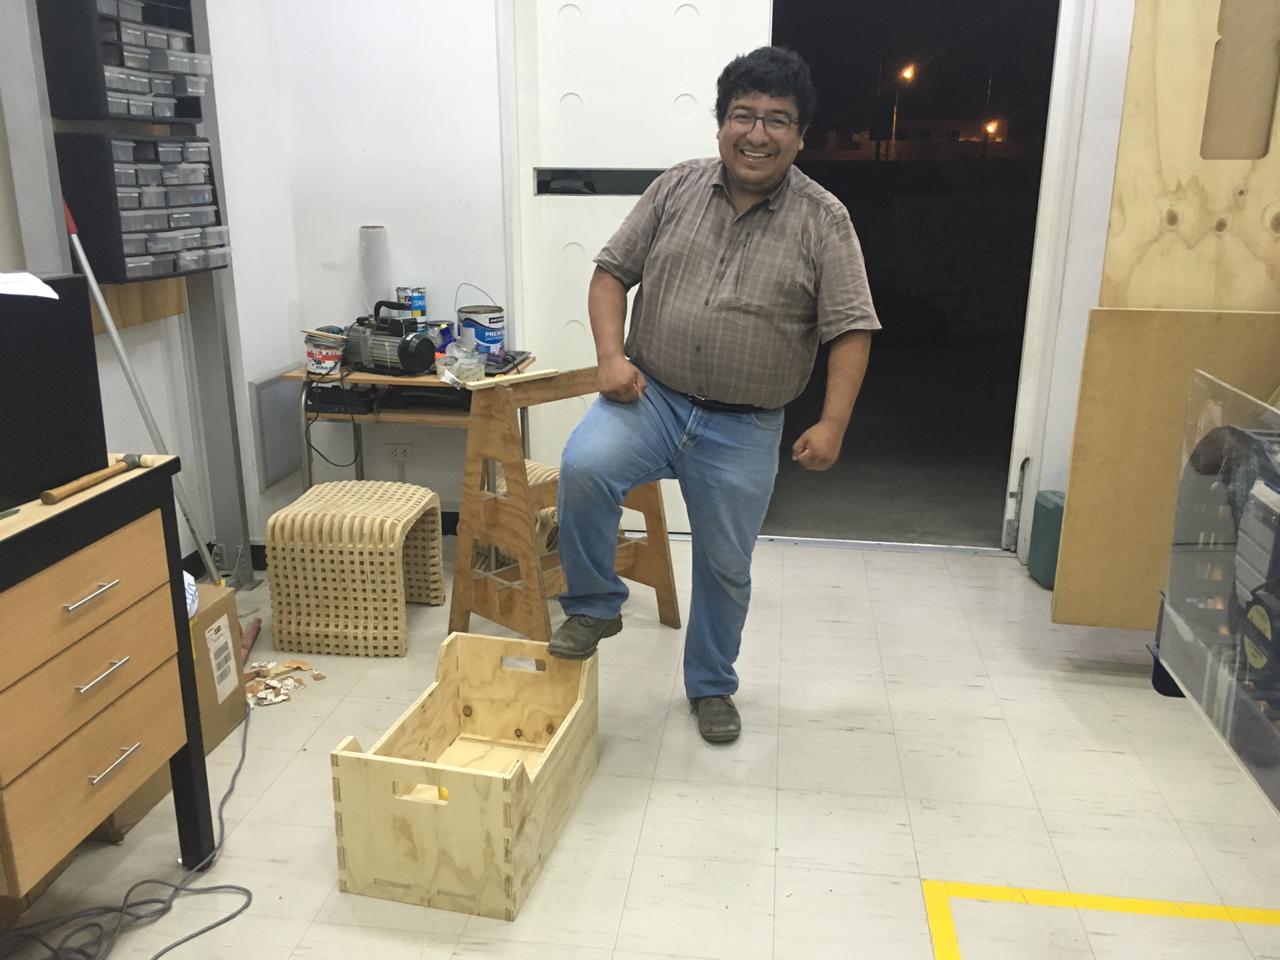
Please take a look at the pictures of the stand.


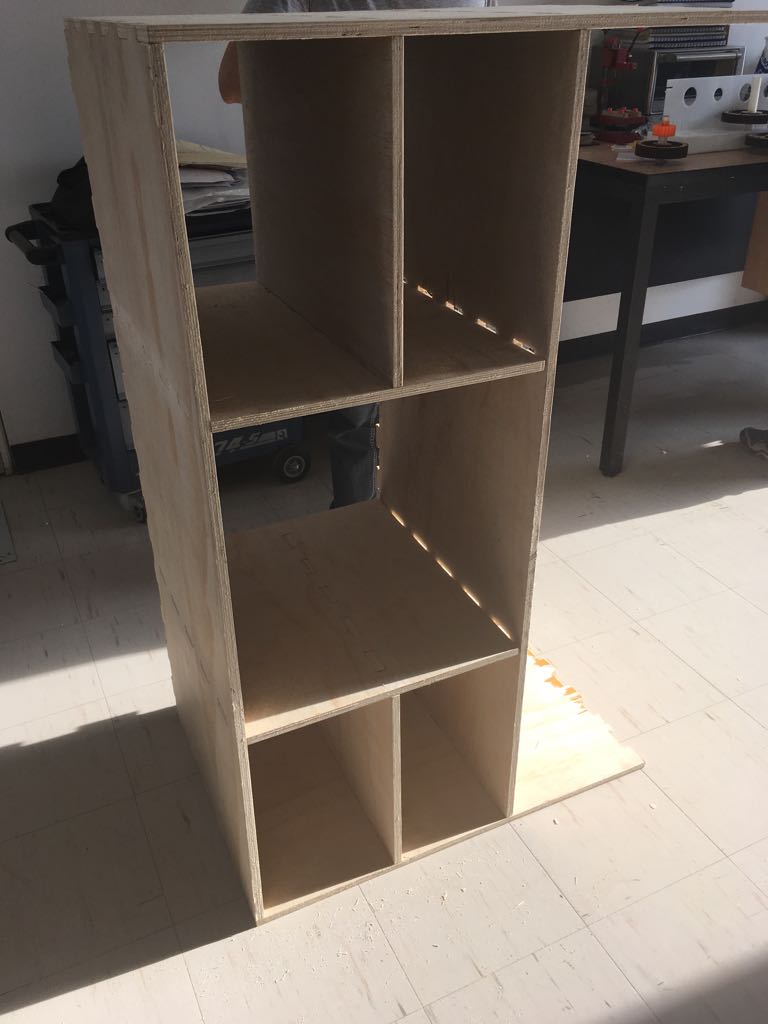
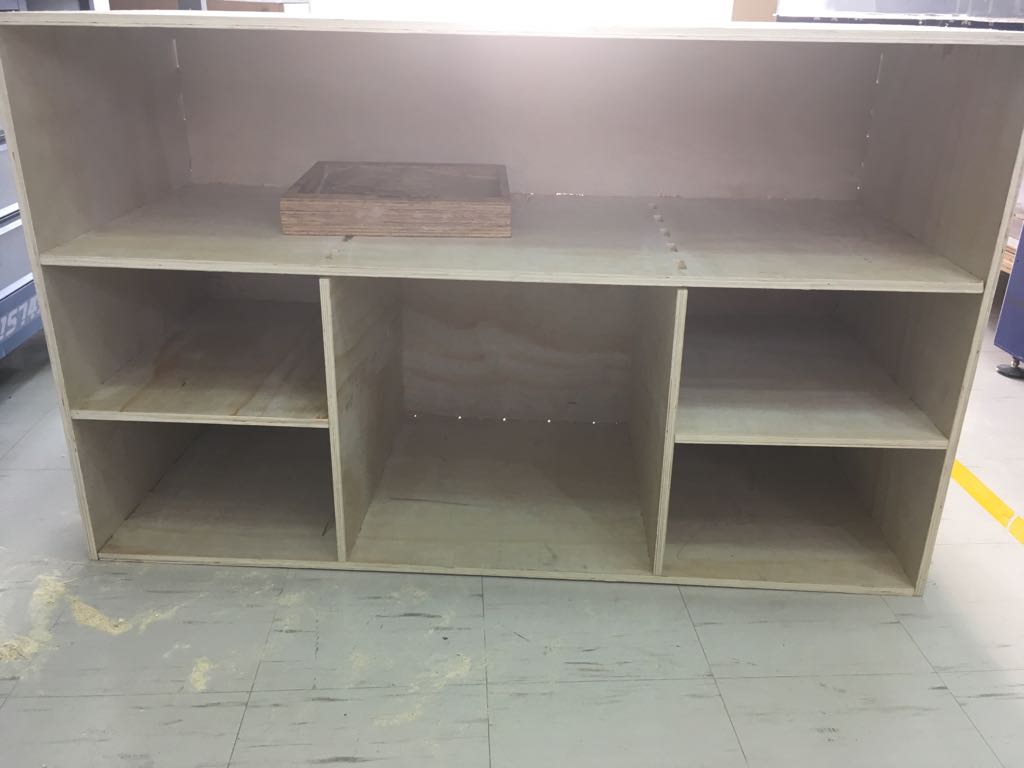
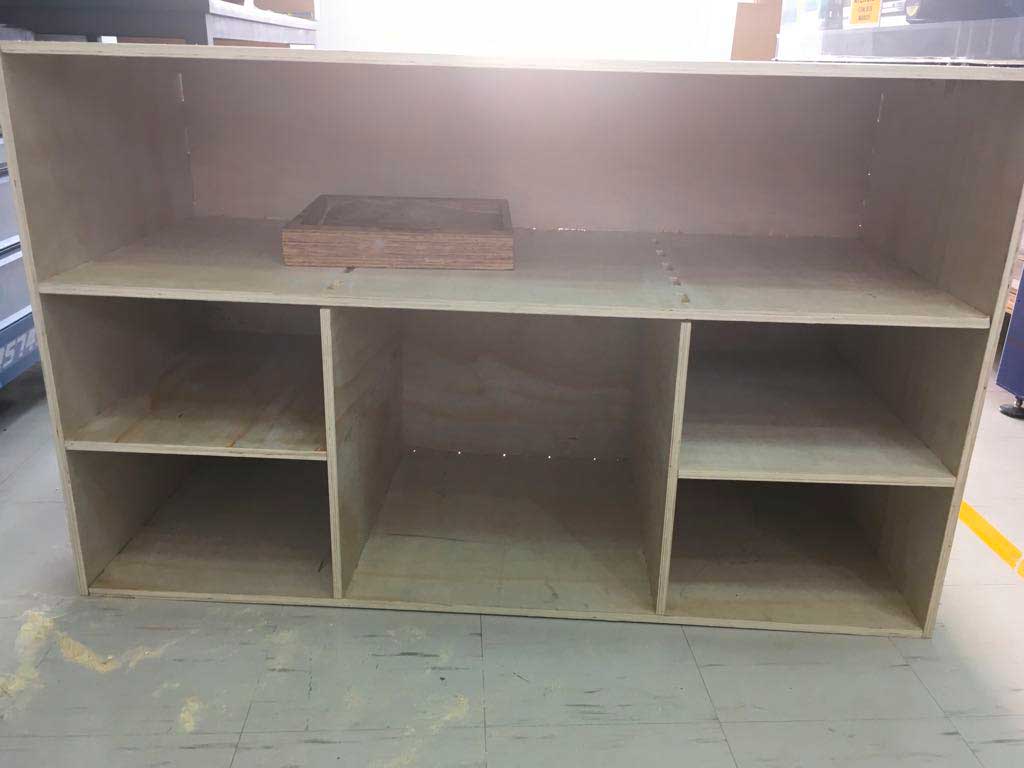
This is me and the stand. Thank you.
You may download the construction files here.
Additional information
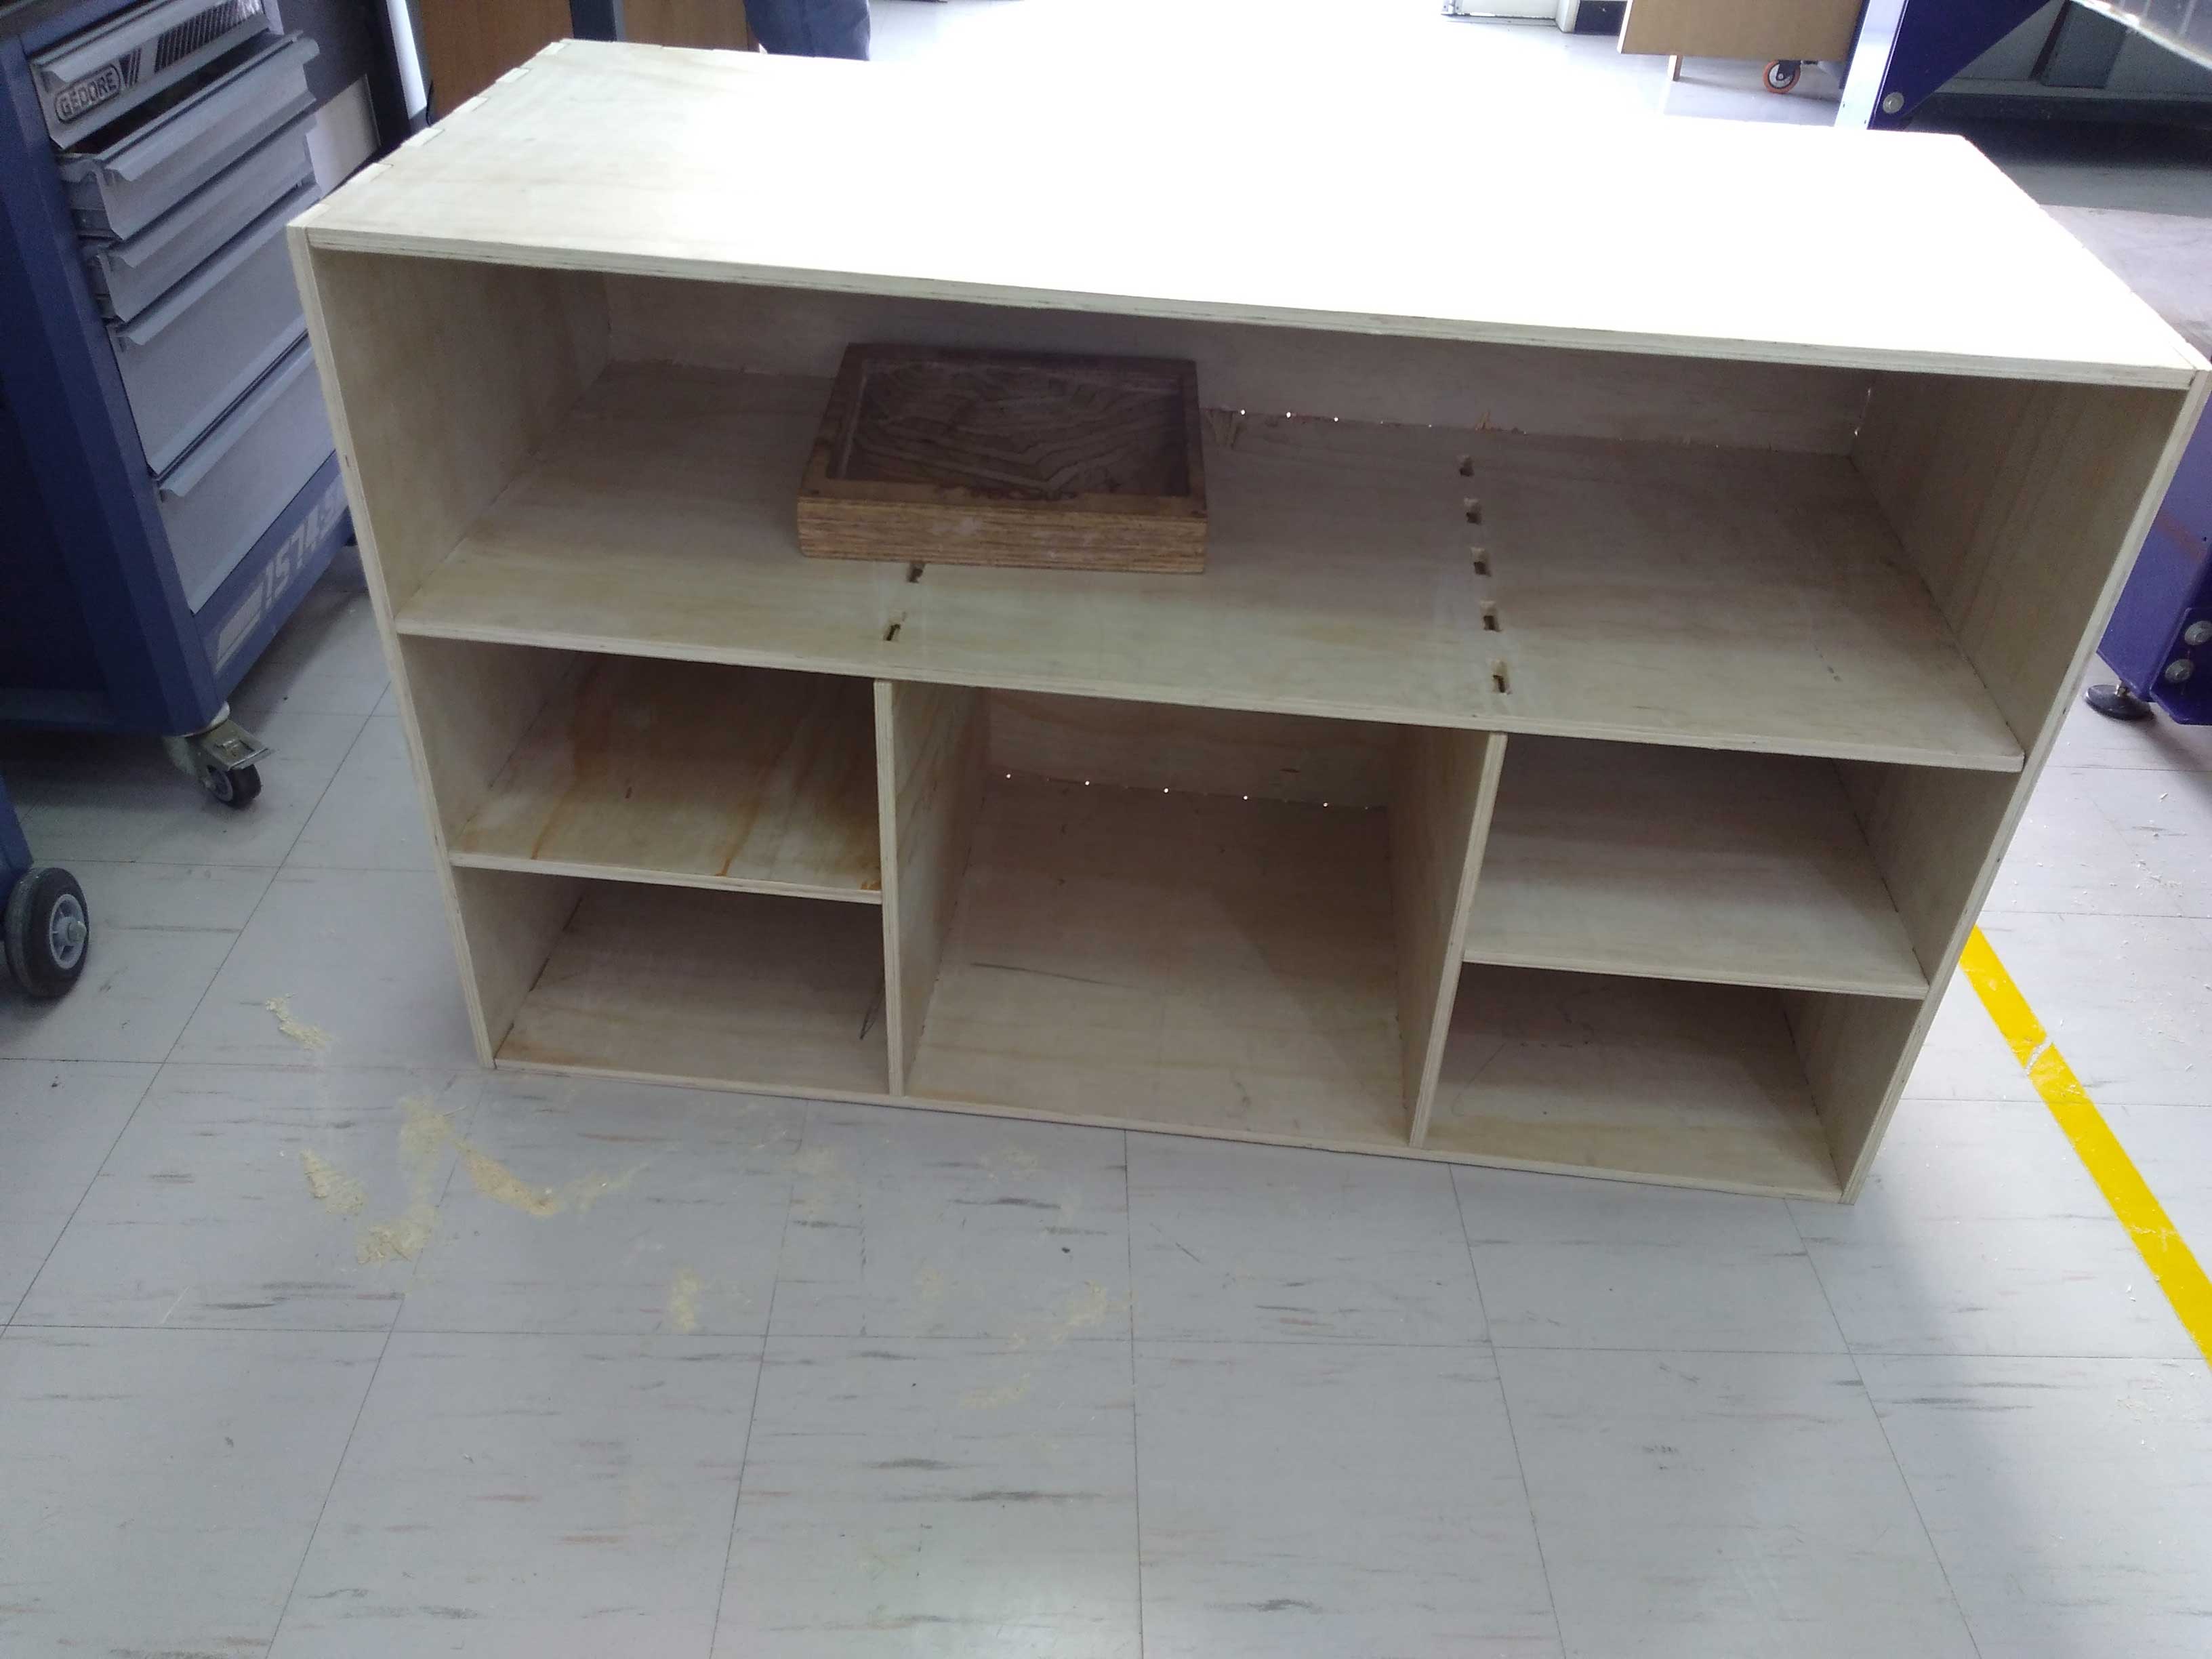
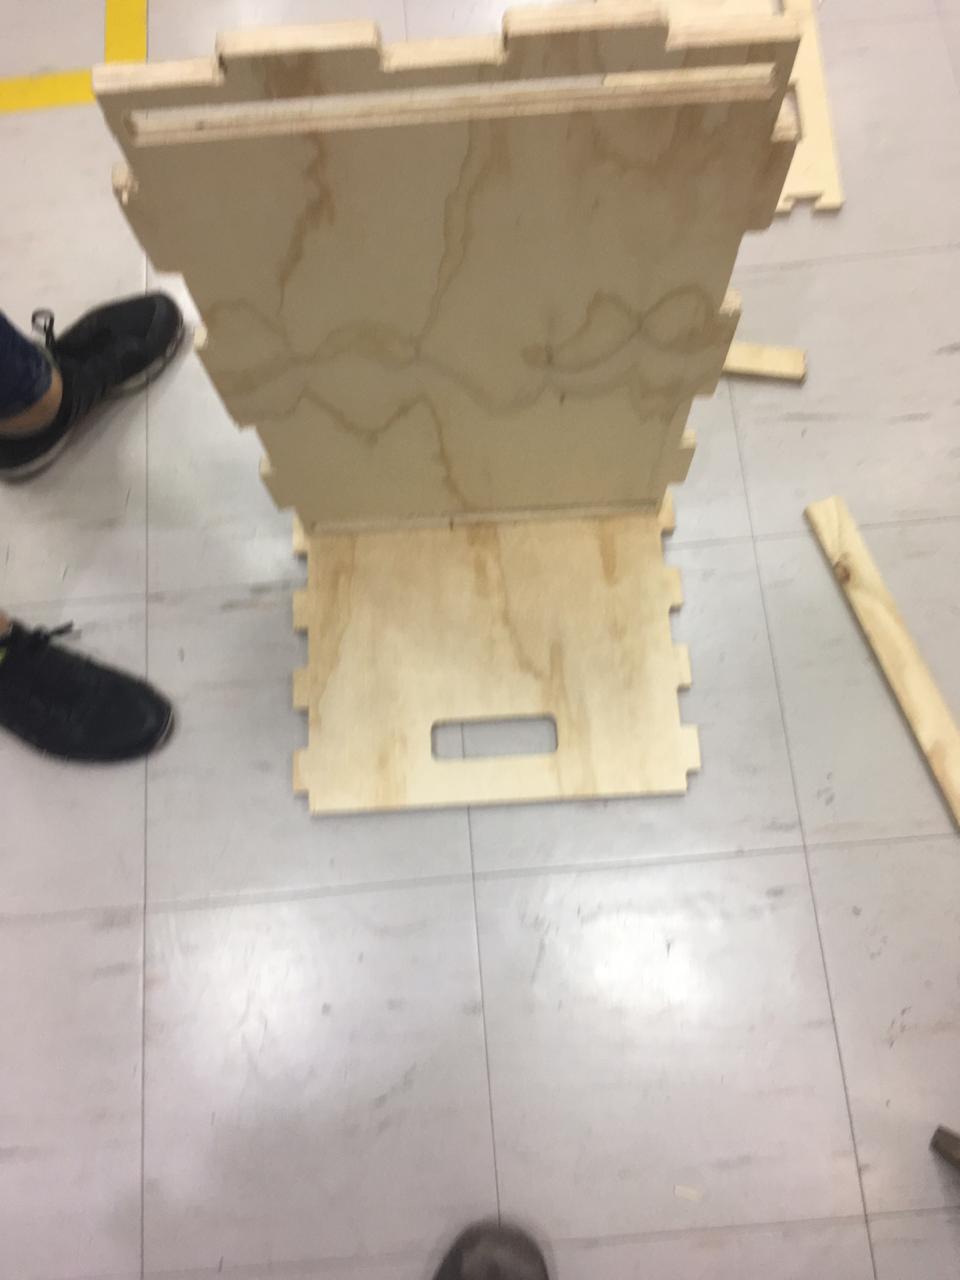
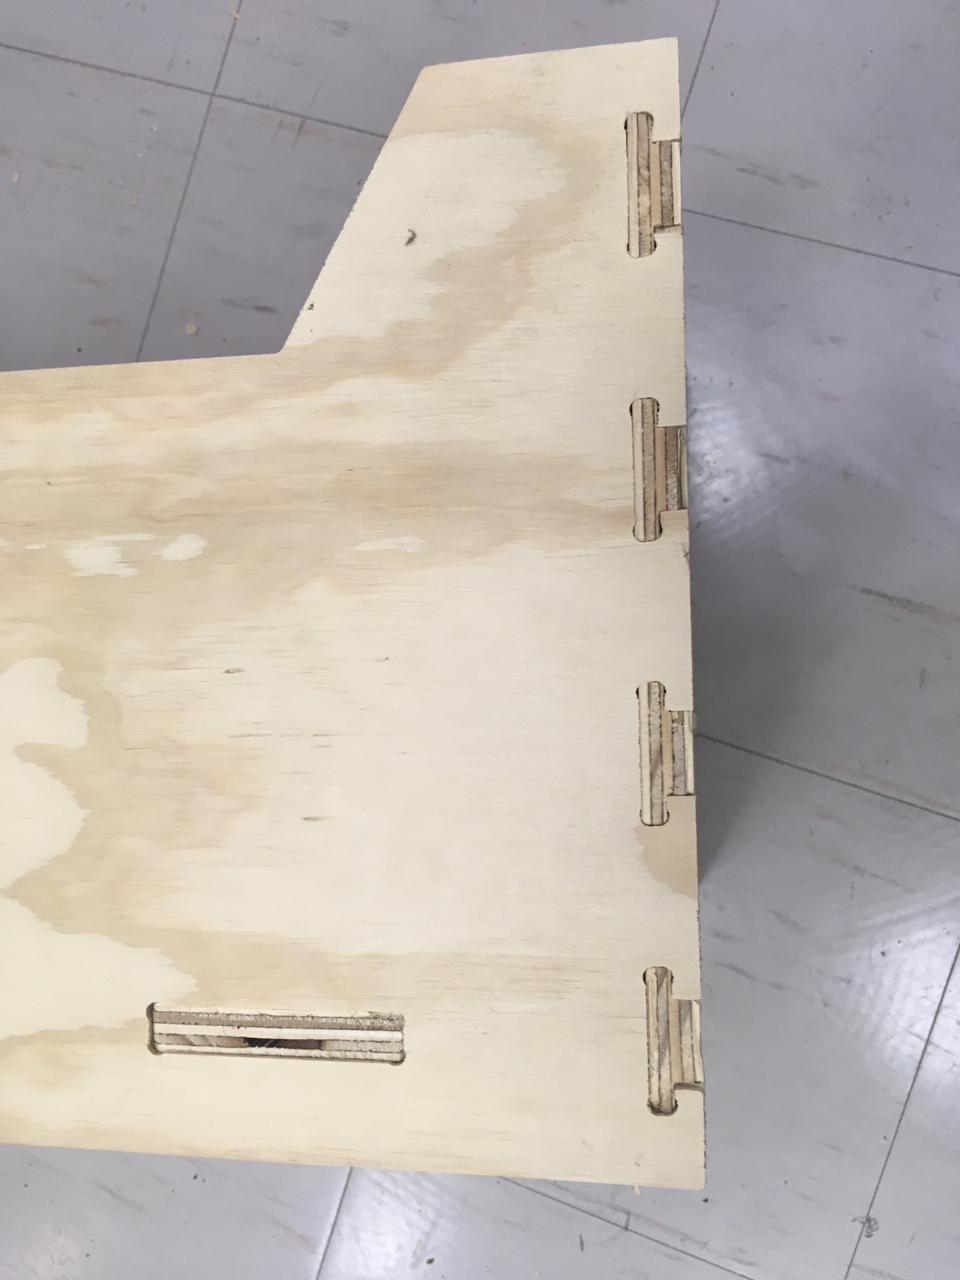
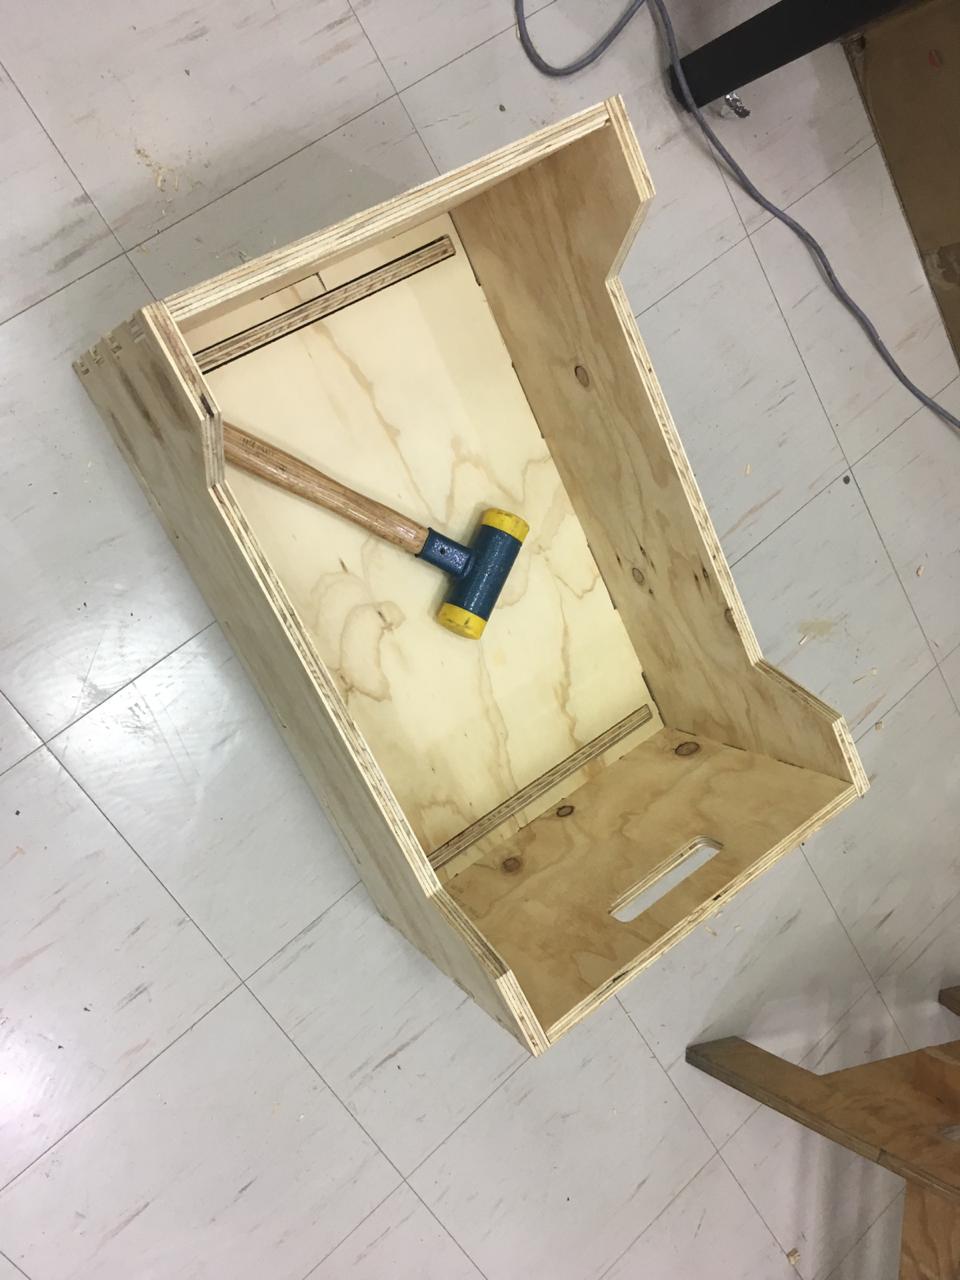
This time I have made a tool box that can be put over another. For this time I would like to make another kind of joints that could be fix easily than before. I choose a hammer joint.
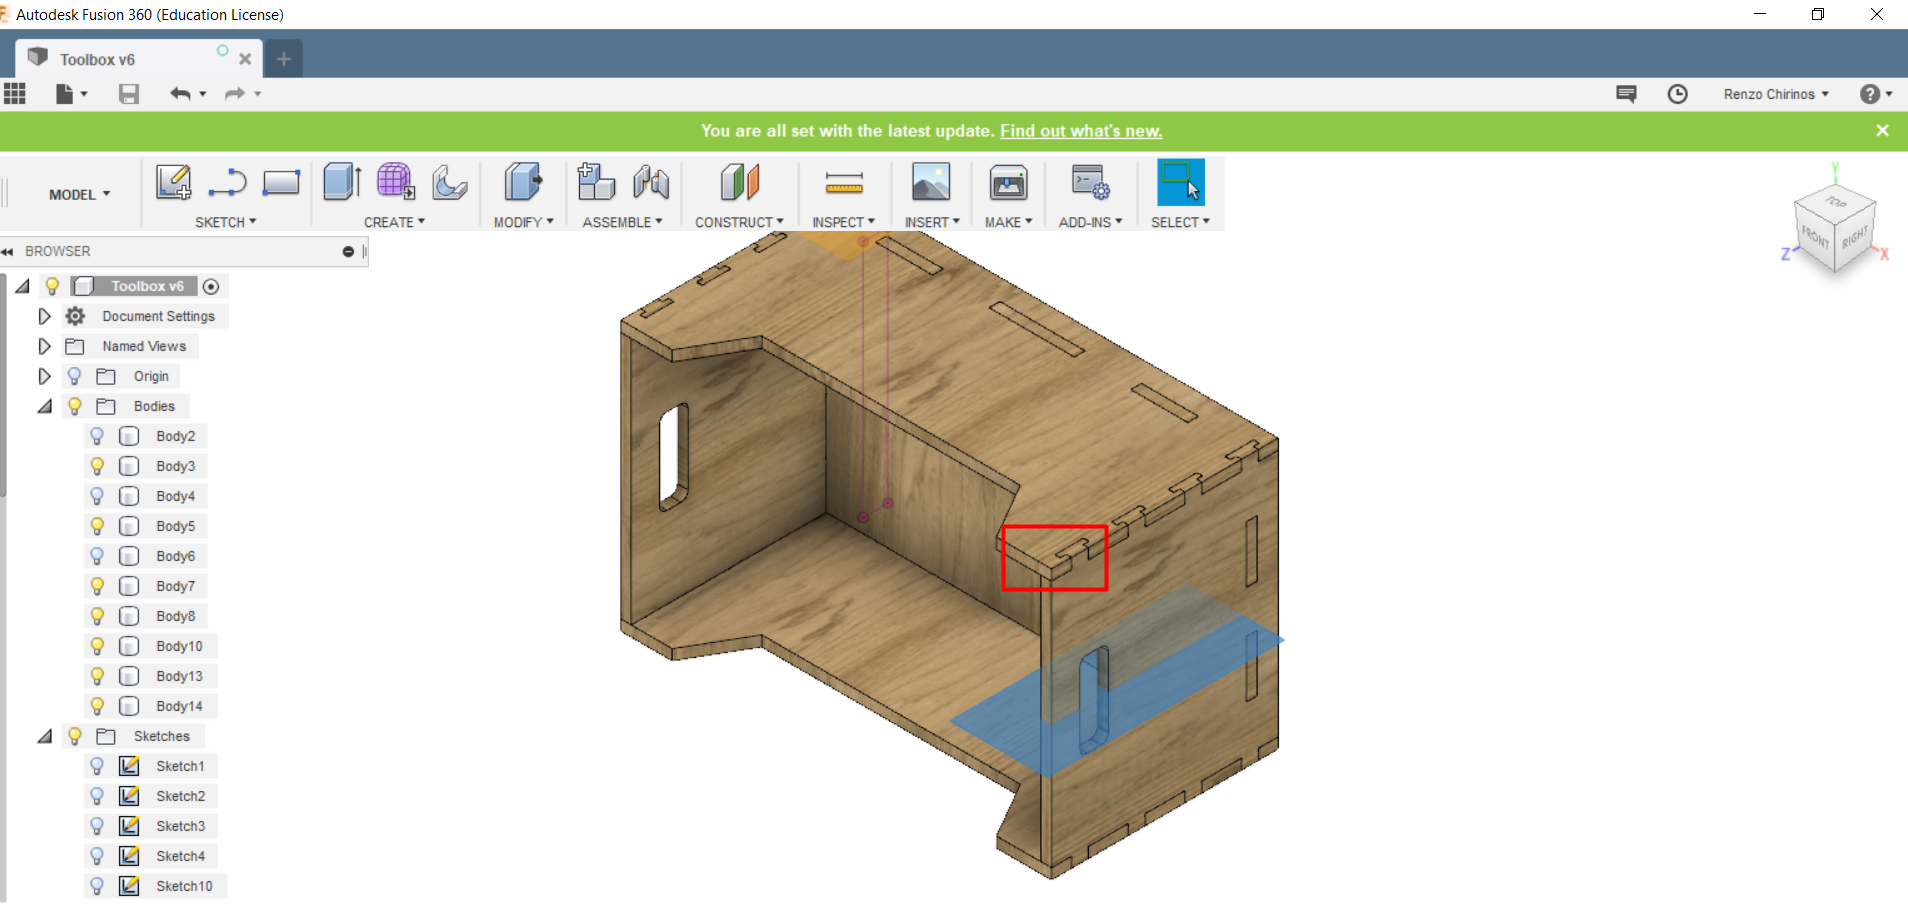
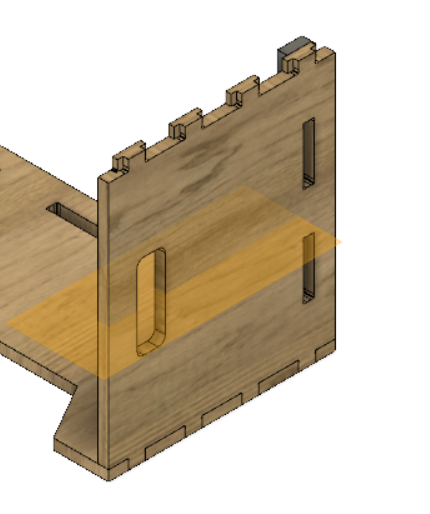

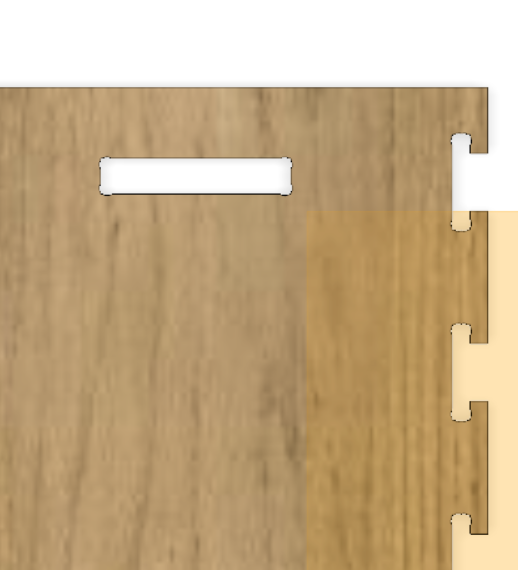

Please see the pictures of the work.

You may download the construction files here.
Thank you