4. Computer controlled cutting
This was a really interesting activity, we were able to use the Vynil cutter, Laser cutter and engraving machine and use our CAD and drawing learnings learn at previous activities.
Group assignment
Group assignments are always a goal to achieve, Although it was the first time we work together, I believe we understand each other very well. Each of the members of the group are major in different areas such as: Design, Agriculture, Electronics, which is very valuable. It gives us more confidence to ask someone in order to get some help.
Our team members are:
Assignment:
The assignment consist of characterize your laser cutter’s item such as:
- focus
- power
- speed
- rate
- kerf
- joint clearance
Characterize your lasercutter
Laser TROTEC Speedy 400
TECSUP Lab has these laser engraving machine. Some important things to consider prior the put it on operation. As long as it is a laser equipment, special glasses are needed for its handling. It is a MUST to wear it. Otherwise your eyes could be damaged.
The equipment consist on three phases:
- Air filter
- Laser and engraving machine
Air filter
It is very important because it extracts the emissions that the material releases after the laser cuts the material. It does it through its activated carbon filters, ensuring safe and clean operation.
The lab is implemented with Atmos Duo plus exhaust system.
Laser and engraving machine
The first steps we have to learn was the installation of the lenses, we have to clean the mirror and its lens. Then the we have to configure the settings. Then we have to put the table on the correct position according to the thickness of the material. These can be done manually. We need to handle a little regulator that comes with the equipment. Once it is touch the material, it means that the equipment is properly set.
Then it was time to put the material, we have tried to raster and cut with mdf. Tecsup Fablab is implemented with a Laser TROTEC Speedy 400.
The area of work of these machine is 39 x 24 inch
MDF
MDF is more easy to handle different speed in comparison to acrylic, in this case we need to be more careful about the power. The piece may get burn if we do not put the proper settings. The most optimal settings for a 3 mm mdf piece were: Speed 0.5, Power 100, Frequency 5000.
Vary cutting settings and dimensions
We have done some interesting test in order to get the perfect press fit. However we have only work with mdf. To calculate the kerf of machine, we need to measure the outer borders and the inner borders of the cut, then divide this rest by 2.
kerf = (30.05 - 29.50)/2
kerf = 0.275 mm
The best settings for press-fit c joint is -0.035 mm. The best settings for press-fit u joint is +/- 0.2 mm.
Addtional information
Please take a look at Group assignment of Silvia Lugo web page.
Individual assignment
For this activity the individual assigment are:
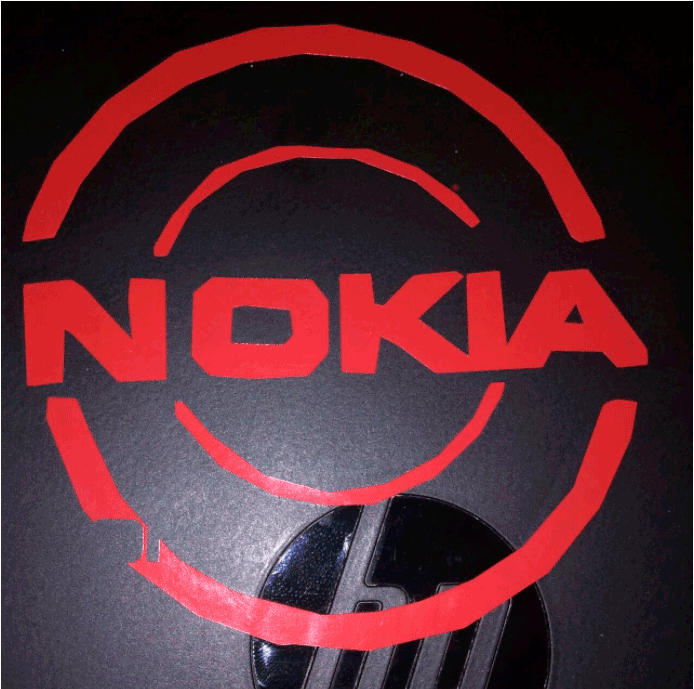
- Cut something on the vinylcutter
- Design, lasercut, and document a parametric press-fit construction kit, accounting for the lasercutter kerf which can be assembled in multiple ways
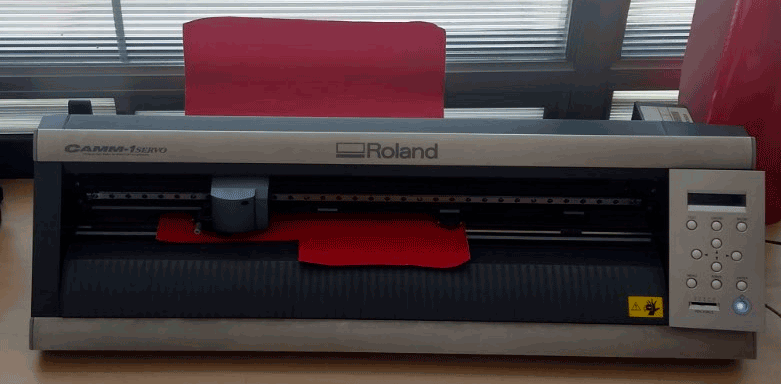
Vinyl cutter
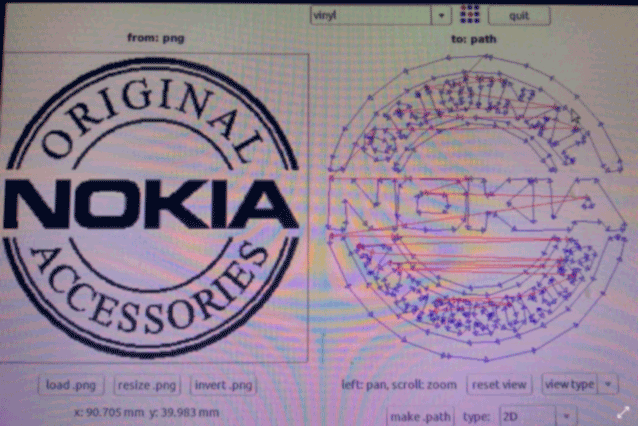
For these activity I have chosen a Nokia brand logo. I jut want to know how the vynil cutter works. I like how the vector path is show at the application. The SW also allows the possibility to change the size of the image and know the real size of it.
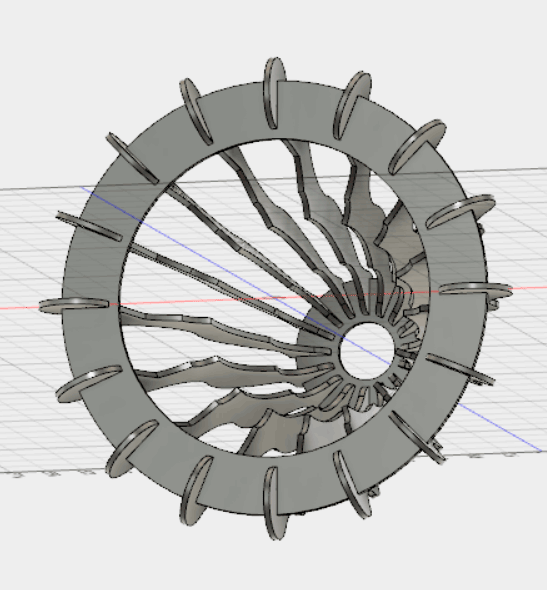
Design
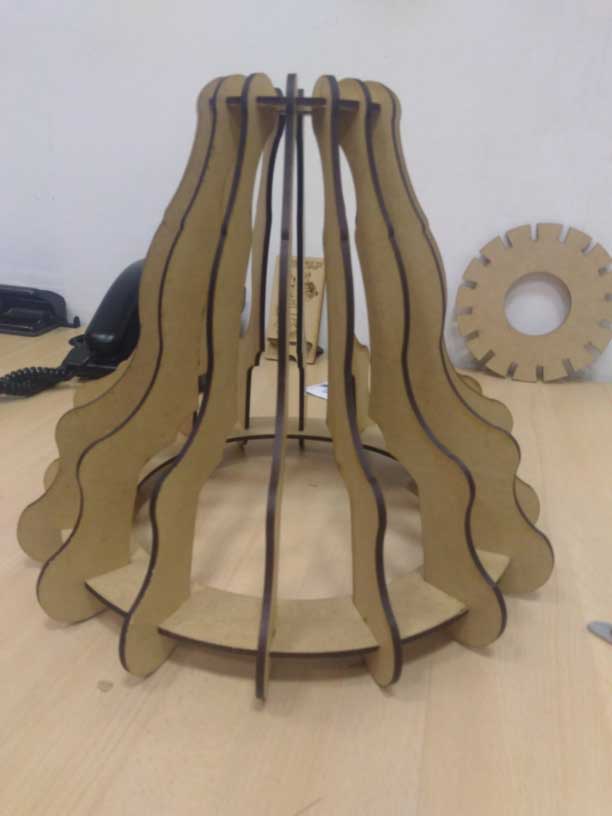
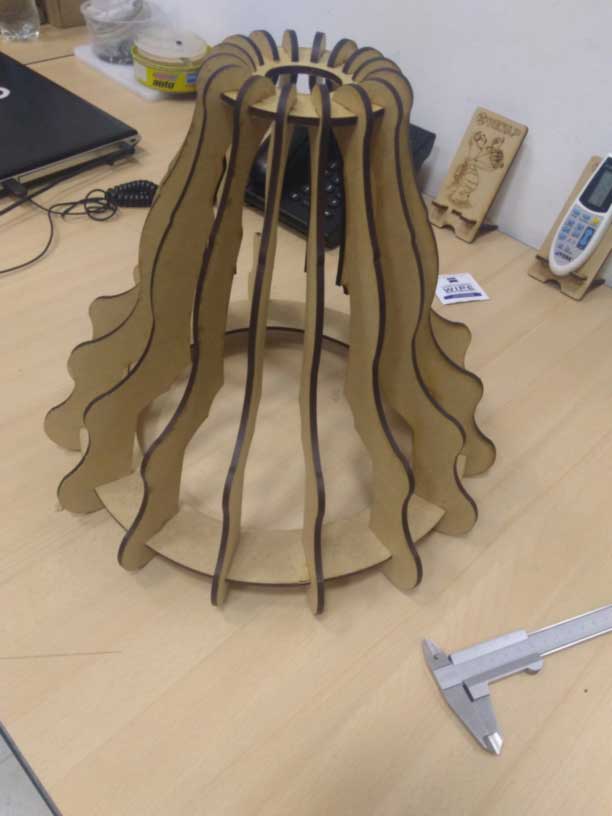
I inspired myself on a basic format. I want to design a lamp. I designed it at Fusion. You may see the design and the final project implemented.
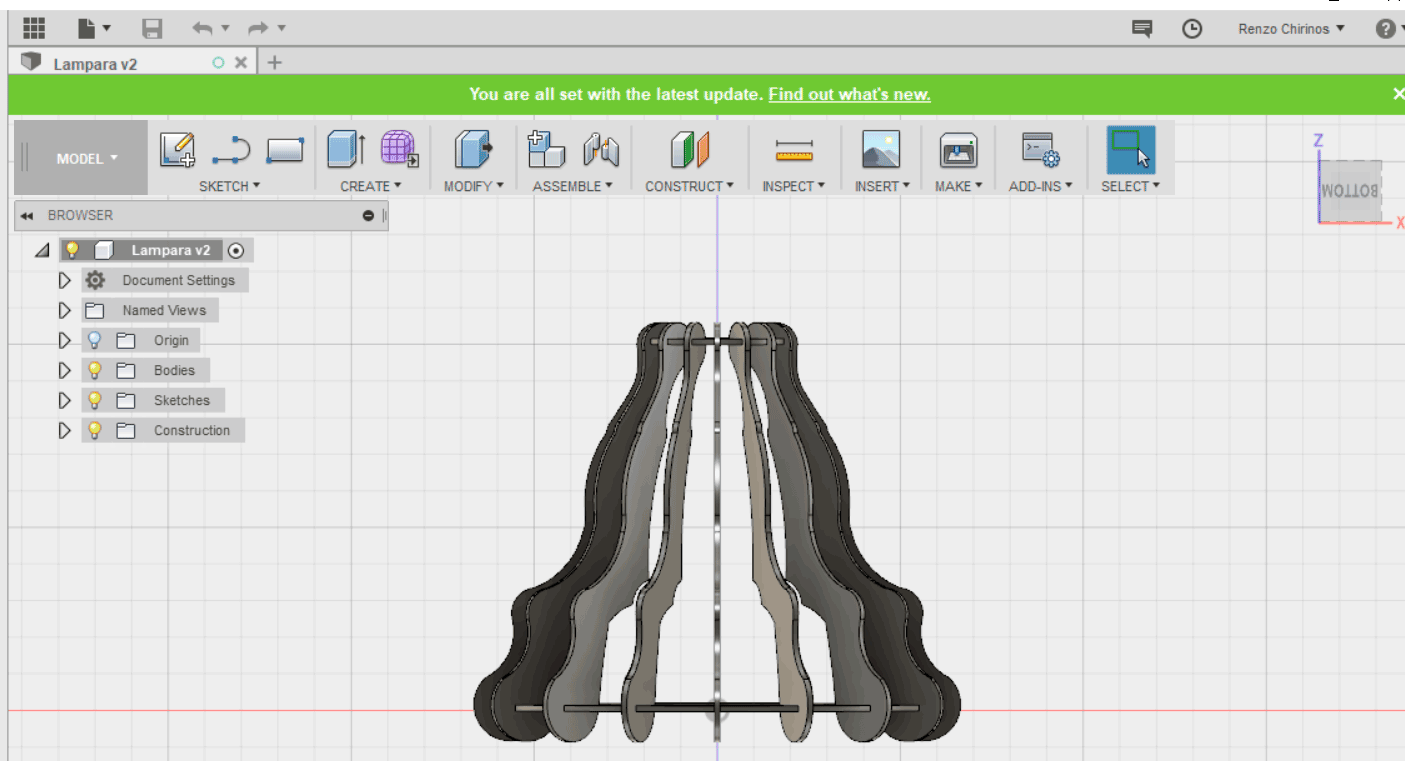

And the result is:
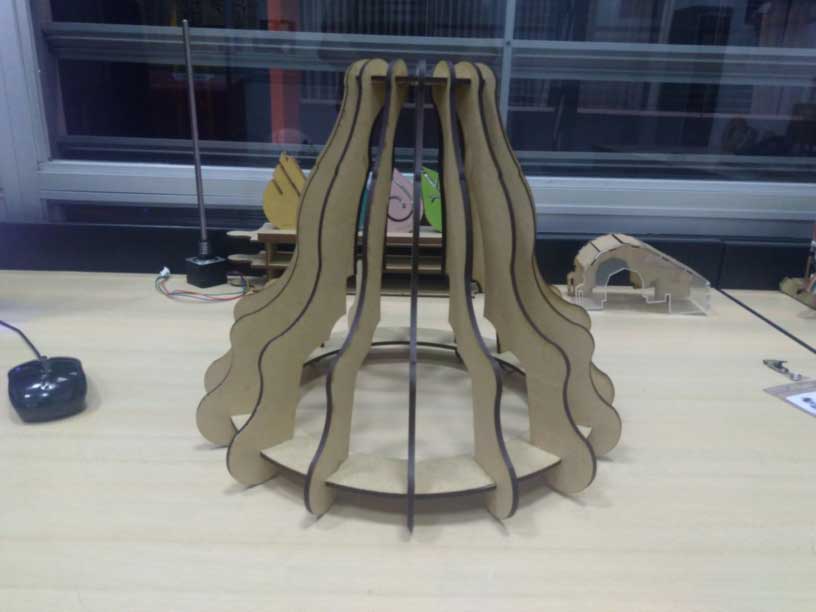
You may download the file here