
Week 20: Project Development
Assignment
☑ What needs to be done?
☑ What have you done already?
☑ What will happen and when?
☑ what have you learned?
What needs to be done?
I had work for a week right before my final presentation. I had 10 days left.
I had been trying to use my time wisely so that I could finish my final project in time,
but I still had to spend many sleepless nights.
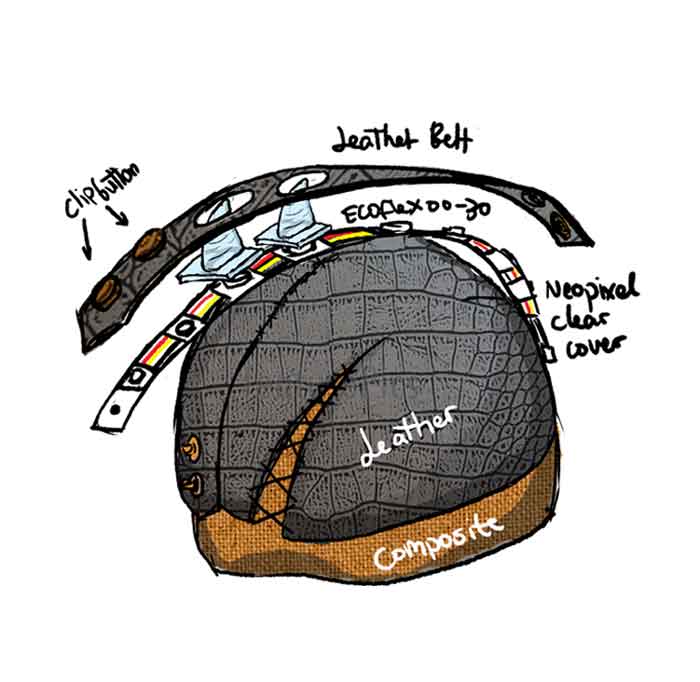
I am going to make a smart helmet that knows when I stop to change the colors of the light to red
using accelerometer and neopixels.
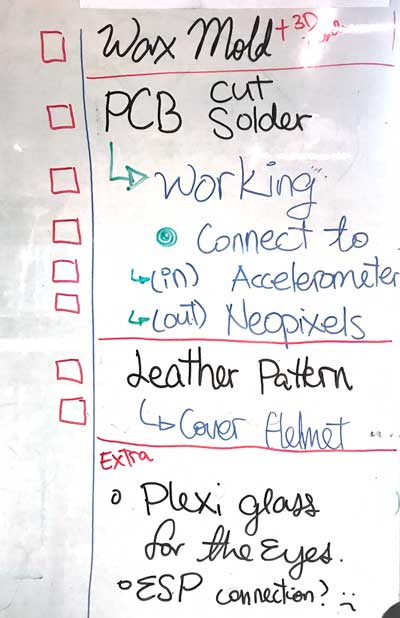
List of things I need to do and proper steps
- Make the Silicone spikes
- Make 3D
- Cut the wax for mold
- 3D print the inside mold
- Cast 7 spikes (and more just in case)
- Make the protective Helmet part
- Make mold for Composite
- Make resin composite
- Refine Helmet
- Make patter for Leather
- Cut and Sew Leather on helmet
- Connect Neopixels
- Cut up the Neopixels
- Solder them to Correct Length
- Clear cover for waterproofing
- Connection
- NightFury PCB
- Connection check
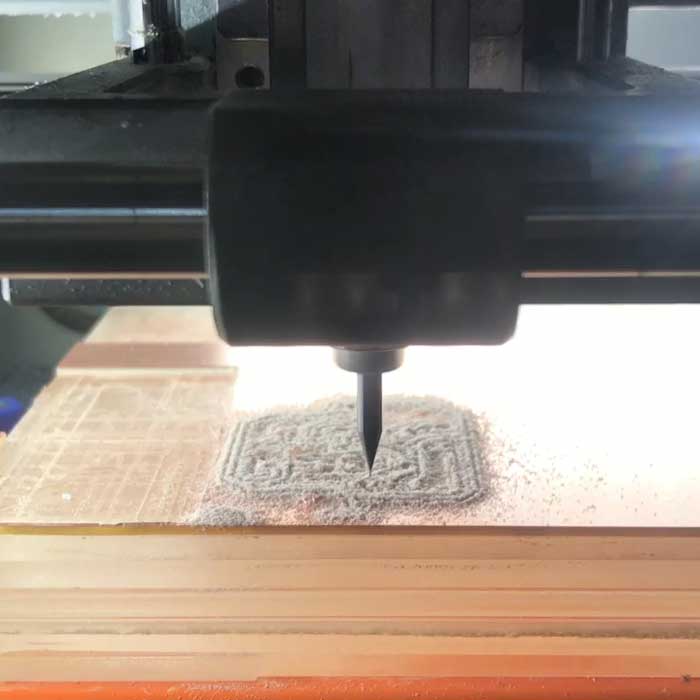
- Design PCB
- Cut PCB
- Debug
- Accelerometer
- Connection check
- Coding
- Make 3D
- Cut the wax for mold
- 3D print the inside mold
- Cast 7 spikes (and more just in case)
- Make mold for Composite
- Make resin composite
- Refine Helmet
- Make patter for Leather
- Cut and Sew Leather on helmet
- Cut up the Neopixels
- Solder them to Correct Length
- Clear cover for waterproofing
- Connection
- Connection check
- Design PCB
- Cut PCB
- Debug
- Connection check
- Coding
What have you done already?
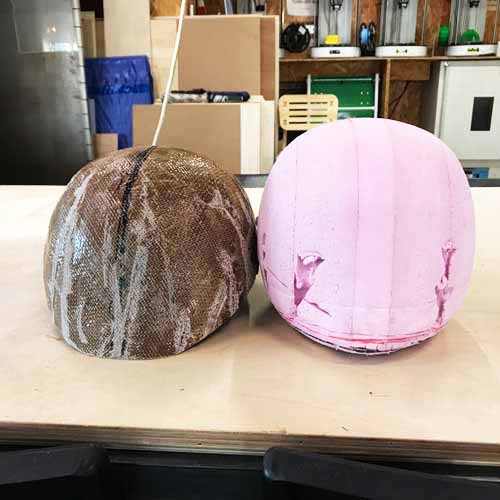
Thankfully, I had made the hard part of the helmet during [Wildcard Week!]
 Played around with Codes for Neopixels [Week12]
Worked with Accelerometer [Week11].
Played around with Codes for Neopixels [Week12]
Worked with Accelerometer [Week11].
We learned about spiral development from the beginning.
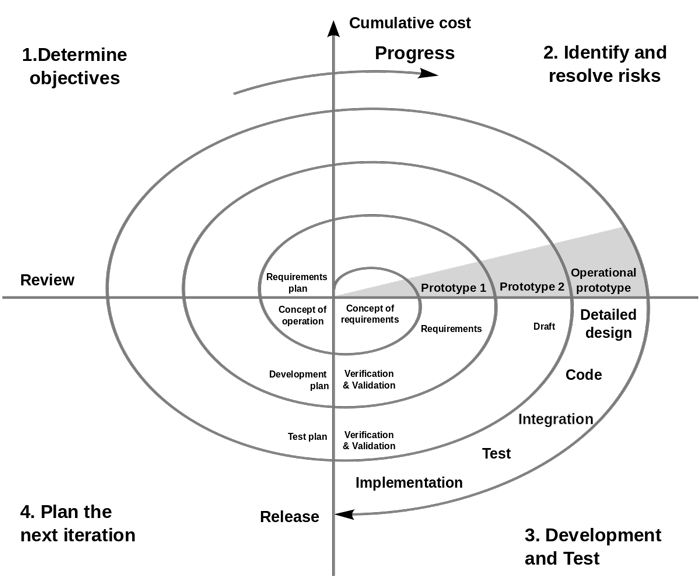
(picture from wikipedia)
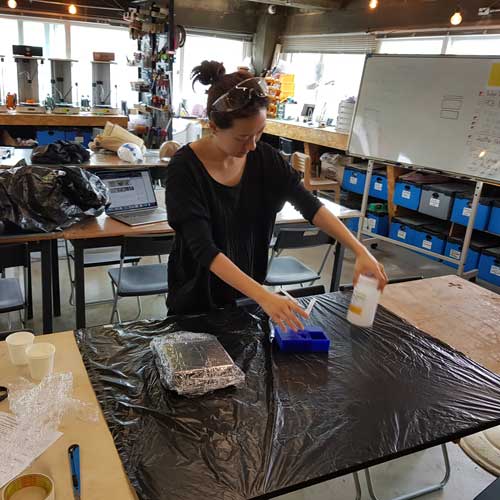
I'm the type of person that focuses too much on one thing obssessively,(picture from wikipedia)
which stops me from being efficient all the time.
So I put work all on one table and work a little bit everywhere at the same time.
My checklist I decided to use molding and casting the spikes as a kind of a timing check point.
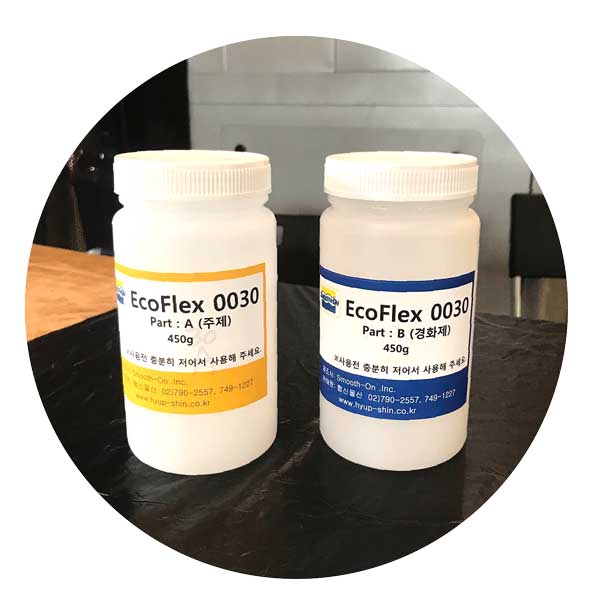 The Eco-flex00-30 has 45minute Potlife, and 4 hour Cure time.
So every 3-4 hours I would stop, make a spike, and make a decision on what needs to be done.
The Eco-flex00-30 has 45minute Potlife, and 4 hour Cure time.
So every 3-4 hours I would stop, make a spike, and make a decision on what needs to be done.
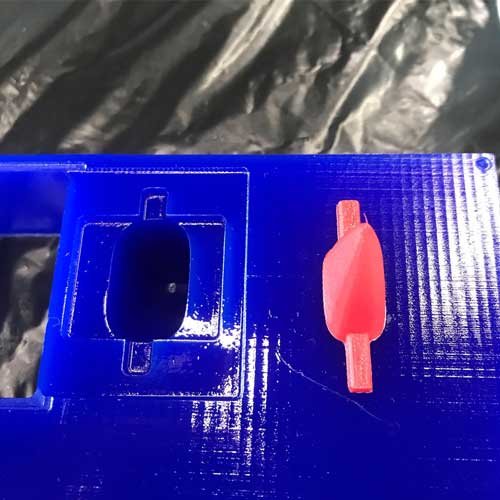

 I had foolishly cut one spike mold... so had to cast at LEAST 7 times.
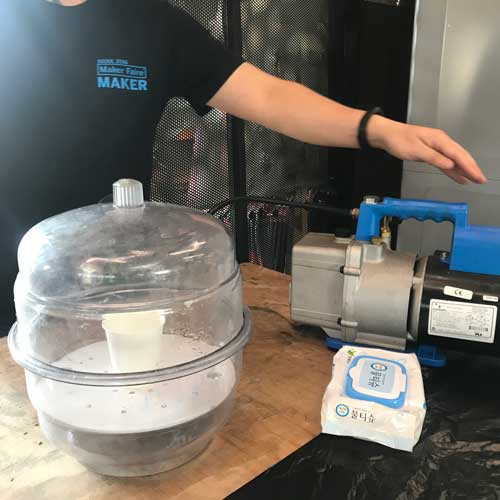 I used vacuum pump (AKA Bubble destroyer) to get rid of all of the bubbles from my mix.
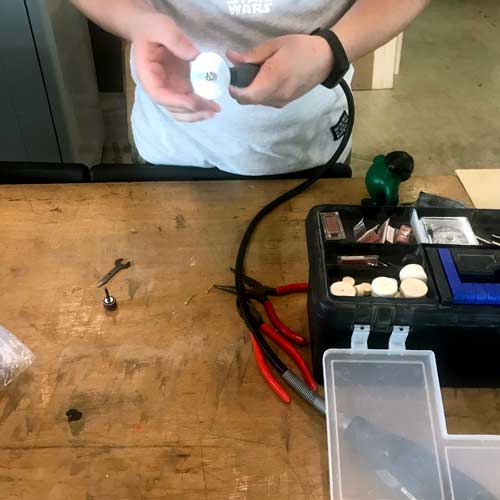
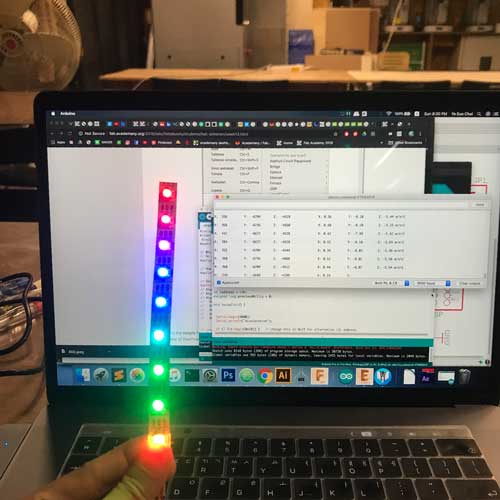
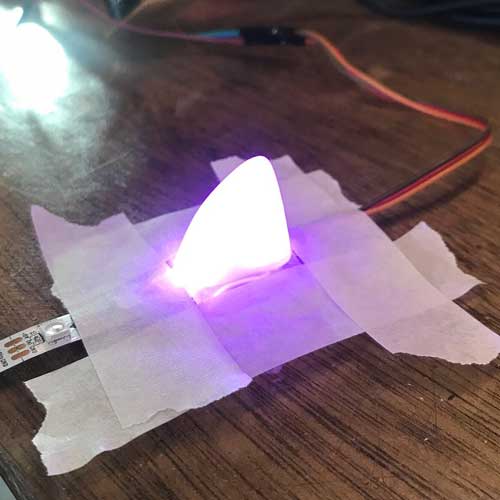 I tried brightness and clarity test with one pixel.
With Spike 1
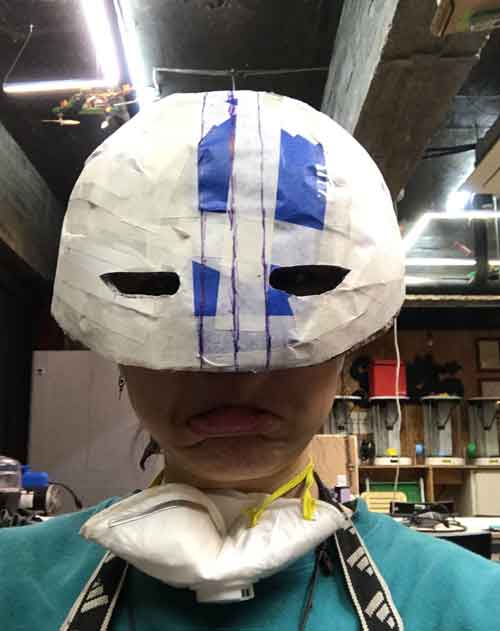
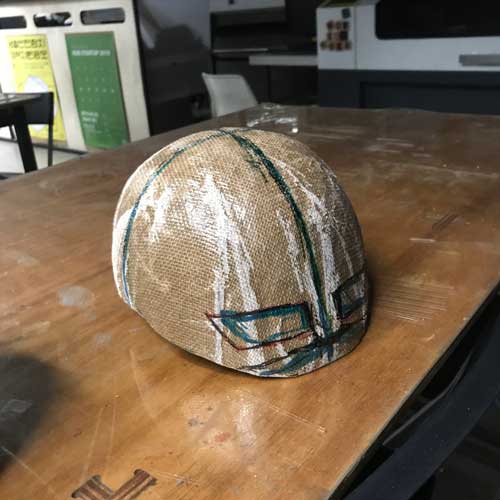
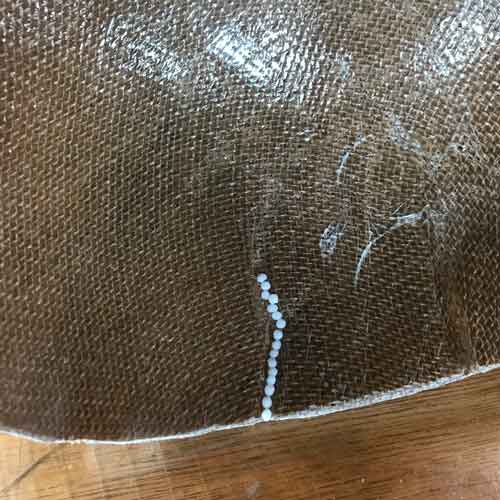
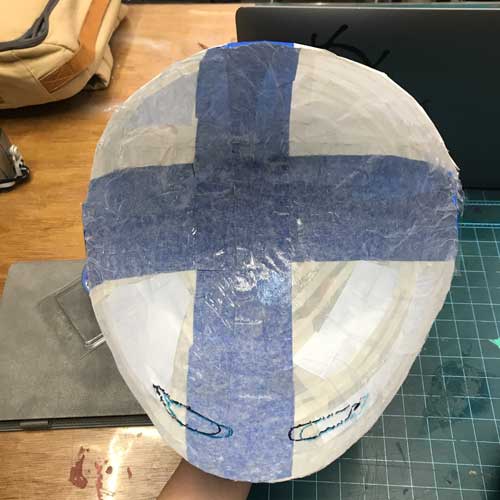
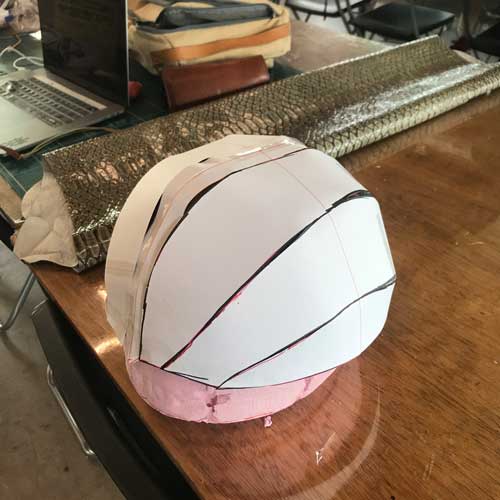
 And covered it with clear wrap,
 then covered it with tape to prepare to make a pattern for leather work.
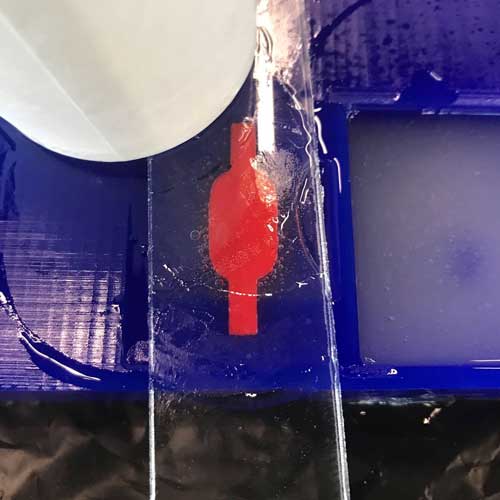
 Then, I did't like the eye part because it didn't look nice. so I cut it off
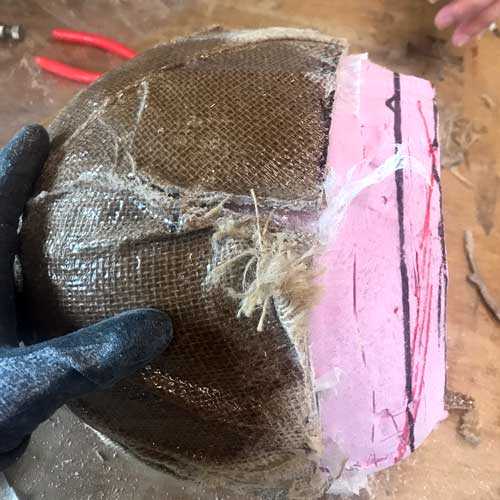 During the time of release from them mold, the helmet had cracked a little
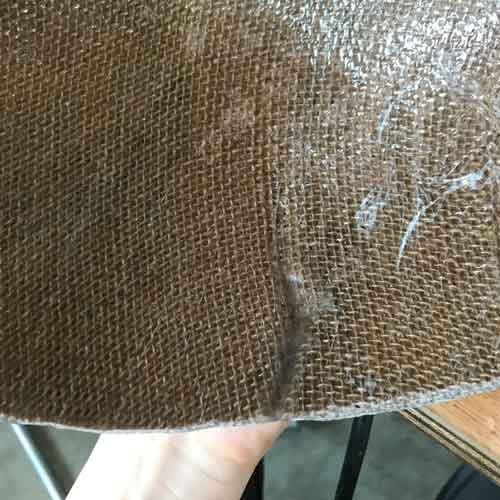
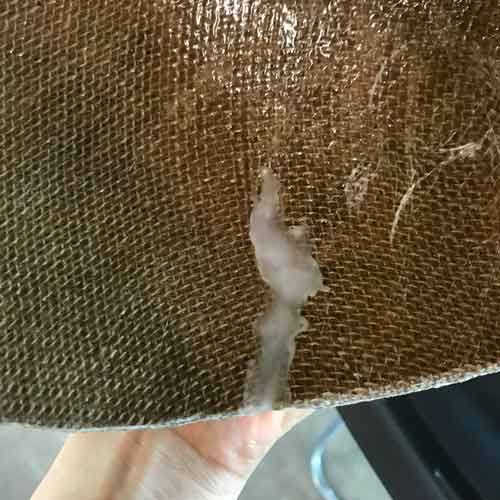 So I filled up the crack with meltable plastic substance
With Spike 2
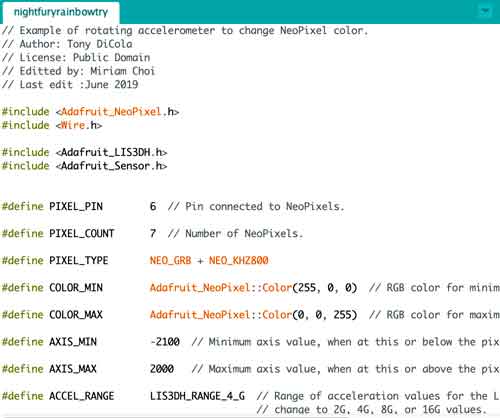
With a spike done, I needed to design my board so that everything will work together.
I connected my accelerometer to my fabkit with neopixel as output, and worked from there. At first, I thought about using the tap demo from LIS3DH library sketch with my neopixels,
but it seemed too unreliable so I decided to work with the tilts.
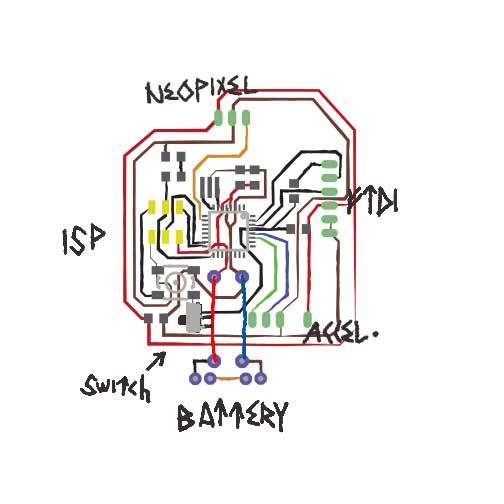
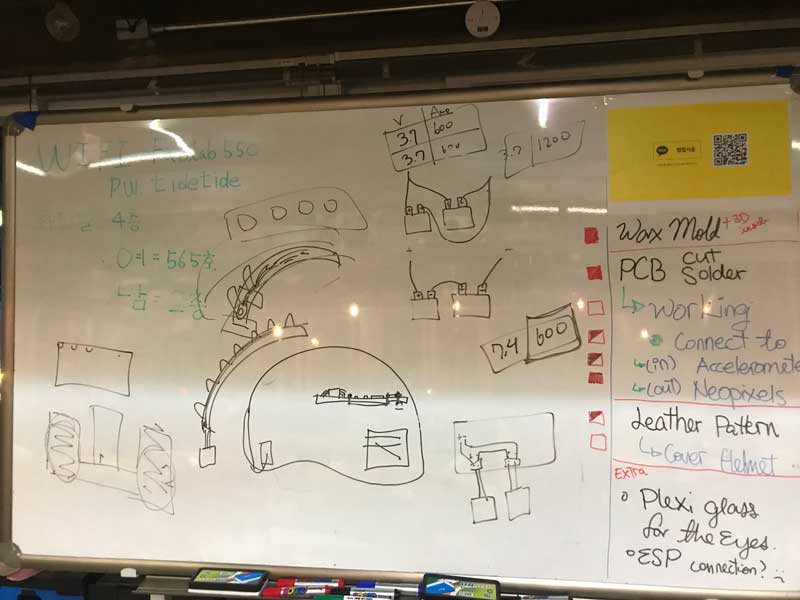 I used this time to really go specific with my plans
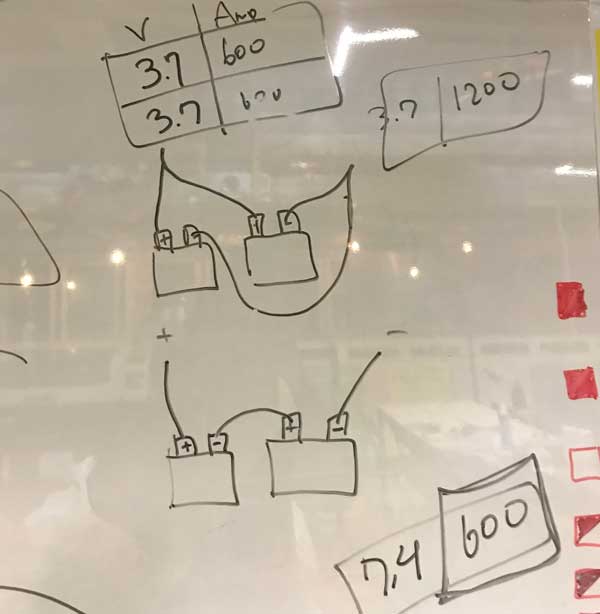
 I learned how to calculate the additional battery with Amps and Voltage depending on the way they are connected.

With Spike 3,4
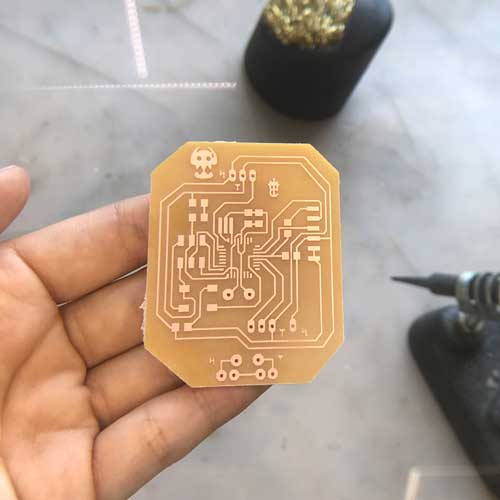

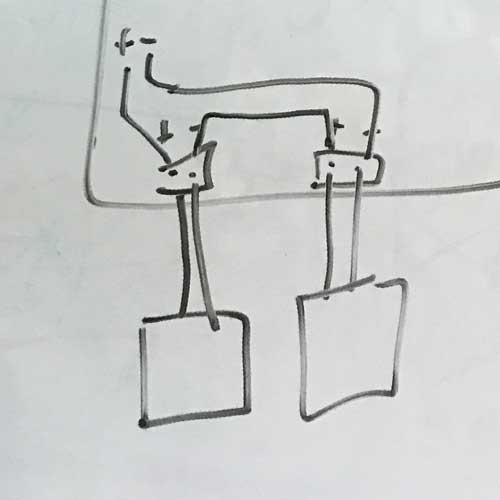
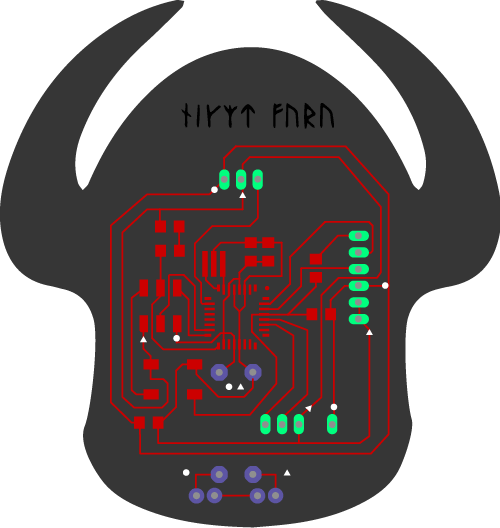
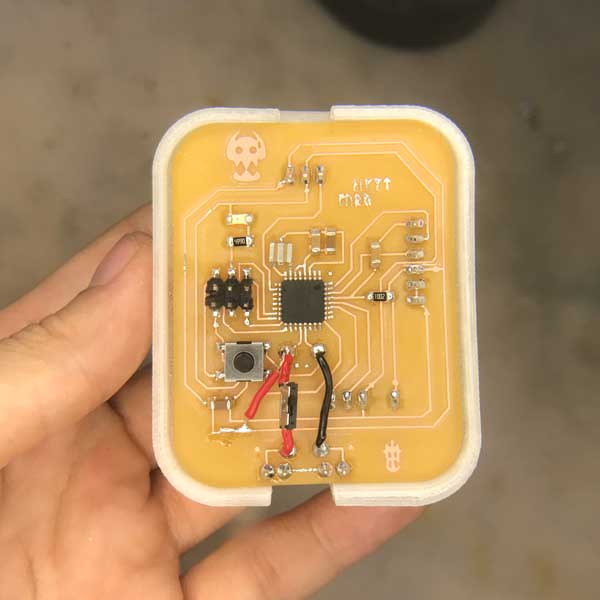
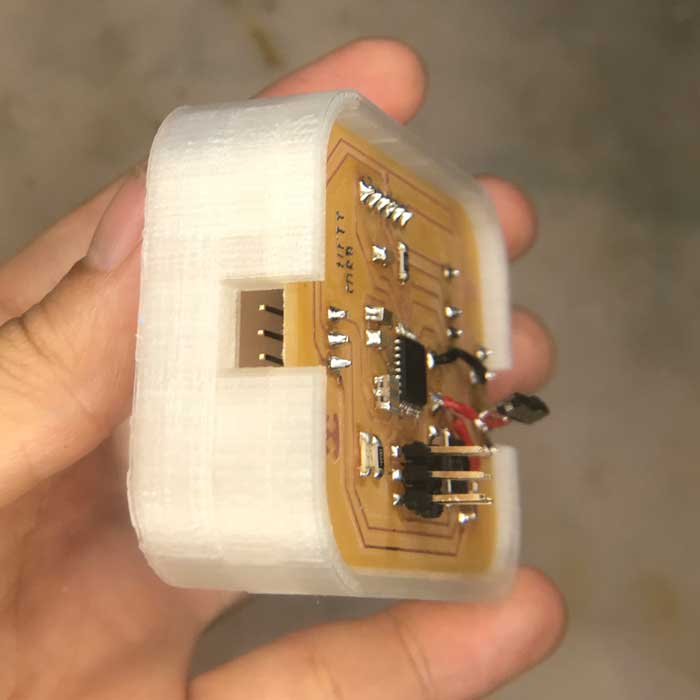
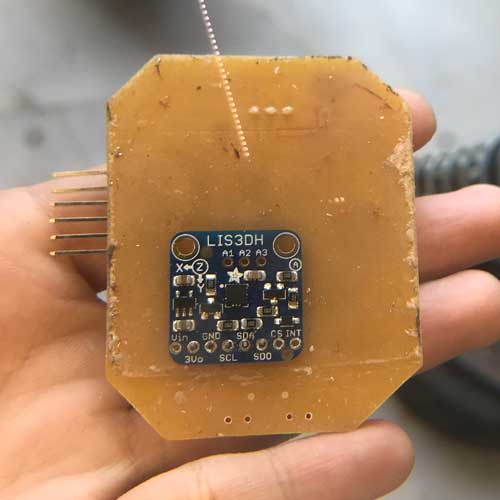 I wanted my accelerometer to be in the other side of pcb so that
 when I install it in the helmet, it would be right side up.
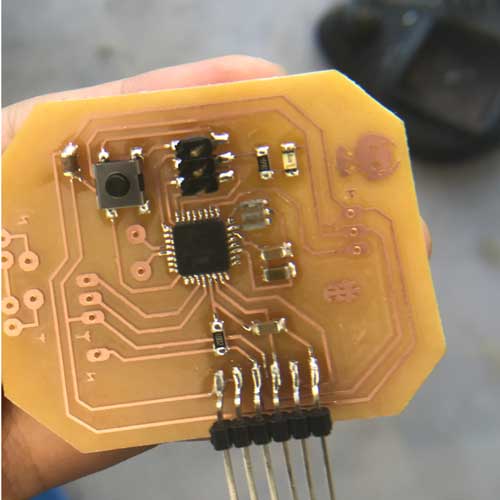
 This is where the problem was
- The ground was not connected everywhere
- FTDI pins are my worst enemy
- I was going to put the jumper cable under the pcb but now the accelerometer is there.
 So I checked and made the changes.
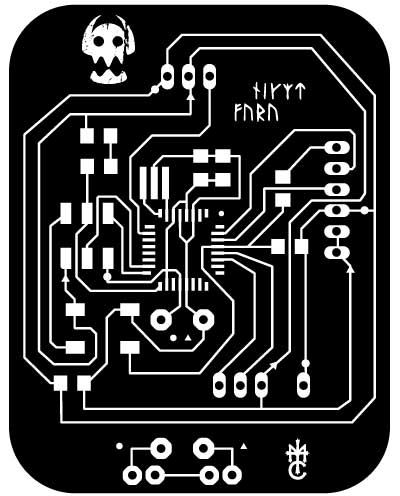
 my original design for my outline seemed too extravagant...
This is where I had to make a pause on PCB connection....
my original design for my outline seemed too extravagant...
This is where I had to make a pause on PCB connection....I had burned my accelerometer board, and we did not have another one.
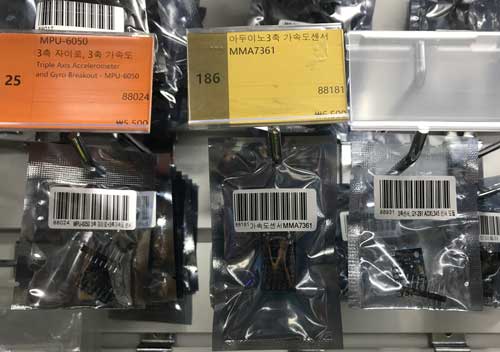 I quickly went around the are to find the same one... but they did't have it.
which means I had to order it online...
With Spike 5
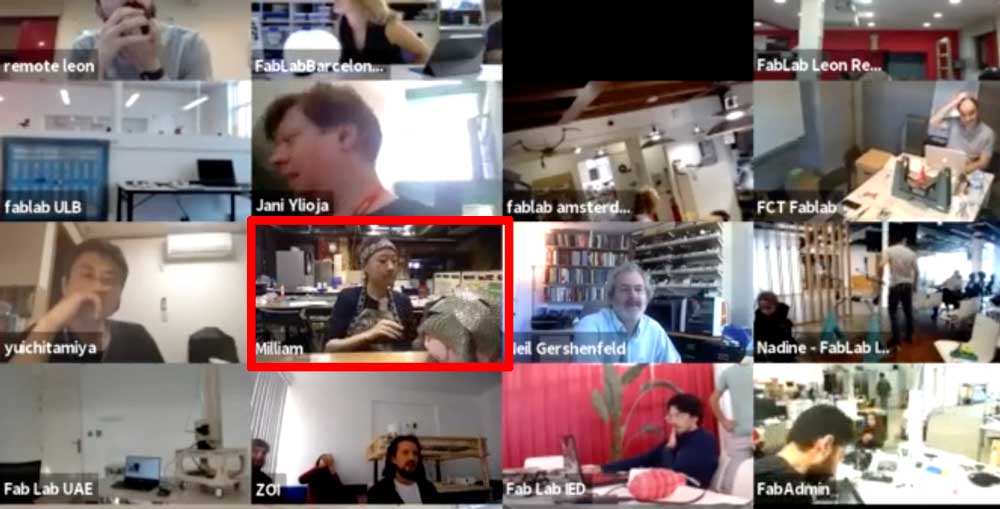
It was the day for the first presentations!
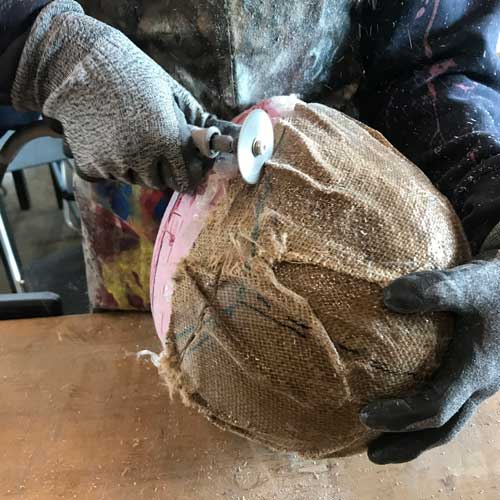
Since I couldn't work on my PCB until the accelerometer gets to the lab,I went back to working with my hands.
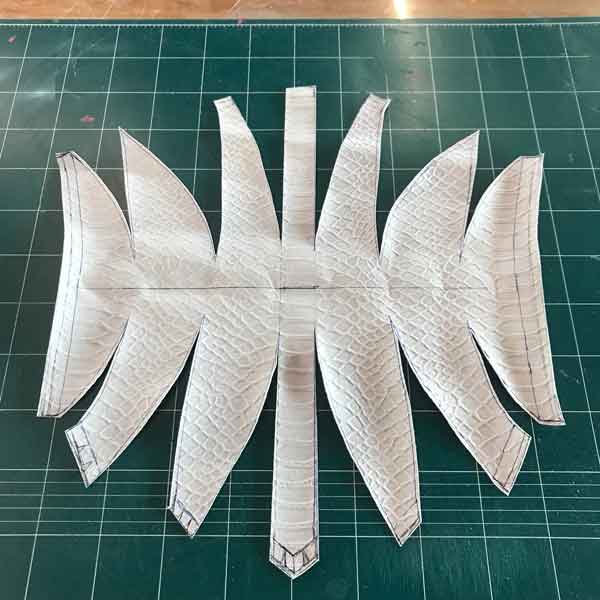
 With the clear wrap and tape composite, I cut it up to make a patter for the leather work.
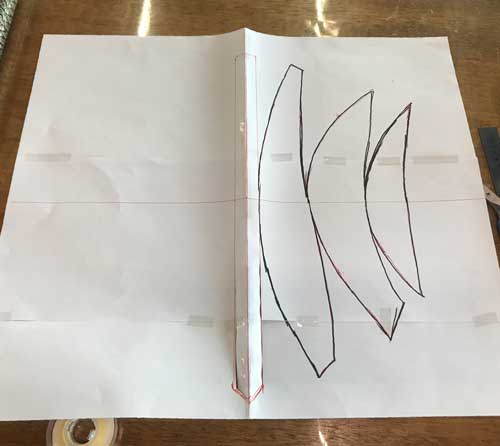
 I laid down the tape cuts, and made a clean, flat pattern out of paper,
and tried it on for size. It fit perfectly!!!
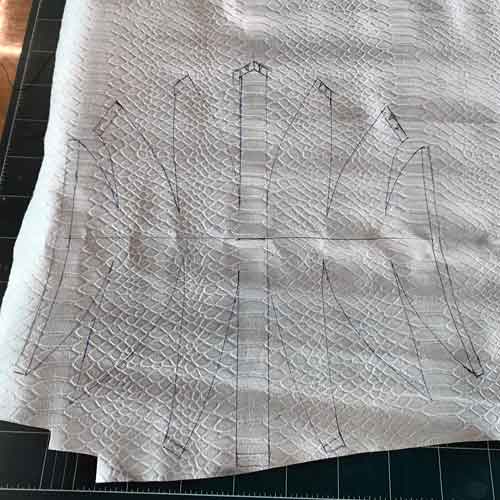
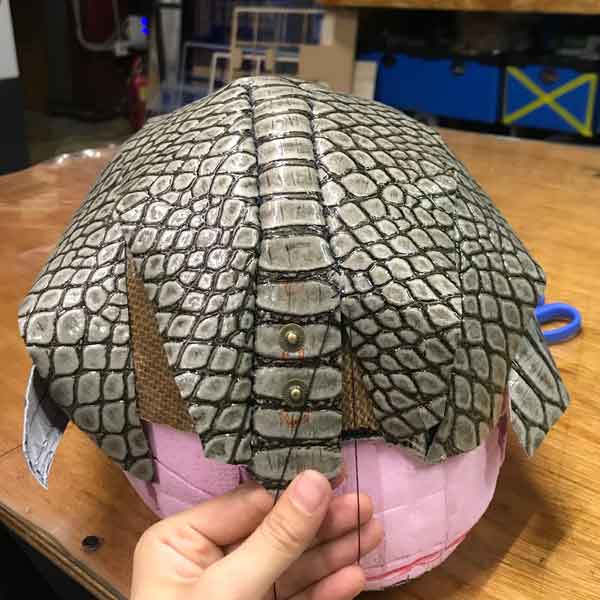
 I drew out the patter on the leather on a part that would make the texture symmetrical.
The sides were lengthened to make sure that I had enough leather to cover the bottom.
I used my leather tools to makes holes for sewing.
and attached one side for the clip button.
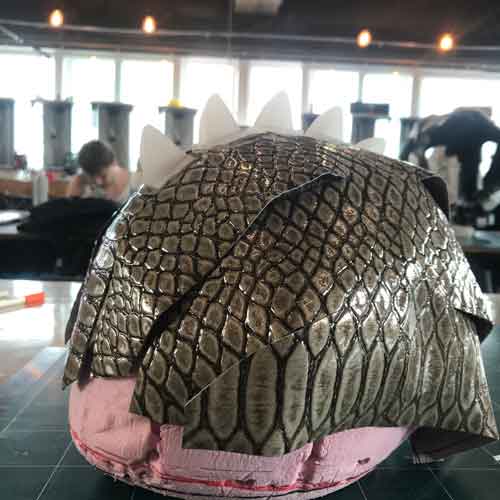
With Spike 6
It was time for the first presentations to start!
My leather was ready, but I had lost my needles!!!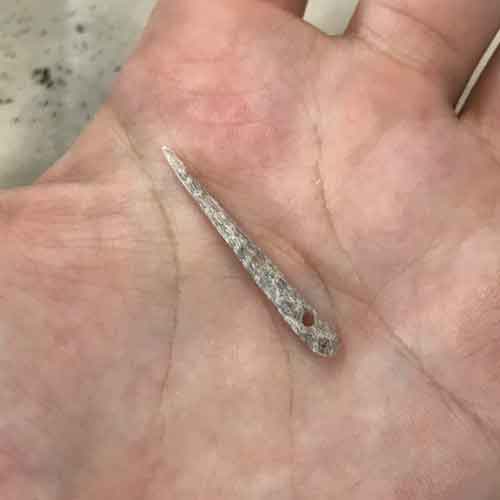
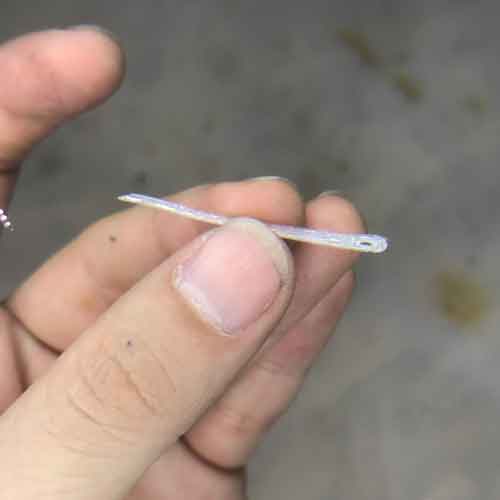 So I had to make needles out of composite pieces, and 3D printed one.
the leather was soft enough for me to not have much problems with them.
 It was a fun relaxing time watch others present and sewing.
 The daylight was coming but there is no rest for me! On to making the belt!

With Spike 7
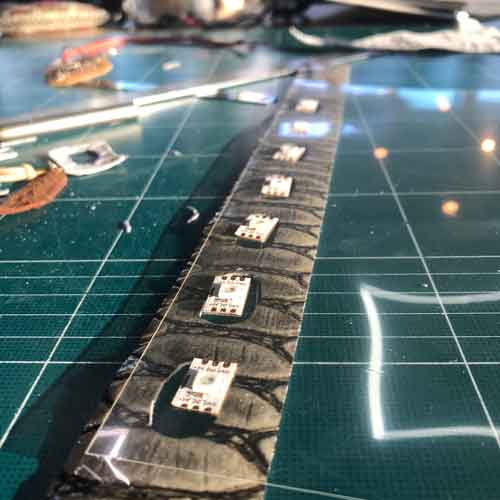 I measured the spikes evenly and made holes.
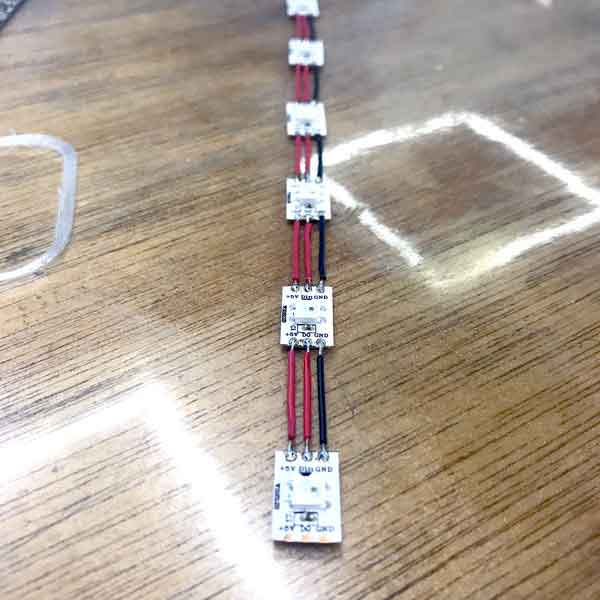 Make sure to solder them in the right direction.
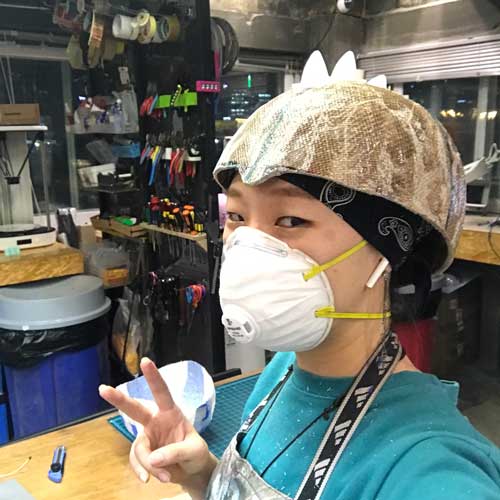
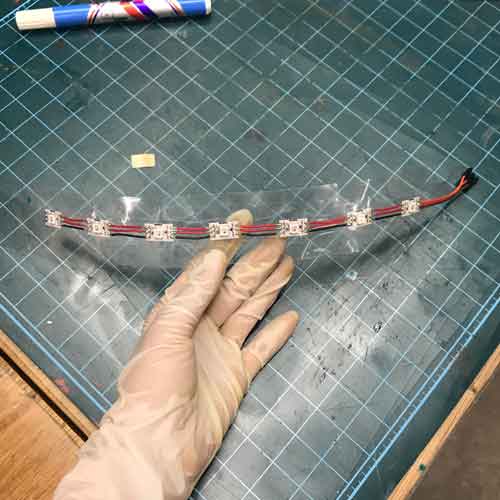 Clear lamination to protect your connection
Gloves were worn becaus I have sweaty hands, and I wanted clean lamination
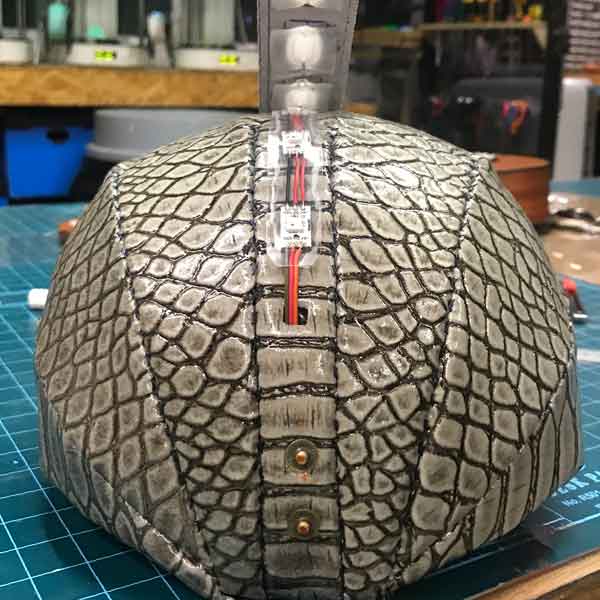
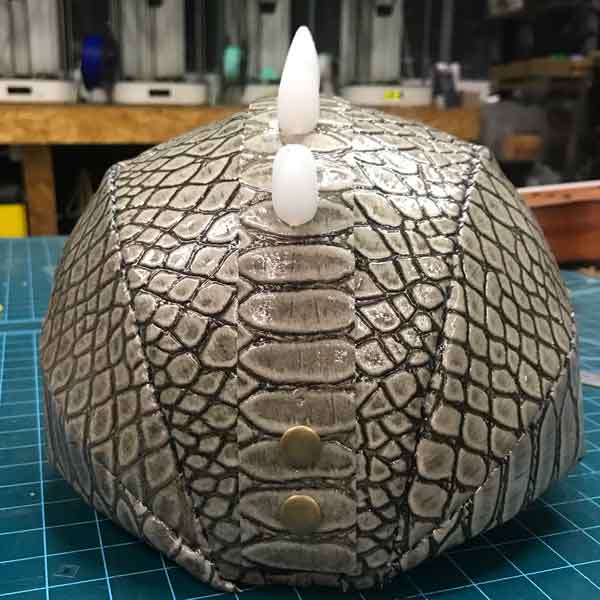 connections covered with belt.
The Accelerometer came!!!
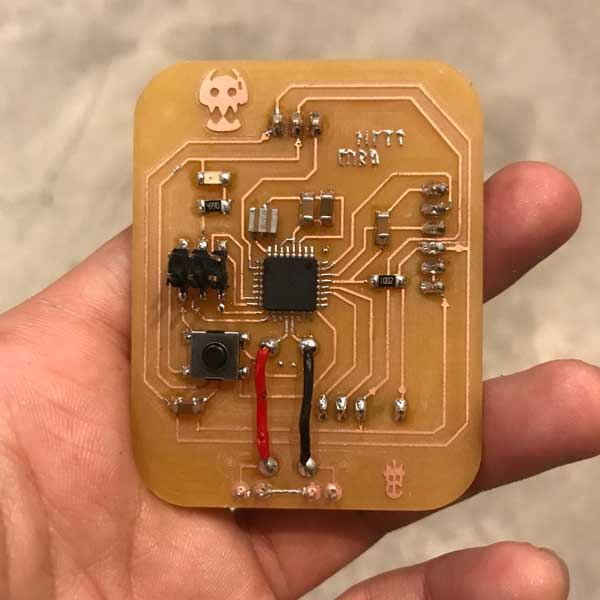 I fixed the problems from the first board.
I forgot to factor in an [ON] switch.
programming
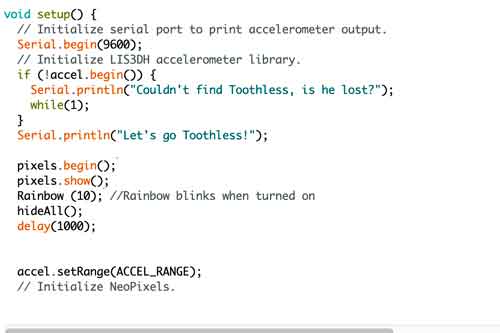
that the neopixel actually works by showing when it turns on.