Week 18: WildCard:: Composite
Assignment
Design and produce something with a digital fabrication process (incorporating computer-aided design and manufacturing) not covered in another assignment, documenting the requirements that your assignment meets, and including everything necessary to reproduce it. Possibilities include (but are not limited to) composites, textiles, biotechnology, robotics, folding, and cooking.
Design
I needed to make a hard head piece as the protection for my final project.
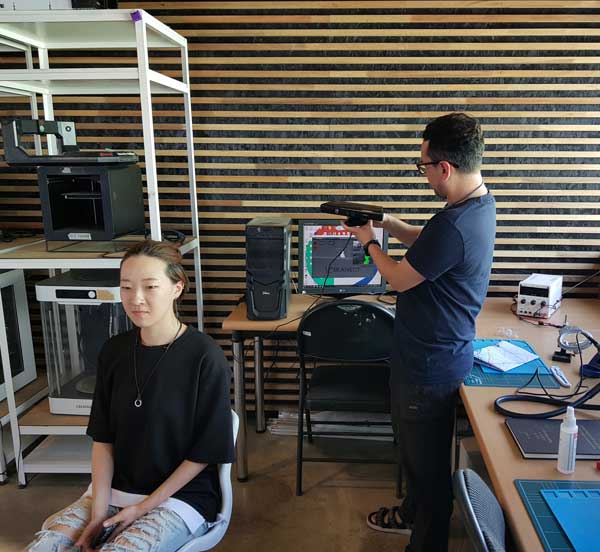
I scanned my head to get the exact measurements.
(check Week 6 in the assignments for more info on 3D scanning.)
I used meshmixer to chop off the rest of my body to keep just the head.
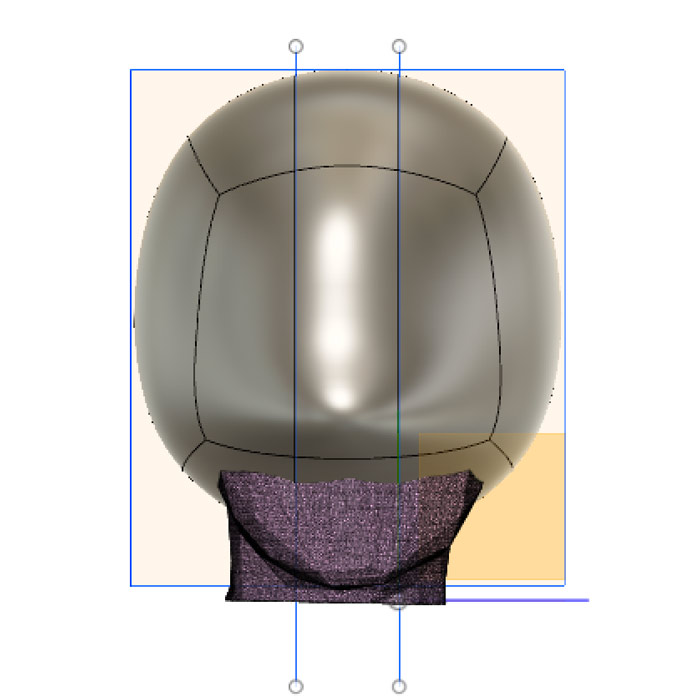
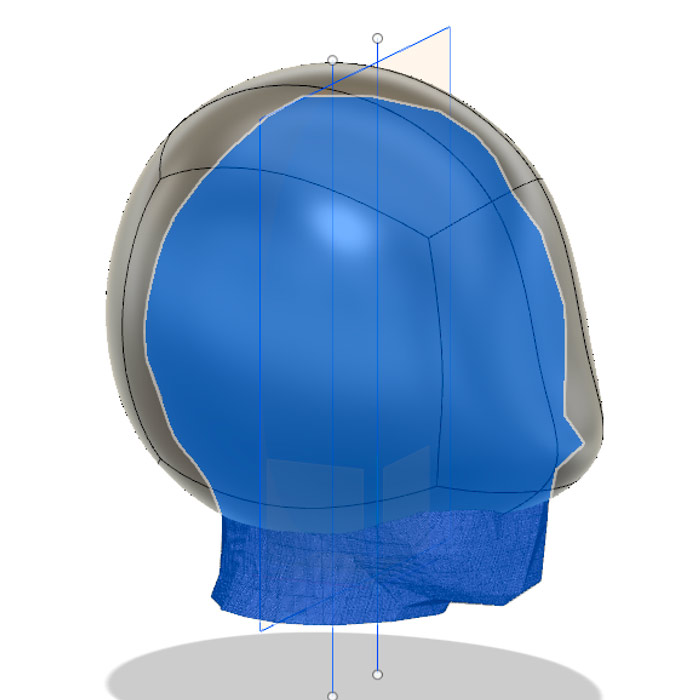
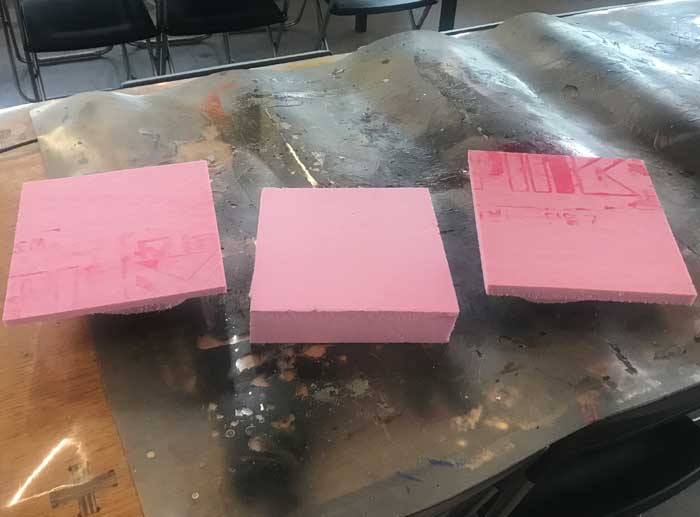
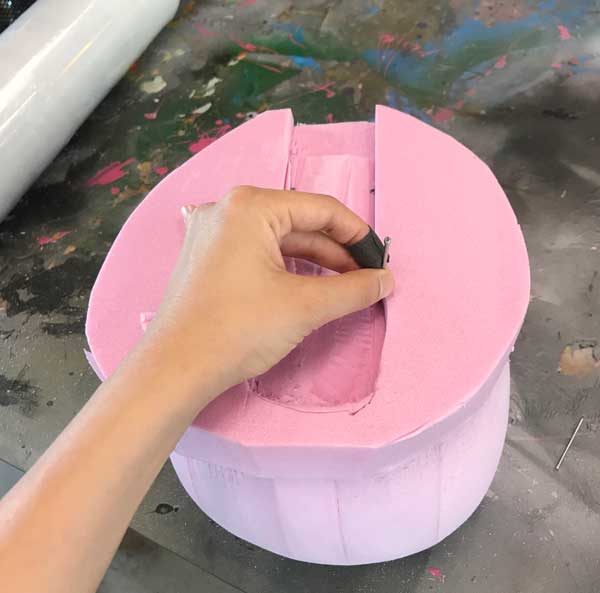
I made a round shape around the head and cut it in 3 parts for efficient machining.
ISOPINK
ISopink is a type of styrofam used for modeling or insulation
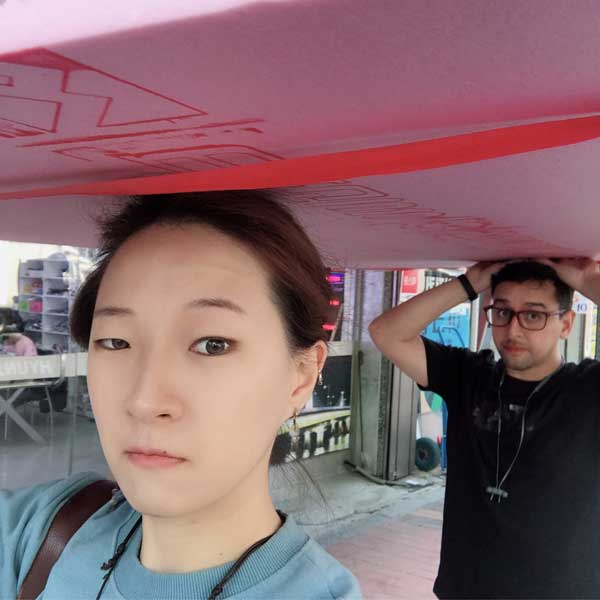
We carried one across the heart of Seoul to our lab
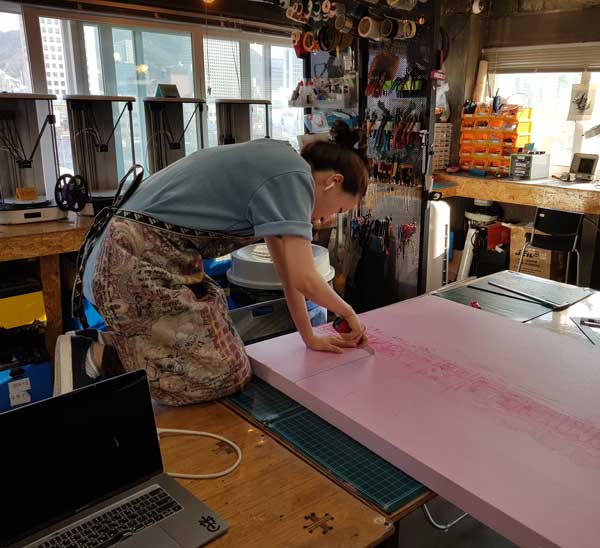
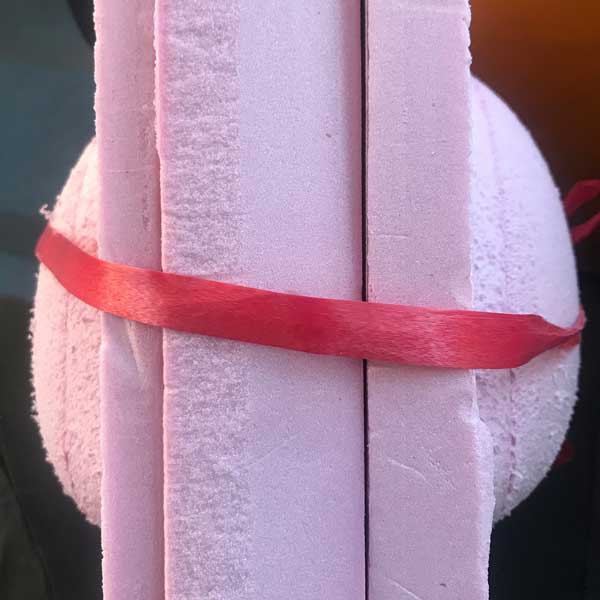
To put in the Shopbot, I had to cut and glue them together to a specific size.
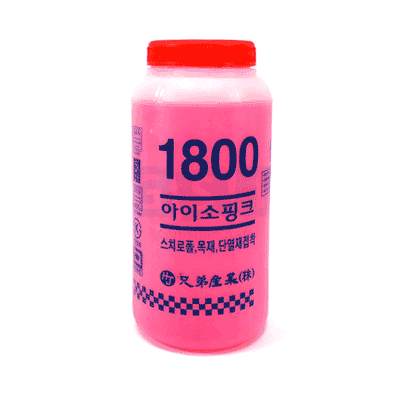
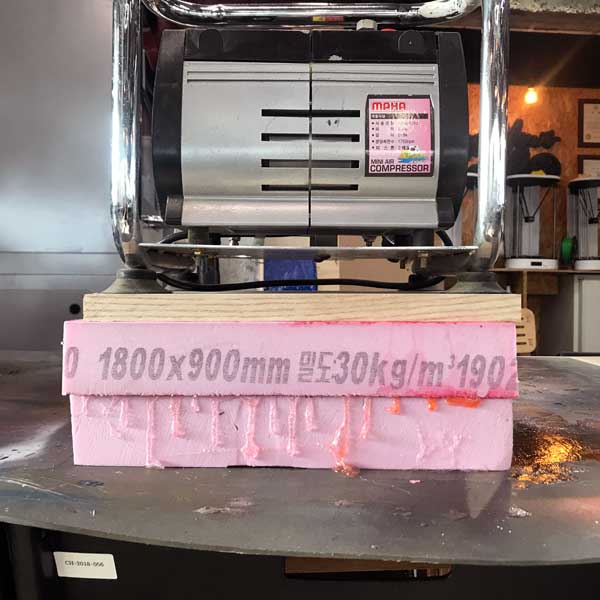
Using Liquid form of the isopink foam called isopink1800,
I was able to fuse the cut boards together. (Cure time 24hours)
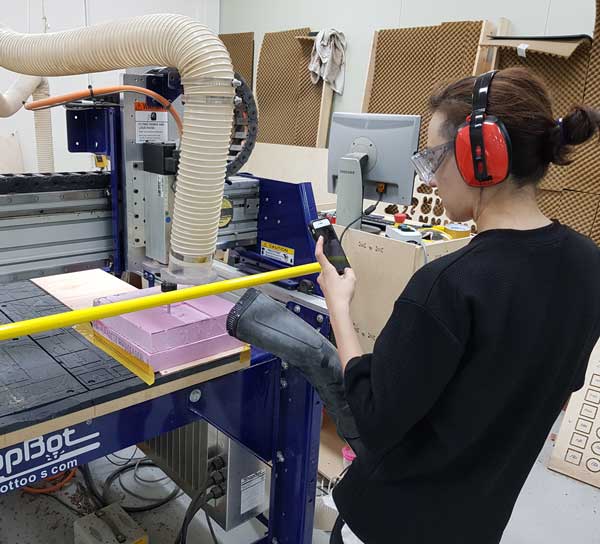
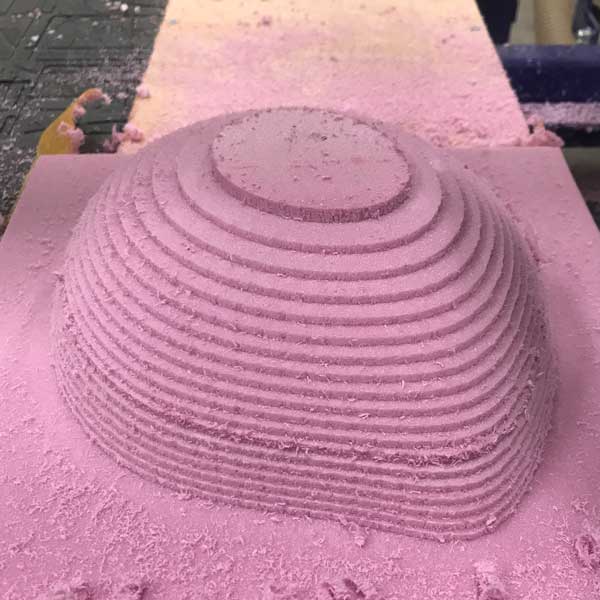
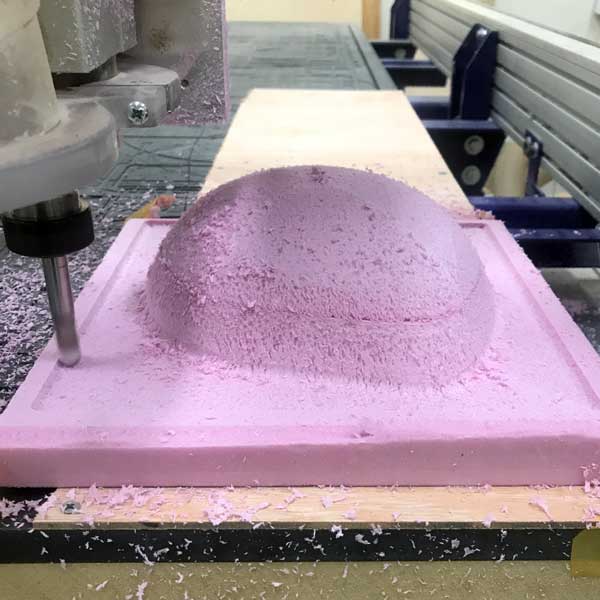

Just like molding and Casting week, I did rough cut and finish cut.
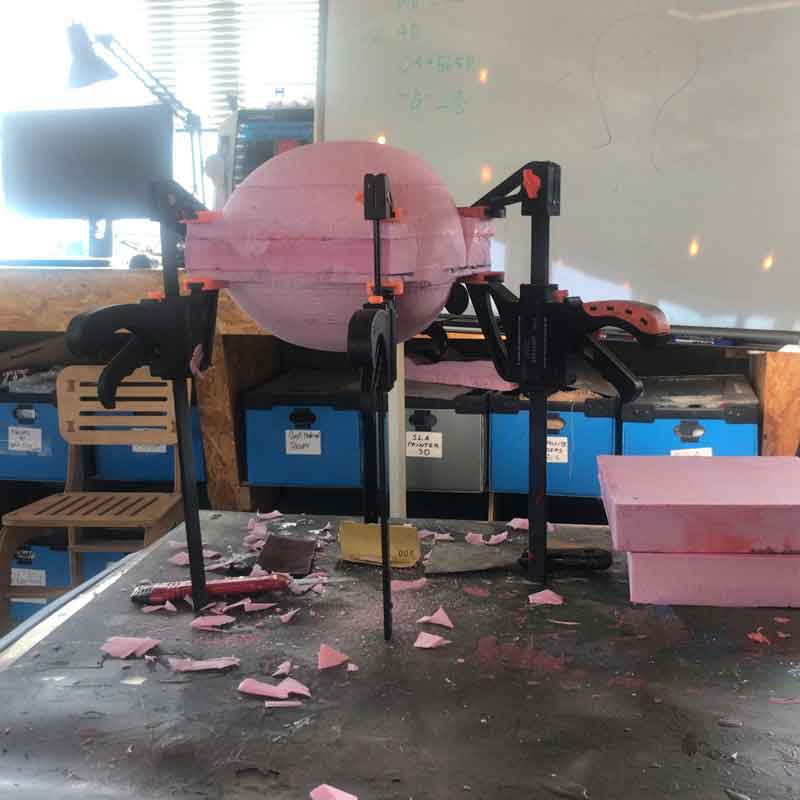
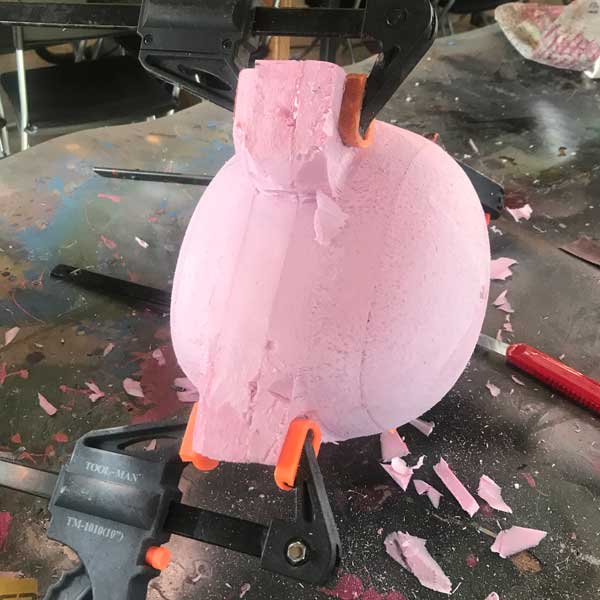
I was running out of time so I did a little bit of cleaning up while waiting for it to cure.
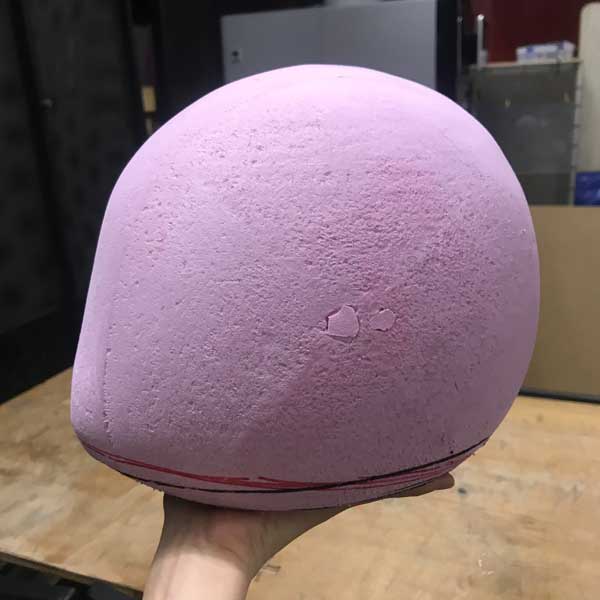
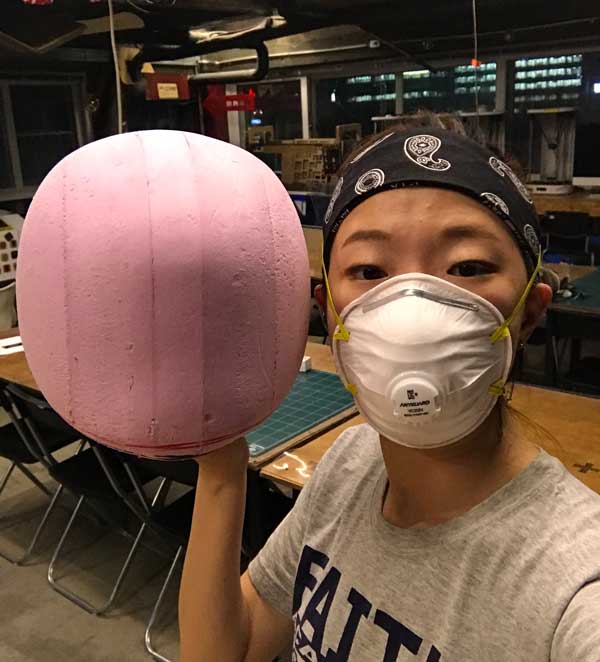
It cleaned up nicely but it needed a nice bottom so that it would be easier when resining.
Resin
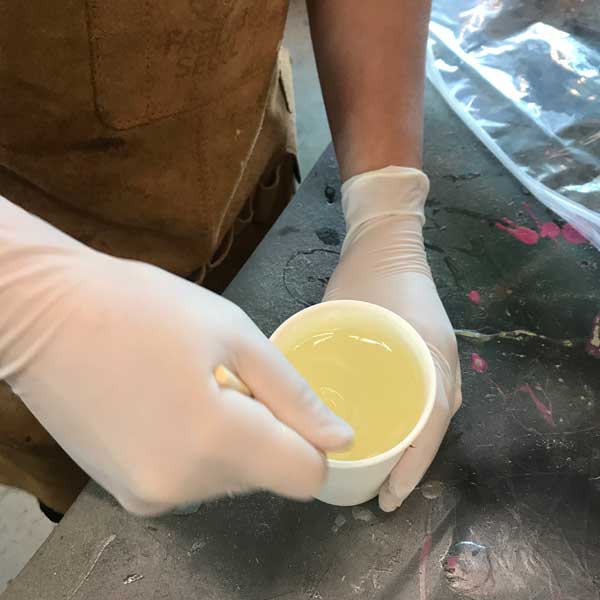
!! WARNING!!!
Wear protective gloves and change them every now and then.
Resin is stronger and more hazardous than it seems!!
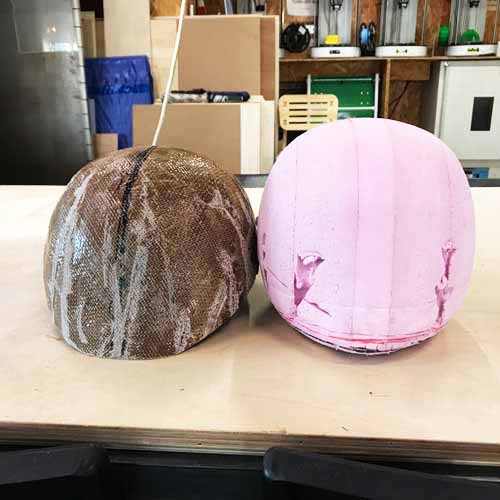
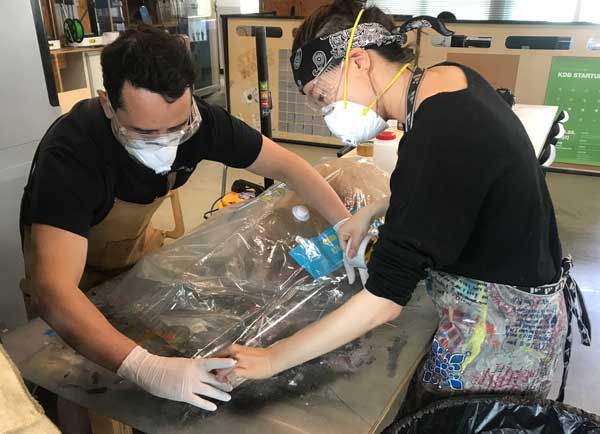
 Steps taken
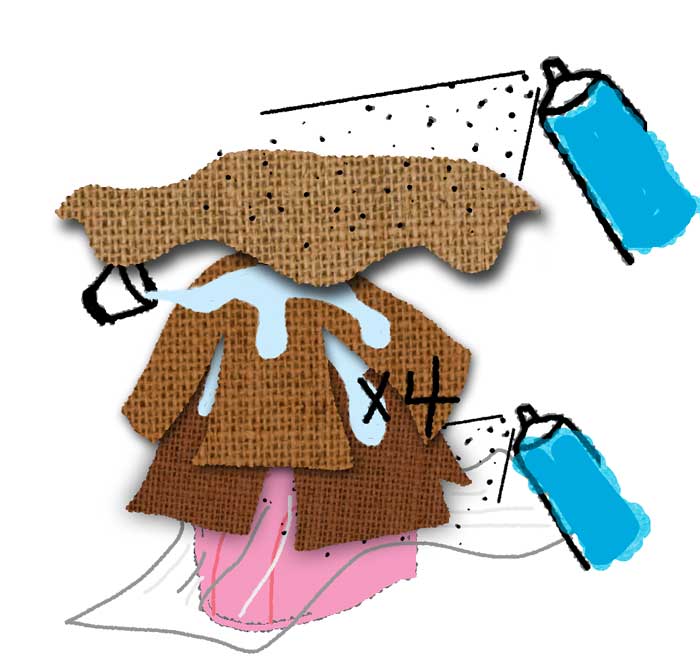
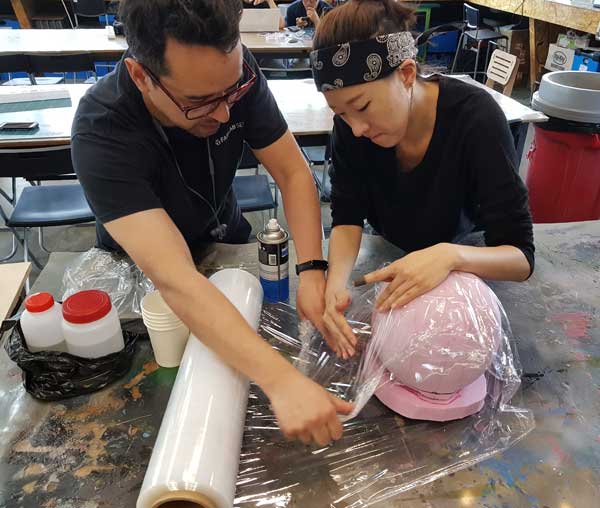
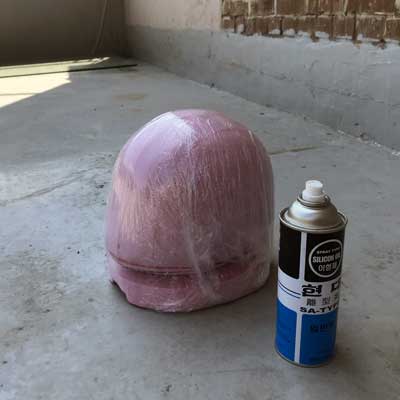
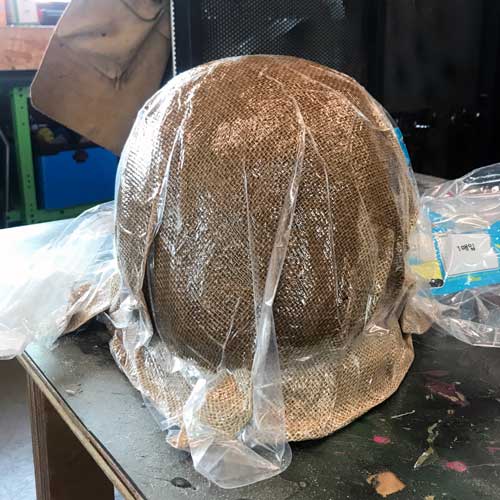
- Isopink mold
- Clear Wrap
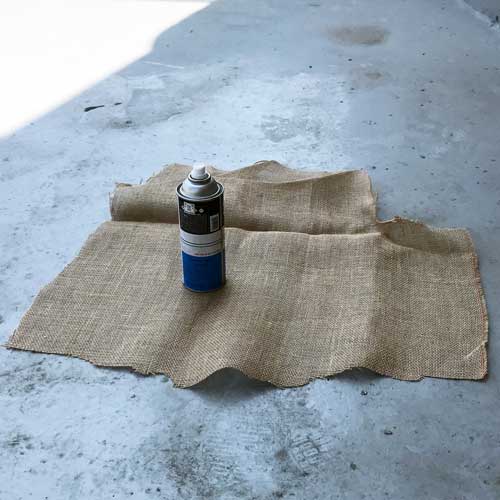
- Silicone release spray
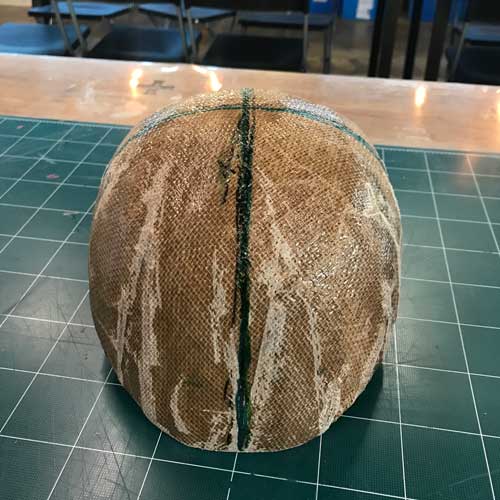
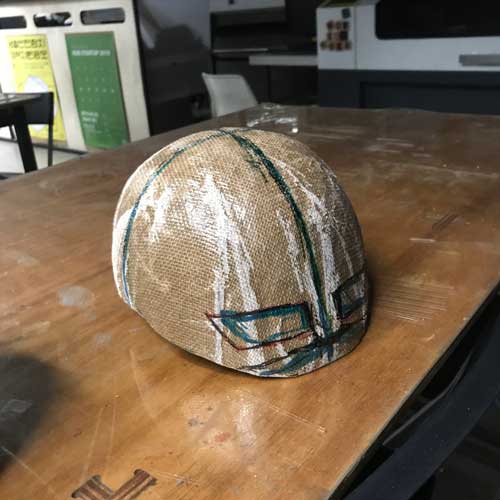
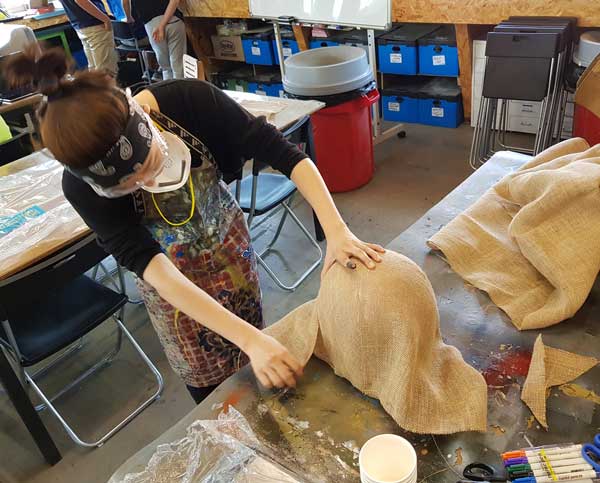
- Burlap
- Resin (Pat pat)
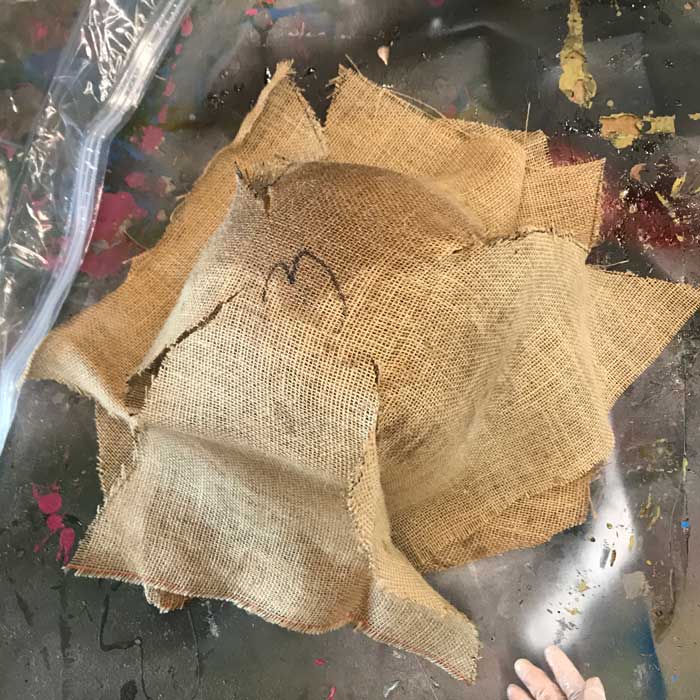
- Repeat step 4 and 5, 4 times
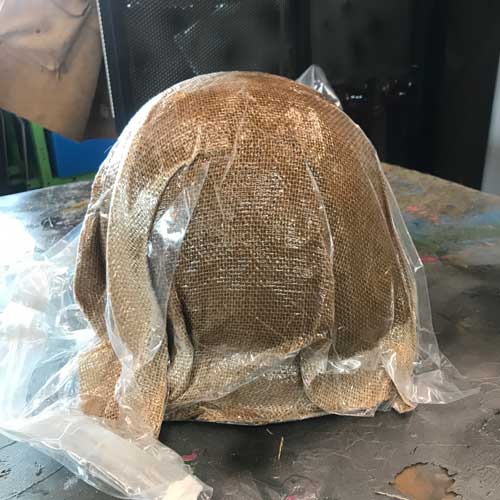
- Breather (Burlap, must have a lot of release on it. No resin)
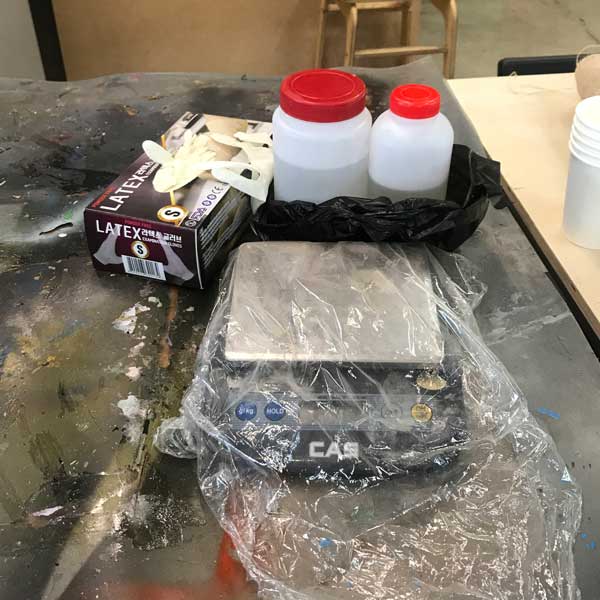
The material - 2:1 mix thoroughly
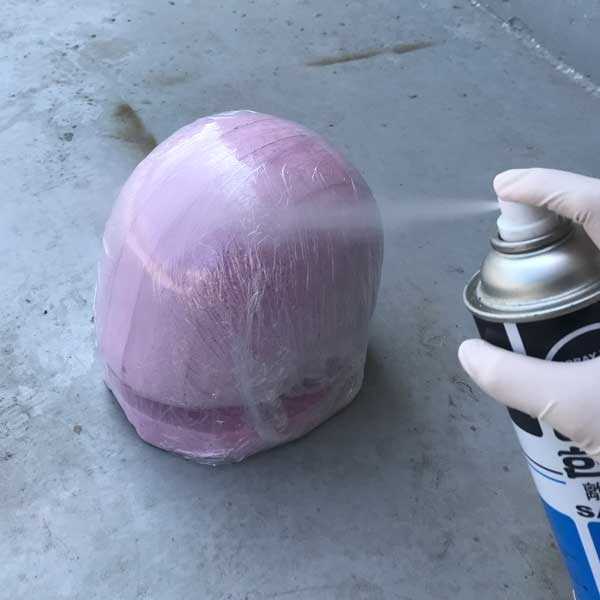 sweet release so that the mold will separate well.
 The last layer that is for breather. Spray well, my friend.
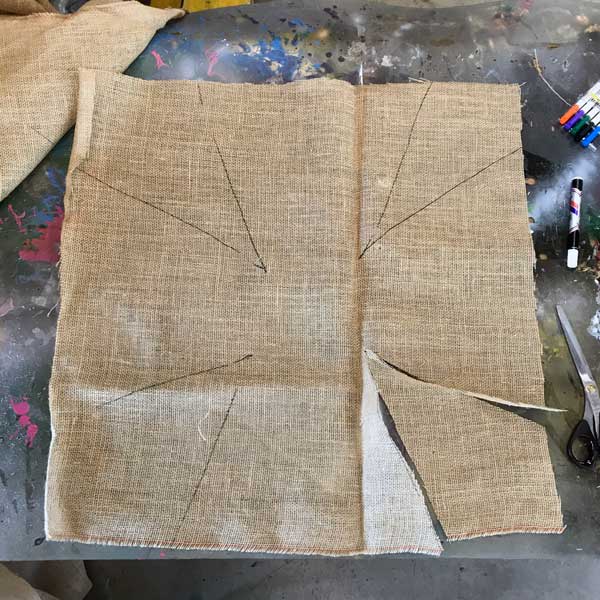 make sure that the slits in your layers don't go on top of each other.
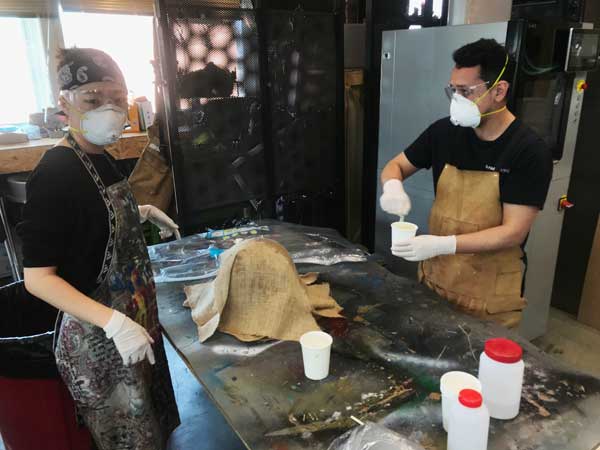
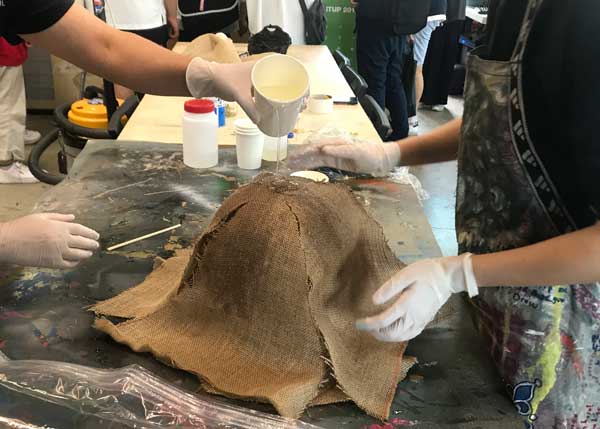 After each layer, we poured and patted down the resin.
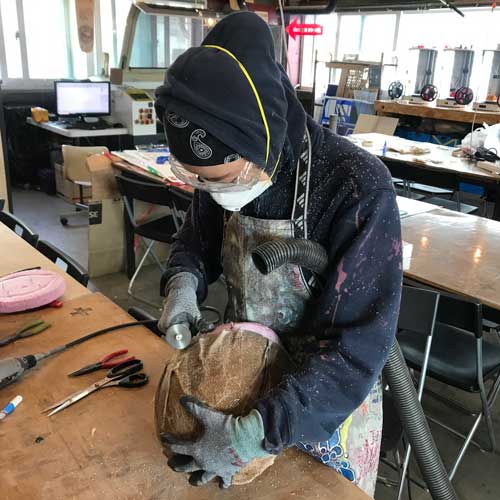
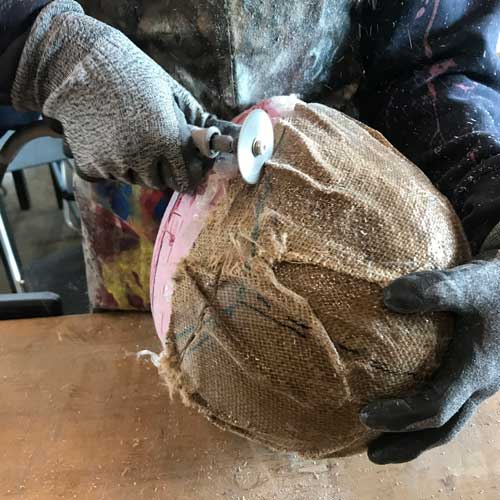
Time for Vacuum seal
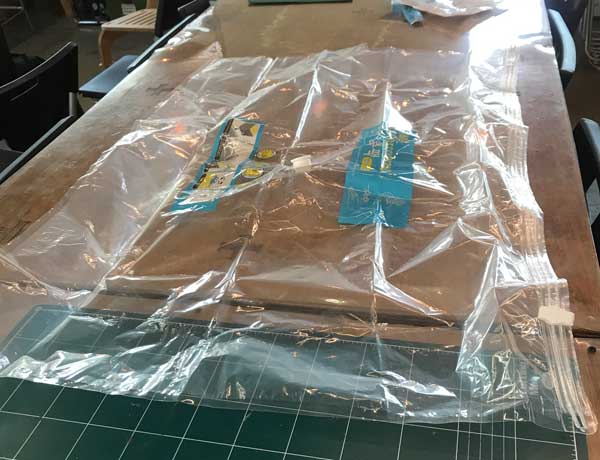
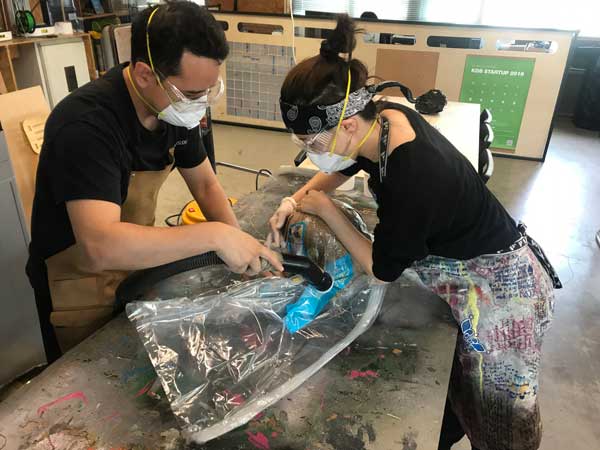
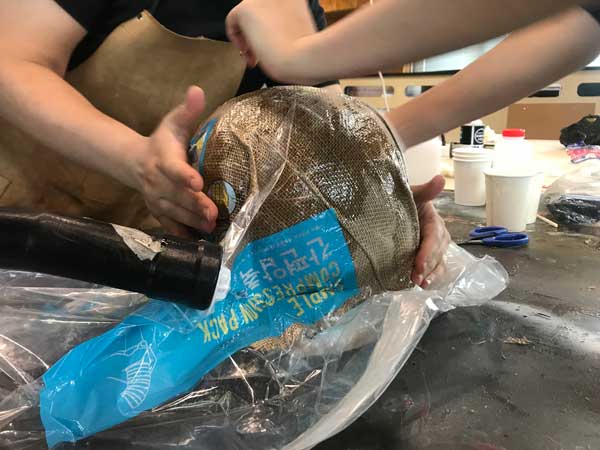
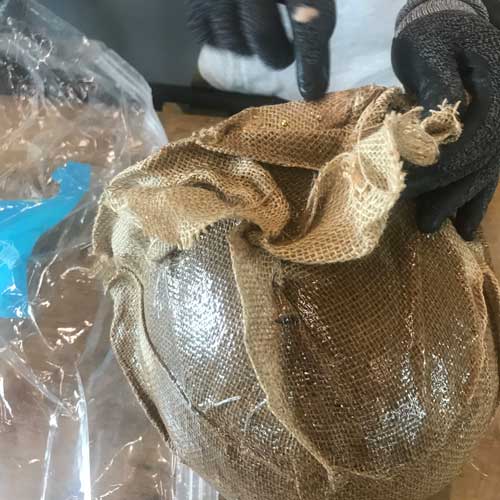 The last layer that was for breather was not supposed to be fused together.
I think we had too much resin Using a dremmel with a wicked blade, I chopped through my otherwise extremely hard helmet.