Group assignment: 3D Test model
For this week's assignment, we have to check the limits of our 3D printer, so we send a test file. As we can see in the image below, this test model can help us to know limits of our machine.
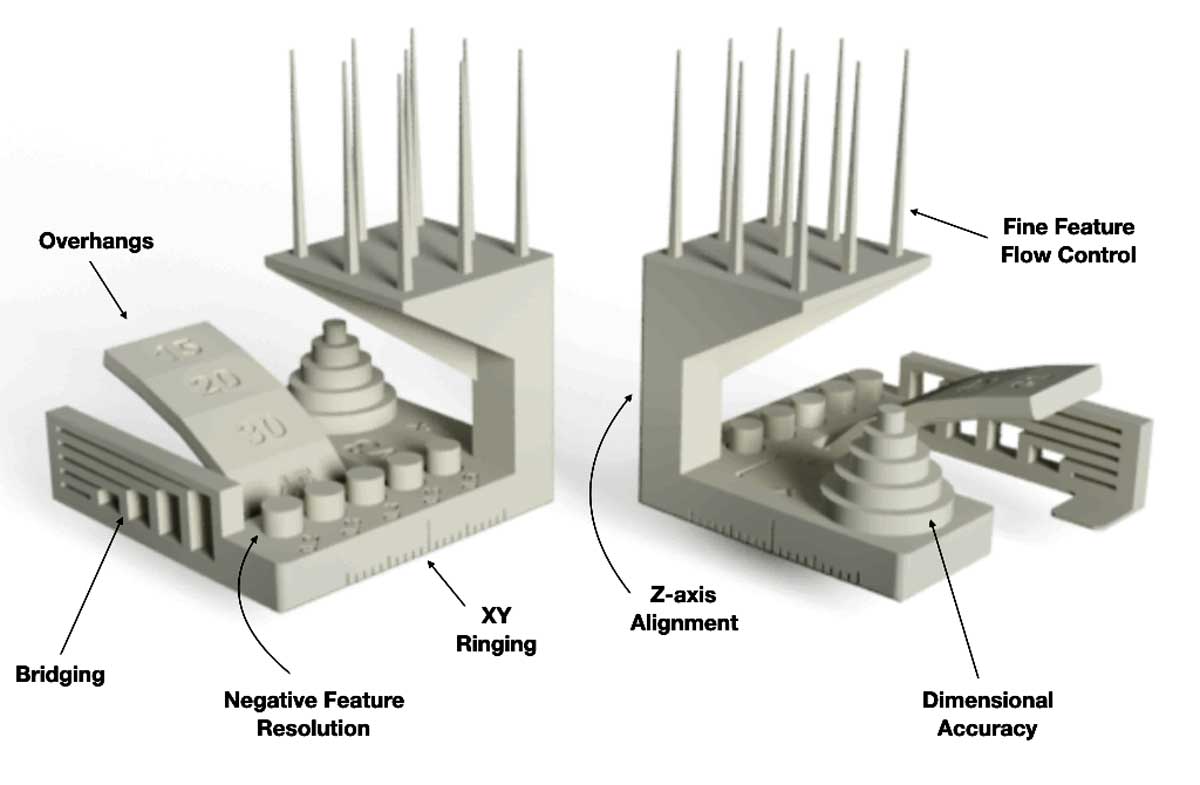
For this activity we compared three differents printers
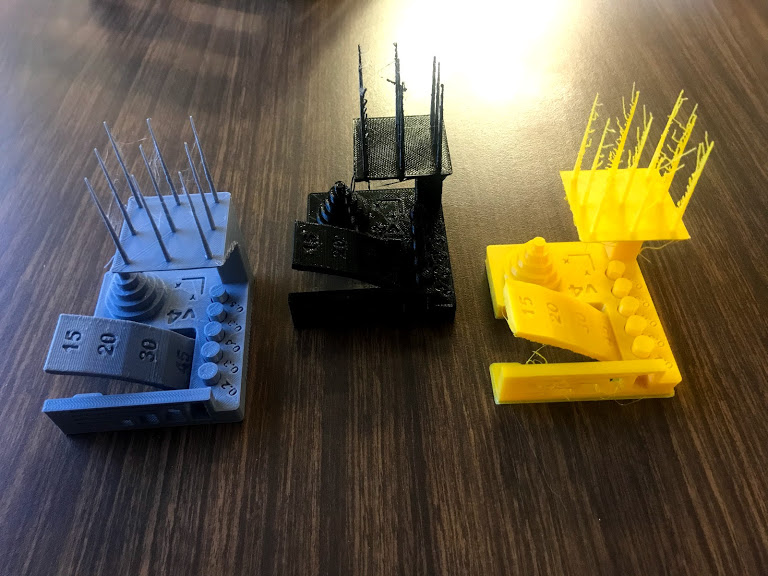
The gray model was printed with a Syndoh printer, the black one with a Rockstock Max V3 printer and the yellow one with an Ultimaker 2+ printer.
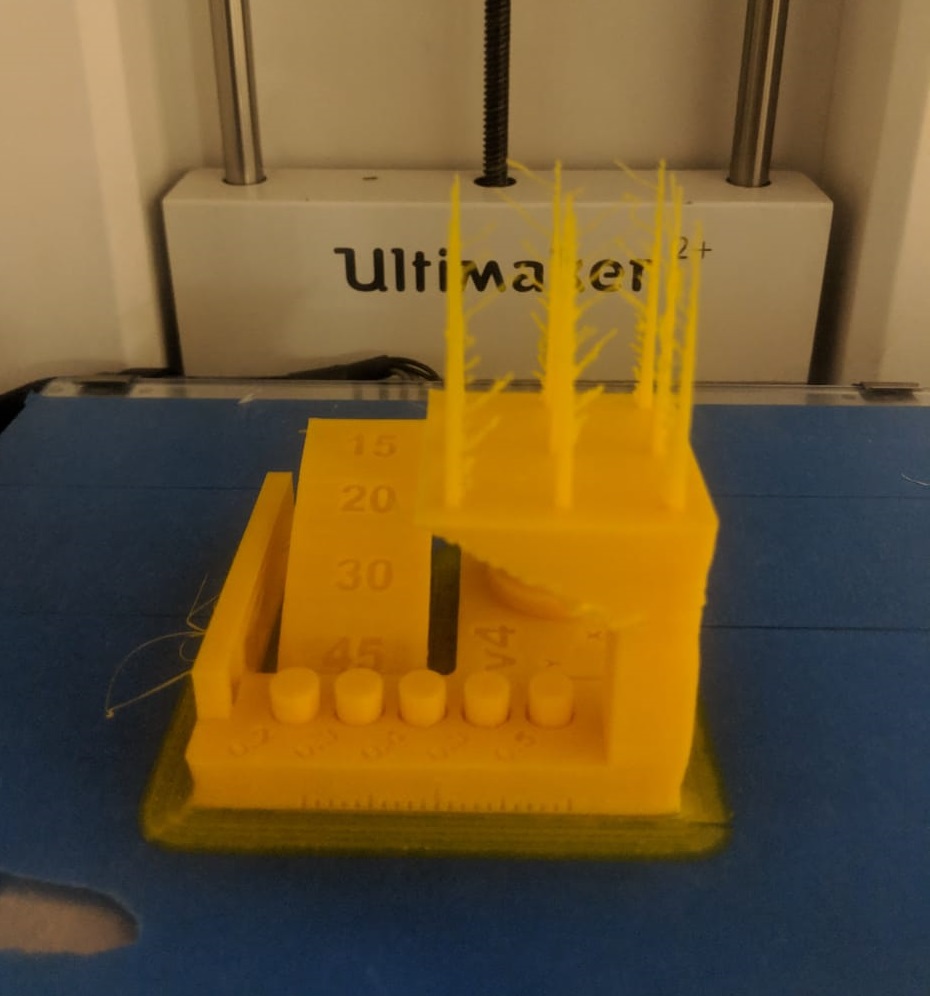
In this image we can see the test model with best finishing, but also we can see some details that weren't printed clearly.
Individual assignment: Design and 3D Print an object
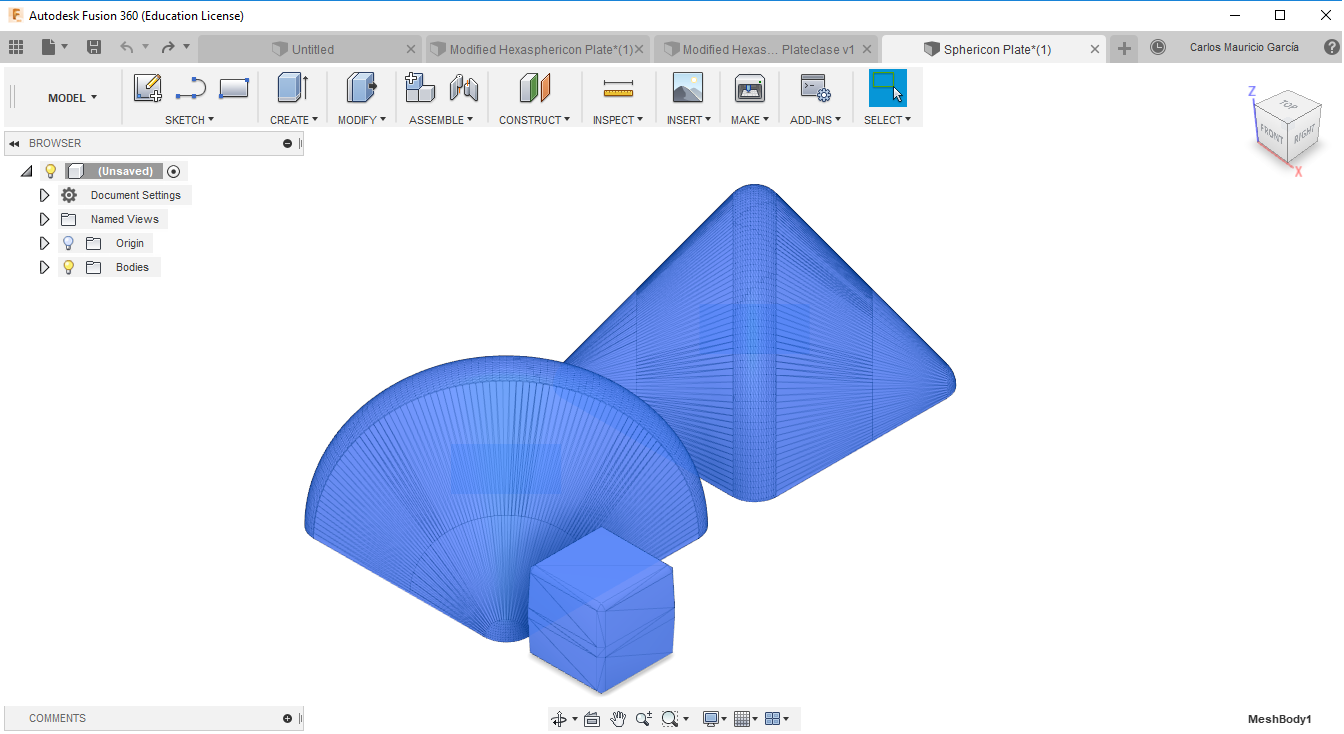
For the next step of the assignment I decided to design my piece in the Fusion 360 software.
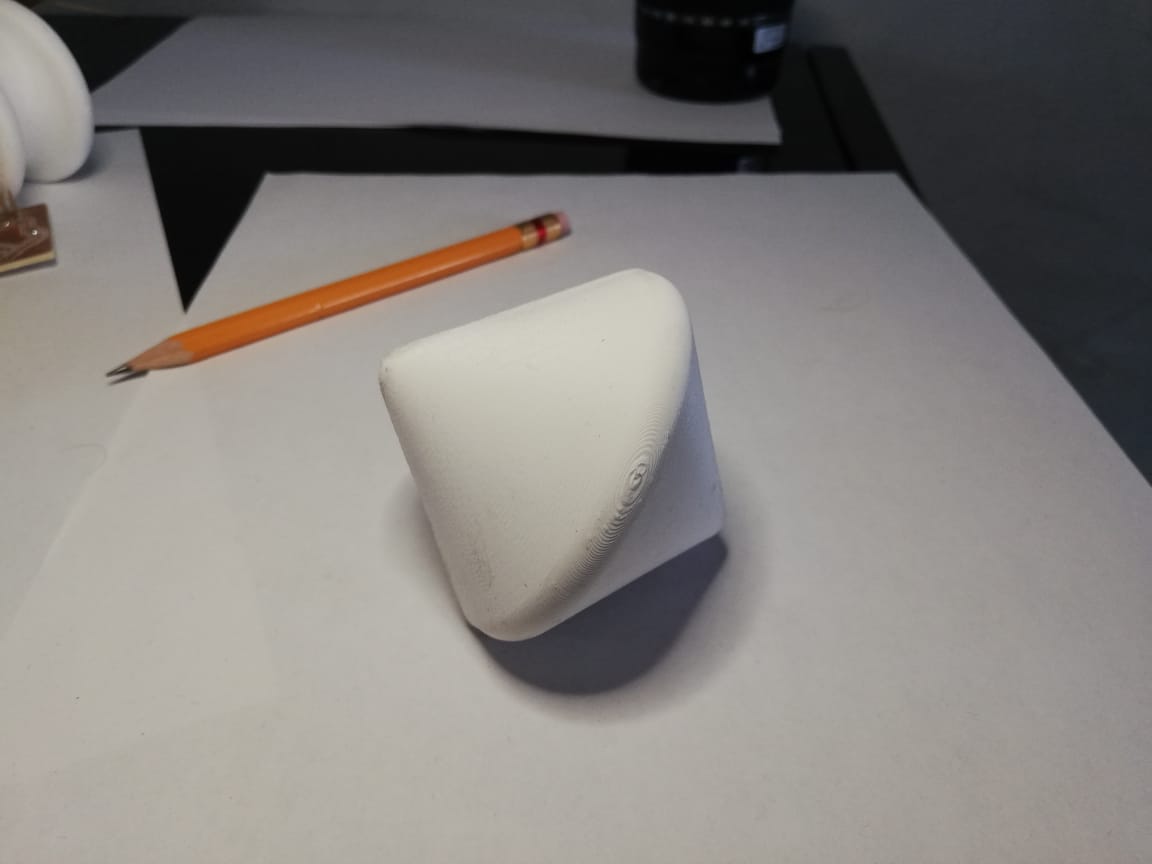
I chose to design and print a sphericon, inspired on the next page The sphericon
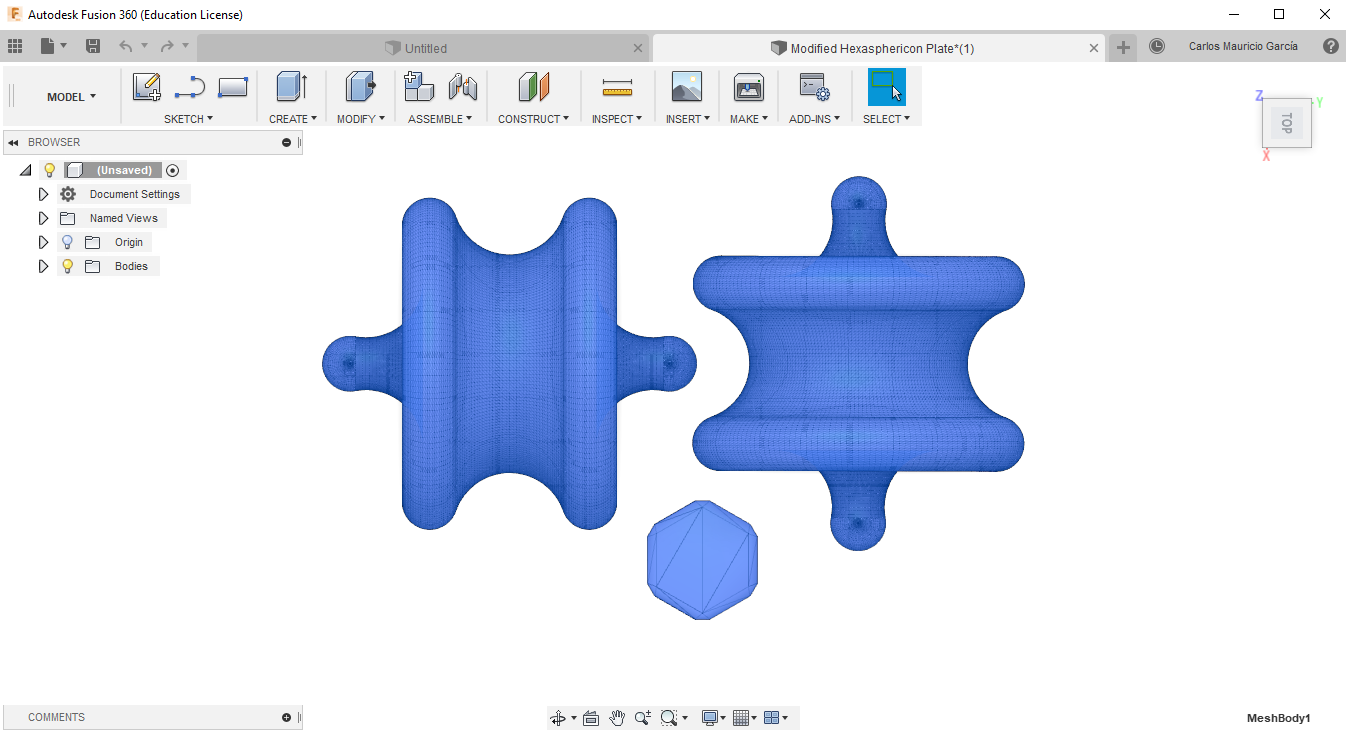
As well, I found this complex design on the internet and I decided to try it. It looks amazing
Individual assignment: Scanning an object for printing
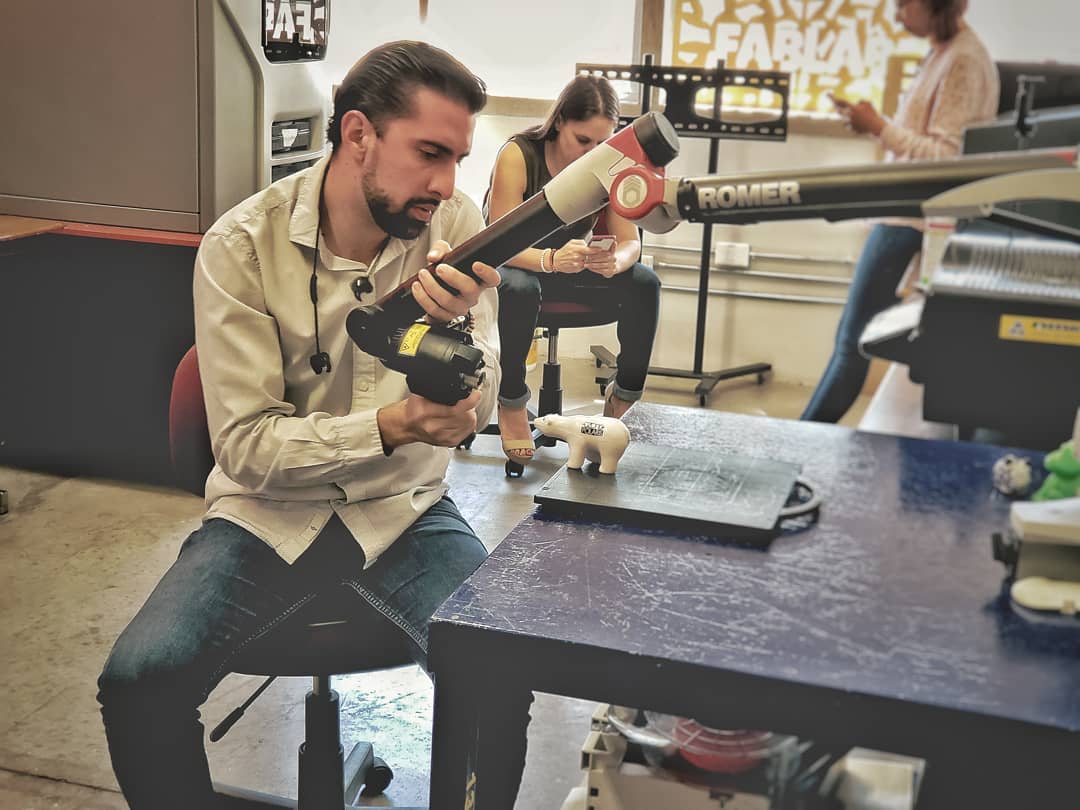
For this activity, I used a Romer absolute arm with integrated scanner, this scanner has a wide laser stripe of up to 150 mm, and can capture 752,000 points per second.
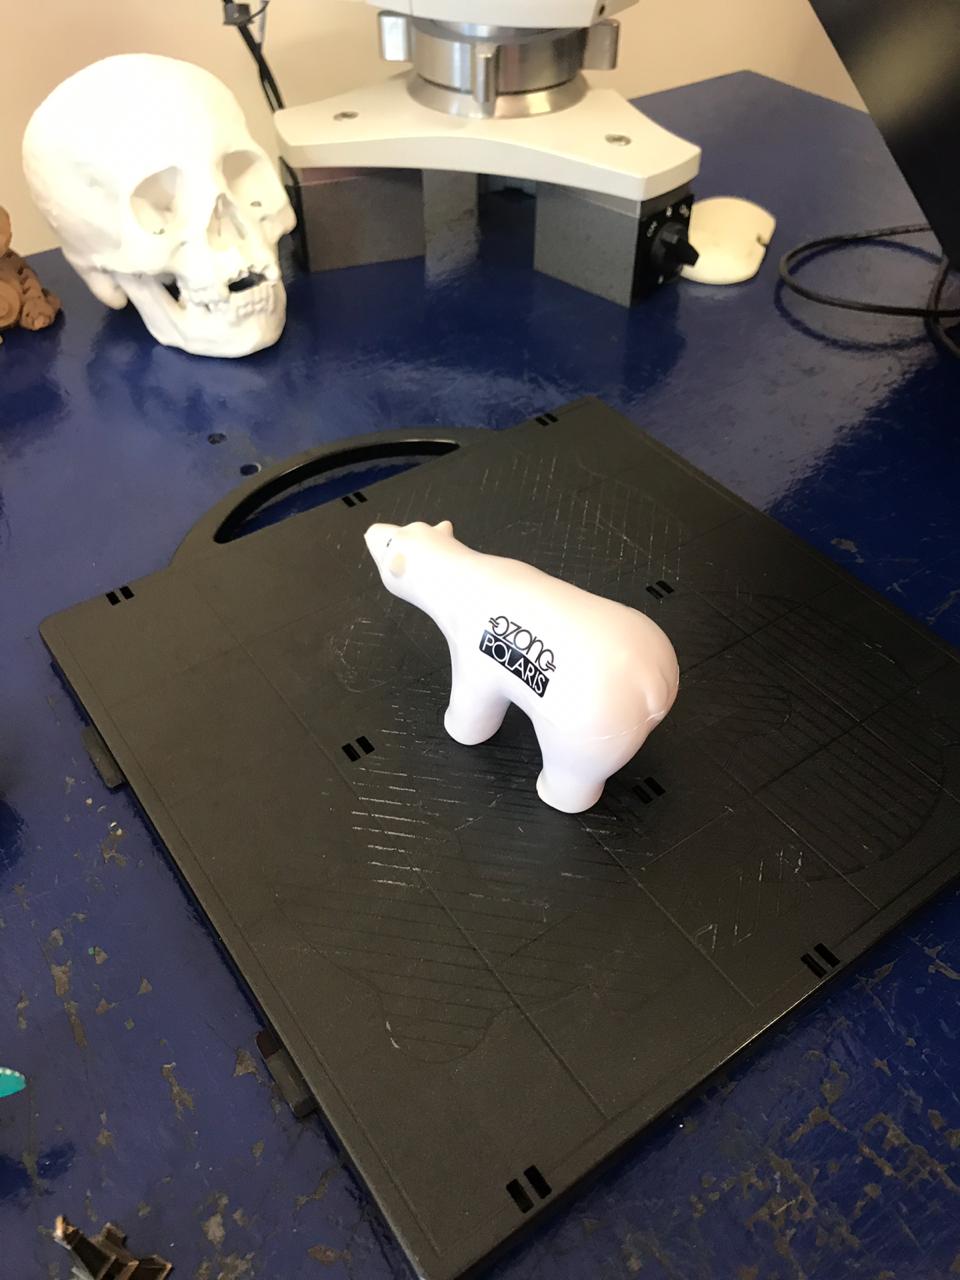
The purpose of scanning this object was to observe the difficulty of projection of the laser on a white object.
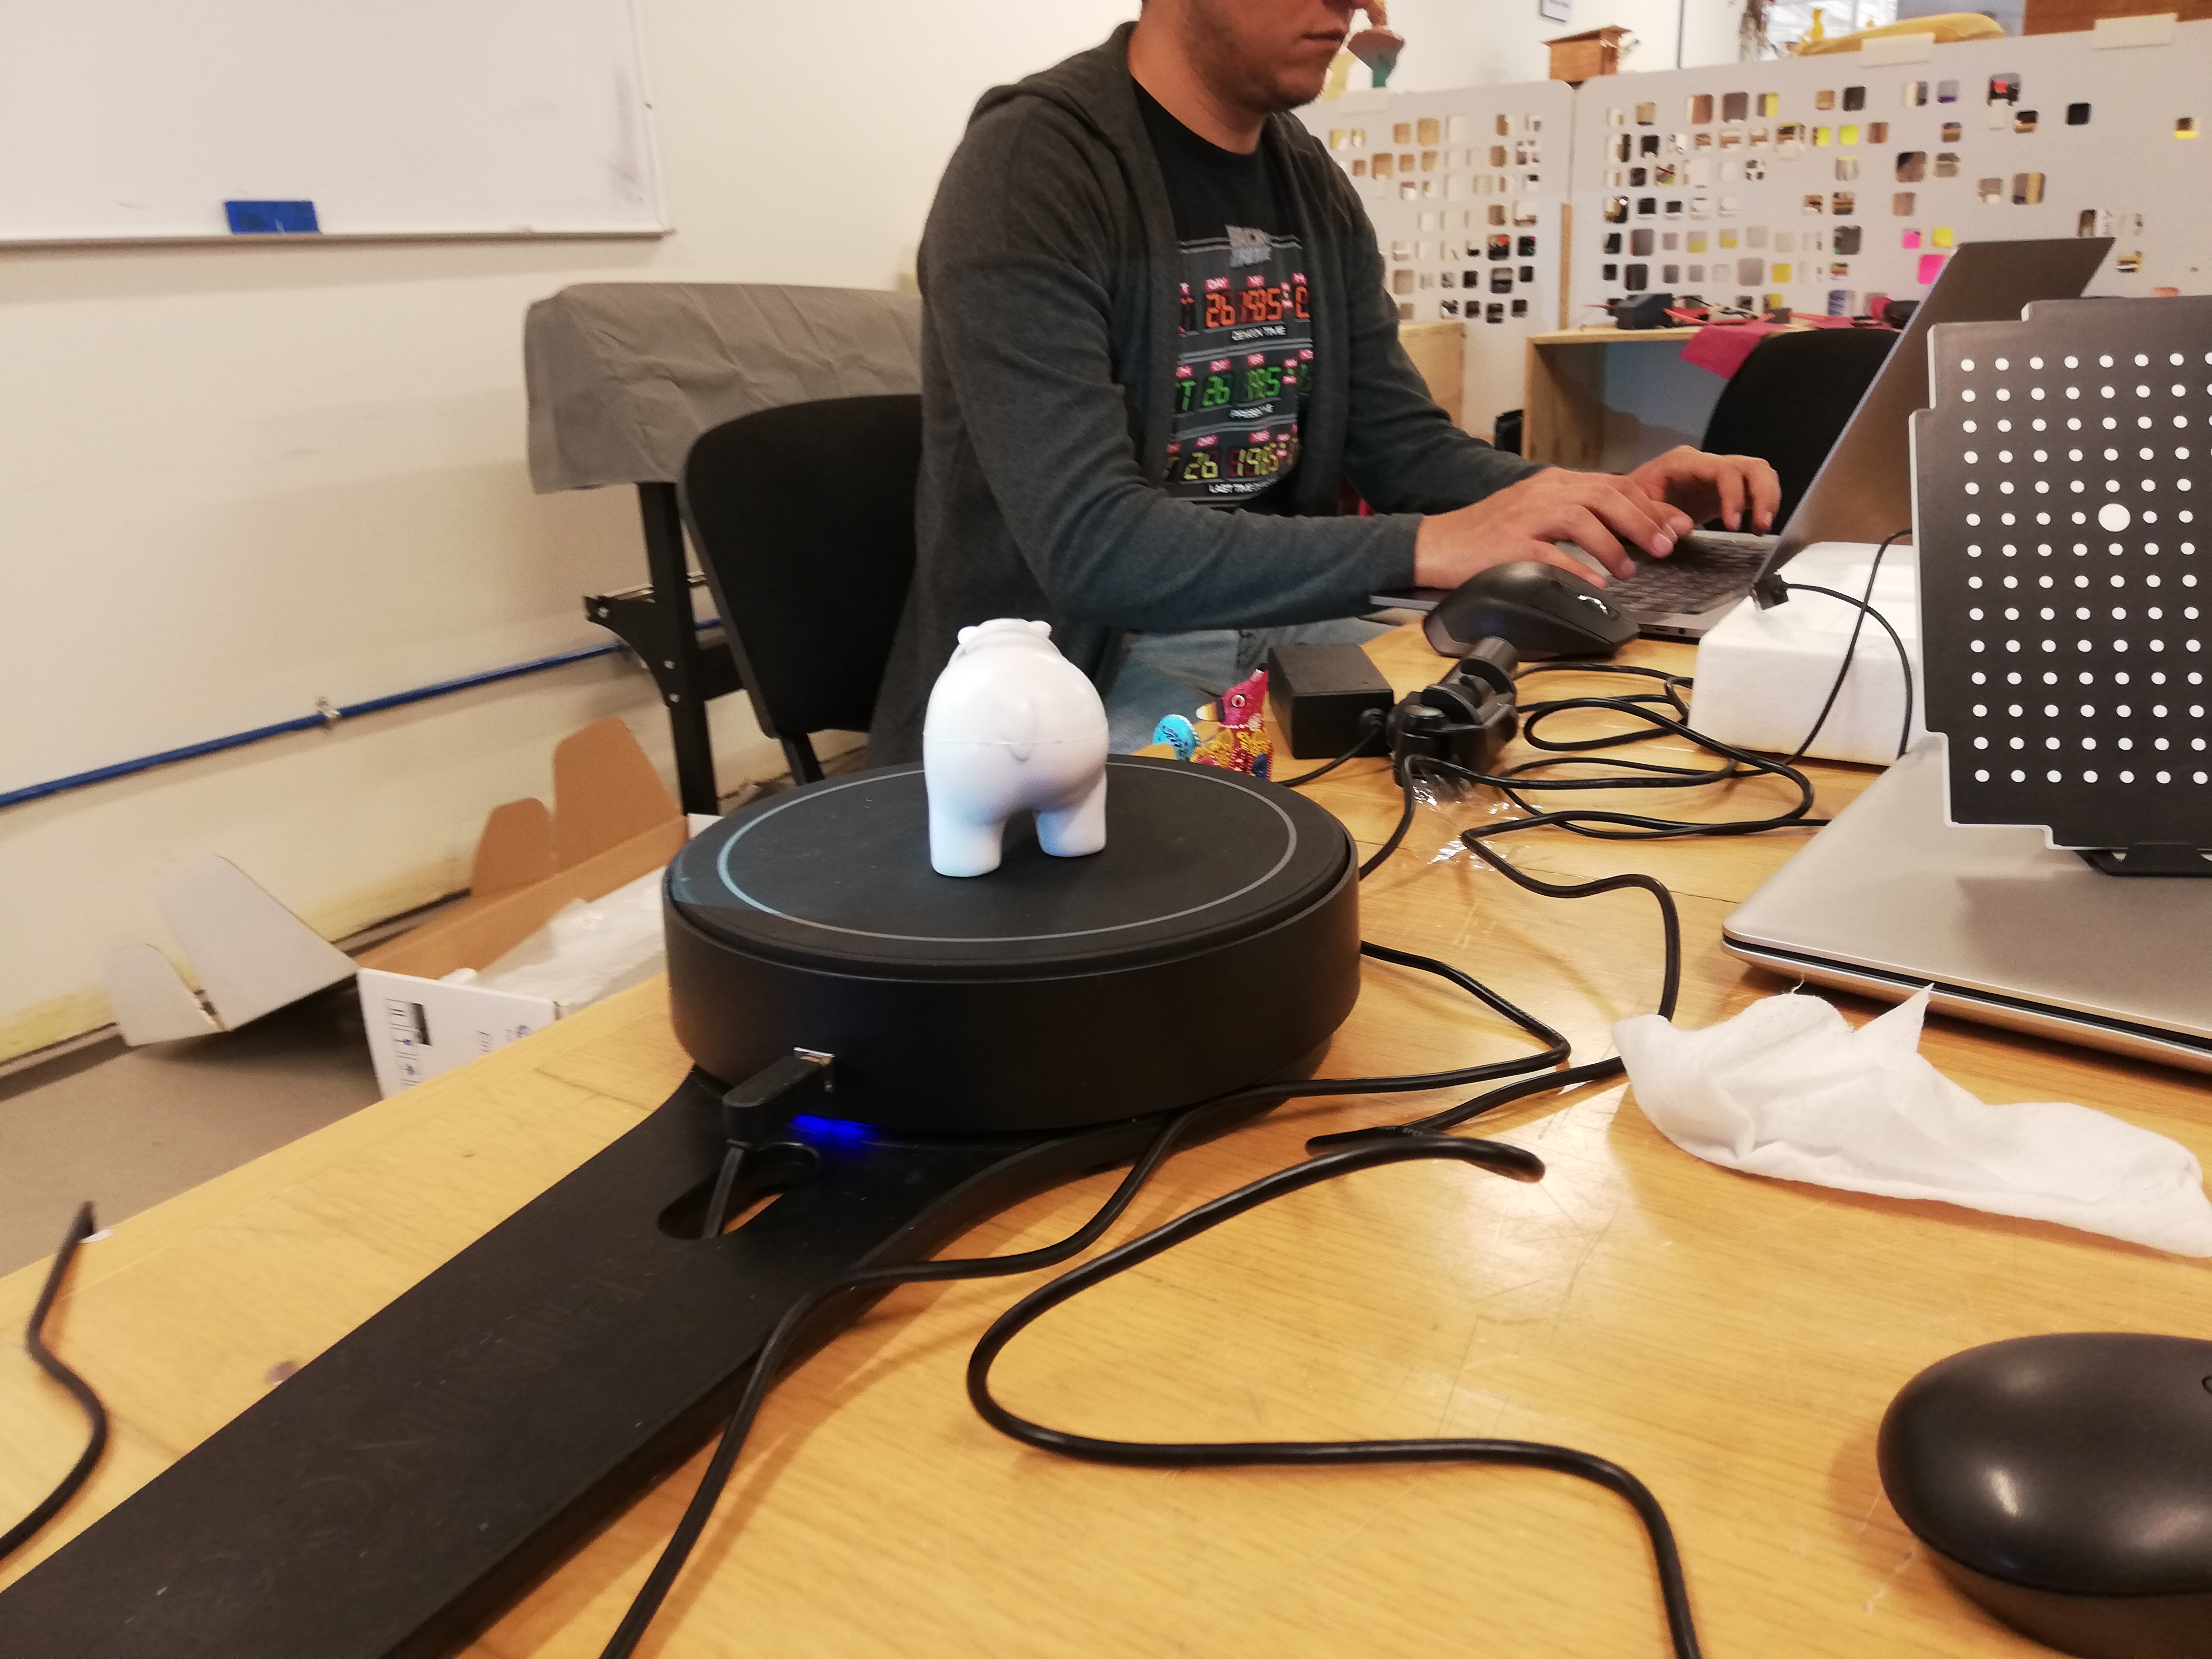
I also used a SHINING 3D EinScan-SE, this device is based on photometry and has a single shot accuracy greater than 0.1mm. The scanning experience was easy, faster and very user friendliness.

The next step was to repair and patch the surface using Meshmixer software

For make sure there are no unwanted holes or cuts in the object. You can simply check for irregularities with the repair feature. Click on Analysis>Inspector. After computing, you'll see different colored balls pointing towards holes and gap, then click on Auto Repair All.
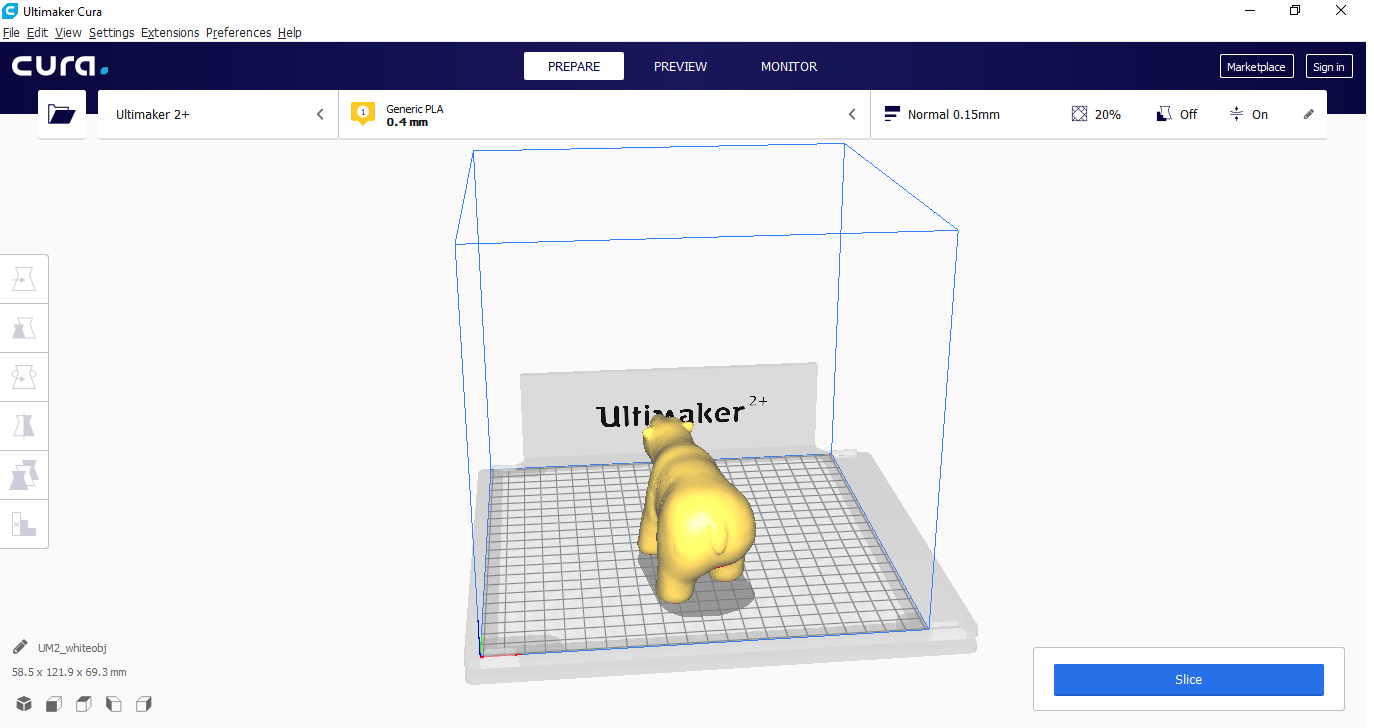
I used Cura to slice my image for generating G-code for printing and then I chose a 20% density
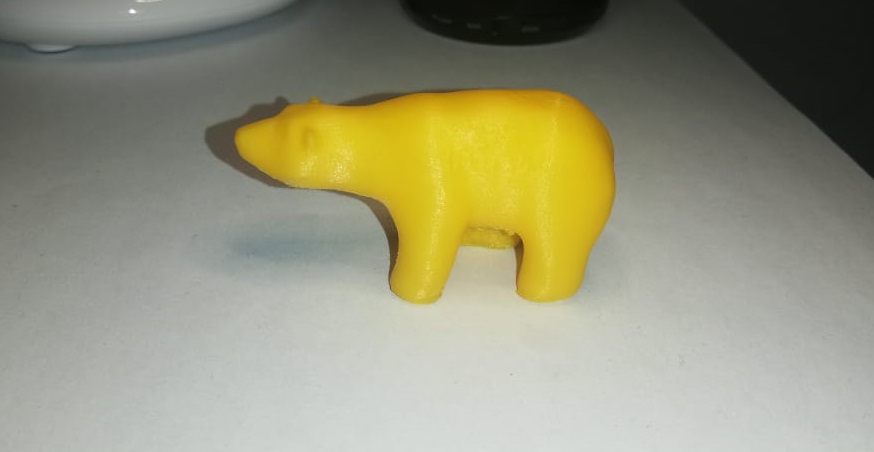
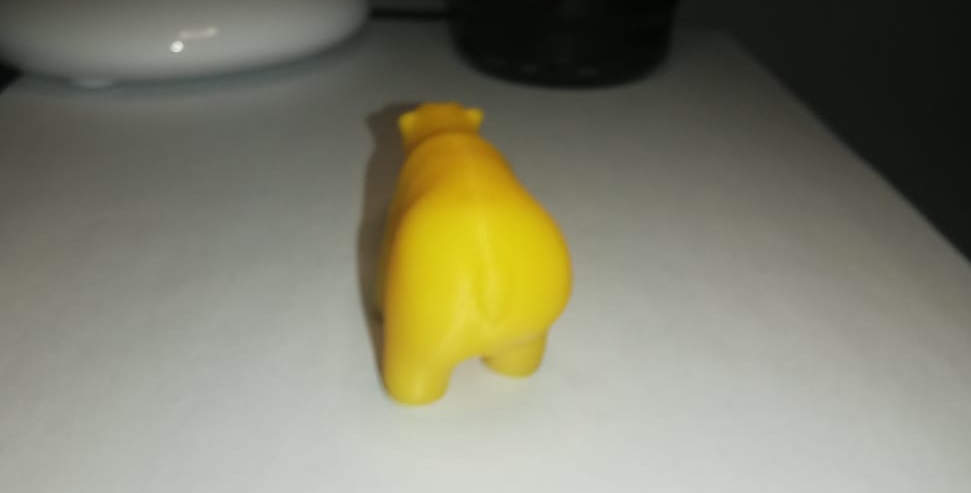
The printing takes aproximmately 2 hours and a half and this is the result.
