Week assignments
Group assignment
- Review the safety data sheets for each of your molding and casting materials
- Make and compare test casts with each of them
Individual assignments
- Design a 3D mold around the stock and tooling that you'll be using, mill it (rough cut + (at least) three-axis finish cut), and use it to cast parts.
Group assignement
You can find documentation about our group assignement on our group page.
Molding and Casting a chess pawn
As the FabAcademy is going on, I realize that many weeks are good weeks to test different ways to fabricate my chess pieces. Even if, for now, cutting them as pressfit kit with the laser cutter seems the easiest, cheapest and fastest way to do it, I am happy to look into other possibilities like doing them with molding and casting.
Since, I am completely new to molding and casting I choosed to mold a pawn which is the smalest and simpliest chess piece.
Software side
The fusion360 file can be accessed here.
Designing my pawn
To design my pawn I used the exact same process as the 3D printing week.. Here is a screenshot of the result.

Designing the backing-mold
To design the backing-mold, I first designed what the mold would look like. The picture below show half of it with male slot (half-sphere*4).
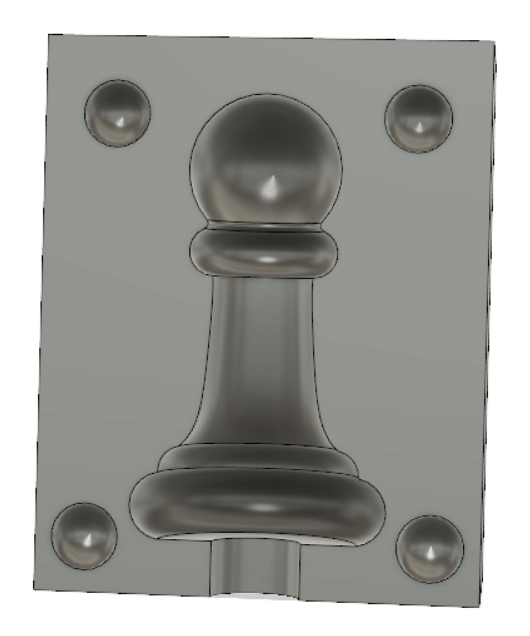
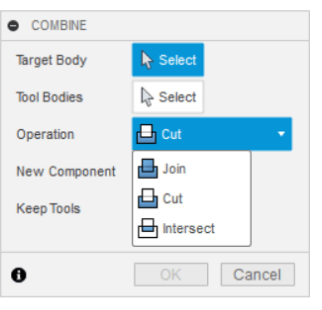
I used the "combine" tool of fusion360 to perform boolean operations. This tool allow to join, cut or intersect tool bodies with a target body.
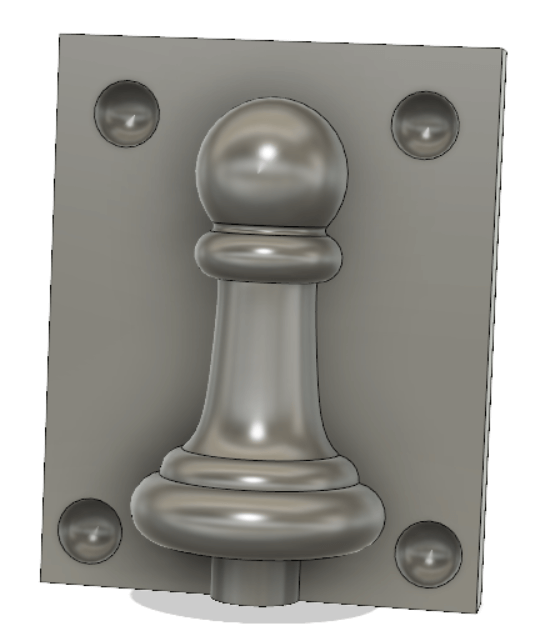
I reach this result through 3 bolean operations:
- The first operation was to join a cylinder at the bottom of the pawn to create a casting pipe
- The second operation was to cut the pawn+cylinder into the parallelepiped rectangle.
- The last operation was to join 4 sphere into the parallelepiped rectangle.
And finally, the backing-mold was obtained through one last boolean operation were I substracted my mold from a bigger parallelepiped rectangle.
On the picture, you can see that there is no wall around it. I will explain this in the Preparing the CAM work section.
Preparing the CAM work
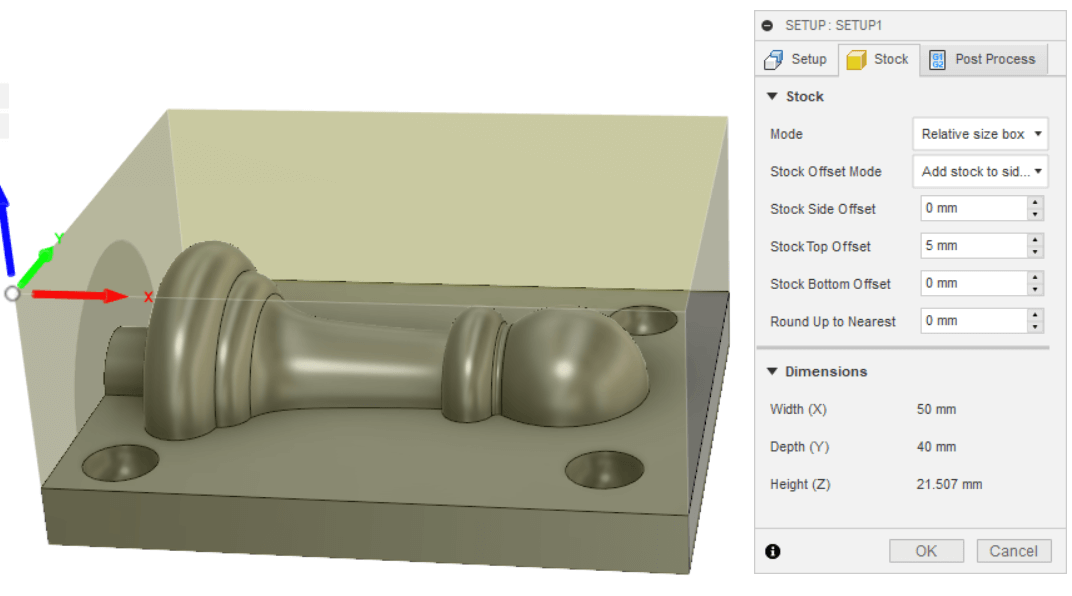
Like for the CNC Machining week, I used the Fusion360 CAM workspace.
I defined the setup to have a stock top 5mm above my pawn to take into account a thickness of the bottom of my mold.
Then I defined one roughing job called "Pocket Clearing" and one finishing job called parallel. The process of defining these jobs is similar as the one used in the week8.
The parameters used are:
- General parameters:
- Cutting feedrate = 1500 mm/min
- Spindle speed = 16000 rpm
- Pocket clearing parameters:
- Tool diameter = 3.175mm (ball end mill)
- Maximum Stepover = 3.175mm
- Minimum Stepover = 0.3175mm
- Maximum Roughing Stepdown = 3.3175mm
- Stock to leave = 0.25mm
- Parallel finishing parameters:
- Tool diameter = 1.5mm (flat end mill)
- Stepover = 0.25mm
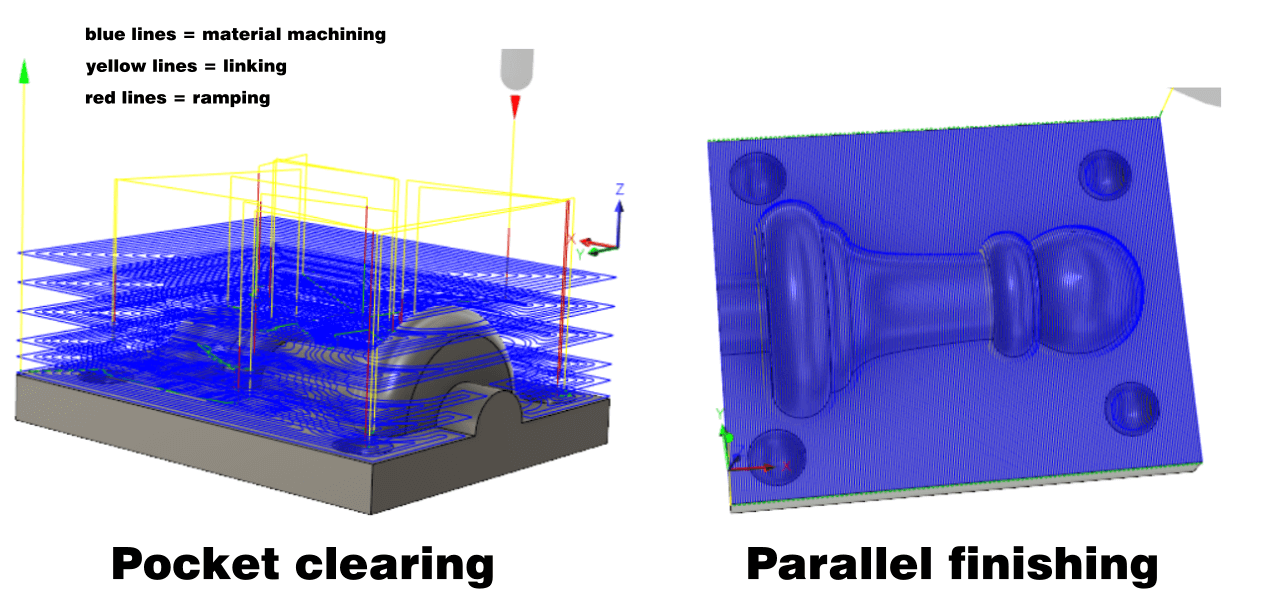
Beacause I didn’t draw the walls of my backing-mold into the Model workspace, the parallel operation is really focused on my important geometry. With the walls, the software is milling along them and on top of them. Since the snapmaker is is really slow on the Z axis I was loosing a lot of time considering the walls.
Machining side
Our machine for this job is a snapmaker.
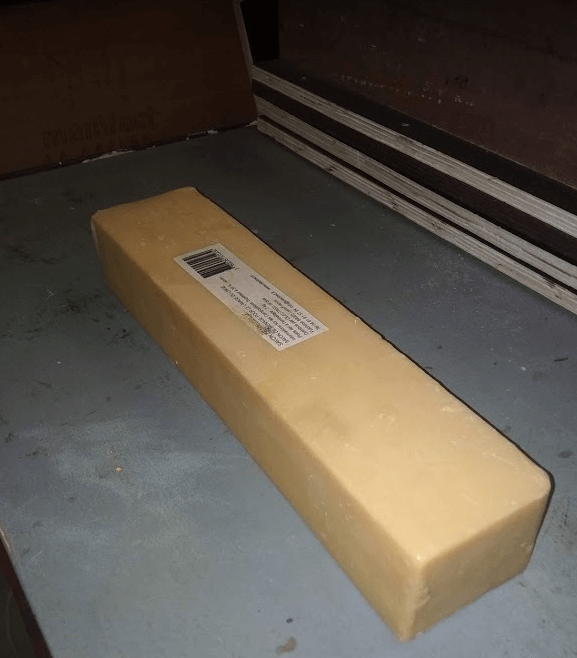
Important thing is, we didn't ordered wax because we though it would be easy to find in here. Actually it was not. We though of fabricating it but in the given time it was hard to do. So we found an other idea: using Marseille Soap (traditional hard soap). It is very easy to find in big blocks like on the picture below in every french supermarkets beacause you can use it in many different ways. We can now add CNC milling !
However, it not as efficient as machinable wax since - I think - the fusion point is lower and we can have melted chips.
Holding the material correctly
The feedrate is 1500mm/min so it is important to hold the material strongly. To do that we drilled holles into the bottom of the soap to be able to use provided attached fixtures

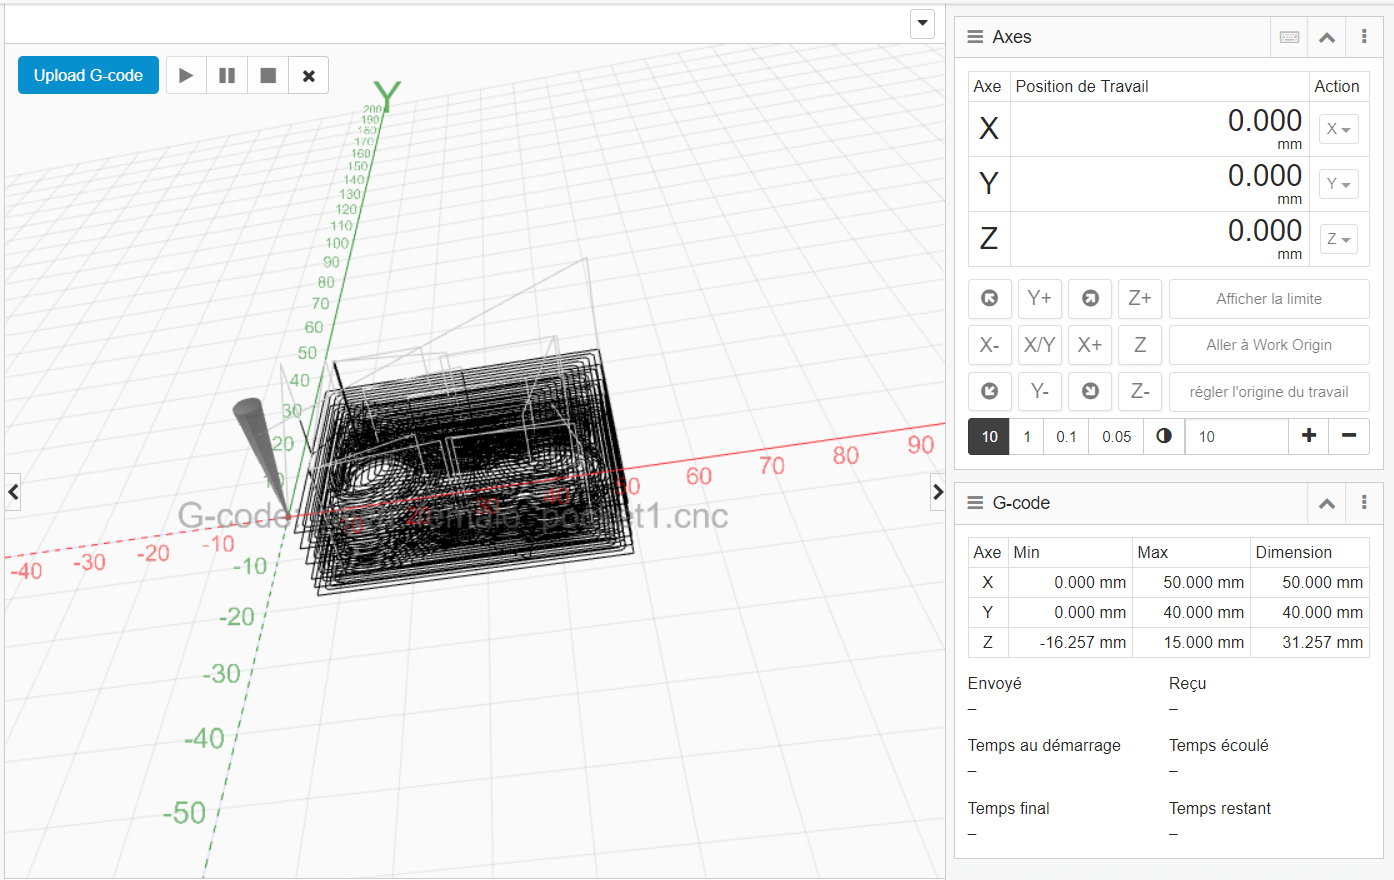
Setting the zero and launching the job
The software is really easy to use. The control panel is on the right, you can easily jog and set the zero origin.
Between the roughing job and the finishing job I had to to change my tool. I had also to reset the Z zero since the mills didn't have the same lengh.
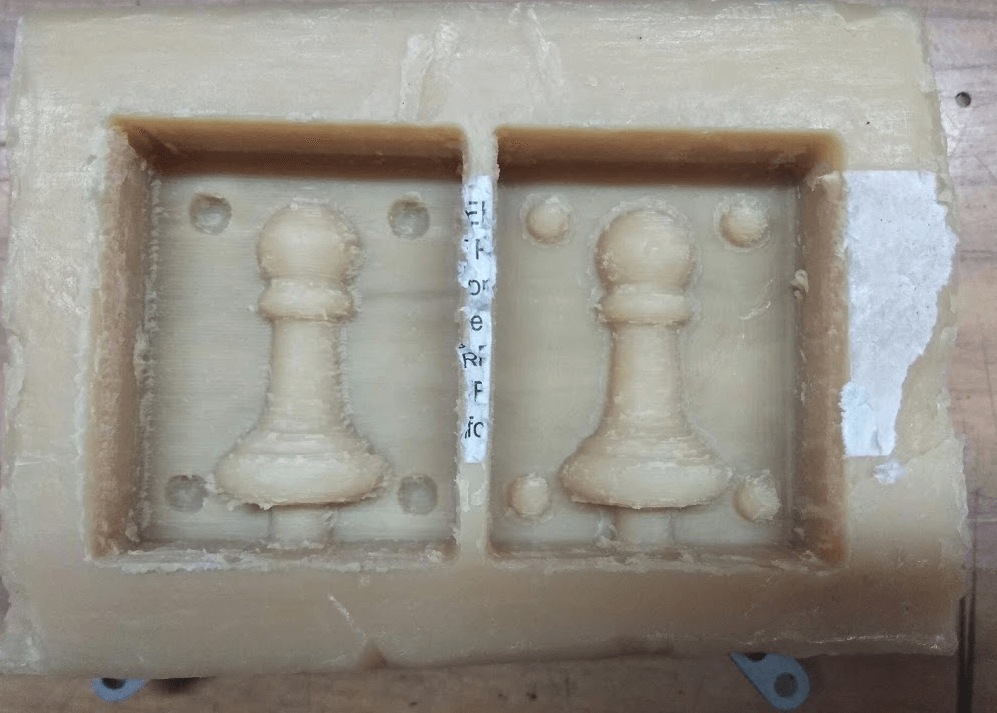
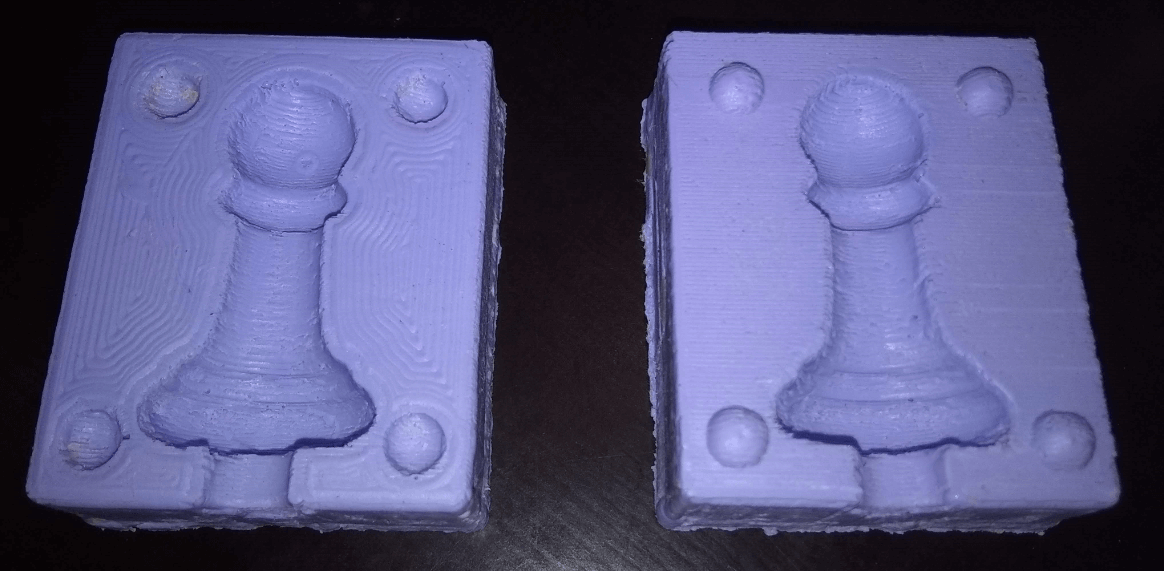
Result of the milling
Chemicals side
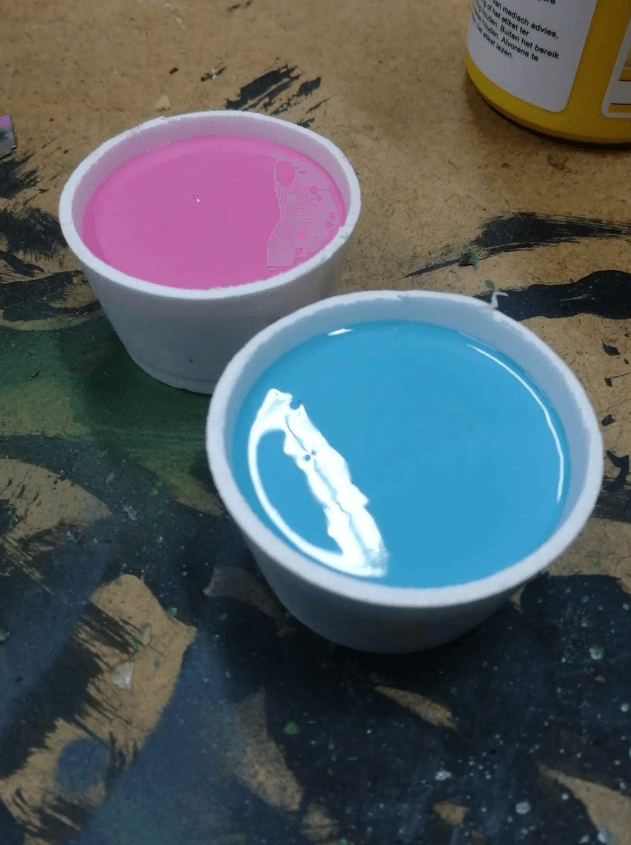
The OOMOO products is easy to use because you have to use equal volume of each components.
After having mixed the two components I was able to pour the mixture into my counter mold. I left it all night there because it was the end of the day.
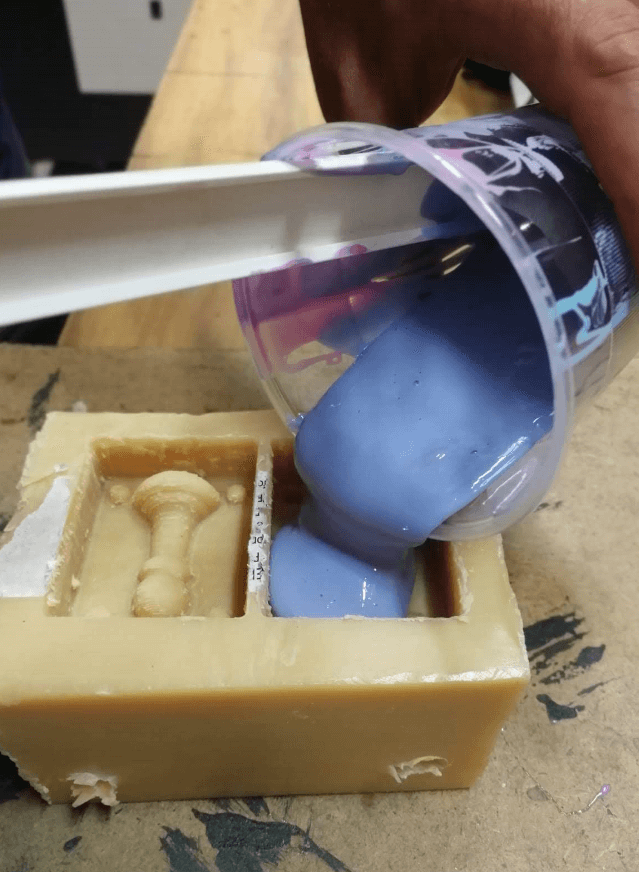
The mold came out fine. It is impressive how it has been able to copy all the imperfections of my soap milling.
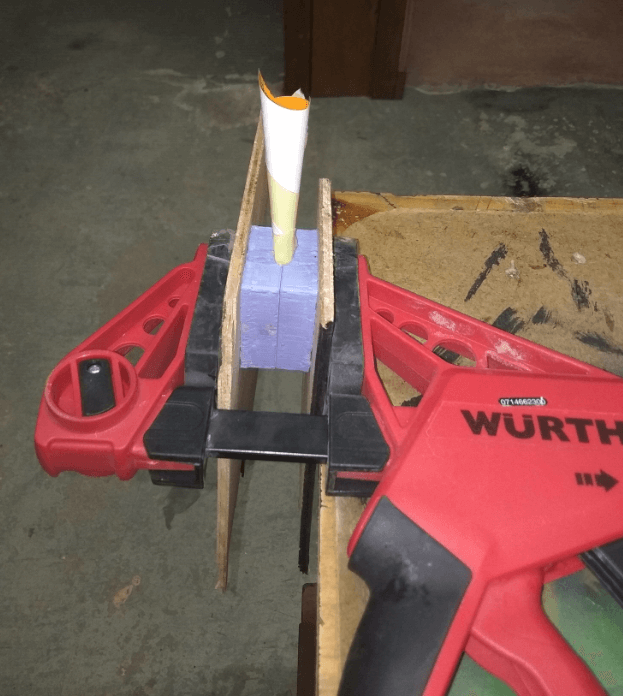
Then I only had to pour the plastic. The process is globally the same than with the silicone. I prepared the mold with clamps and a DIY funnel. I was happy to find it waterproof.
The picture below show the result before and after sanding.
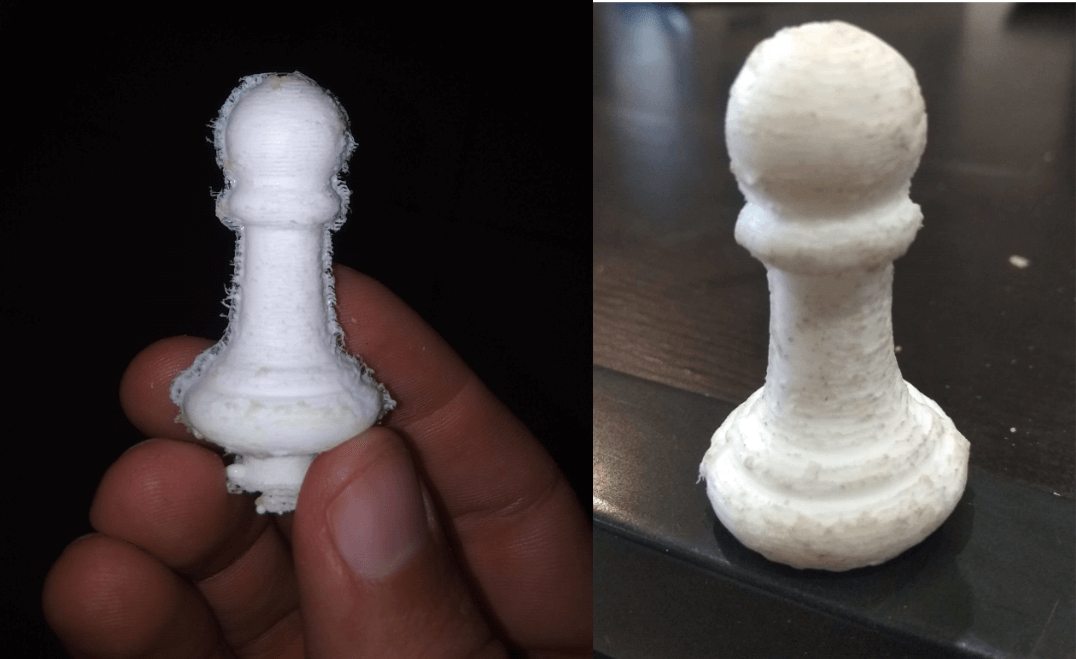
The piece look very solid compared to 3D printing. With more sanding I could obtain a finner result I think.