Week assignments
Group assignment
- Test the design rules for your printer(s)
Individual assignments
- Design and 3D print an object (small, few cm3, limited by printer time) that could not be made subtractively
- 3D scan an object (and optionally print it)
The test print
Choosing the object
You can find documentation about our group assignement on our group page.
Our 3D printer is an Ultimaker 2 extended +. For this week assignment, we are using a 3mm PLA filament. The print temperature for this filament is at 200°C and the bed temperature is 50°C.
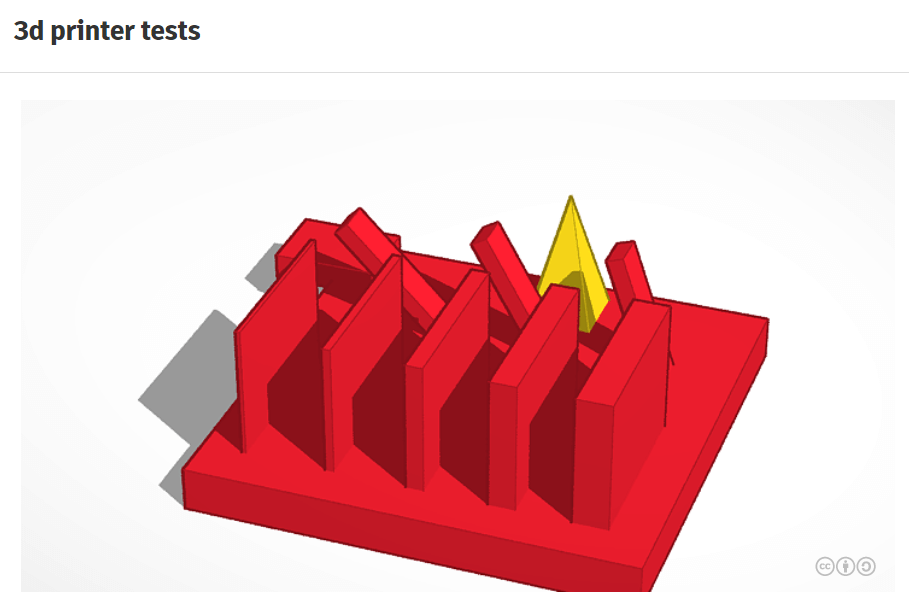
To characterize our printer we re-used the test part of our instructor. The file can be accessed here
This part has:
- Walls of different thicknesses (from 0,5 mm to 4 mm)
- Round holes with different diameters (from 1 mm to 3 mm)
- Holes separated by different length spaces (0,1 mm to 2 mm).
- Inclined and overhanging parts to test possible angles.
- Pointy structure to test material bonding.
Preparing the gcode in Cura
To get the gcode for the printer I use Cura. The machine Ultimaker 2 extended + is already configured in my computer. I keep the recommended parameters. I check that generate support is untick so that the printers won't build support below inclined parts and horizontal holes.
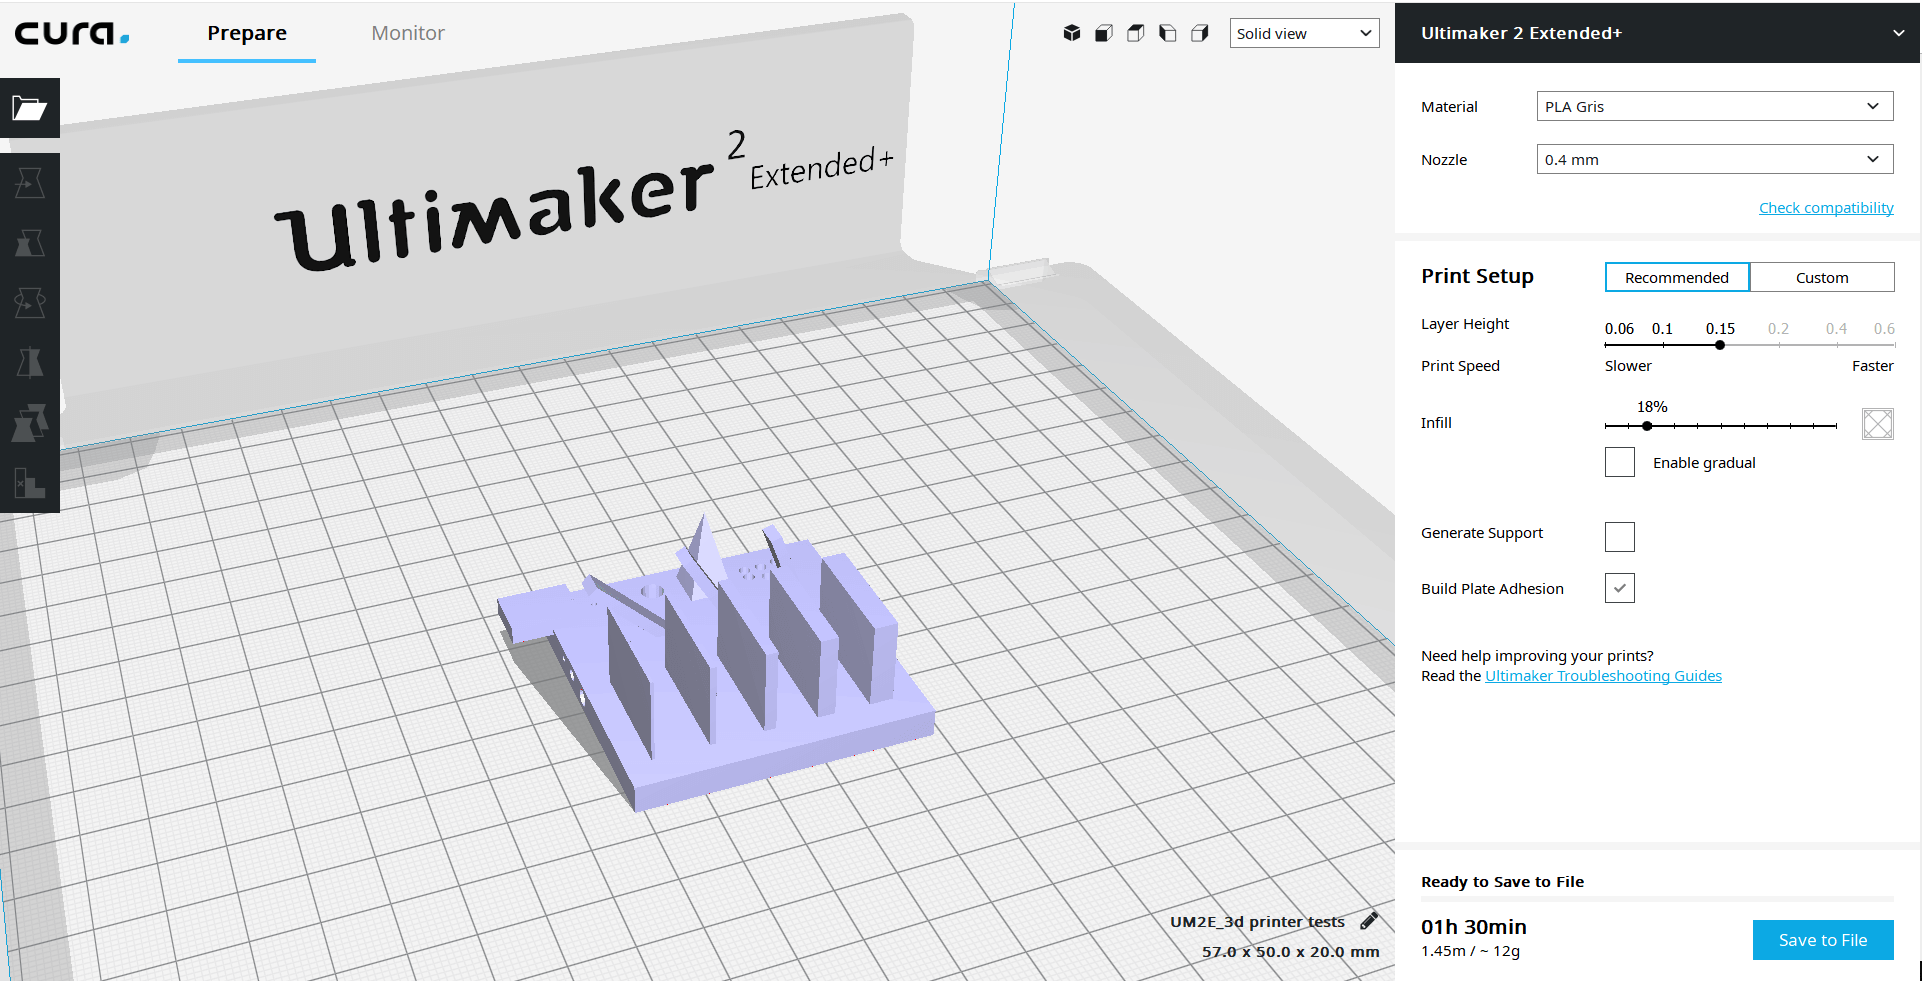
The gcode generated can be accessed here
Printing the object
To get the printer ready I only have to insert material and check if the plate is flat thank to the callibration process.
Once this is done, I copy the gcode file on the SD card and I launch the print.
The printing and the result are shown on the picture below.
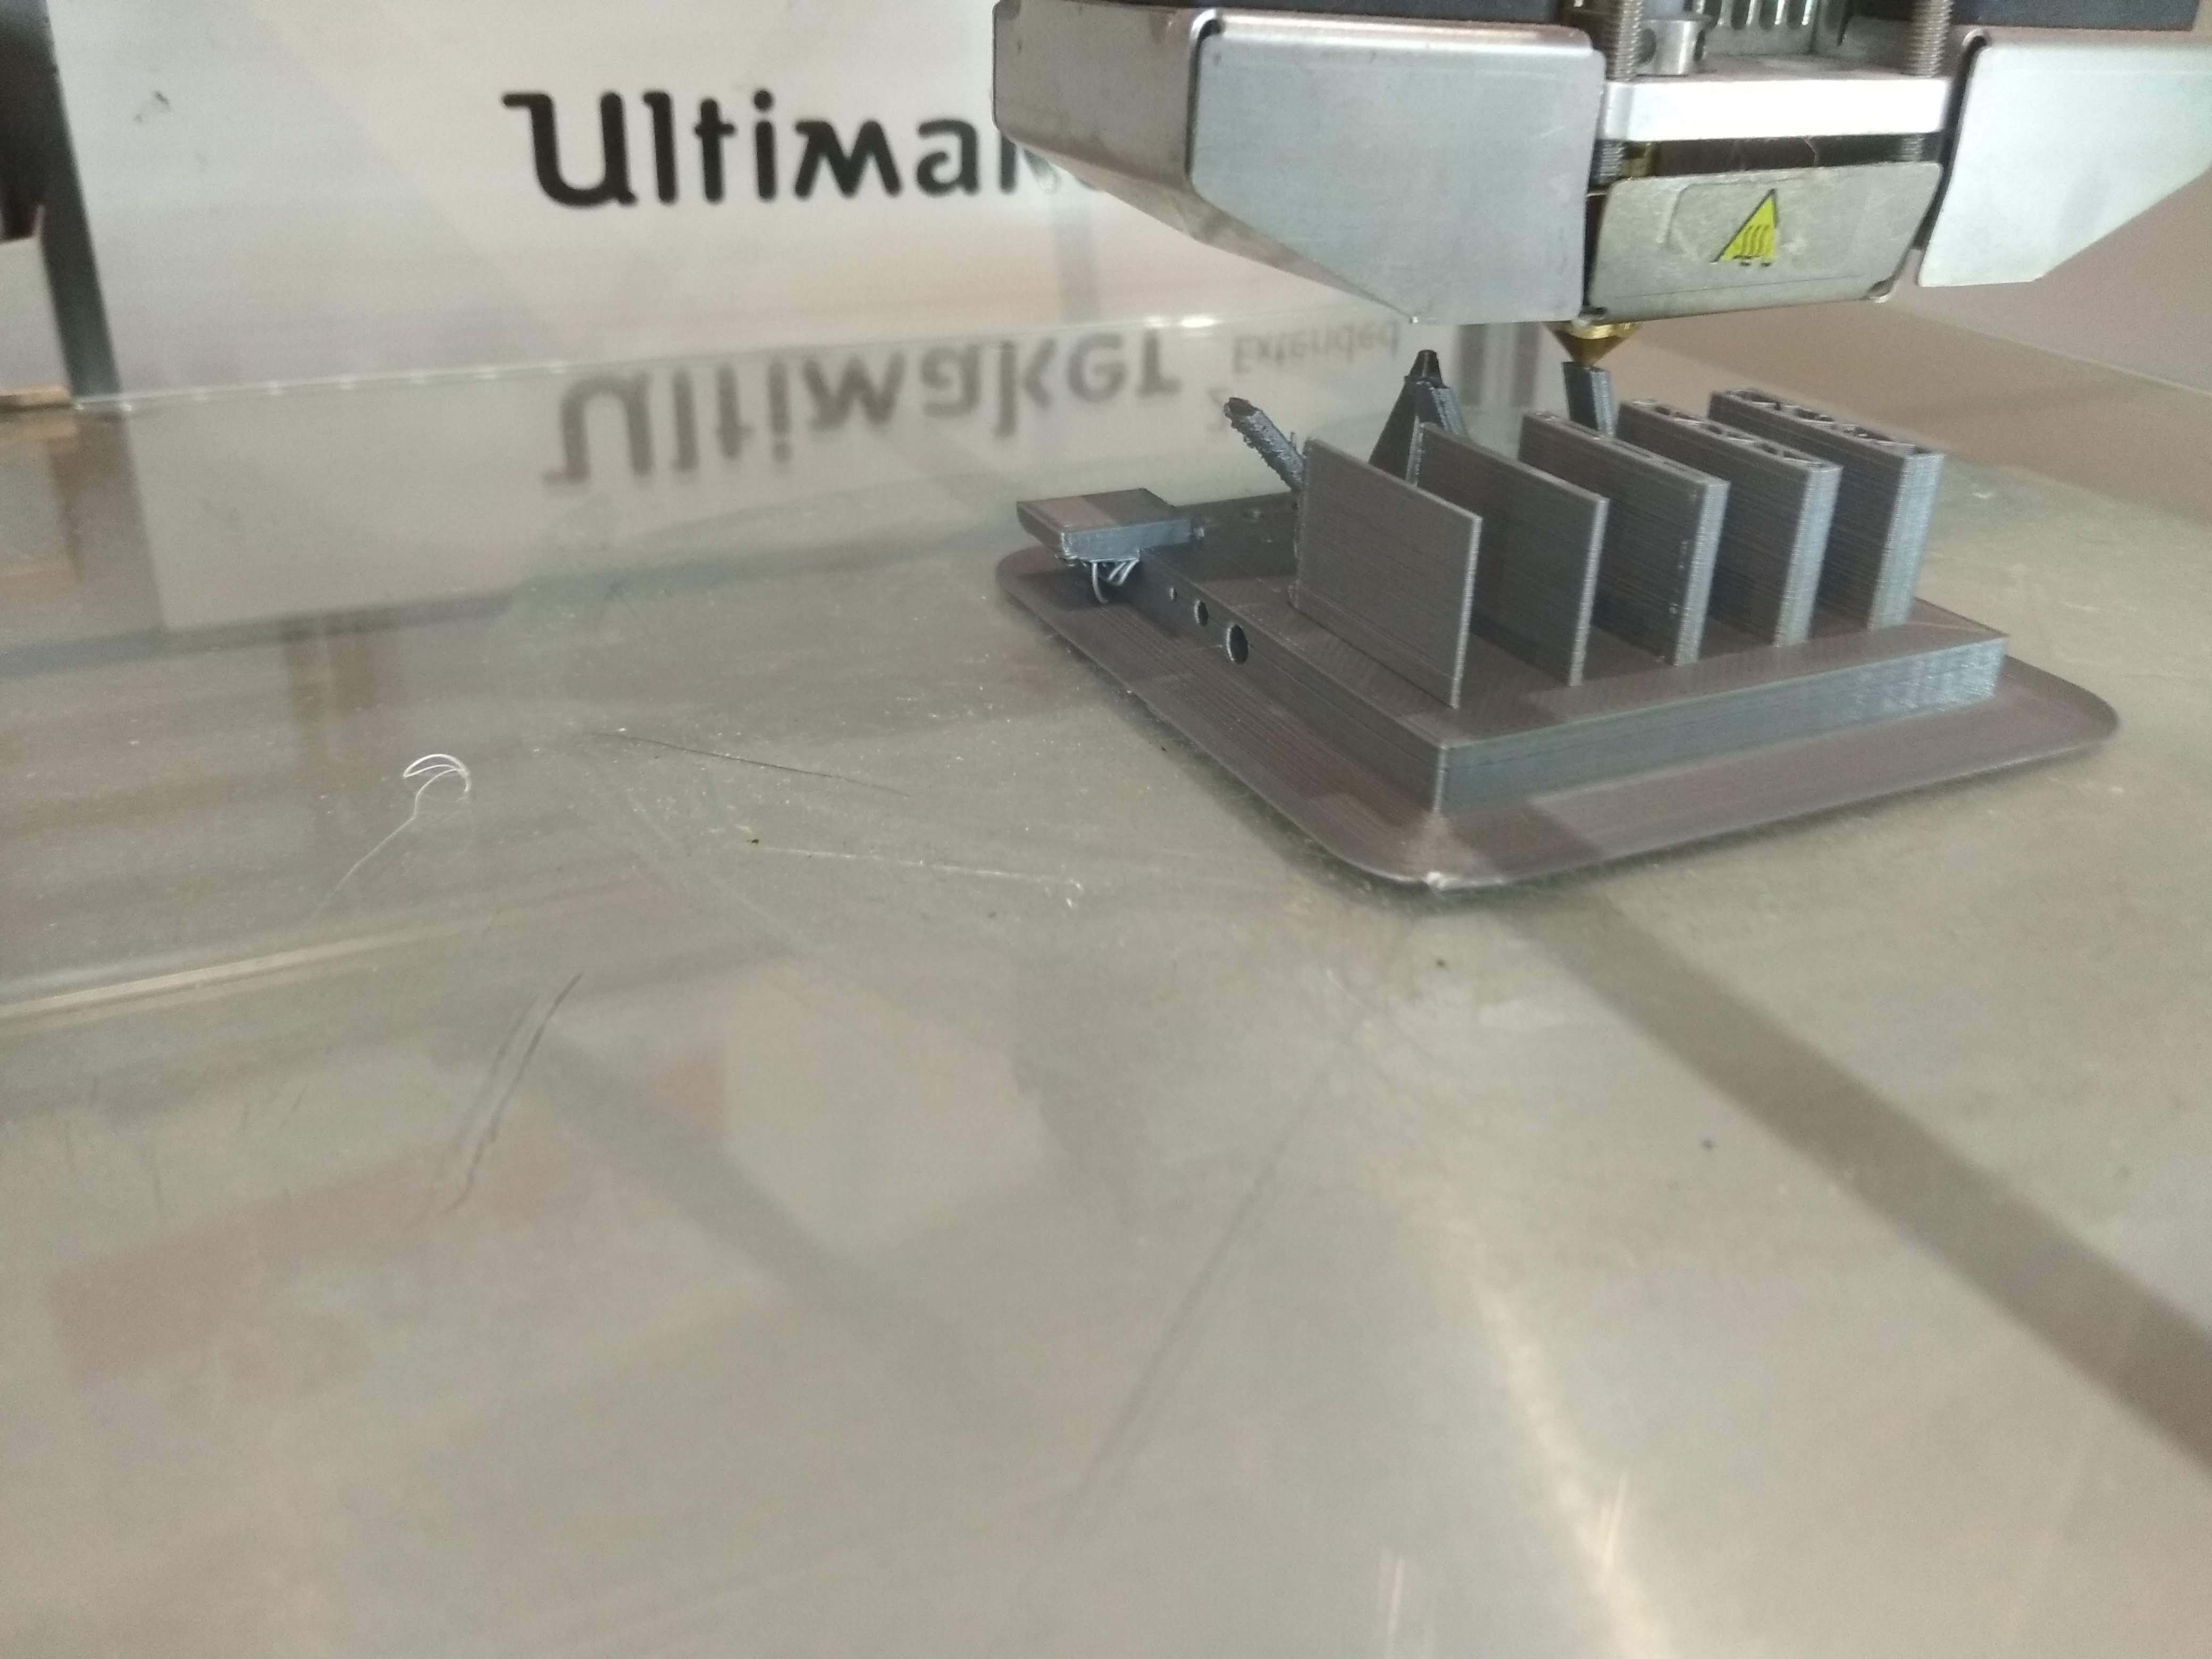
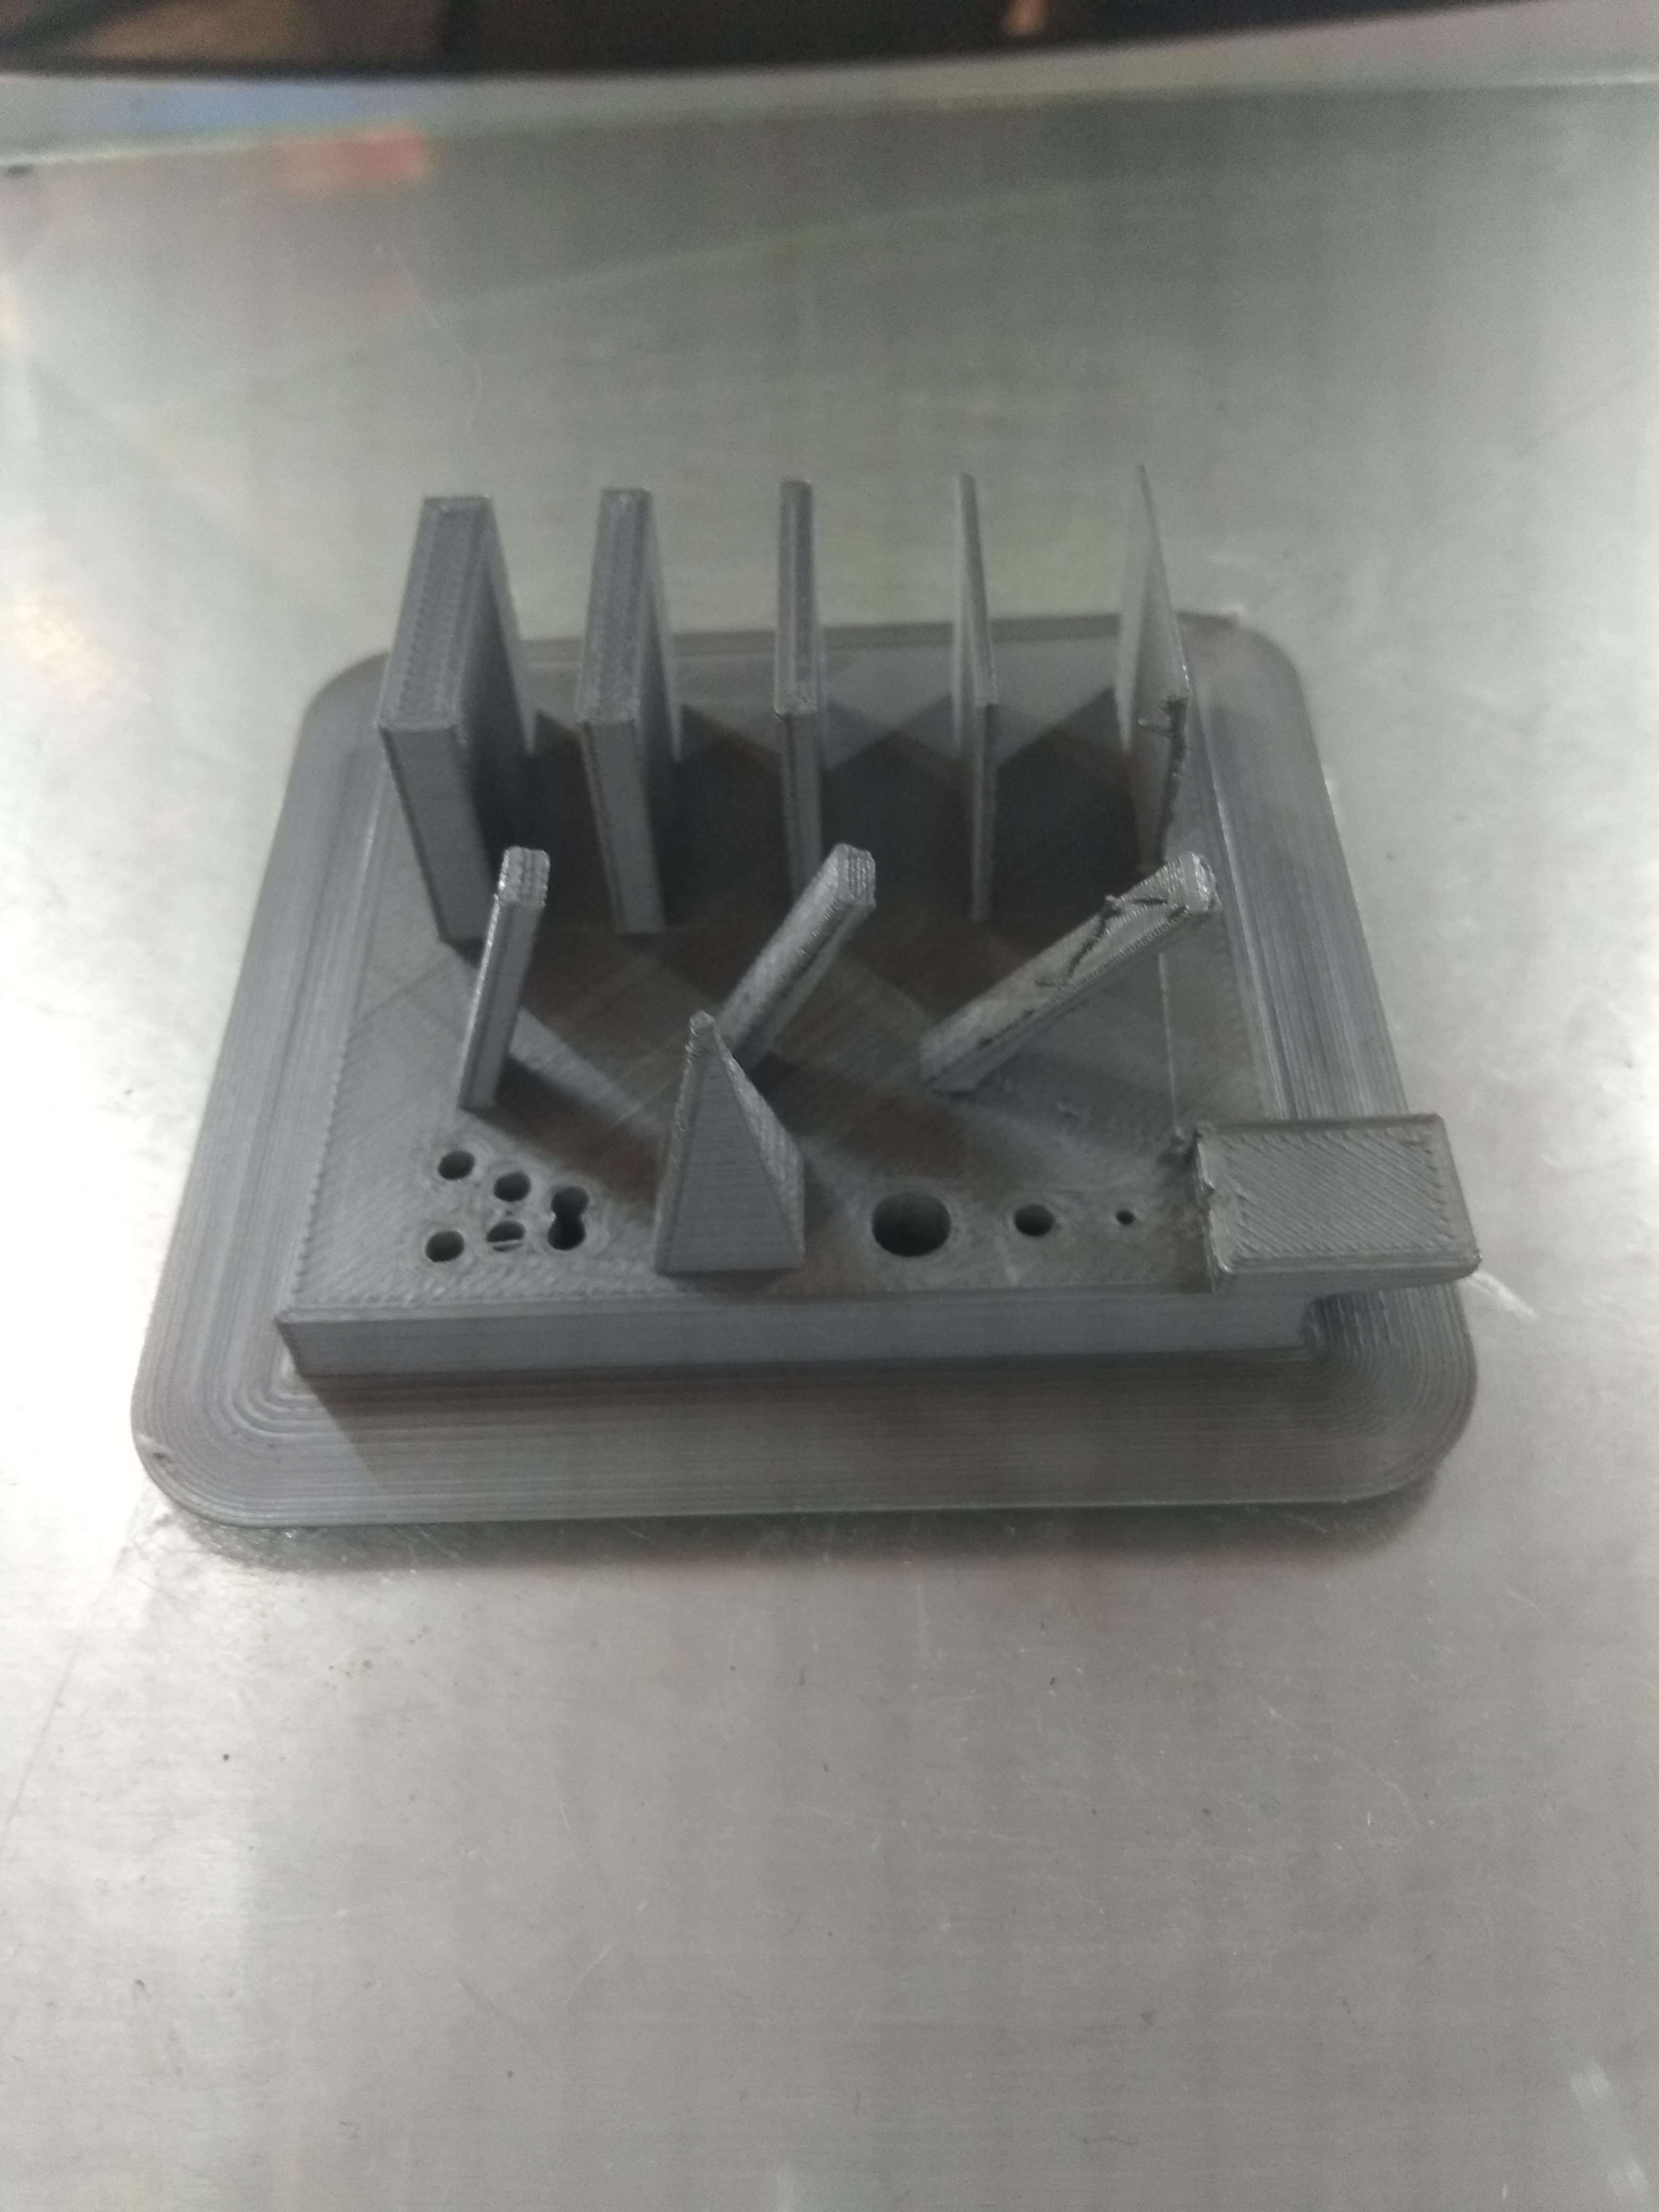
The object is very well finished every details have been printed. The only default is on the overhanging structure which shows some not straight filament.
My 3D printed object
Designing the bishop in Fusion360
For my final project, I would like to build my chess set thanks to a CNC lathe. However, it might prove too difficult to finish it by the end of fabacademy. Consequently, the possibility of printing my chess set is a good way to finish on time. Anyway, I will have to design my pieces. The bishop is a good start.
This chess piece cannot be made substractively in a three axis machine because there is slopes in the inside AND outside direction of the object revolution axis, moreover, it wouldn't even be completely doable in a 4 axis machine because of the slot inside the head of the pawn.
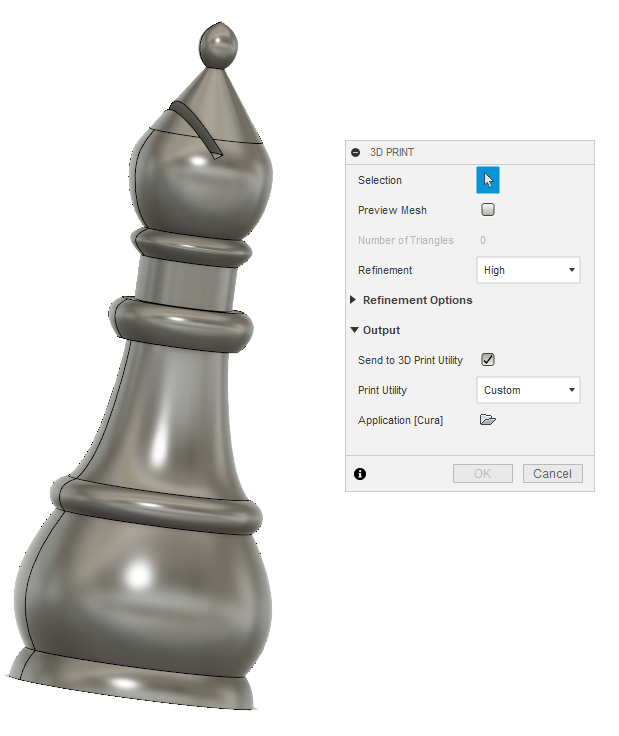
I used fusion360 to do it and a picture as a canvas. As we can see on the picture below, this tool allow me to draw a sketch that I can revolve later.
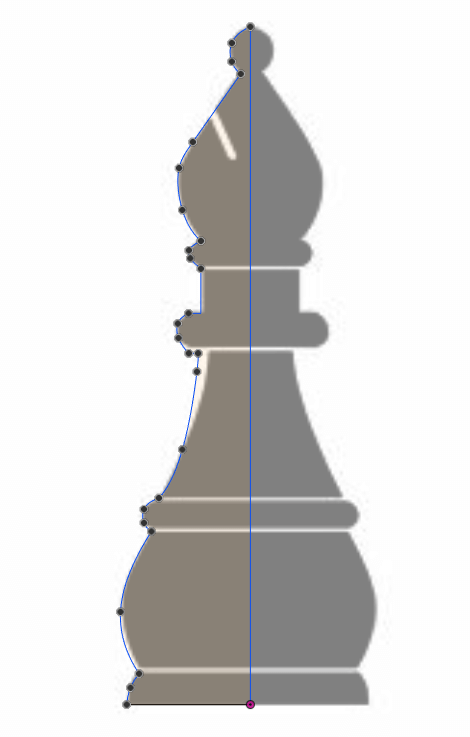
The grey picture is the imported canvas. The blue lines are the lines of the sketch.
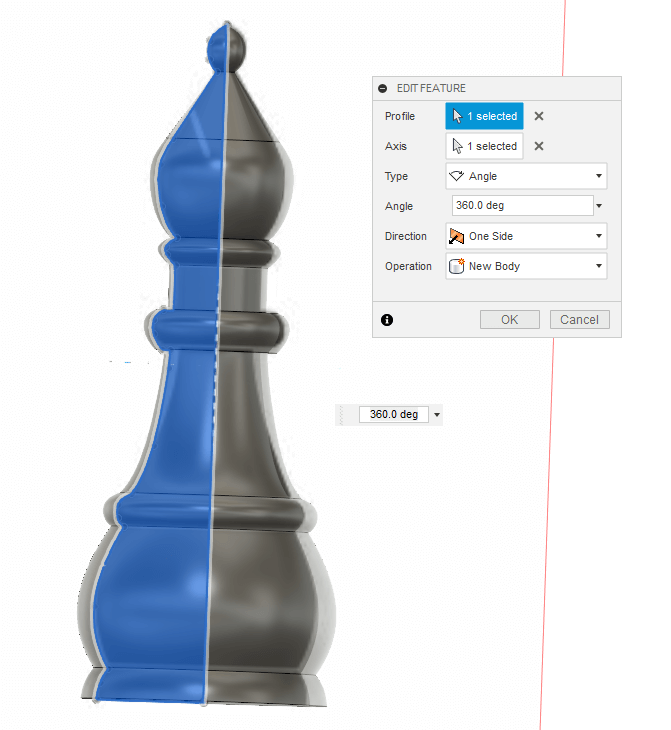
When you go into create->revolve a new window ask you to choose a sketch to revolve around a specified axis to as specified angle.
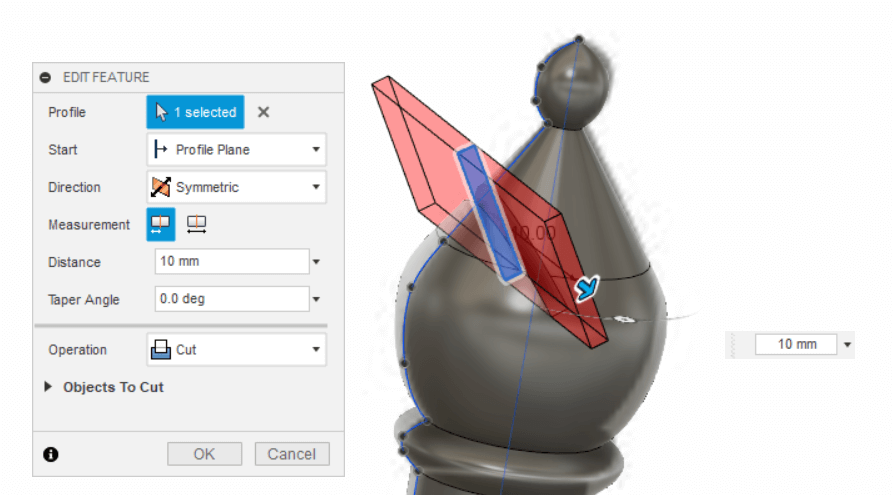
The last step is to create the notch into the bishop head. It can be done thanks to rectangle based extrusion that is cutted out of the bishop.
The final piece can now be exported into Cura through the Make->3D print option accessible into fusion360.
The final file can be accessed here.
Printing the bishop
Like the test object I kept the recommended parameters into Cura. The Gcode can be downloaded here.
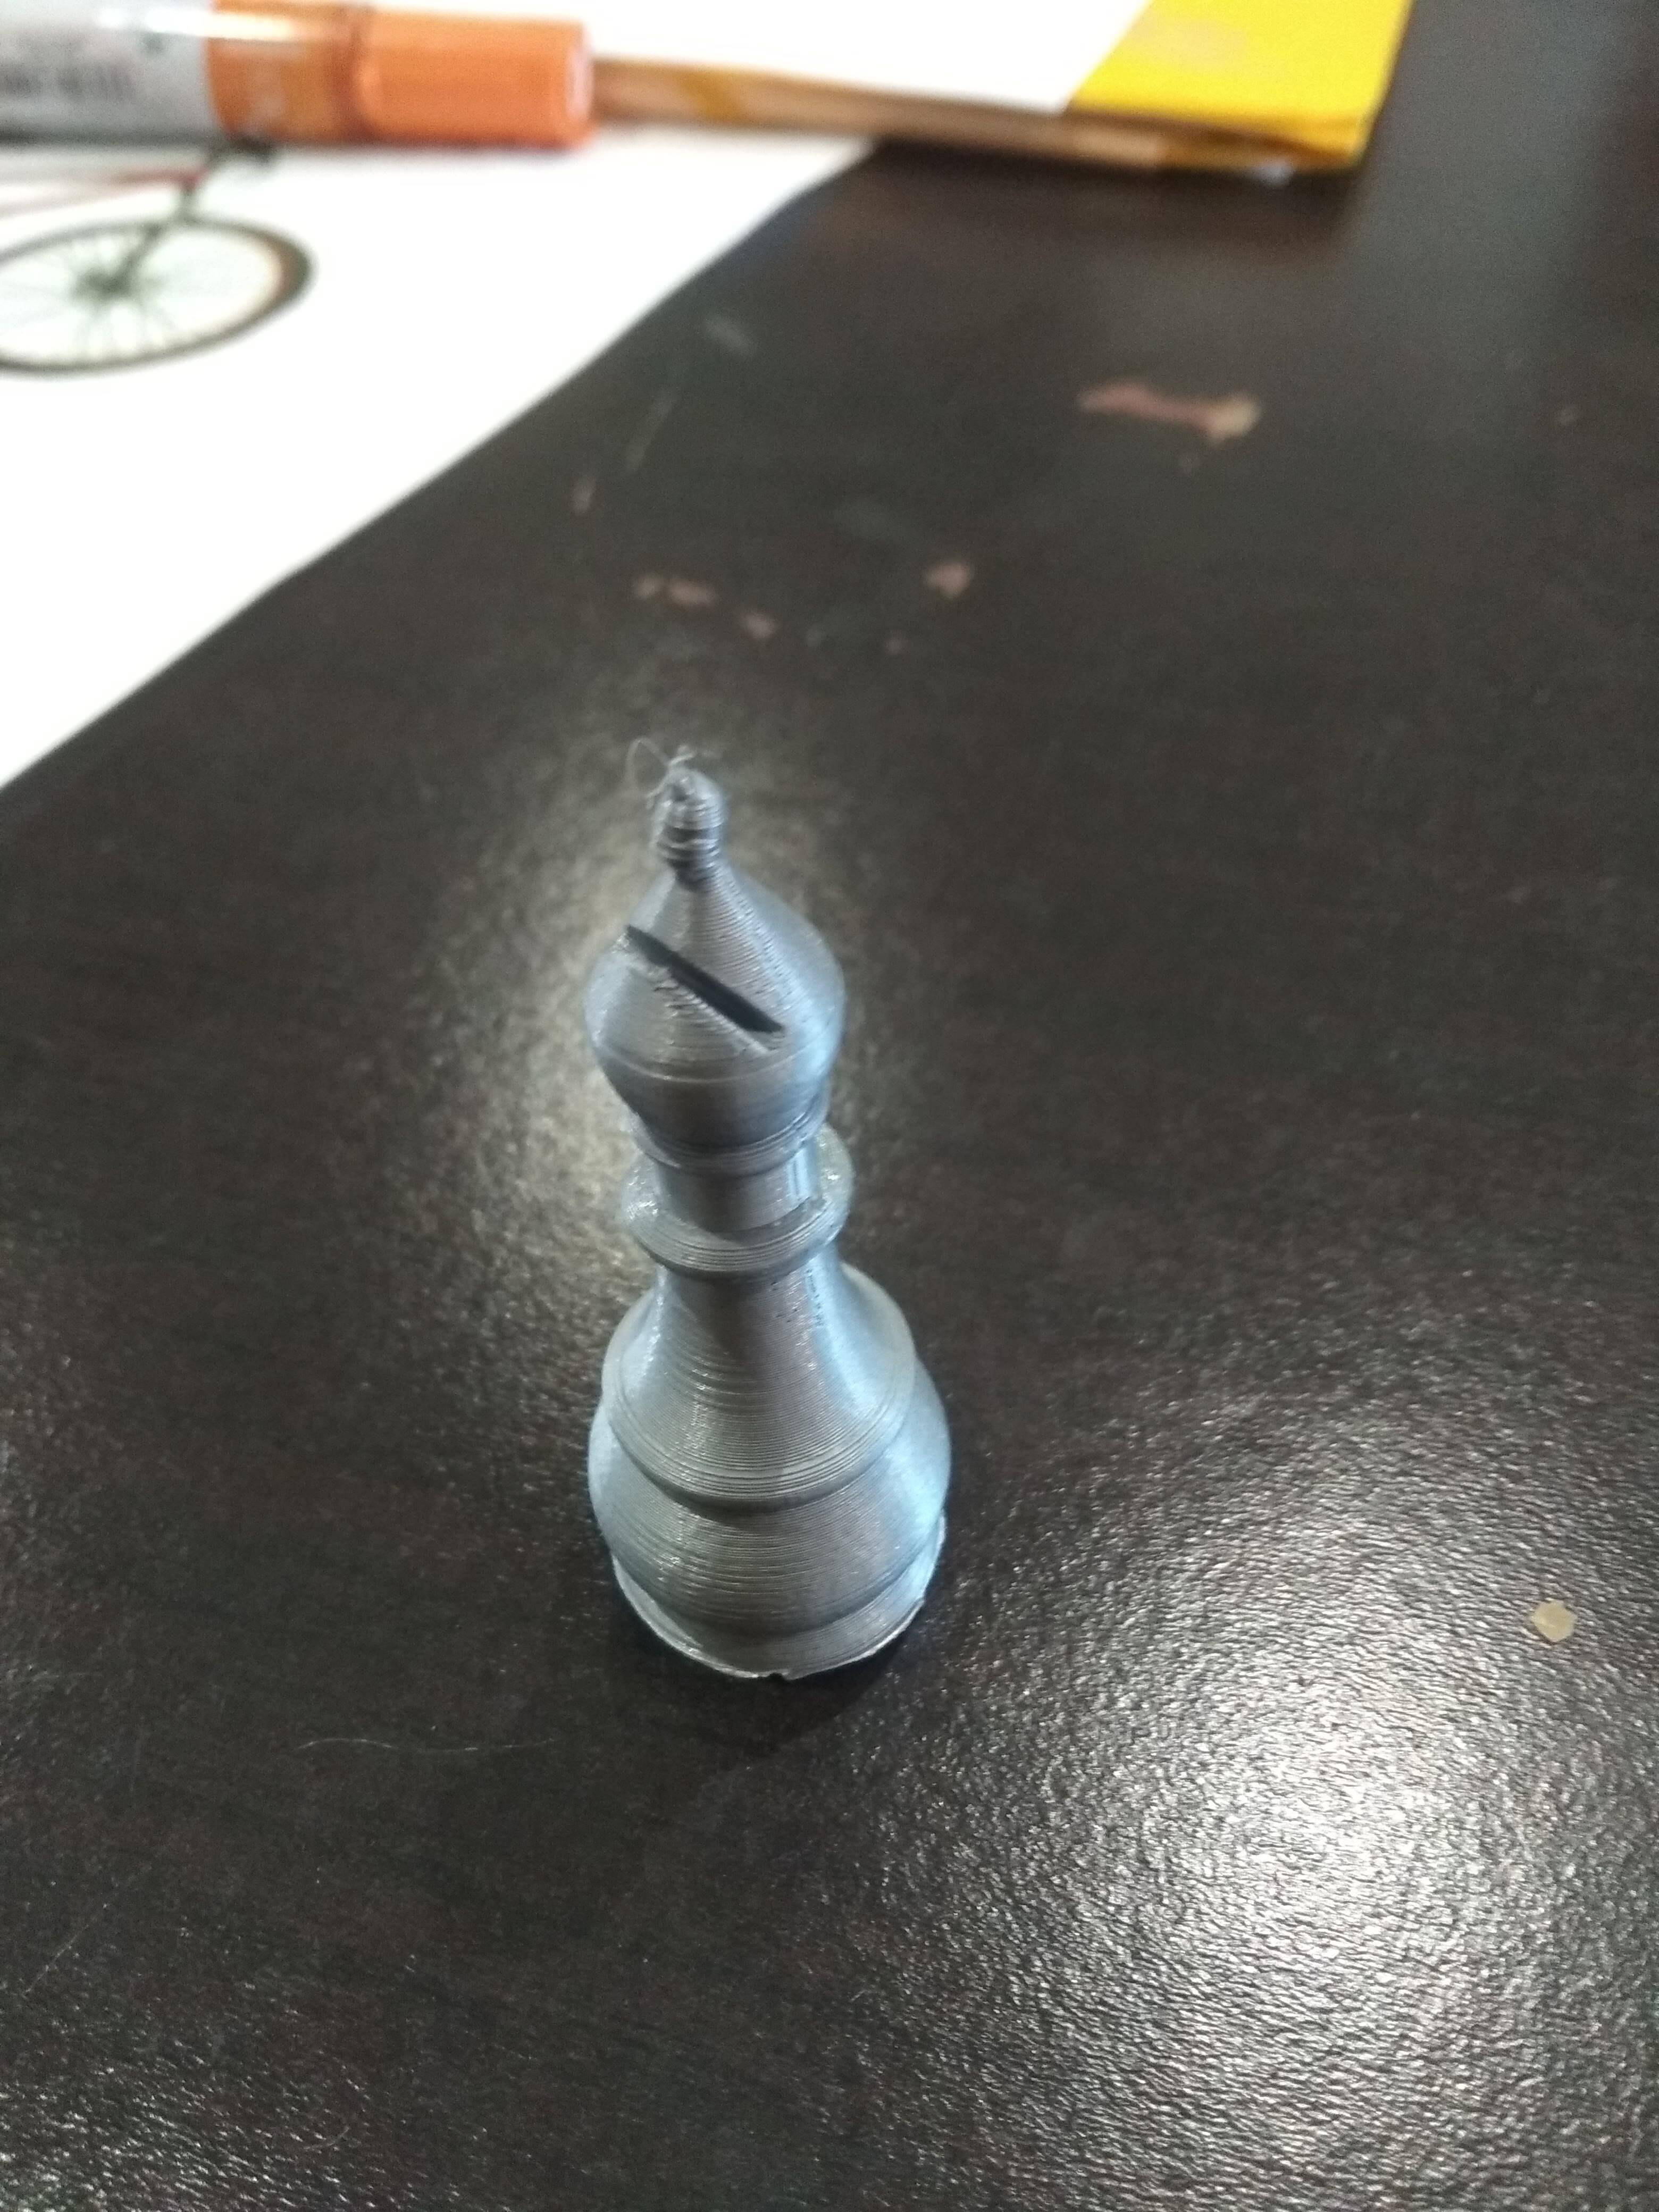
I am satisfied enough by the result that can be seen on the picture below. The top part is a little bit small to be printed correctly.
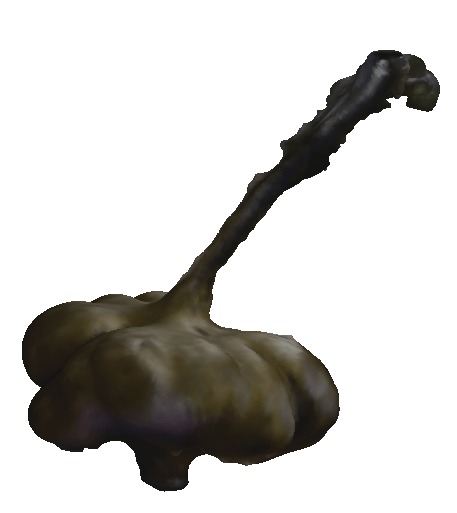
My 3D scan object
Leaving in French Guyana I first wanted to scan a pineapple. But it is hard to find some in this season. My colleague gave me the idea to scan a "chataigne d'eau" which is a root tuber. Not very beautifull but with an interesting shape complexity and still a nice taste :).
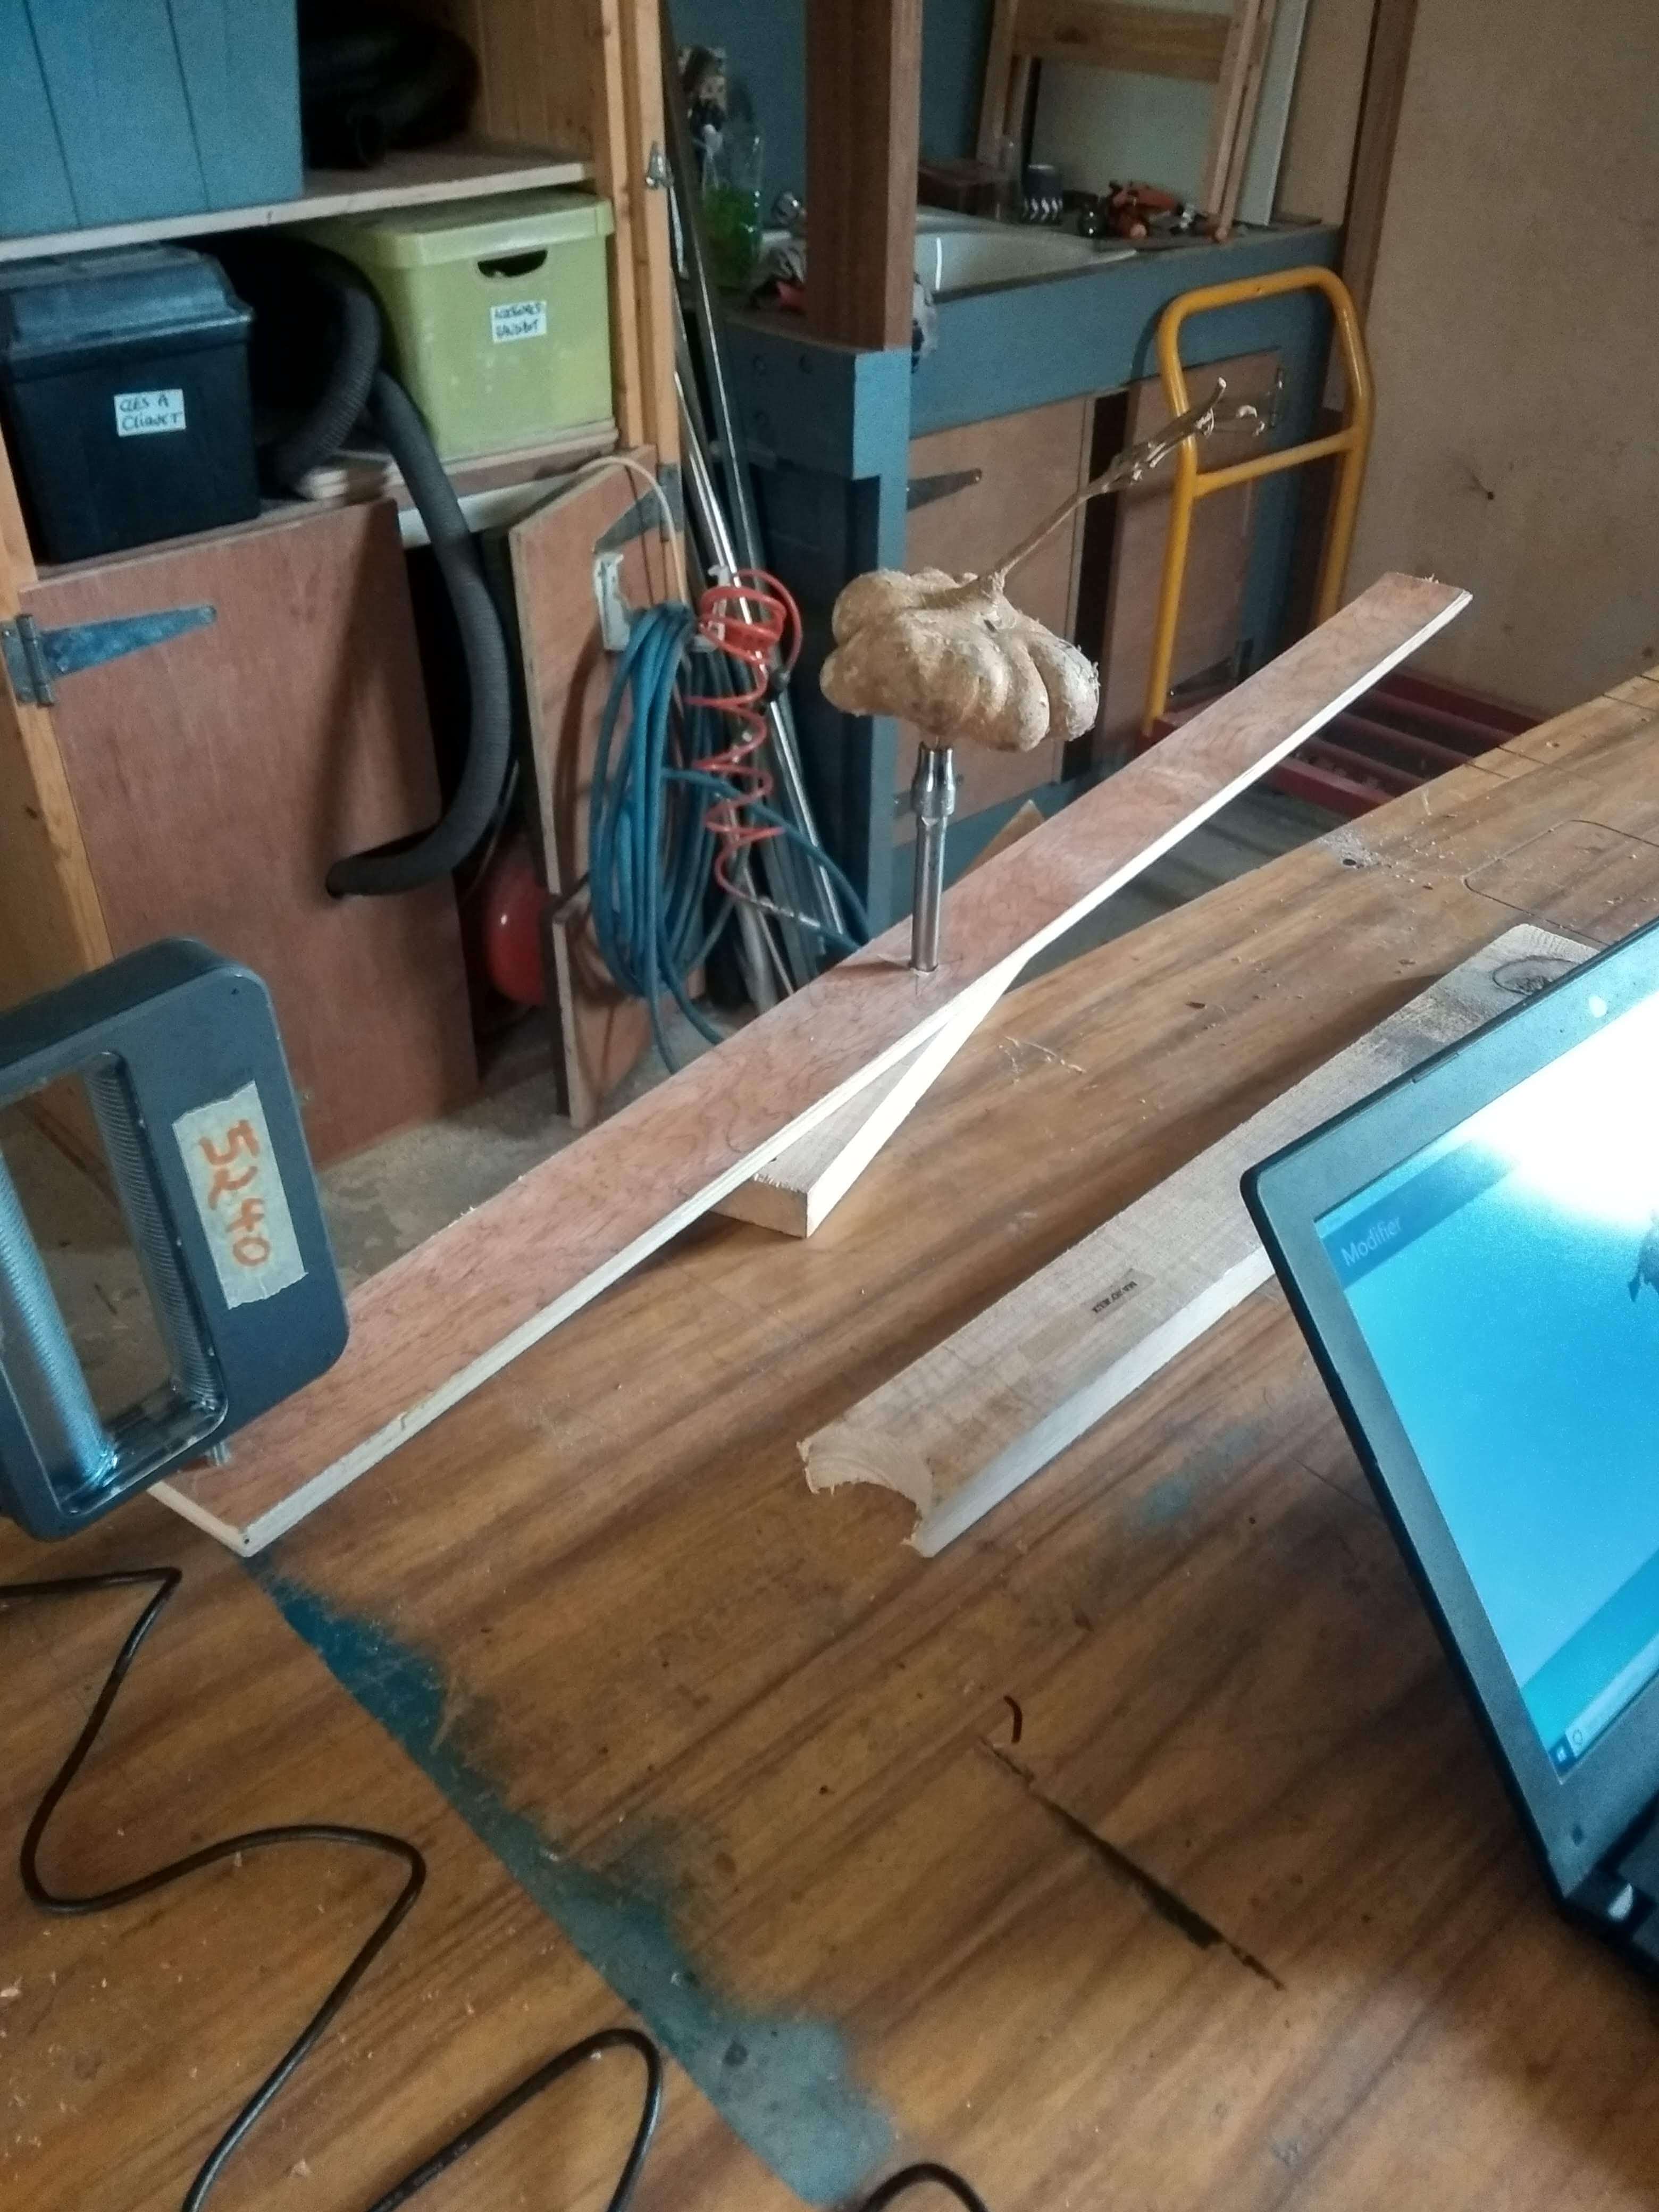
Scanning installation
Our 3D scanner is a 3ds sense. It is recommanded to be about 15cm from the object. Then we have to turn around in the most stable way as possible so I build a small installation that you can see on the picture below.
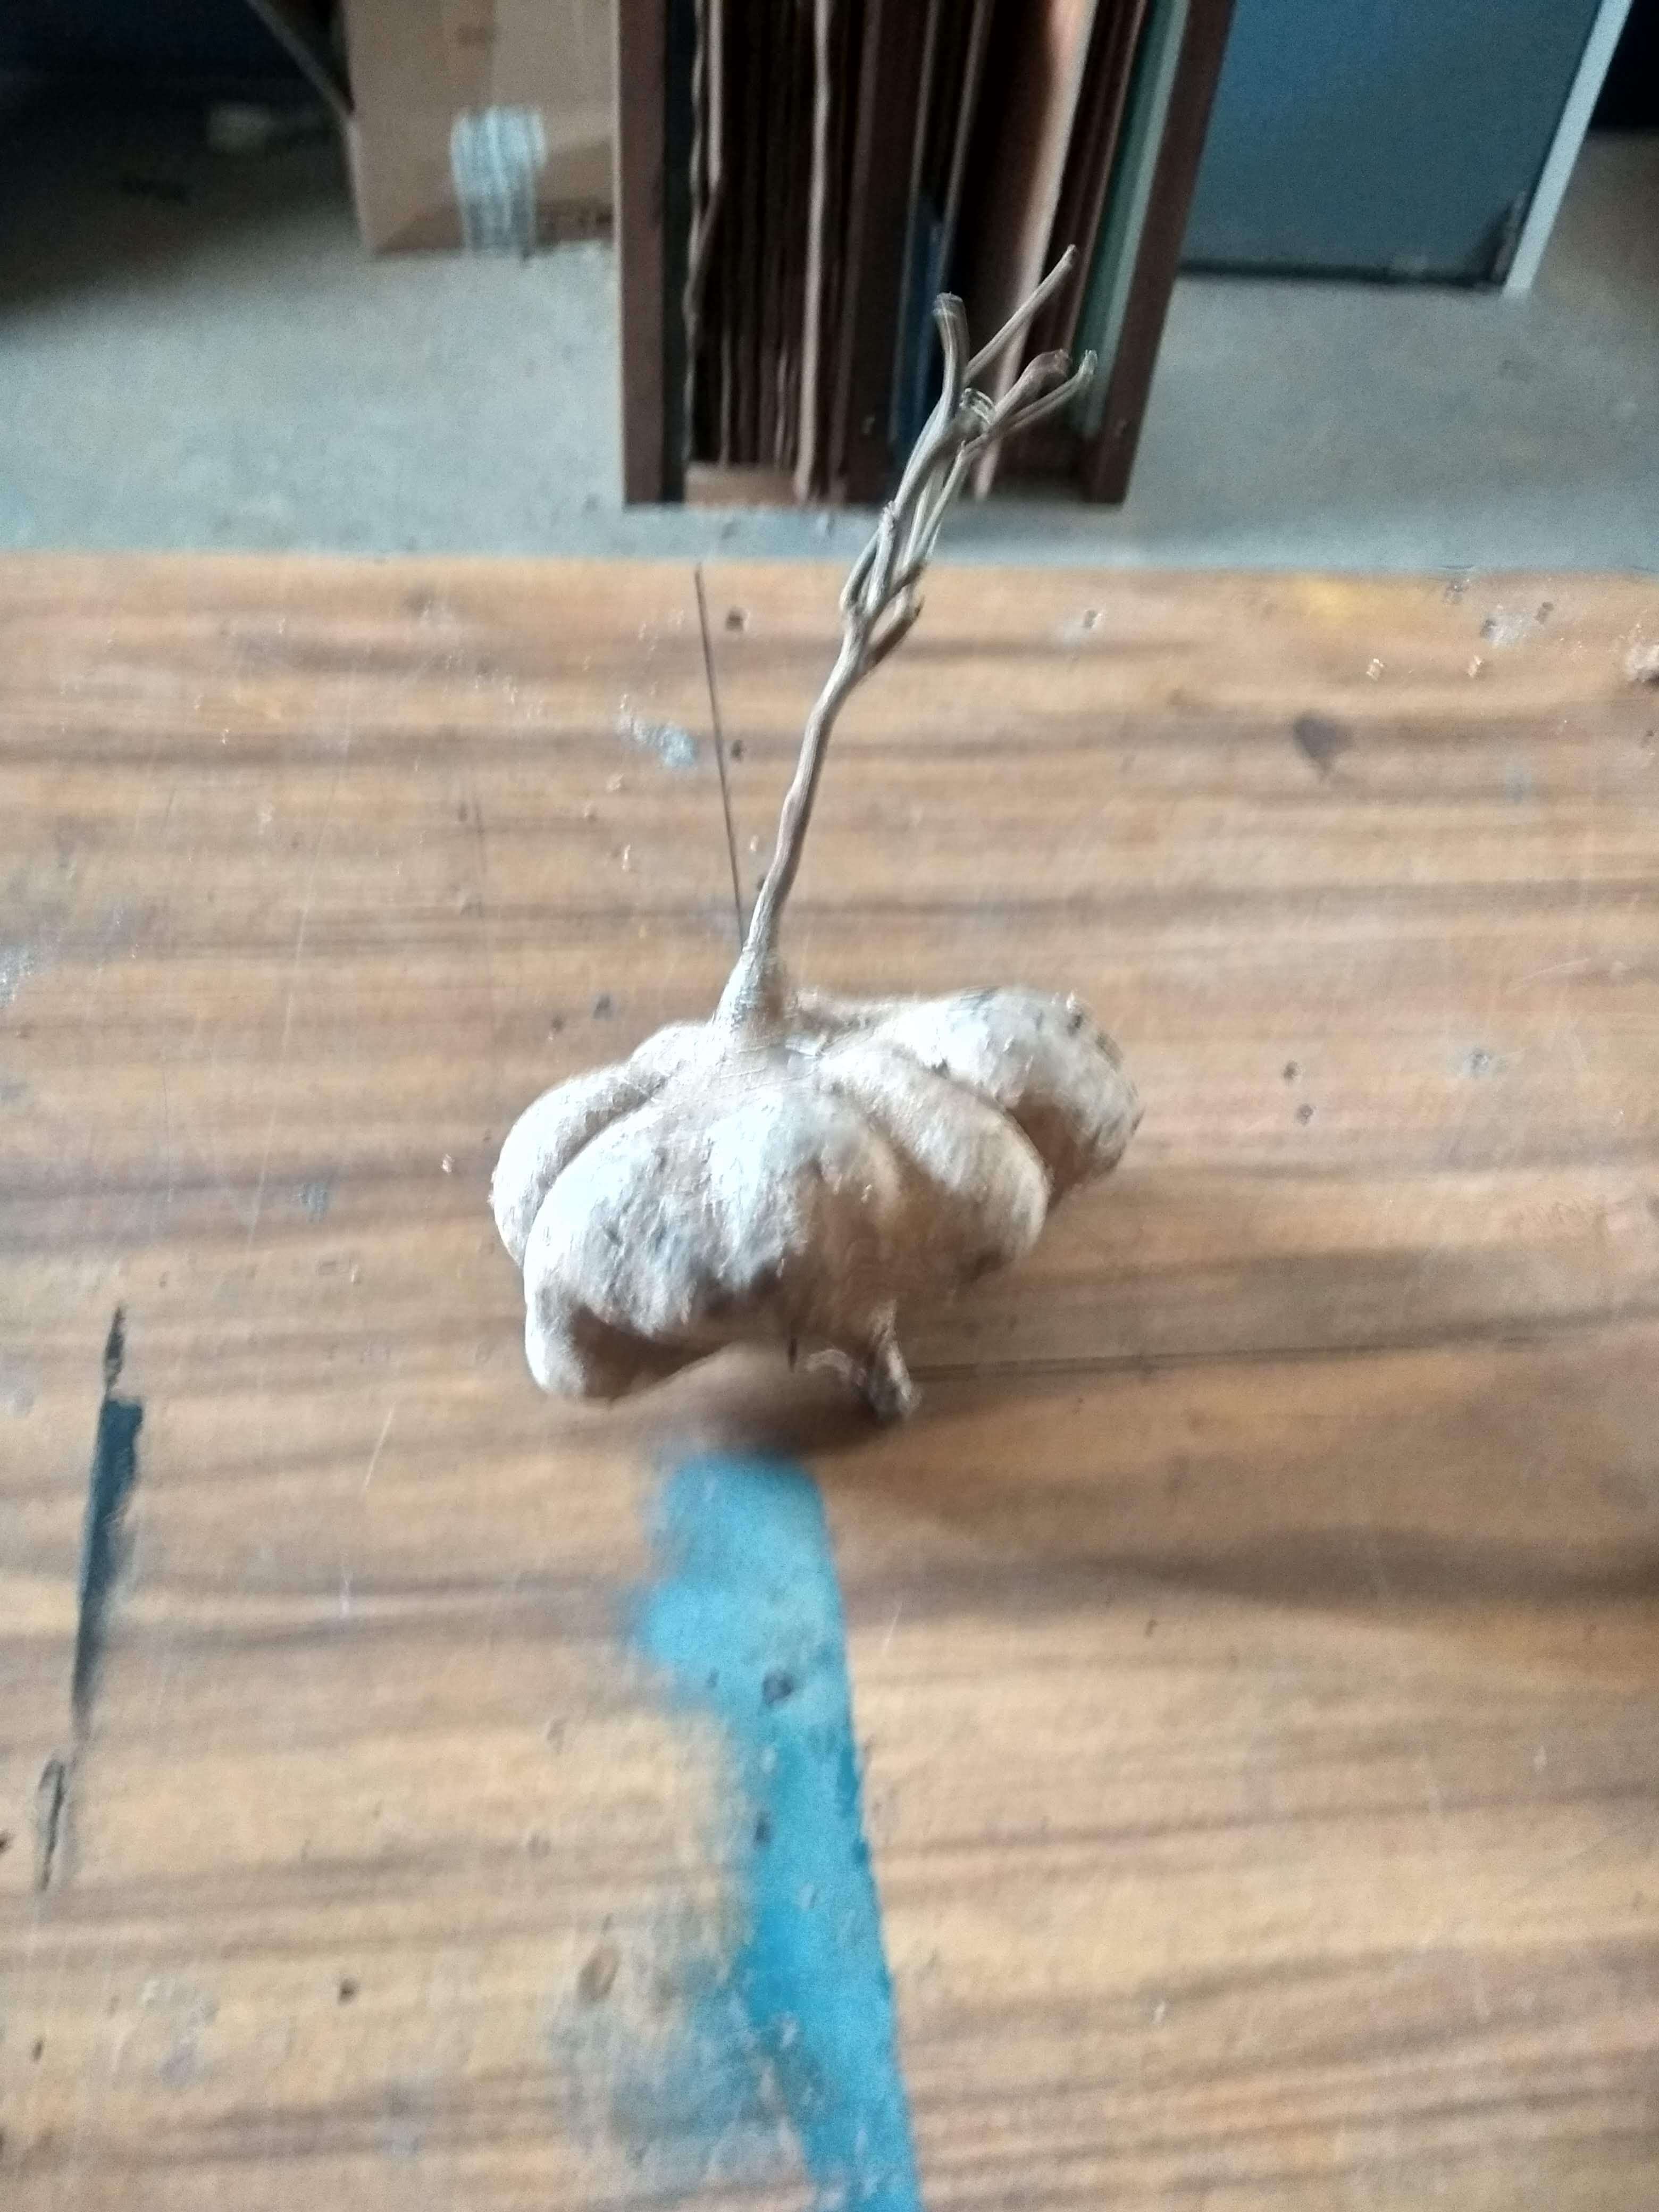
The scan result
It was the first time I used the scanner and I was pretty impressed by the result. I won't neglect that tool in futur projects. The picture below show the result and I uploaded the stl file into fusion360 to make it accessible here.
Only the branch on the top part was to small to be scanned.