
Week 6: 3D Scanning and Printing
Objectives
Learning Outcome
First we did group assignment which was to test the design rules for 3D printer explained in portion of group assignment. Later I did my individual assignment which was to design and print any object which must be an additive design therefore I searched alot using google and fab academy search engine just to have idea of additive designs. I tried to design equation driven designs at first which is explained in an individual assignment section.
Group Assignment
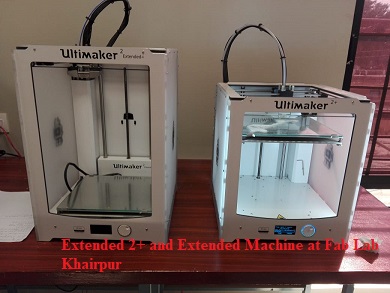
Ultimakers we used for 3D printing at Fab Lab Khairpur
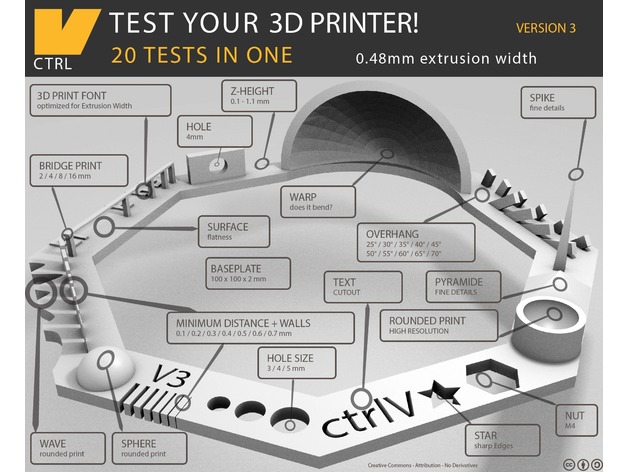
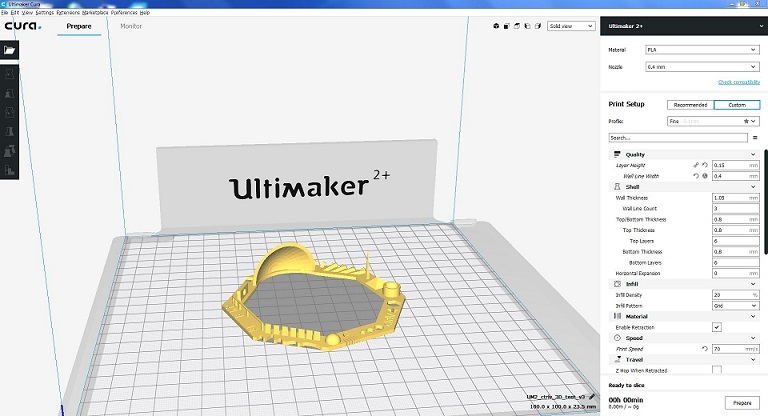
Initially we considered two designs from thingivers for group assignment of which one is shown below. Later we opened one of the design in cura software and proceeded step by step. All of the steps are explained below.
Steps for cura software
Observations
Individual Assignment
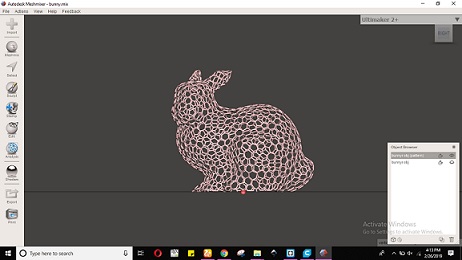
The First individual task was to design an additive design in software like solidworks to print in 3d printer. For that I tried to search different additive designs like interwined or interlocked objects in thingivers. Initially I tried to design equation driven objects like cool trefoil bracelets etc. The output is shown below in gif. Later I wanted to design a voronai design for example any sphere inside sphere or any animal like rabbit for that I found meshmixer software which should have ability of meshing at ease. I tried to design a voronai rabbit in meshmixer which looks like below under captioned image voronai rabbit..
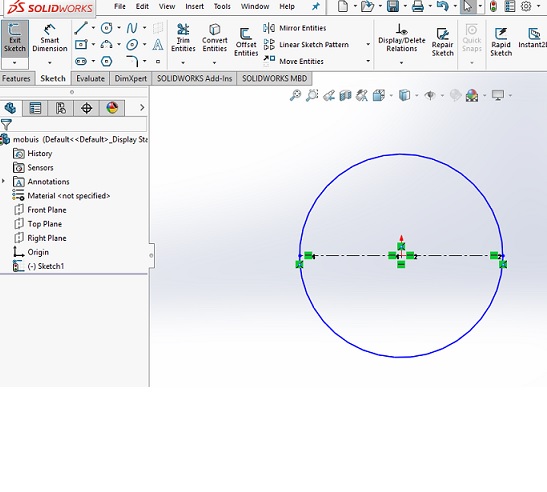
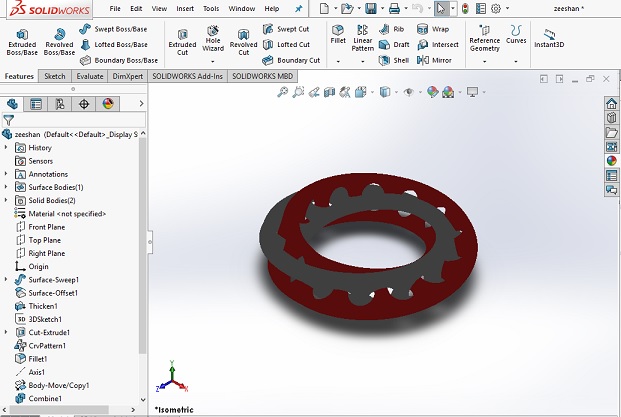
Later I decide to make cool double mobius interwined bracelet in software solidworks which is explained step by step.
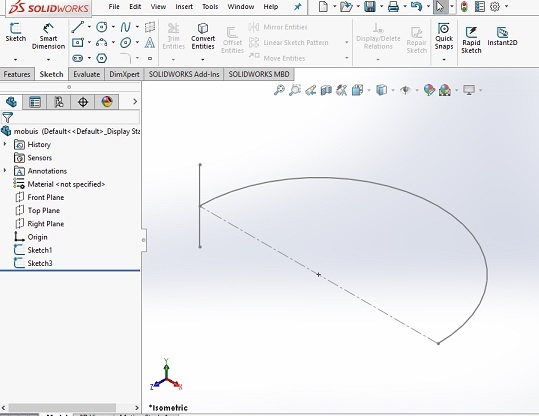
Step: 01 Choose front plane and create a circle with imaginary line crossing center of circle. The below image shows the drawn circle
Step: 02 By using command trim entities cut the semi circle below the imaginary line.

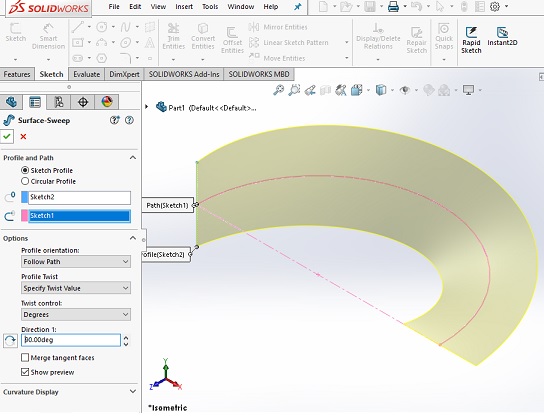
Step: 03 Choose isometric mode then choose top plane and draw a simple line of 30mm beside circle and make it coincident to semi circle.
Step: 04 Use surface sweep command and choose line as sketch one and semi circle as sketch two.
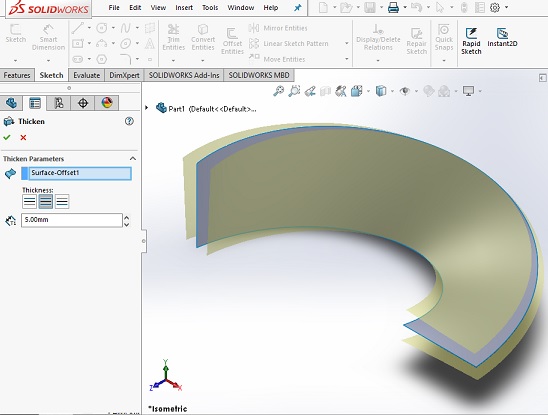
Step: 05 Use surface offset command and make thickness equal to 5mm.
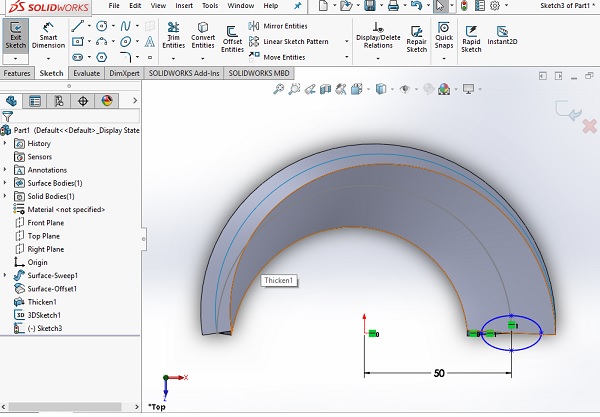
Step: 06 Select top view and draw an ellipsoid and make it coincident to center with center to center distance of 50mm.
Step: 07 Use command curve driven pattern in order to draw 8 ellipsoid later use command cut exrude in order to cut across the shape.
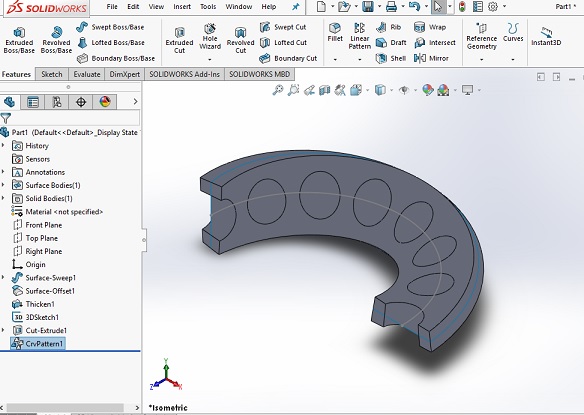
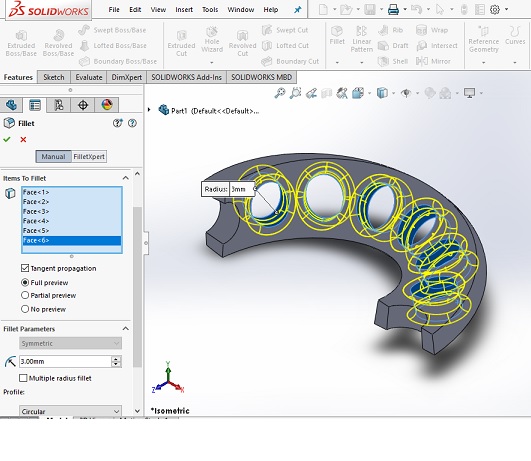
Step: 08 Use command fillet to make six circles curvey.
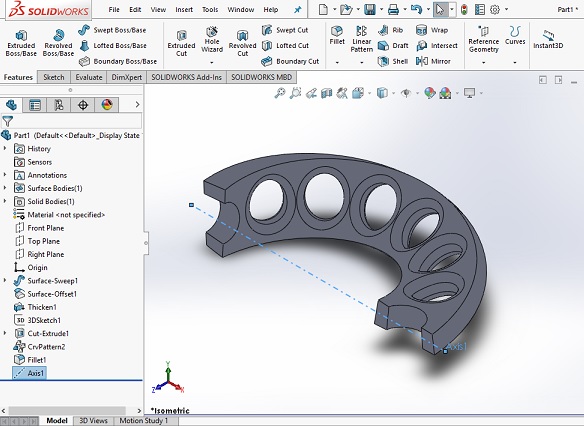
Step: 09 Goto geometry plane and chose plane axis and choose top and front plane to have axis besides the drawn shape.
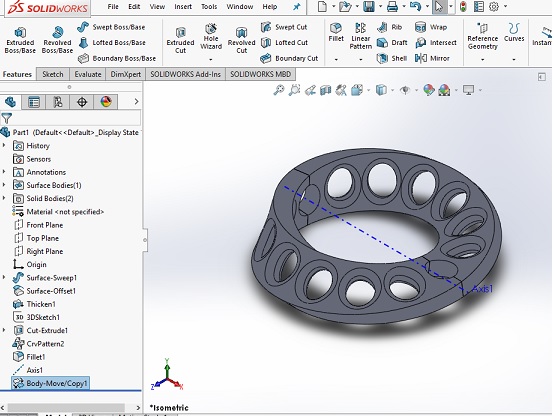
Step: 10 Use command body move and copy the selected item with phase difference of 180 degrees. Later use command combine in order to combine the both objects together.
Step: 11 Final Design ready to be exported as obj file for cura software.
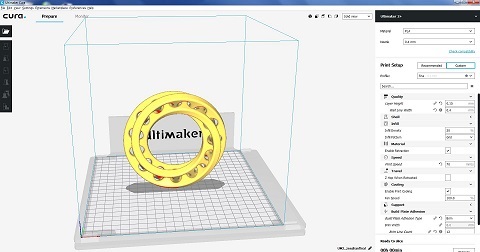
I repeated the above process of cura software in order to proceed for printing model.
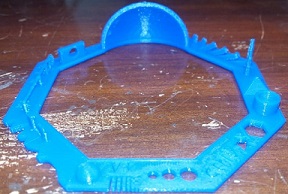
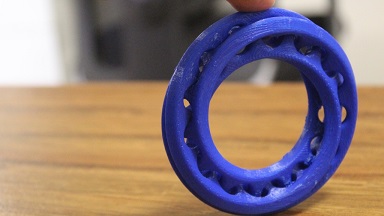
Final Output is shown below after printing has finished.
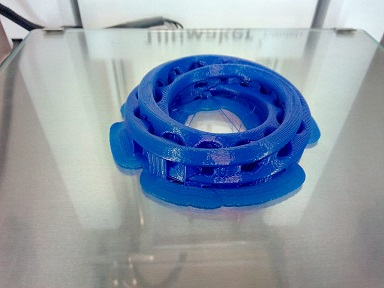
After spending 3 hours on removing support finally i got my bracelet as movable.
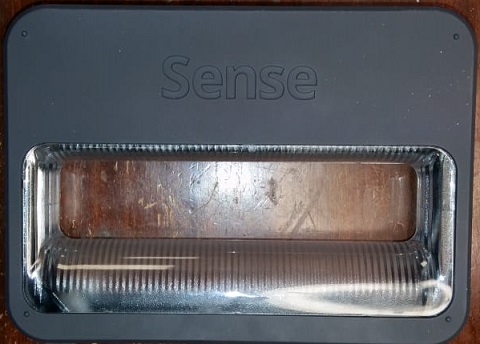
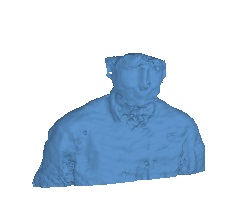
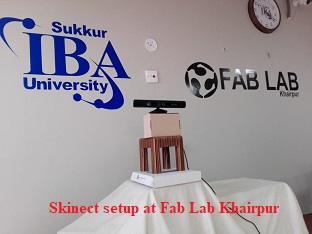
The Second assignment was to scan any object and print it (optionally) so we had two choises of scanners one from sense and other from skinect. Furthermore we also used android app like scan 3d , an icon shown below, which was providing it's premium services against 600 hundred pakistani rupees therefore we tried it's normal quality and got fine results but was unable to export it as any form of image like png image. After that we tried sense 3D scanner in which we had very bad experience of scanning ourselves at first moments but with spanding few hours we became little bit experts and got good results. Many things matters in 3D scanning like colors, type of 3d scanning and definitely your experience of scanning. In order to have accurate and good results we introduced background color black and placed our sense scanner on camera stand just to have a accurate angle. After lots of tries we got fine results which can be seen below.

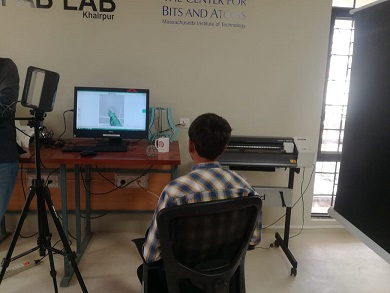
Finally I used Skanect scanner for that it was mandatory to have some basic knowledge of skanect scanner so I watched few tutorials at first. In order to get scanned there are few steps which need to be followed.
.gif)