Week 2: Project Managment
Objectives
Learning Outcome
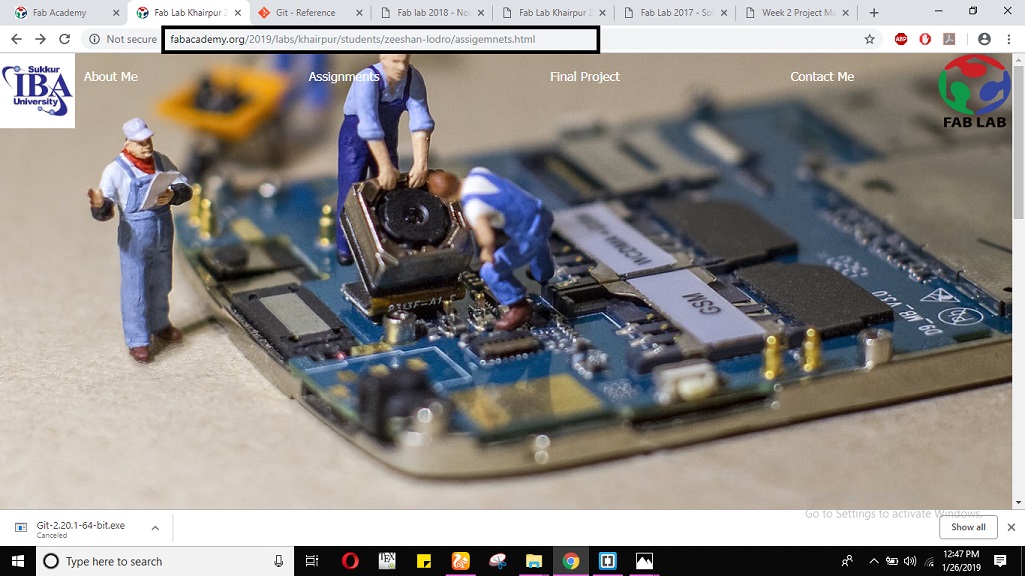
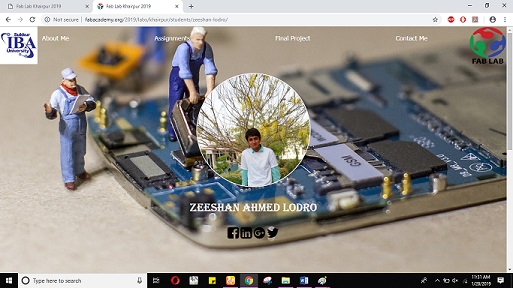
In second week my task was to design a personal website which should describe myself, weekly progress and final project. In order to design a dynamic website I searched for website designing using Html and found some good deigning tools as given below
Tutorials for learning Html, Javascript and CSS
Some useful Compilers for website
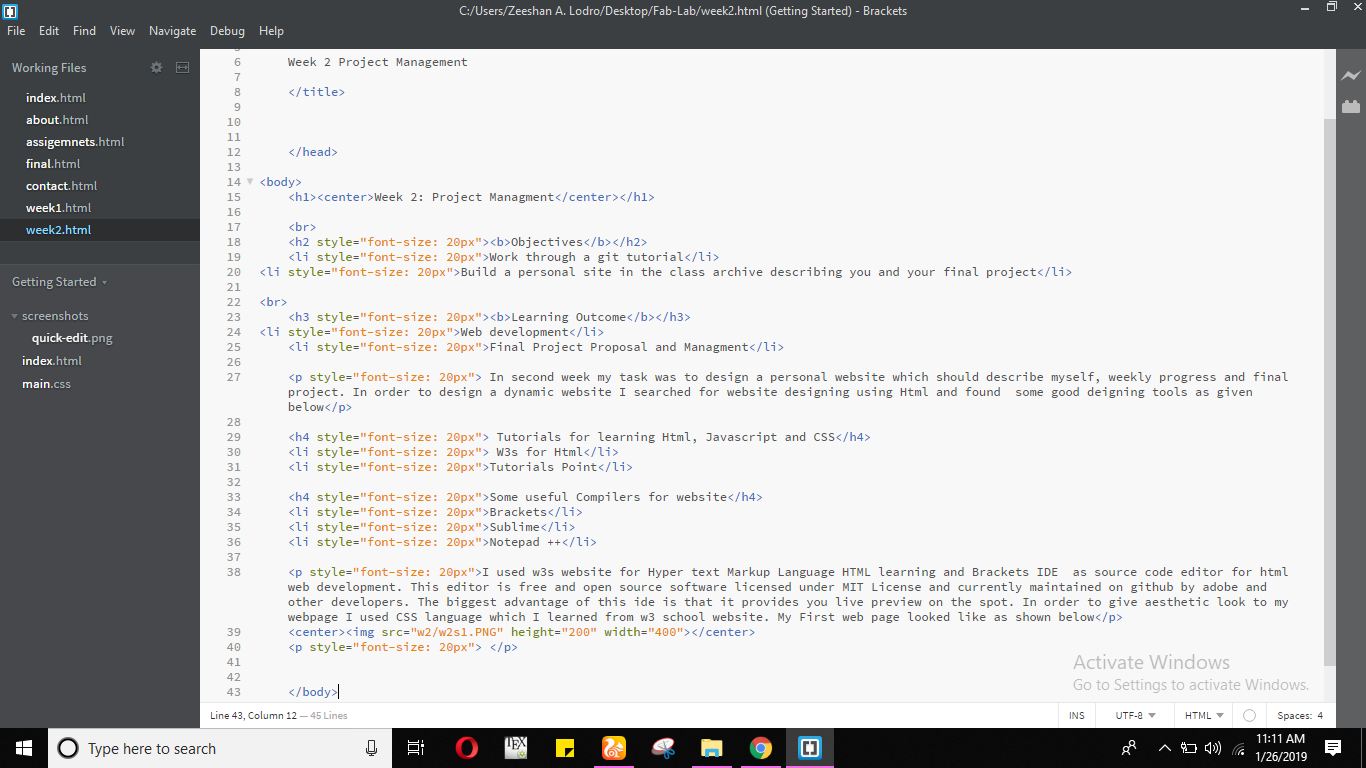
I used w3s website for Hyper text Markup Language HTML learning and Brackets IDE as source code editor for html web development. This editor is free and open source software licensed under MIT License and currently maintained on github by adobe and other developers. The biggest advantage of this ide is that it provides you live preview on the spot. In order to give aesthetic look to my webpage I used CSS language which I learned from w3 school website. My First web page looked like as shown below
⇒ The html language snapshot behind this web development is shown below
Uploading Website using Github
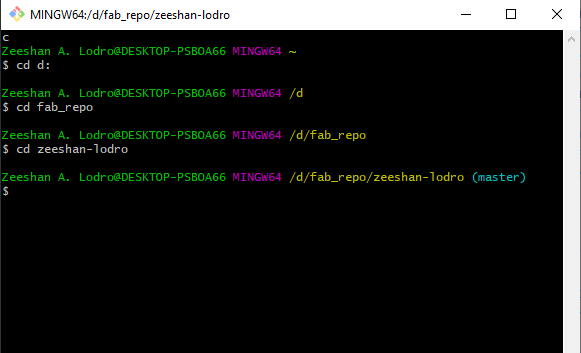
Firstly I watched tutorial of github Thereafter I followed the procedure step by step as given below.
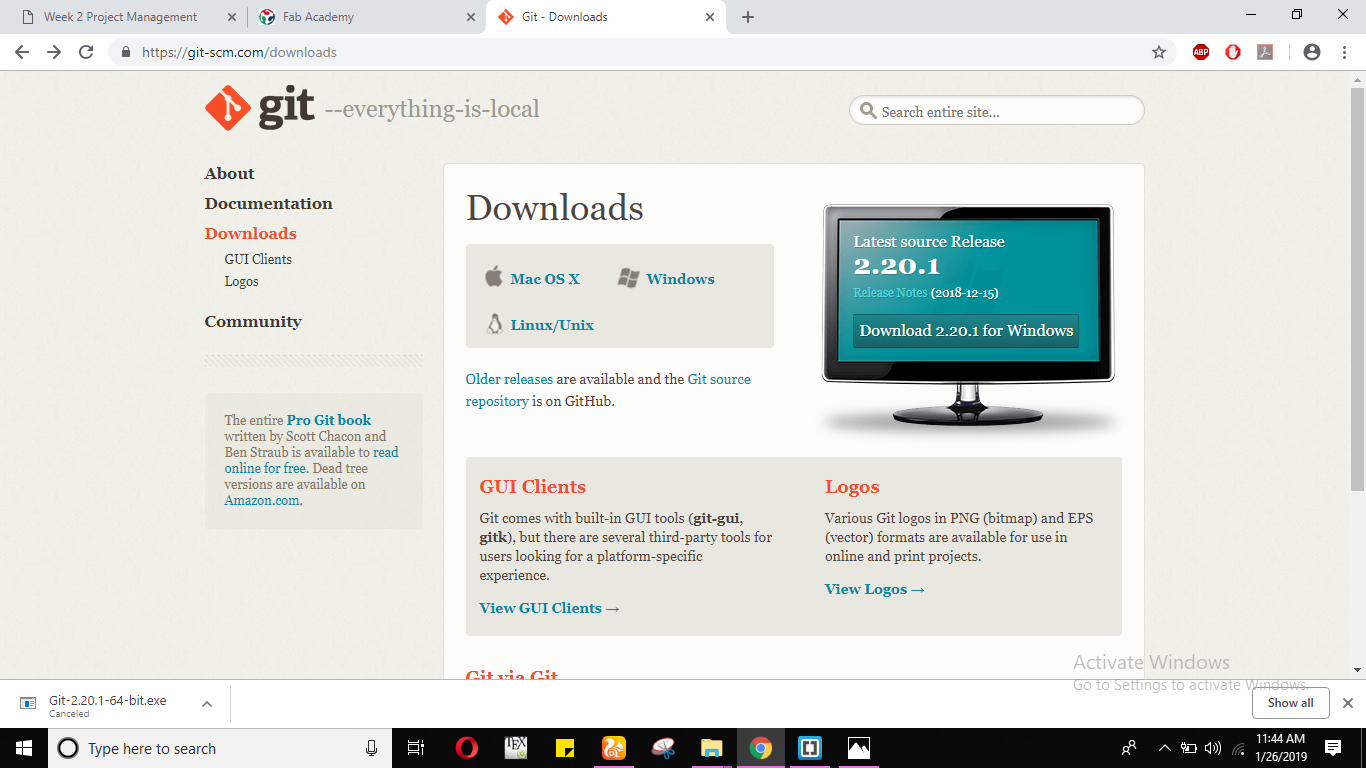
Step 1: The Primary step is to download a gitbash using website.
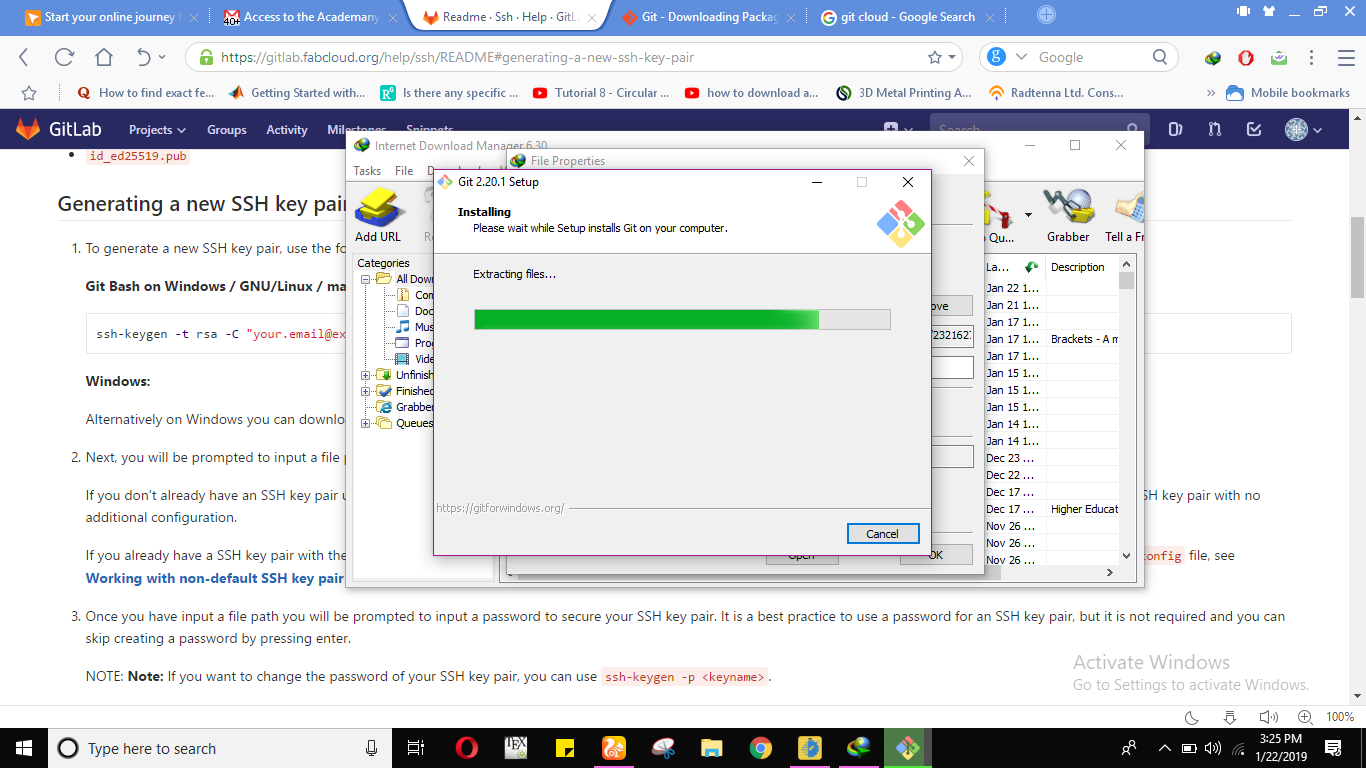
Step 2: Install a Gitbash.
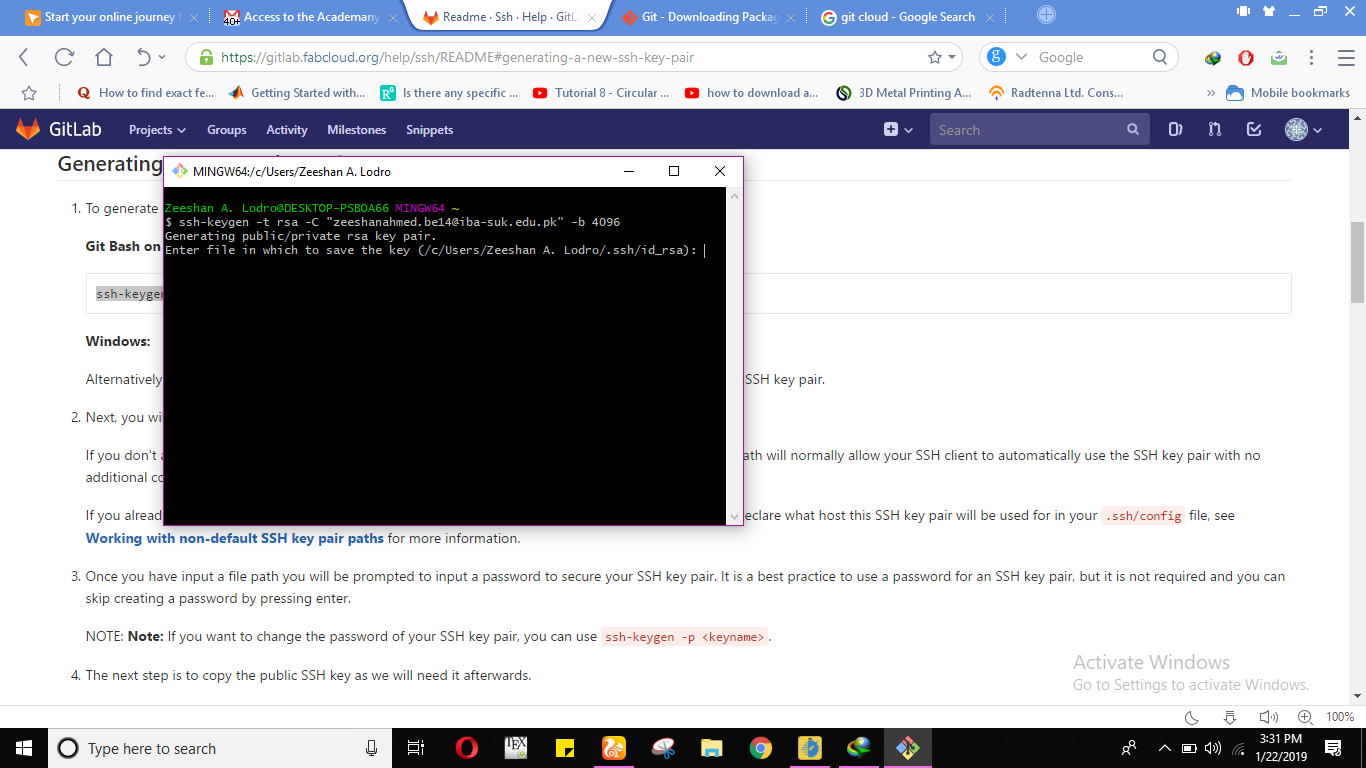
Step 3: Generate an SSH key and Paste to fabcloud.
In order to generate an ssh key there are few steps which need to be followed. First one is that you should copy the given command to git bash run: ssh-keygen -t rsa -C "your_email@example.com" after entering that command you will get prompt like given below. In that prompt you will be asked to enter file in which to save the key.
⇒ After entering key the terminal will give you acknowledment that your identification and public key has been saved in given file which can be seen below
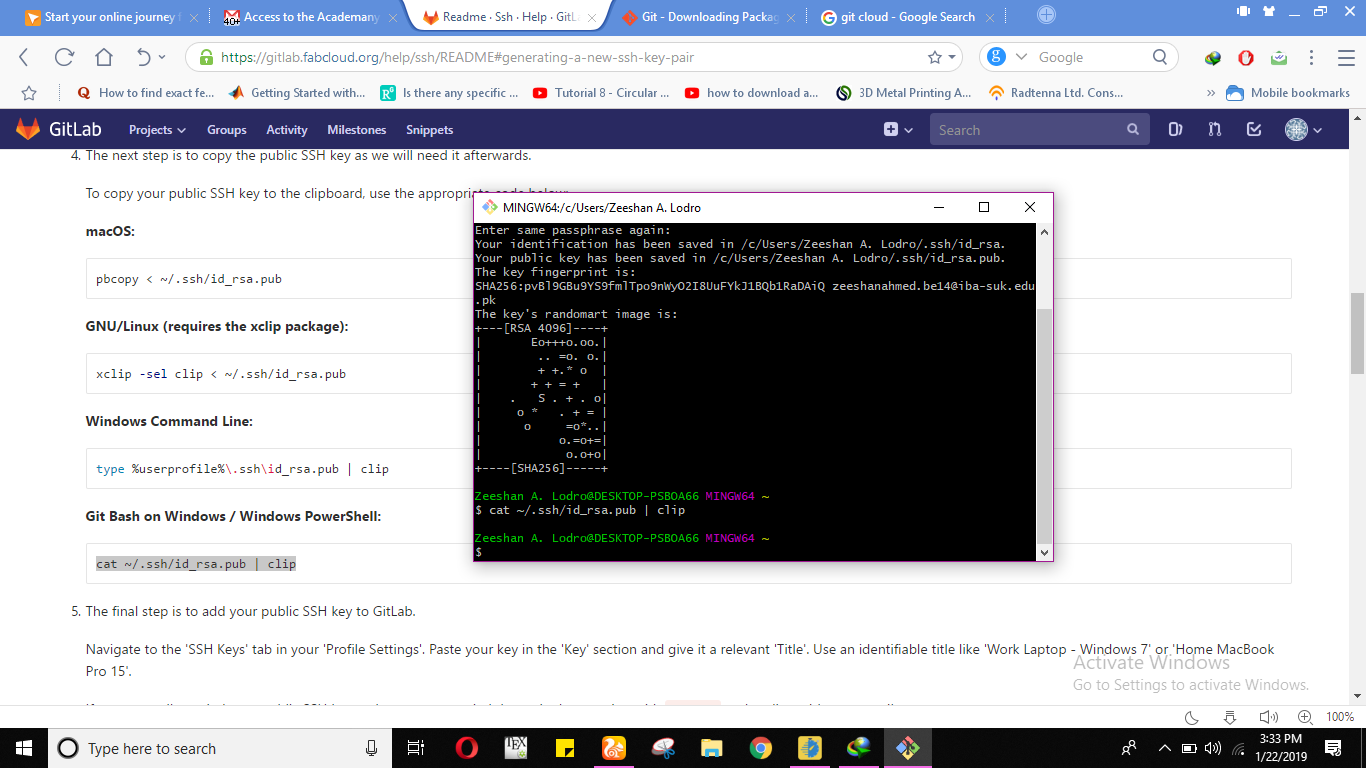
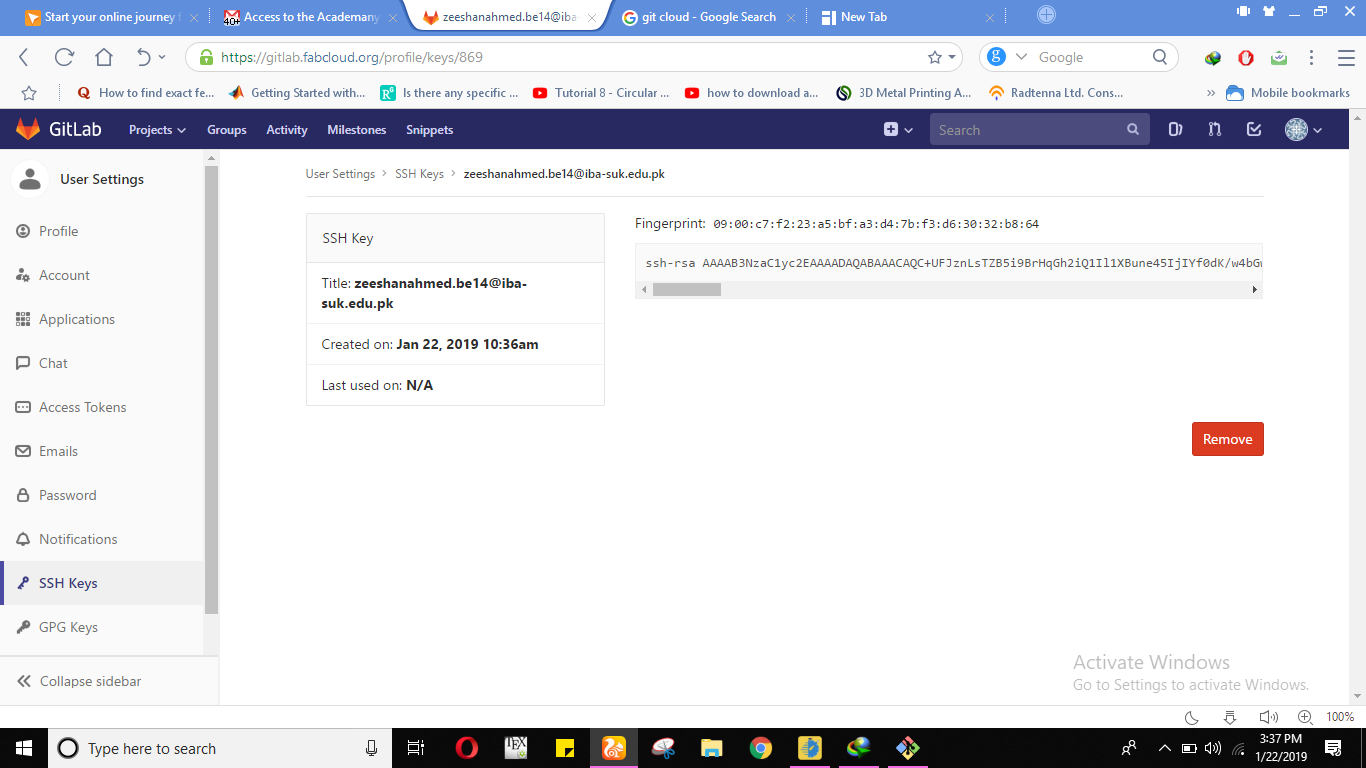
⇒ Copy your public key with this command cat ~/ssh/id_rsa.pub | clip because we need this afterwards. The next step is to add your public SSH key to Git Lab, in order to add your public ssh key to git lab navigate to SSH keys tab in your profile settings. Paste your key in the key section and give it a relevant title. This could be seen below that I have copied the public key and pasted to git lab.
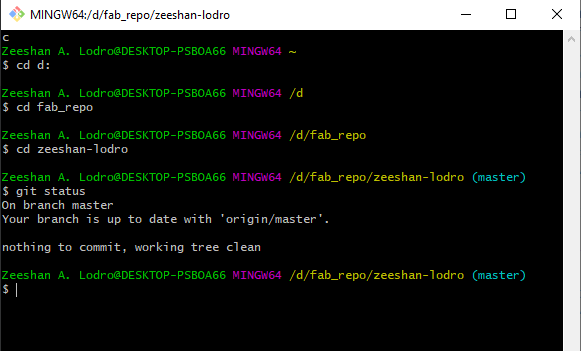
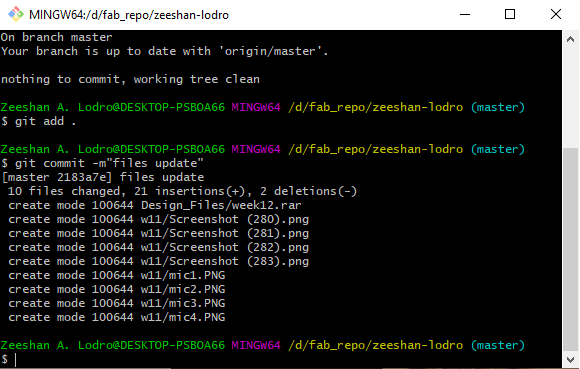
Step 4: At the end we have to use some commands to upload the website in fab academy class archive 2019. That's it.
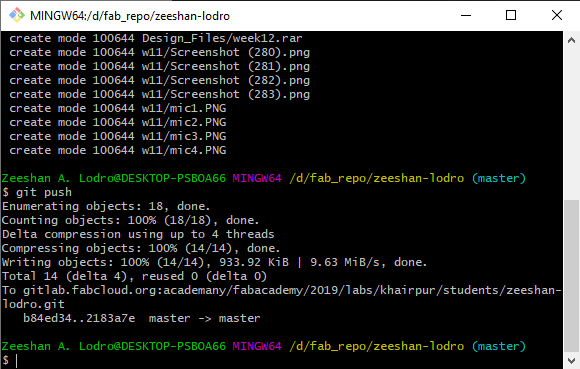
⇒ After this my web is live now as seen below.