Week 18: Wild Card Week
Group Assignment
Individual Assignment
Group Assignment
In this week of group assignment we have to produce some coupans for that we are making a test design like simple curvy shape in solidworks. We saved the design file as .stl file and generated the tool path in Vcarve software. All of the steps for making the composite are given below and also illustrated through pics. Initially, a new Vcare file was opened and the dimensions were set according to the size of the designed model (222 x 101mm). Figure (a) shows vcarve setting for designed model however figure (b) shows the design preview after roughing and finishing. After generating the toolpaths we turned towards cnc shopbot which can be seen below in figure (c). After milling we proceeded further like we initially cut a jute material for specific design then we made resin material and mixed jute material after that we used breather and vacume which can be seen in figure (d). Finally the composite output can be seen below in figure (e).


Individual Assignment
This week has lot of possibilties like cooking, folding, robotics and composites. To cover up the assignment I chose composites track where I tried to find and design some curvy shapes like boomerang etc. Finally I decided to design egg tray in solidworks which I have explained step by step. In this week I had to use epoxy resin so before using that I read the saftey and technical data sheets. Basically we have two types of materials Part A and Part B, which are mixed to cover composite materials. If we talk about technical data sheet we should have to consider few points in mind like solution must be mixed with 2:1 quantity rigourasly upto 10 minutes until it starts heating. Furthermore the compares and contrast of saftey datasheets of part a and part b are given below in tabular form.
| Part A | Part B |
|---|---|
In this assignment I designed the egg tray in solidworks. Before designing the egg tray I googled about size of tray where I found as 4 inches width and 12 inches length for normal dozen sized egg tray. I also checked the egg size where I found it's avaerage length of 53.12 mm and width of 40.61 mm. Considering to egg and tray size I am designing a half dozen egg tray in solidworks 2016. At the first I made rectangular shape of size width 126mm and length of 160mm which can be seen in gif shown below. Since we have molding foam thickness of almost 38mm so I extruded the rectangular with thickness of 9mm. Now I made an ellips with offset of 5mm from length and 6mm from width. The width and length of ellipsed are set in such a way that egg fits well inside the elliptical shape. Since the full egg size is almost 53 mm so I considered the half egg size upto 29mm as extrusion of ellips. In order to replicate the shapes I used linear pattern command where I replicated 2x3 times which becomes 6. The designing process is shown below in gif form.

In order fabricate the design I need three files i-e roughing , finshing and outcut. So I proceeded with making an stl file from solidworks which is first step. The snapshot of stl file is shown below.

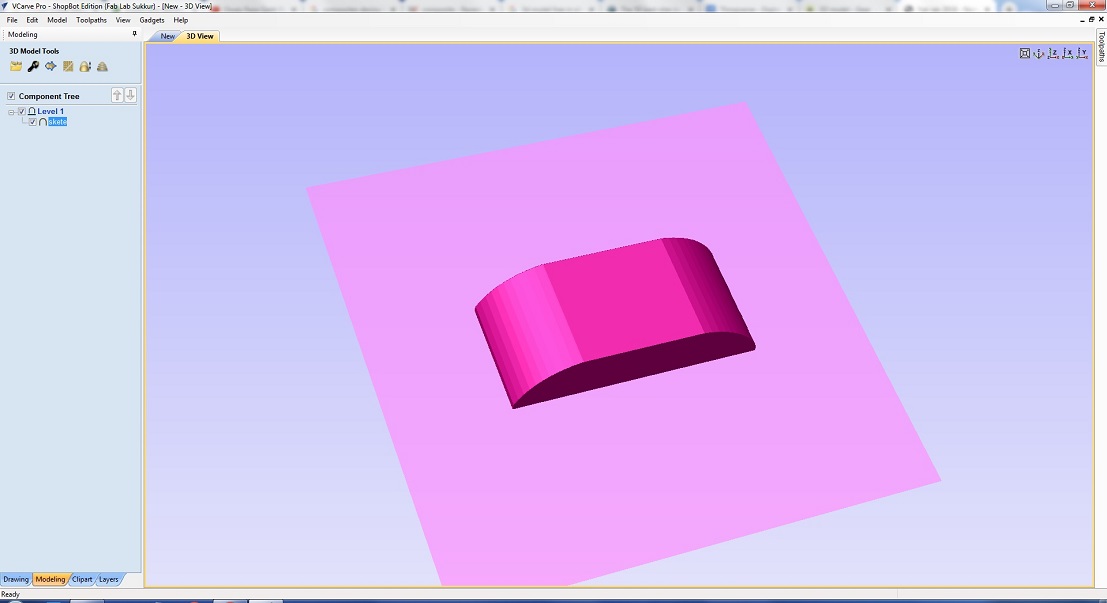
Now I have stl file which shall be imported to vCarve software which is used for tool path generation. Before importing the stl file I set few things like sheet size of foam I am using which should be sufficient for designed egg tray area. I made foam length to 400mm and width to 300mm which is enough for designed tray shown below in figure (a). Now I imported the stl file in vCarve software which can be seen below in figure (b). After importing the file I made few settings in toolpath generation section like material thickness to 38 mm and clearance to Z1 to 50mm. All of the setting is shown below.


I generted the toolpaths of roughing, finishing and outcut as shown in video
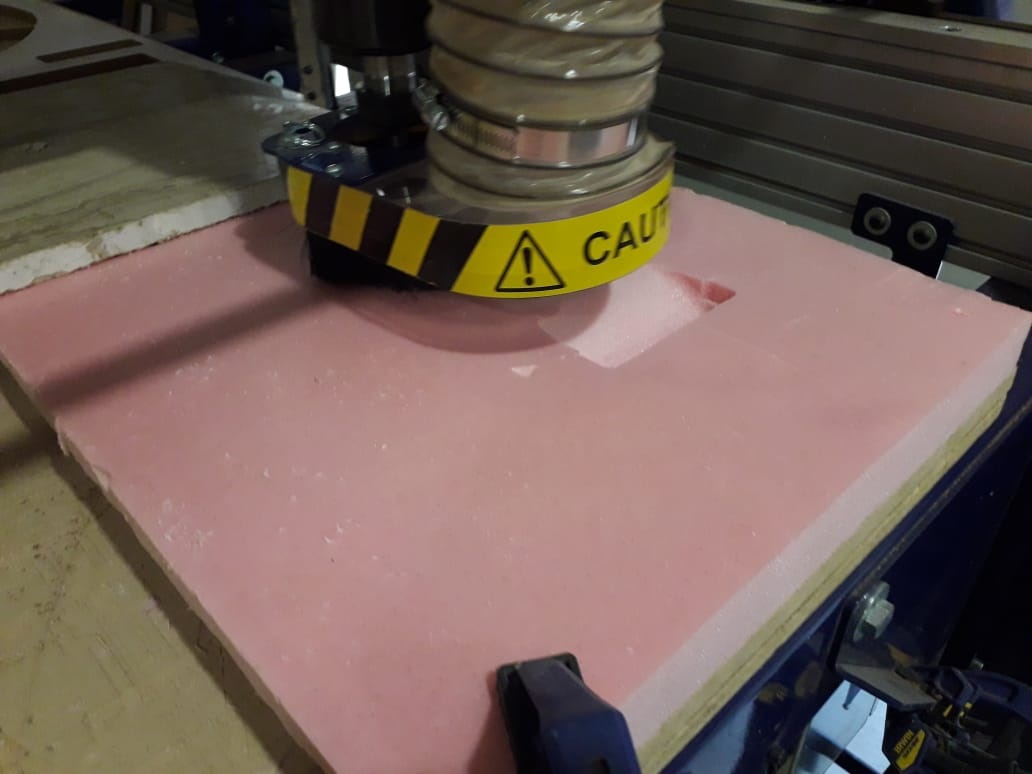
After generating the toolpaths I saved each file with names like roughing and finishing. Now it's time to go towards shopbot, the cnc machine where I set the foam on bedsheet of cnc machine and changed the type of bit used for roughing. I did similar process for finishing as well. The below given snapshot is the final output after roughing, and finsihing.

At this stage I learned some thing new like composite material (Jute) used for my assignment. I cut the two parts of my design size, one in rectangular shape and other with 45 degree angle. These both parts will be placed over in such a way that composite resin material should not flow towards foam design. Both of the Jute patches are shown below in figure

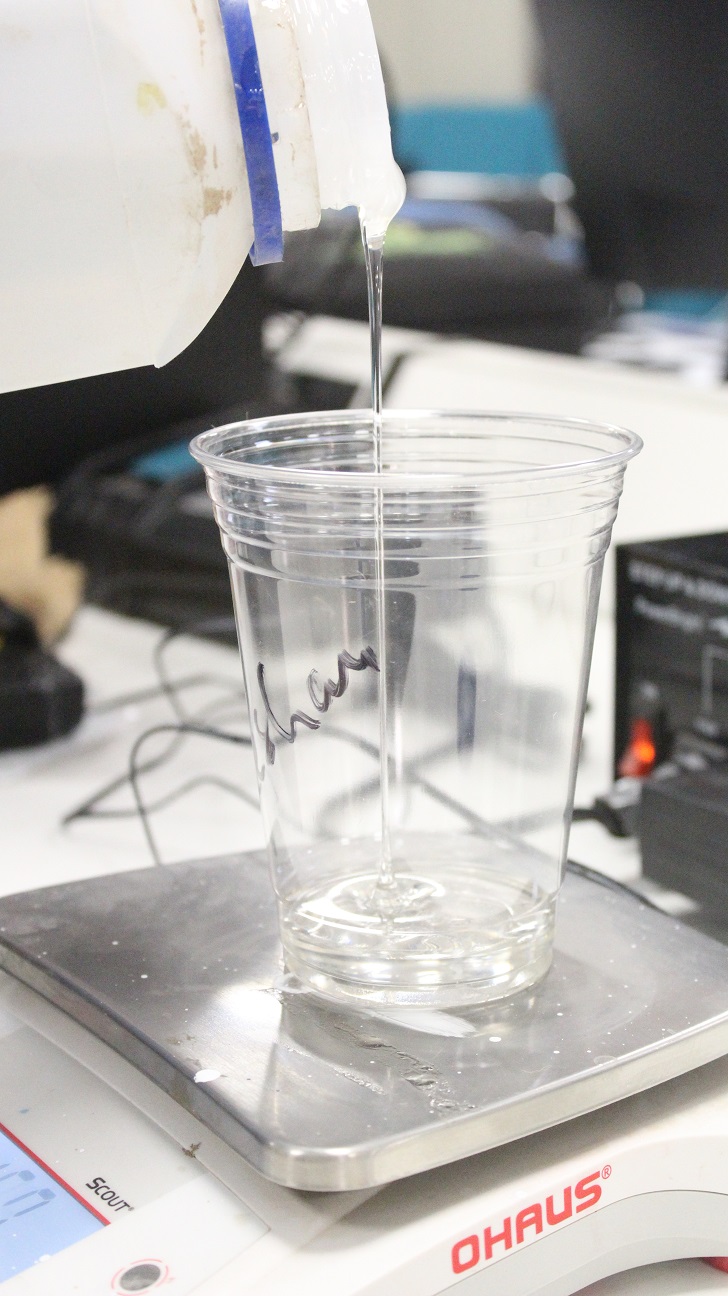
Now I prepared the resin material in same way as I did in molding and casting. Initially took a disposable plastic glass, gloves and stick. The cut parts are placed inside disposal glass shown below in figure (a) and weight is measured just to know the weight which shall help me to determine the mixing ratio of two materials. So I kept outside the jute patches and poured the material in quantity 0f 84 gram and 64 gram can be seen below in figure (b).


Now I mixed the material upto 10 minutes. After mixing too much it's heated enough that one can feel the heat of disposable glass. Now I put the jute inside the heated resin material and mixed until the jute was totally covered. The mixing of jute is shown in figure (a). Now took that outside and placed over the foam mold which is shown below. At this stage I tried to give it shape because it was difficult to get exact shape. Now I put food rapping sheet over the processed composite.


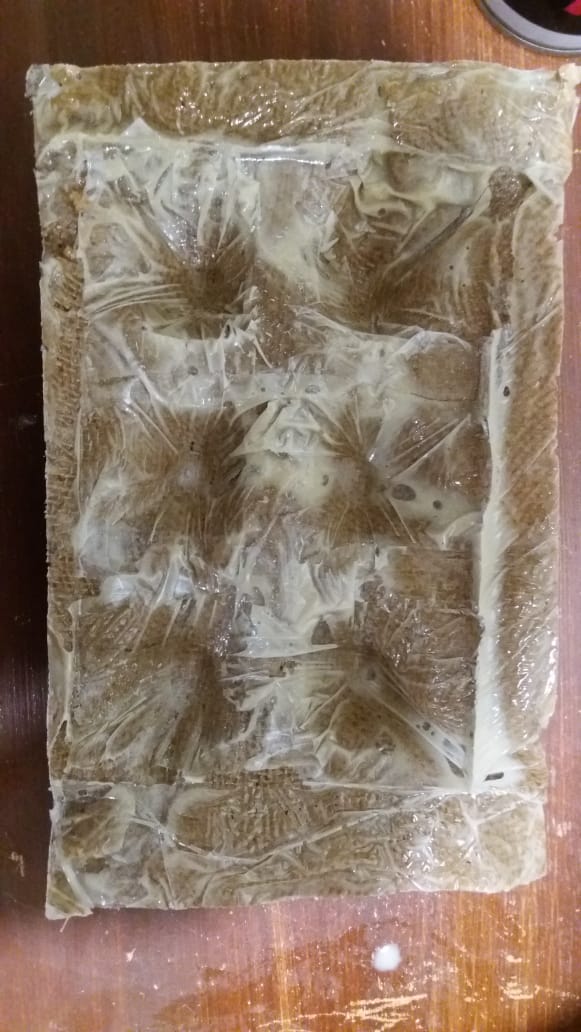
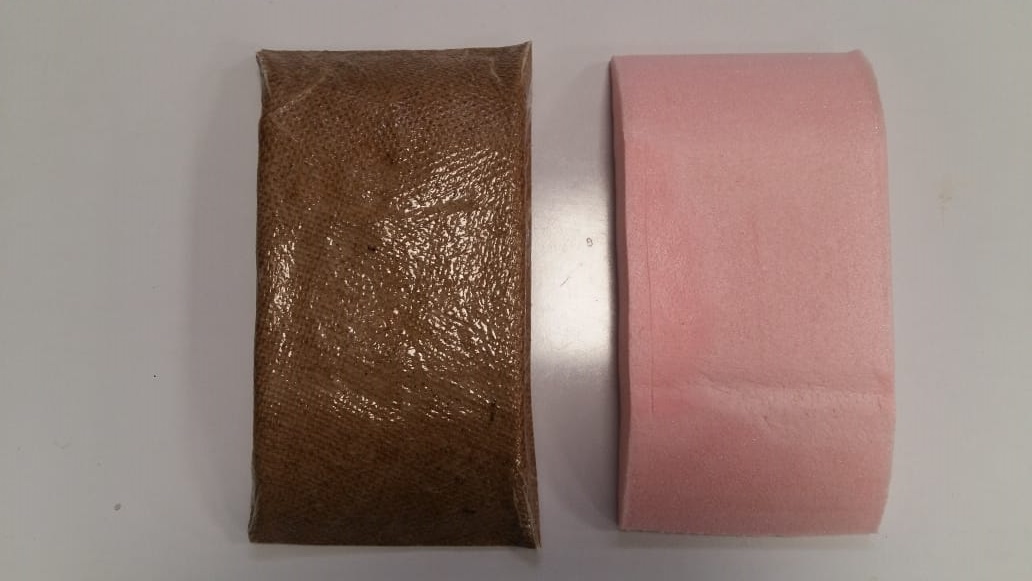
In last I placed the breather over the composite design which is shown in figure (a) and sealed in a sheet and vacumed it shown in figure (b). After 24 hours I removed the breather and foam mold from the composite design and my egg tray design is ready now which can be seen in figure (c)