Week 18: Wildcard Week
Individual assignment
This week we demonstrate workflows used in the chosen process. We need to select and apply suitable materials and processes to create our project.
Design
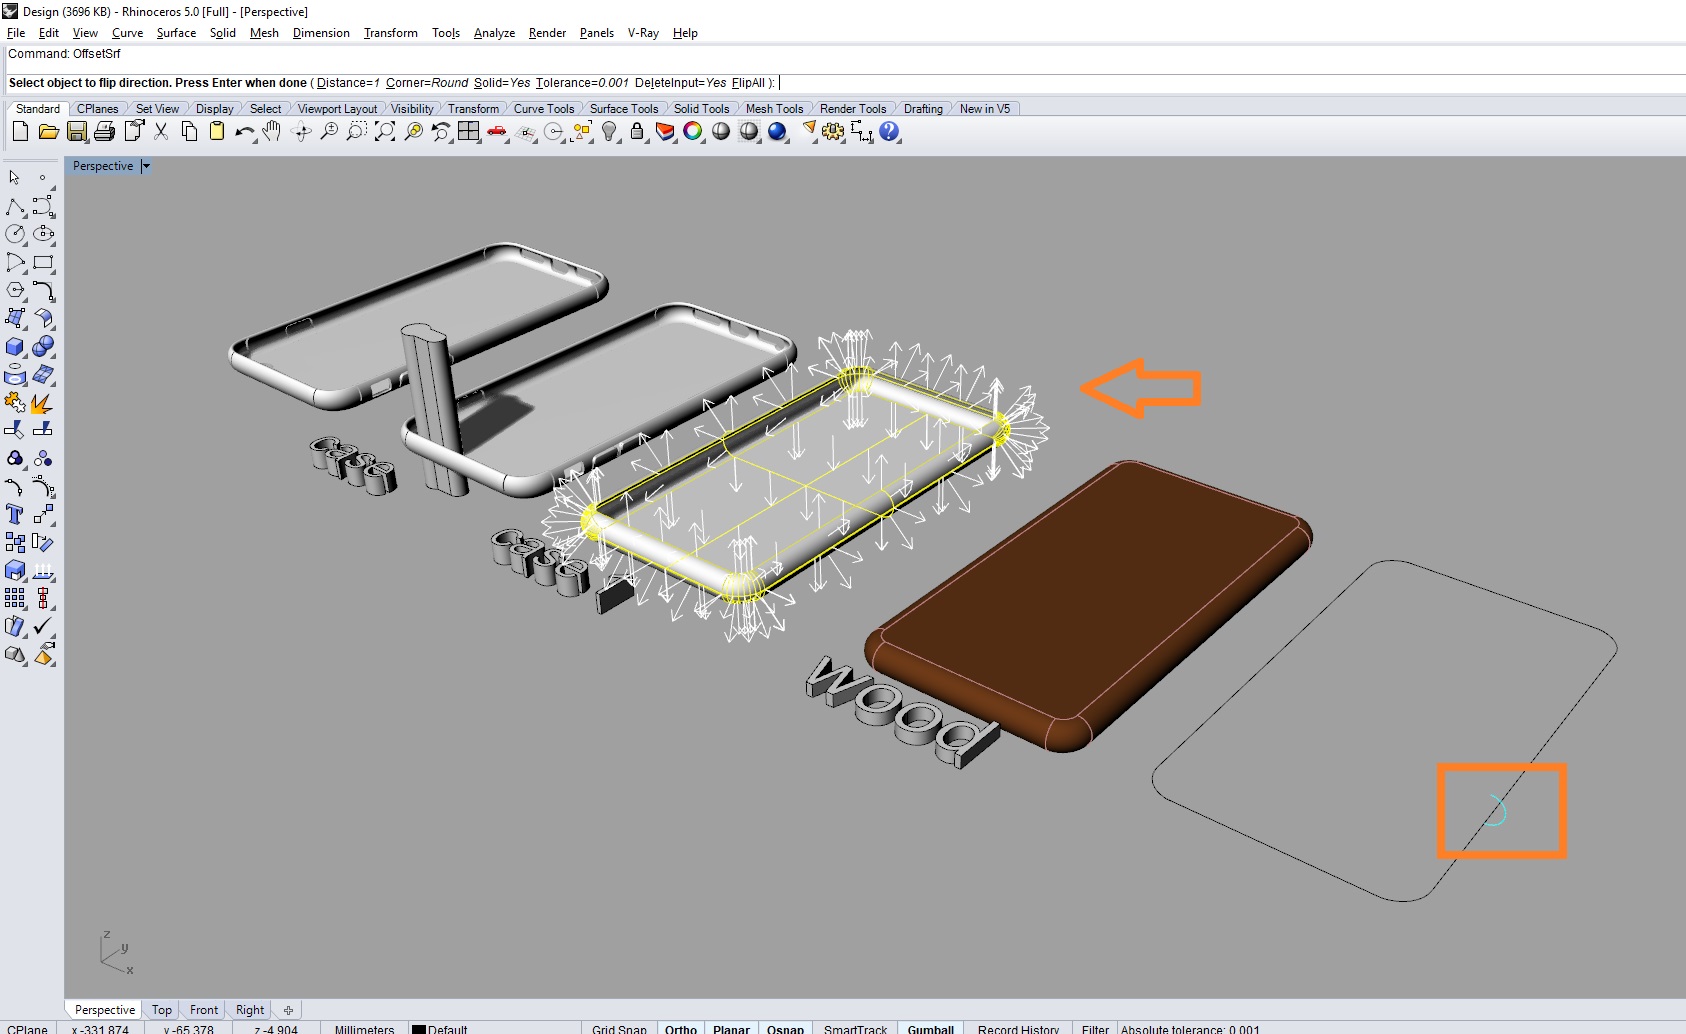
I'm going to create a mold to generate a cell phone case and use the carbon fiber material as a casting process, with the measurements of my telephone device I have designed in the program of rhinceros a curve in 2D and a semicircle. With a sweep1 tool we select the curve and then the semicircle and press enter, in this way we generate the rail of the case design.
Then we use the tool offsetsrf to generate the thickness of the case and with the tool booleandifference we generate the openings that we want.
 Download Files
 Download STL
Download dxf
Fig.01 - Case File
However, with the size of the curve, I cut a piece of MDF of 4mm to make pressure when generating the mold of the case. Finally, with a grinder, I polished the curved edge of the wood mold so that it does not stick to the resin, lining it with adhesive tape.
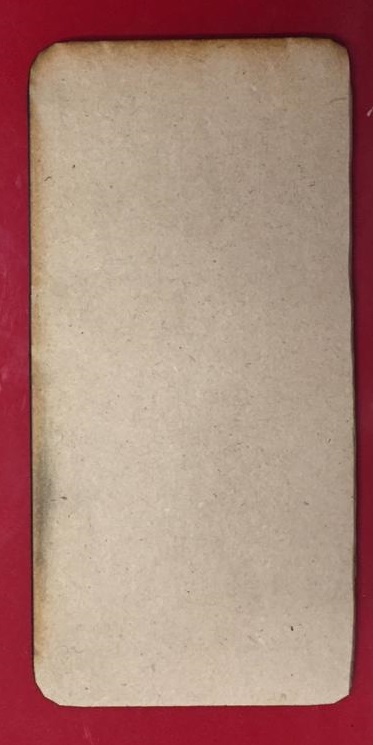 Fig.02 - Wood
 To work with resins, we need safety materials such as a respirator, goggles and gloves. We need to avoid the inhalation of vapors and interact with the elements since they solidify very fast, they produce burns if the contact with this is prolonged.
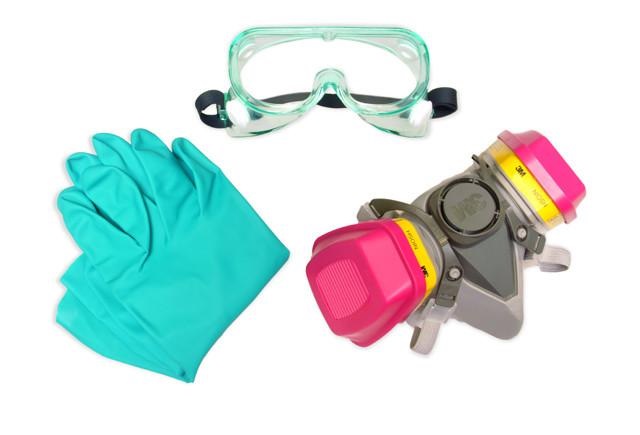 Fig.03 - EPP
 The design that will serve as a mold was printed, the materials to be used are the following: Silikast Epoxi A-B, brushes, positive and negative mold, a container to make the mixture and the materials to mix fabric and carbon fiber.
According to the data sheet for the safety of epoxy resin, it is advisable to use gloves to protect the skin.
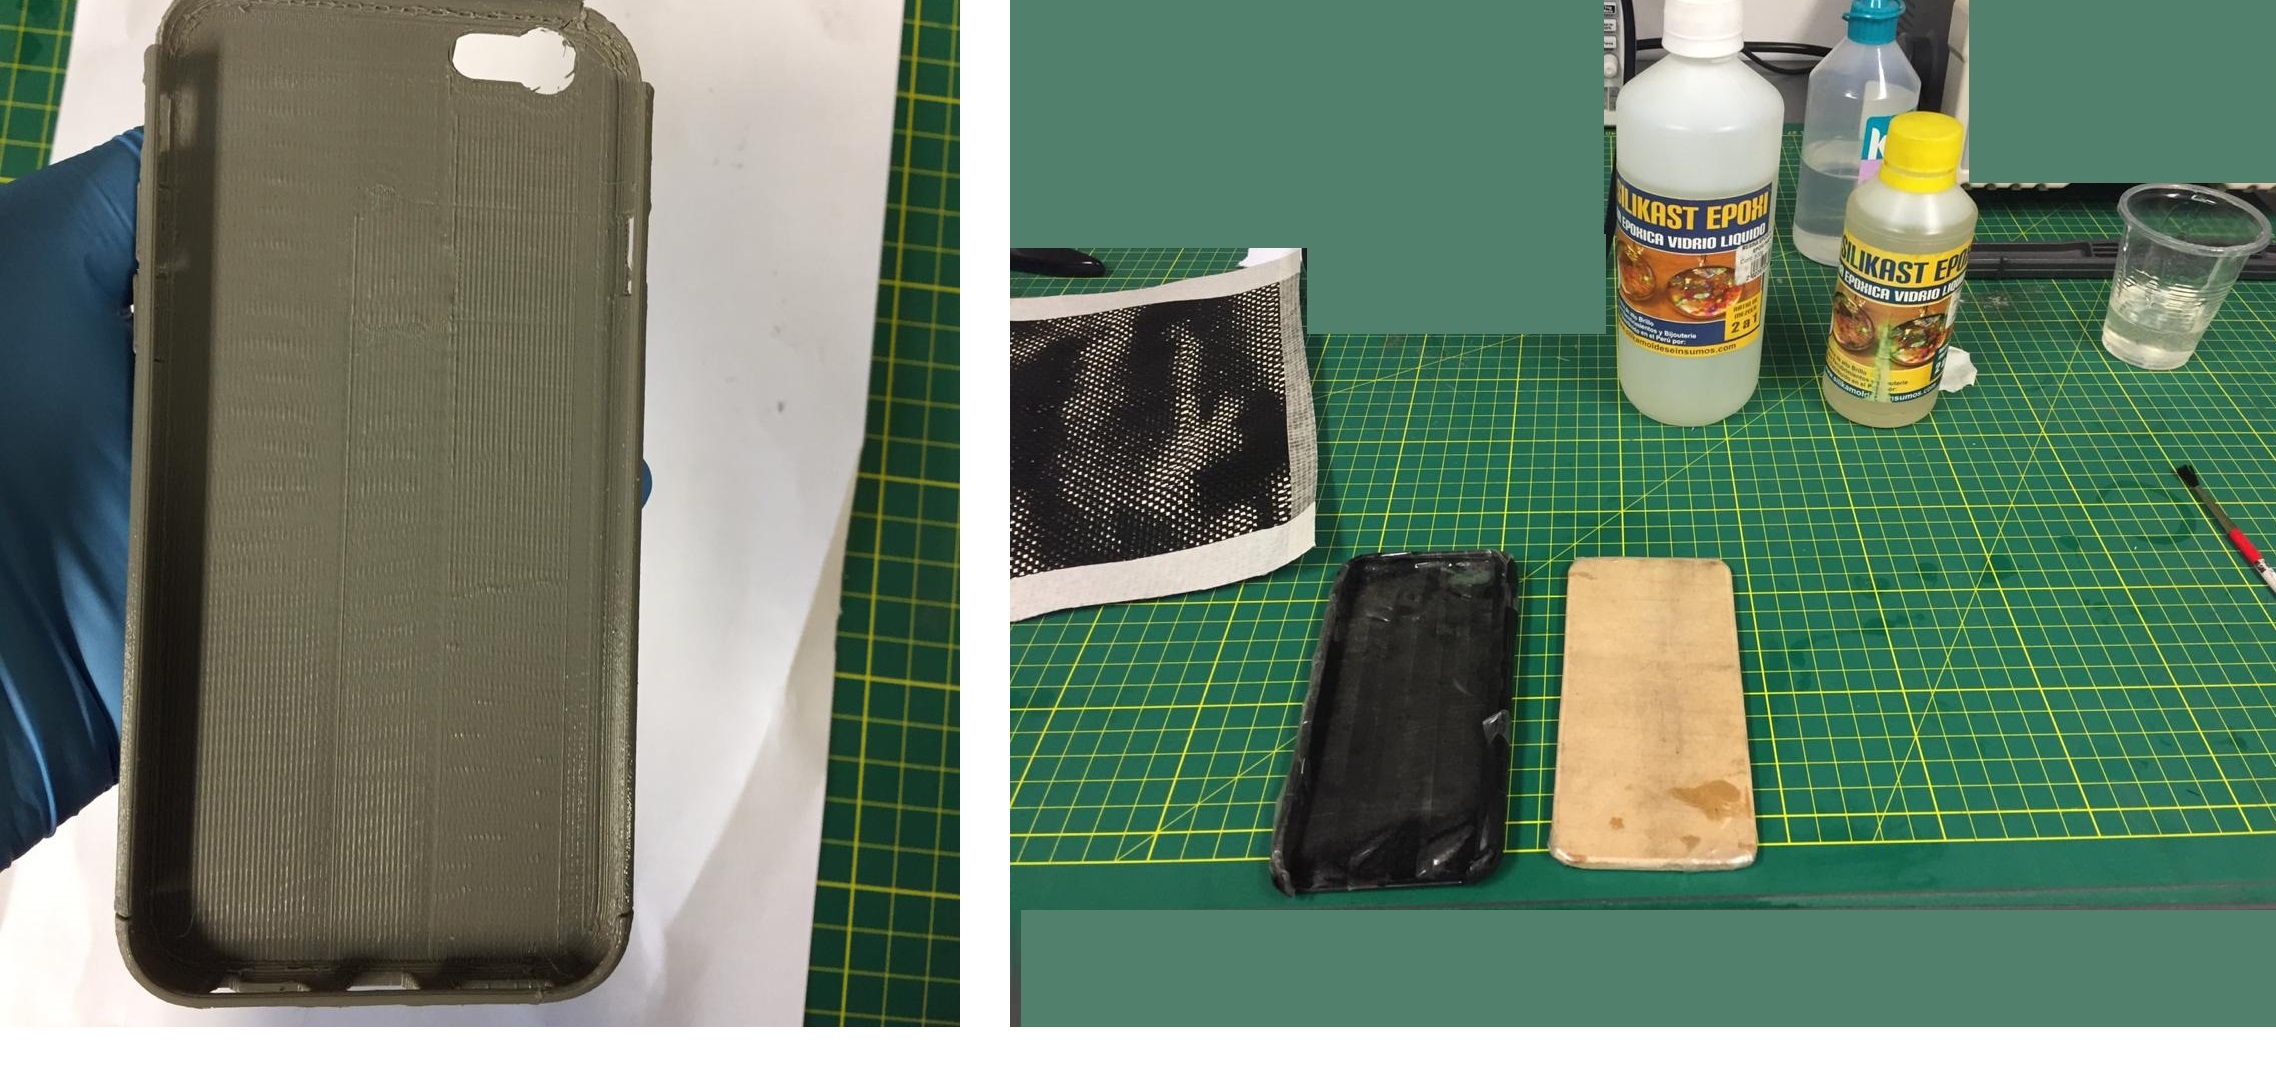 Fig.03 - Materials
 The procedure was to use a brush and distribute to proportion on top of the carbon fiber, creating layer on layer
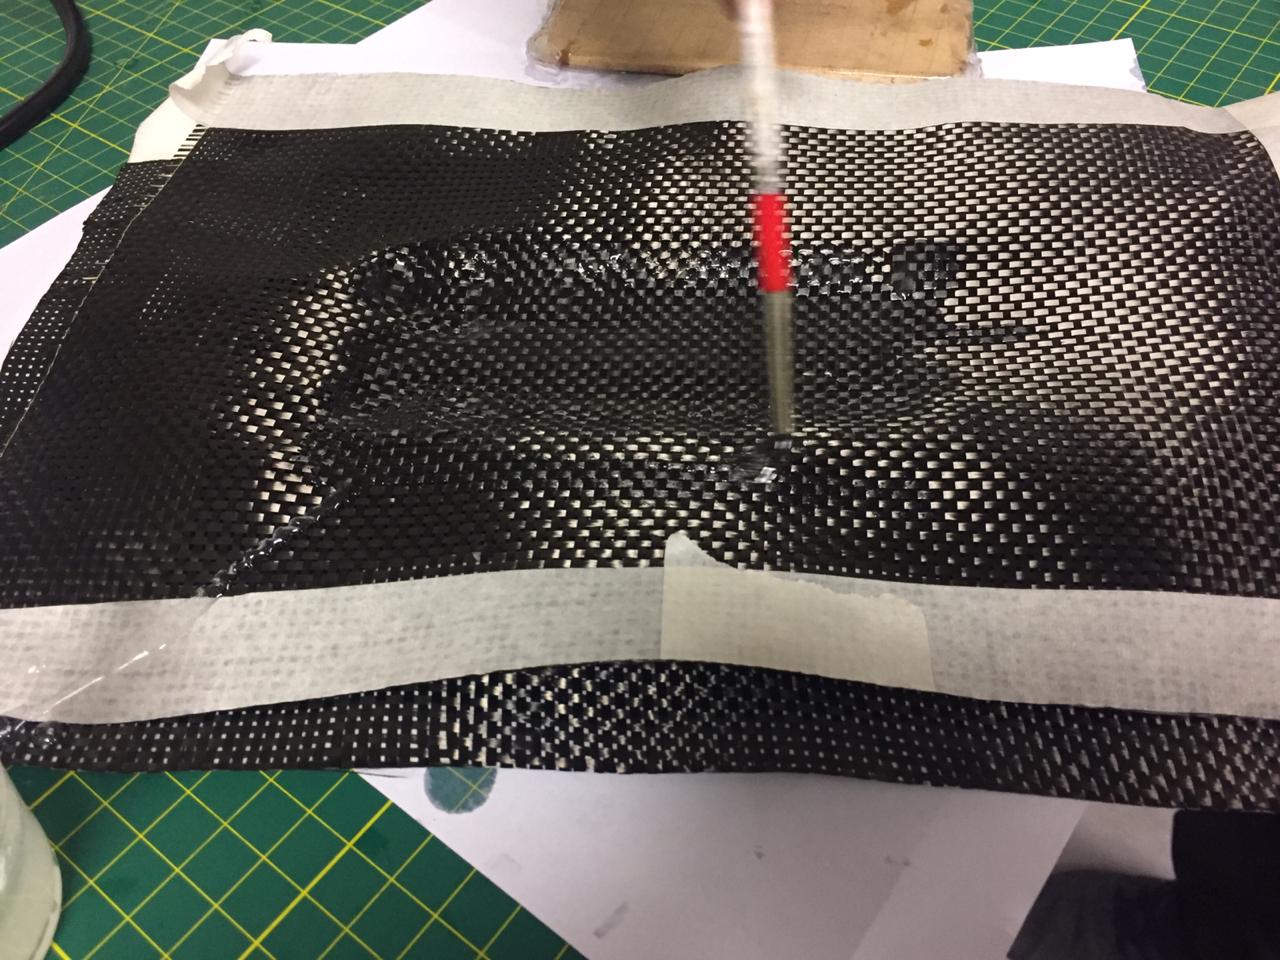 Fig.04 - Fibra de Carbono
 The carbon fiber and fabric will produce a resistant layer that is introduced to the printed mold and with the 4mm wood we exert pressure on the walls of the case.
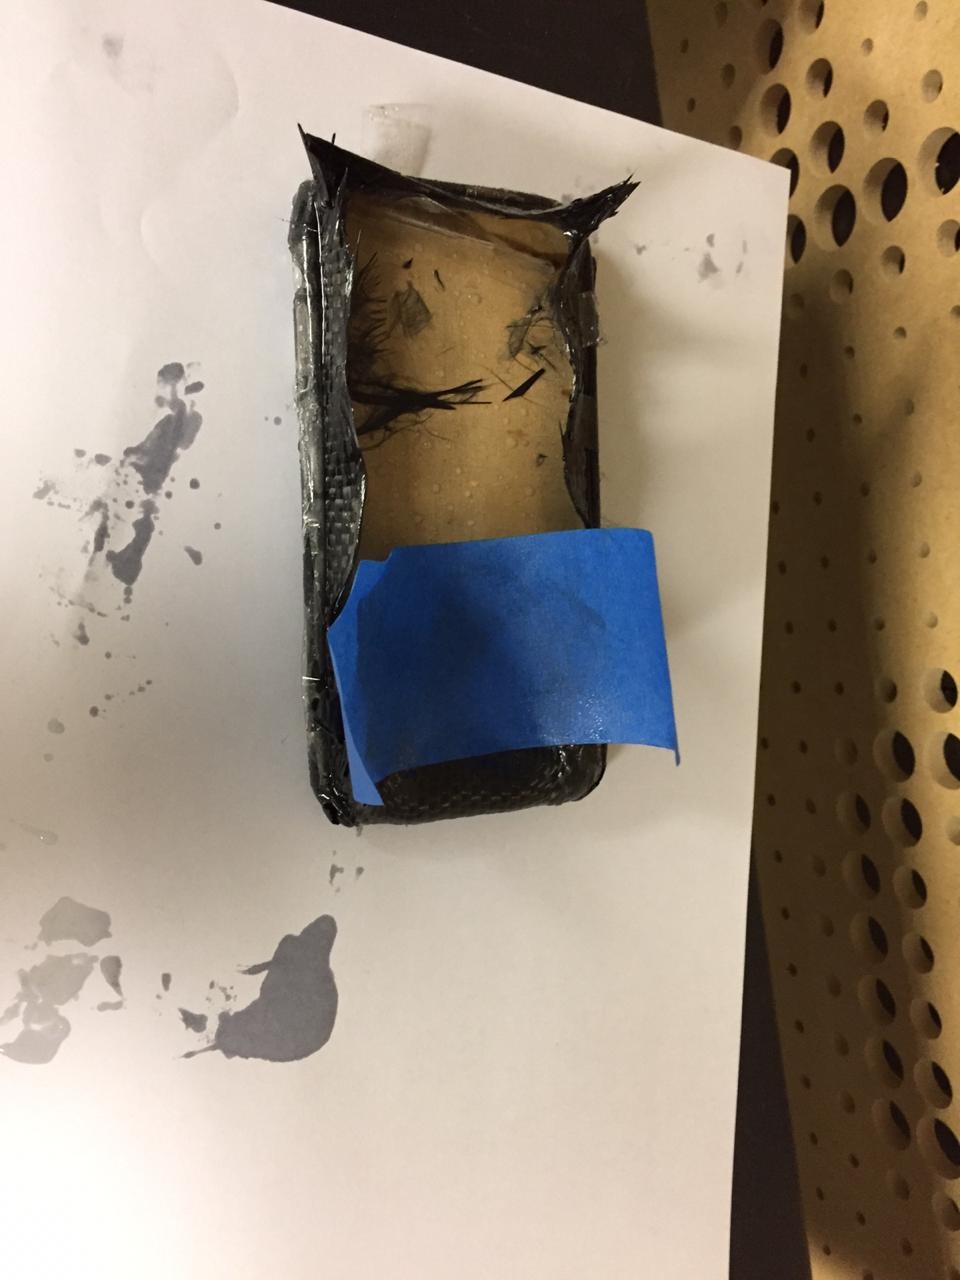 Fig.05 - Wild
 The wood having smaller dimension than the printed case, failed to compact the walls where the carbon fiber was placed, resulting in a failed design.
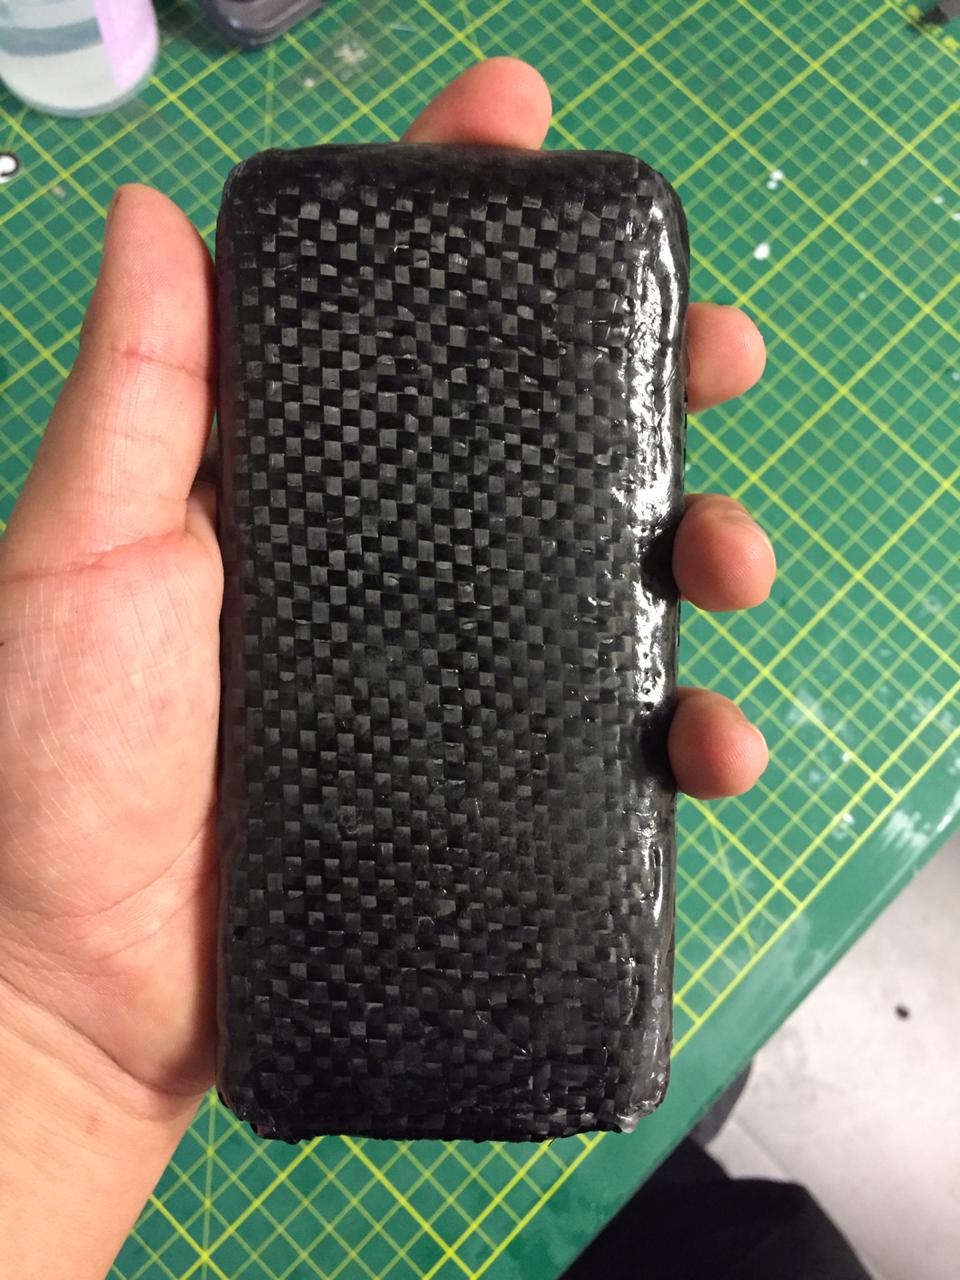 Fig.06 - Example .
 In my second test, one more layer of carbon fiber was added, which covered the region of the printed case. Care was taken when pouring and spreading the resin over the carbon fiber with the brush.
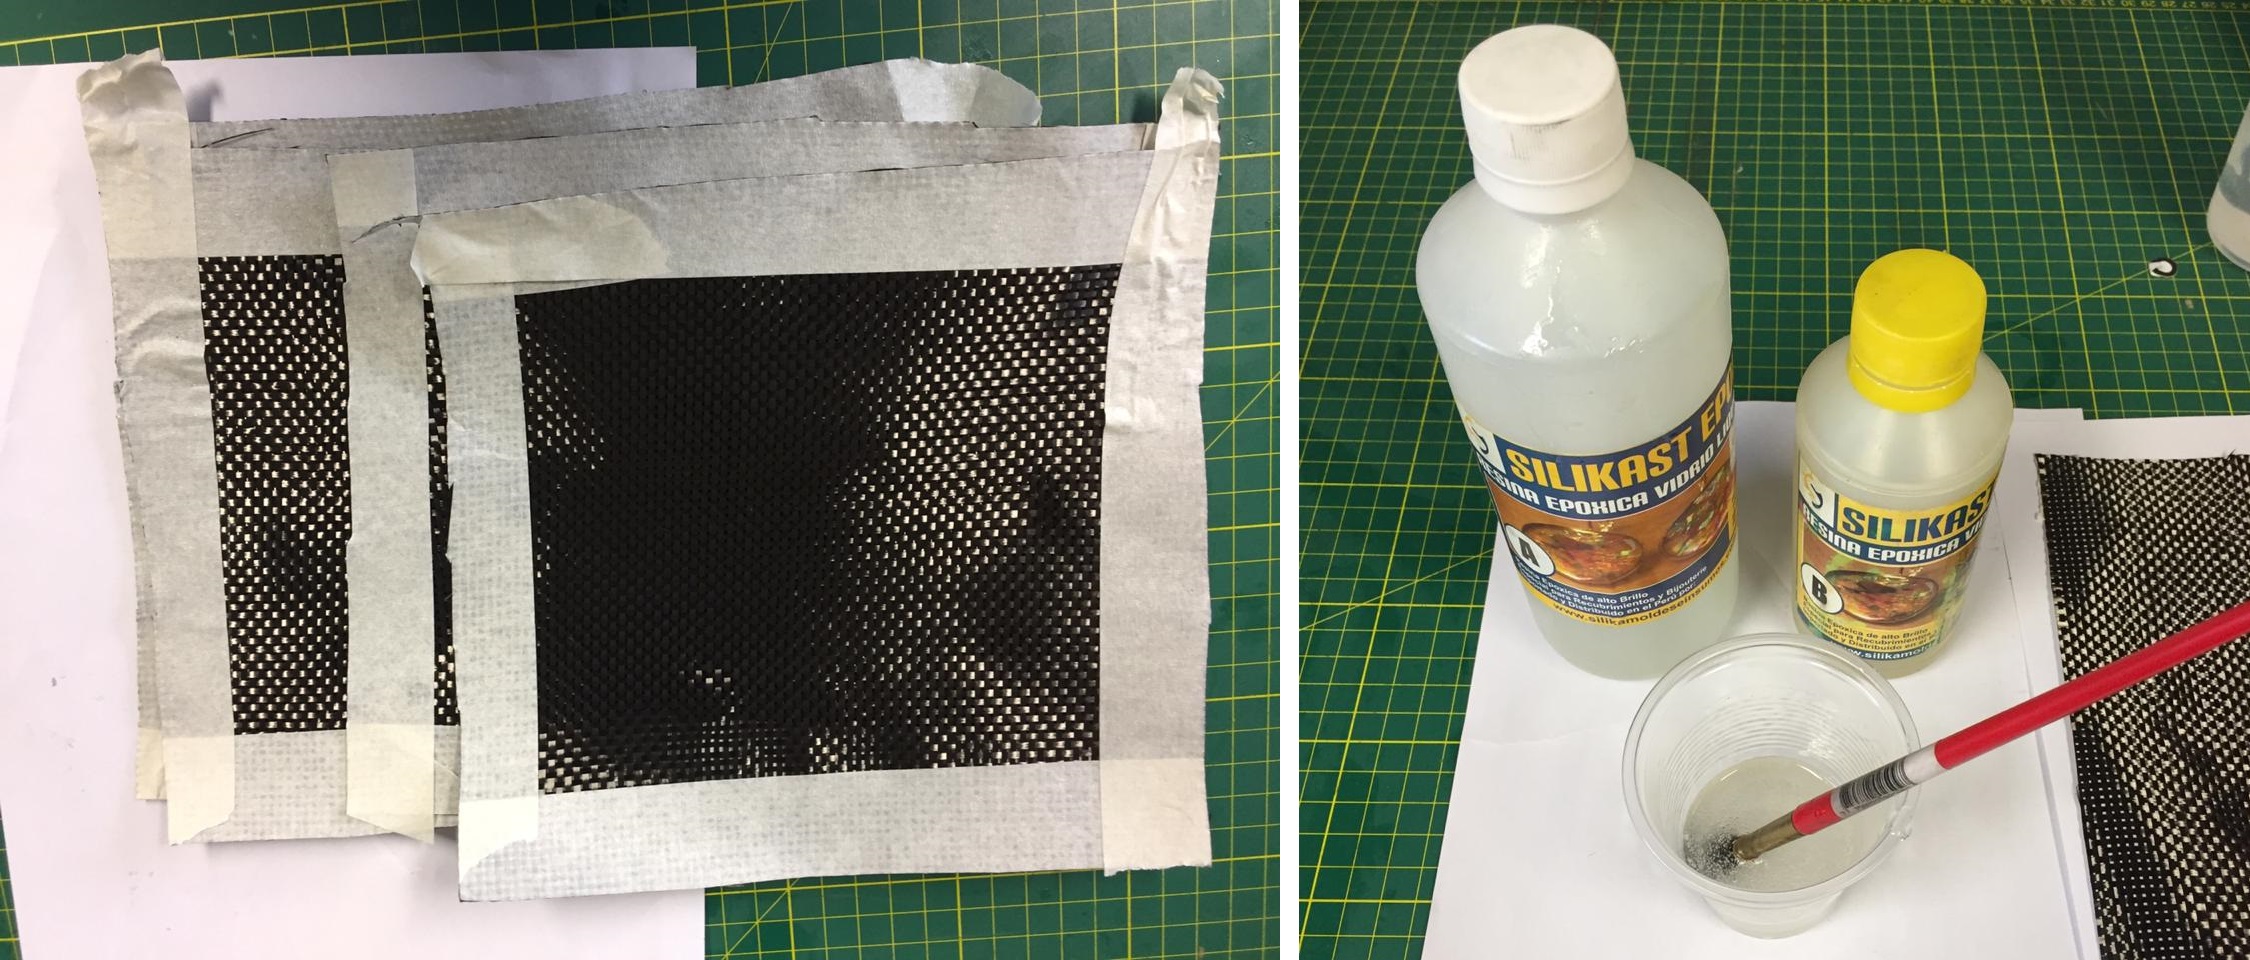 Fig.07 - Region
 Also, I used 6mm MDF and there was no need to secure the region where the carbon fiber was located, however, the wood was covered with adhesive tape so that it does not stick to the resin, which allowed The positive and negative mold do not stick with the resin and can be seen in the image.
 Fig.08 - Suggestions
 The result was a more rigid and visually distorted carbon fiber case, where the resin stands out and shines showing the shape of the initial mold.
 Fig.09 - Final Case
 Grupal assignment
To see all the documentation of the group work, you can visit the CIT page.