First Update: 26/2/2019
The wardrobe Morning Crisis

An automated wardrobe for picking and matching clothes
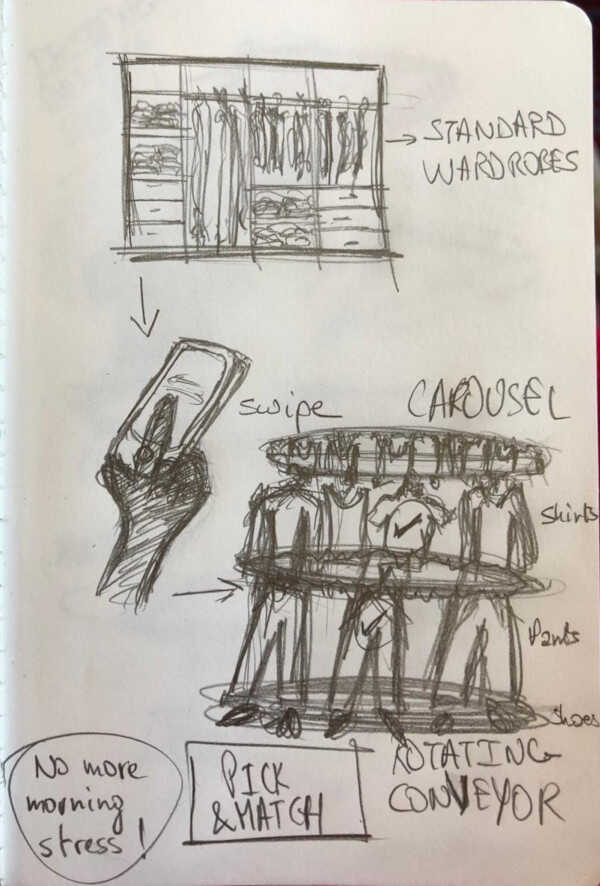
The automated wardrobe will help you get rid of the morning stress. A caroussel conveyor will be holding your clothes (hats, shirts, trousers, shoes) and will be connected to your phone via Bluetooth. When you wake up in the morning, there is no more rush! All you need to do is swipe your finger on your smartphone so that the conveyor rotates. Each section of clothing will rotate on its own, and you keep playing until you get to the best outfit for your day. You just need to get up from bed and get dressed and you are never late for work again! The "automated wardrobe" can be used in private residences as well as in retail shops, where customers would be able to pick and match their clothes together before trying them out. It could also be placed as a window display instead of the old school mannequins so that it attracts more customers and display more options than the window can usually fit!
P.S: Women will enjoy it more but there is quite a big number of male who are really picky and interested in the fashion world!
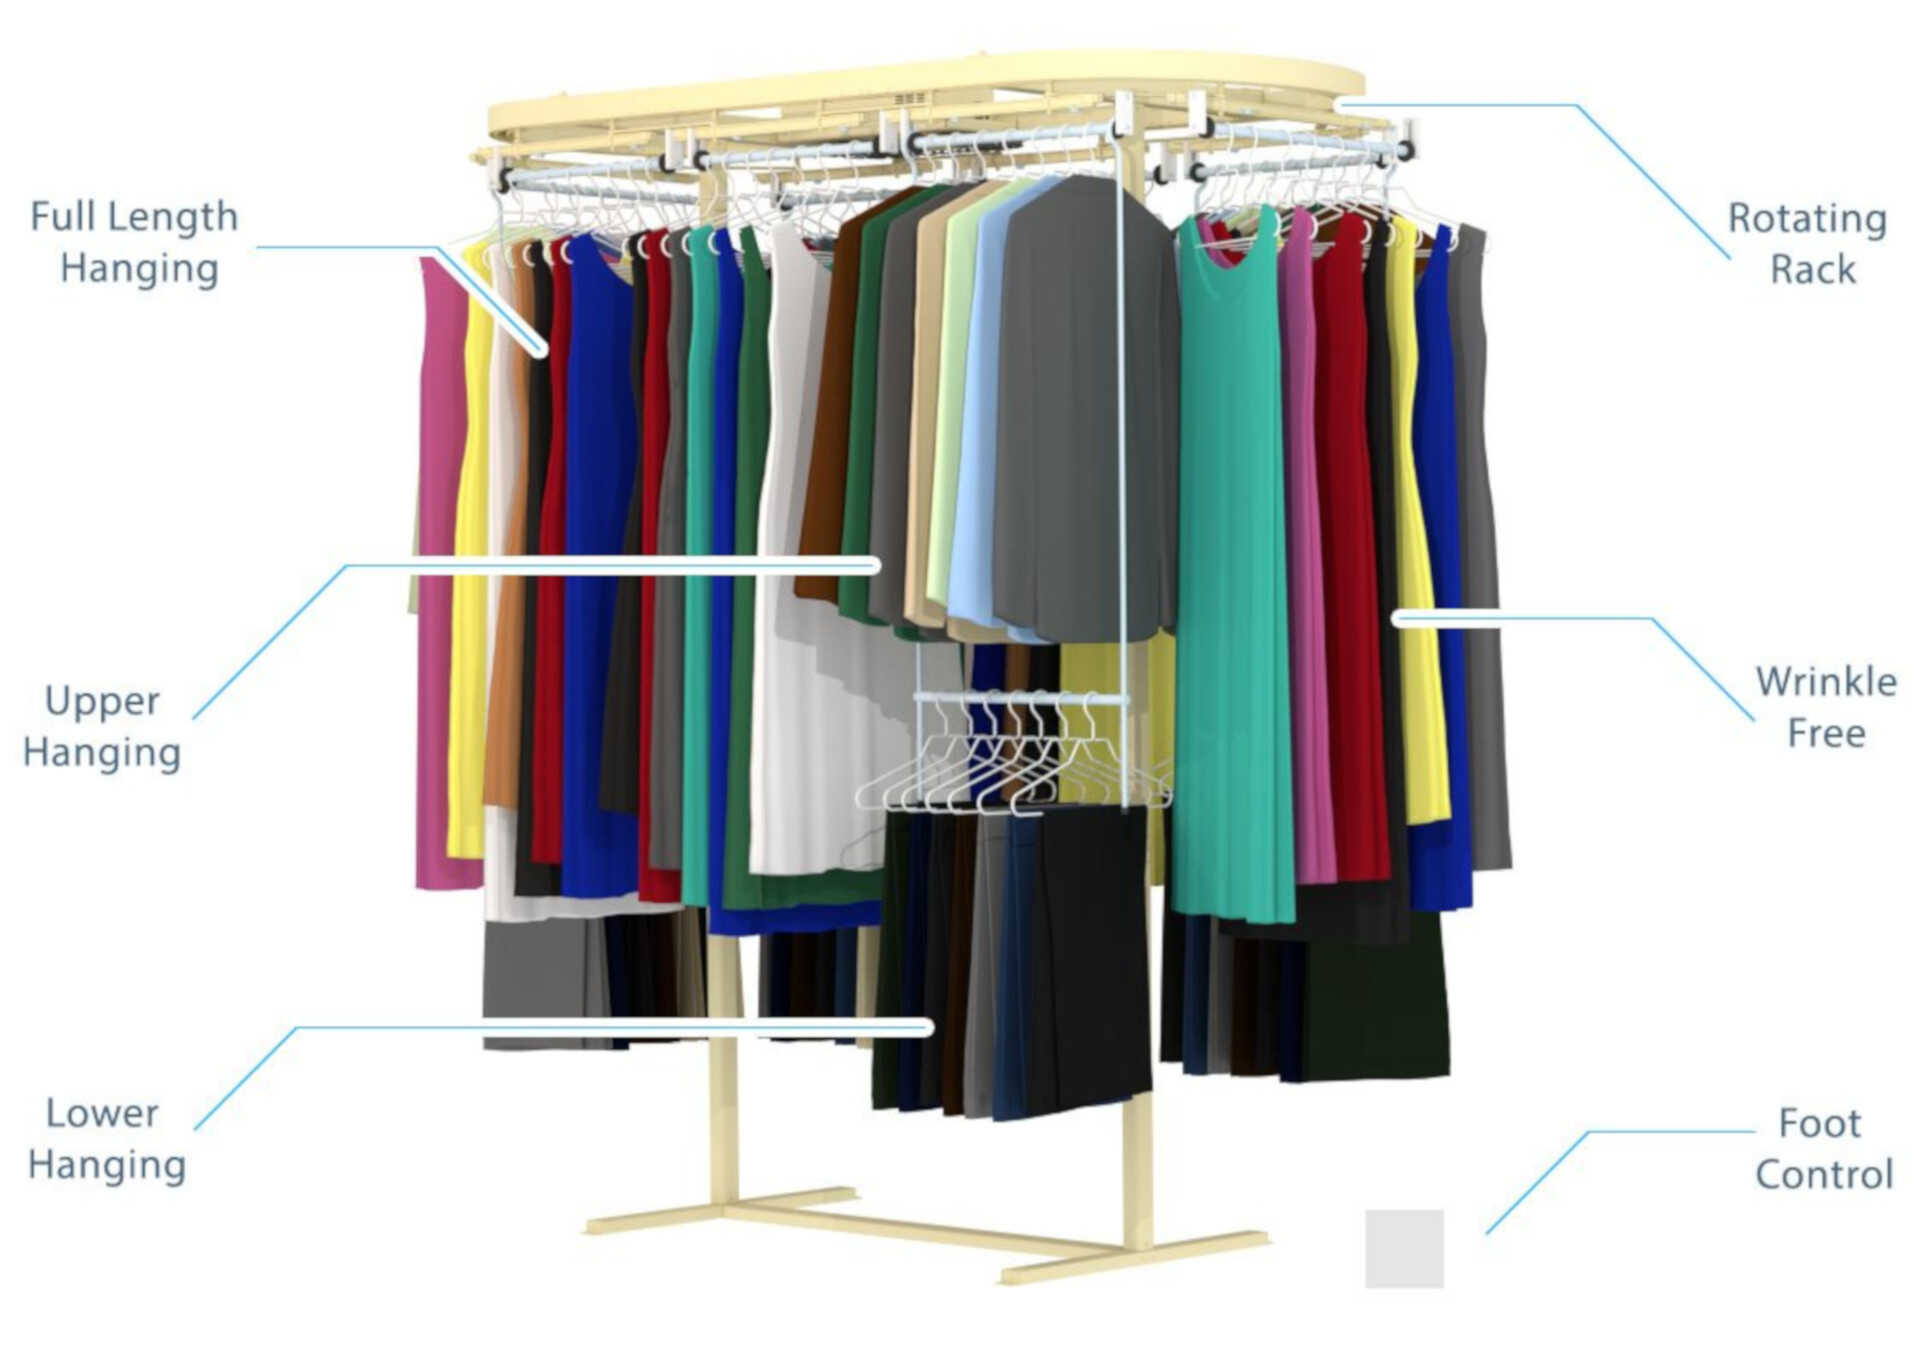
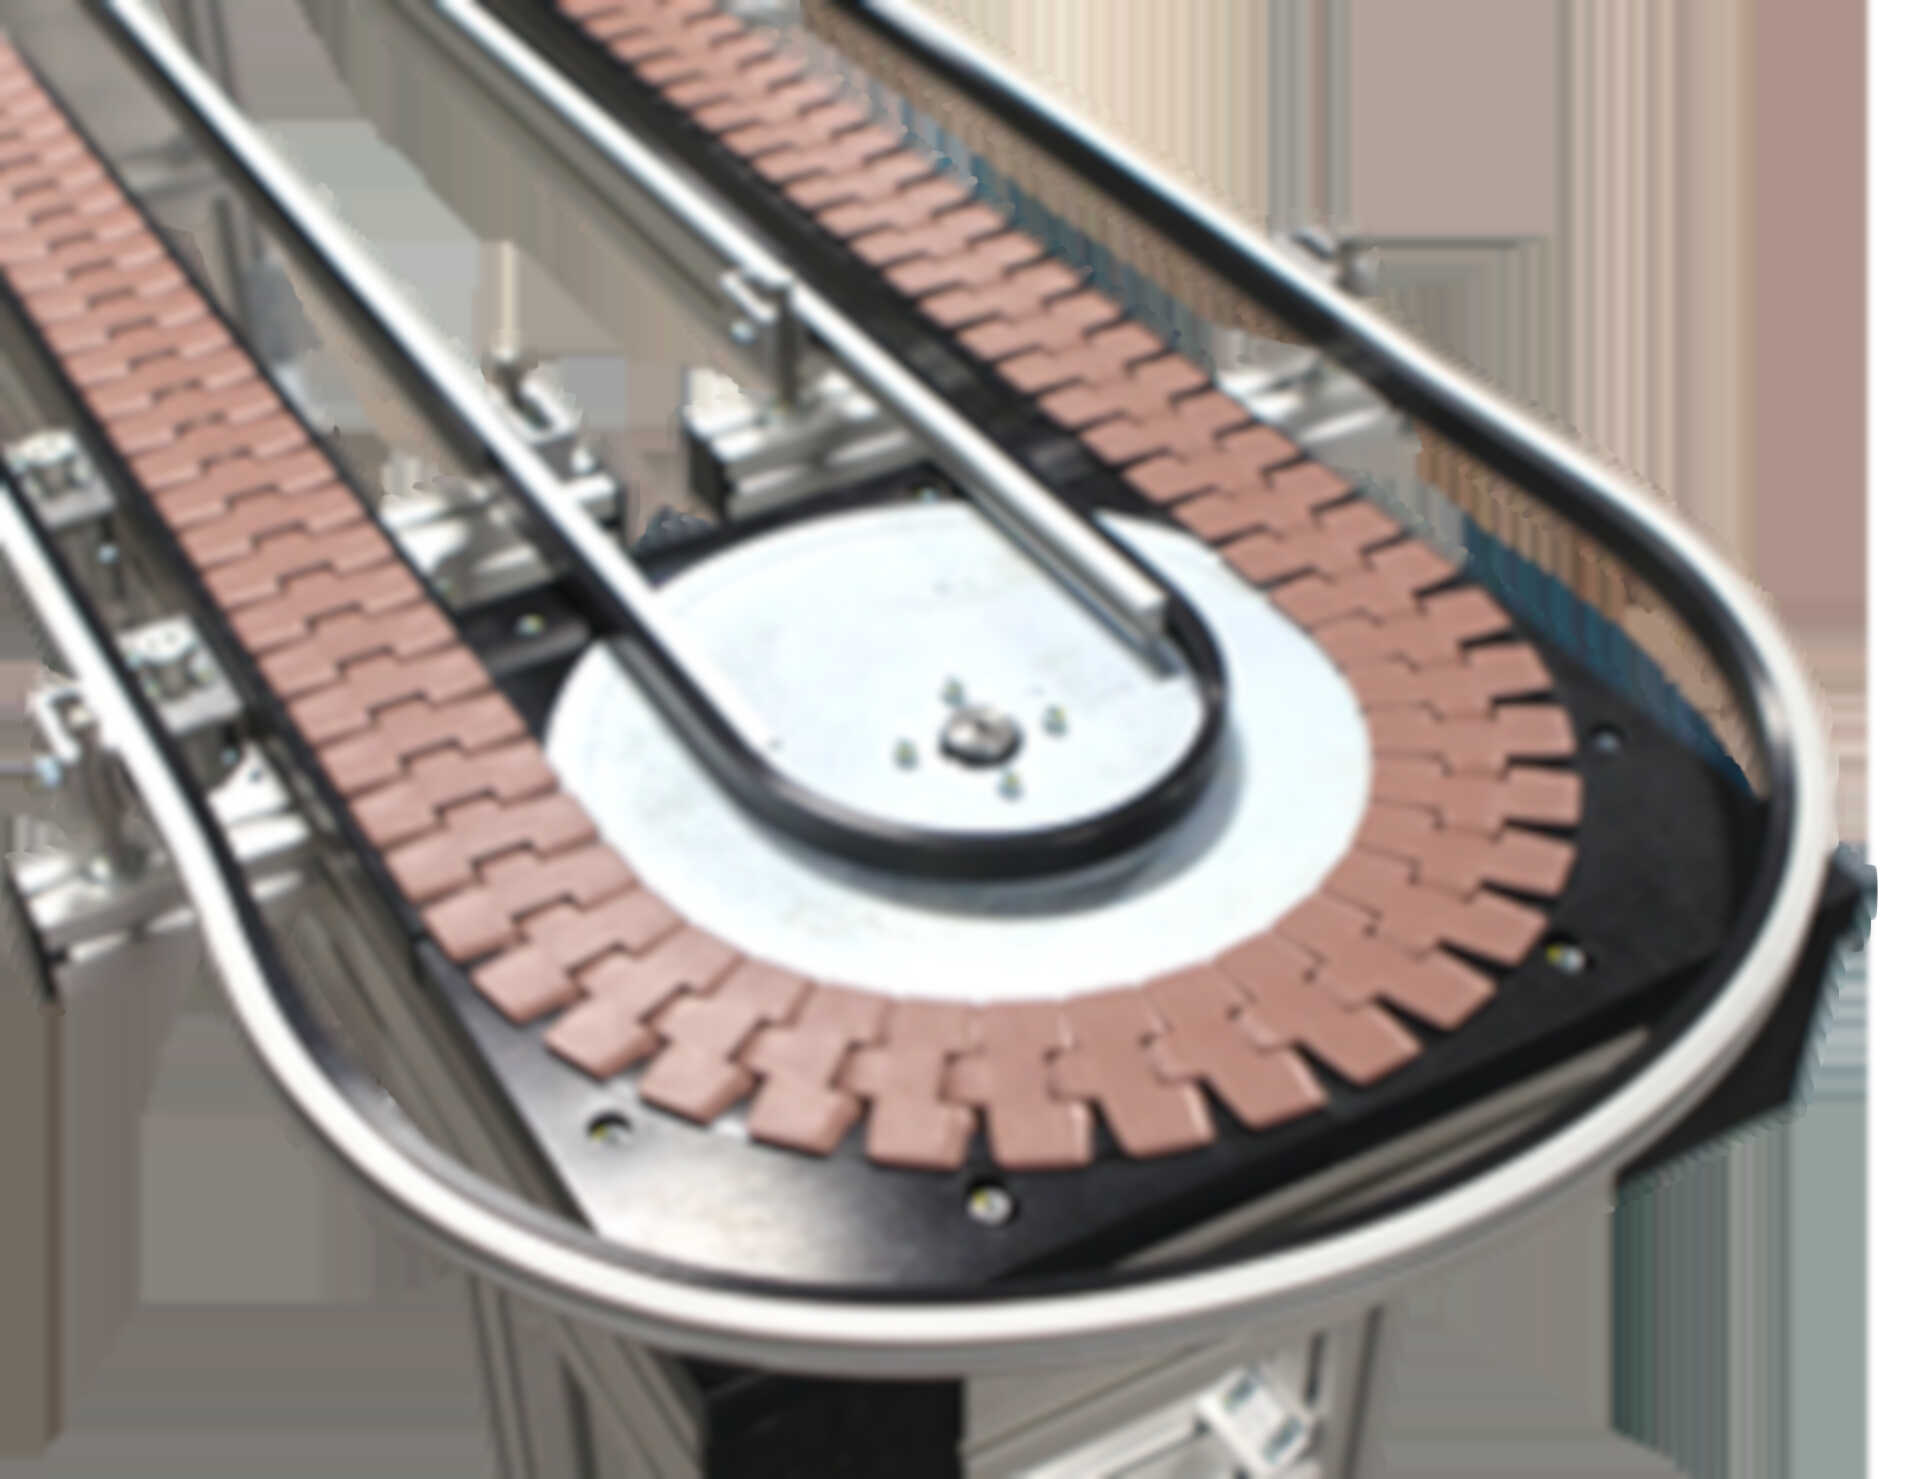
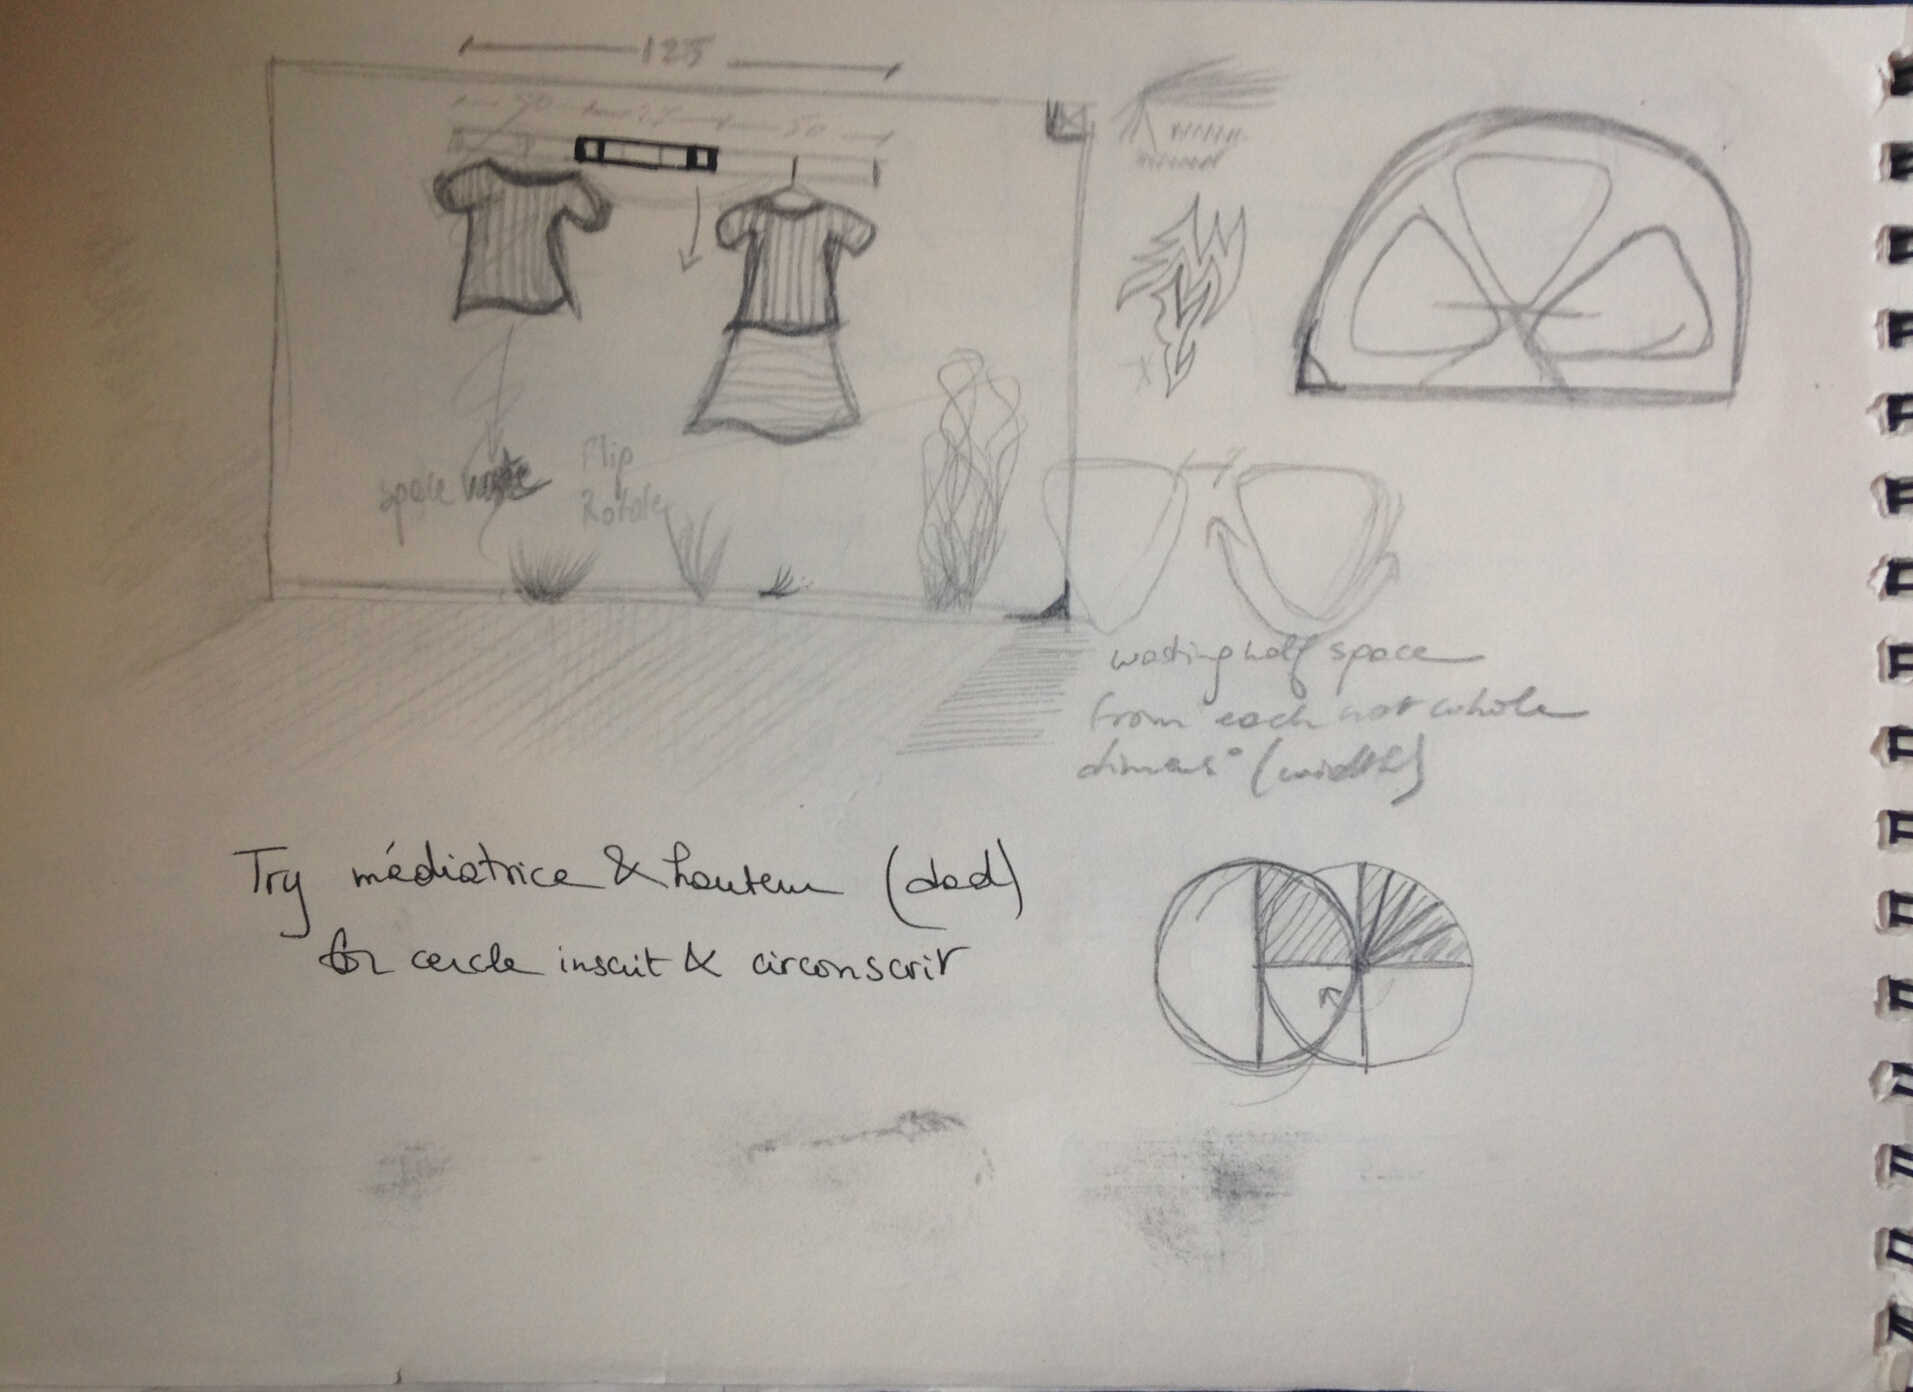
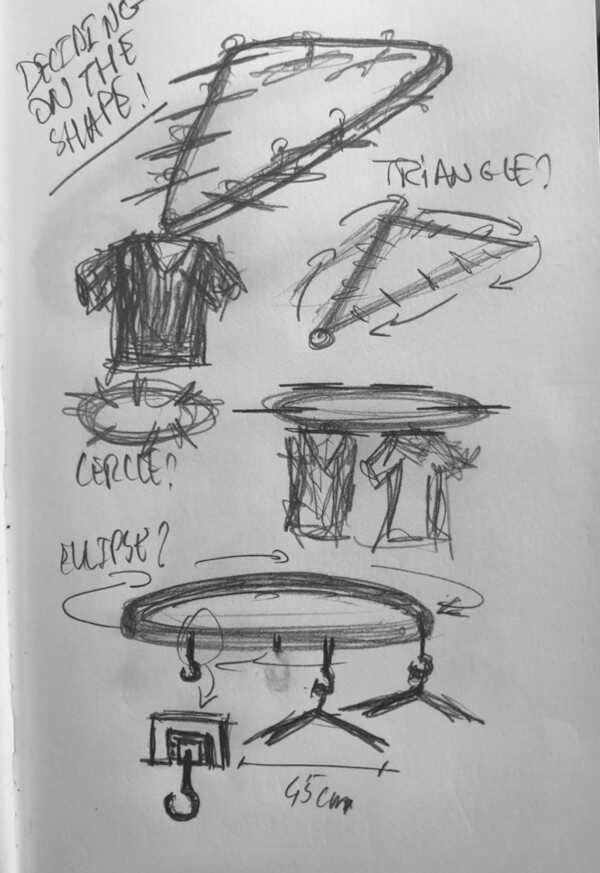
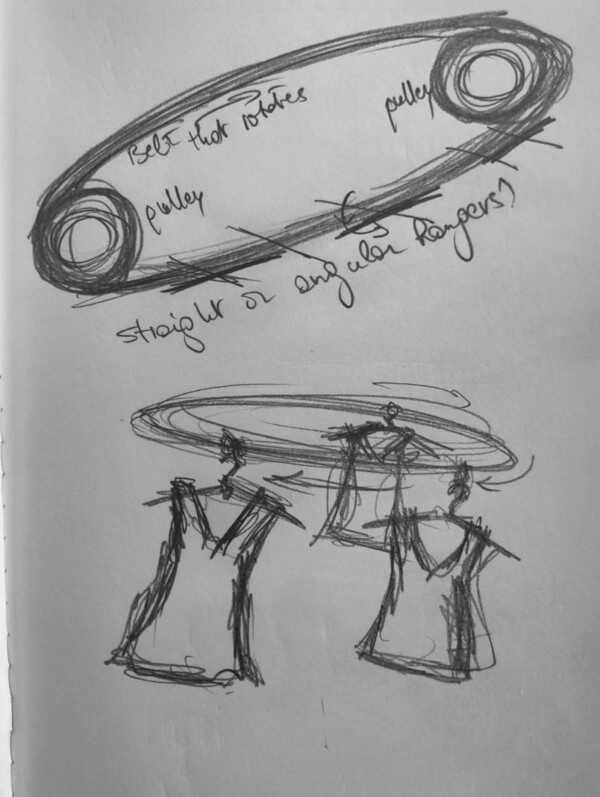
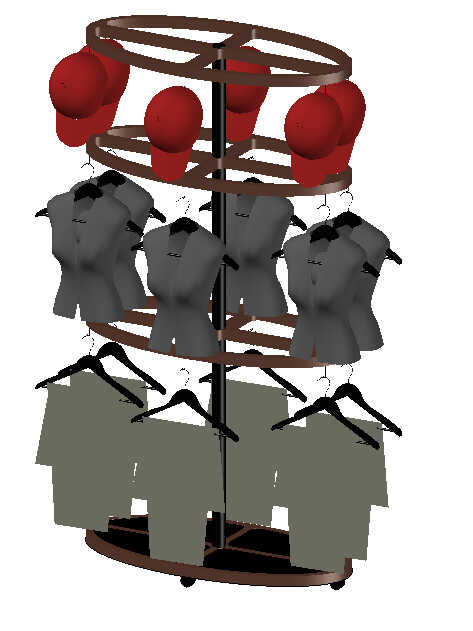
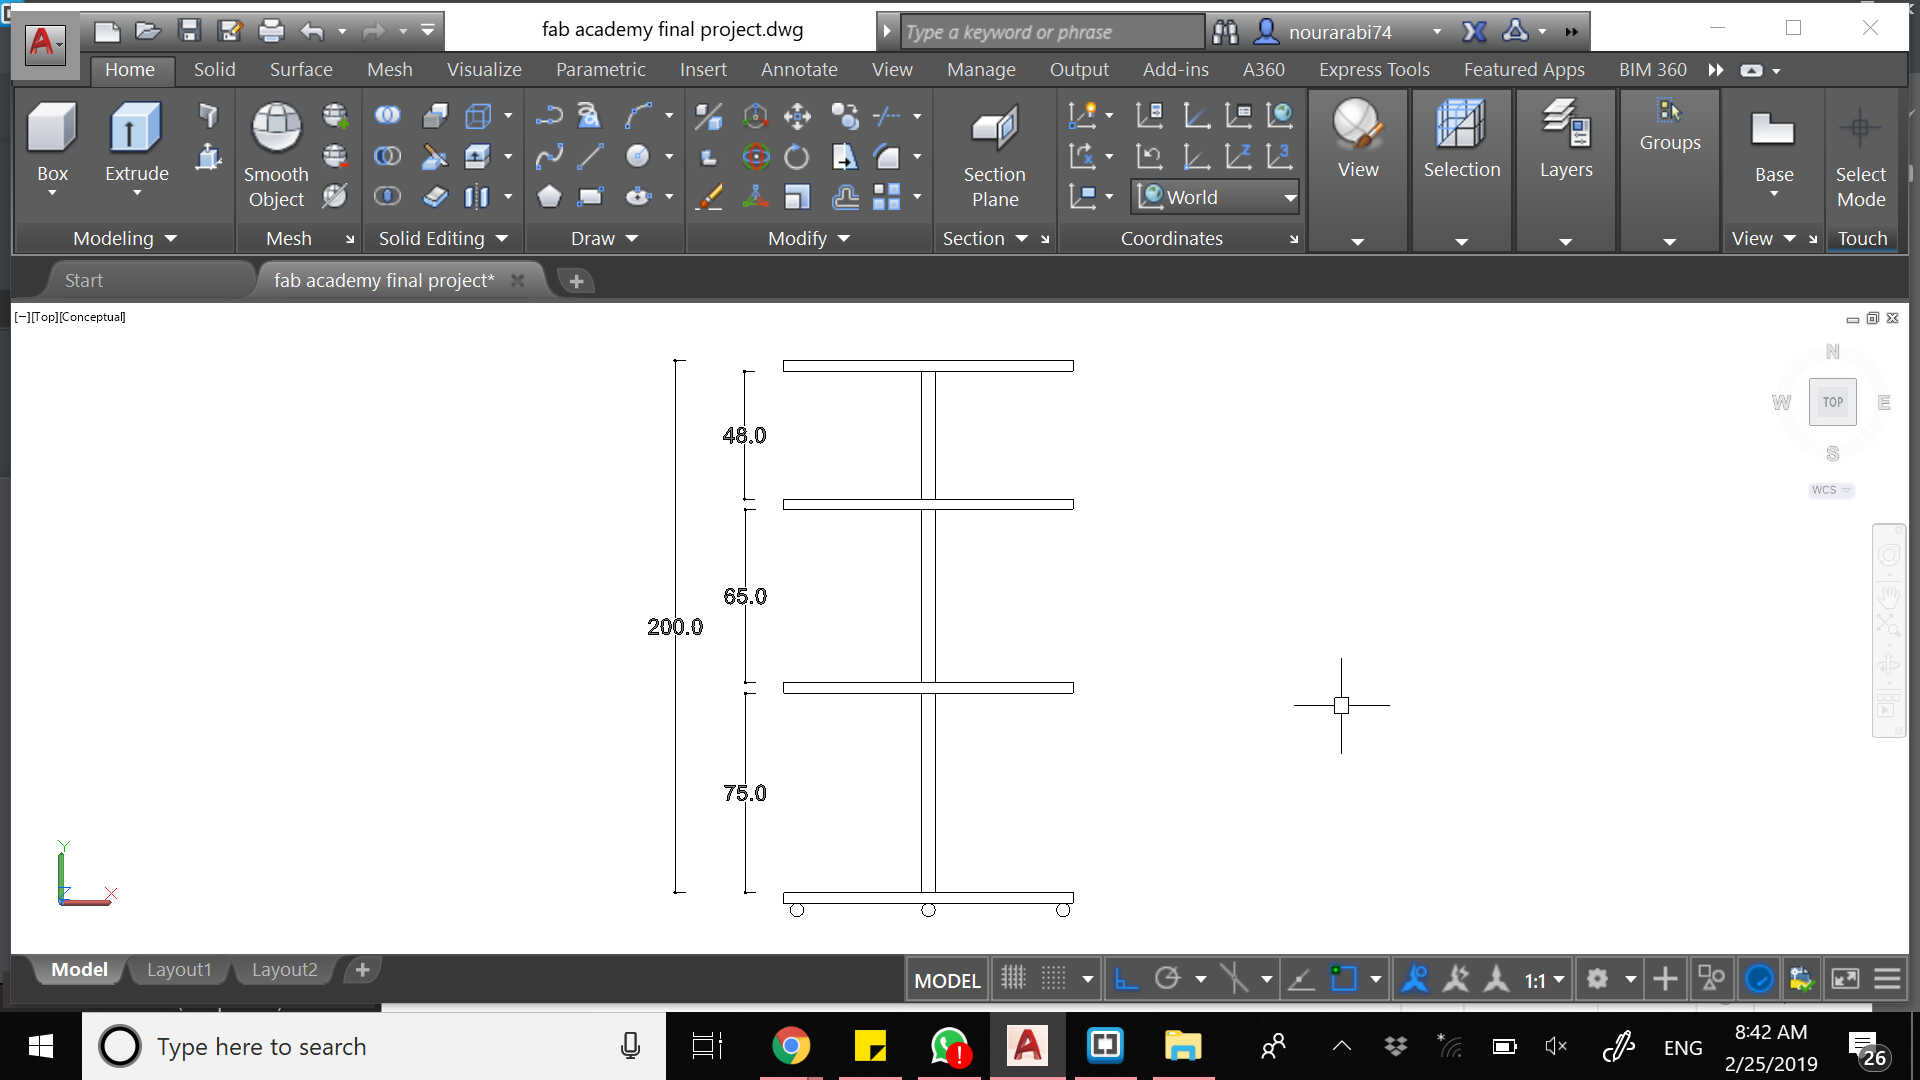
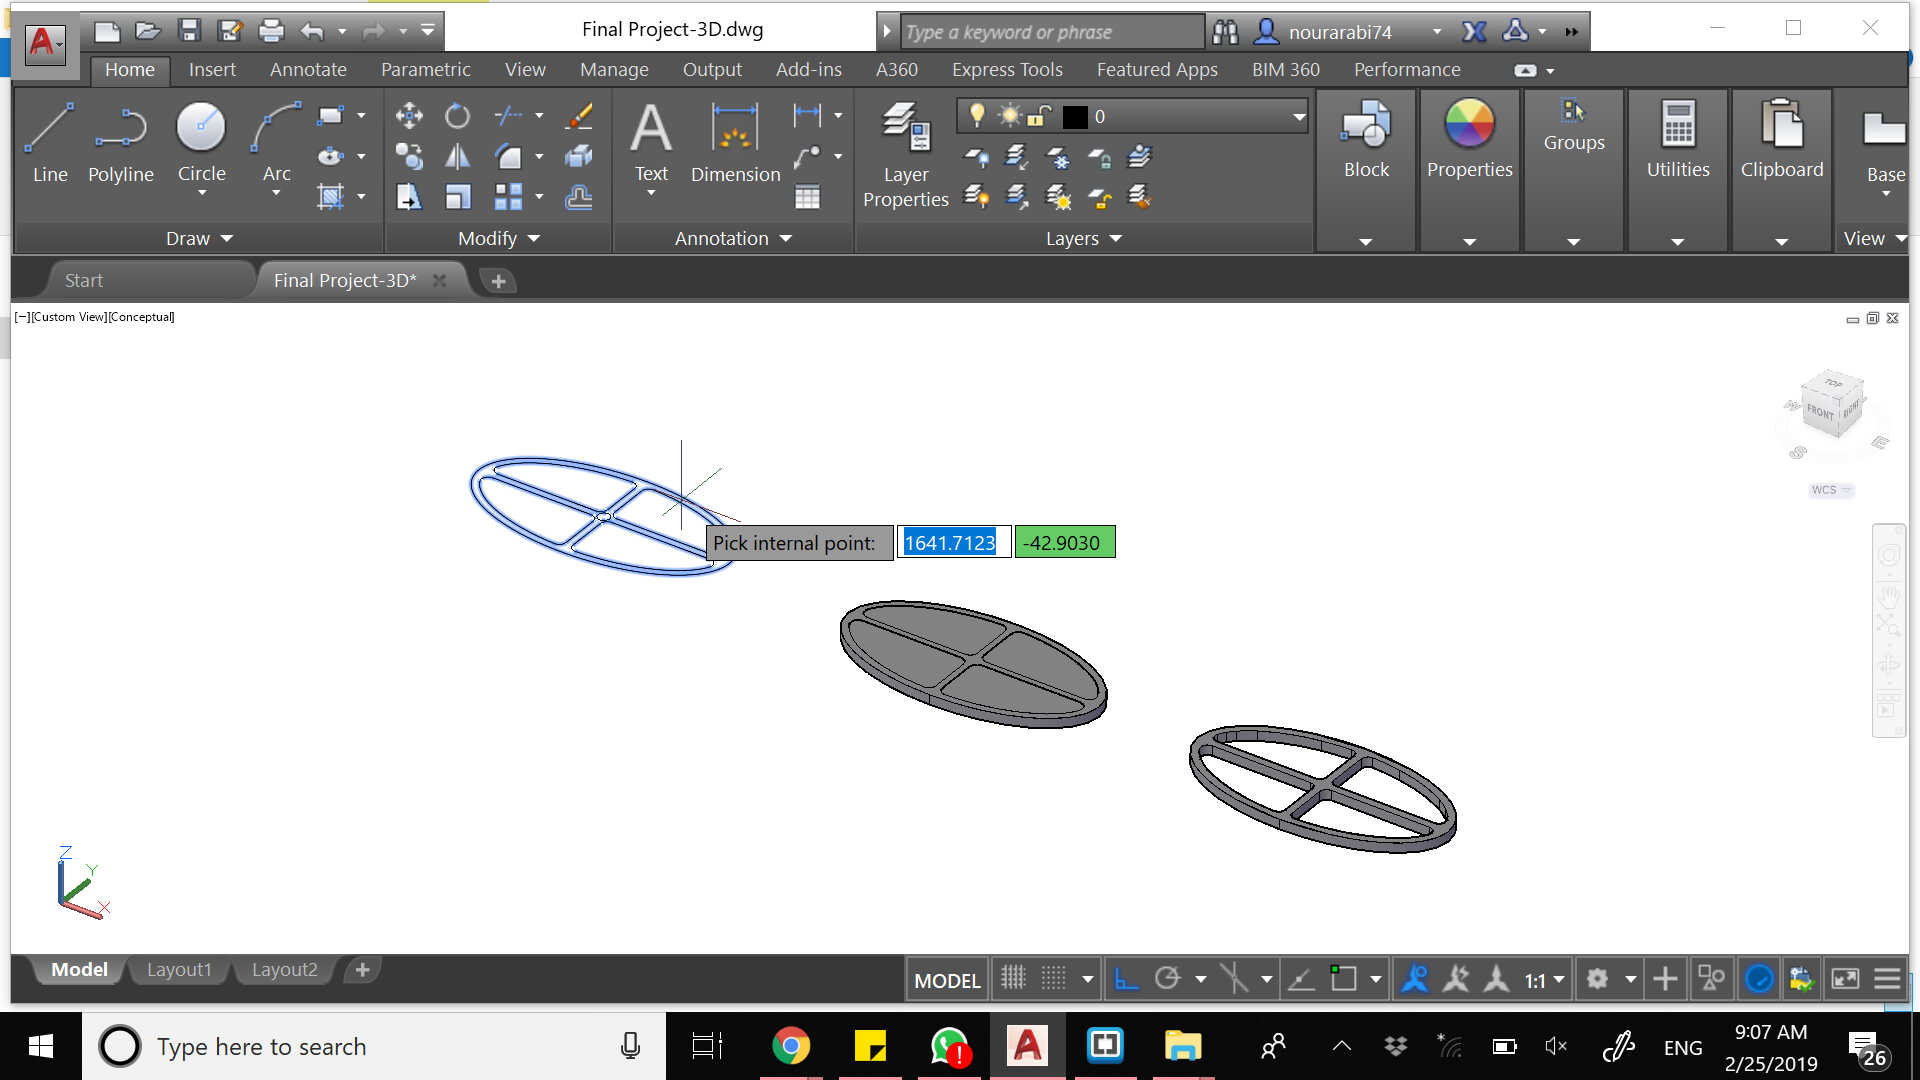
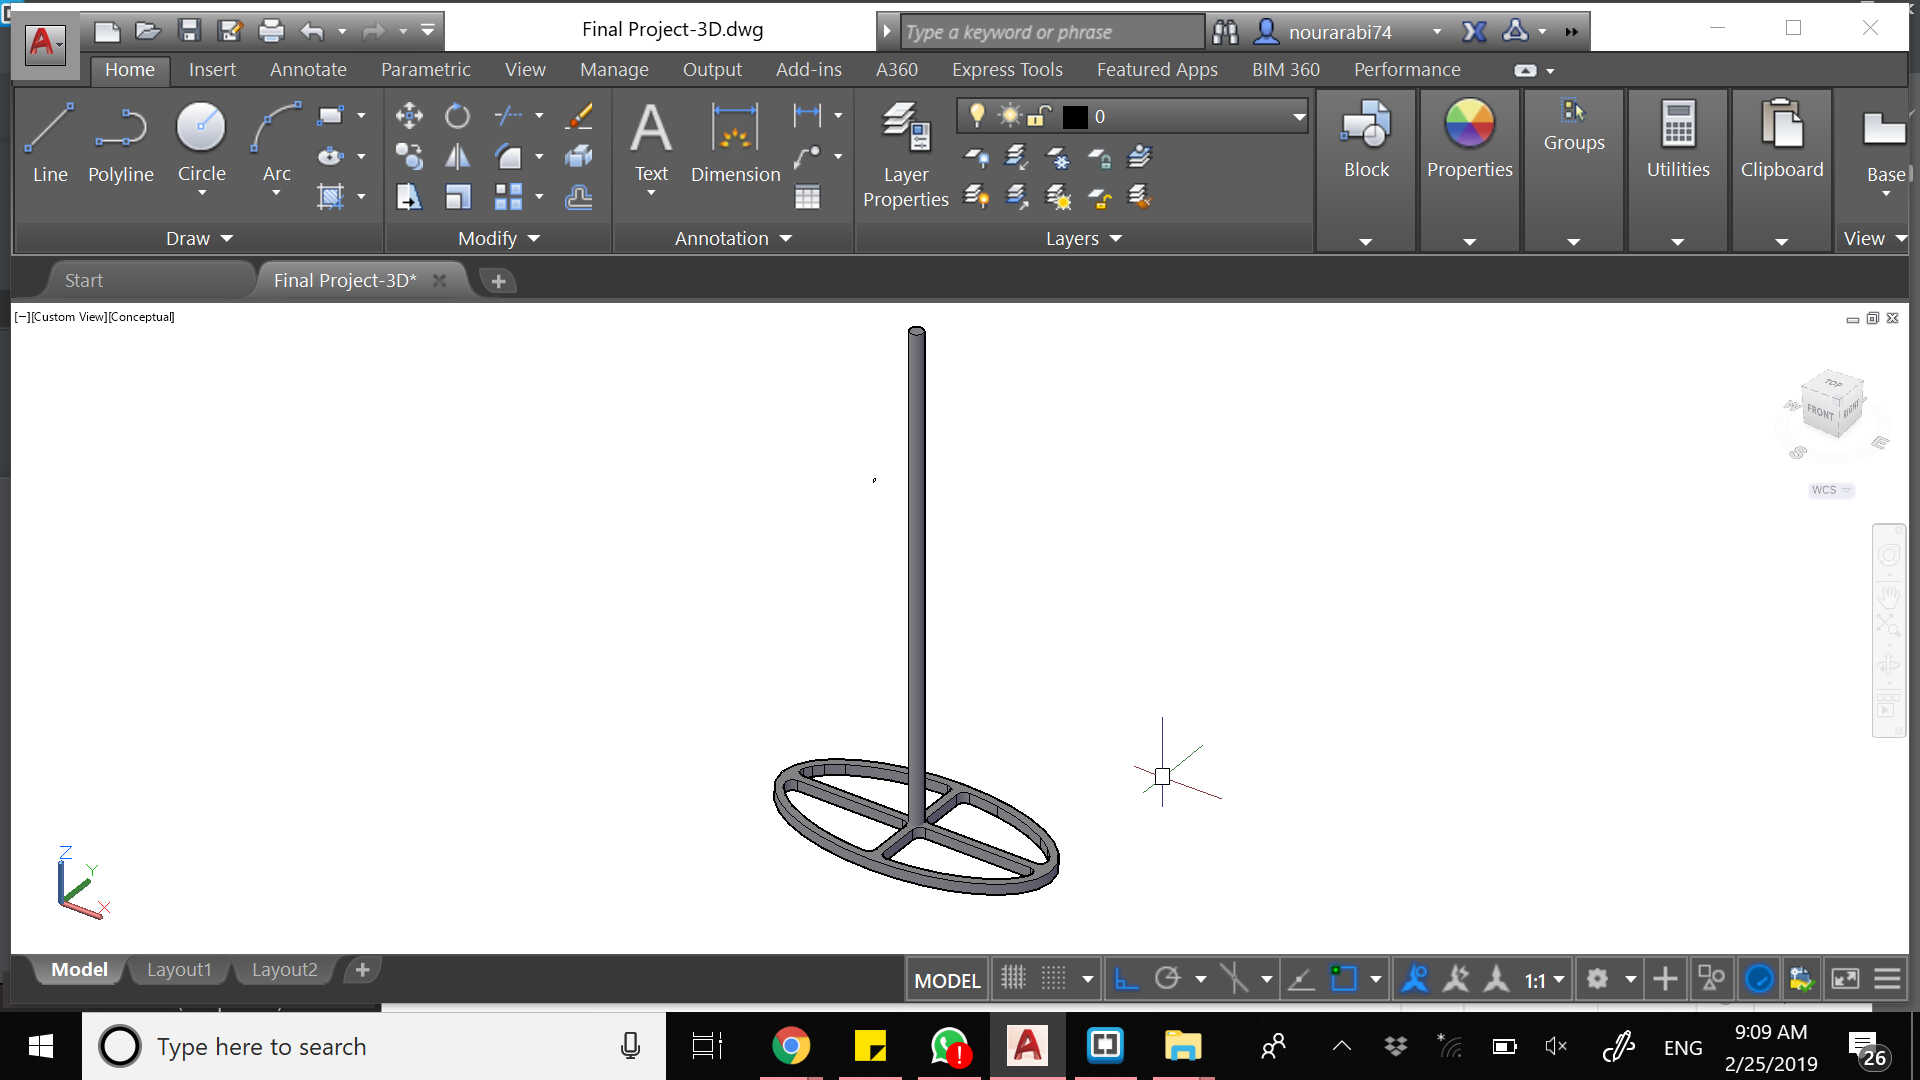
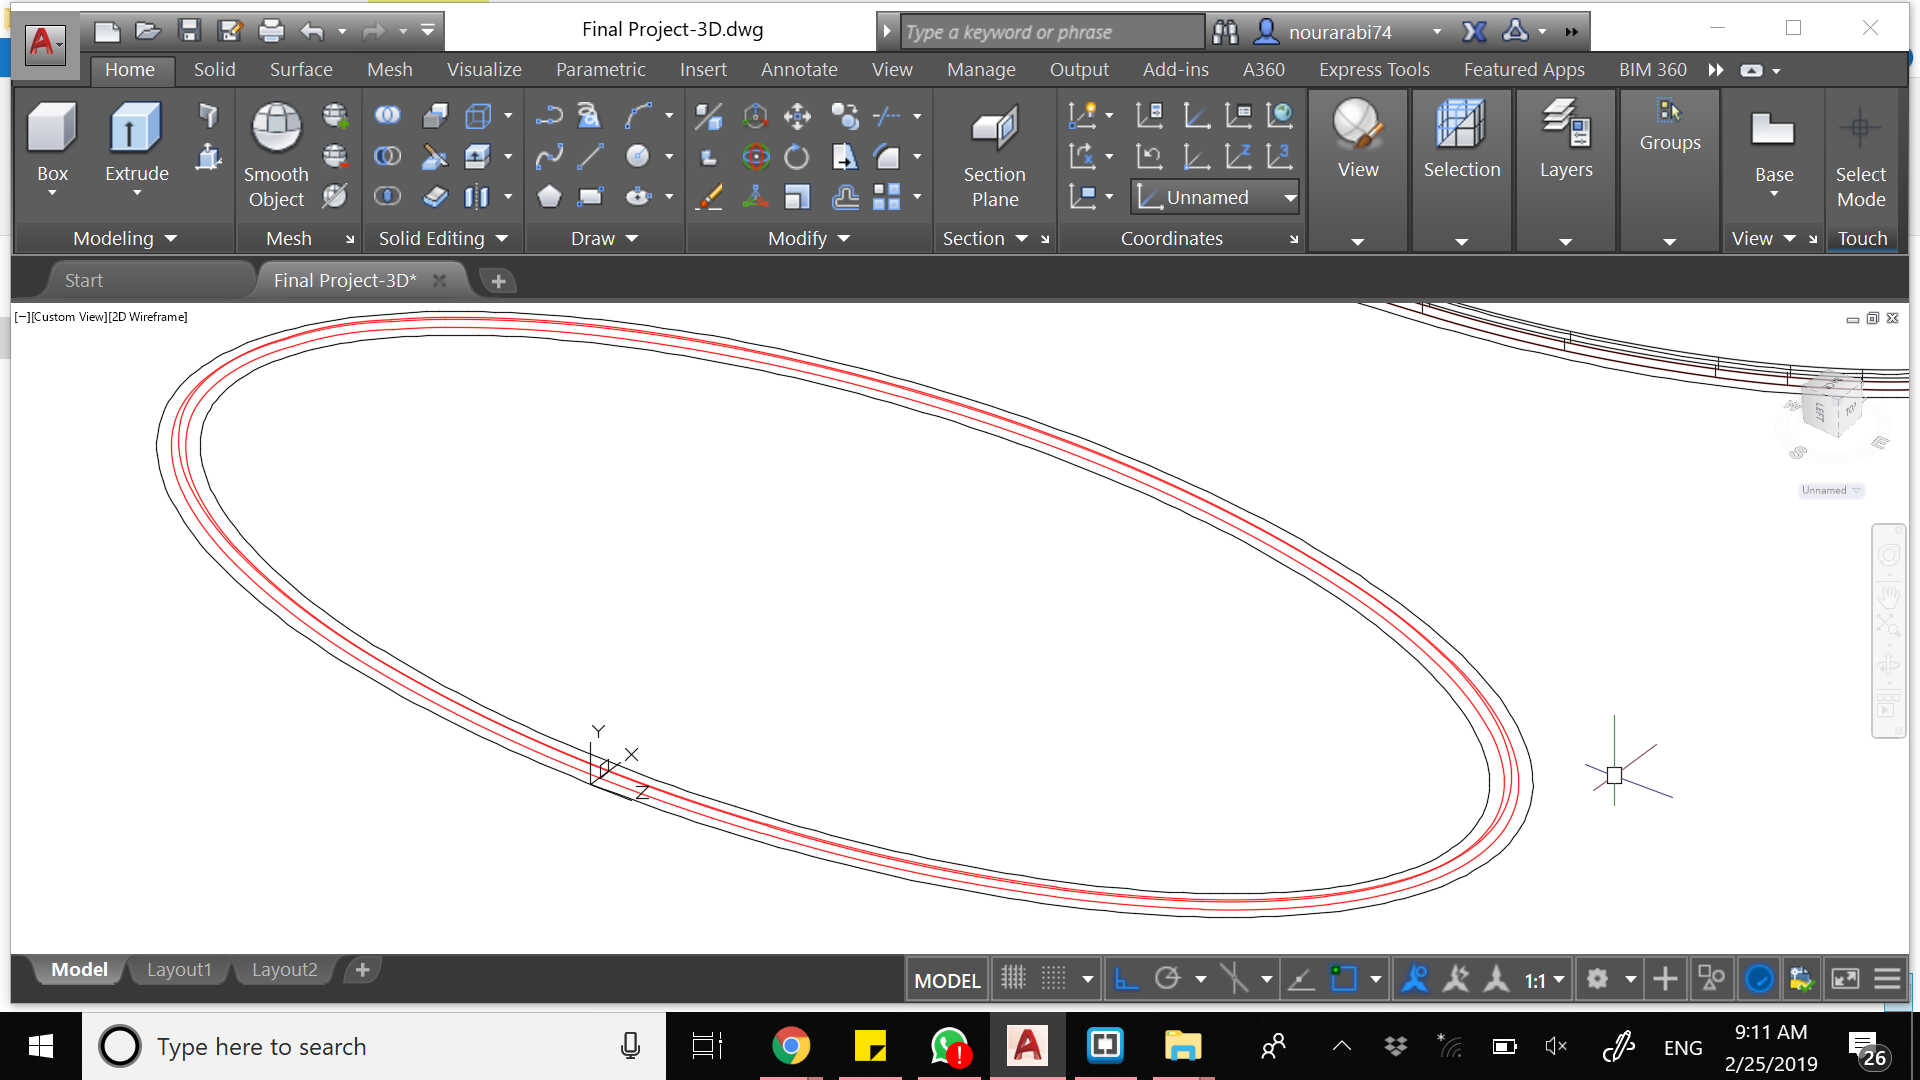
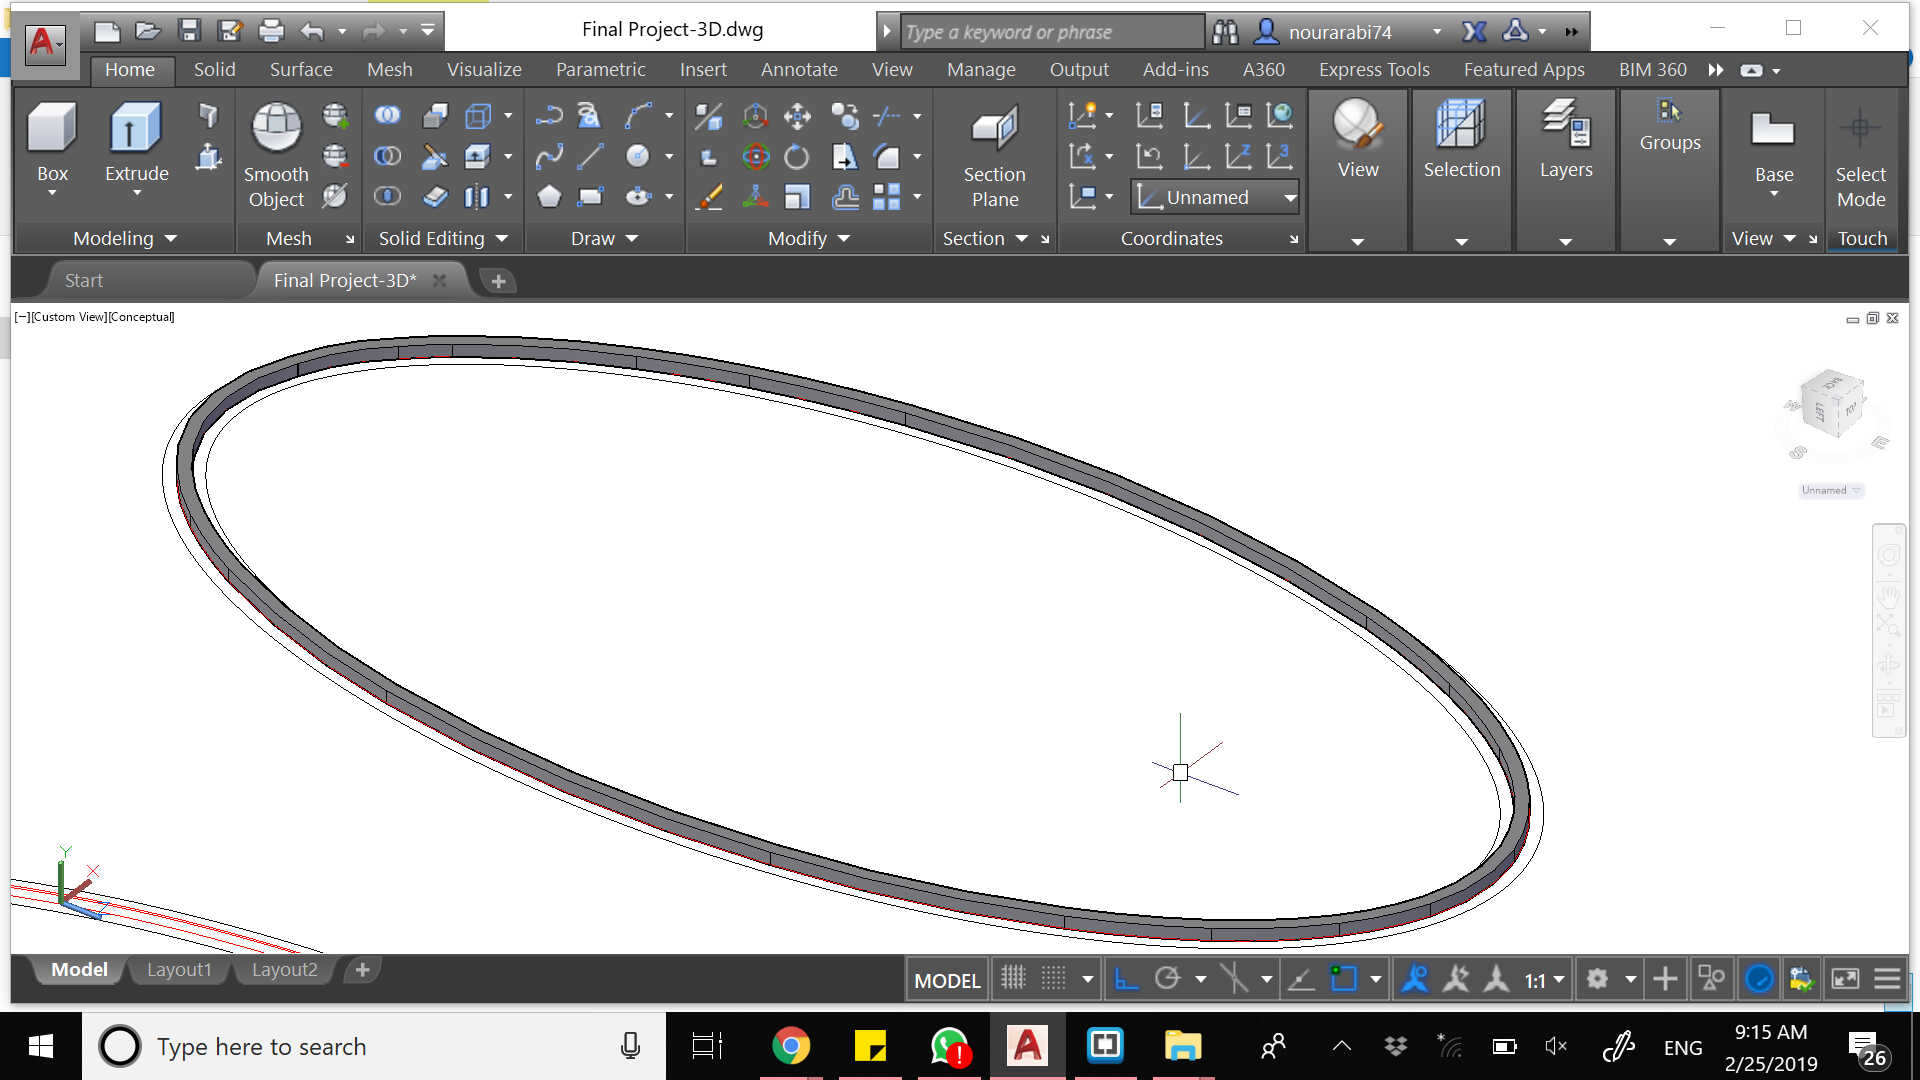
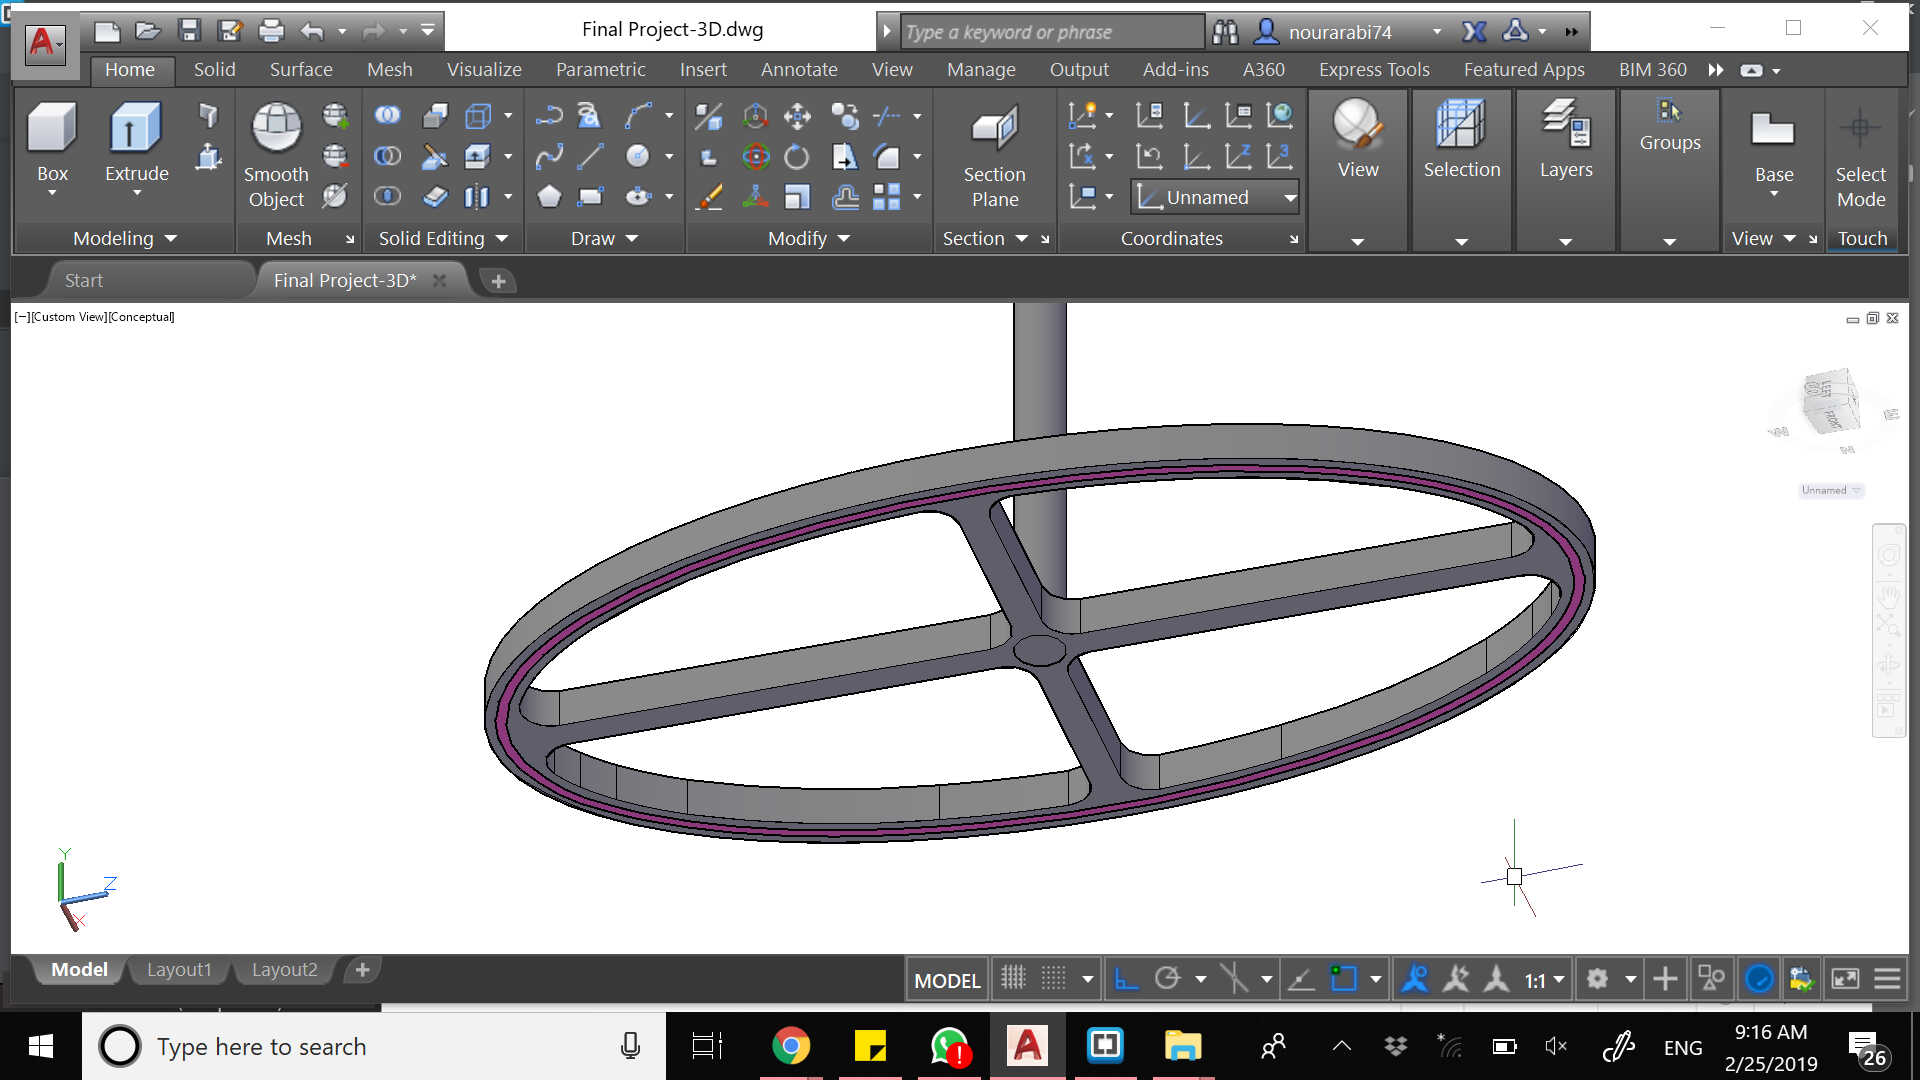
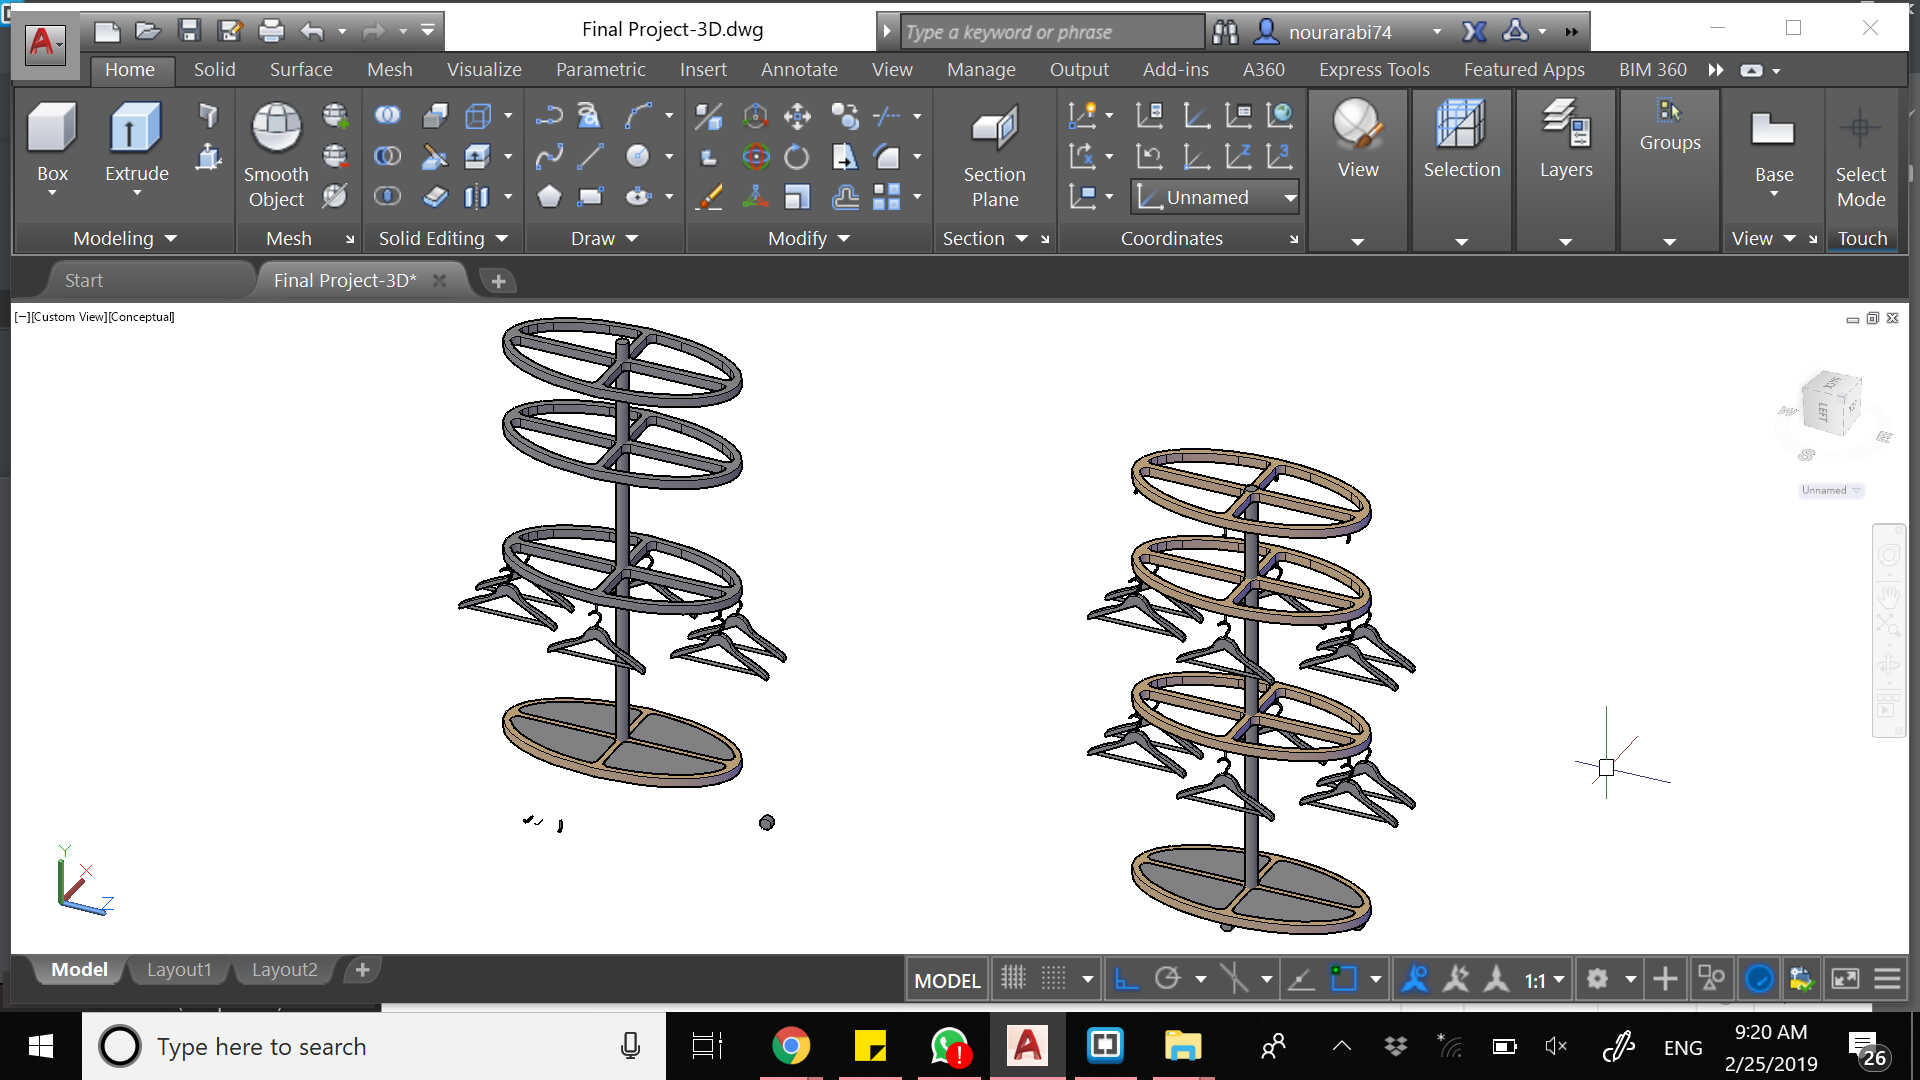
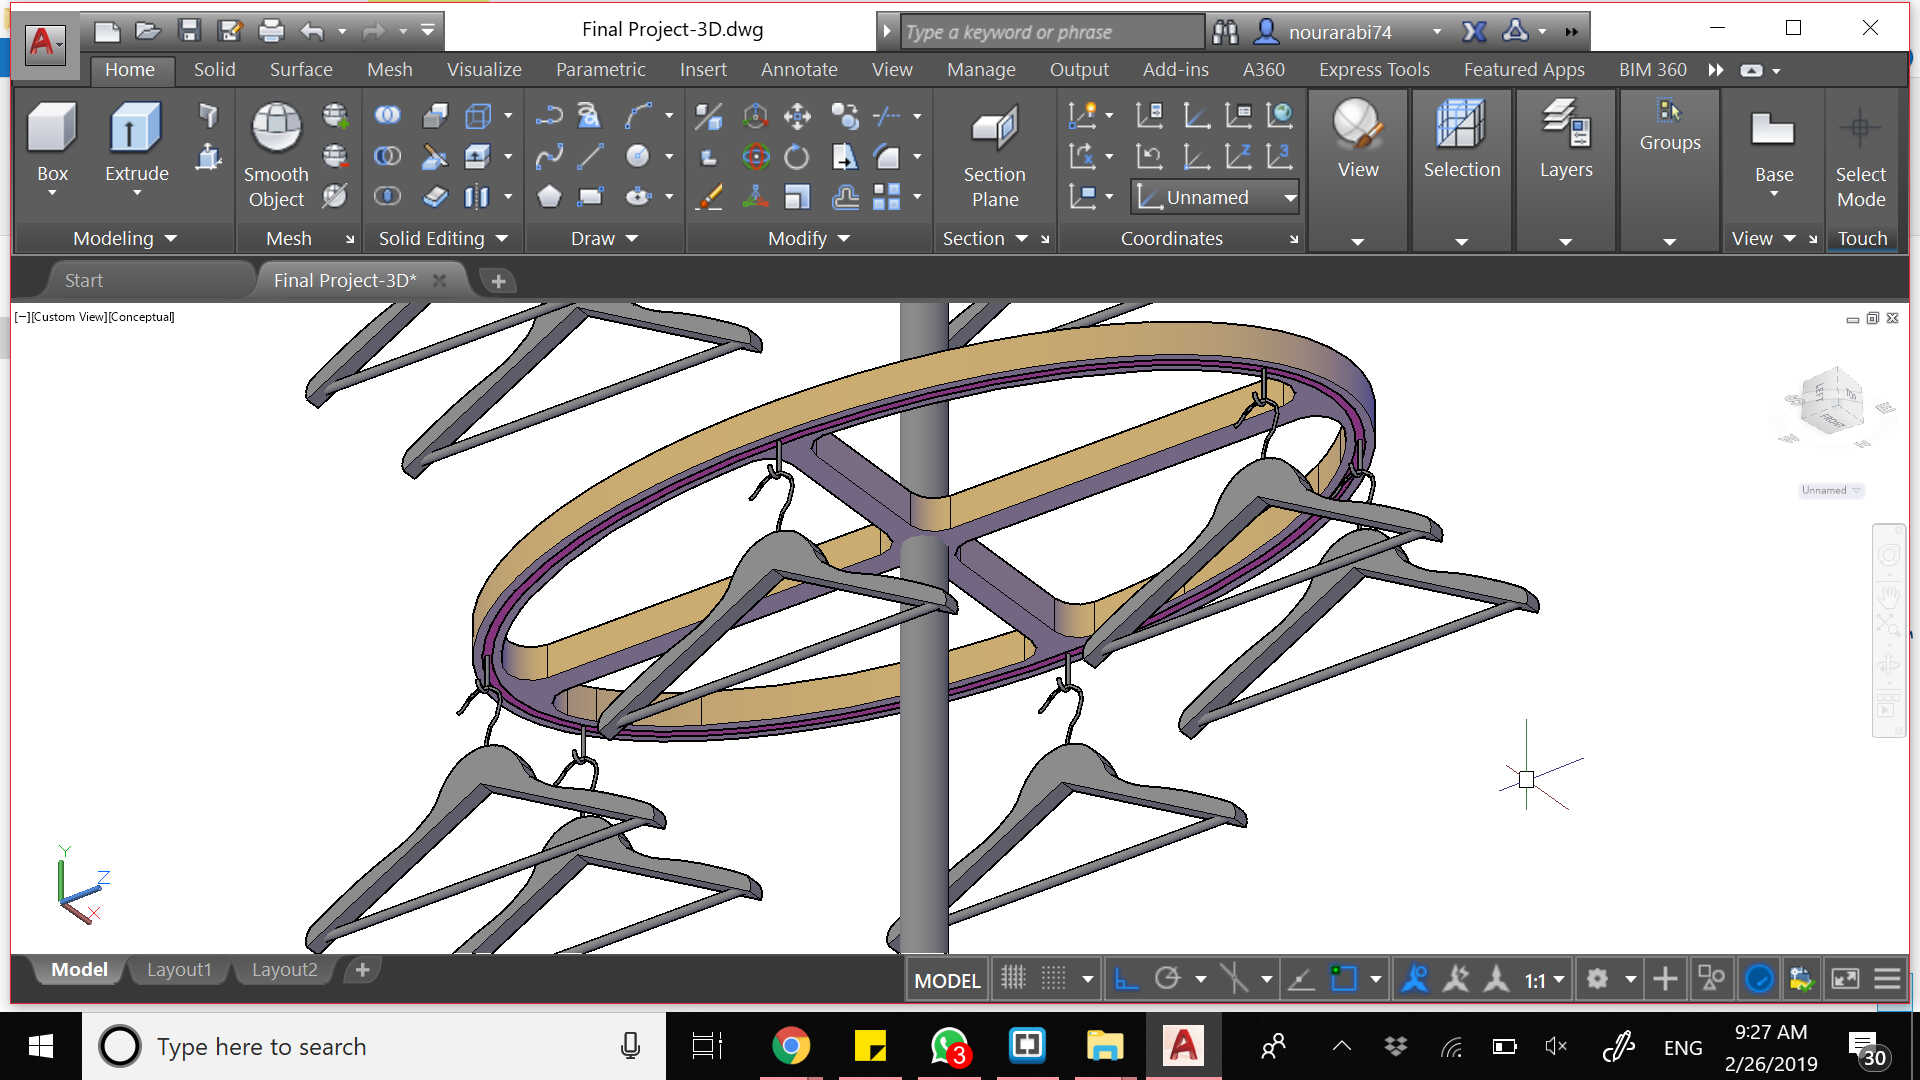
So the idea is to have a carousel or a conveyor that revolves around a center, while holding the items of clothing. There should be 4 carousels on top of each other; The first one for hats, second for shirts, third for trousers and last for shoes. Let's first refer to one of my initial sketches

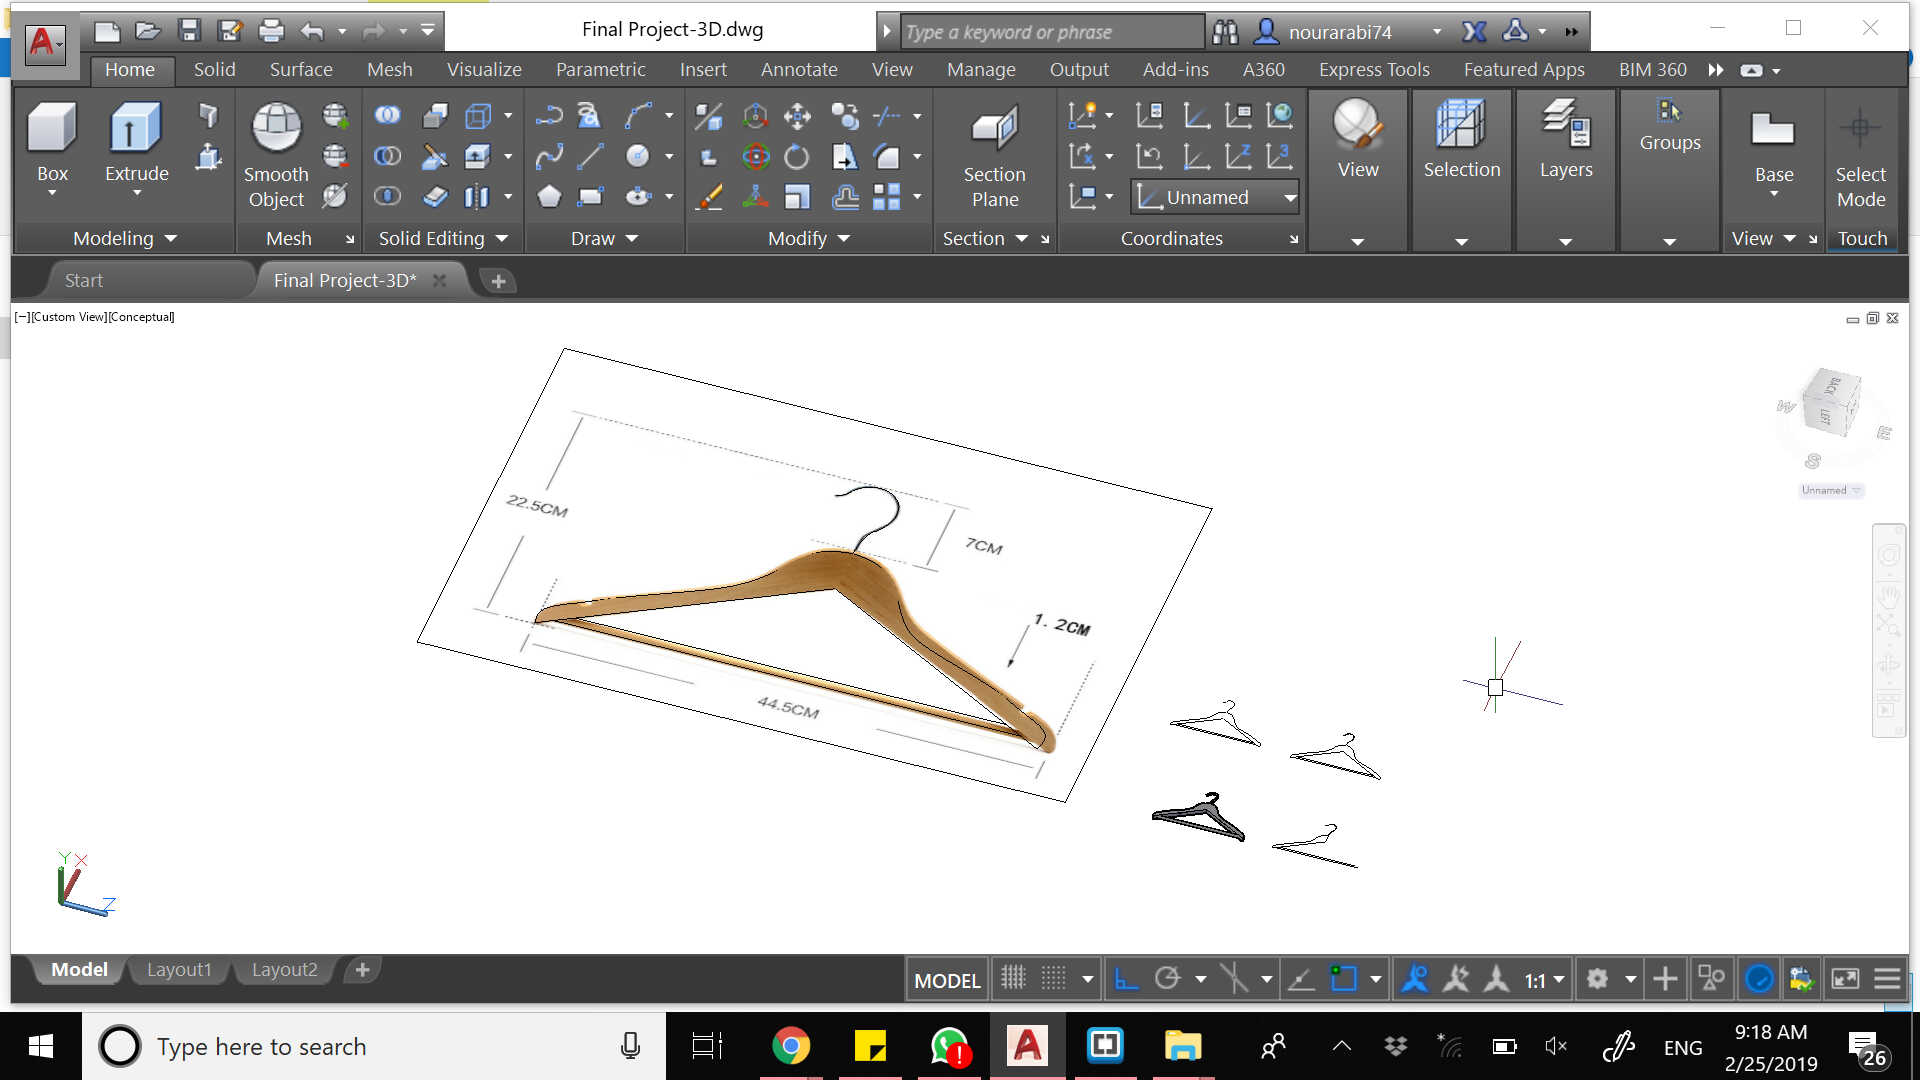
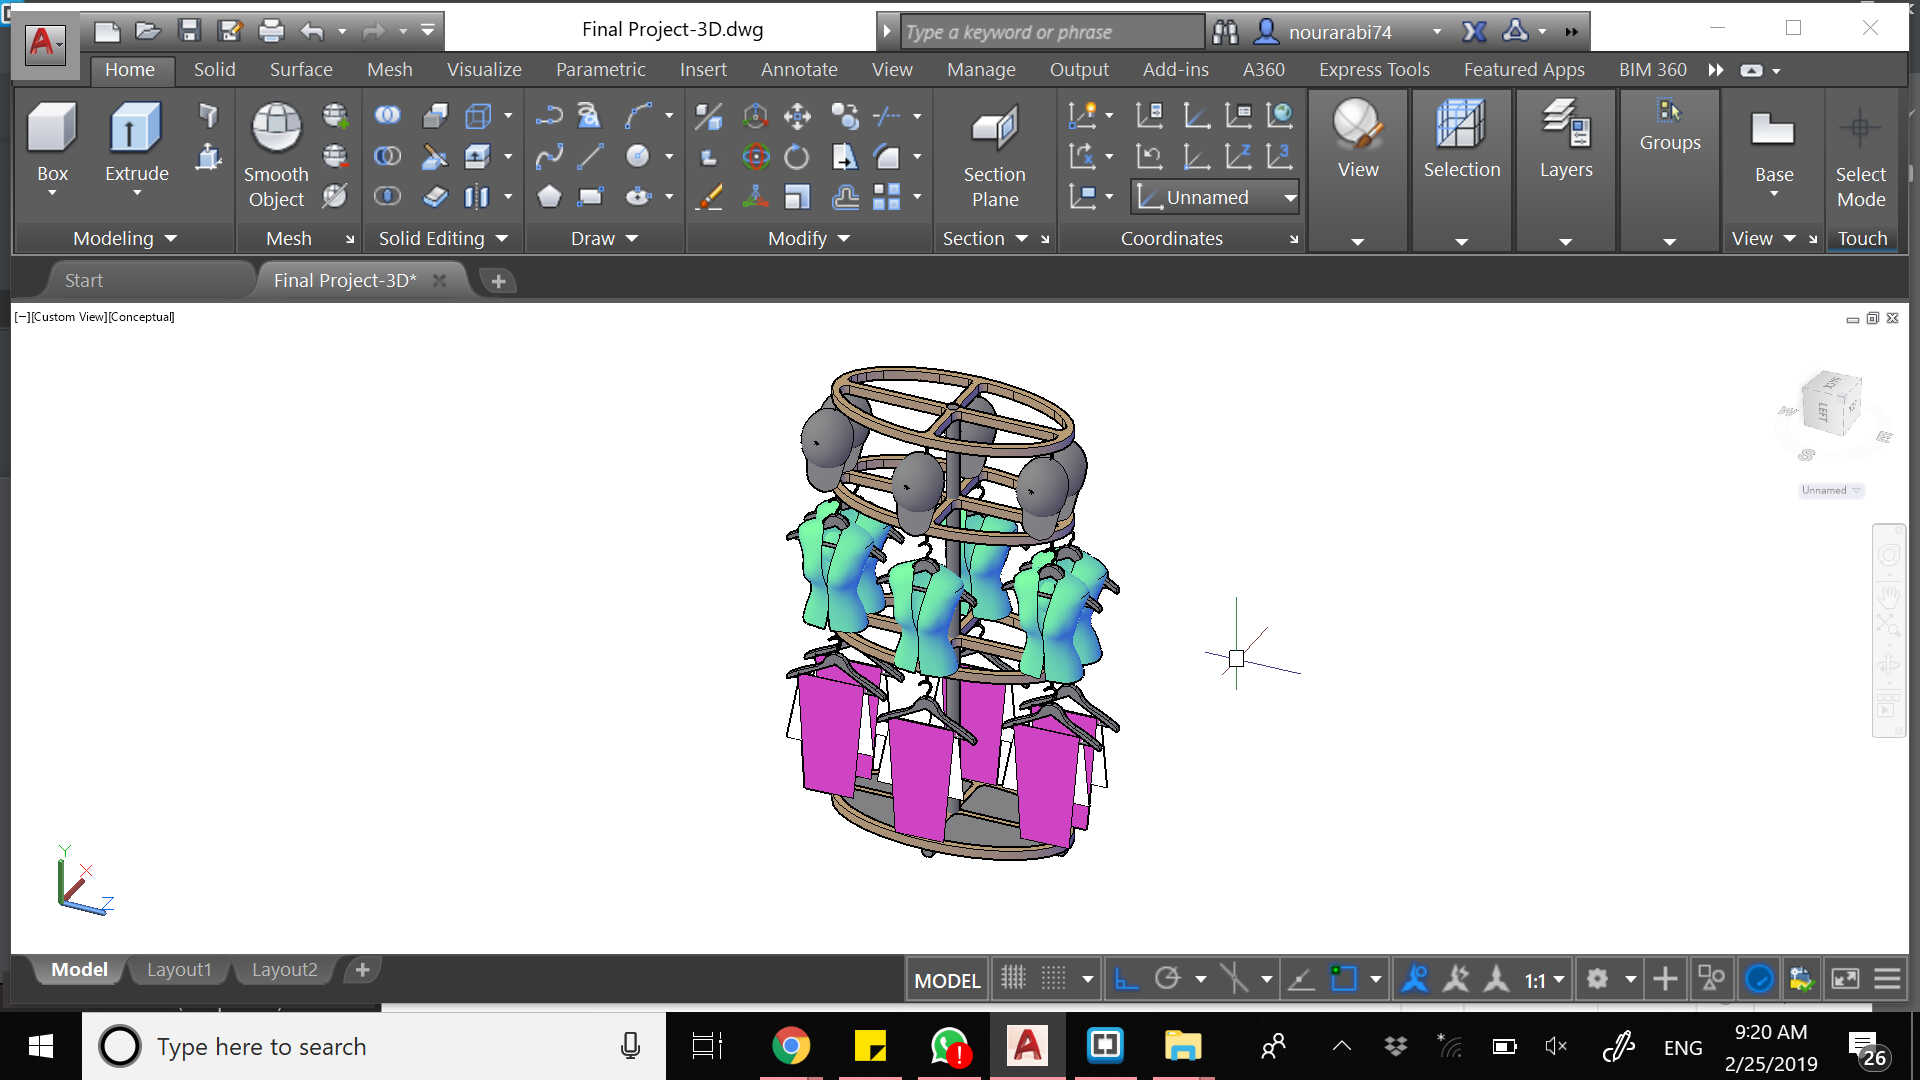
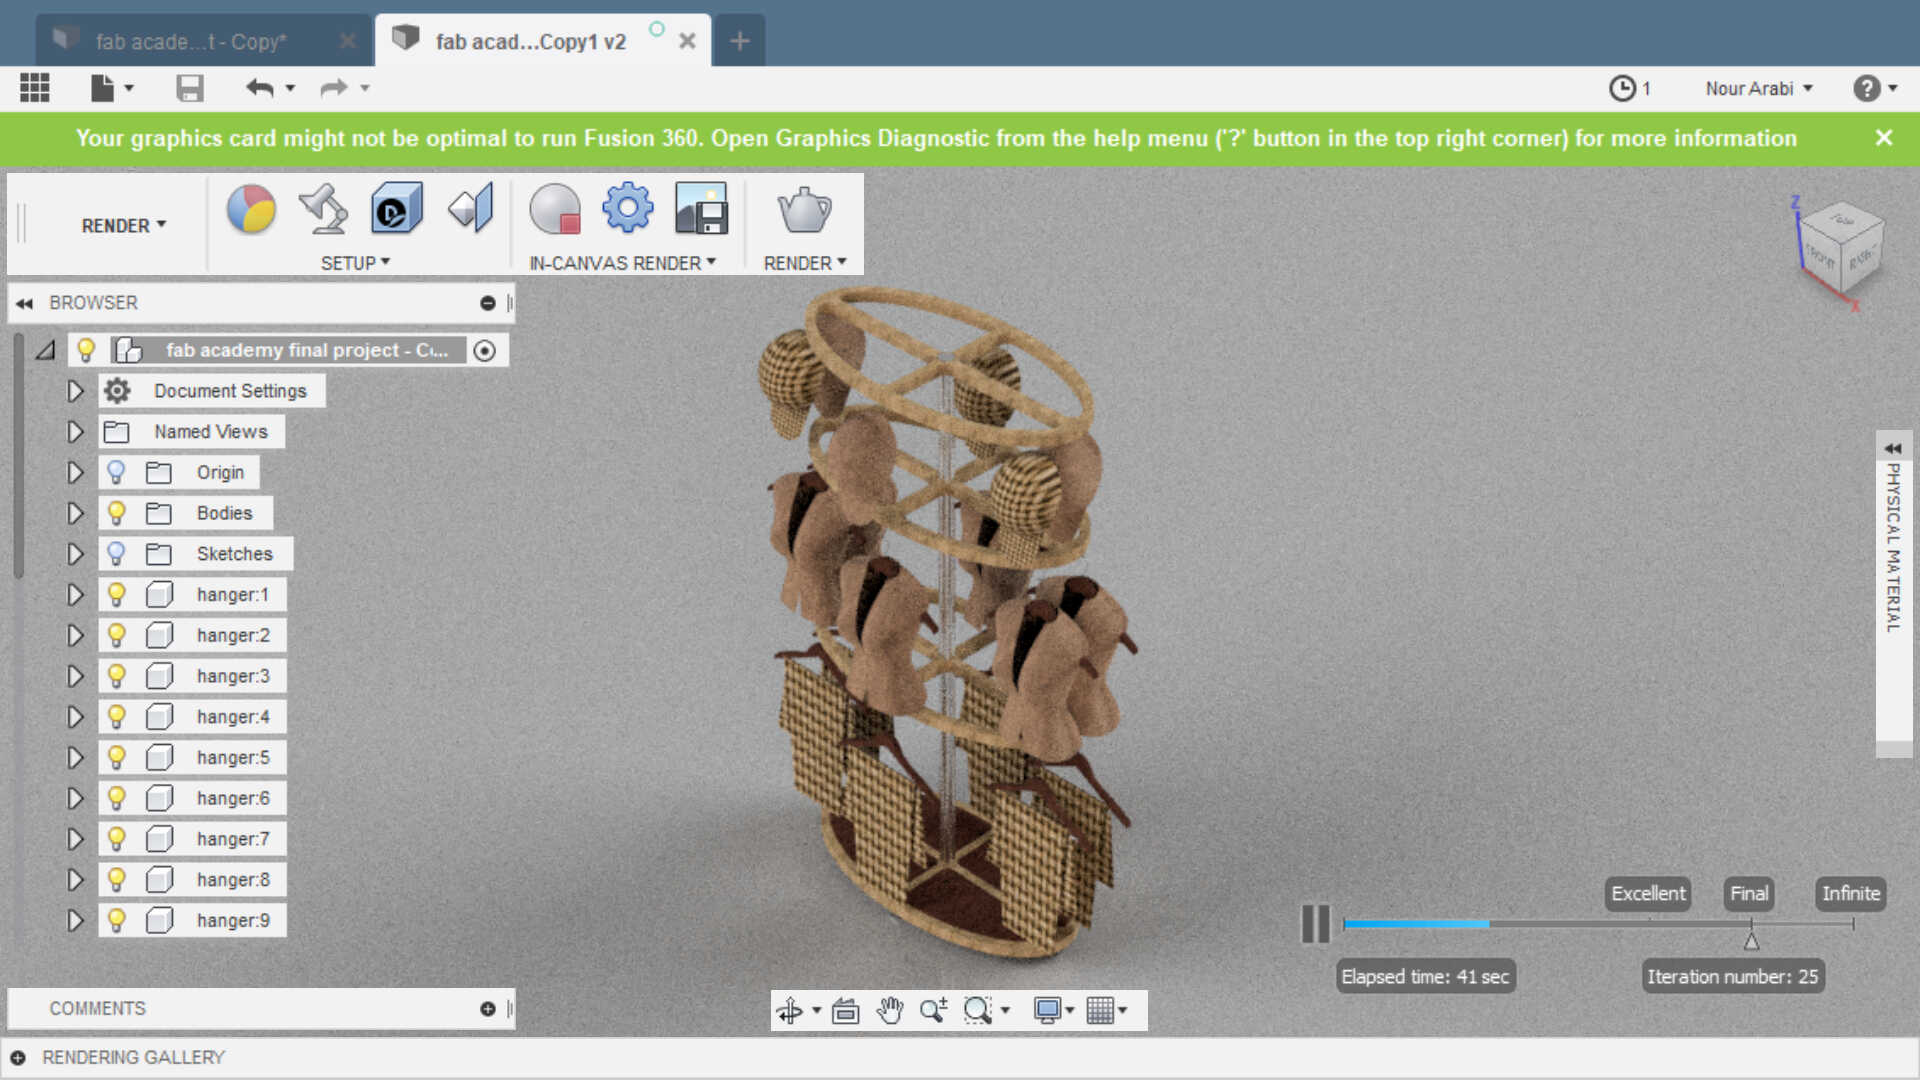
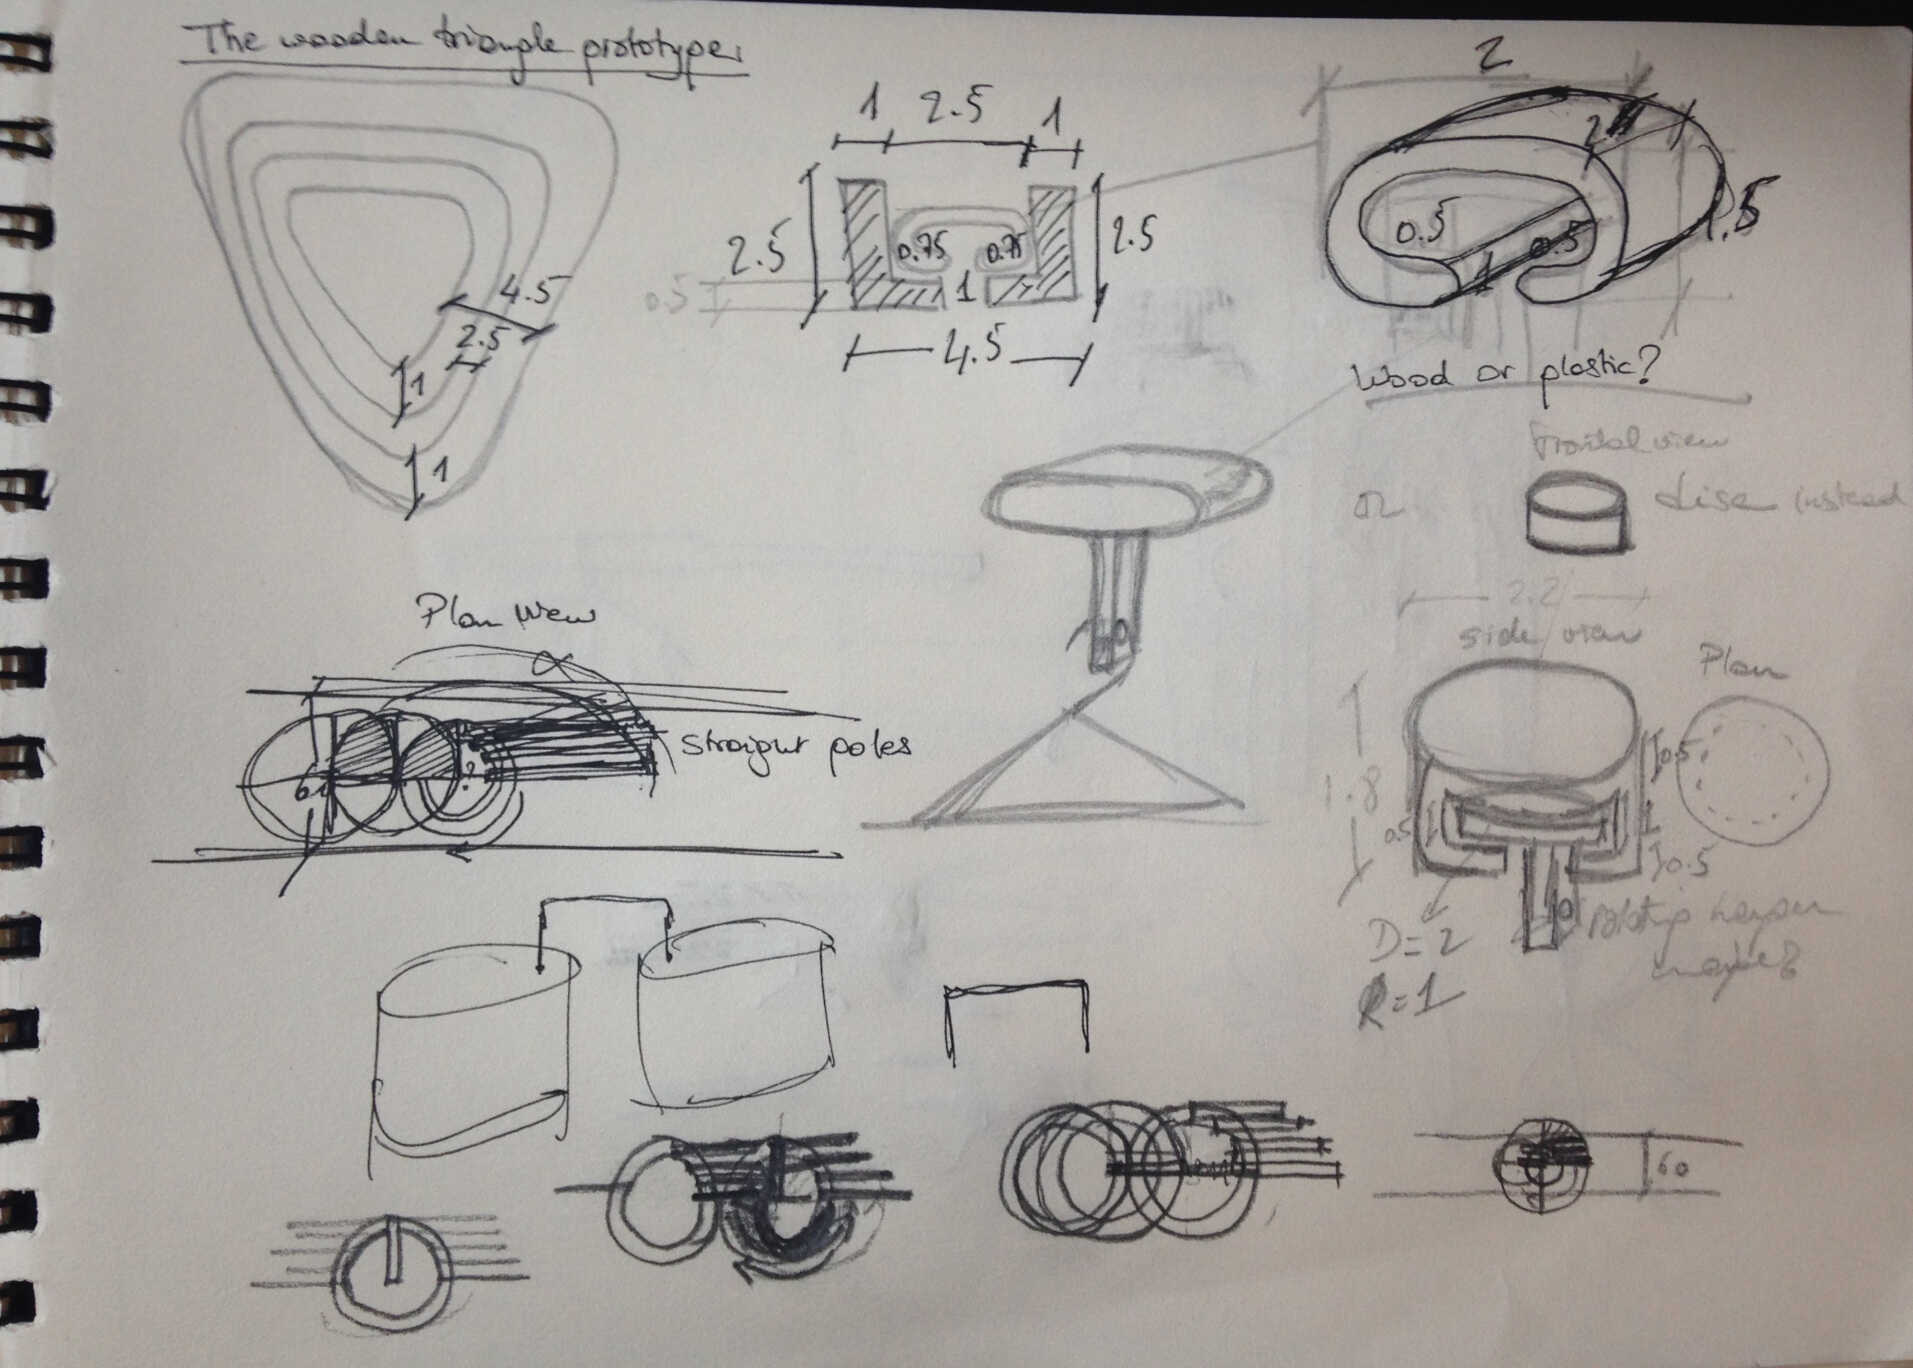
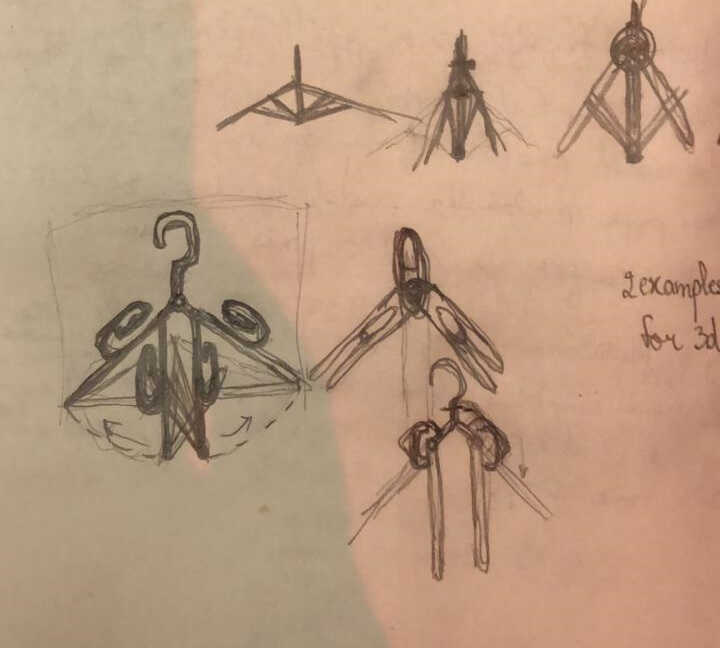
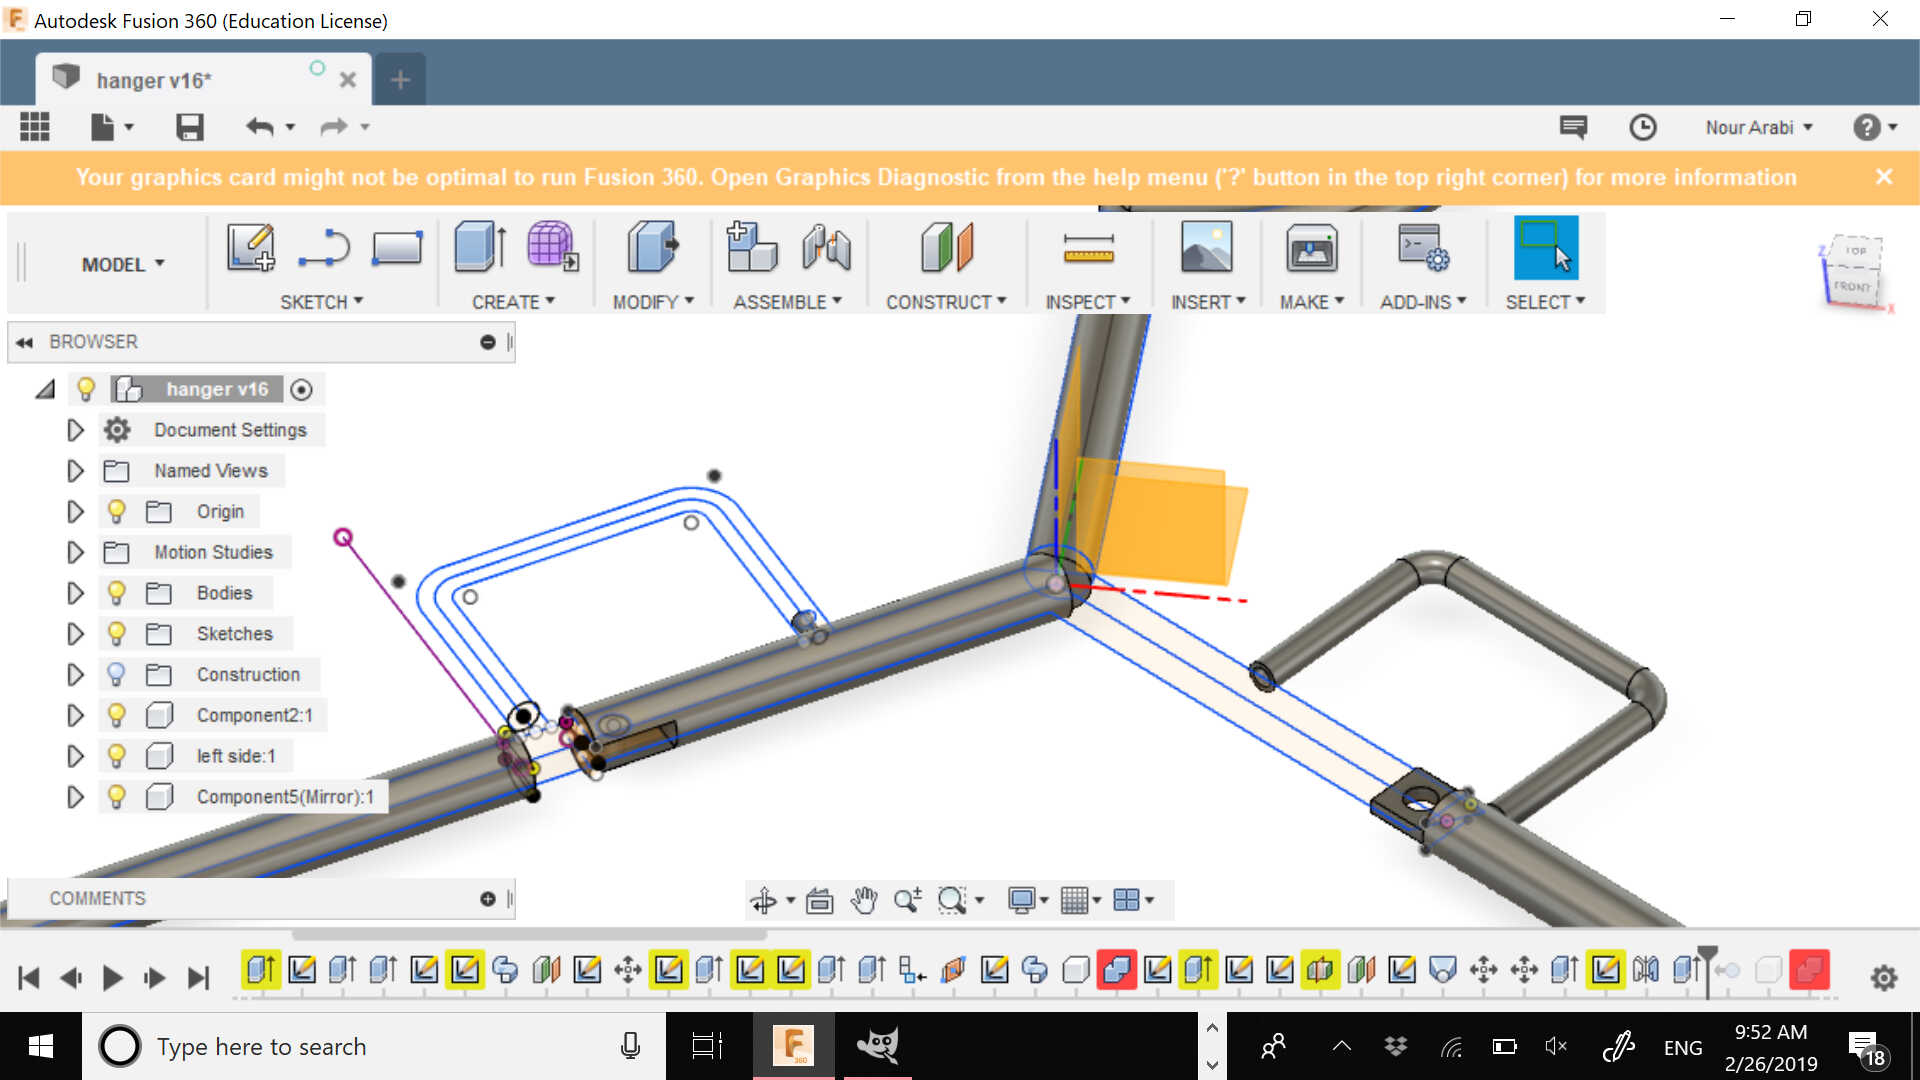
I decided to design my own hangers. I was thinking of foldable ones so that it would be easier to hang the shirts. The animation and joints commands in Fusion were very interesting so I wanted to try them by having some mechanism in my design -even if it does not really work in reality
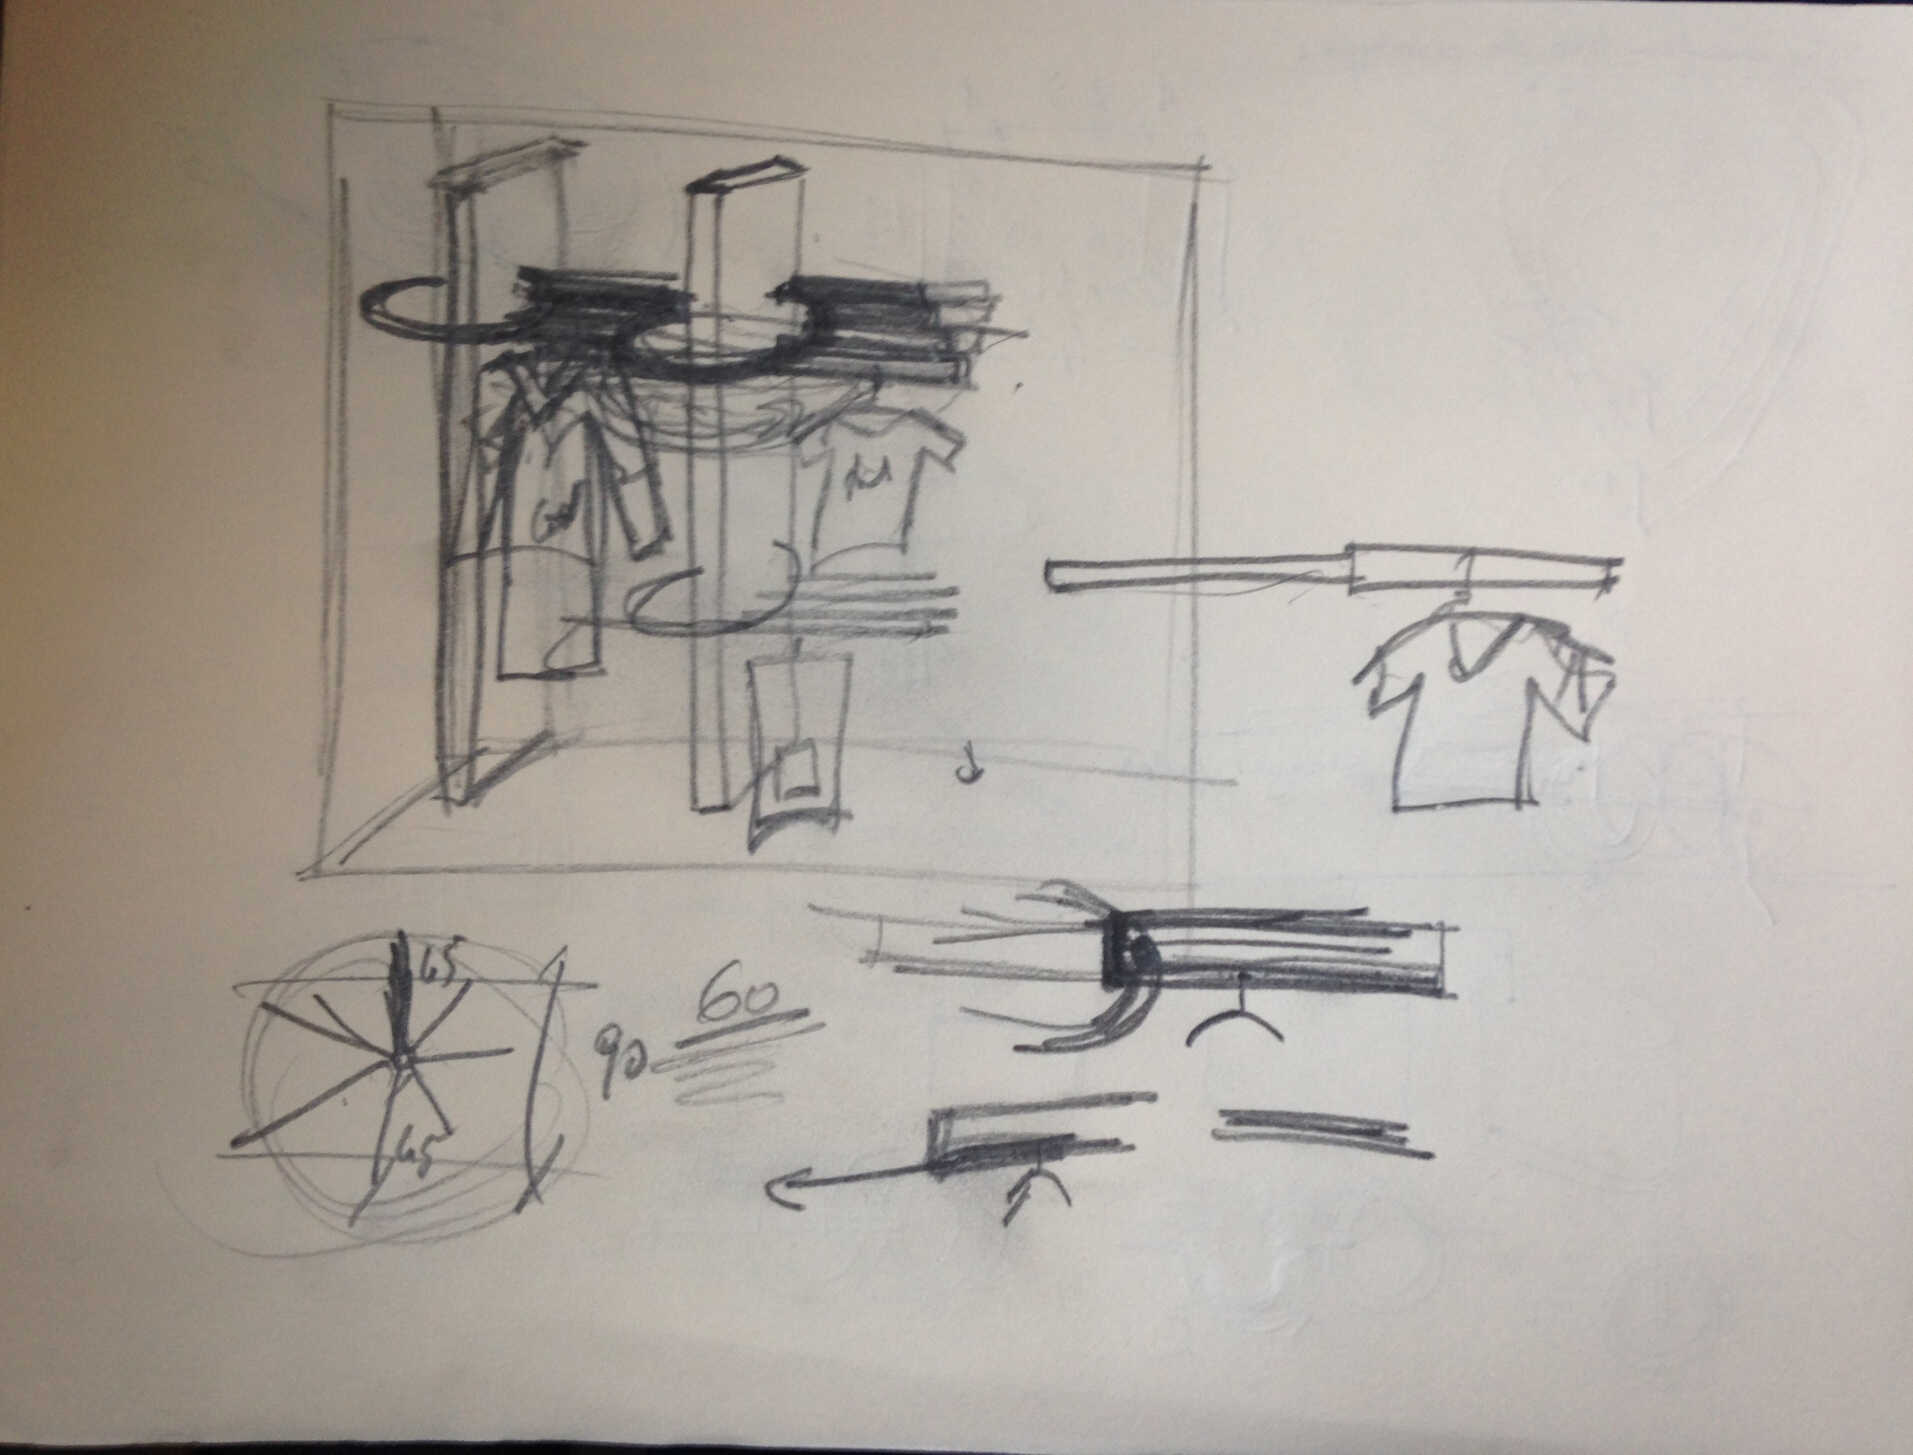
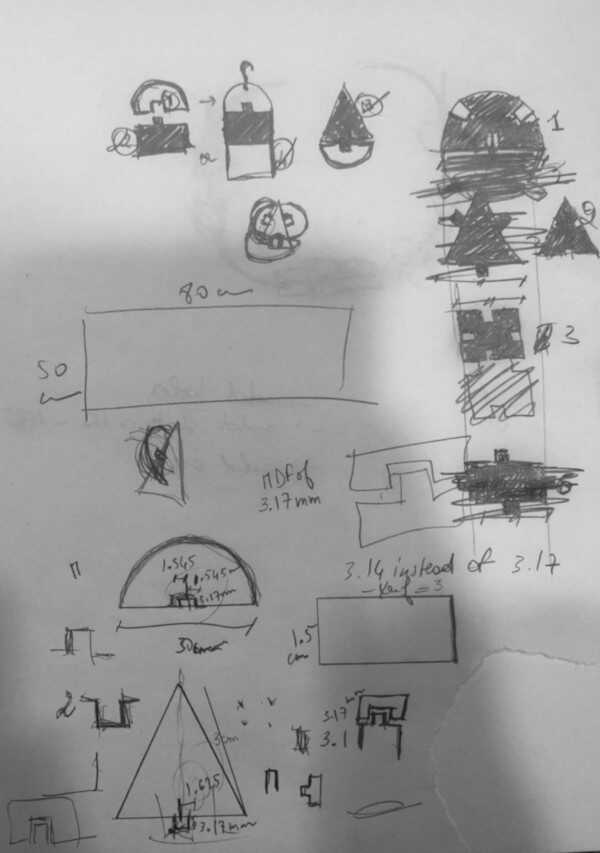
I started doing some sketches
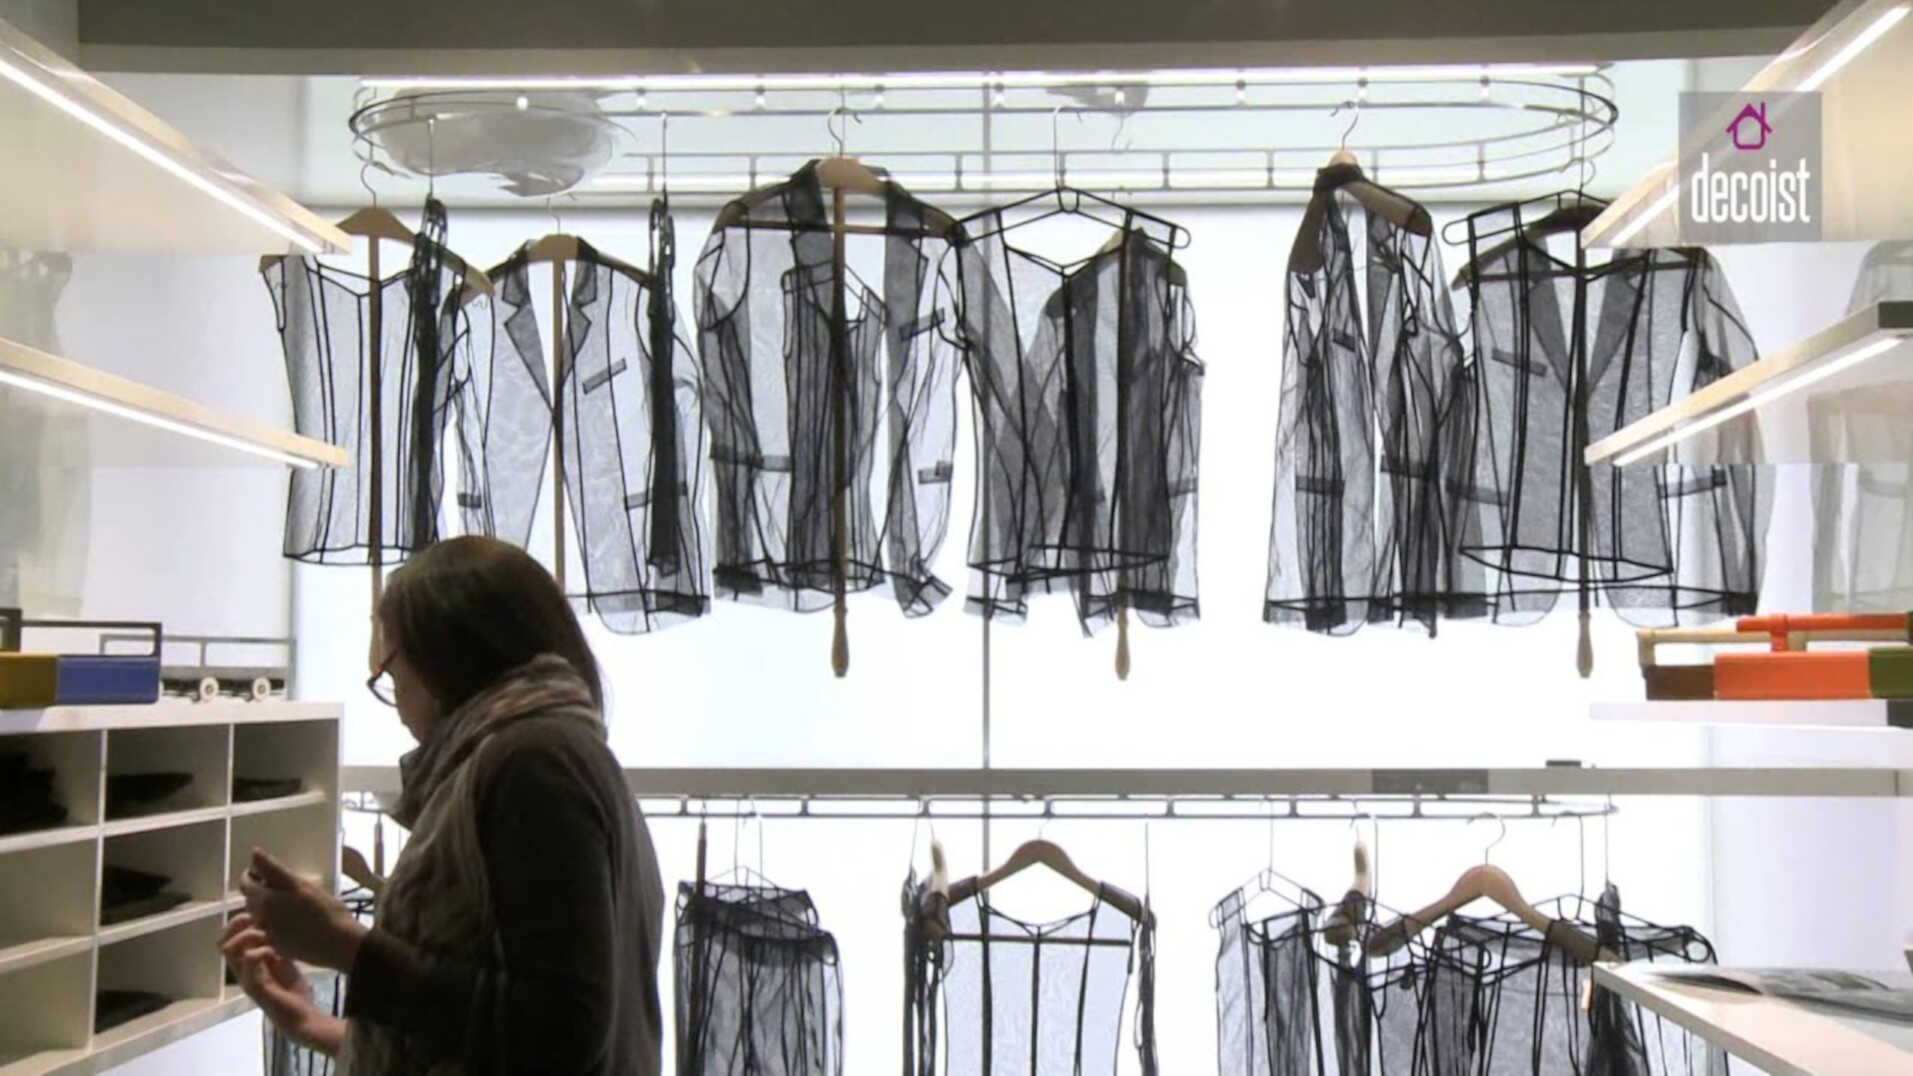
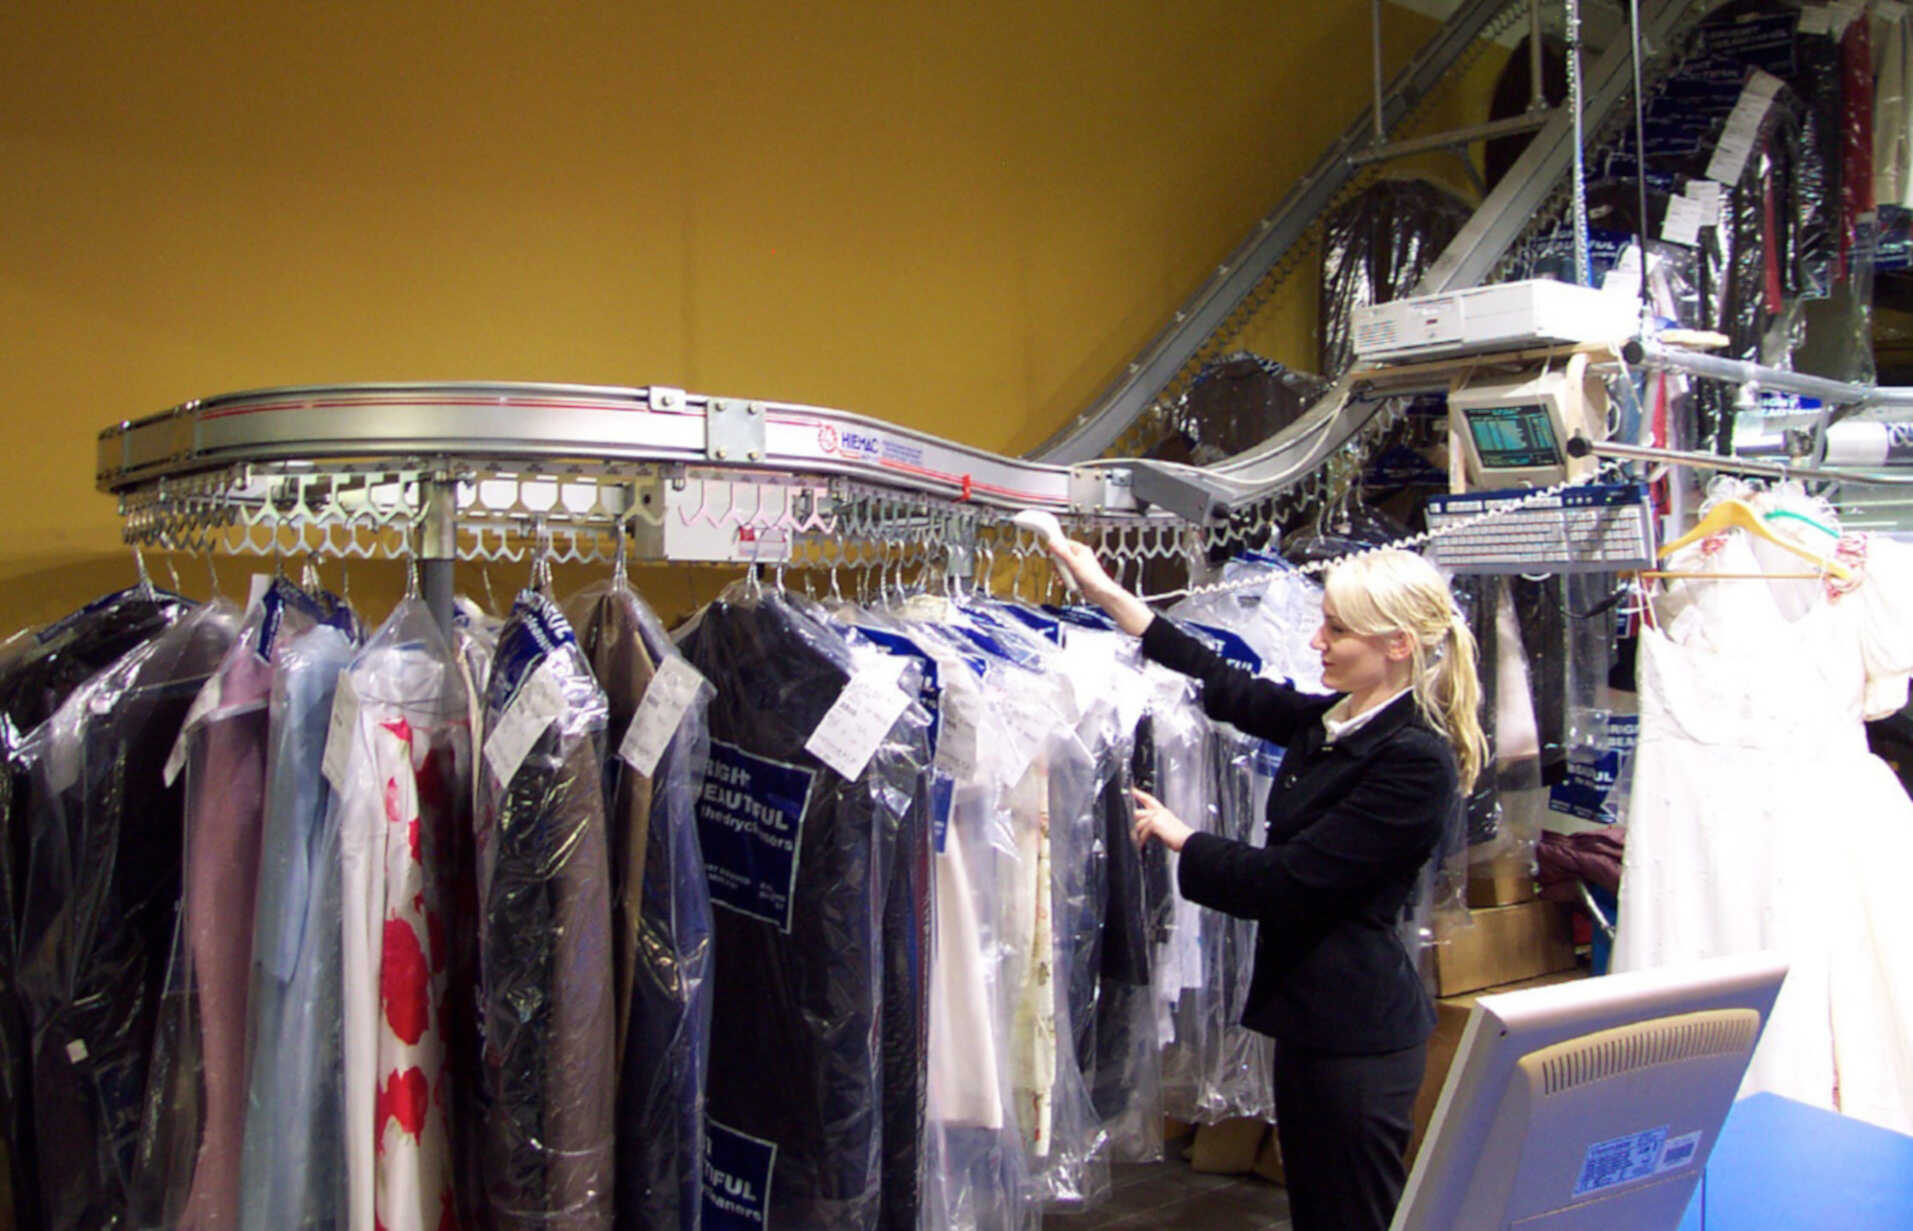
And some research
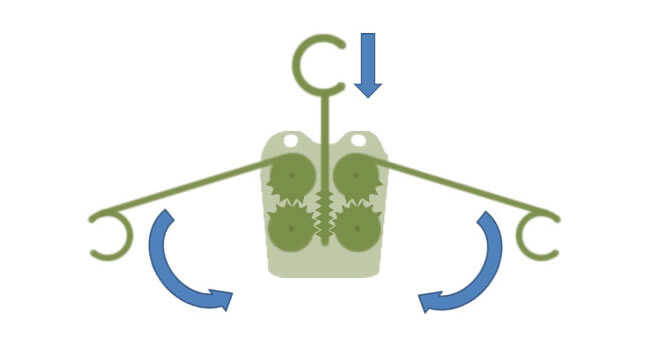
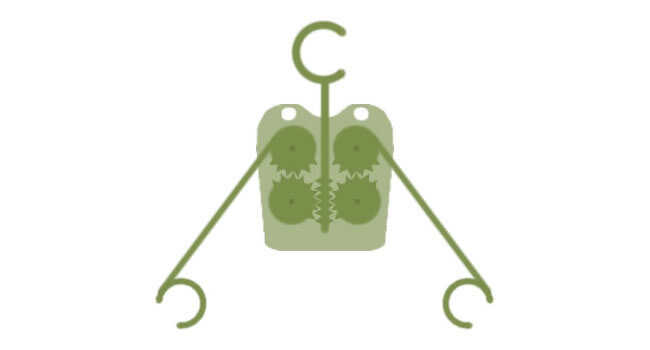
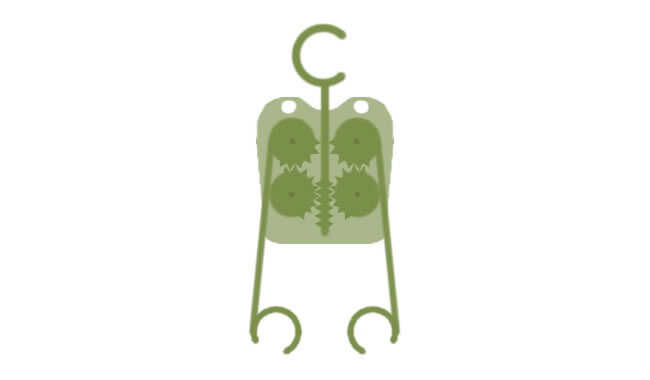
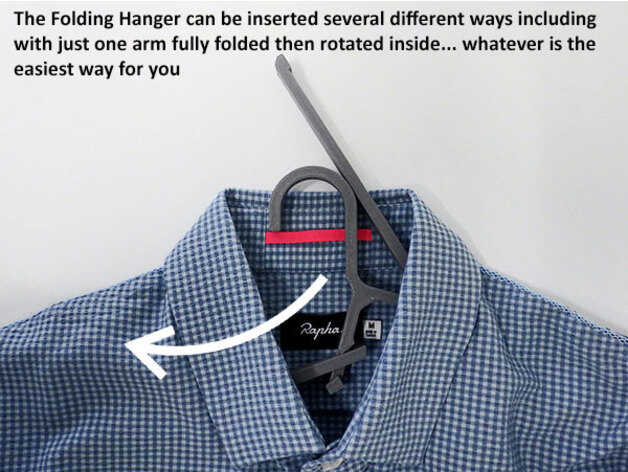
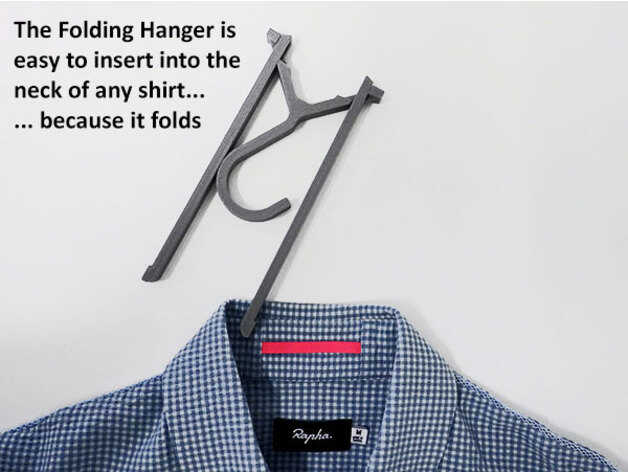
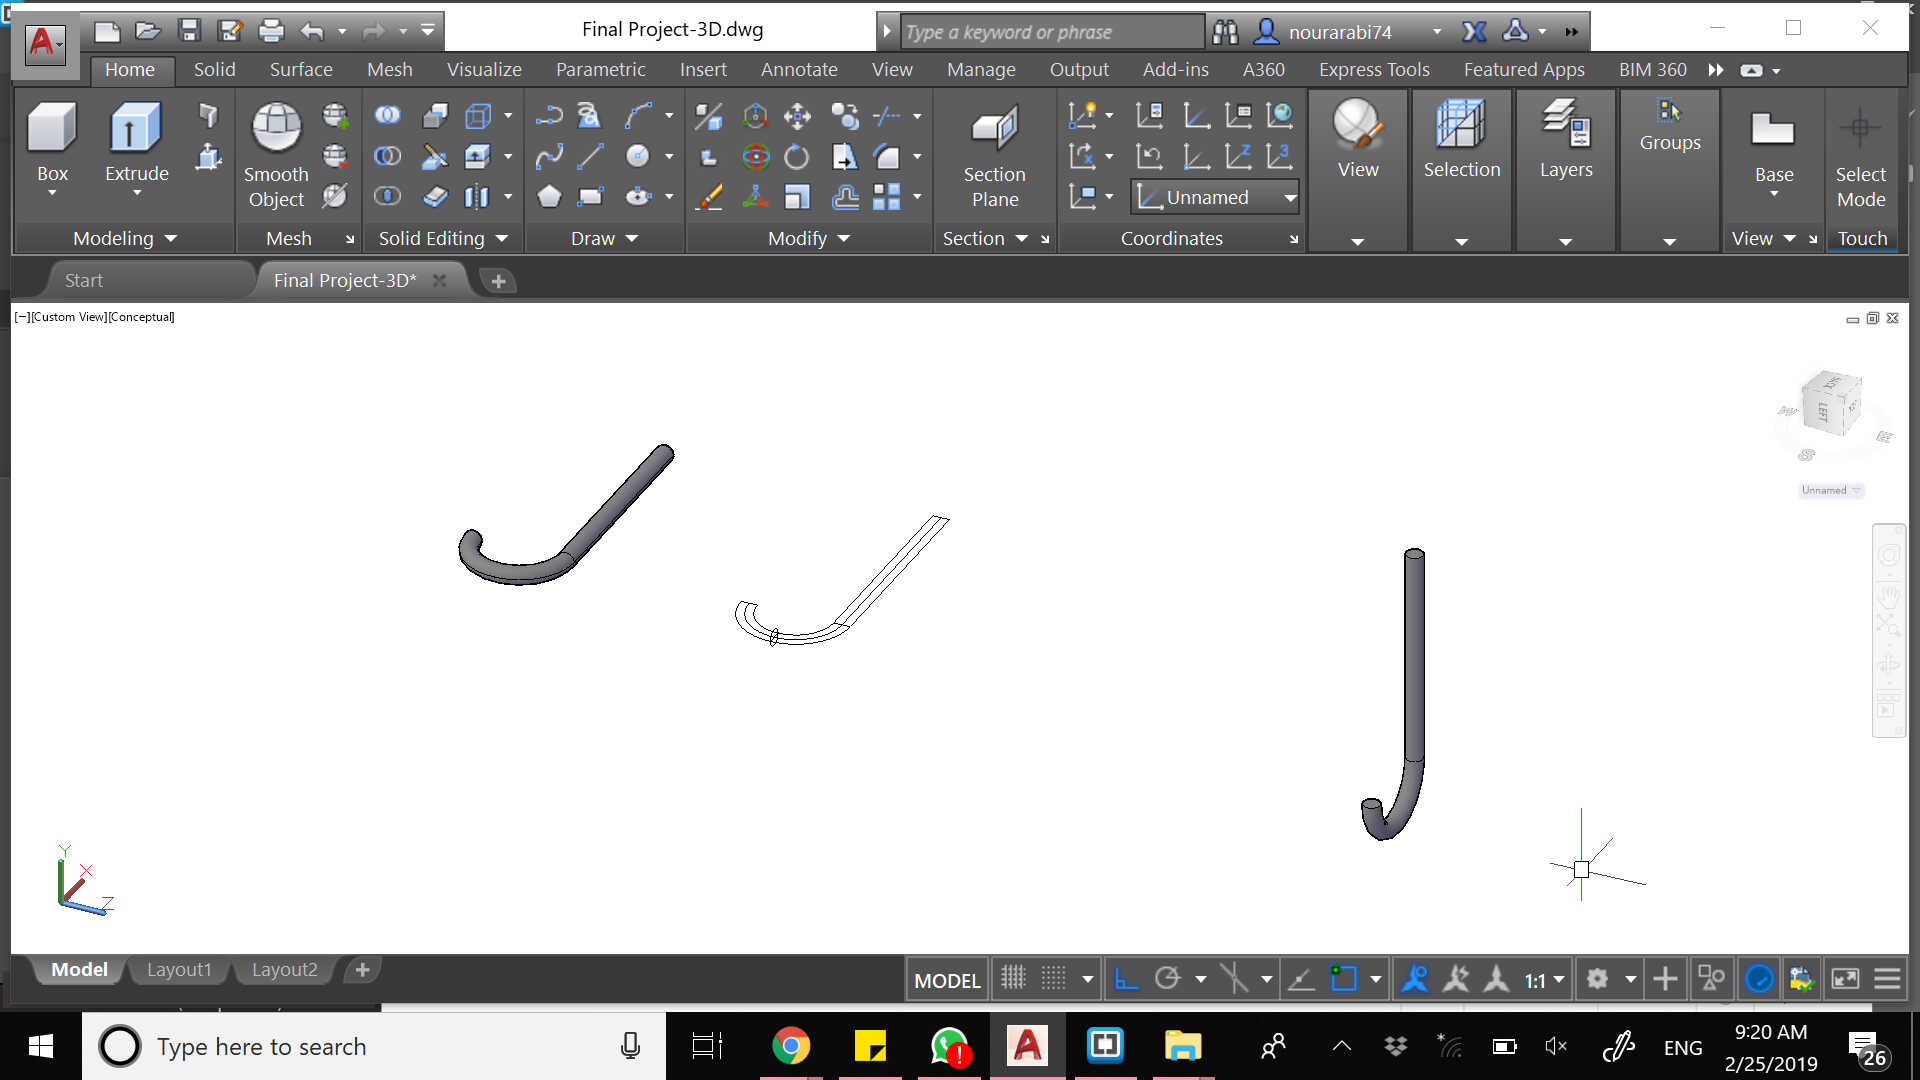
I wanted the hanger to fold upwards and not downwards. So I started drawing on Fusion 360 using simple sketch commands such as line and arc
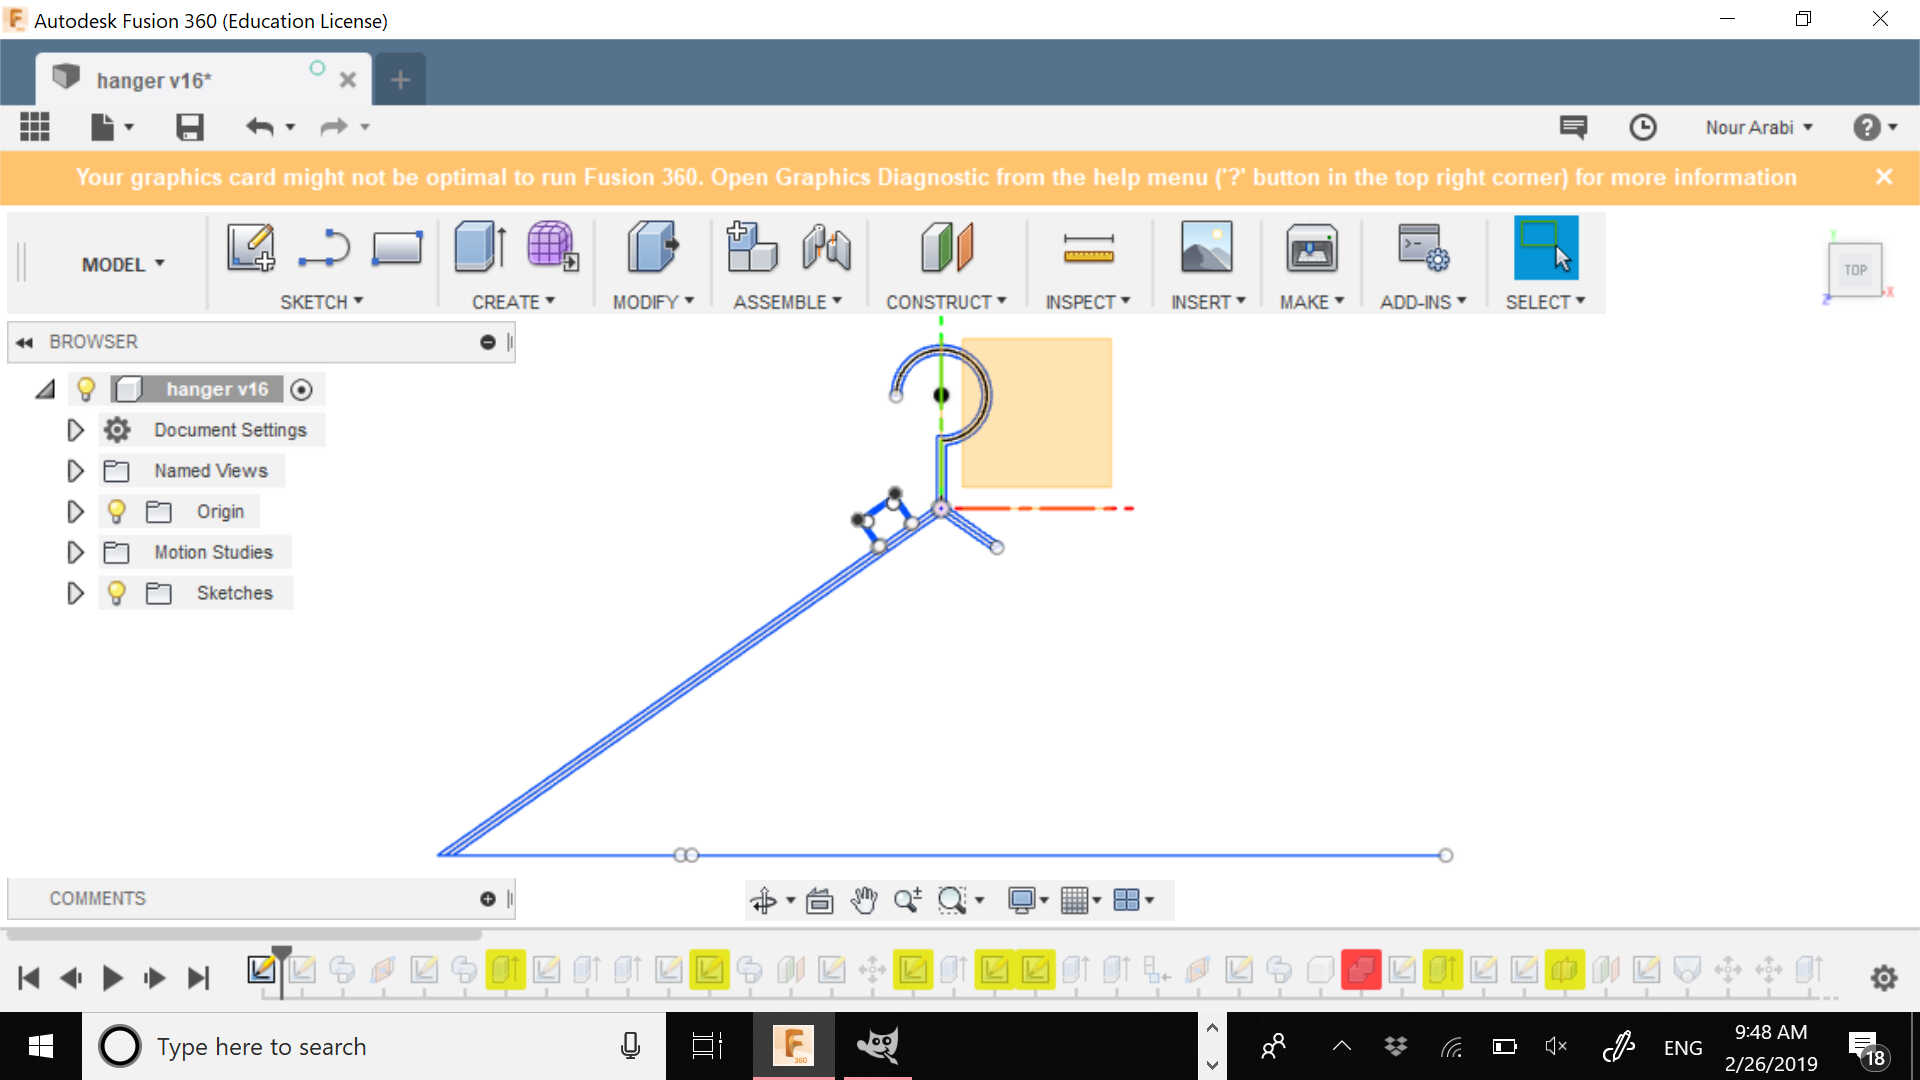

In the video below, you may find all the steps for drawing the hanger
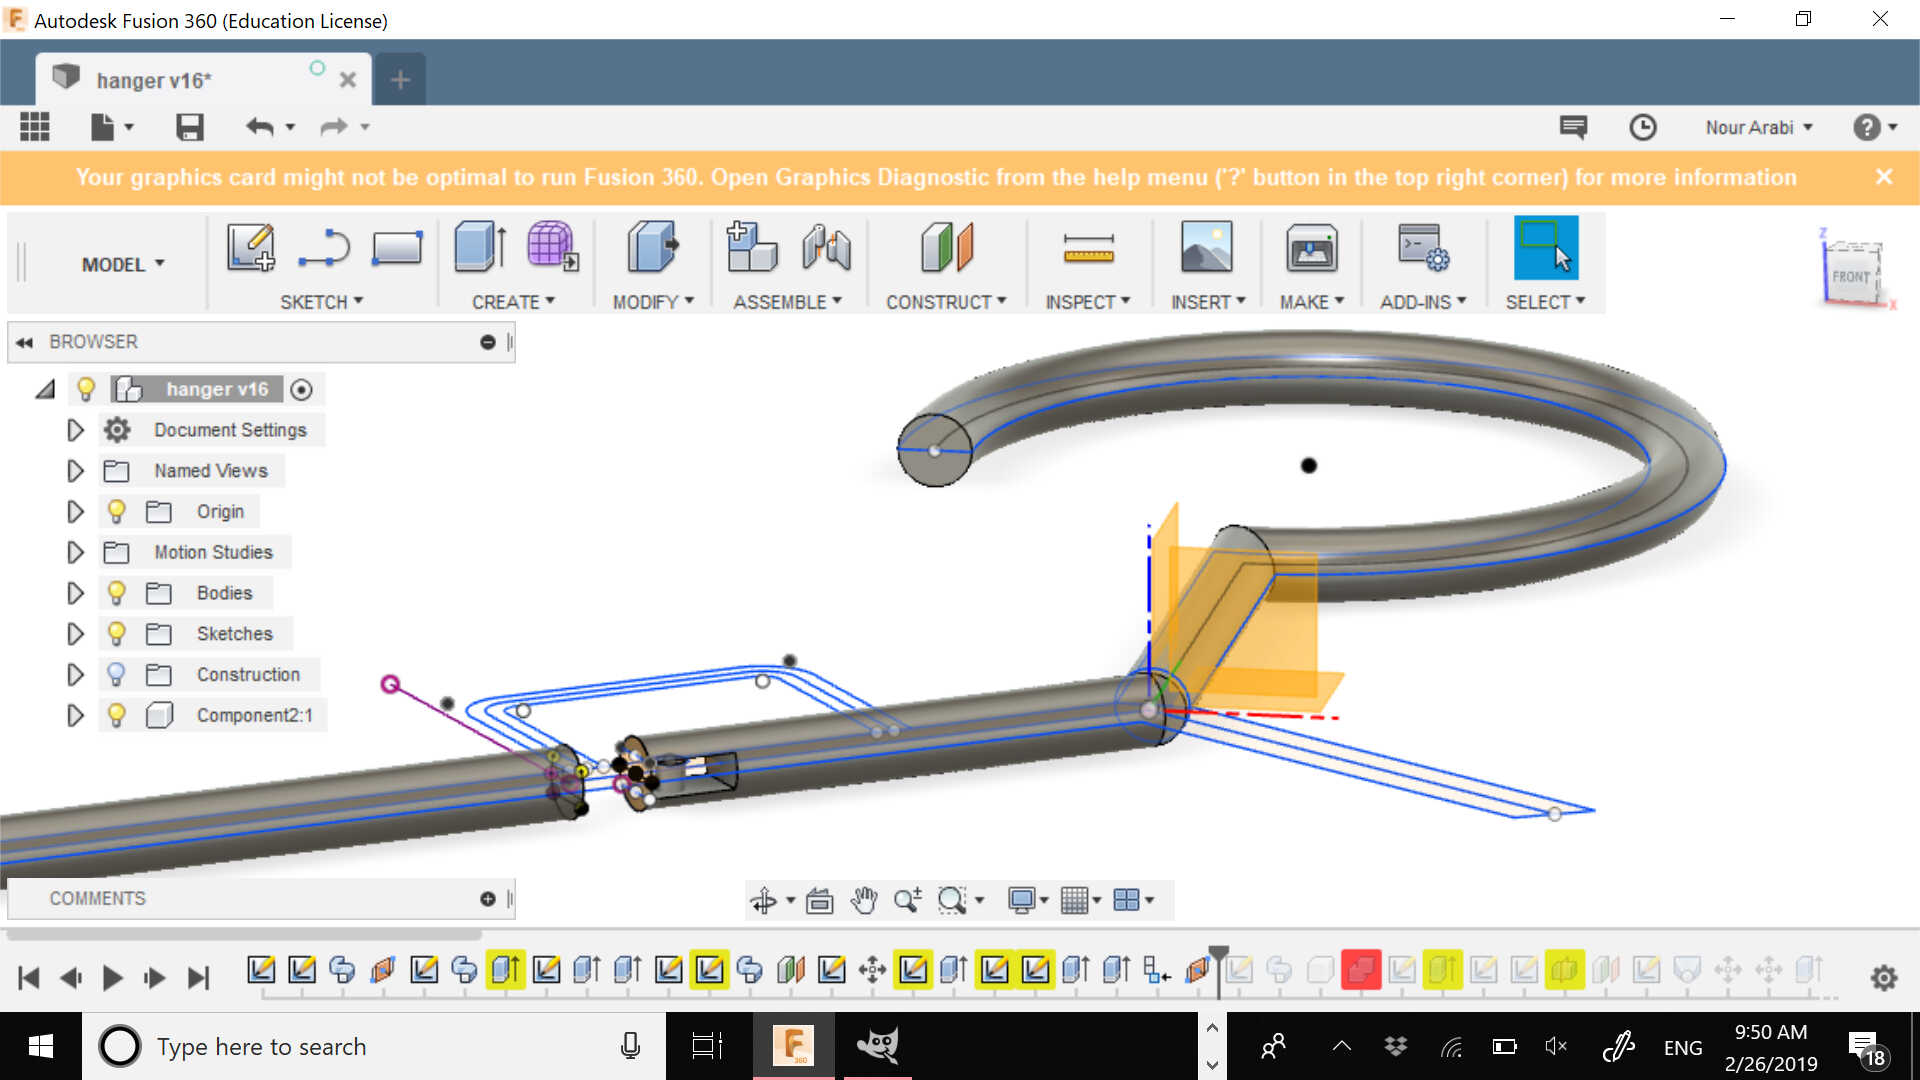
And in the following one, you may check the animation of the motion
And finally you may just orbit it and play with it so that you can see it exploded or from different angles
I wanted to make some accessories that I can wear especially that I am fashion driven so I was trying to really enjoy this assignment. I can also hang my accessories and let them be part of my final project
I thought of keeping it simple while being inspired by the Bauhaus and De Stijl movement and use basic geometrical shapes: a square, a triangle and half of a cercle.
I have also added a curve so that it can help me in designing my necklaces.
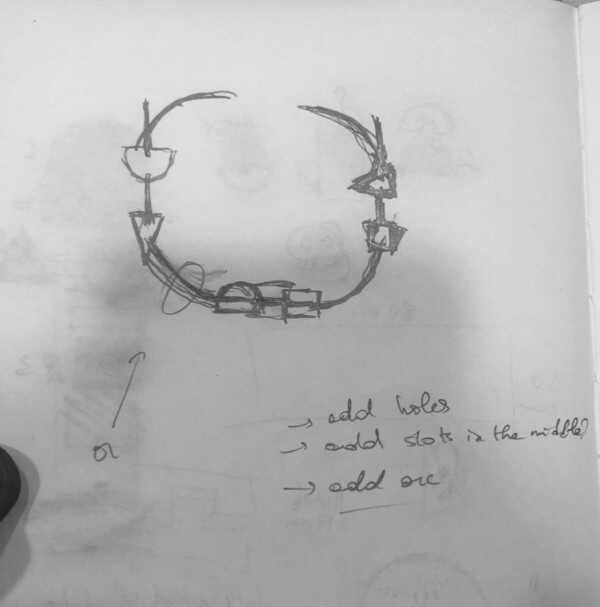

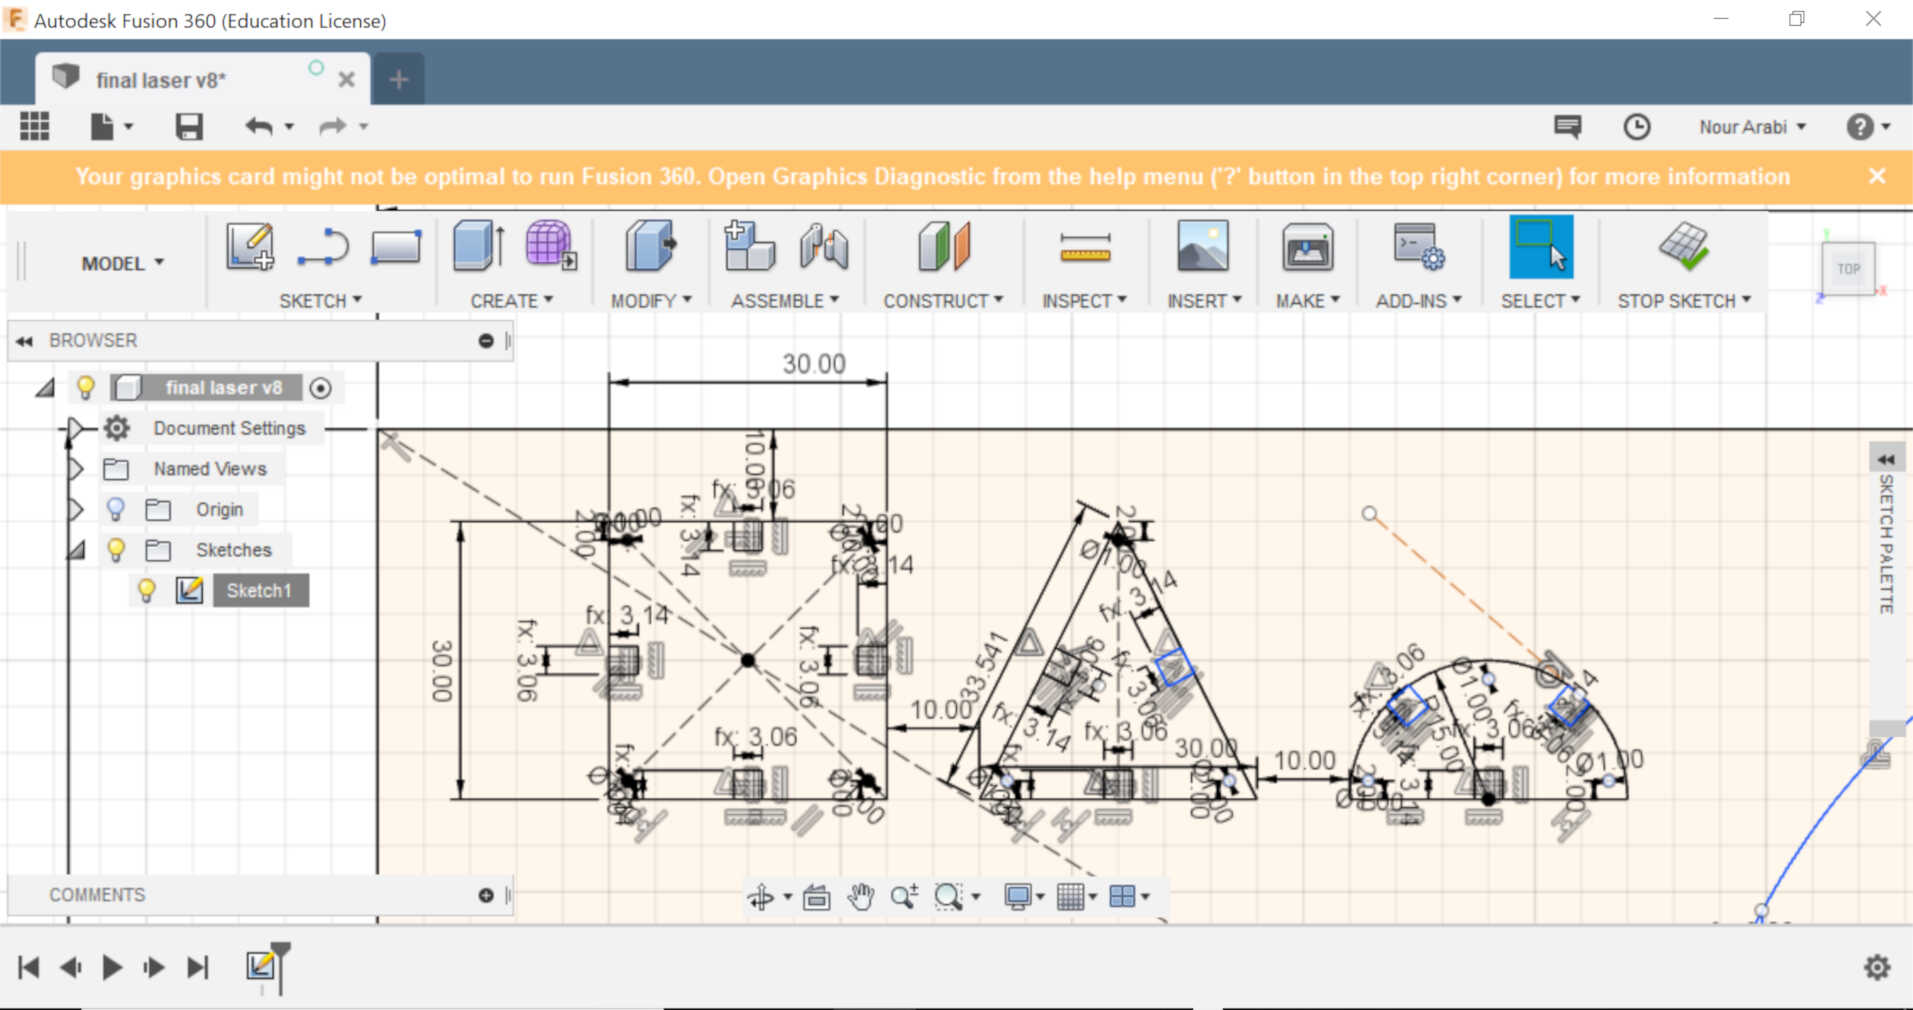
The living hinges were very interesting to me so I thought of adding them to my design, especially that they can be easily used as bracelets and as parts of the necklaces
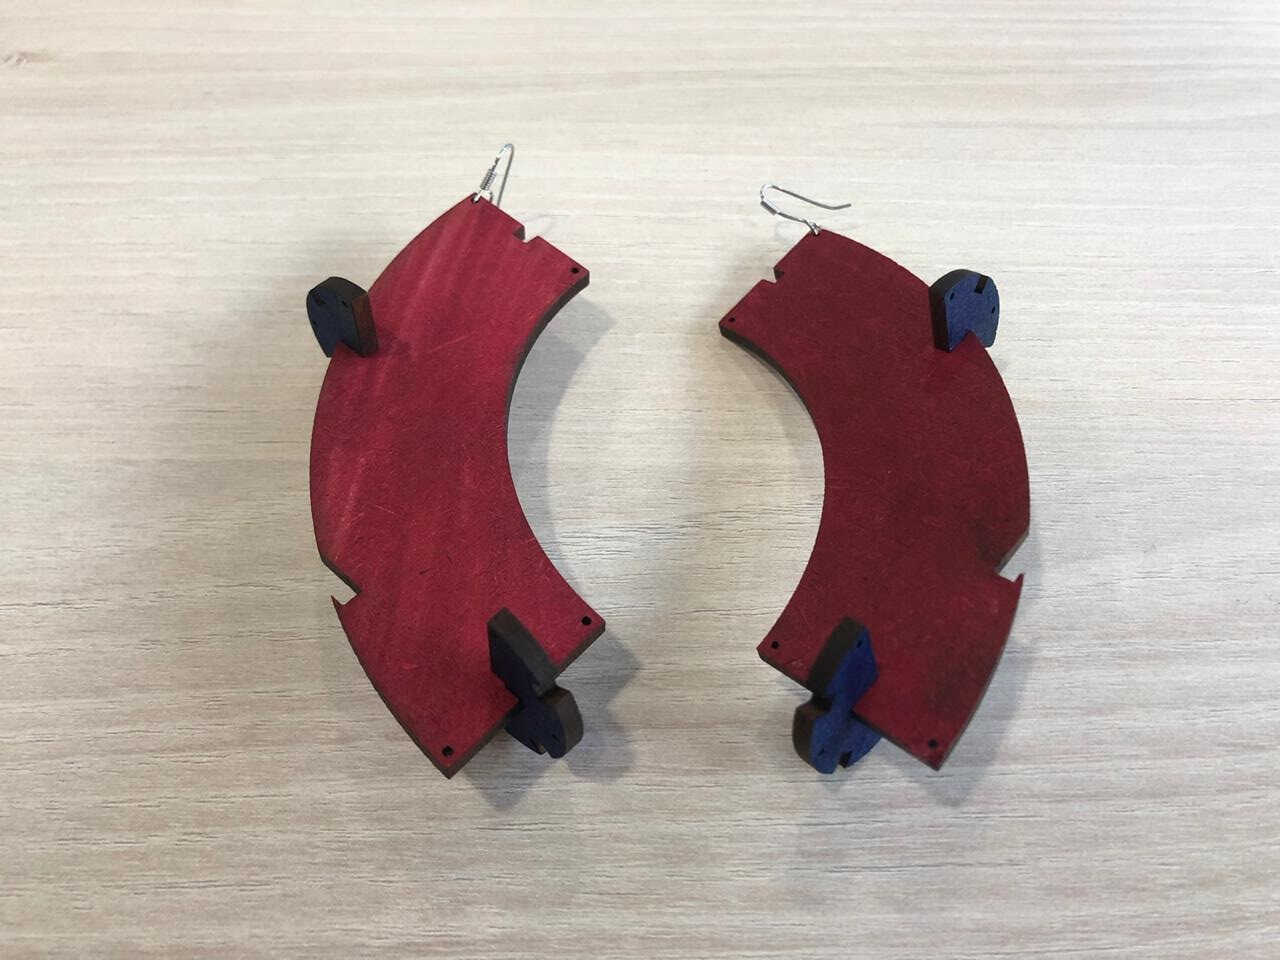
You can also see that I have put some holes of 1 mm for inserting the wire of the earrings or the rings for the necklaces
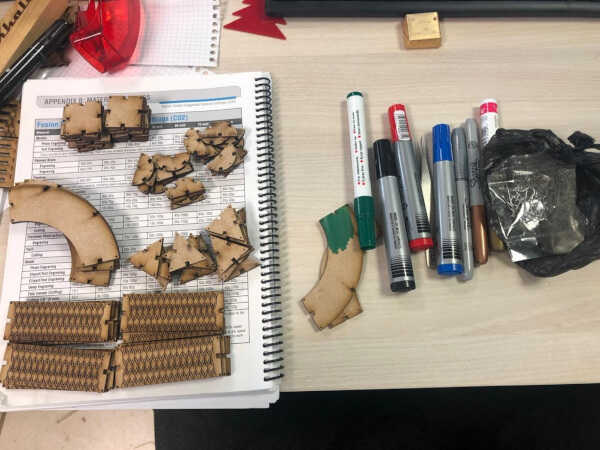
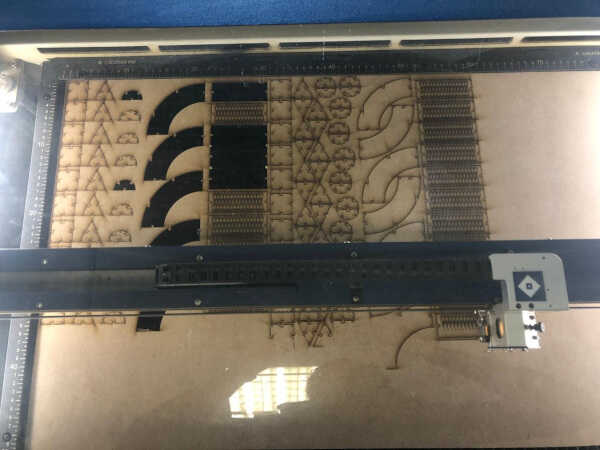
I have prepared the rings and the wires and the colored markers so I can color my MDF and make it look prettier for my accessories collection
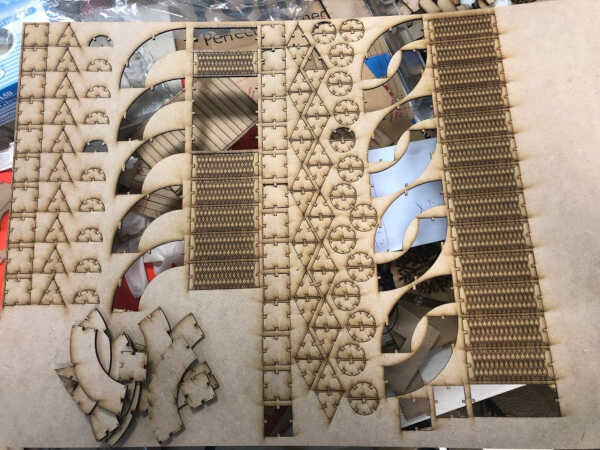
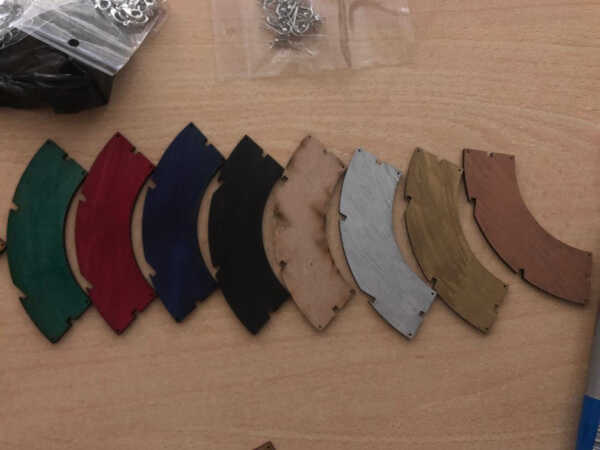
And here are the results; Pretty satisfying!
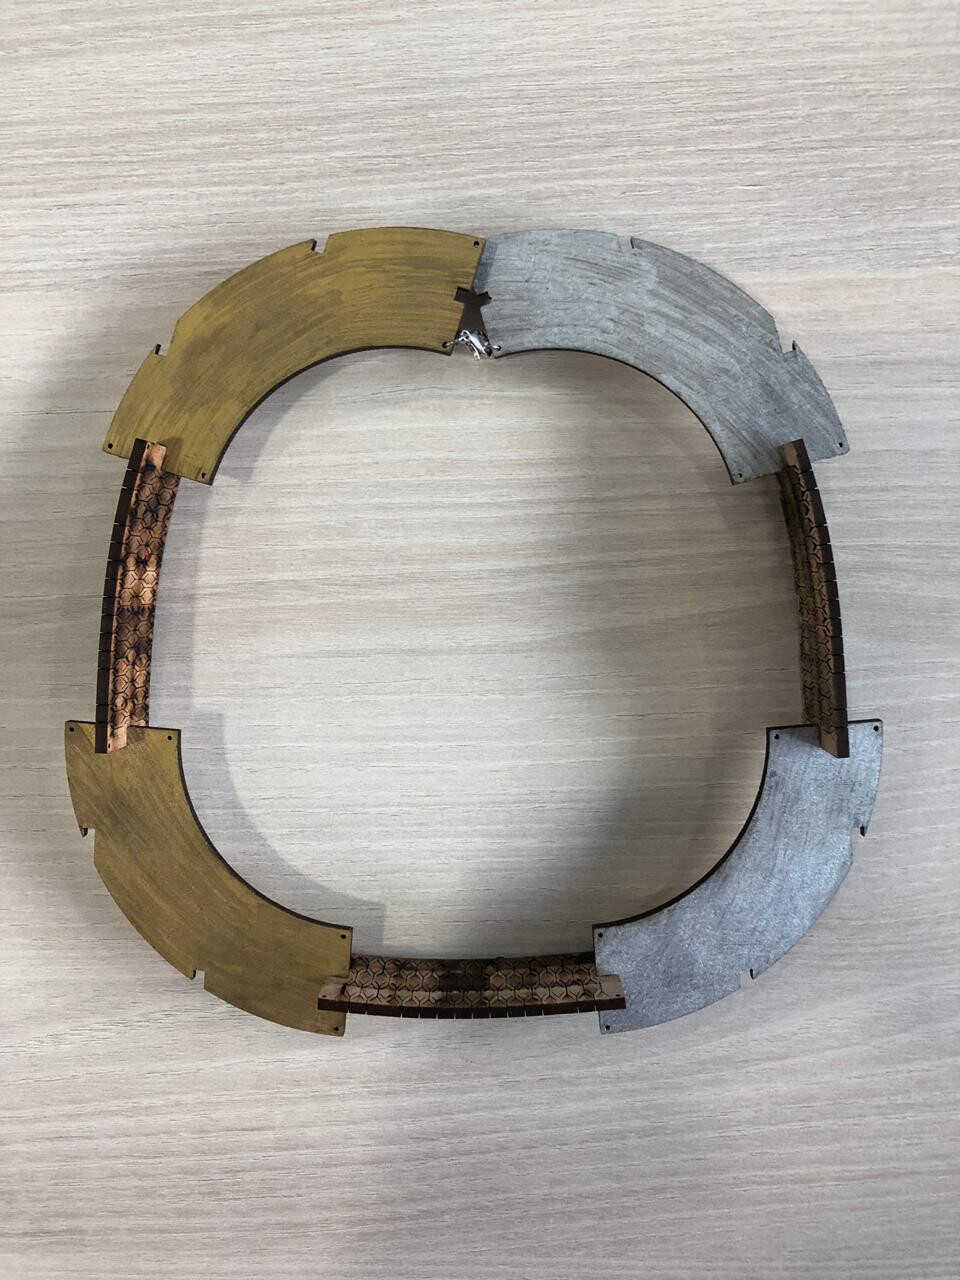
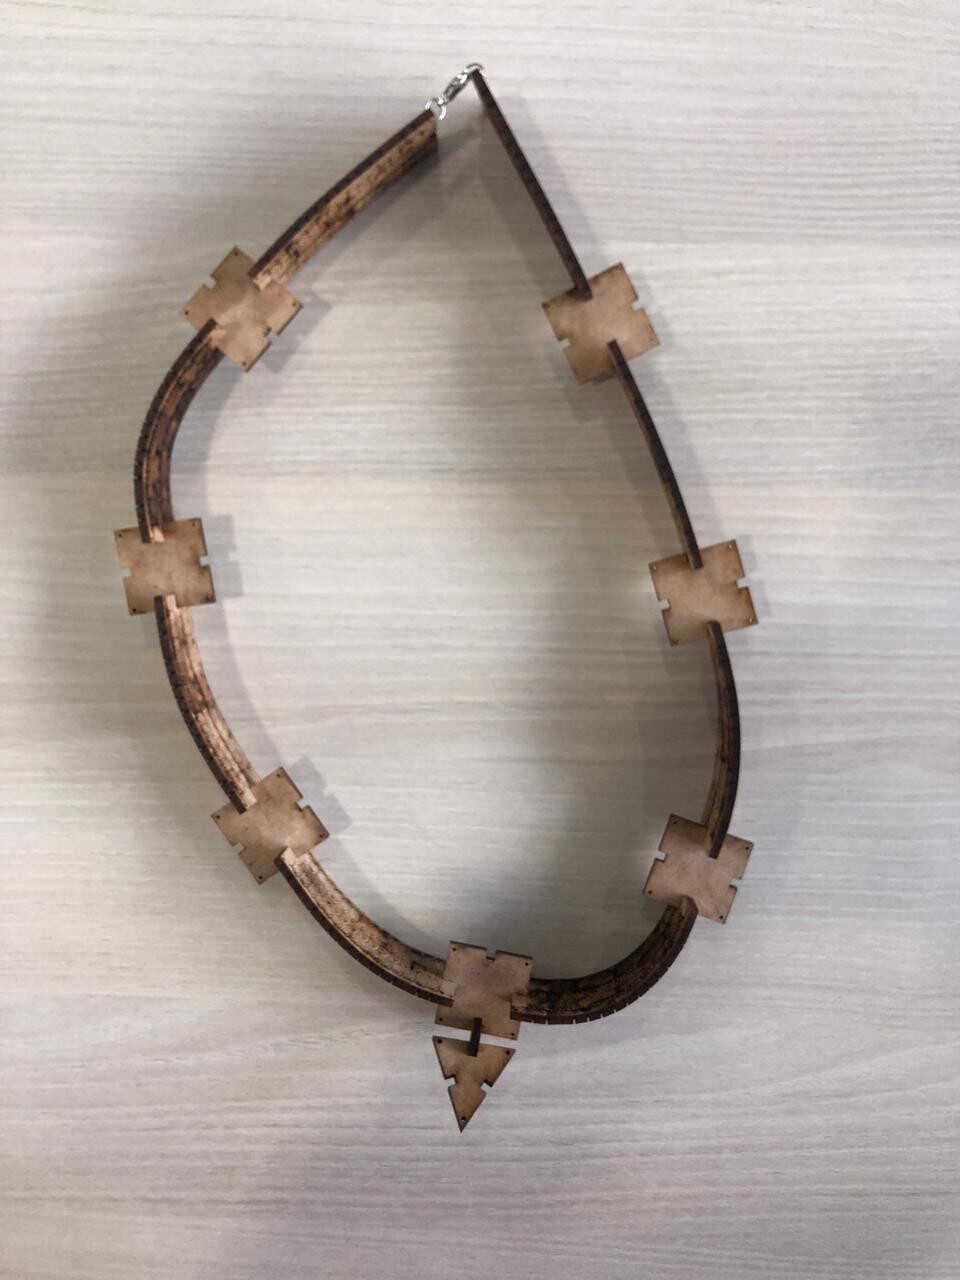
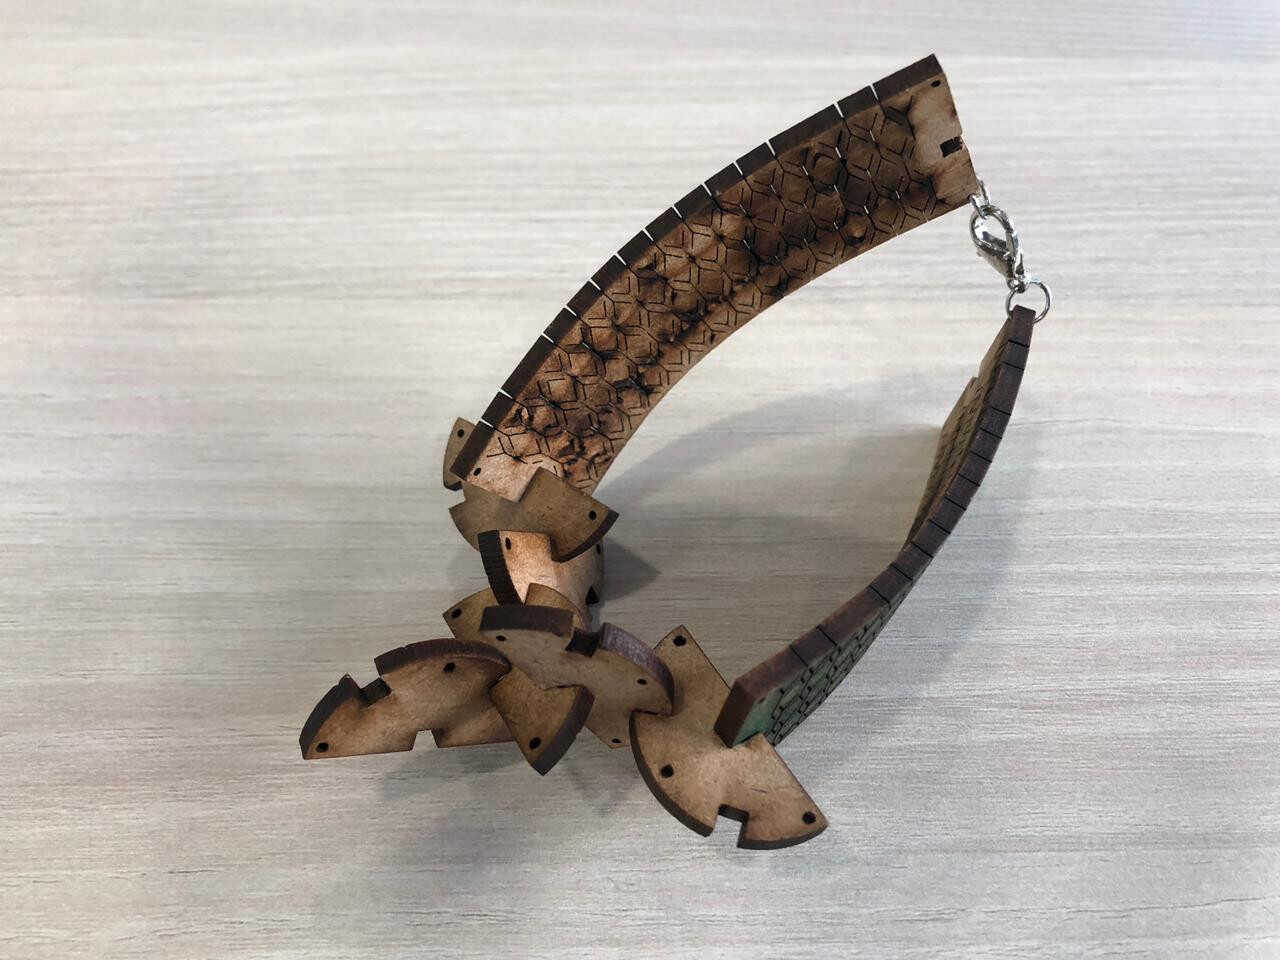
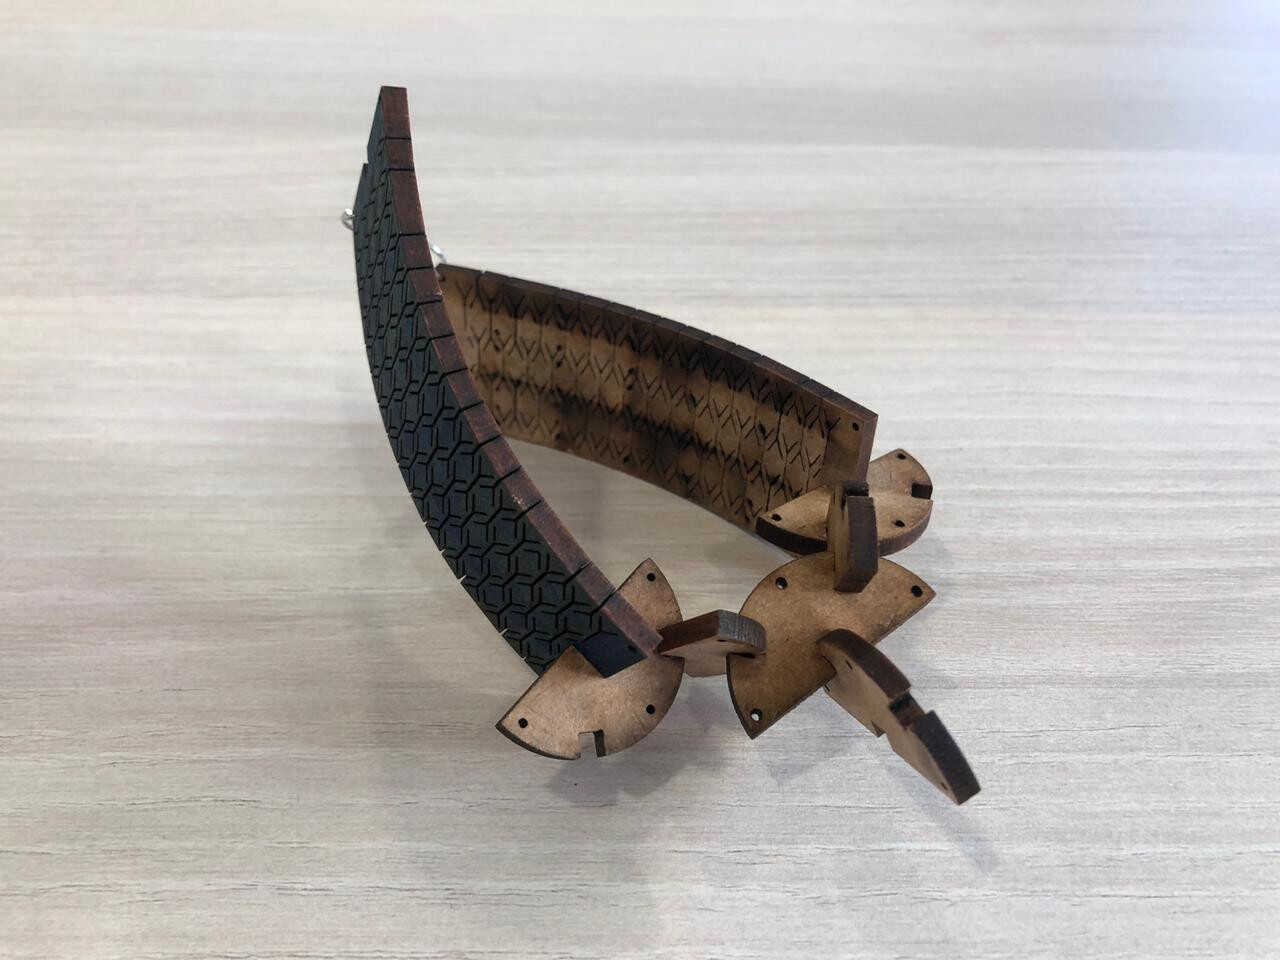
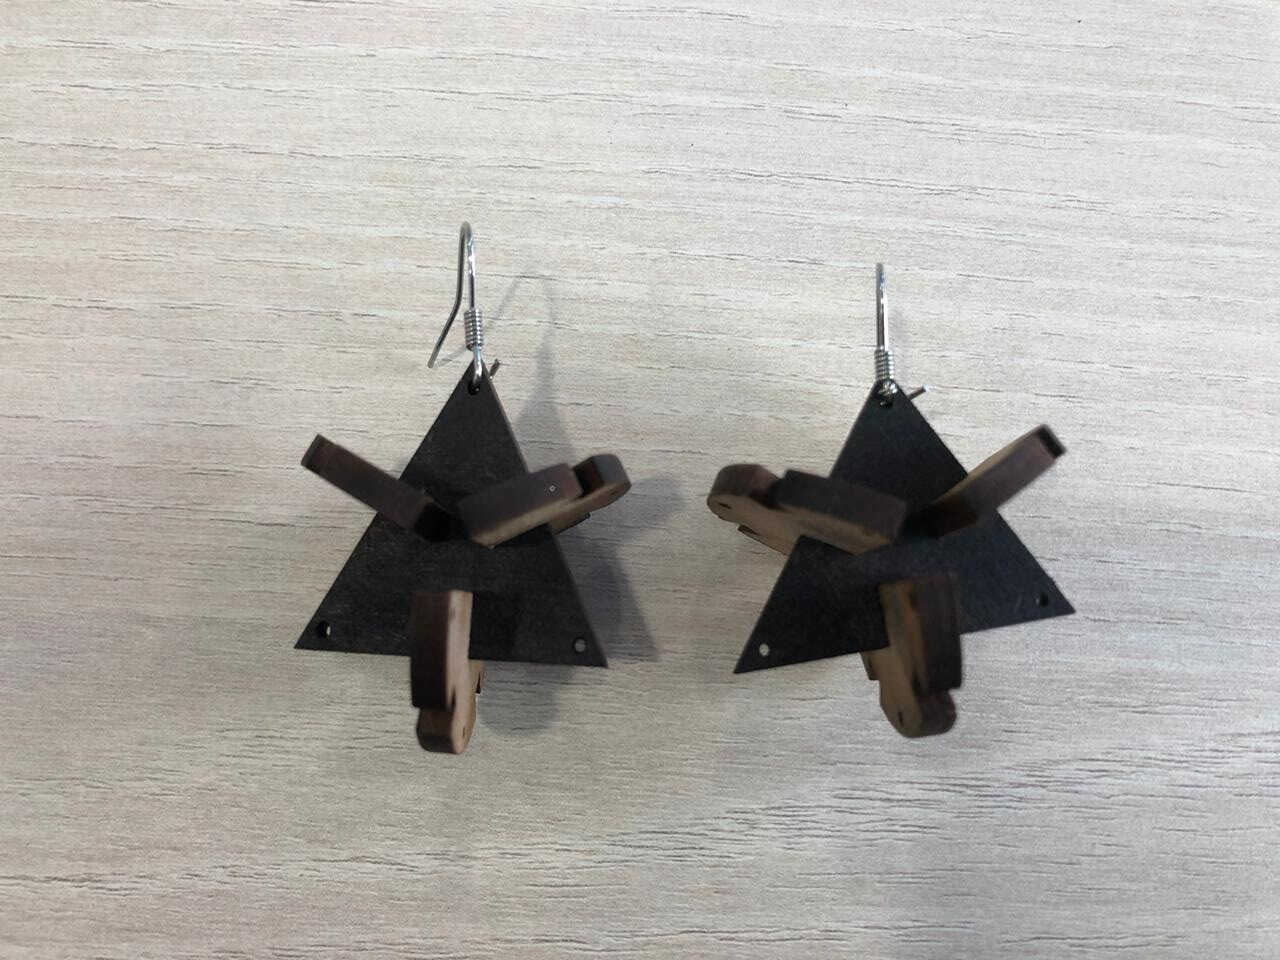
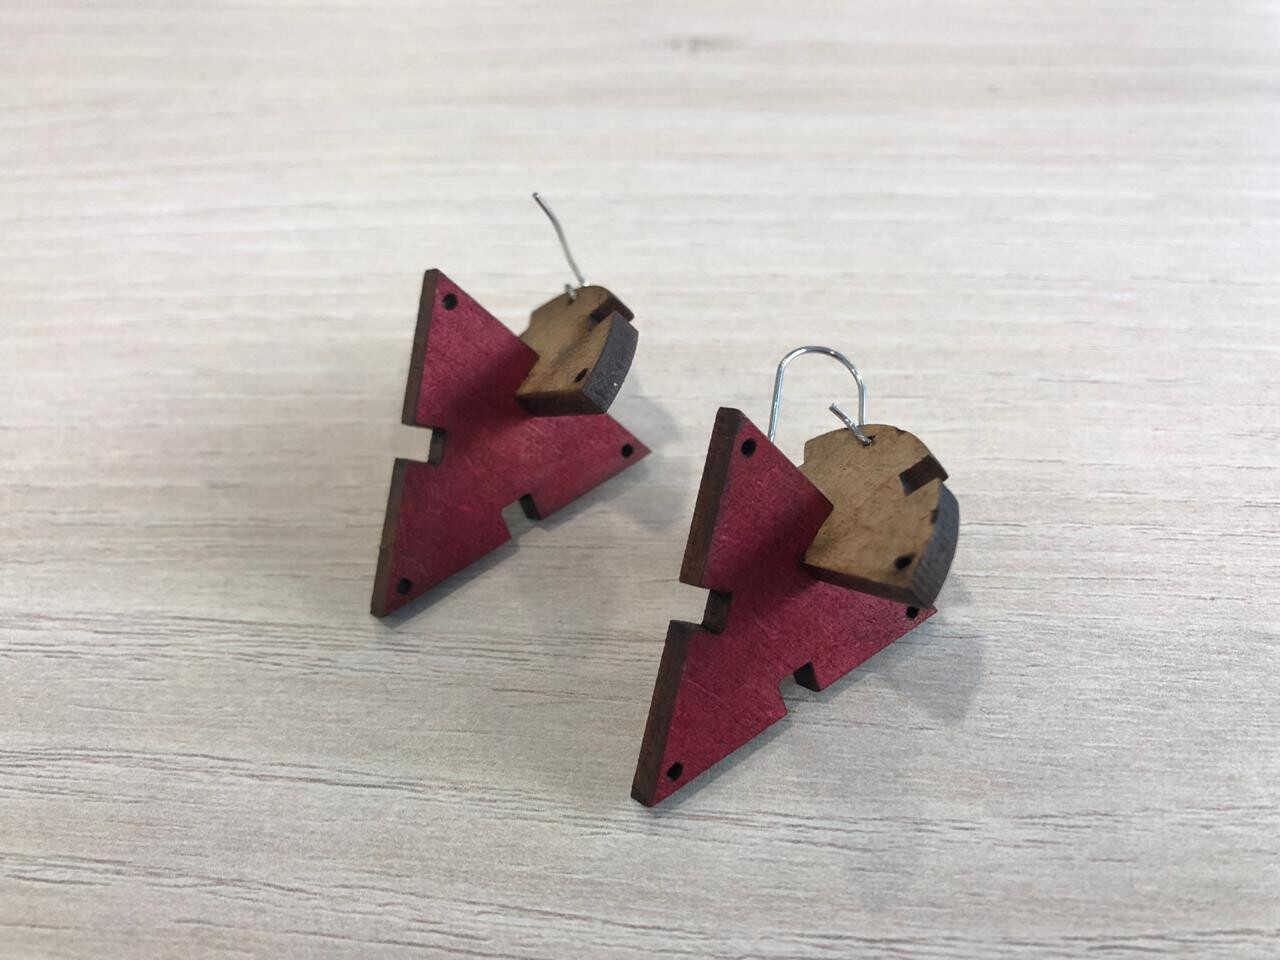

And you can keep playing with them as much as you want; The options are quite endless!
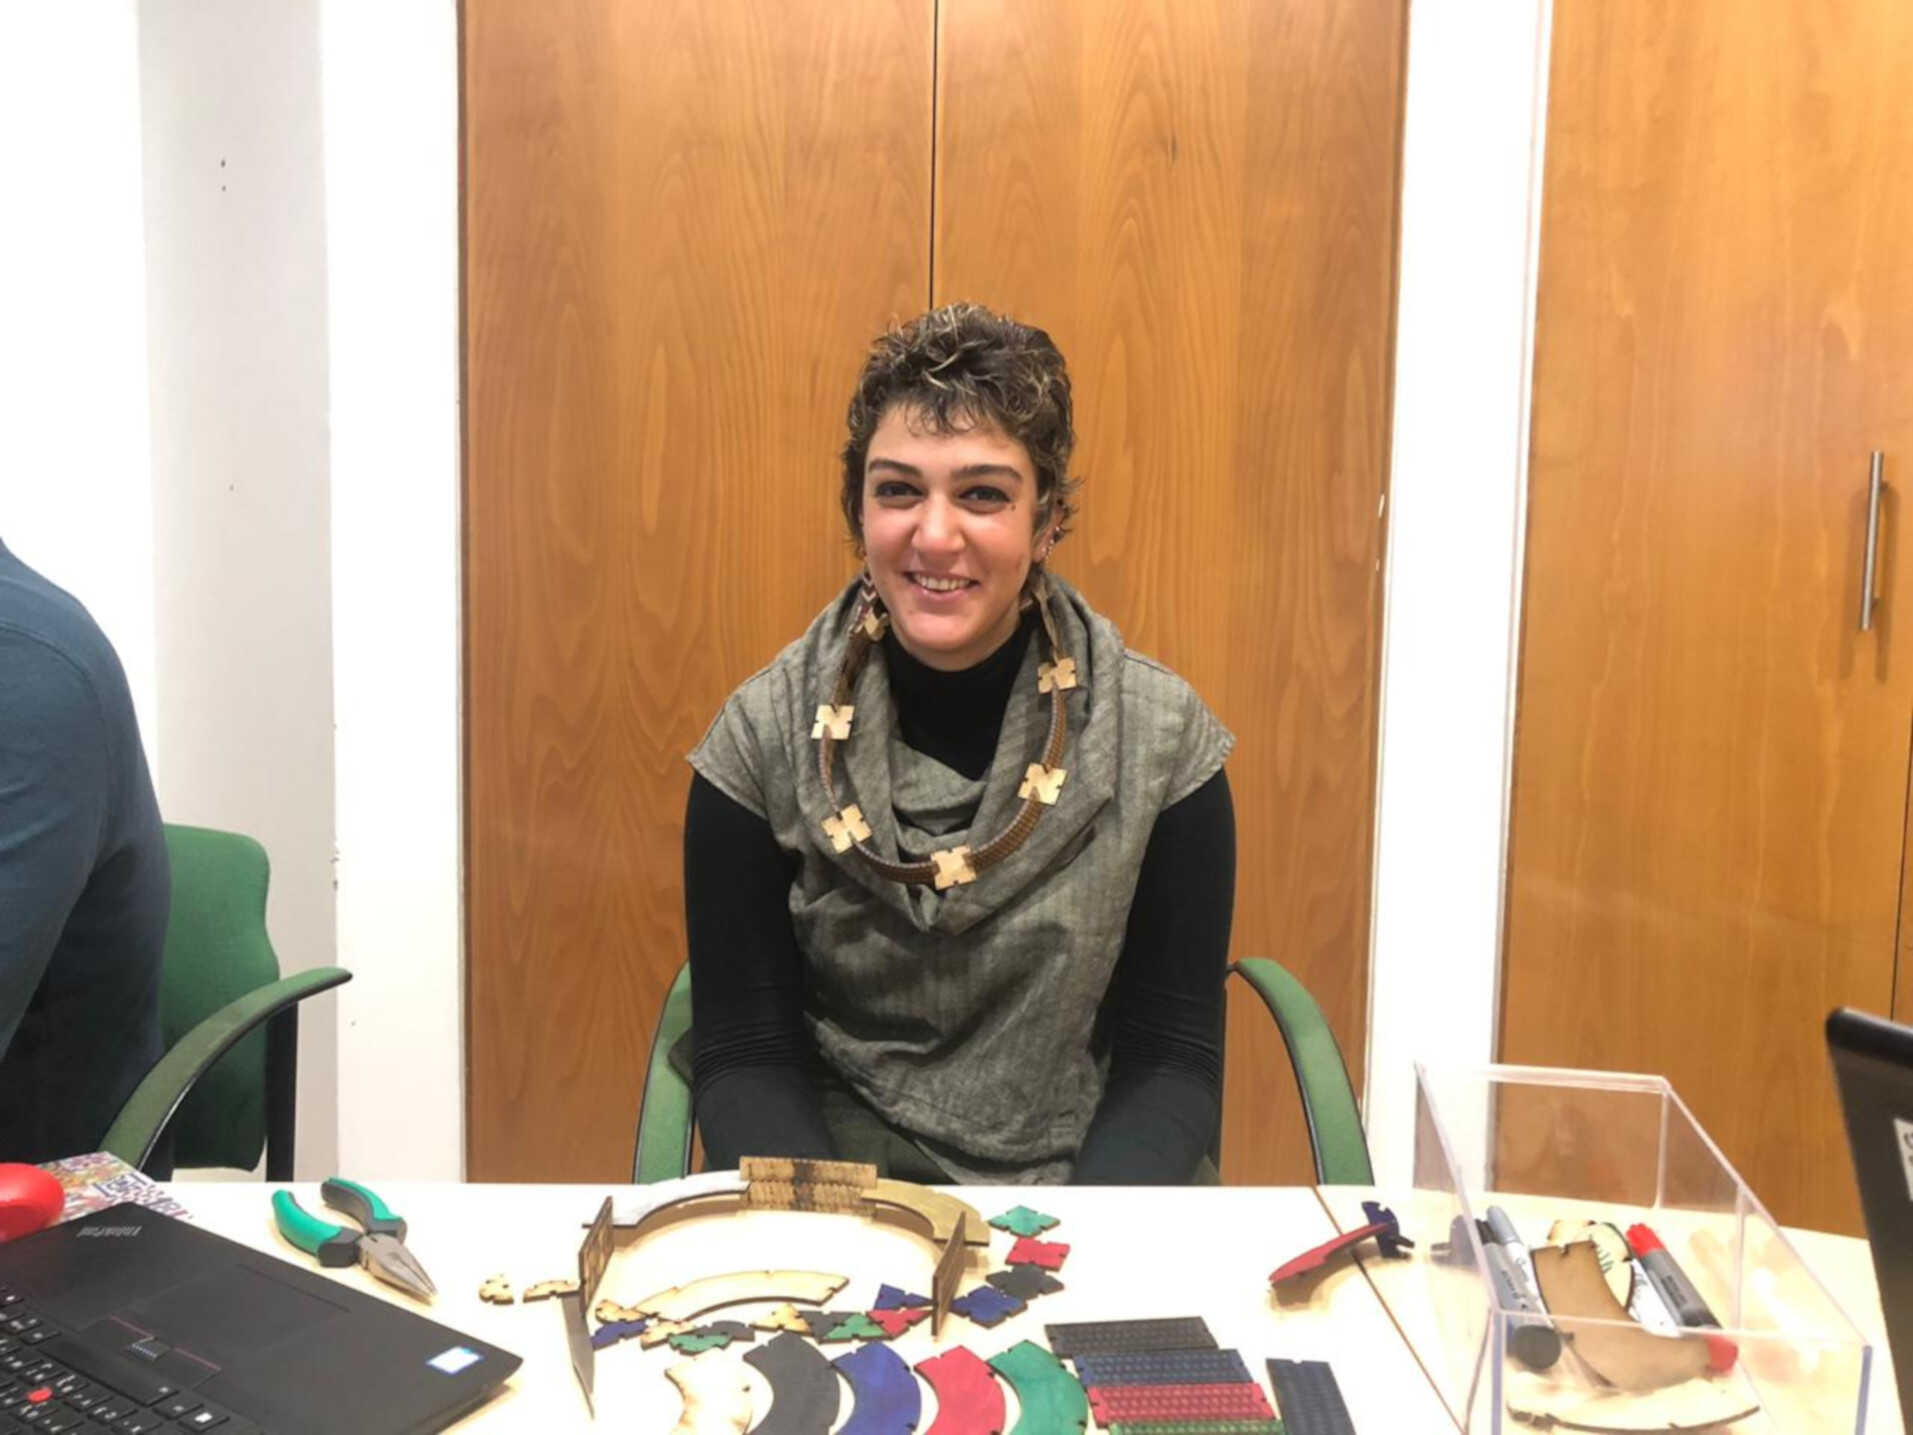
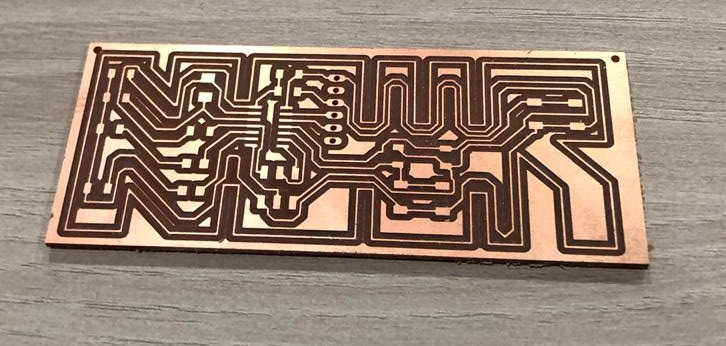
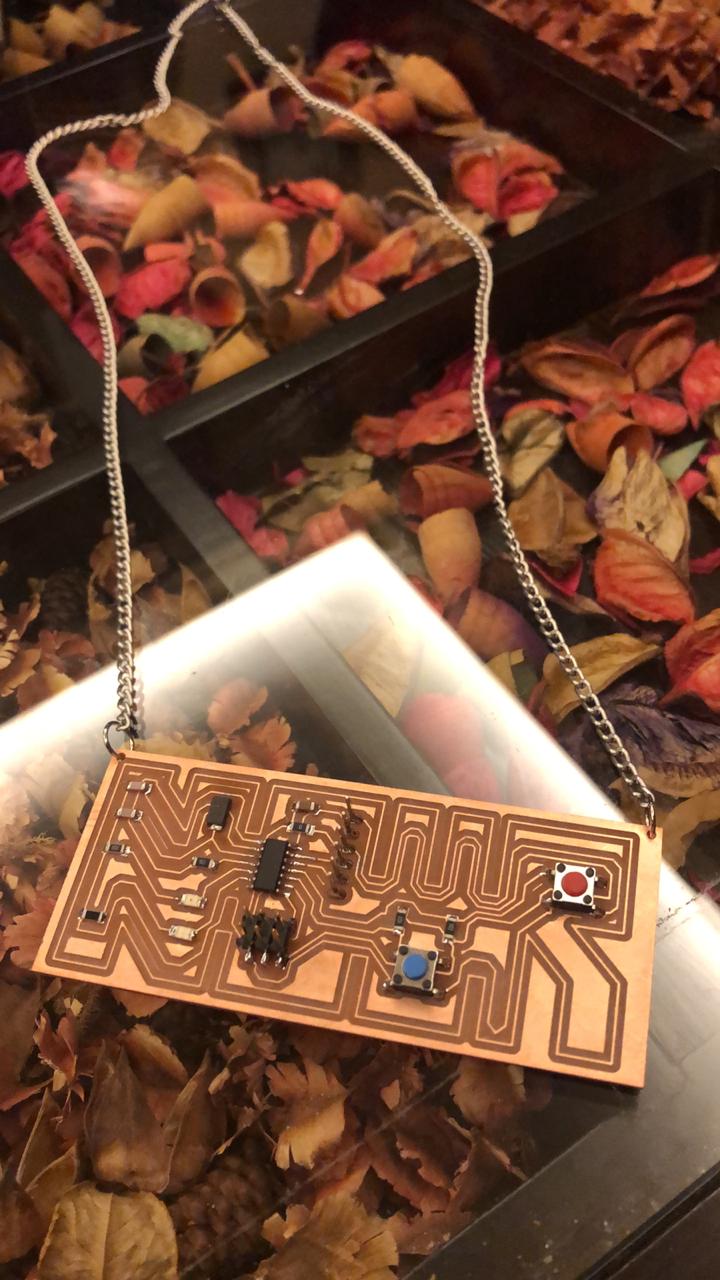
And in this week, I also wanted to have a necklace that I can wear later on and hang it on my final project! So I changed the board from its basic shape to the shape of my name NOUR
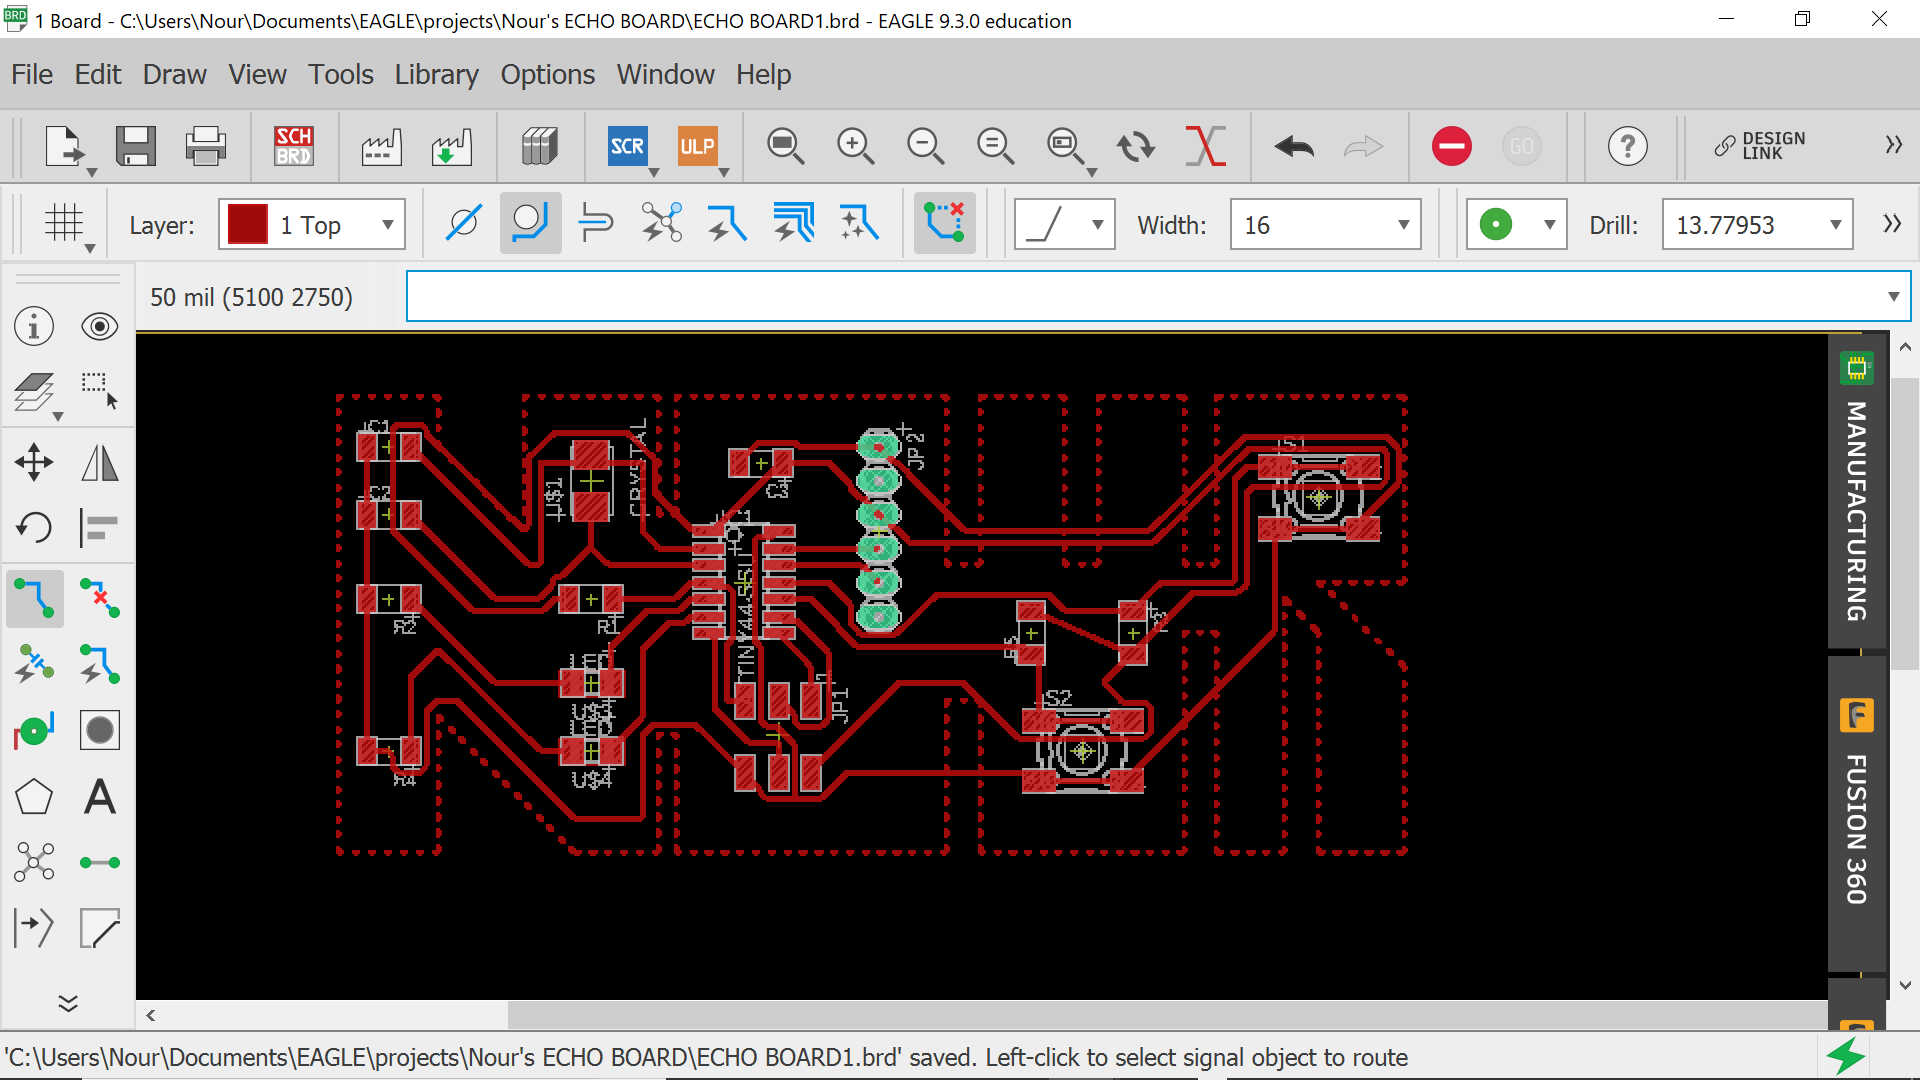
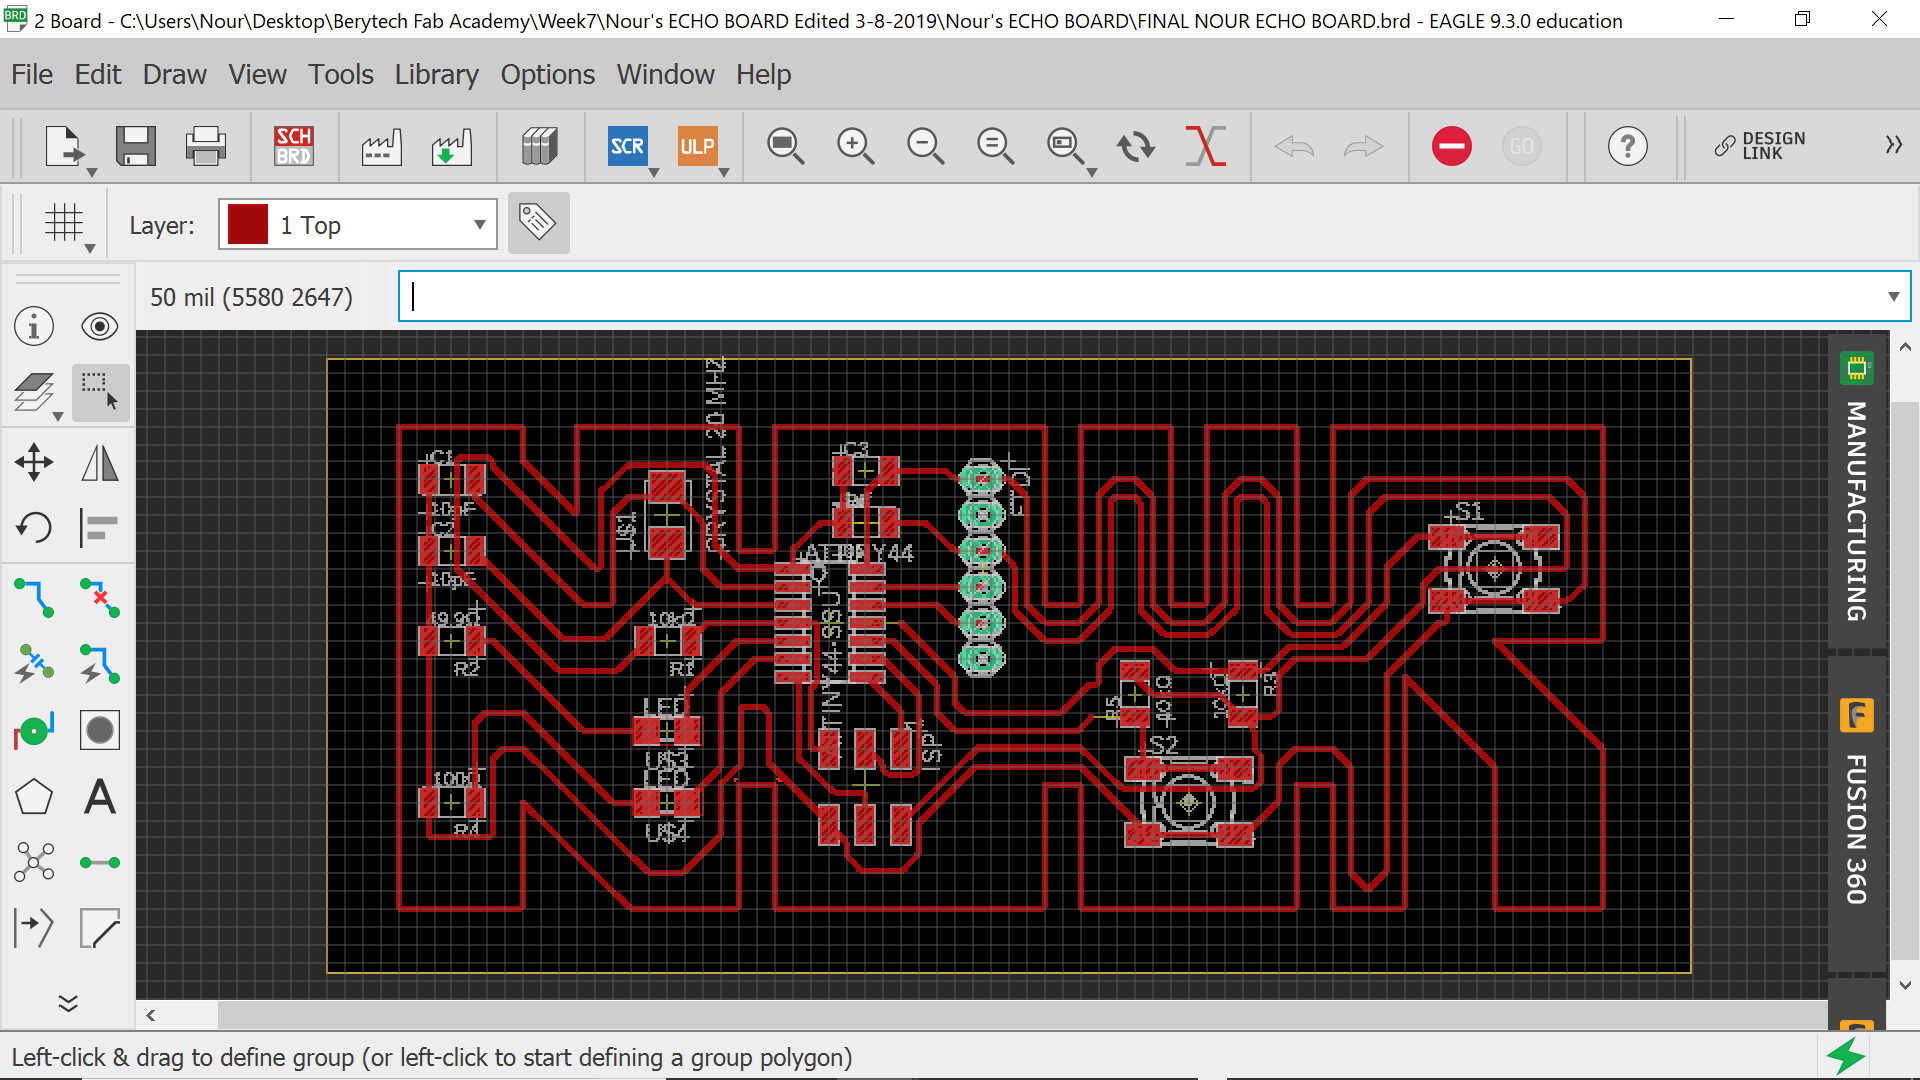
You may notice that I have added two holes on the external path to be drilled so that I can wear my board as a necklace!
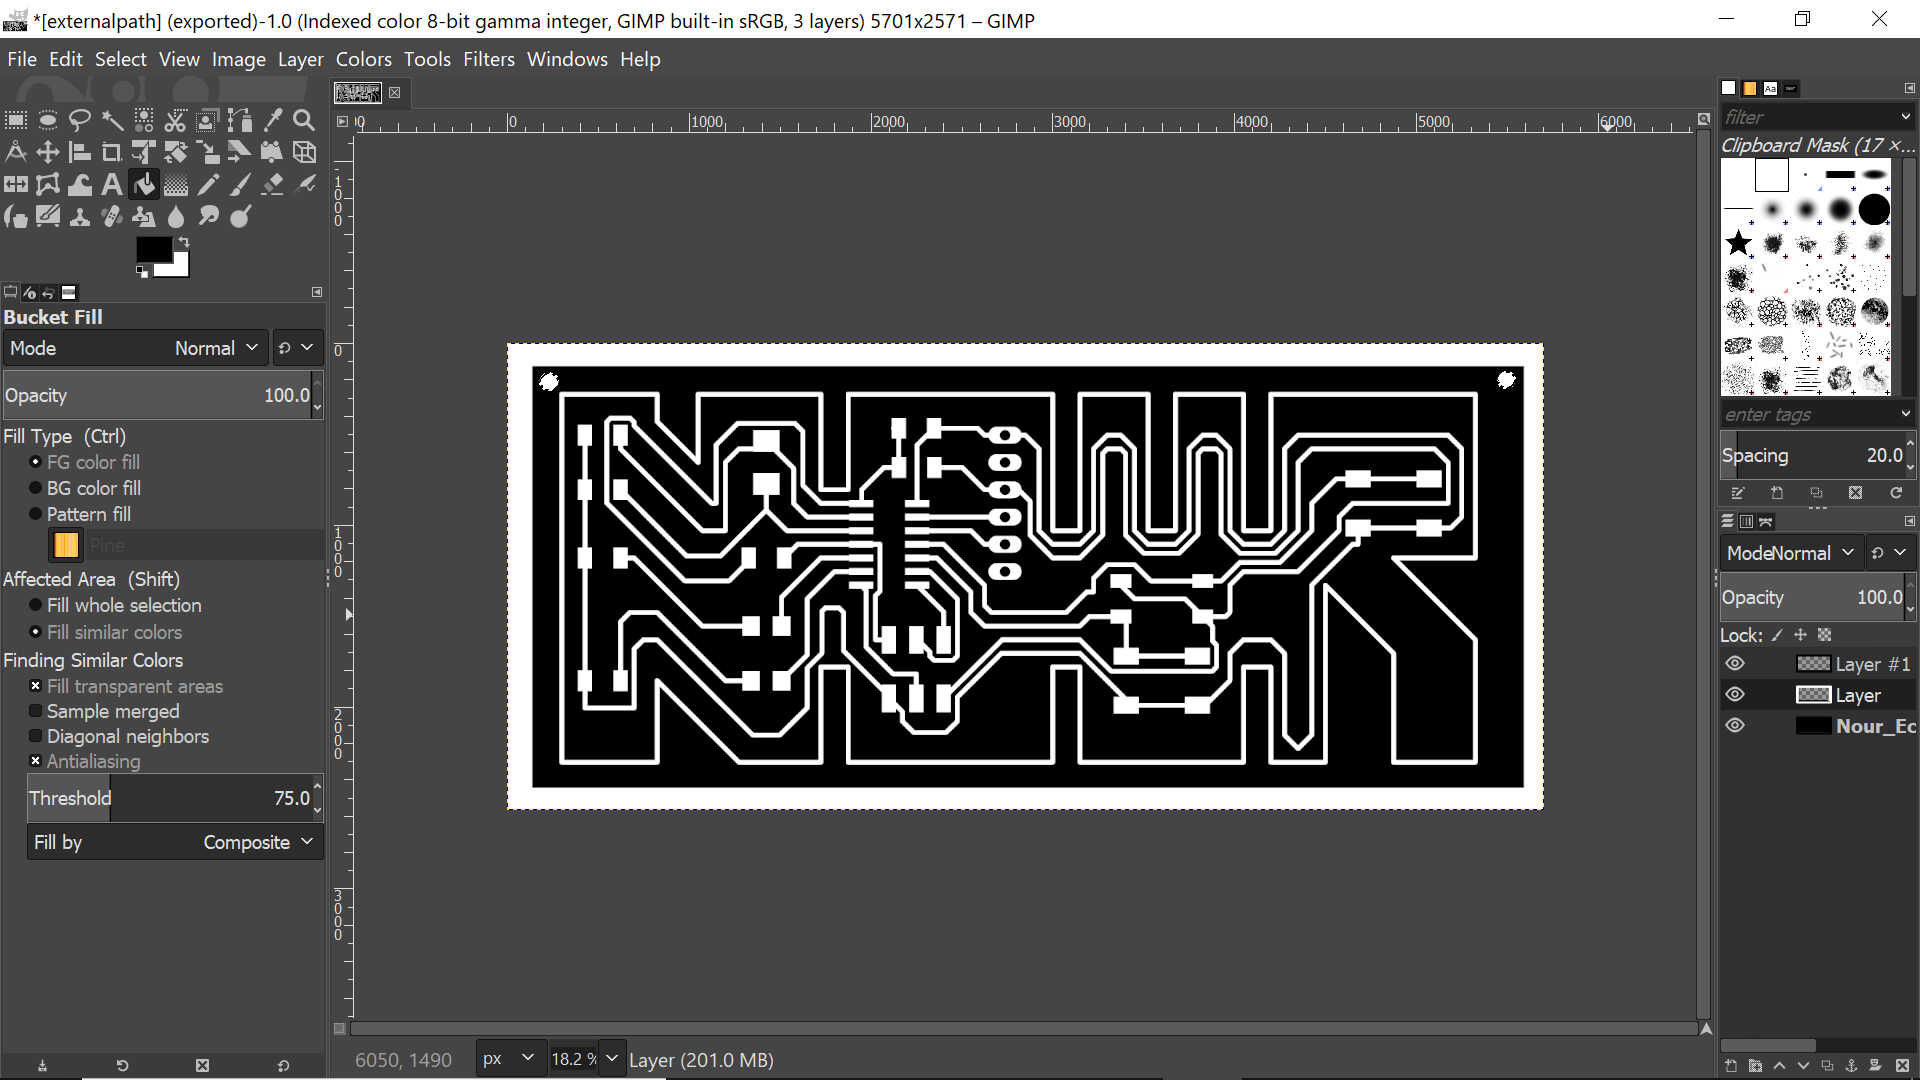
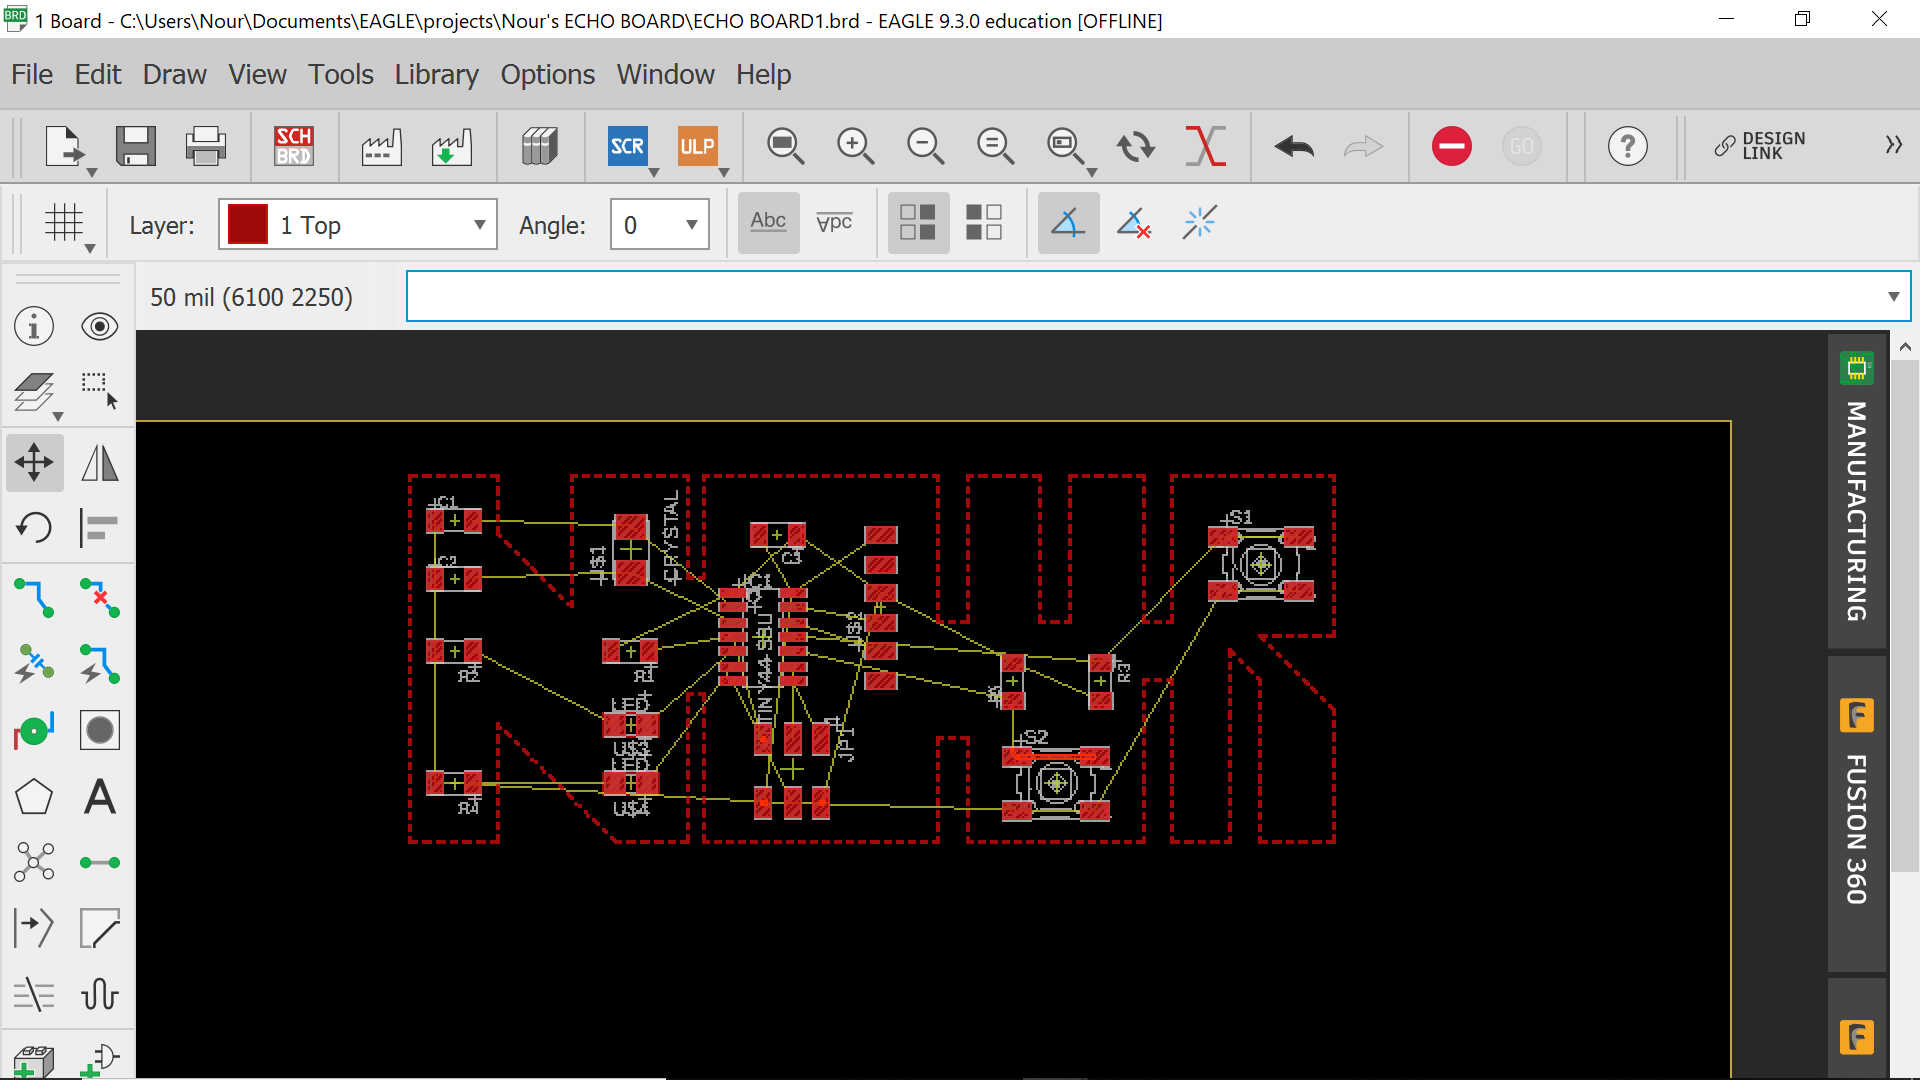
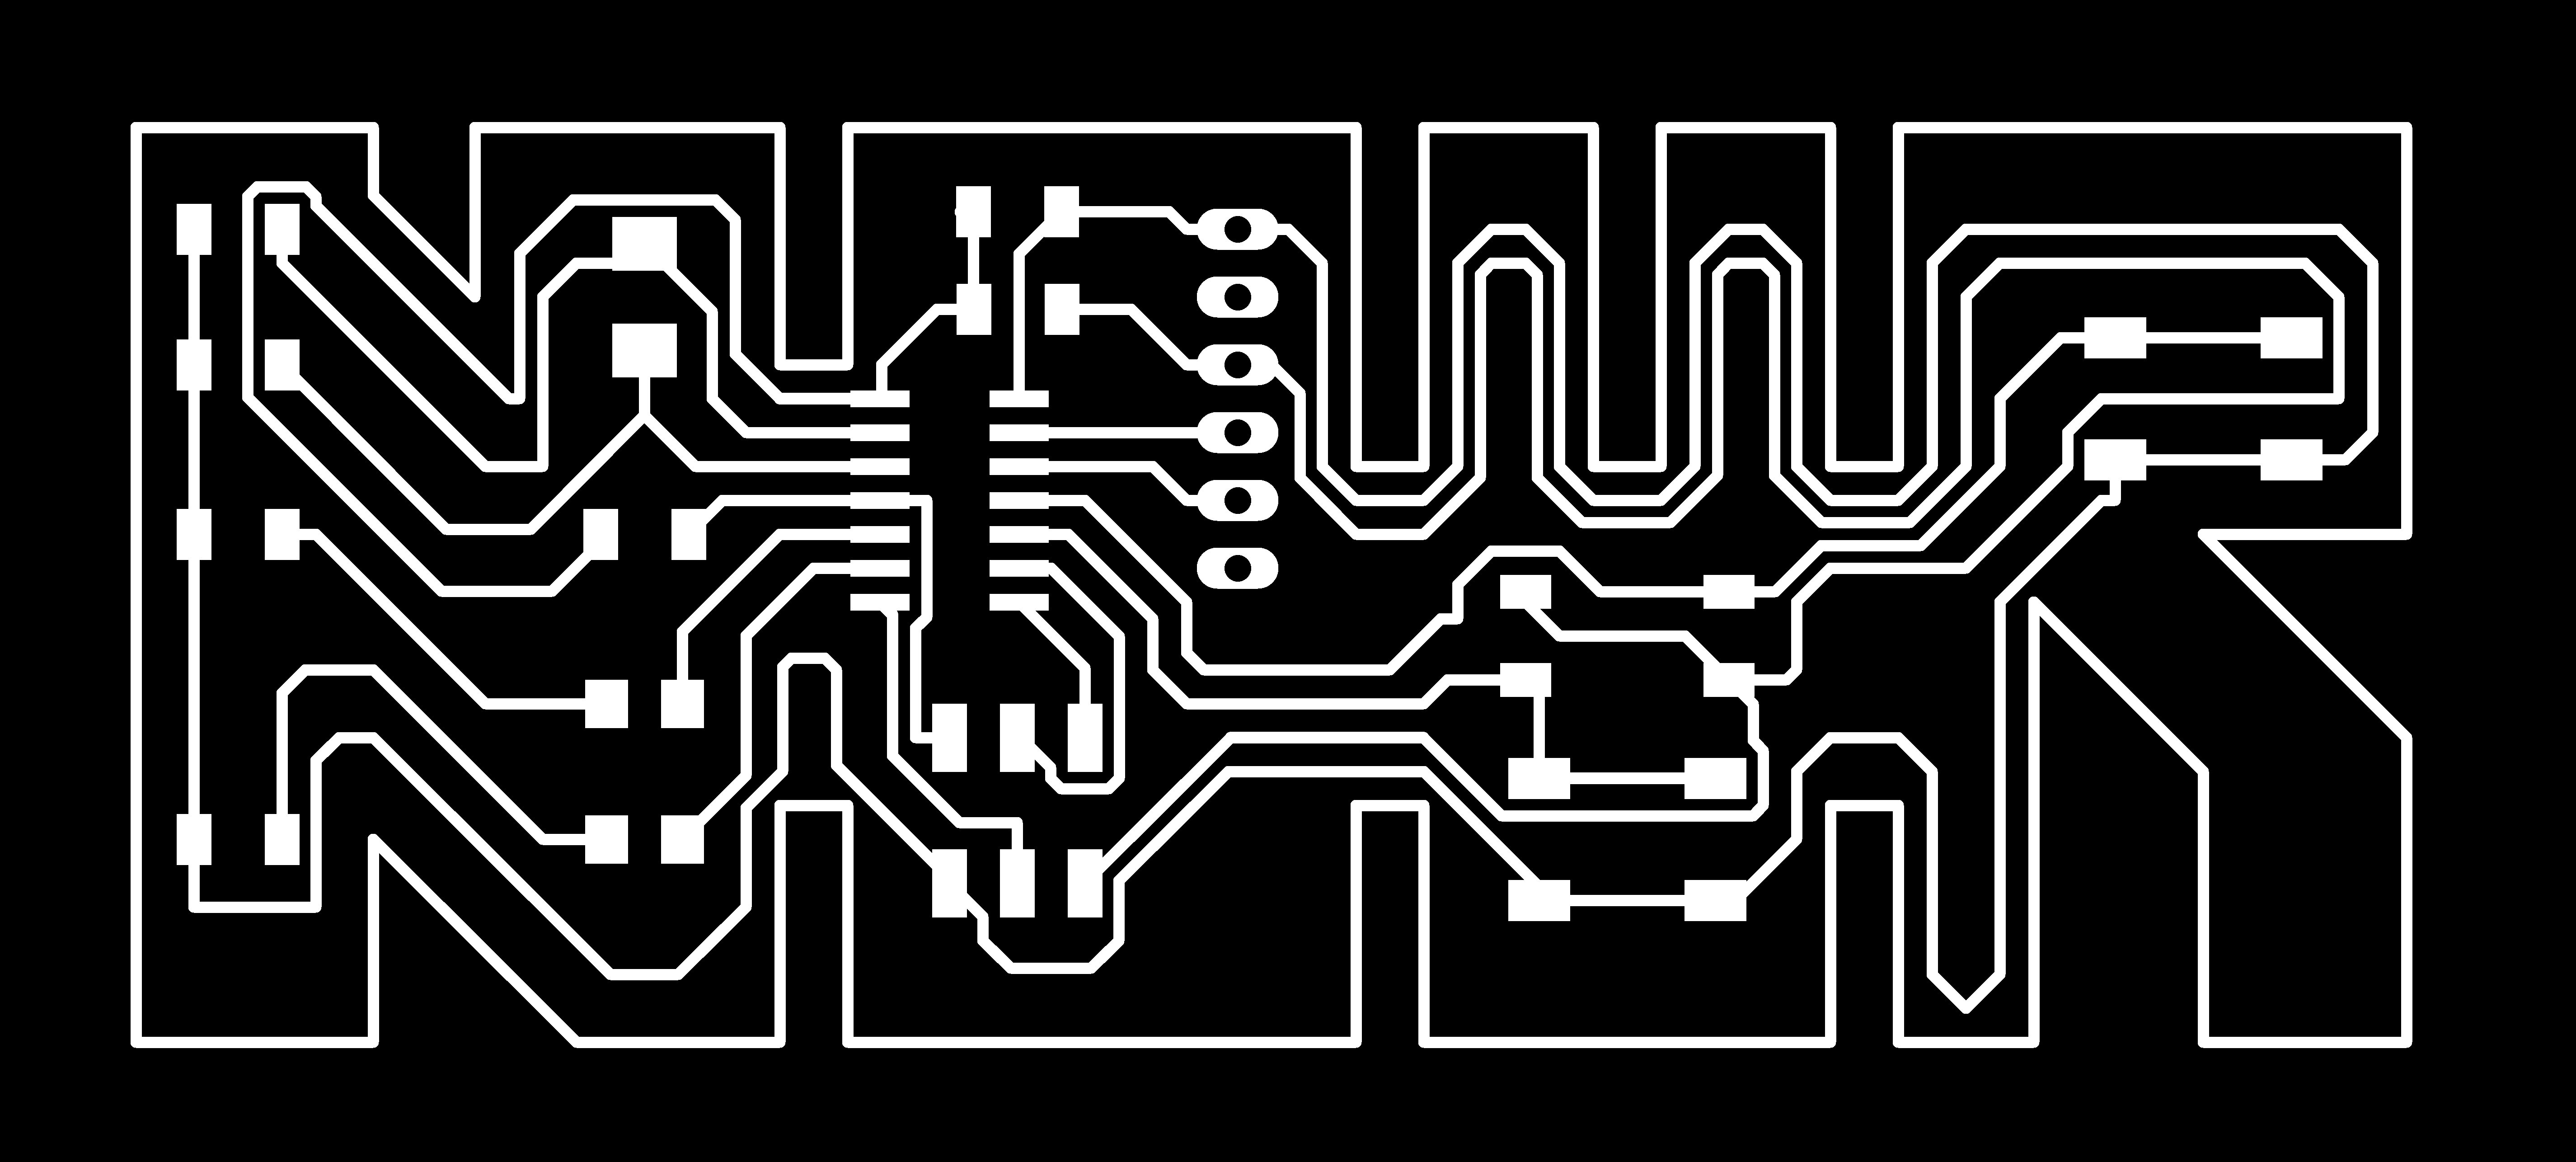
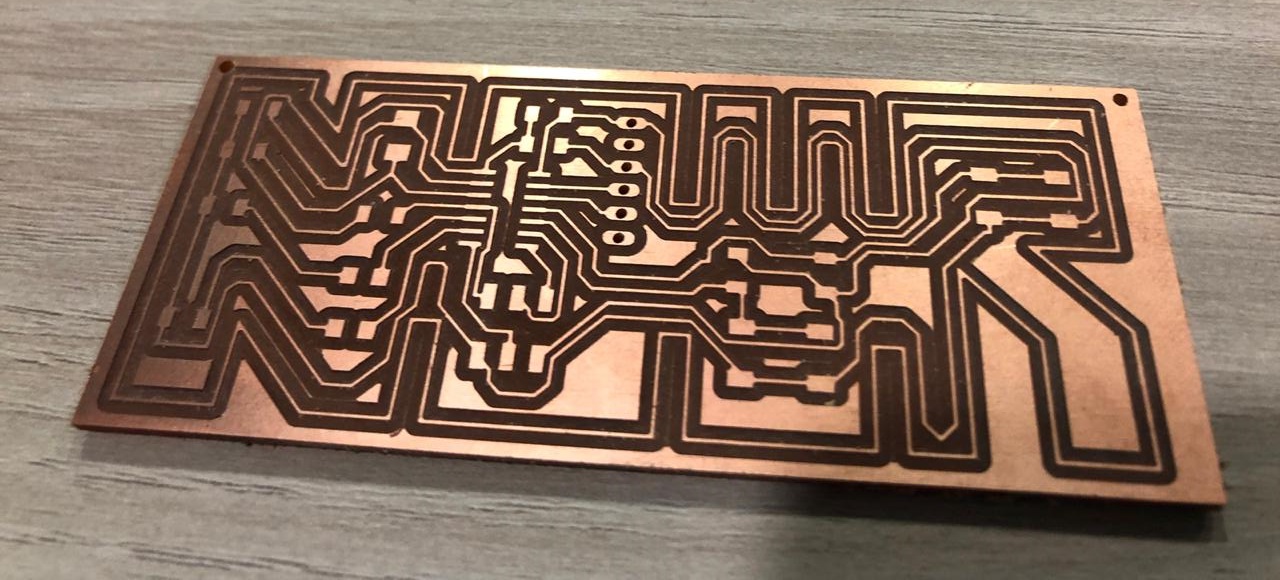
Final Internal Path:
Final Holes:

Final External Path:
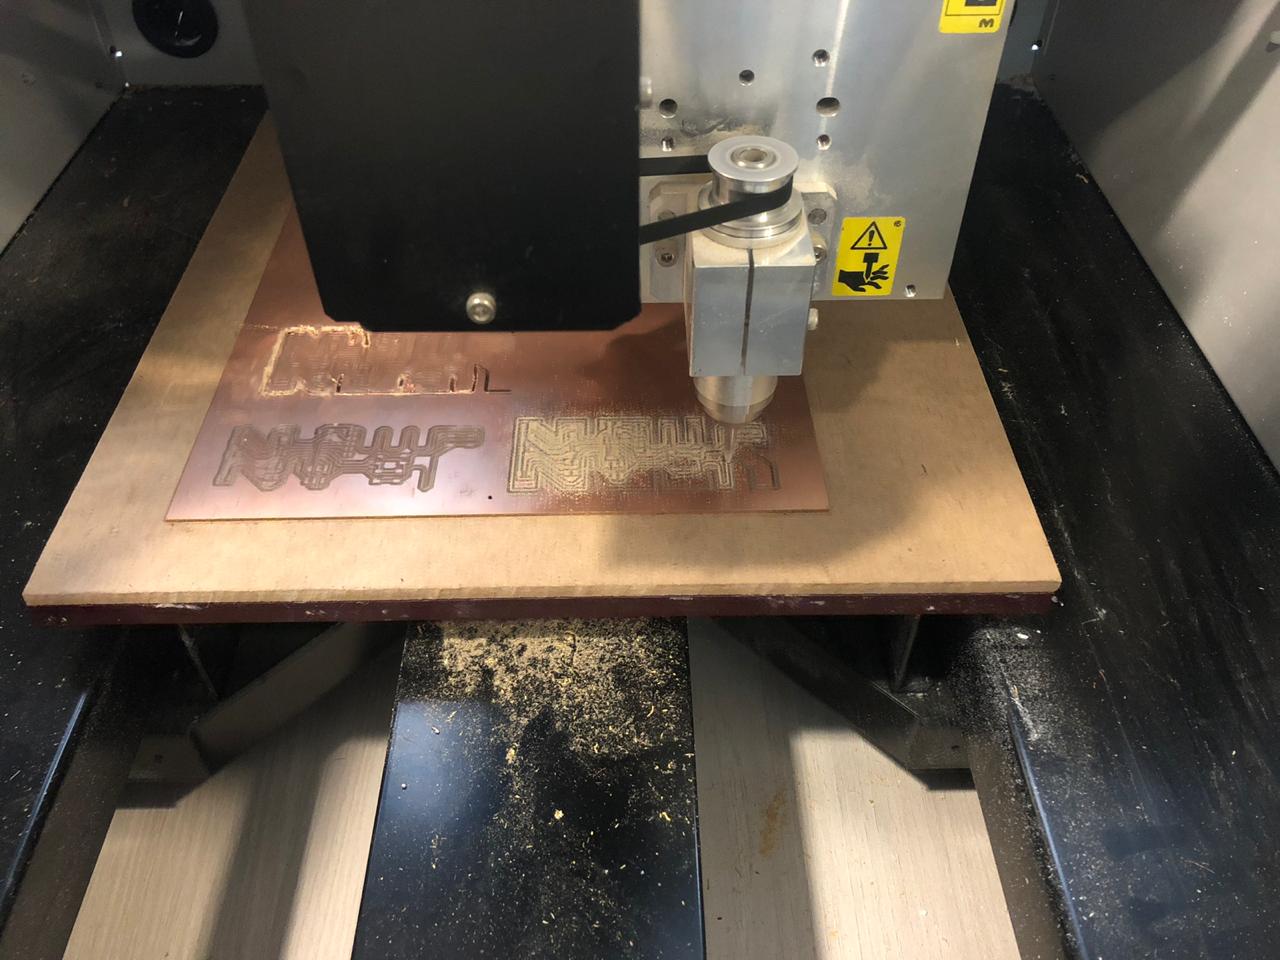
And the final result is...
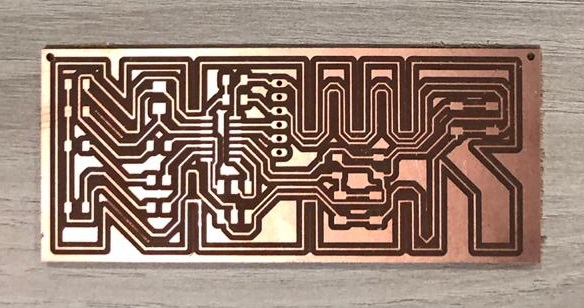

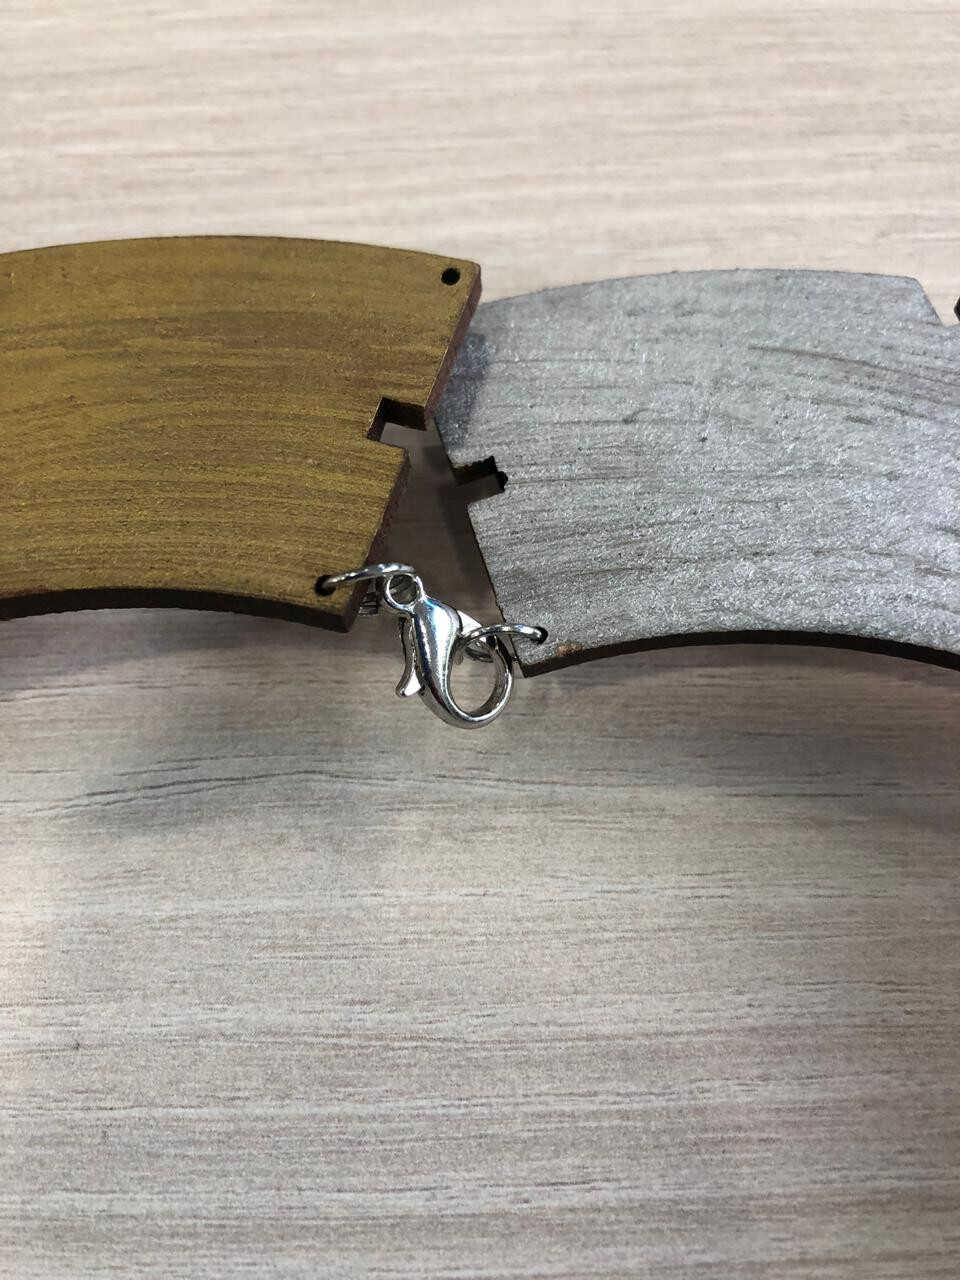
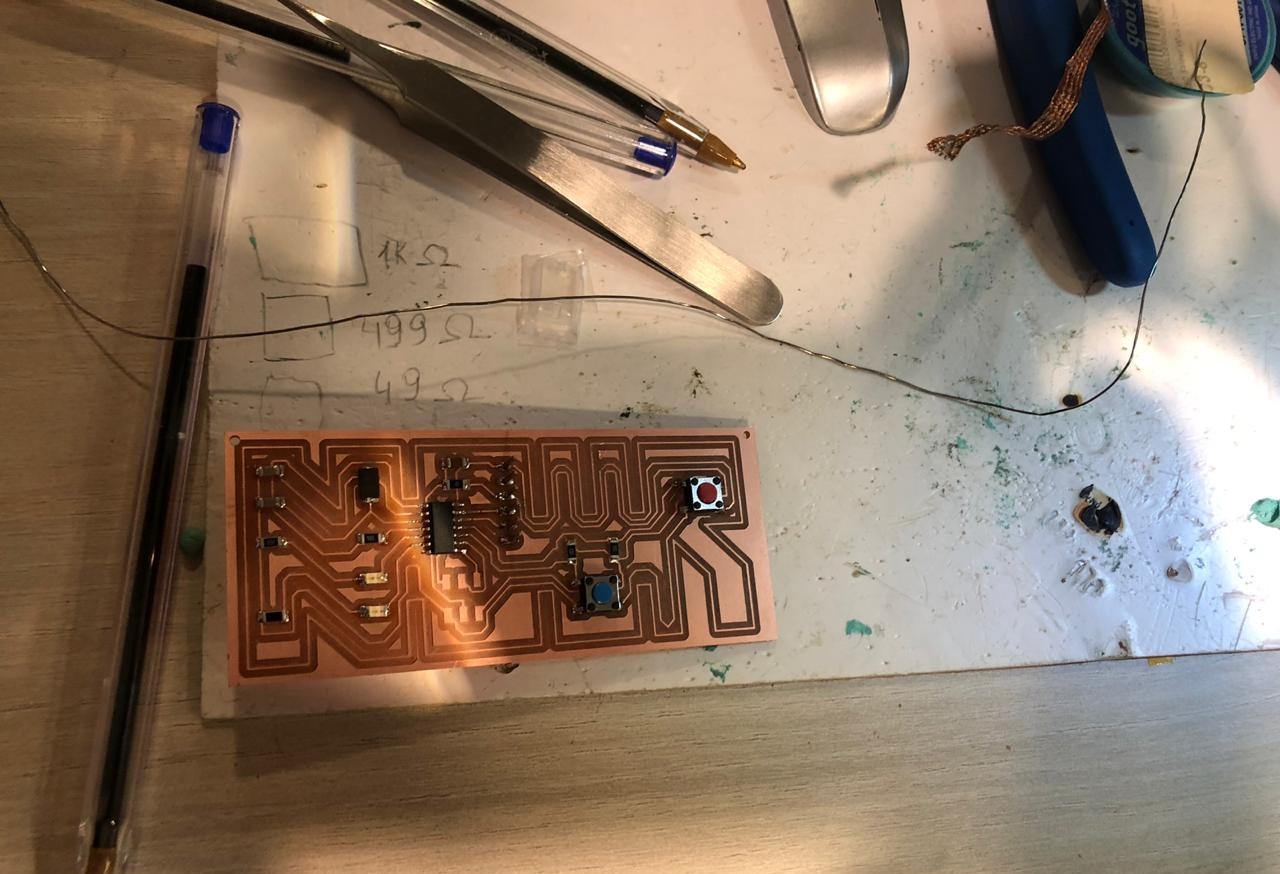
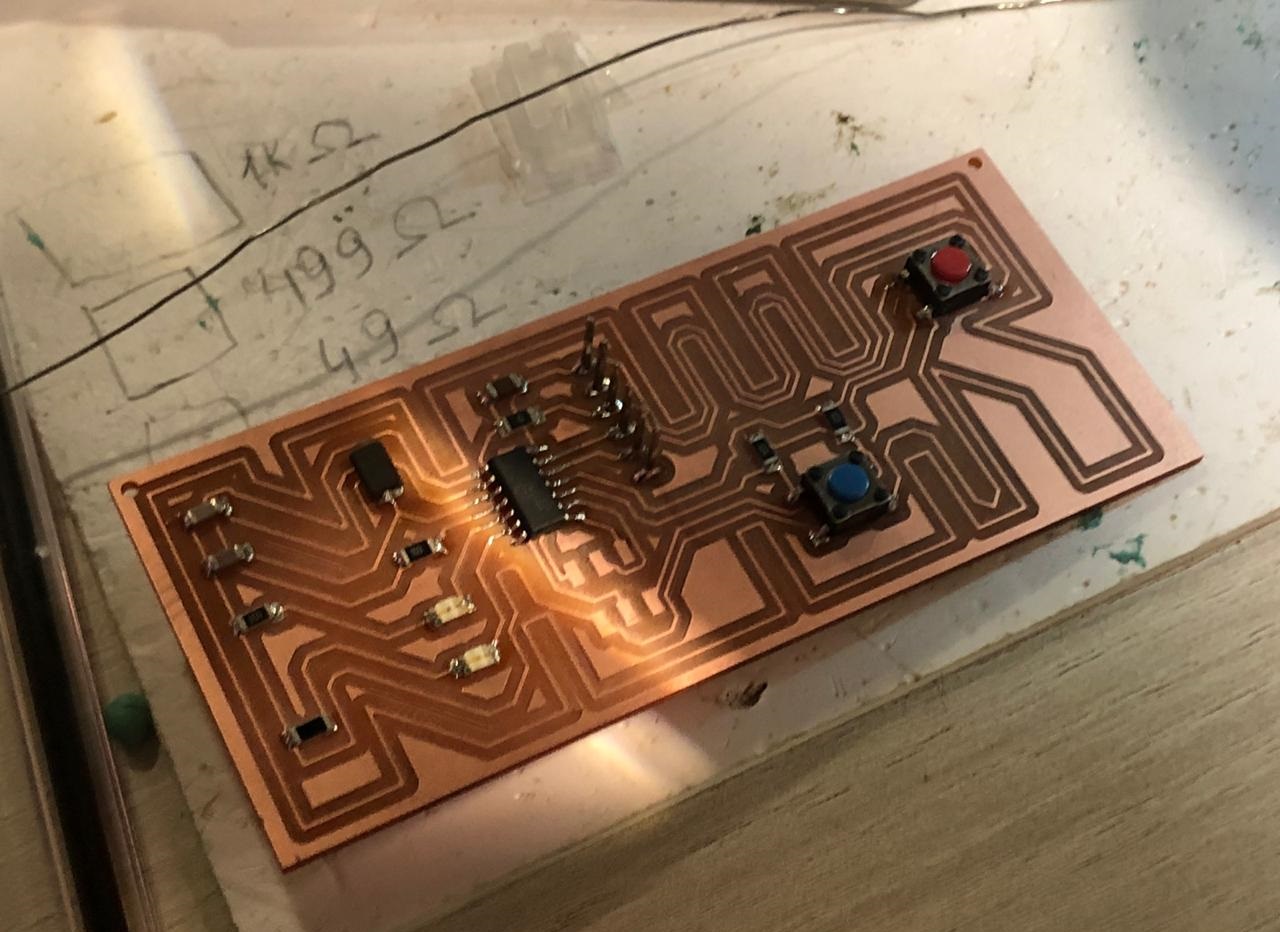
Then you prepare your components and you start soldering...shiny and smooth!
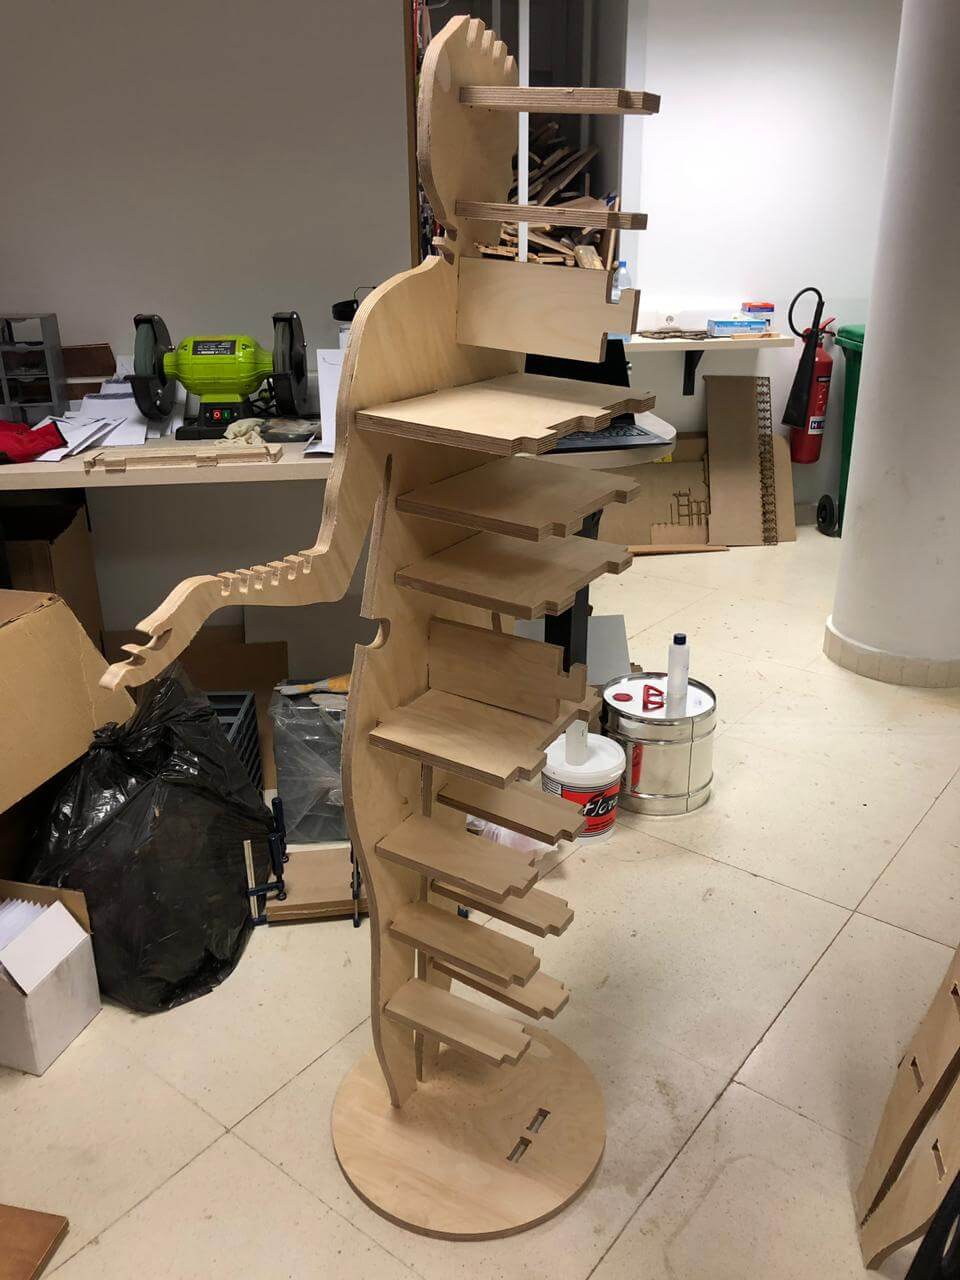
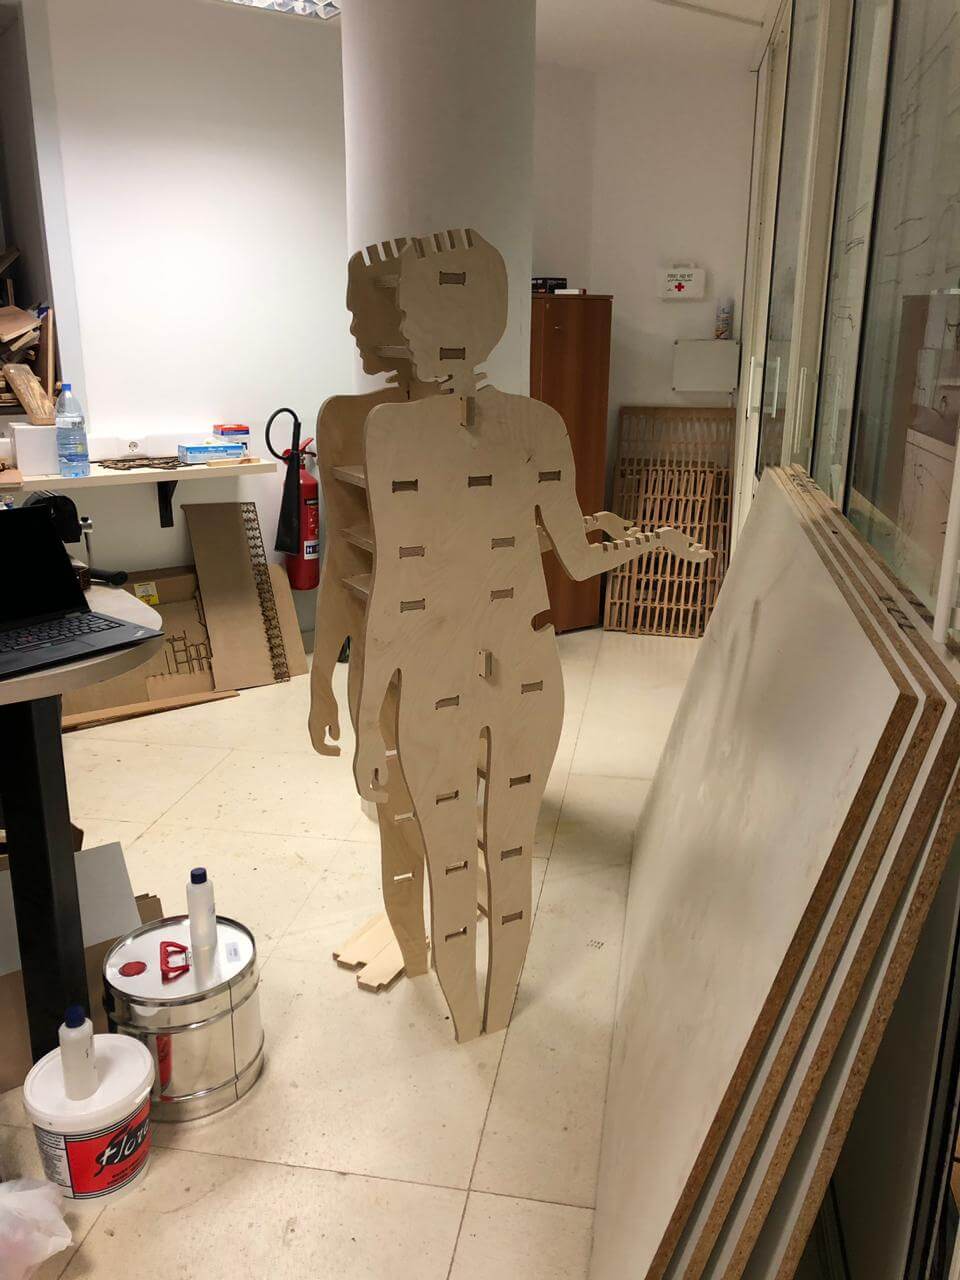
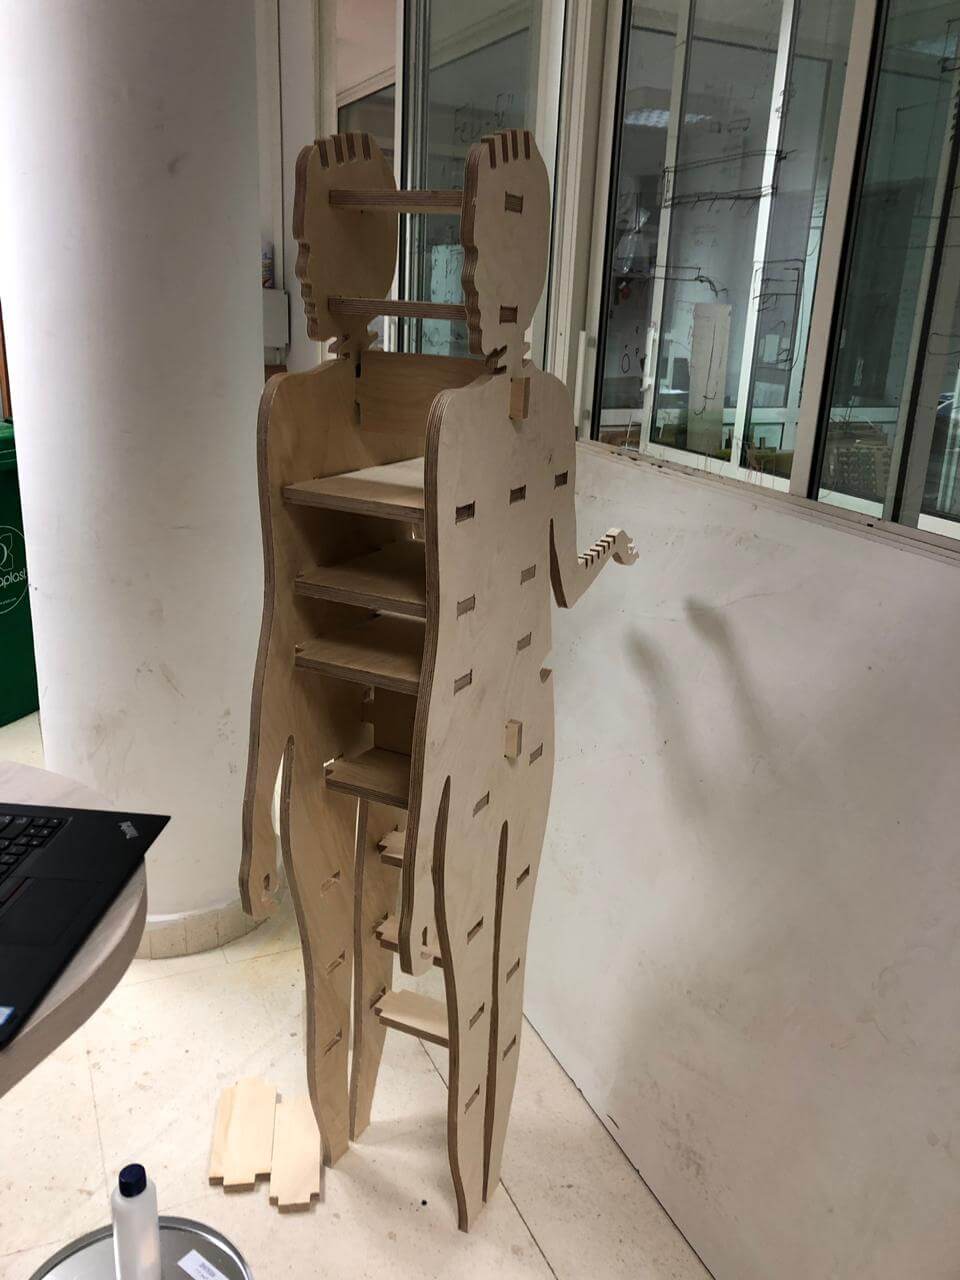
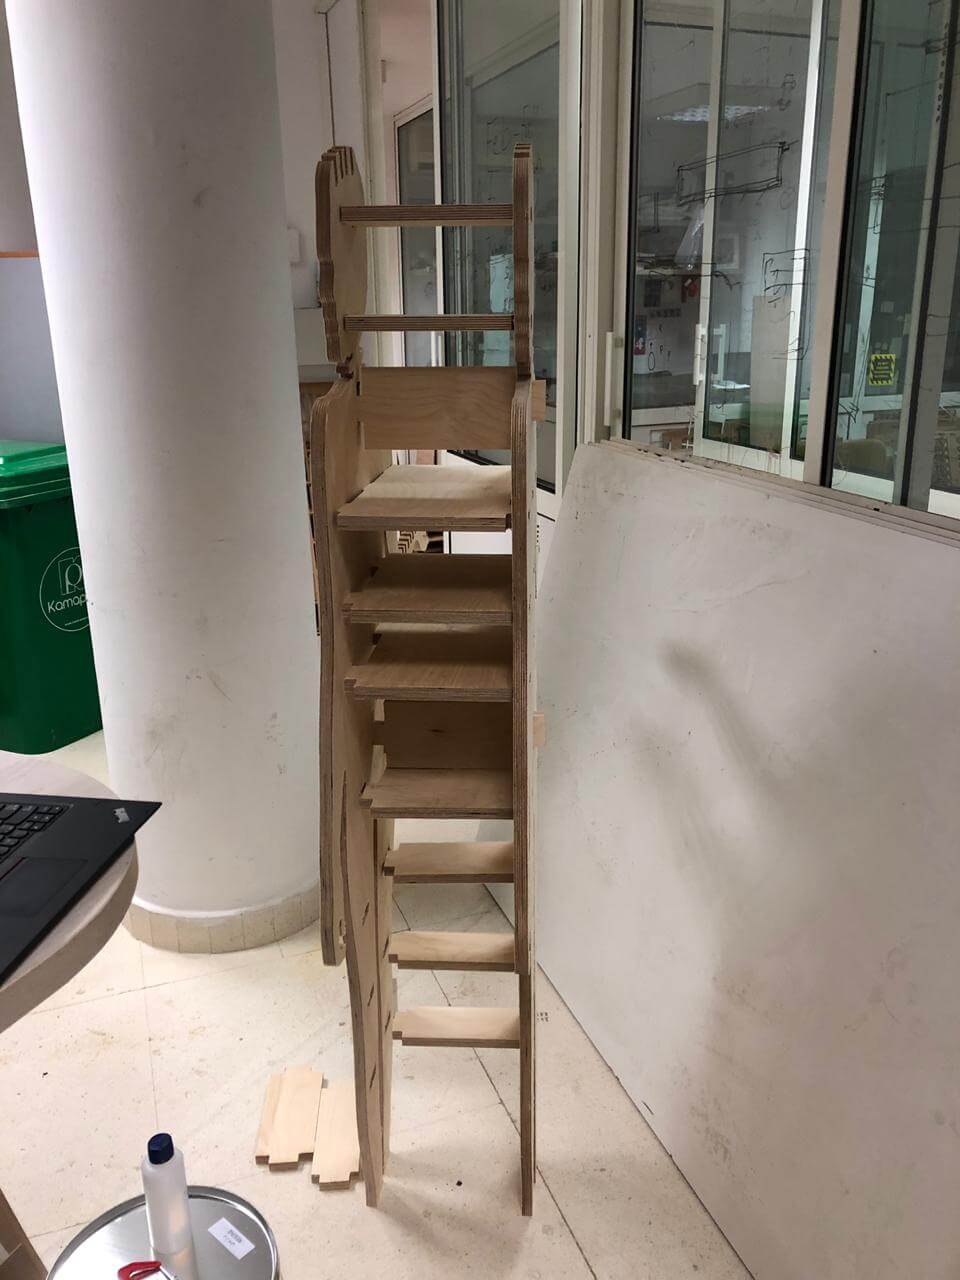
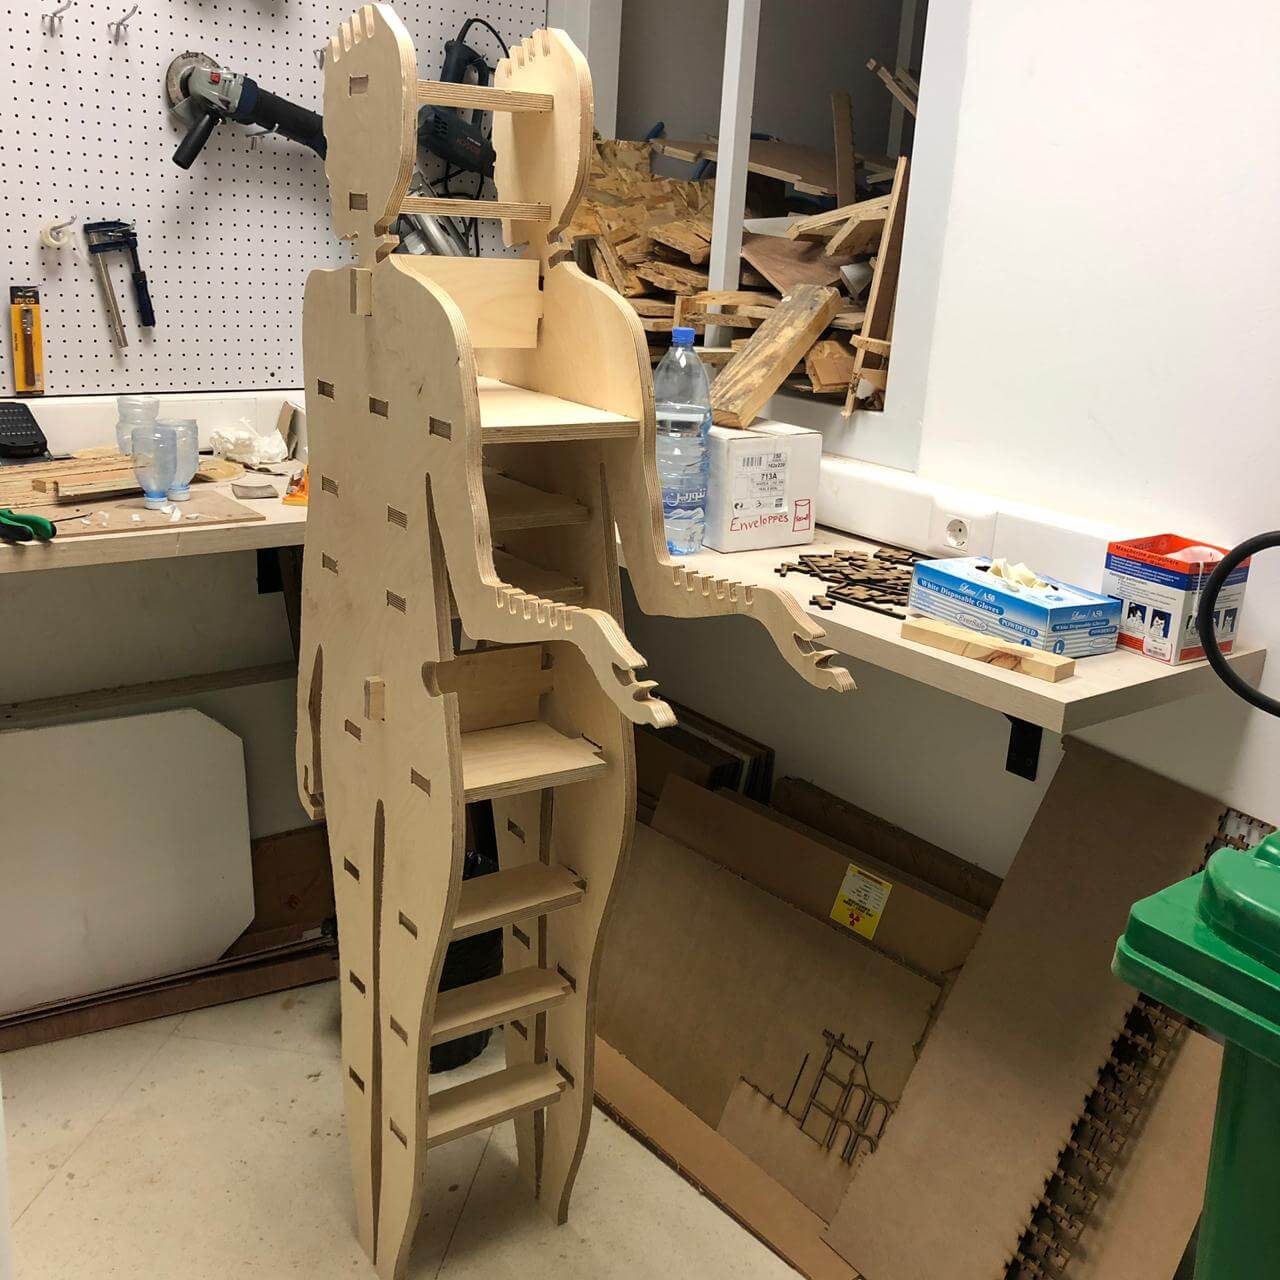
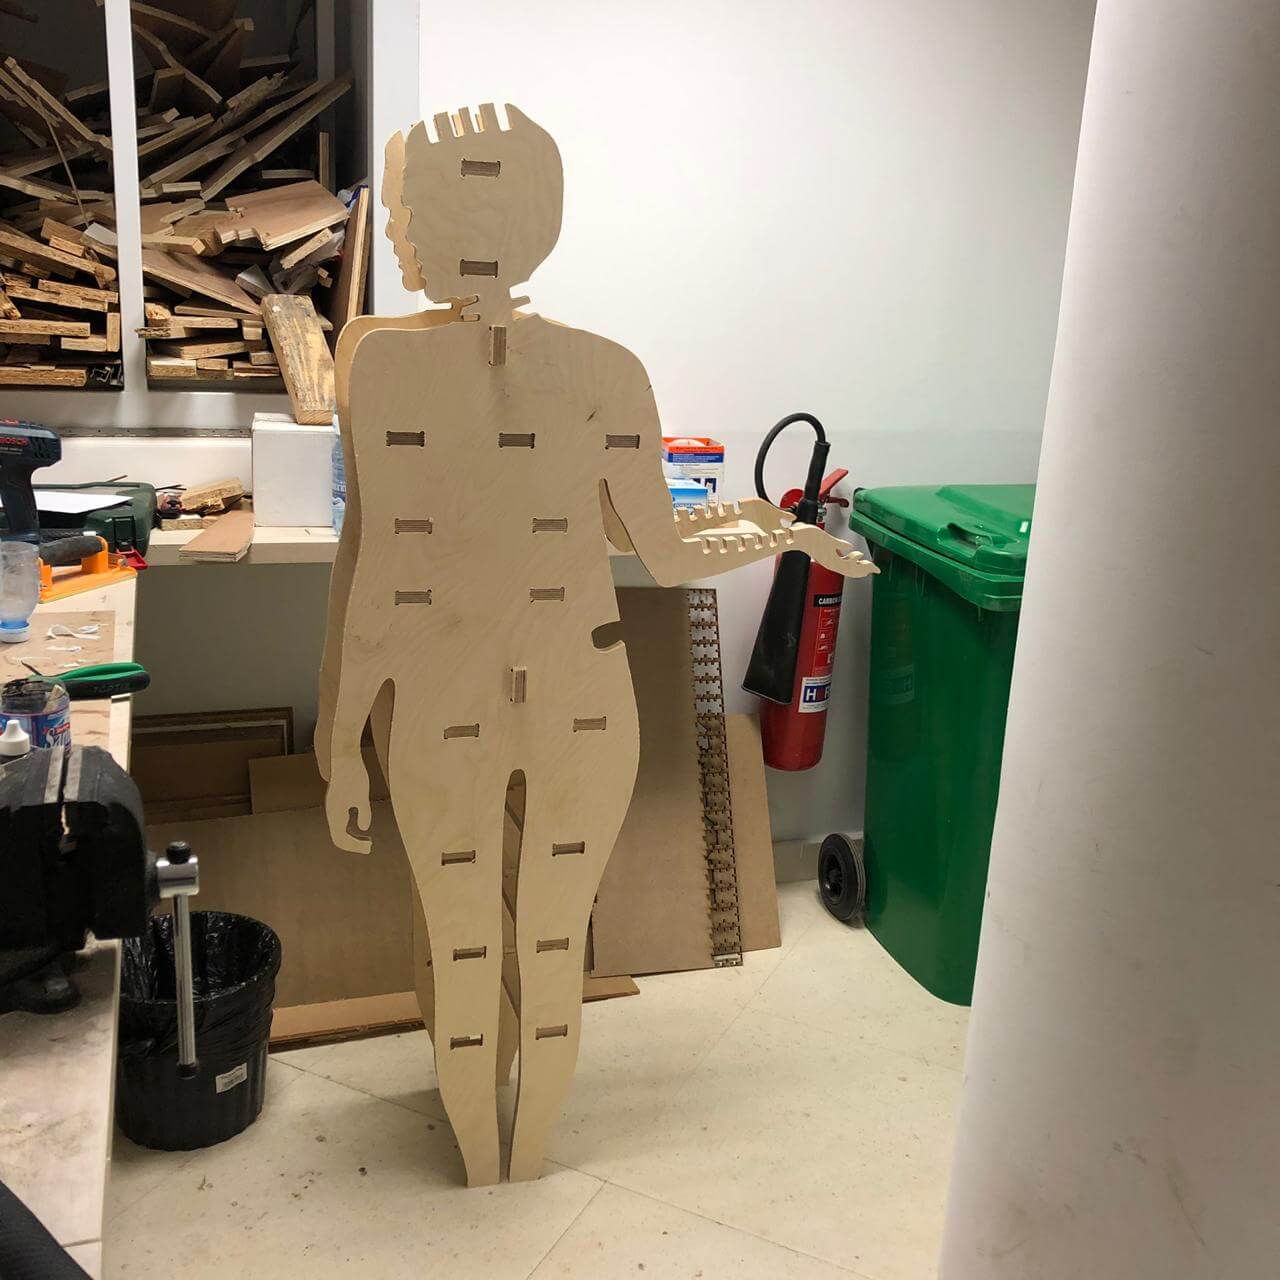
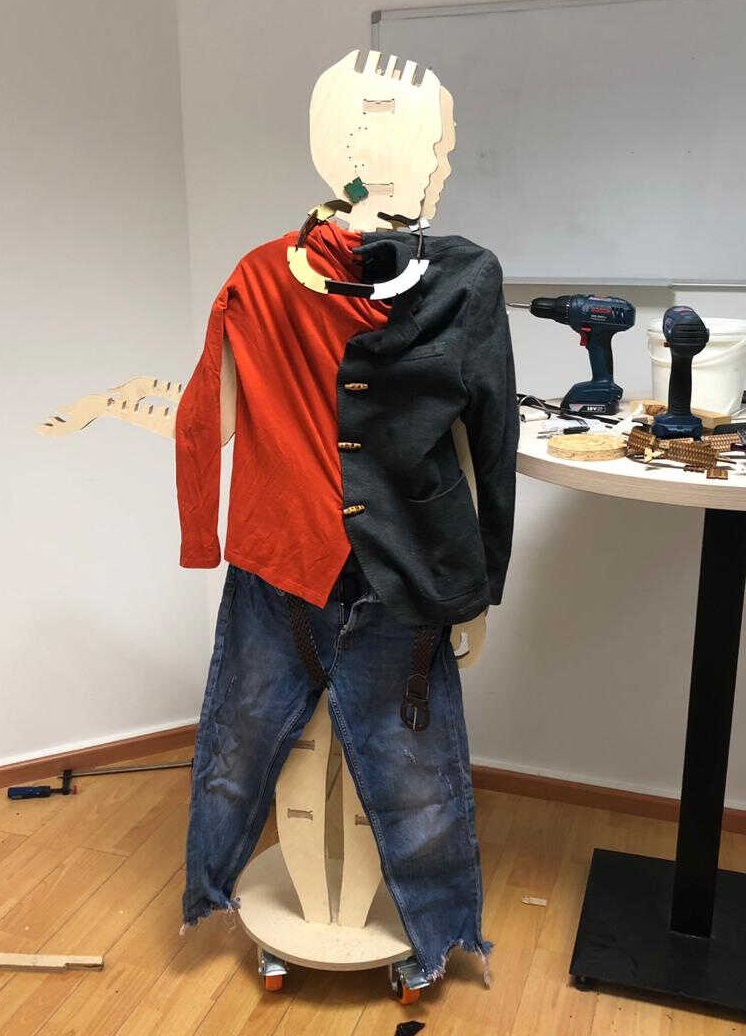
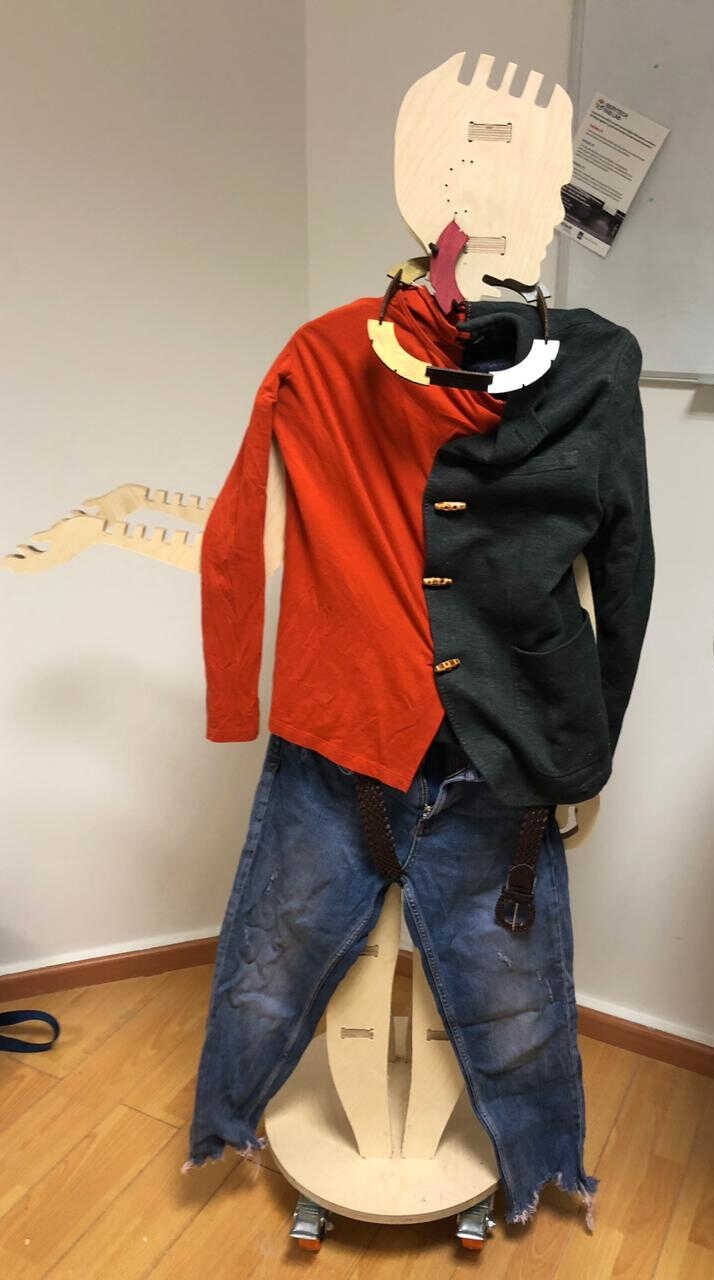
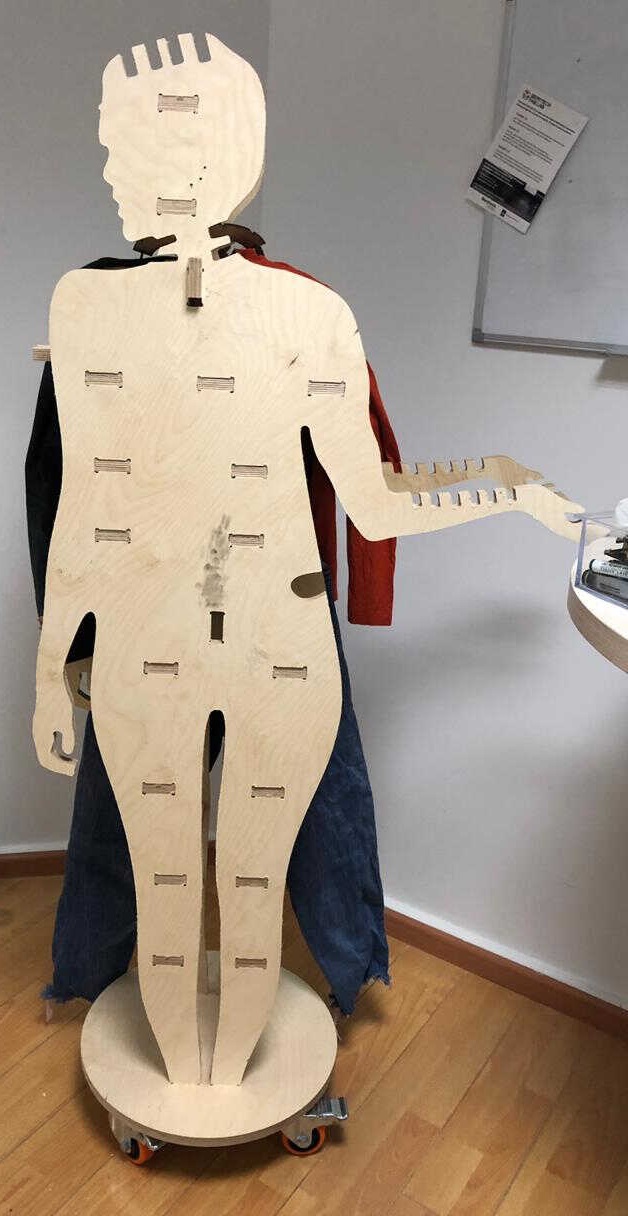
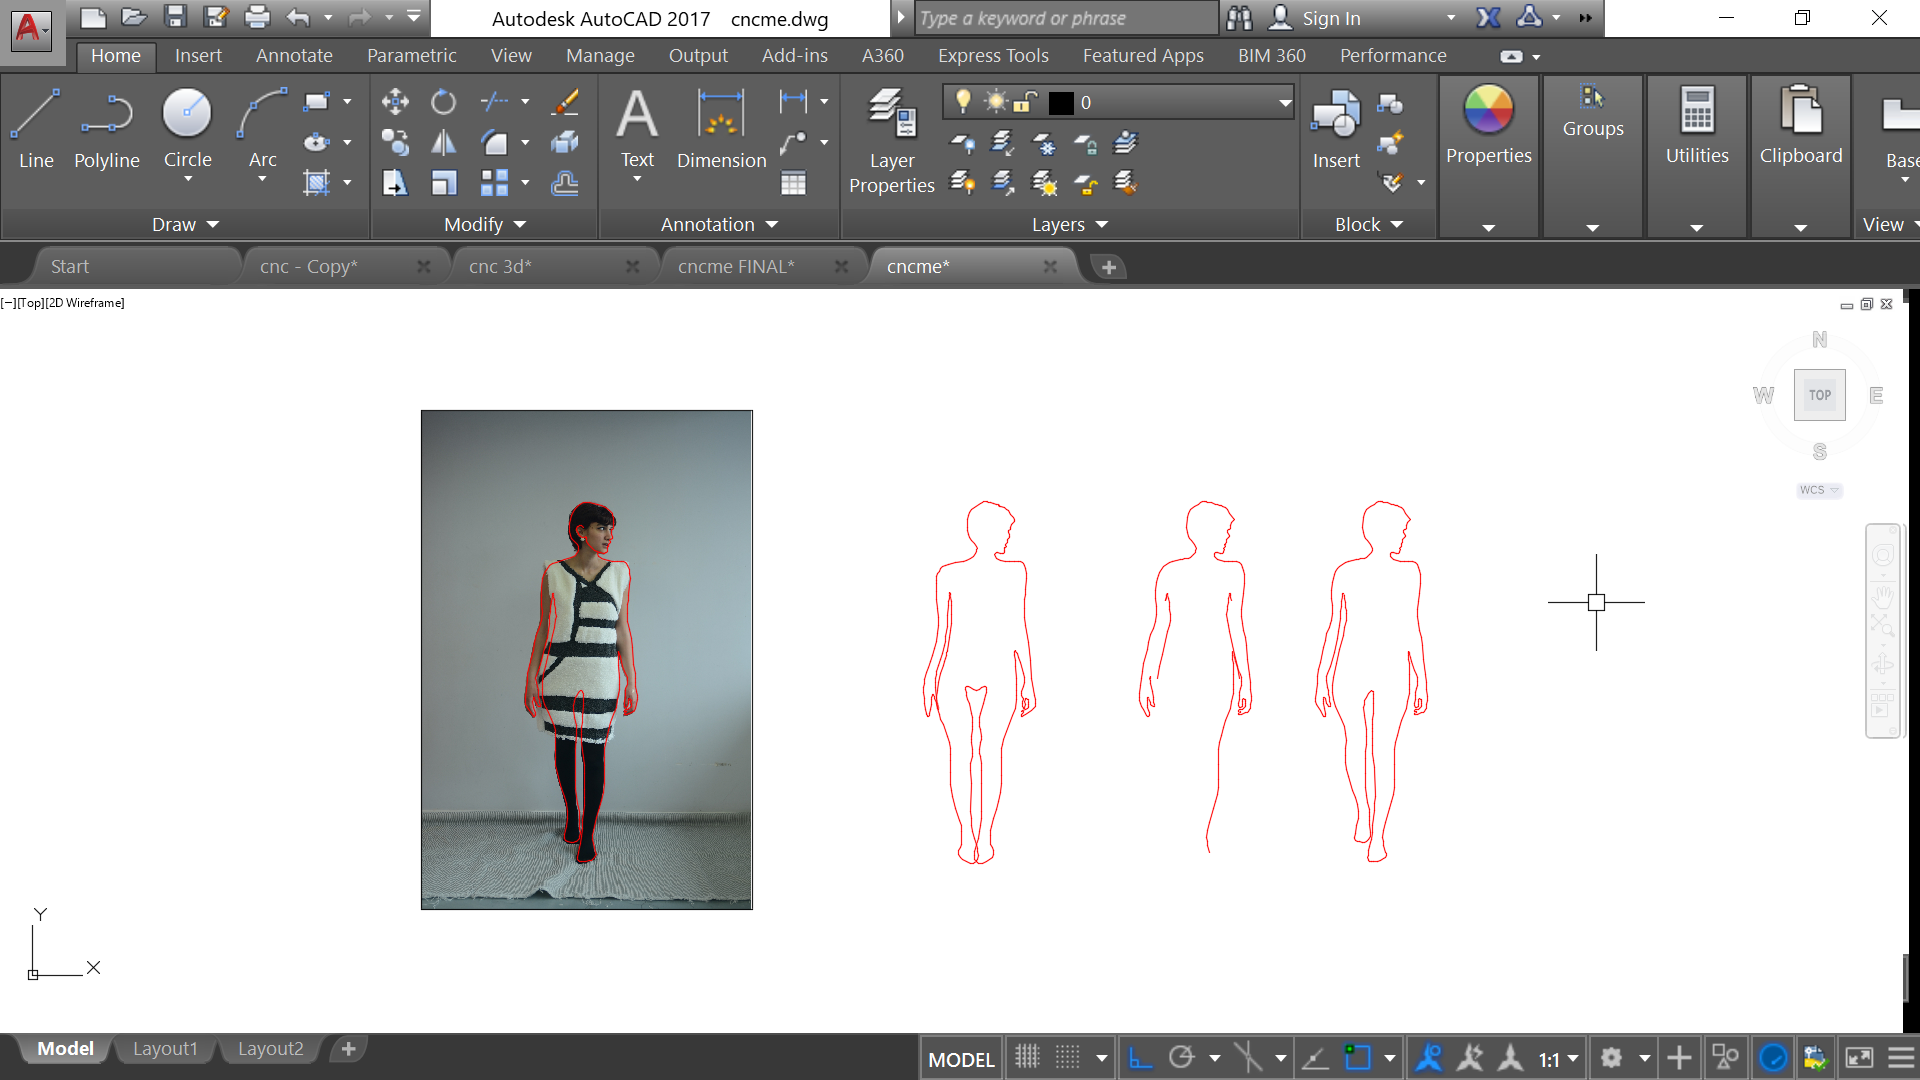
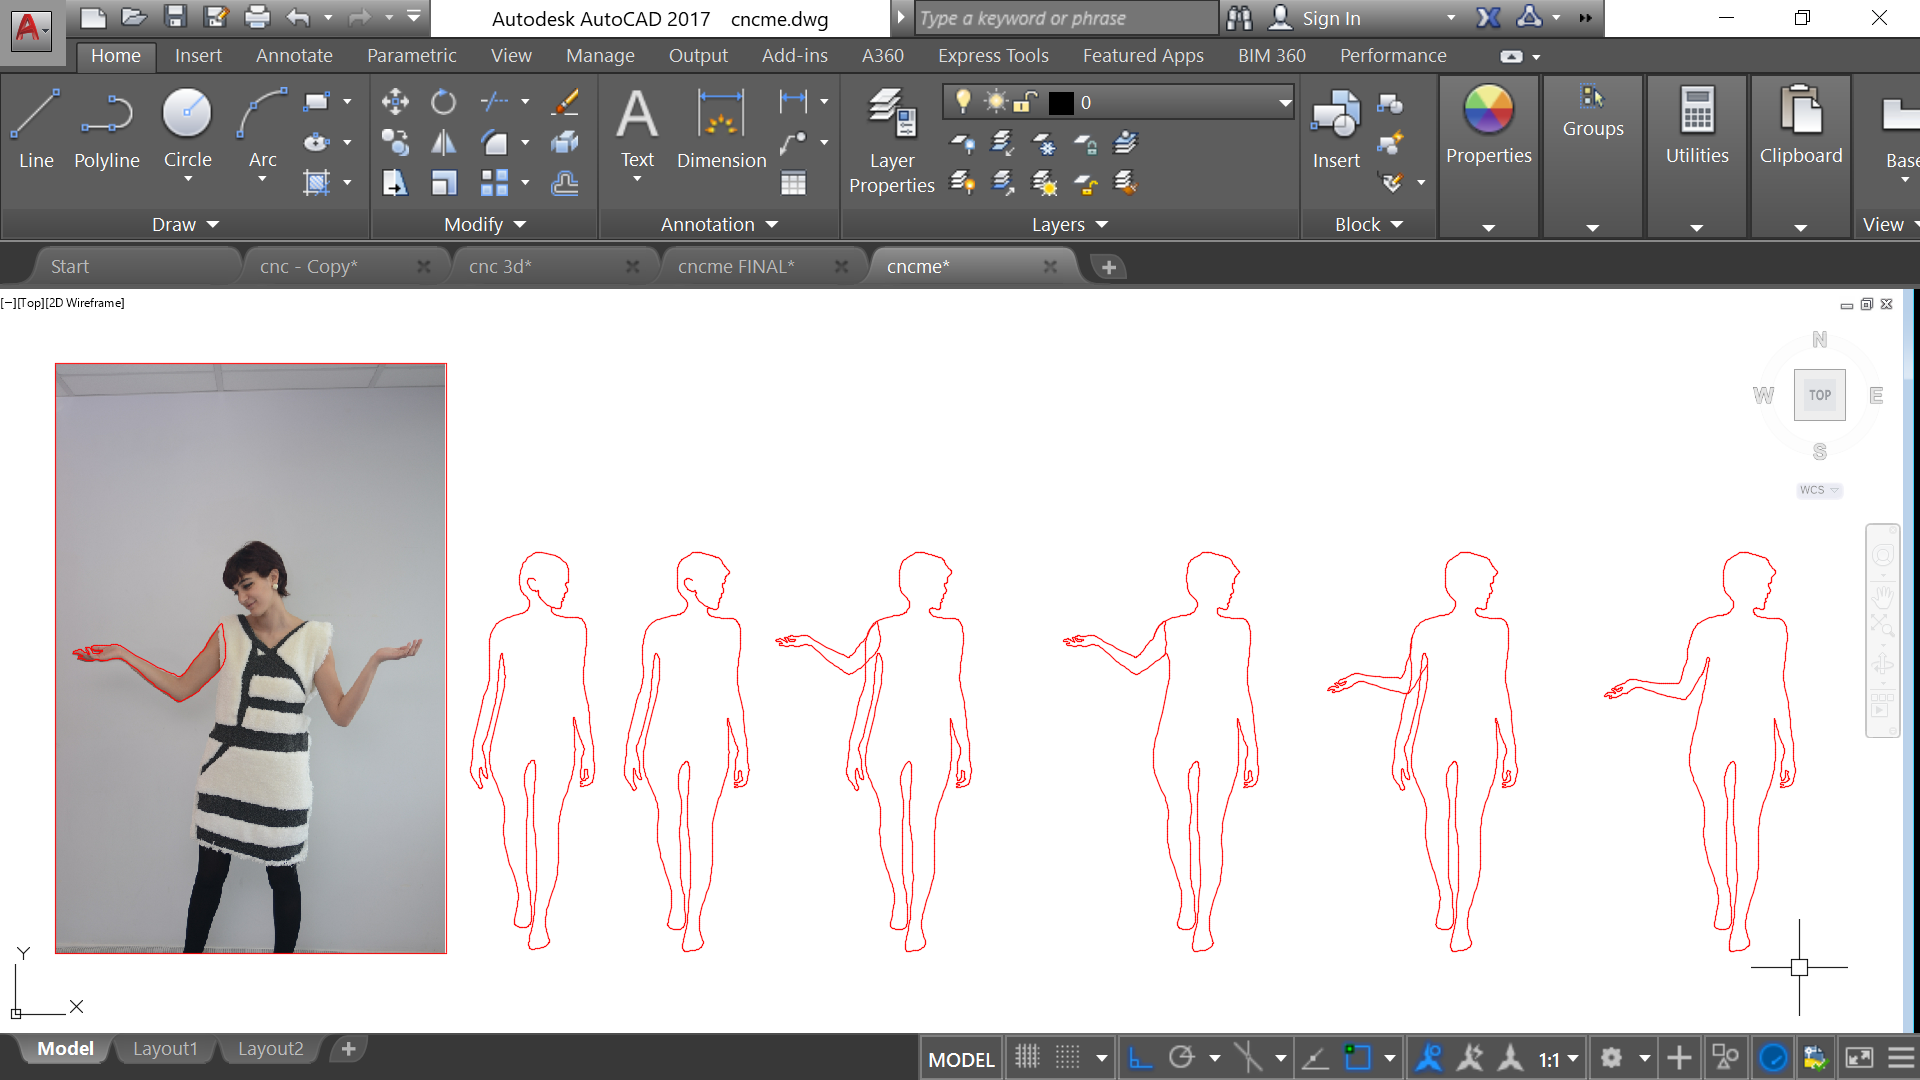
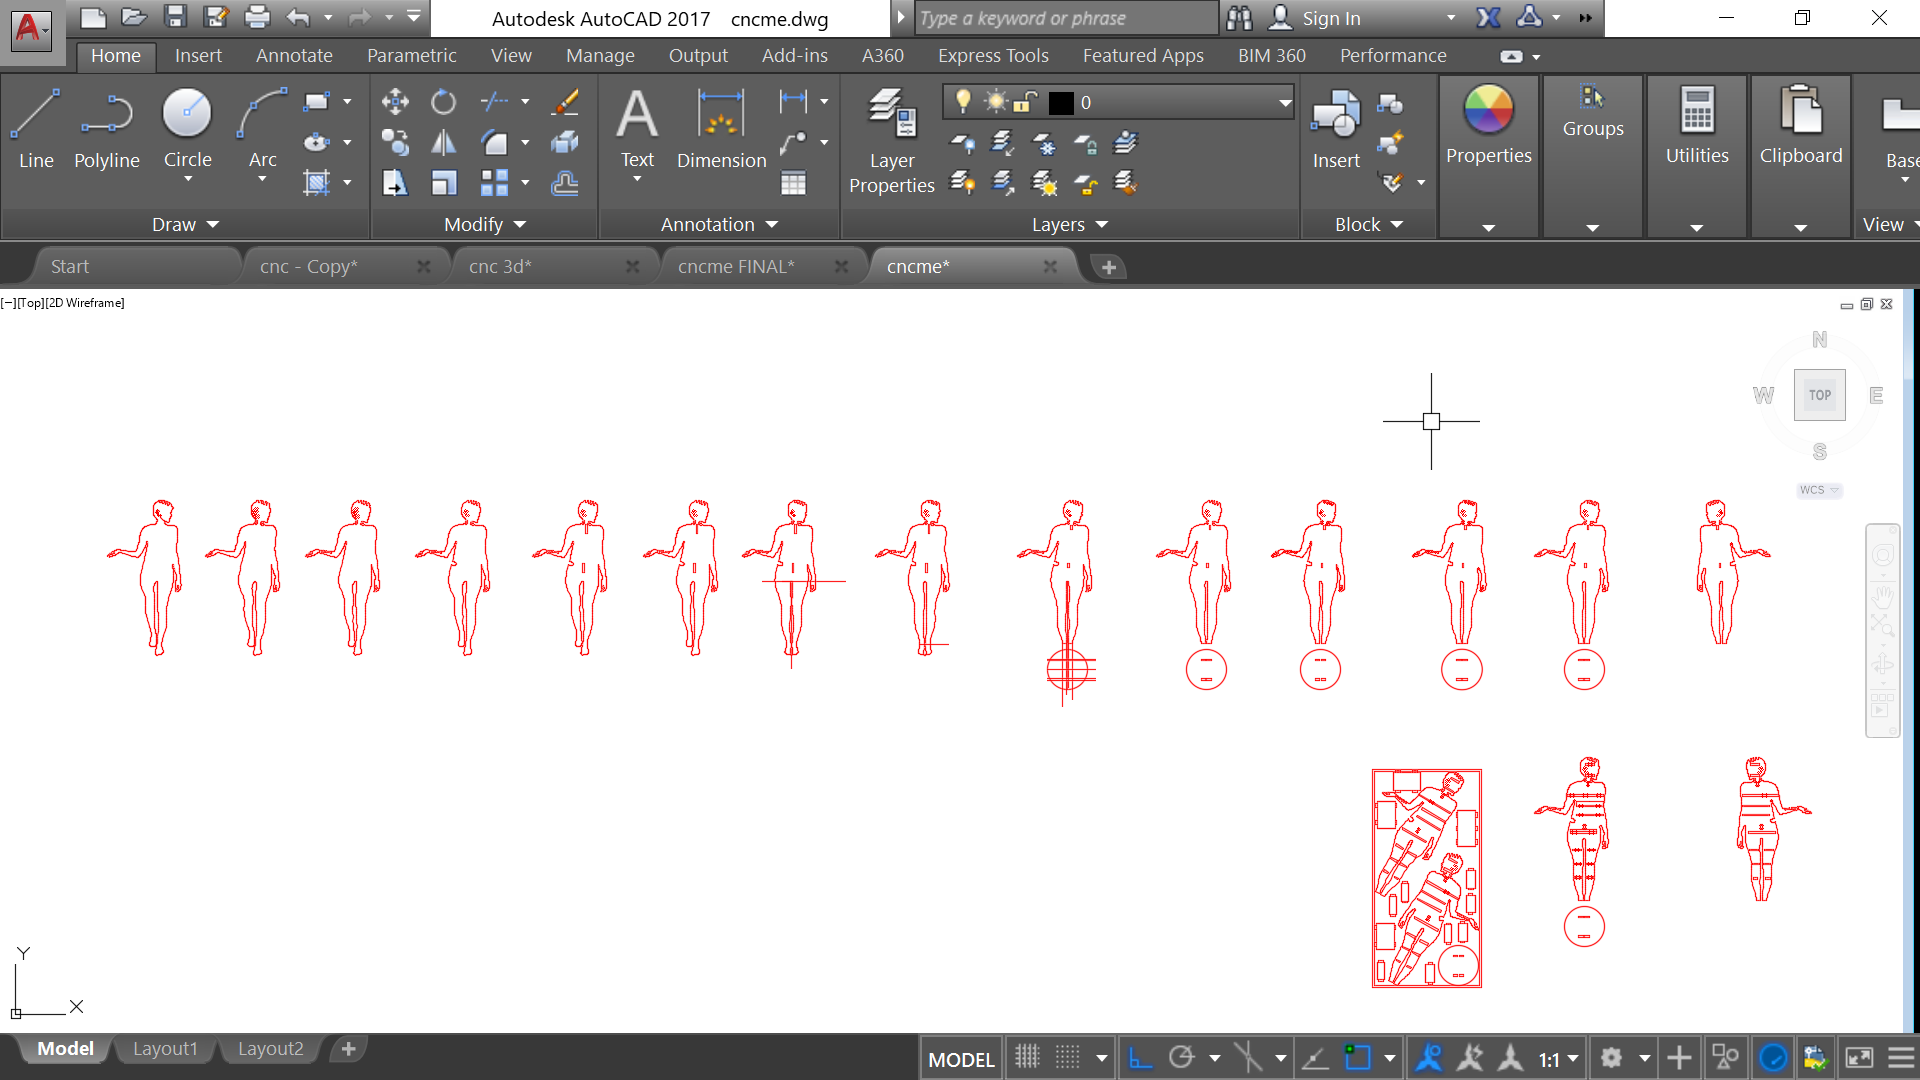
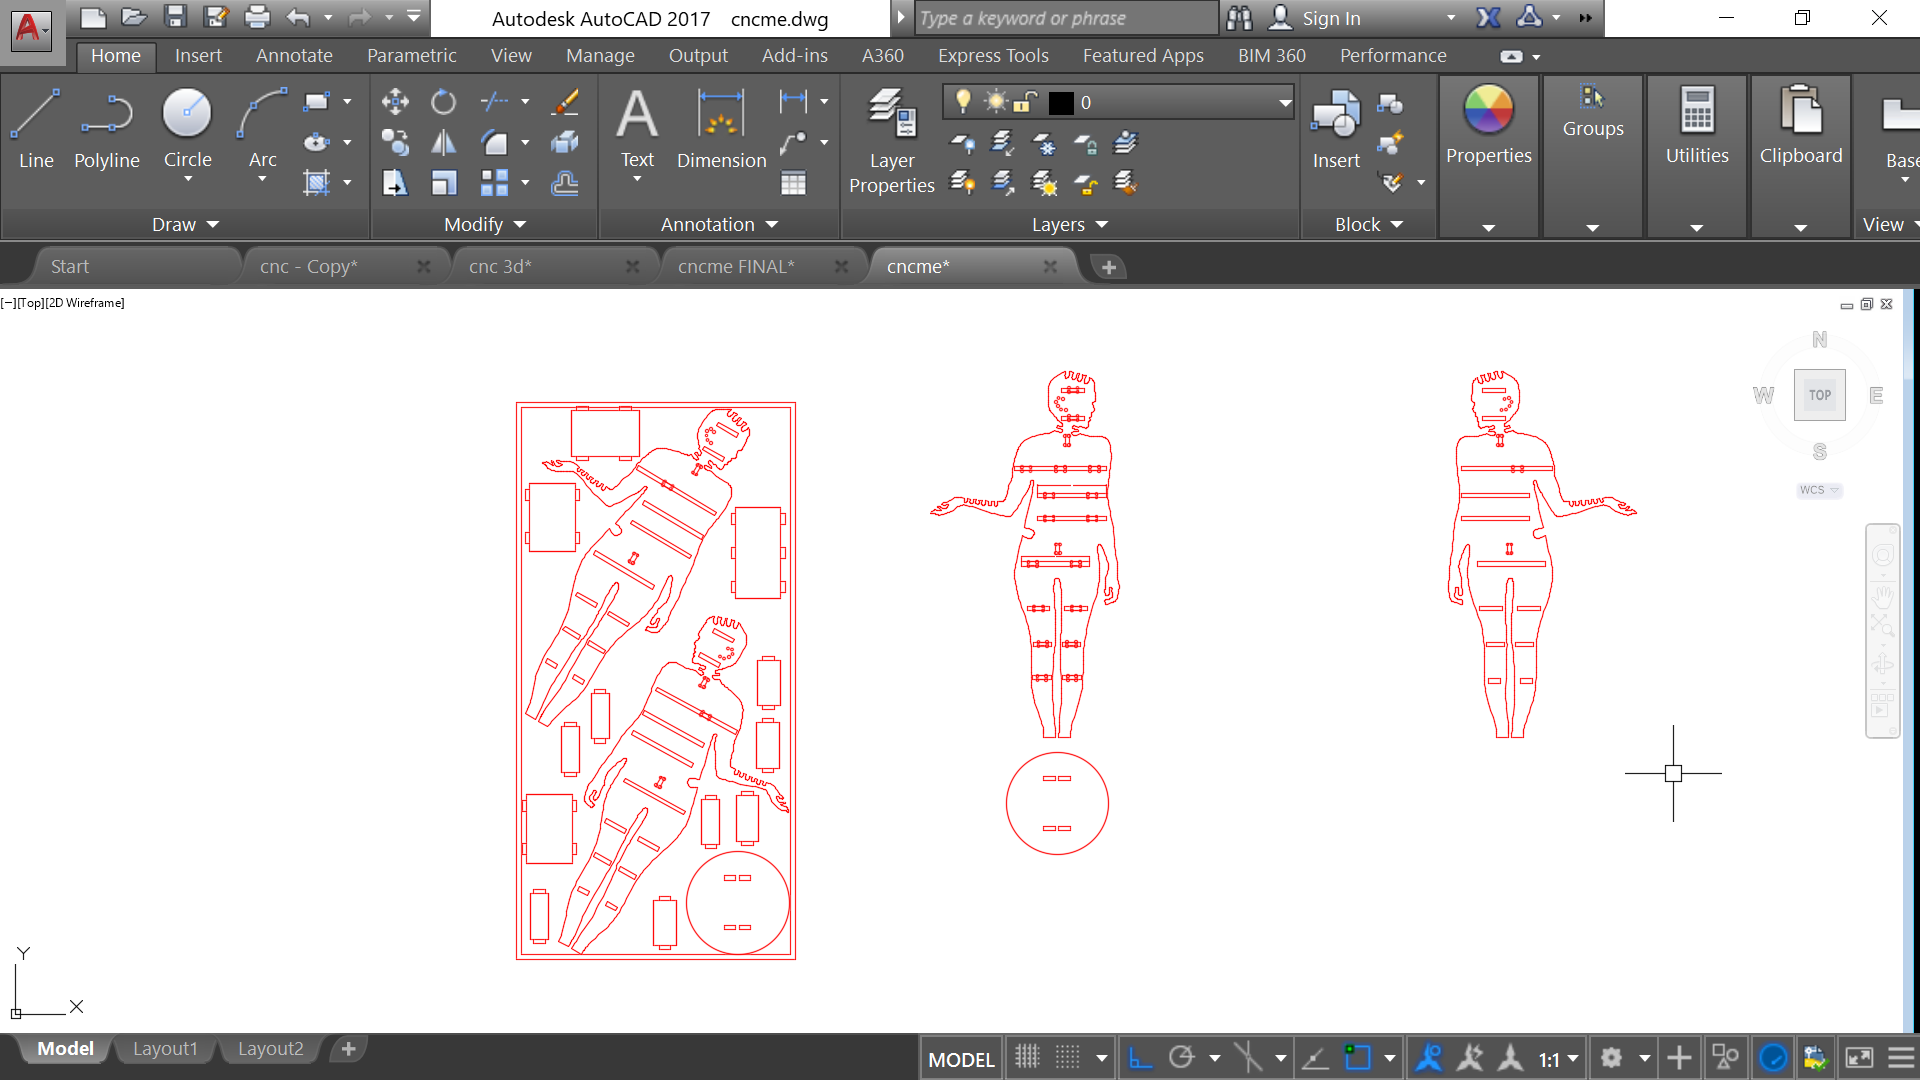
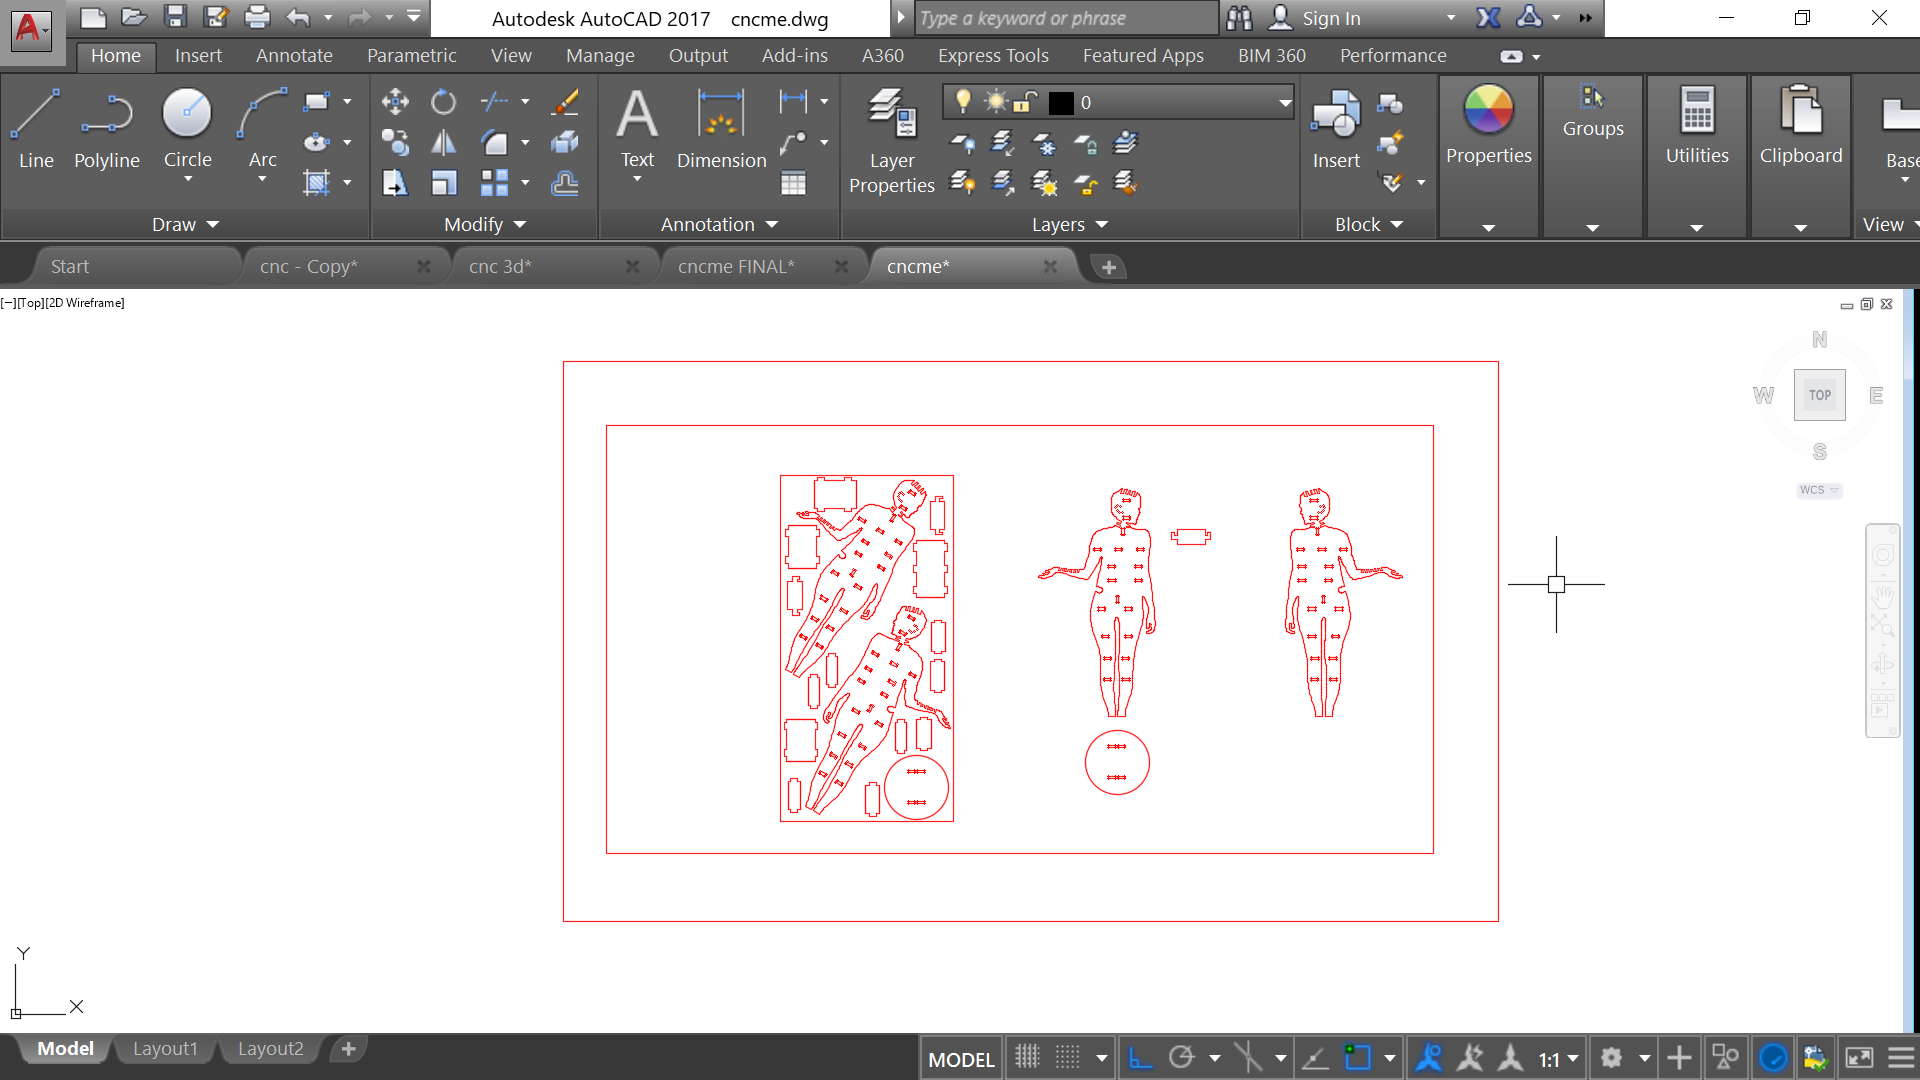
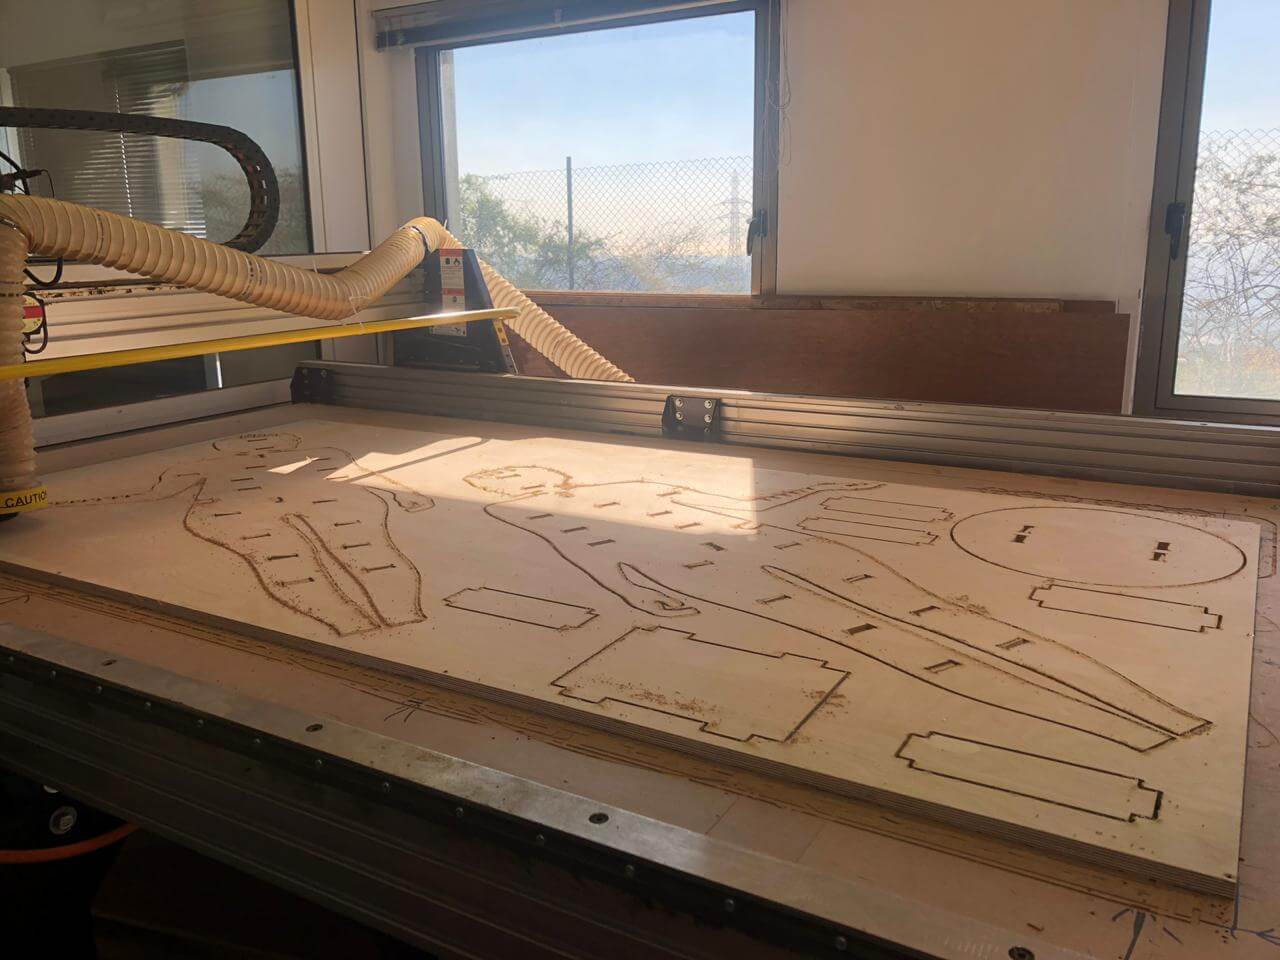
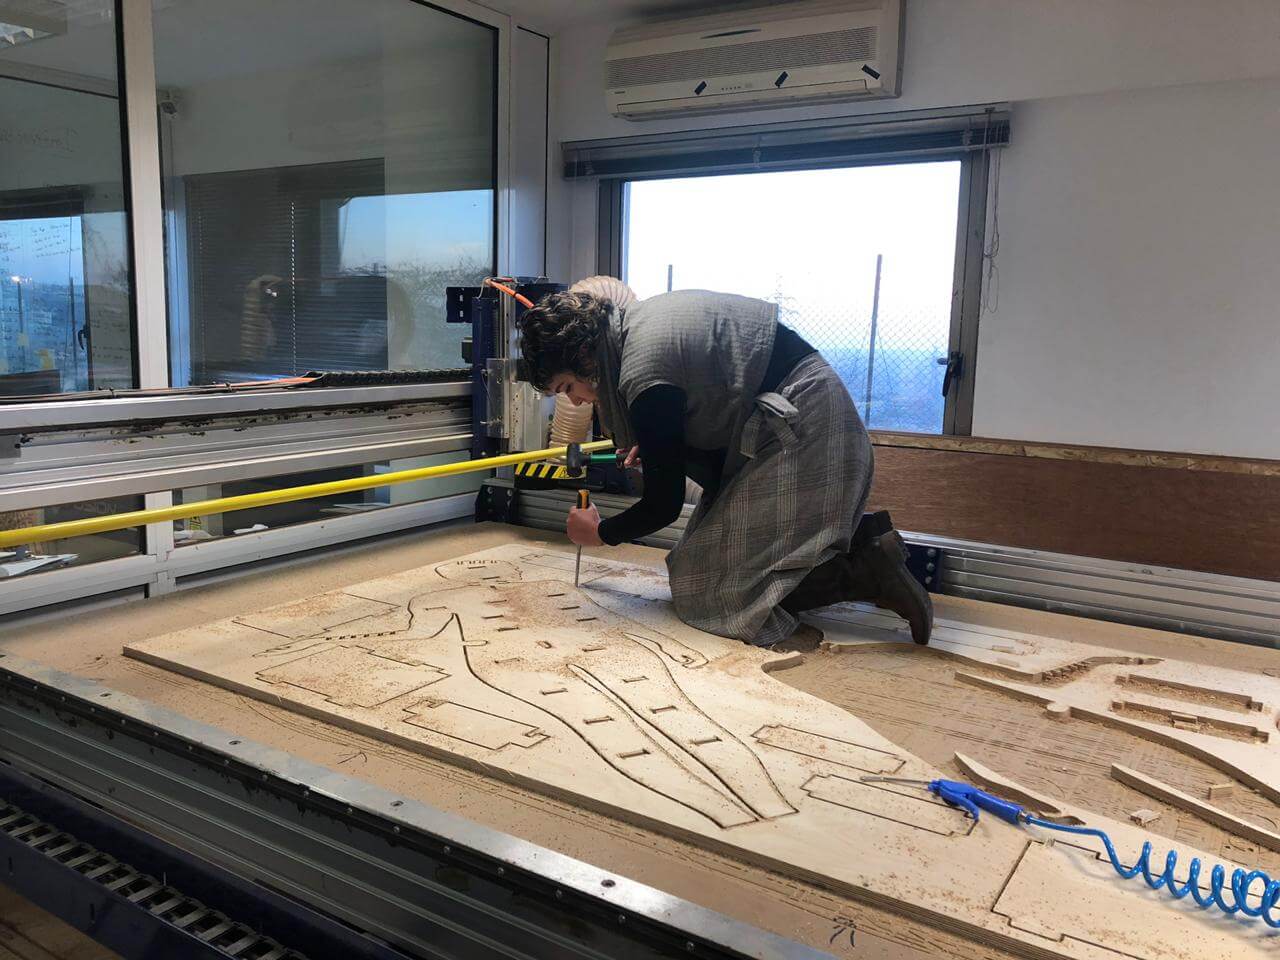
I wanted to see my full silhouette being able to hold some items of clothing and acting as a storage with small shelves sandwiched in between my figures. This is fun and is considered as the first prototype for my final project...
I have first started to trace my silhouette on AutoCad based on 2 images with 2 different gestures. I needed one of my hands to be lifted up soo it can hold some bags later on...
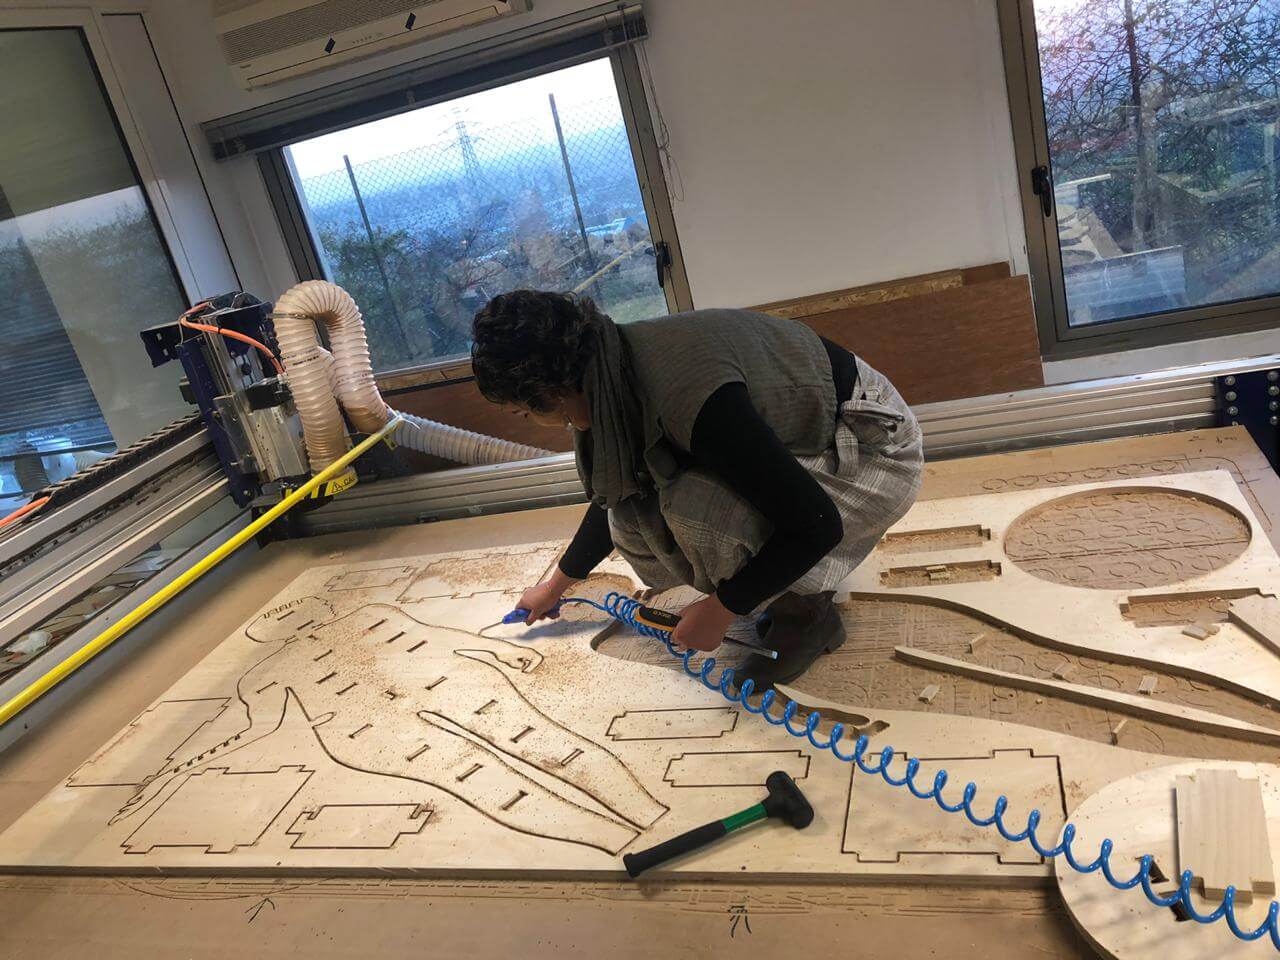
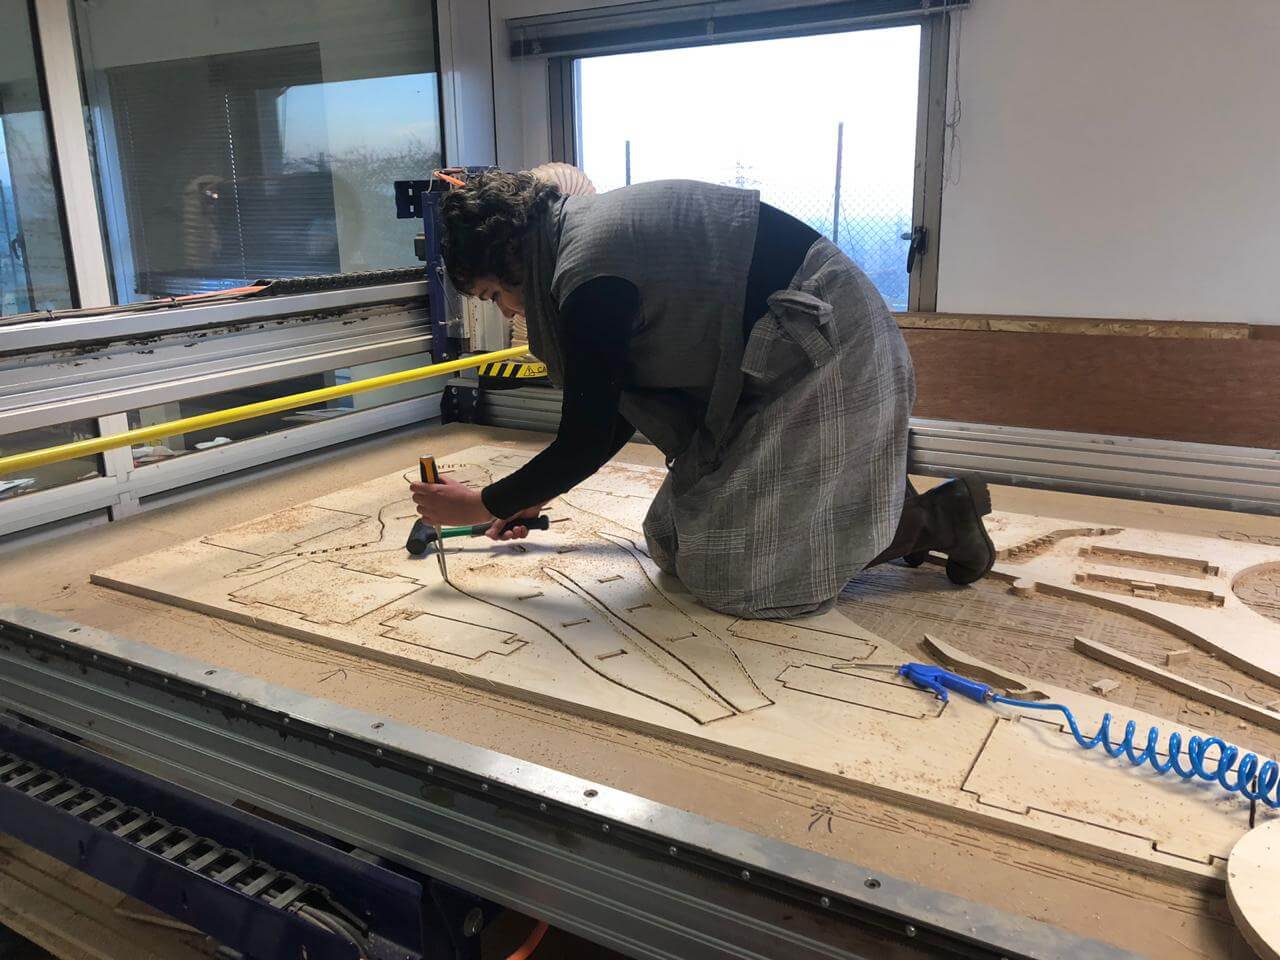
Then it's time to remove the pieces and the tabs with a chisel and a mallet and start assembling...
And the final result is...