8. Computer controlled machining
Inkscape
For this week, I wanted to make a Seagull assembly. I tried using Inkscape to do this design. I went through several tutorials such as Inkscape Tutorial 3 & Inkscape Parametric.
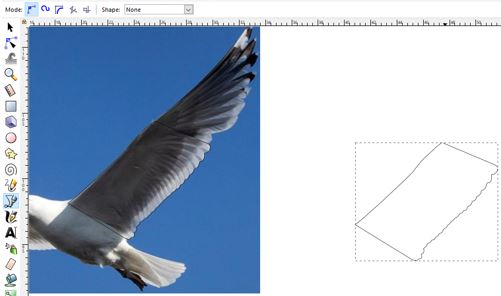
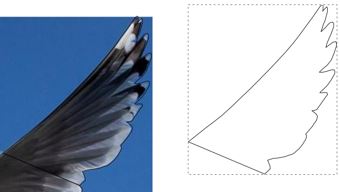
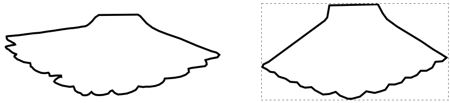
Then I collected several images & started tracing them.
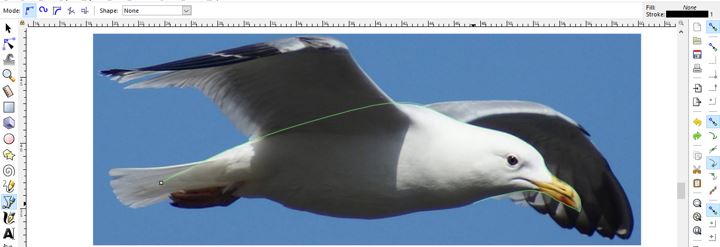
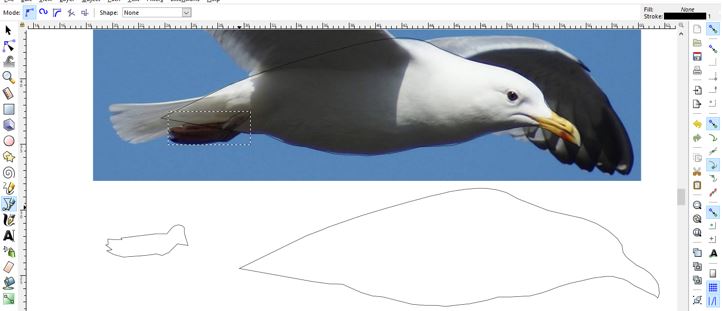

I tried to improve the tail design a bit by redrawing it.
Then I used simplify feature to improve the design & to avoid problems in cutting. I used Linked Offset to create offset for the body of the bird.
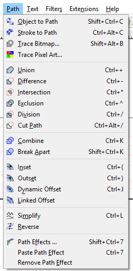
But since the tail design was not symmetric, my instructor helped me & showed me how to do it by deleting half of it then mirroring it to create this tail version.
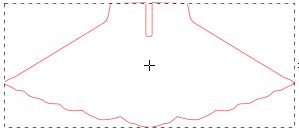
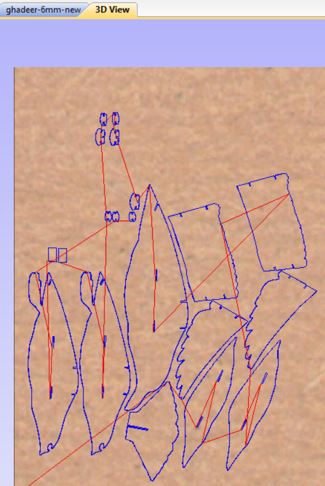
Then, I tried creating the joints & this is the final result before laser cutting.
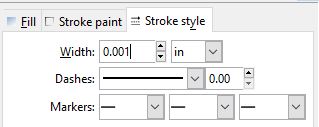
& made the stroke width 0.001 in for laser cutting.
Laser Cutting
This was the result after assembling.

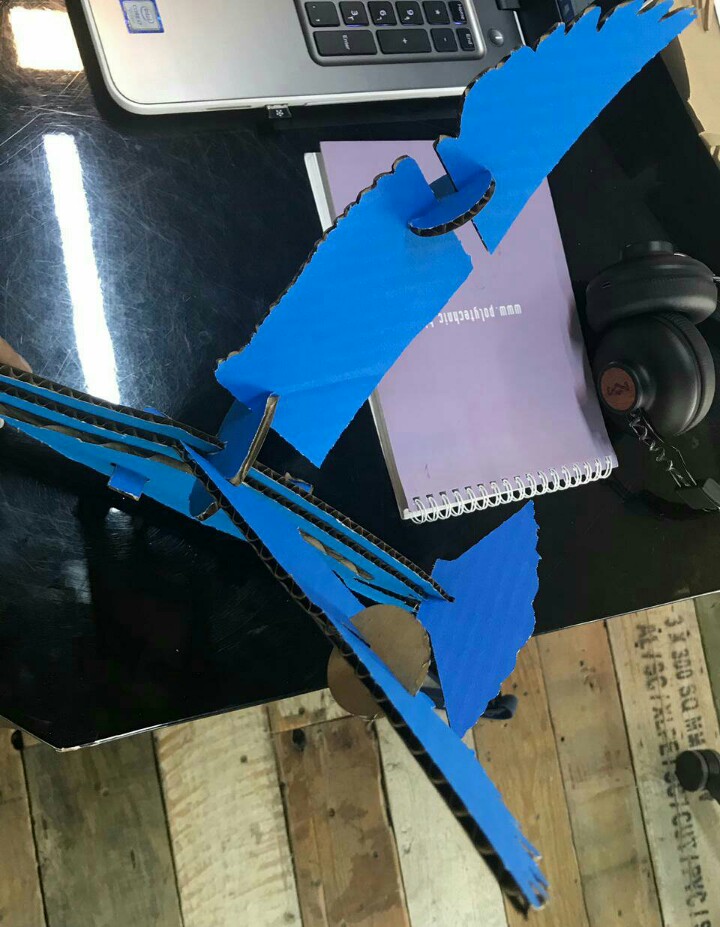
I found out that some joints needed some modifications before the CNC cutting.
CNC testing & settings
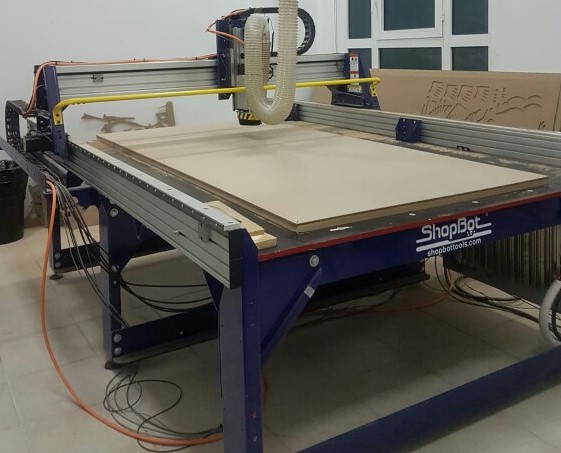
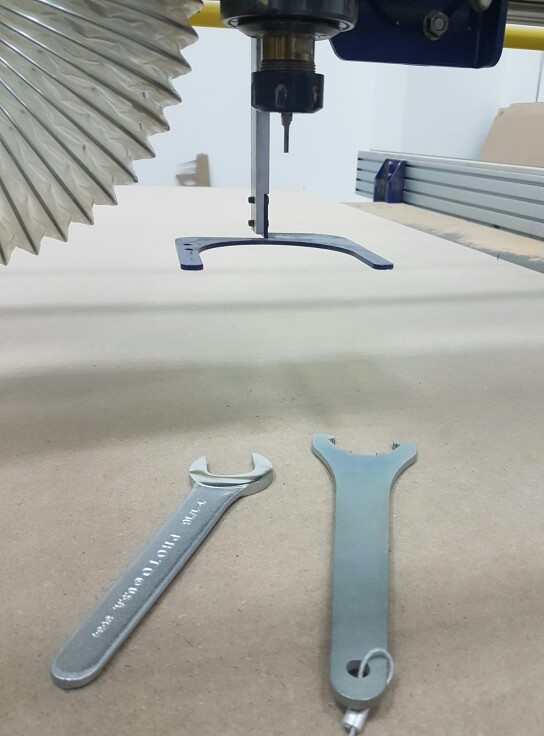
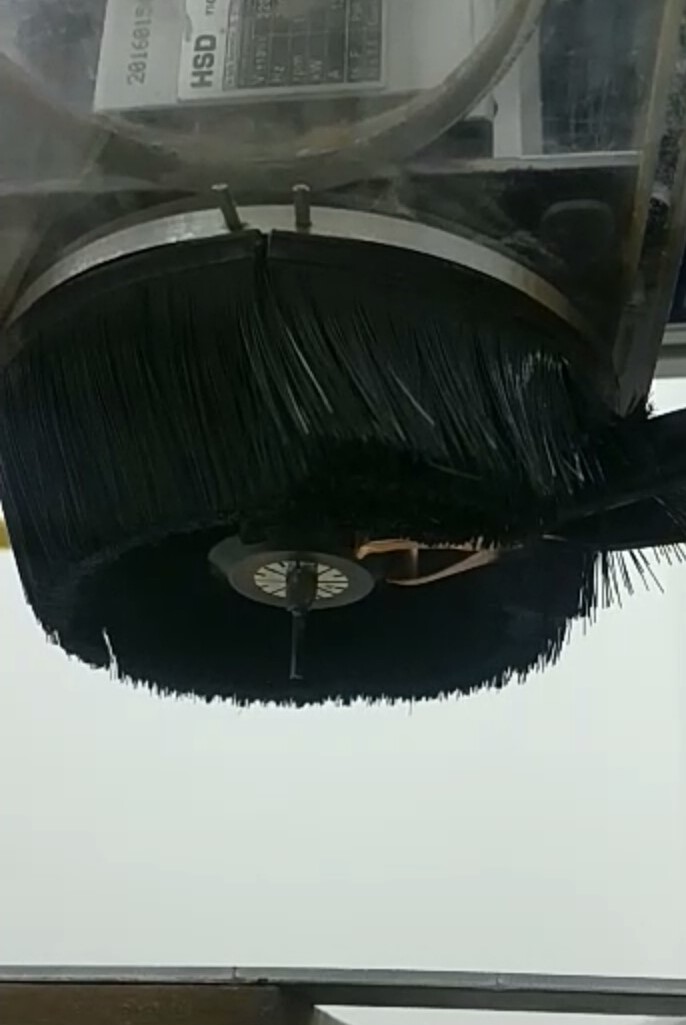
This is the CNC machine we used.
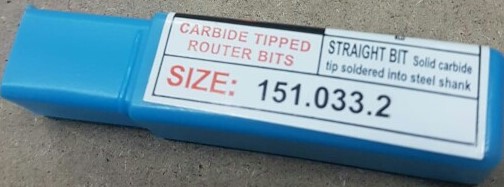
For testing we used 3mm bit
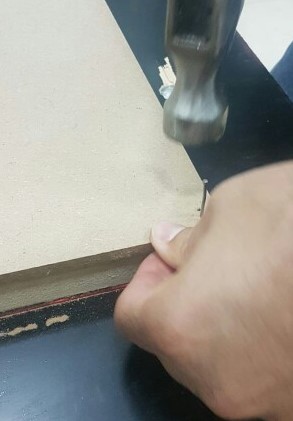
We fixed the board using nails.
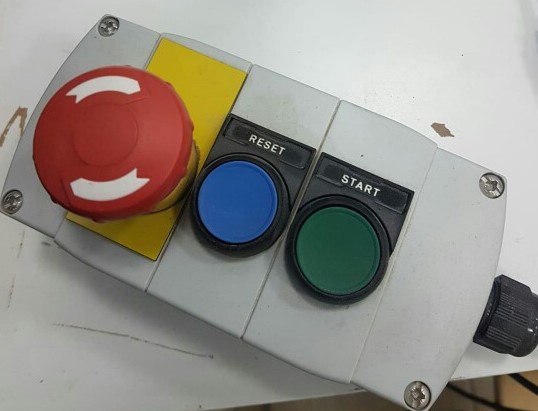
Machine buttons
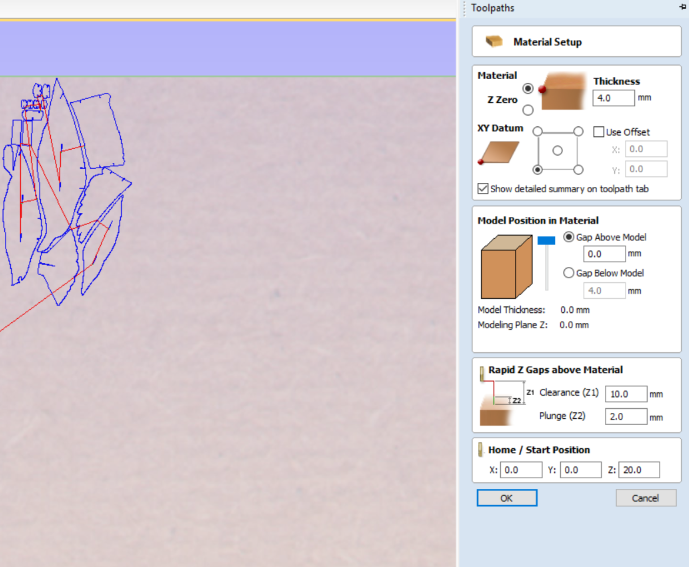
Before cutting we adjusted the origin settings for all vectors. Setting Z origin:
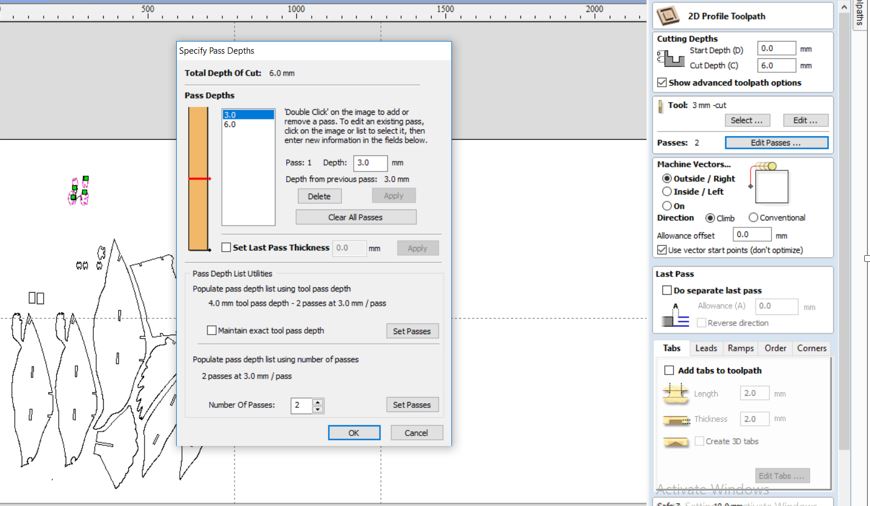
We tried testing different cutting settings & pucketing. We used VCarve Pro software to design & do the cutting settings. After designing, we selcted each element in the design & set the toolpath settings for it & then clicked on “Calculate” button. We did that for all elements then merged them & saved the file to be used in the cutting program. After ensuring that the origins are set correctly, we clicked on “Cut” button, then it requested us to click on the green button & “Enter”.
Tool settings changes depending on several factors such as material type & thickness. Some refrences Makezine & ShopBot Feeds & Speeds Charts.
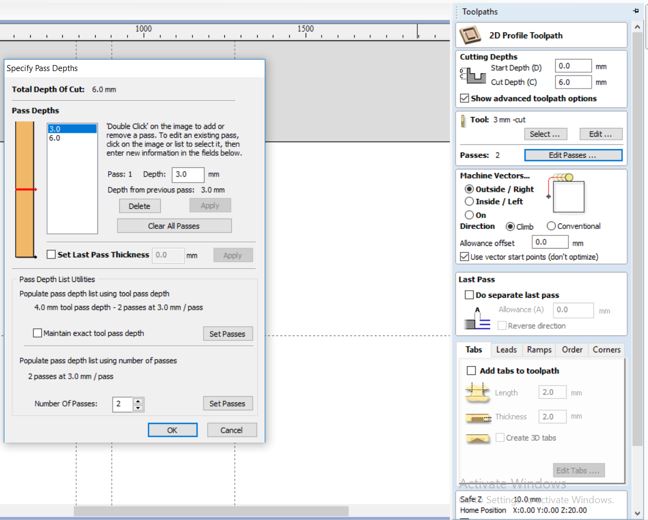
For the first one we used:
- 2D Profile Toolpath
- 6mm cutting depth
- One pass 3mm, 2 passes in total
- Machine Vectors: Outside/Right
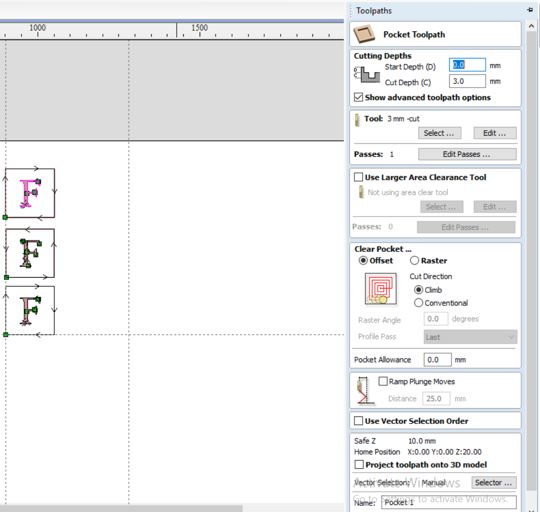
- Pocket Toolpath
- 3mm cutting depth
- One pass 3mm, 1 passes in total
- Clear Pocket: Offset
- Cut Direction: Climb
For the second one we used:
- 2D Profile Toolpath
- 6mm cutting depth
- One pass 3mm, 2 passes in total
- Machine Vectors: Inside/Left

- Pocket Toolpath
- 3mm cutting depth
- One pass 3mm, 1 passes in total
- Clear Pocket: Raster
- Cut Direction: Climb

For the third one we used:
- 2D Profile Toolpath
- 6.5mm cutting depth (at first we tried 6mm but it didn’t cut 6mm depth)
- One pass 3mm, 2 passes in total
- Machine Vectors: On

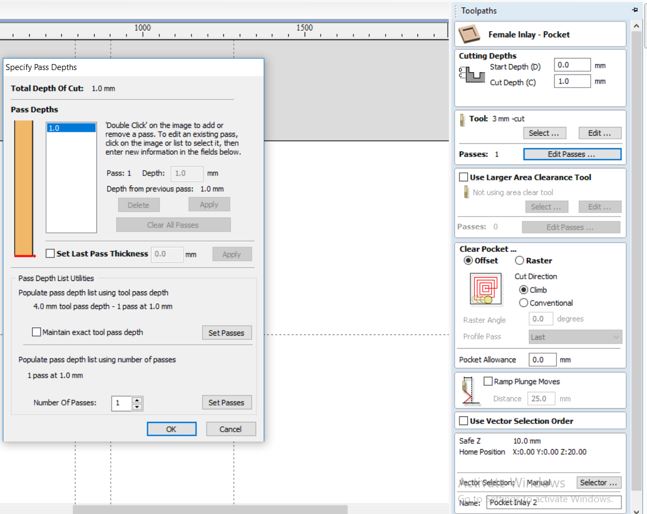
- Female Inlay - Pocket
- 1mm cutting depth
- One pass 3mm, 1 passes in total
- Clear Pocket: Raster
- Cut Direction: Climb
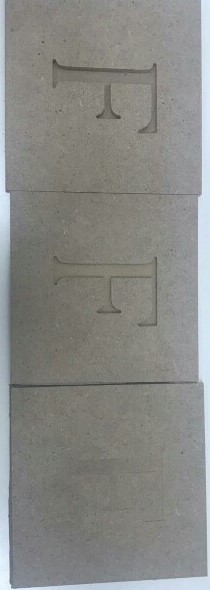
Result:
The second sequare (Machine Vectors: Inside/Left) was smaller than the rest
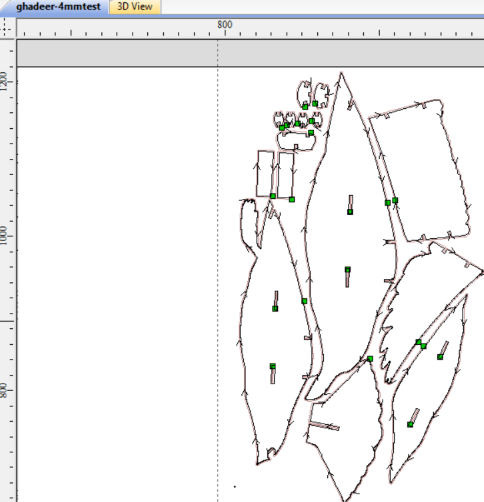
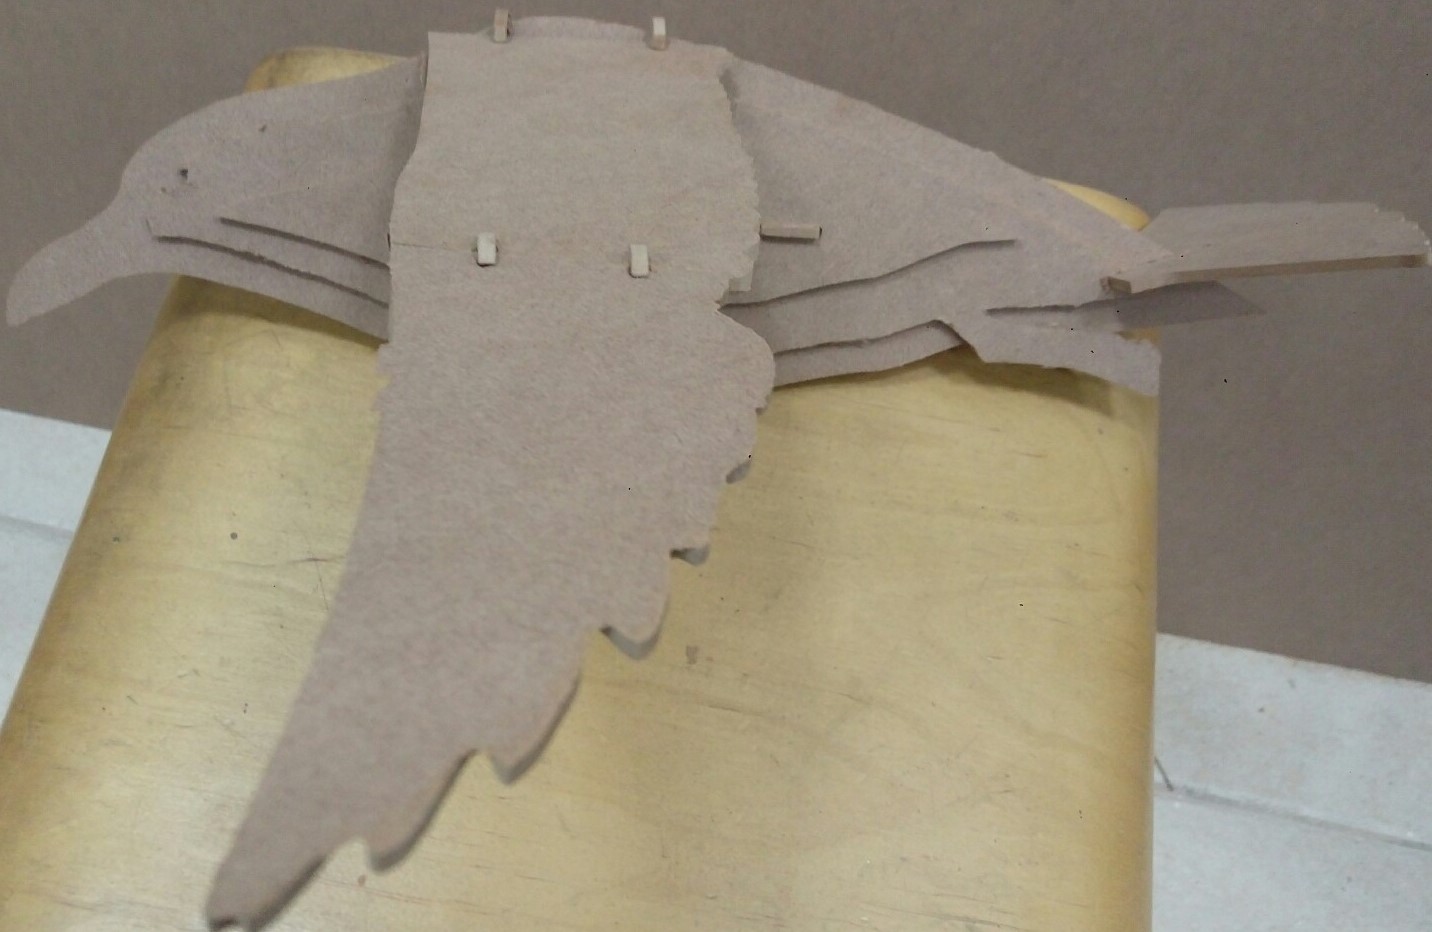
Seagull CNC Test Cutting
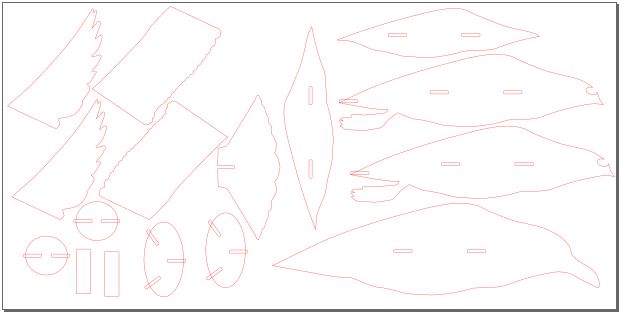
After doing some modifications to the design after laser cutting like increasing the size of the wings & tail in Inkscape & VCarve Pro. I had to save Inkscape files in dxf format so that I can open it in VCarve Pro. We tried to cut some of the parts to test the joints. The board thickness was 4mm.
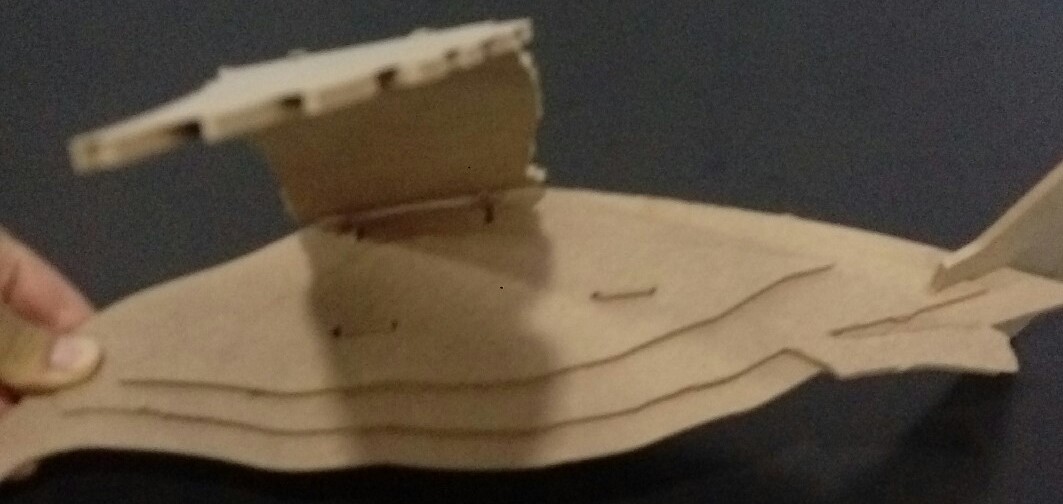
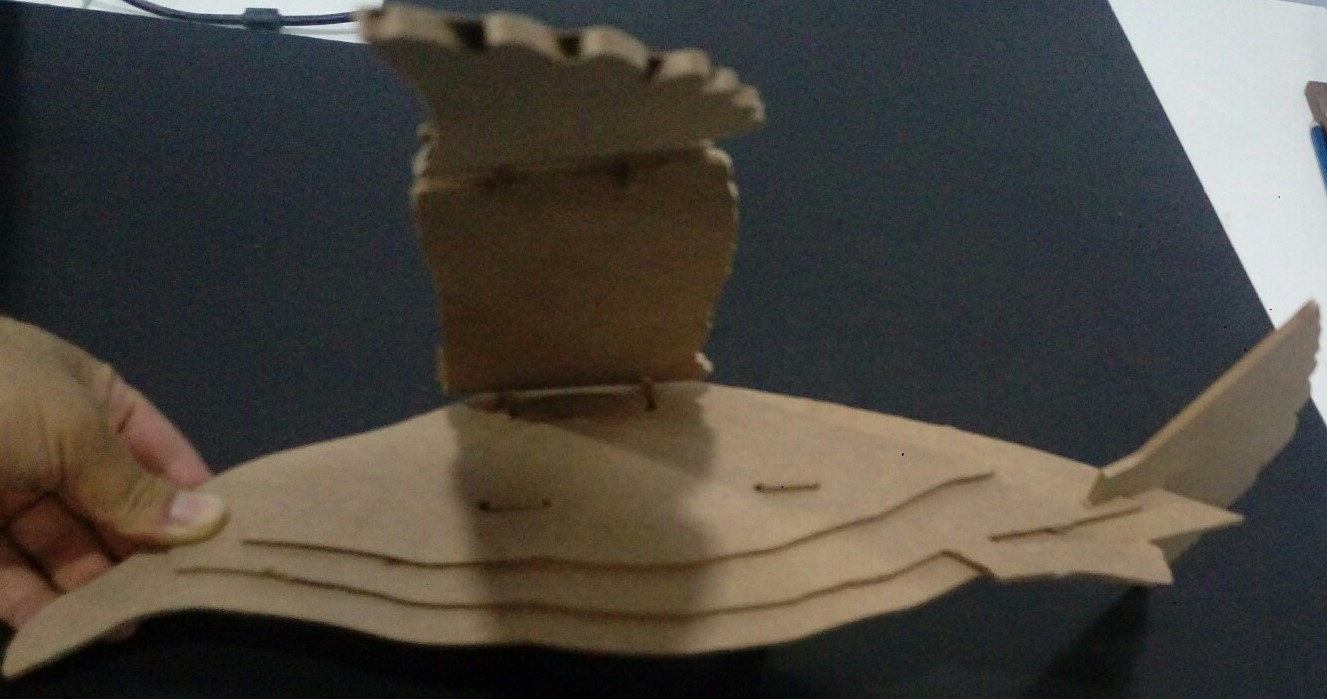
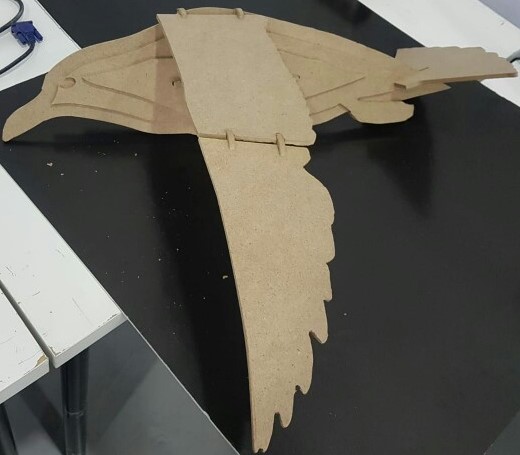
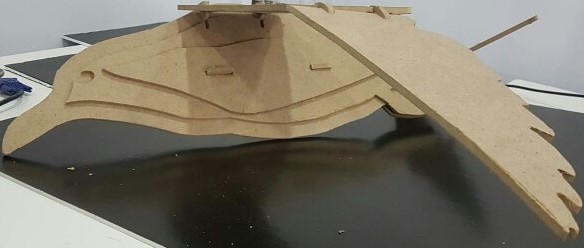
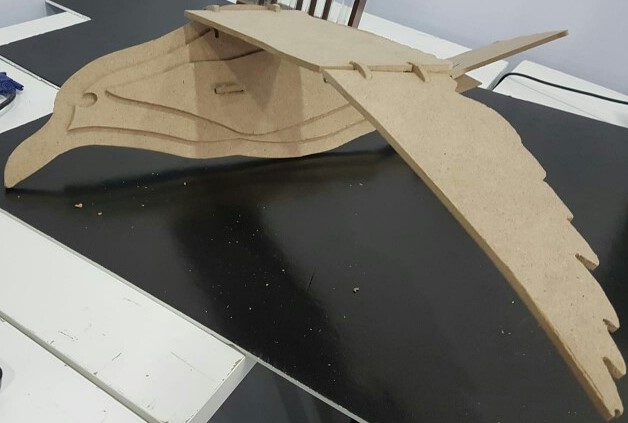
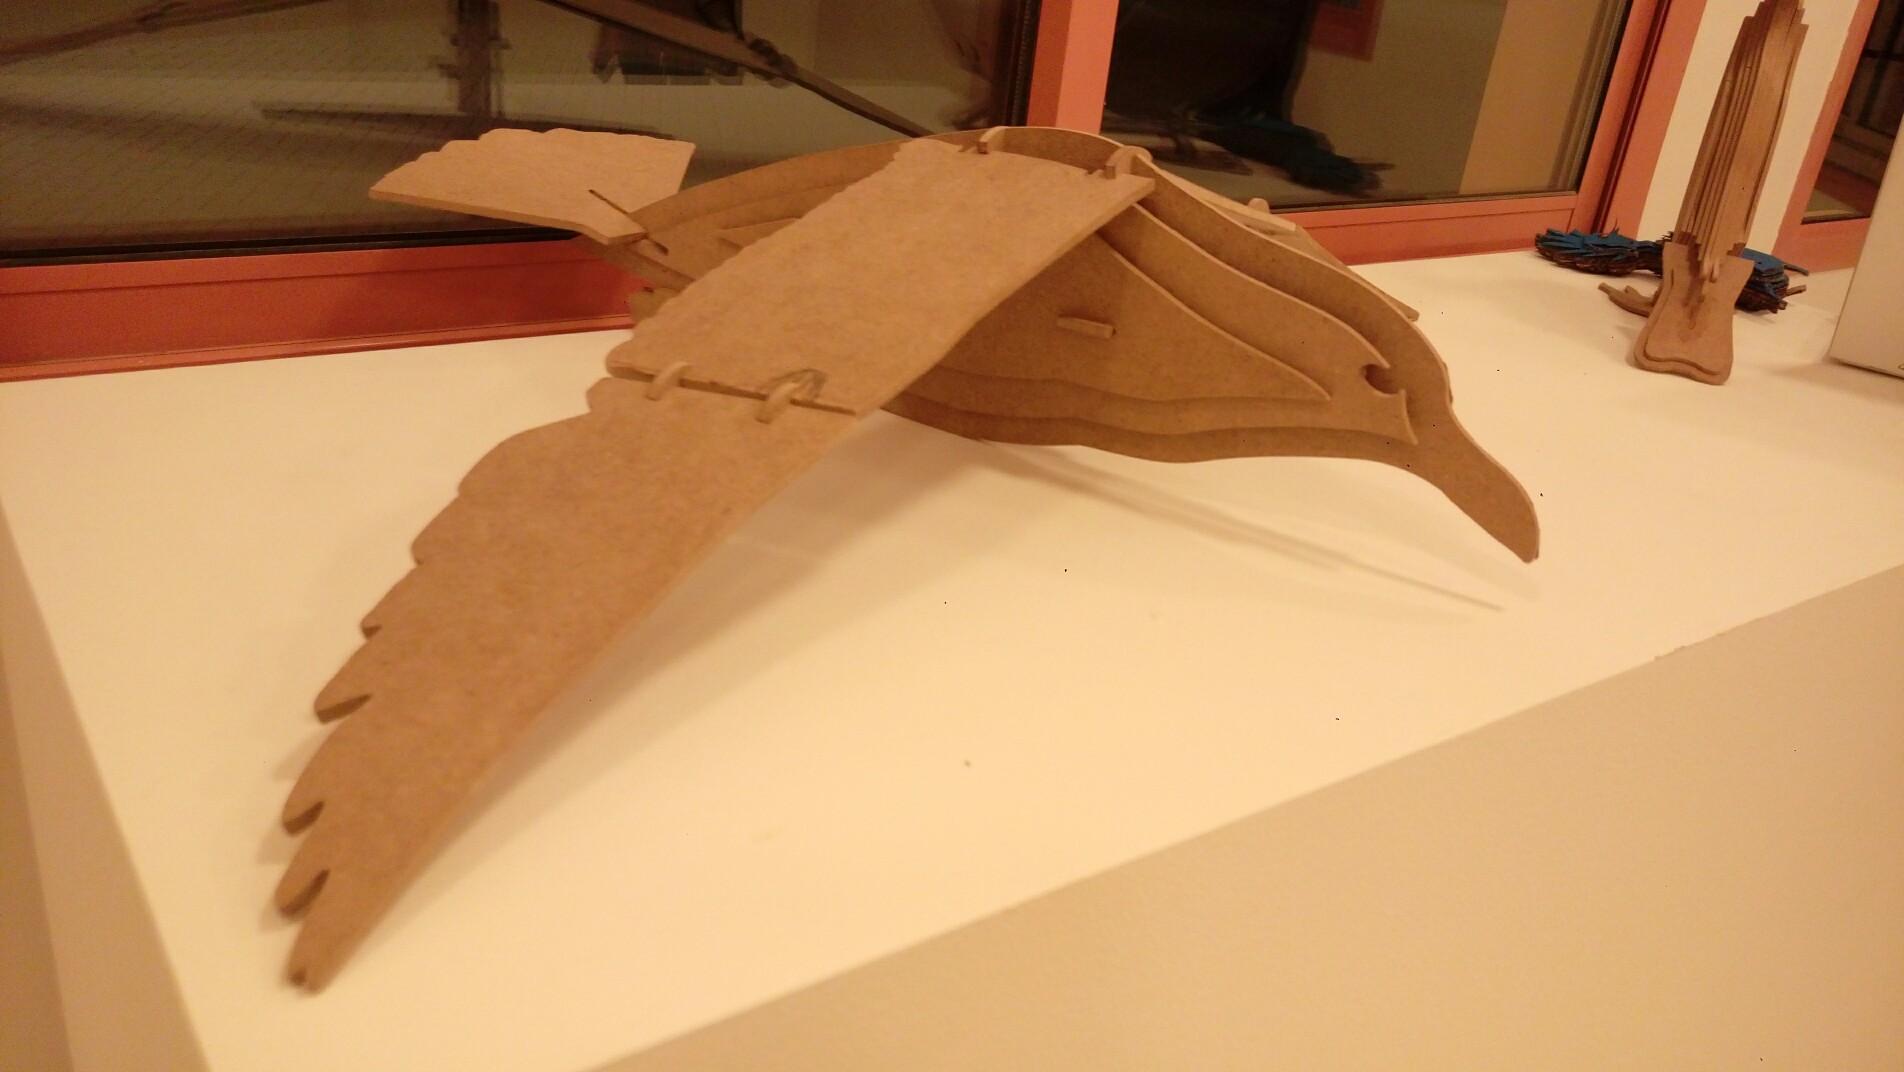
Seagull CNC Cutting
Then, we made more modifications to the joints & tried cutting a 6mm board with theses settings:
2D Profile Toolpath 6mm cutting depth One pass 3mm, 2 passes in total Machine Vectors: Outside/Right
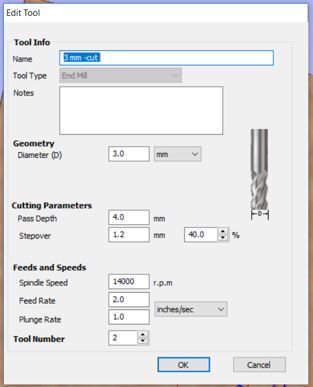
Tool settings
Result:
The length of the body is approximately 1 meter & the width is approximately 1.6 meter.
SVG File Download (right click + Save link as)
DXF File Download (right click + Save link as)