This week was one of the most exciting and creative weeks of all.
The assignmnet was to design and produce something with a digital fabrication process (incorporating computer-aided design and manufacturing) not covered in another assignment, documenting the requirements that our assignment meets, and including everything necessary to reproduce it. Possibilities could include (but are not limited to) composites, textiles,biotechnology, robotics, and cooking.
We were not limited to anything for the week. This week was one of the most Hectic week for me too as I was invoved in Robocon project of our college so the time invested was much less and my instructor did not allow me to evaluate me on the basis of working of another ongoing project.
So I wanted to make something simple and effective.
The thing I was Busy in-
So, every year our college paticipates in this robotic competition called ABU Robocon.
In this a host country decides a Theme on which participating teams have to make Robots to accomplish the tasks set by the host in a time duration of 3 minutes.
Since It was a group work I cannot produce that work for this week but anyhow I wanted to show where I was busy during the week.
So my role as Final year in team was to Finalise designs analysis, and a chunk of electronics, we have full team of 25 members involved in various tasks.
This year the theme was given by Mongolia you can see the video below for the tasks to be achieved-
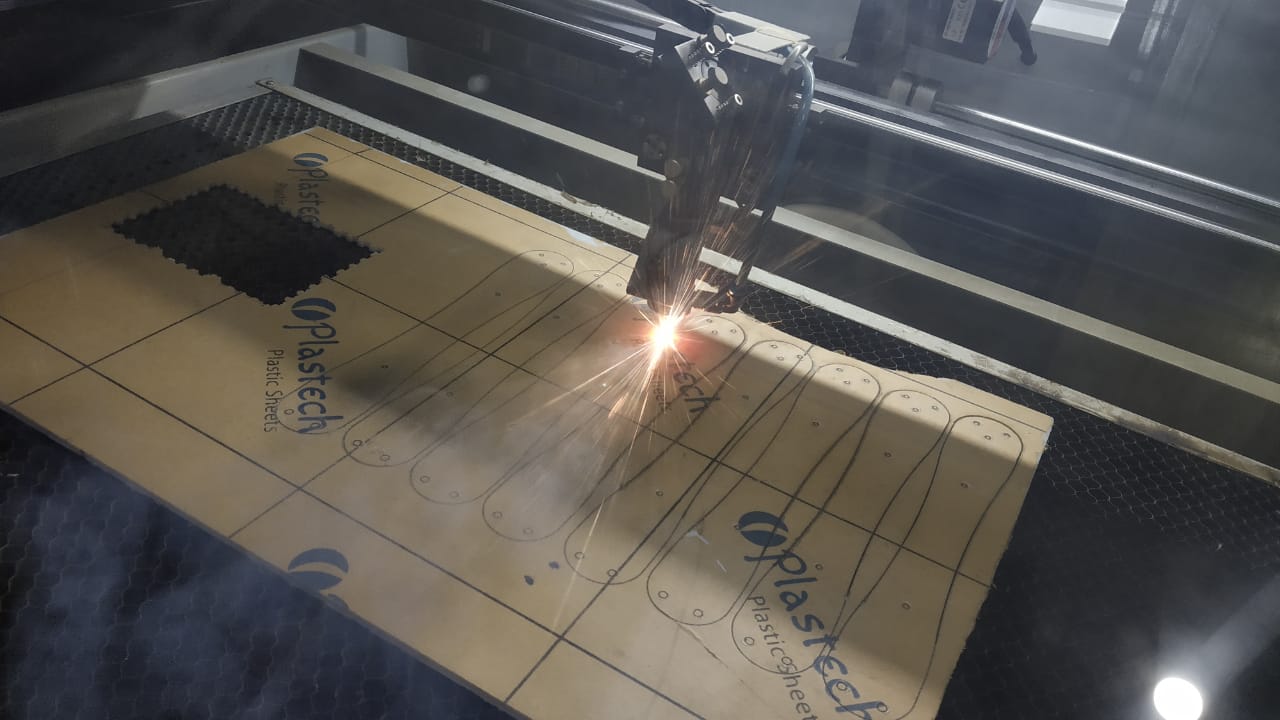
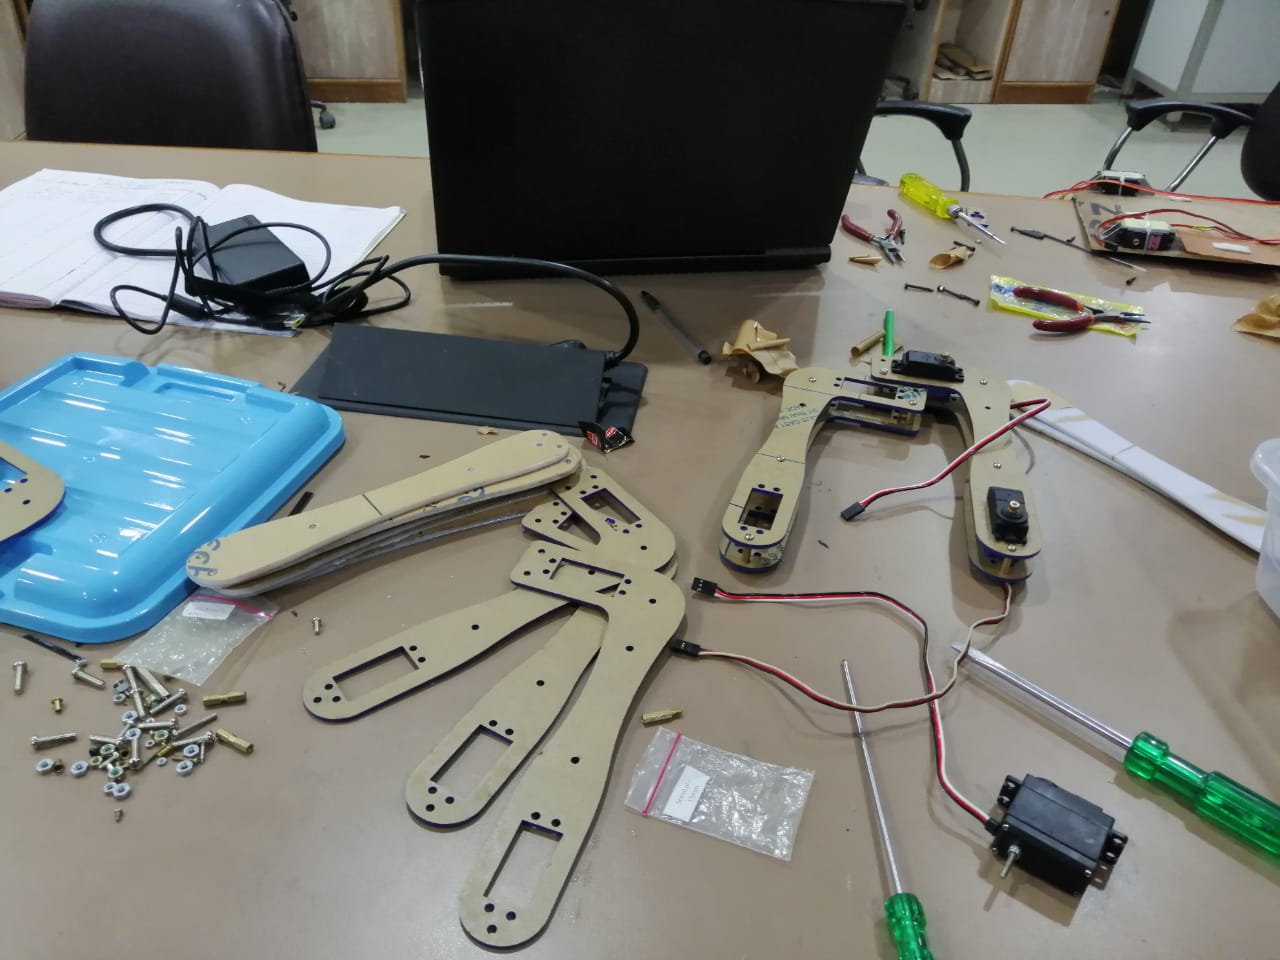
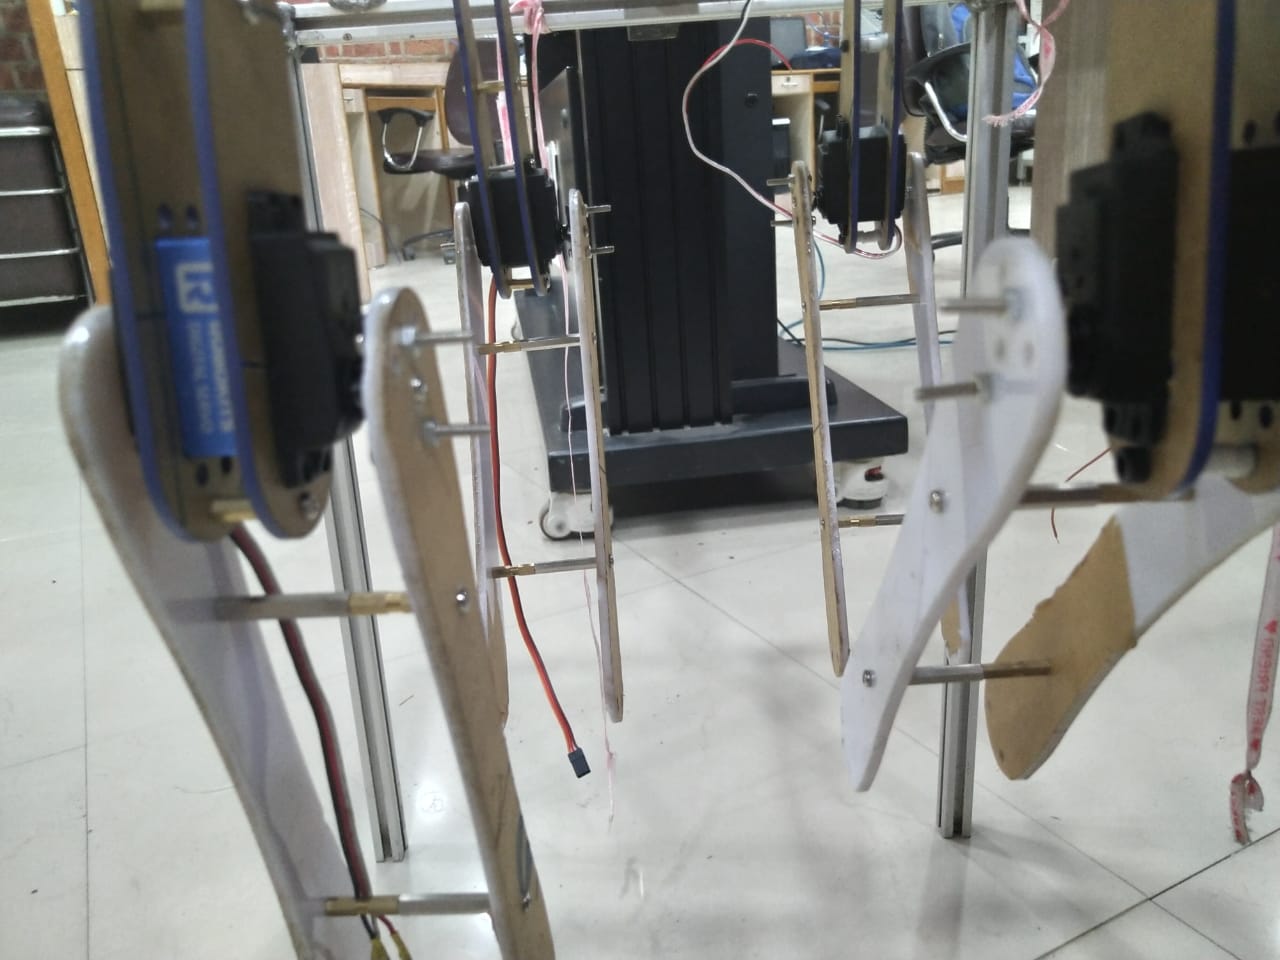
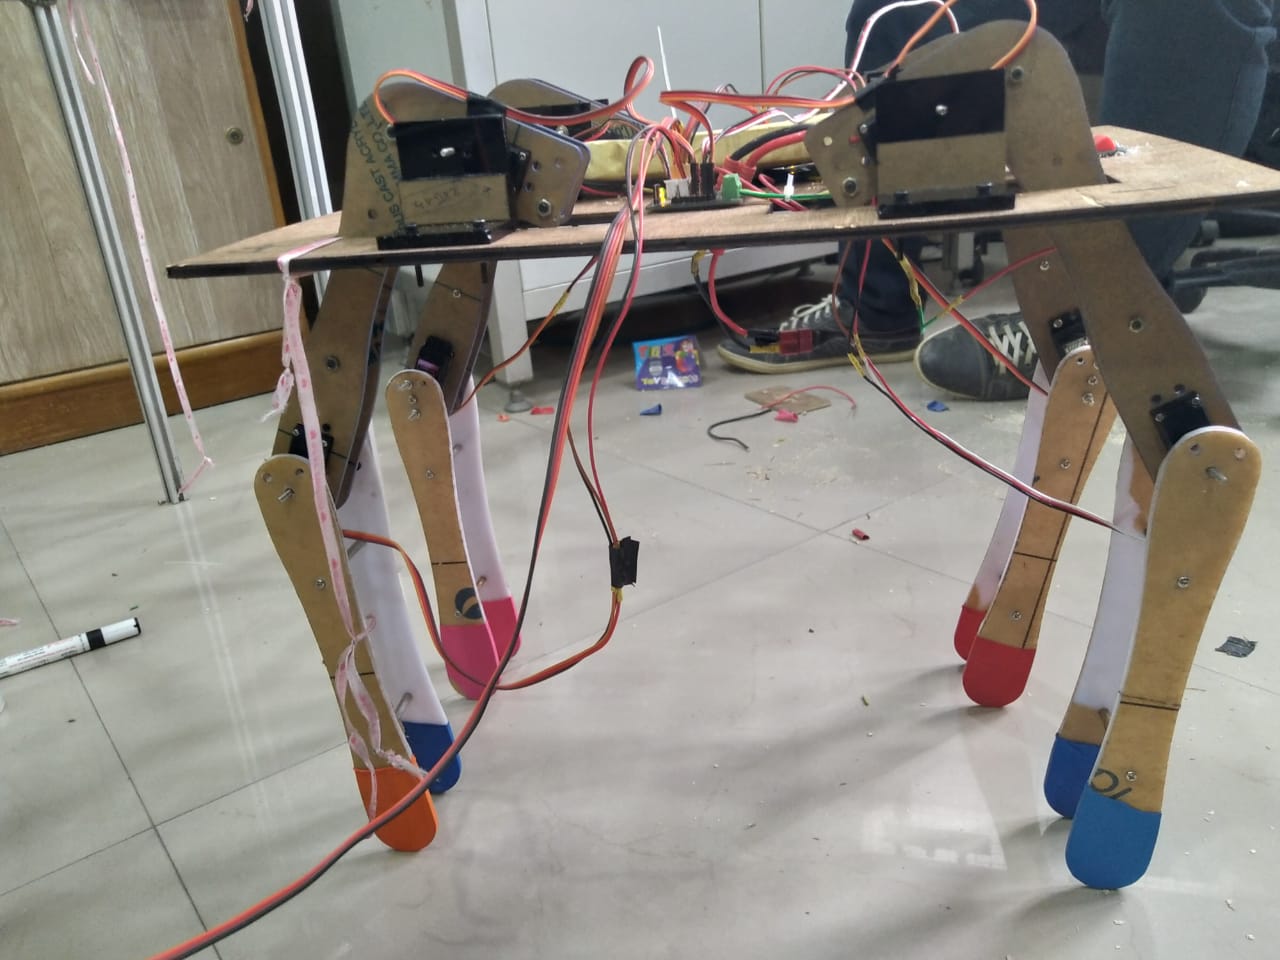
For the week I was busy in working of the walking robot prototype inspired by MIT Cheeta's I decided to test a servo assembly made of acrylic structure...
Here are some snaps of making and Testing...
The final outcome was image satisfying but it didn't move as the servo was unable to provide the right torque for movement any how we shifted to another design and I shifted to FabAcademy.
Deciding the Wilcard Thing
When I explore what other's were doing eveyone was like involved in composites and I wanted some ideas for the week.
For much thinking about it I wanted to not waste anymore time I wanted to build something efficient and usable to me and ppl.
Spending Nights working at Lab made me feel that I gets dirty day by day and the cleaning staff had to work really hard to make it tidy for people visiting at Lab.
Yessss!!!!
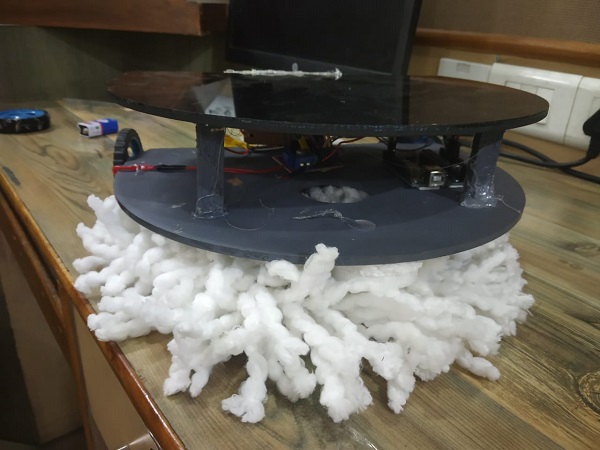
From there I got and Idea of Making A small Efficient Mopping robot,
Robot because that's what I love making Thats's what I've been involved for years.
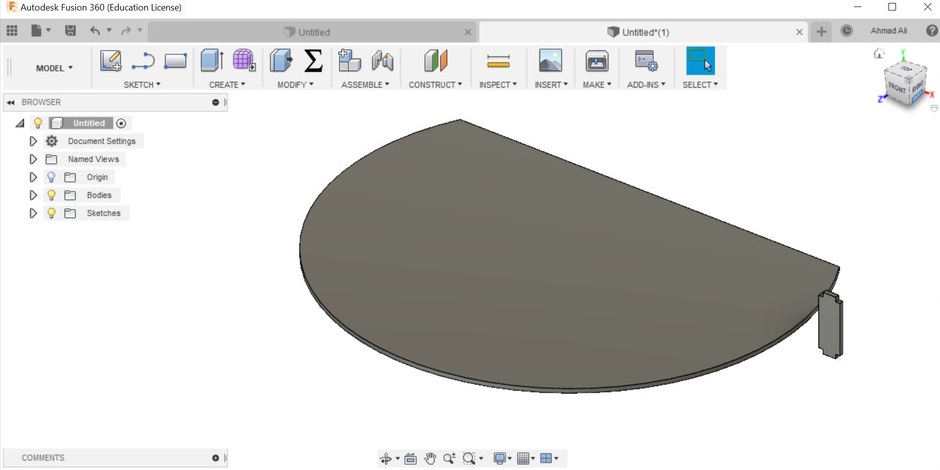
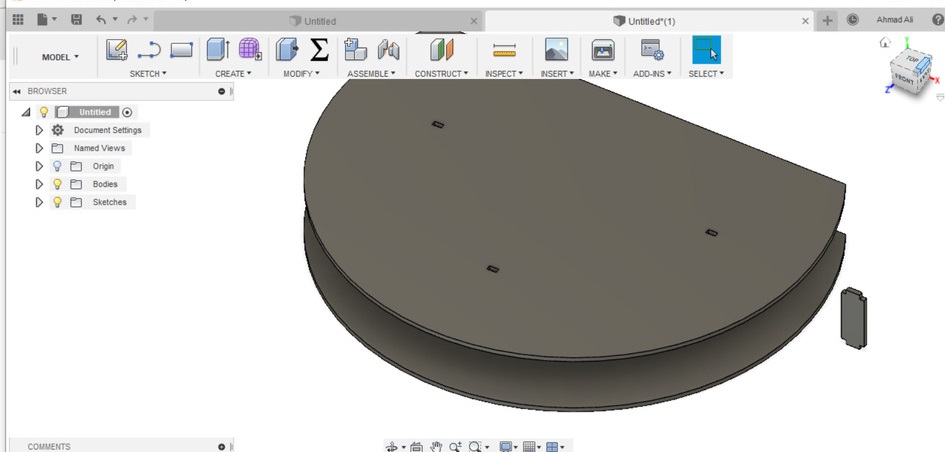
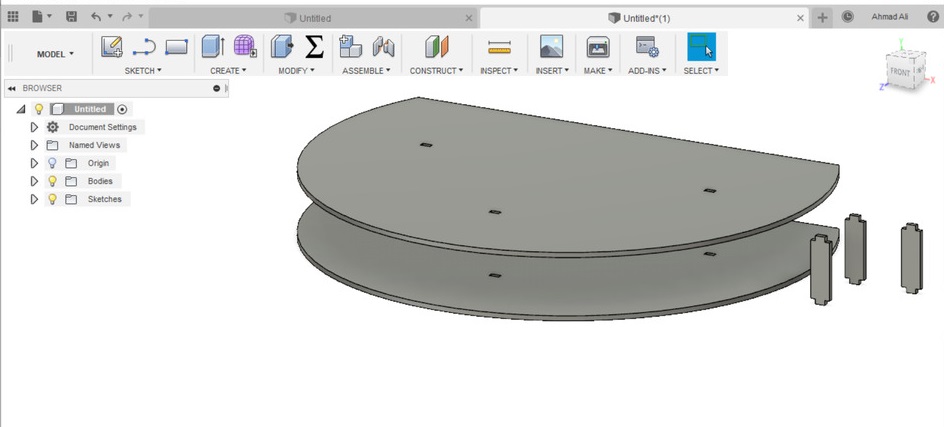
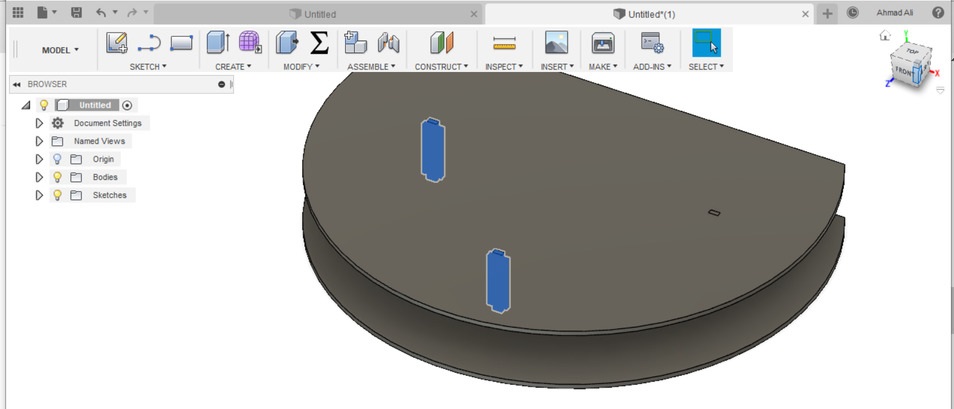
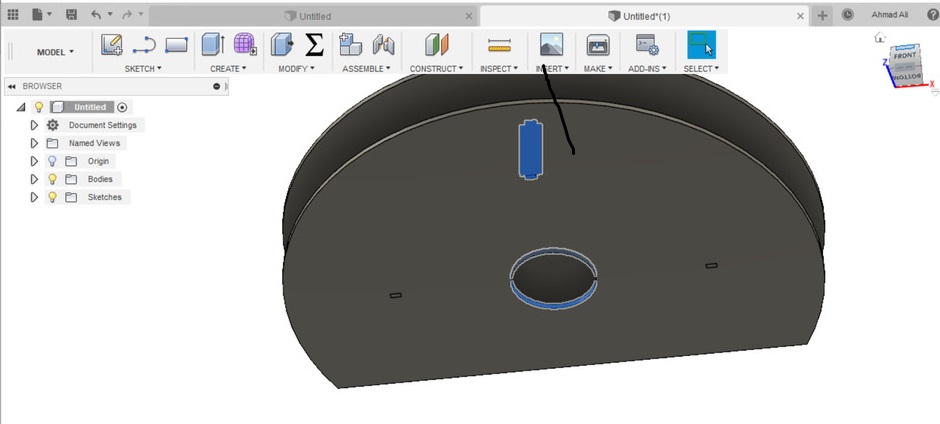
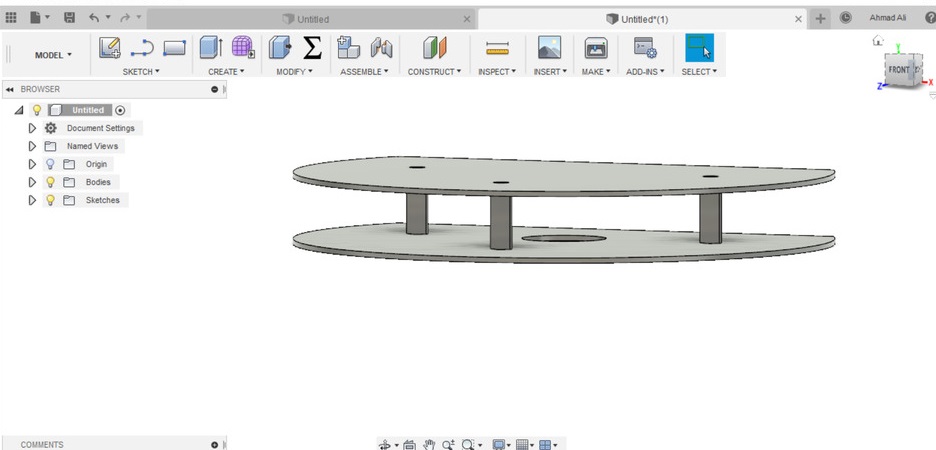
Since the it should involve some digital fabrication so I started making the design in Fusion-
My plan was to Laser cut and asemble a Bot and use Arduino for electronics as I din't have the time to mill PCB's and all..
So lets start Designing-
Download the design file from here-
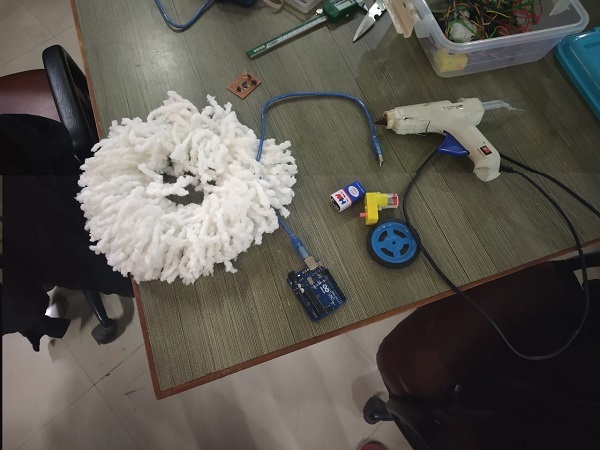
Materials Required
-I took a Robtics Kit from the lab and use the materilas from there
-Arduino
-Batteries
-castor wheel
-motor driver H bridge L298N
-a mopping cloth
-a glue gun with glue stick
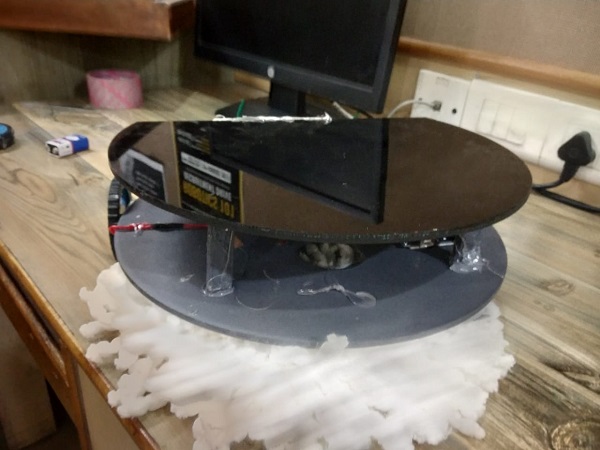
The Output
Deciding Something Again
Again It was dicarded by my local instructor and I had a very less time to catch up all the things,
with fabacademy, college projecta nd university exams of my final year.
I had to quickly decide something to make-
then I searched for pepakura and origami,
This was some beautiful outcome that I saw, so I thoght to make one for the assignmnet.
It was very new for me I wanted to make something simple and attractive.
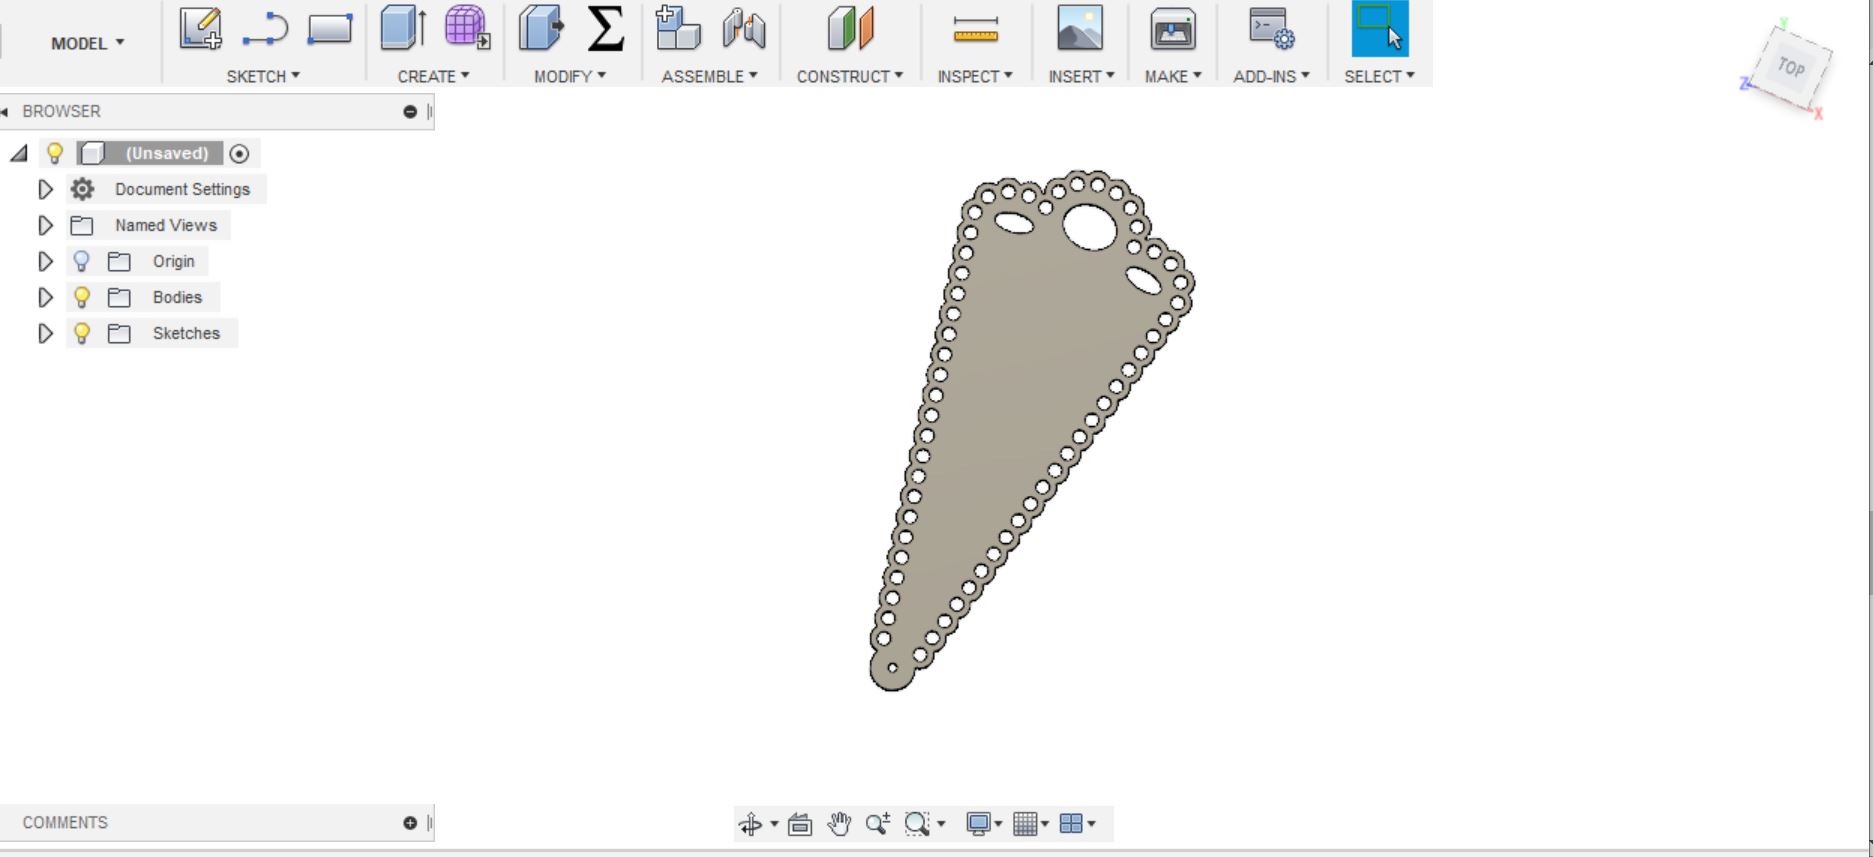
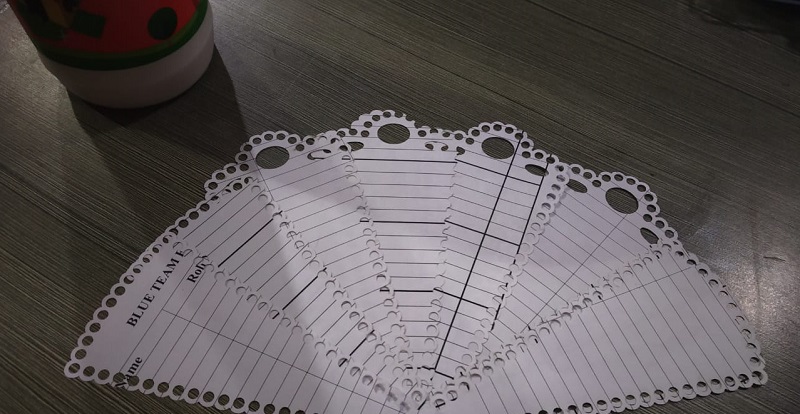
I wasn't able to get any inspiration then I thought to make a traditional japanese fan.
I designed A simple sketch for the wings of the fan and decided to join all of them to give an artistic look.
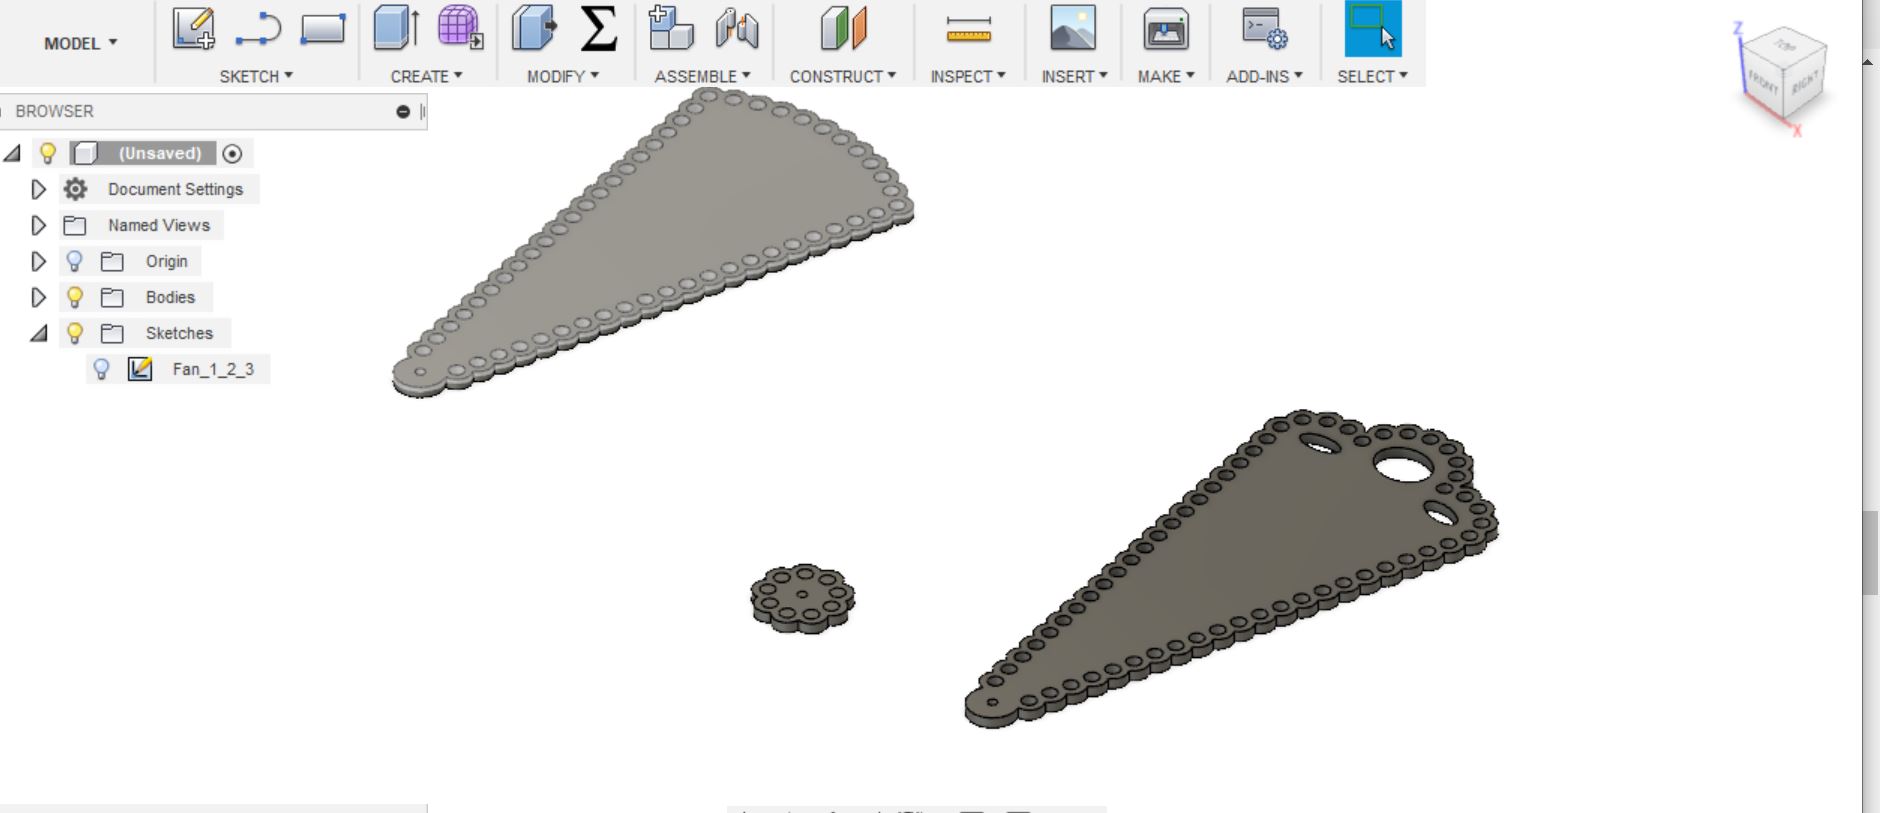
I used all the used A4 sheets in the lab to Laser cut it and make it.
The Laser In action
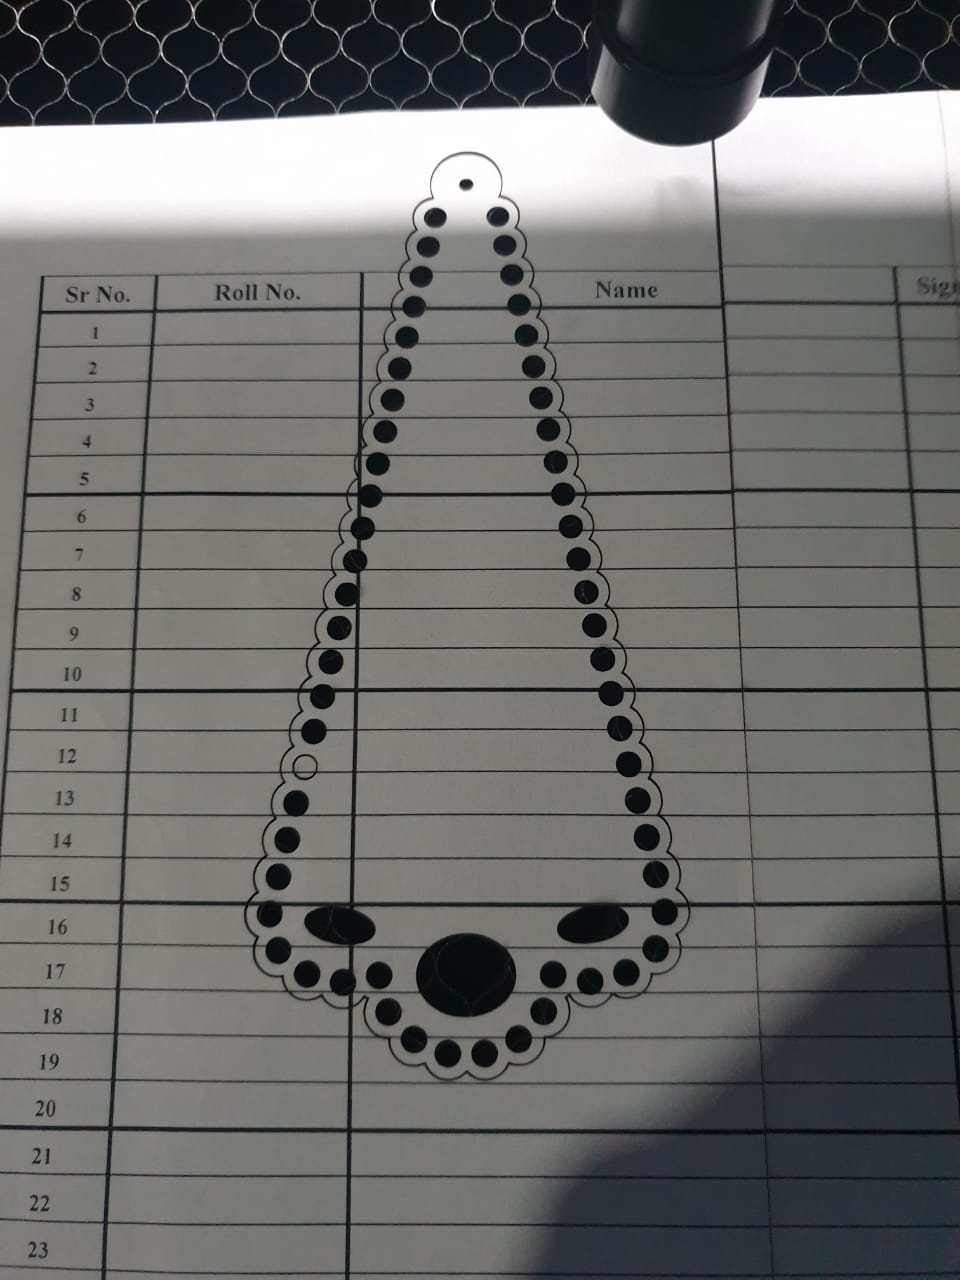
The Outcome
The final Out come was a bit satisfying-
Moving On to the Composites
A composite material can be defined as a combination of a matrix and a reinforcement, which when combined gives properties superior to the properties of the individual components. In the case of a composite, the reinforcement is the fibers and is used to fortify the matrix in terms of strength and stiffness. The reinforcement fibers can be cut, aligned, placed in different ways to affect the properties of the resulting composite. The matrix, normally a form of resin, keeps the reinforcement in the desired orientation. It protects the reinforcement from chemical and environmental attack, and it bonds the reinforcement so that applied loads can be effectively transferred.
Source~ Wiki
When Should you use Composites ?
As with all engineering materials, composites have particular strengths and weaknesses, which should be considered at the specifying stage. Composites are by no means the right material for every job.
However, a major driving force behind the development of composites has been that the combination of the reinforcement and the matrix can be changed to meet the required final properties of a component. For example, if the final component needs to be fire-resistant, a fire-retardant matrix can be used in the development stage so that it has this property.
Weight reduction
>The primary reason composites are chosen is improved specific strength / stiffness (strength / stiffness specific per unit weight).
>This helps to reduce fuel use, or increase acceleration or range in transport.
>It allows for easier, faster installation or faster movement of robot arms and reduces supporting structures or foundations.
>It improves topside stability in vessels and offshore structures and buoyancy for deep sea applications.
Durability and maintenance
>Composites don’t rust, which is crucial, especially in marine and chemical environments. The need for maintenance and painting is reduced or eliminated.
>Composite bearings for marine engines and bridges need no lubrication and don’t corrode.
>Combine the excellent fatigue resistance, and composites can increase product lifespan by several times in many applications.
Added functionality
>Composites are thermal insulators which is good for fire and blast protection or cryogenic applications.
>Electrical insulation is useful for railway lineside structures and radar transparency. A conductive mesh or coating can be integrated if needed, e.g. to reflect radar or divert lightning.
>Sensors, electronics and cabling can be embedded.
Design freedom
>Composites design allows for freedom of architectural form.
>Many parts can be consolidated into one, and stiffeners, inserts, etc. can be integrated in-mould.
>Composites can be tailored to suit the application by choosing the constituent materials and embedding extra functionality.
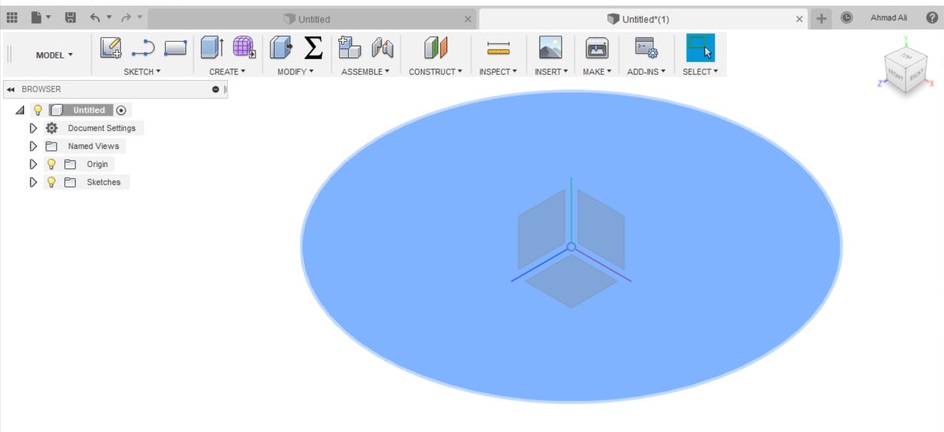
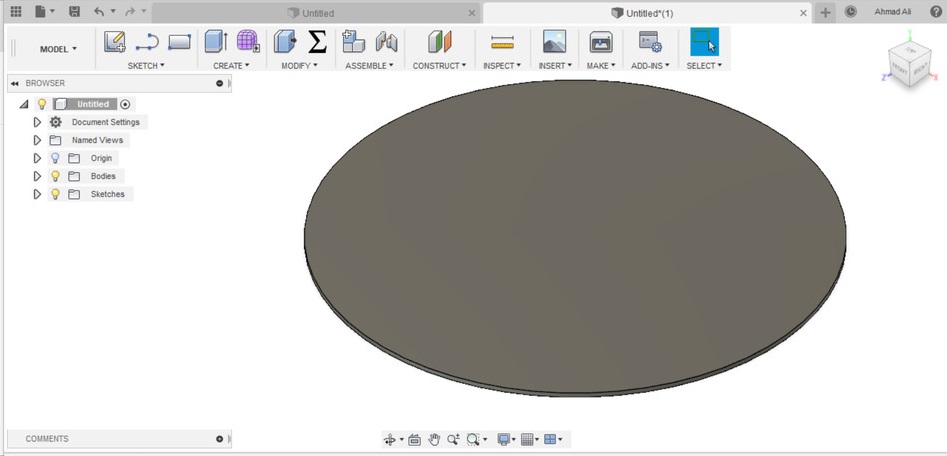
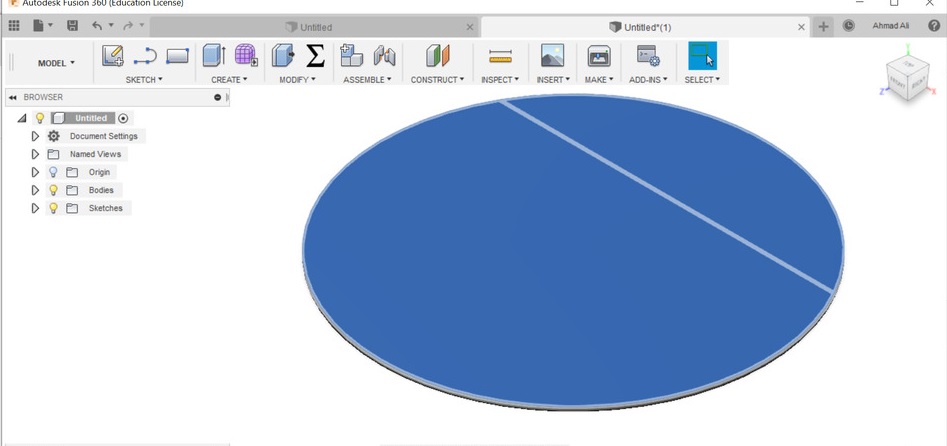
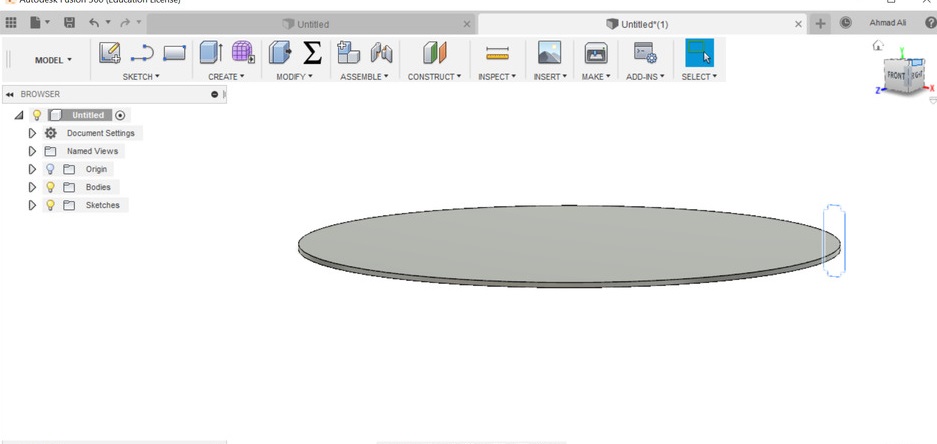
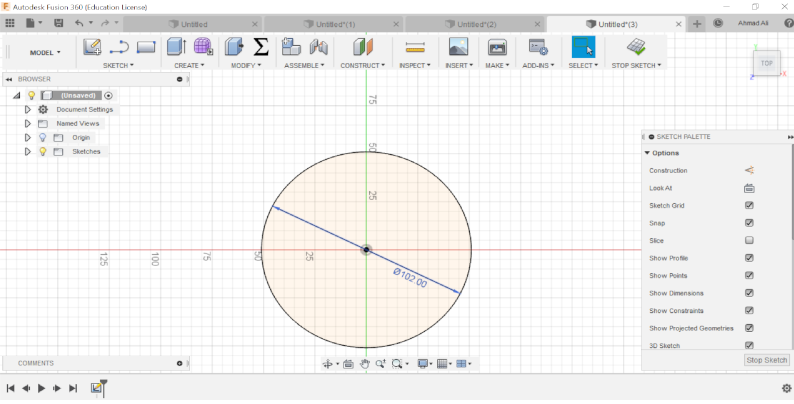
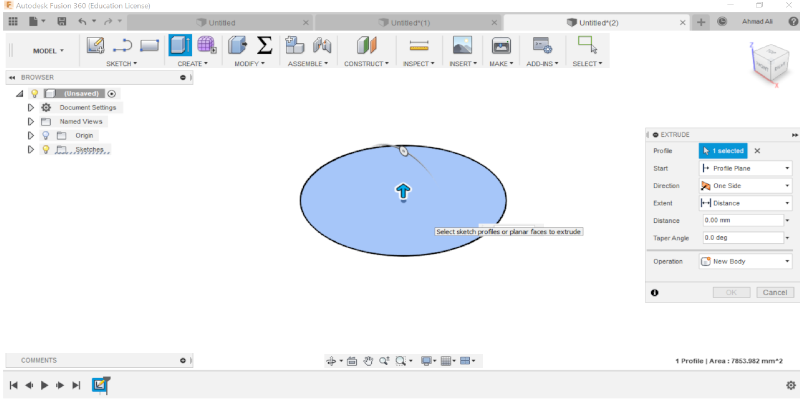
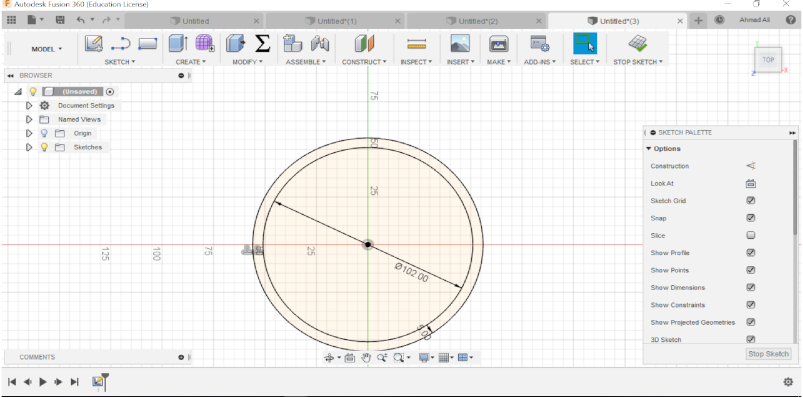
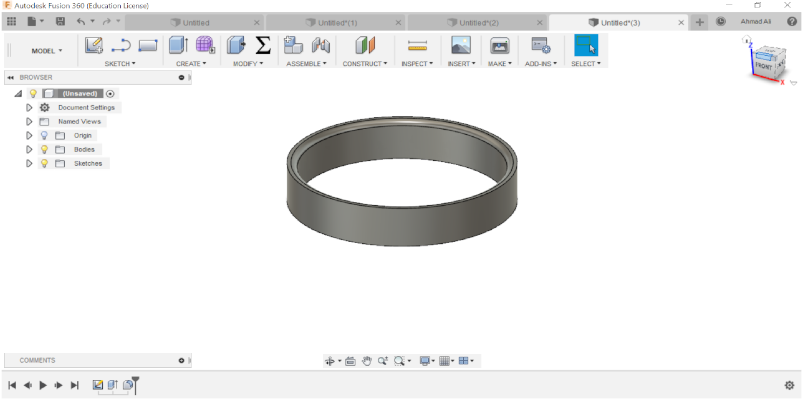
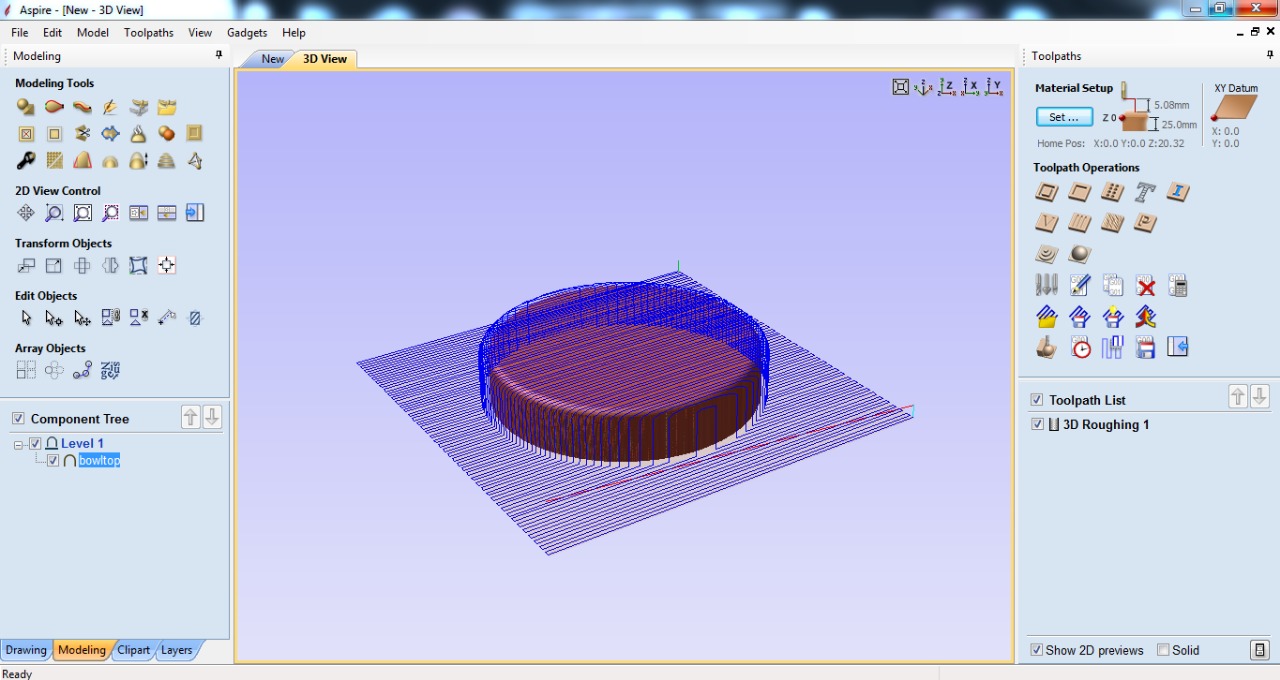
I wanted to make a circular bowl shape using composites, my workflow in the fusion is displayed below-
The material available was MDF with thickness 25mm.
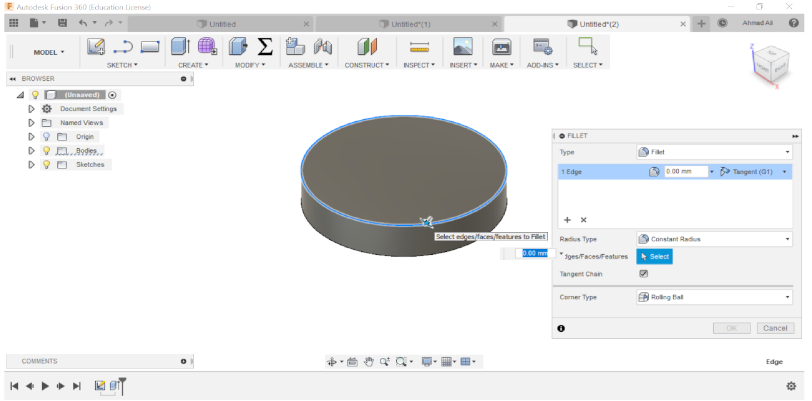
In Fusion I made a circle >>>extruded it to 20mm less than my material thickness thics will act as a positive for the material, then I again in another tab took the same circle>>>give an offset of 5mm and extruded the offset part to about 23mm, 3mm thickness was deliberately given so that my composite material can take that part.
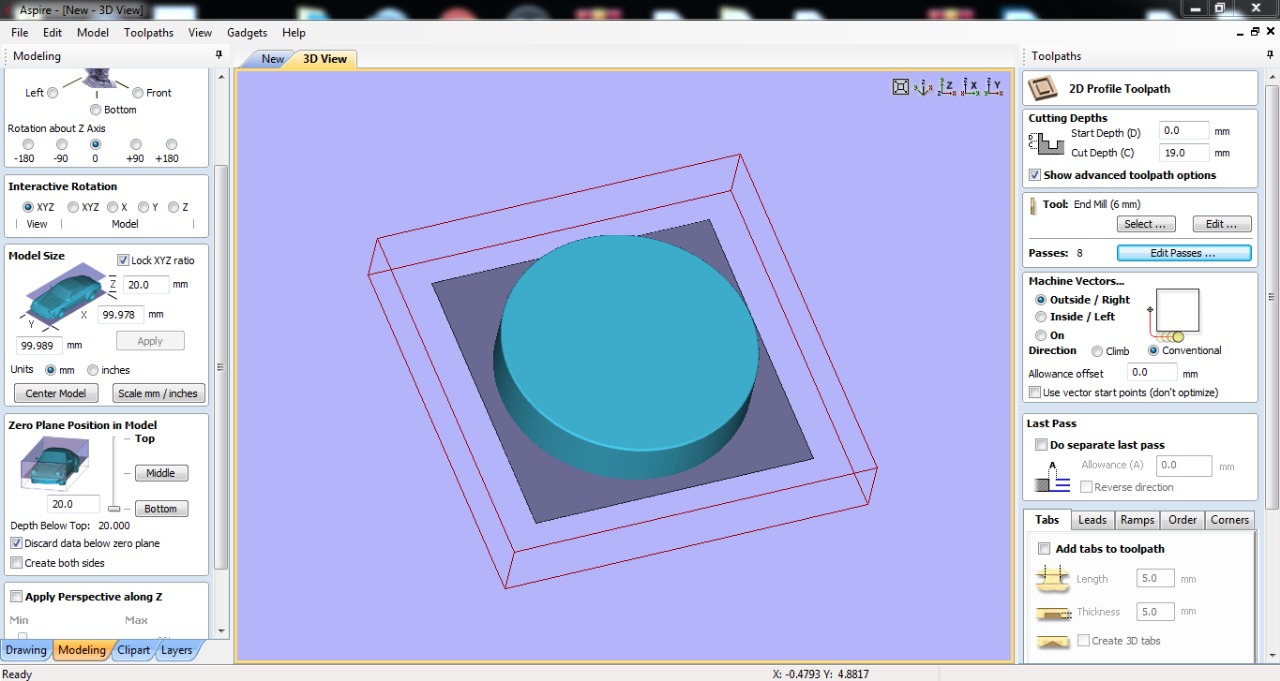
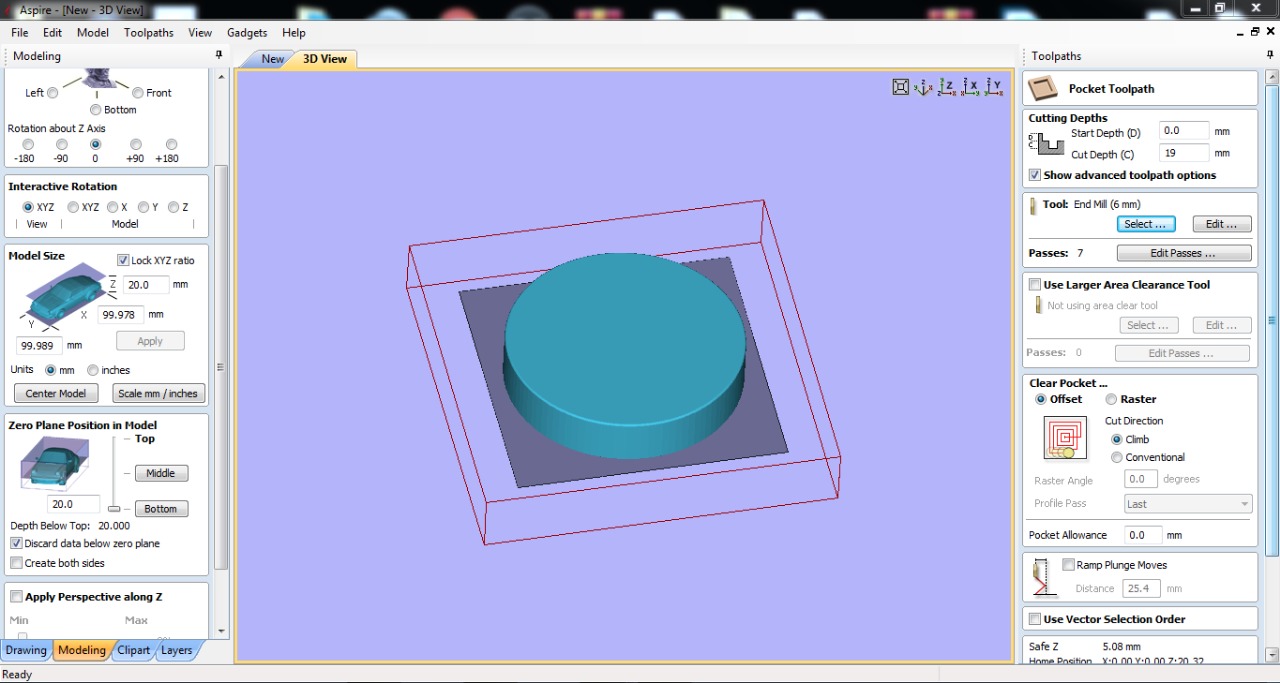
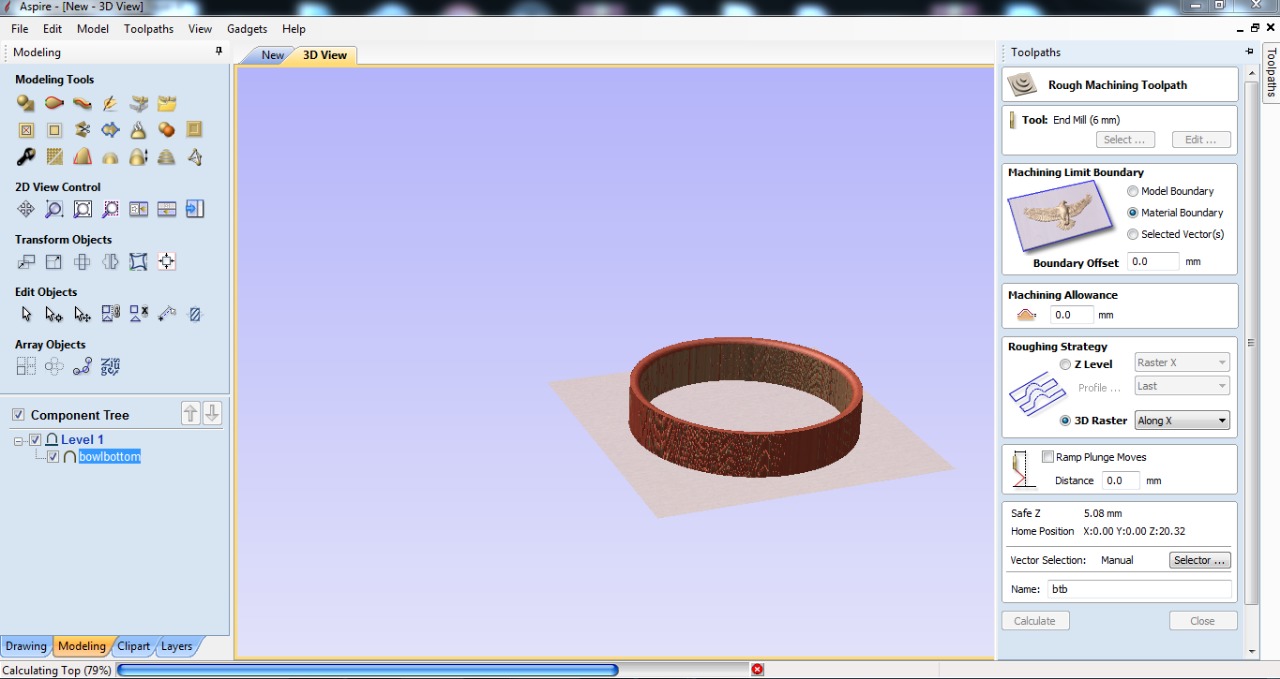
Creating Toolpath
Then I created the toolpath for the model using aspire to mill it on the cnc router.
The full process of creating the toolpath is described in the Week 8 Assignment
Milling the Positive and Negative
After milling I had to file the part to make some alowance for my composite material since there was no hand grinder filing was a bit tougher than I expected...
The materials-
For the materials I used paperbags cutout some newsaper, tissue paper and the resin thta I used in molding casting week to bind them all..
To know more about the Resin and the procedure how to make it and it's safety features visit my week10 Assignment.
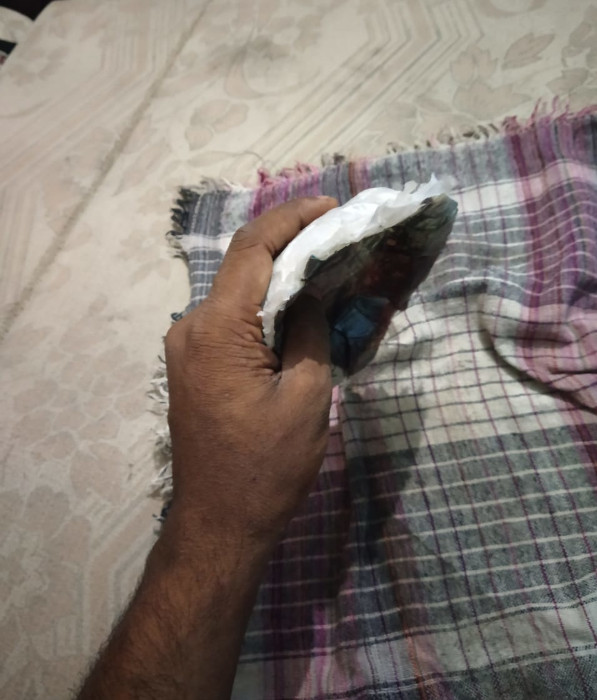
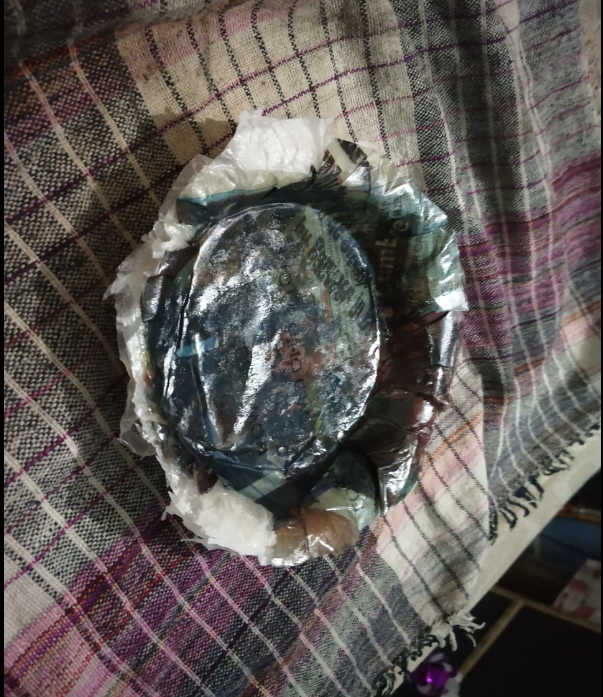
Starting to make the bowl-
The first step is to apply a layer of taping in both the material so that the resin doesnt stick the carboard surface it's a crucial andimportant step.
So basically what I followed to make the composite is---
Layer of resin>>>> A paper layer>>>2nd Later of resin >>> Cloth Layer>>>3rd layer of resin>>> Paper Layer
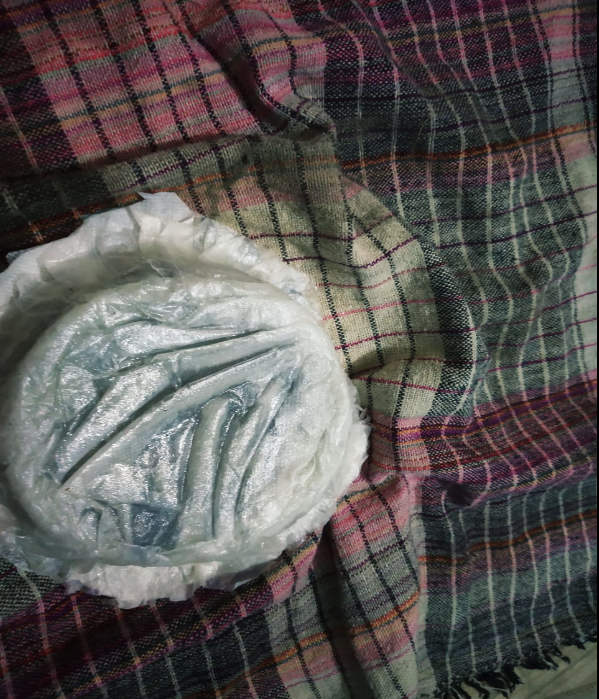
After that I applied pressure on both of them and left it for curing, the curing time was 24 hrs aapprox so I left it for a day.
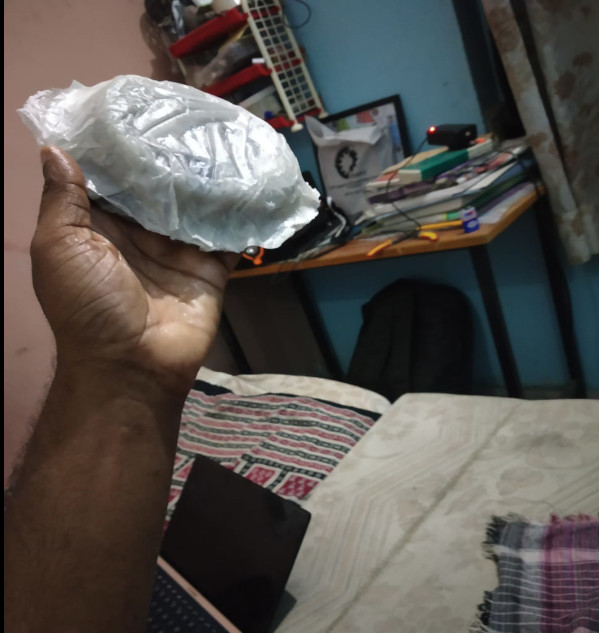
Final Outcome-
I took them out from the block after a day an cut out the extra materials that were hanging out.
This is what I got a form of small plate.
Since the outcome was not satisfying as the resin didn't cure because the quantitiy I took for the curing agent was less I suppose so I decided to do everything again but this time taking comsideration of the mixing quantity...
Keeping it to cure under pressure for another one Day
Removing the Material
It was a very tough task in the removal of the casted material from the mdf board, sice I left it to cure for about 48 hrs and also the material of mdf is soft so in future if you want to mill something like this please do use a wooden outer framse if u don't want to sacrifice the miiled outer shell.
It took a quite bit of time and care to take out the material I gad cuts while taking it out using a sharm screw driver also while removal from the sides the resin alon with the composite broke out with mdf.
Just to notw there was no this much thick material in wood so i went for mdf in future I gotta learning from this that I should select the material wisely.
However the outcome was better than earlier its kind of an Ashtray or may be I'll be using it as a Component tray at the soldering side of te Lab where I can put the components in it.
This time the outcome was better and the resin along with the materials had cured pefectly, finally I've tried making a something using composites.
Learning
Through the week it was a great learning and hectic experience.
what I actually learned was Stress management. after so many schecules commitments and works
doing things and managing time was diificult , I've never used this paper art what I barely tried to do this weeek.
I also got to know about various composites, working with the resin, and hardener.
Learning new skills and finding something different was do difficult, I've had never thought about it.
Somehow manged to do most of the thing that I could have imagined so far.


.jpeg)
.jpeg)
.jpeg)
.jpeg)
.jpeg)
.jpeg)
.jpeg)
.jpeg)
.jpeg)
.jpeg)
.jpeg)
.jpeg)
.jpeg)
.jpeg)
.jpg)
.jpg)
.jpg)
.jpg)
.jpg)
.jpg)
.jpg)
.jpg)
.jpg)
.jpg)
.jpg)
.jpg)
.jpg)