MOLDING
Molding is the process of manufacturing by shaping pliable raw material using a rigid frame or model called a pattern.
A mold is a hollowed-out block that is filled with a liquid like plastic, glass, metal, or ceramic raw materials. The liquid hardens or sets inside the mold, adopting its shape. A mold is the counterpart to a cast. The manufacturer who makes the molds is called the mold maker. A release agent is typically used to make removal of the hardened/set substance from the mold easier.
Typical uses for molded plastics include molded furniture, molded household goods, molded cases, and structural materials.
Injection Molding
Injection molding is used for creating high-quality three-dimensional objects, that can be commercially reproduced. The molding process begins by melting plastic in a hopper. Then the plastic is injected into a tightly closed, chilled mold. The plastic quickly takes the shape of the surrounding mold. Once it has completely set, the mold is opened and the plastic object is released. Yogurt pots, butter tubs, toys and bottle caps are made using this process.
GIF Source~
https://giphy.com/gifs/isopoly-111nFzlkBckNC8
Blow Molding
Blow molding is a process used for making piping and milk bottles. Plastic is heated until molten. Then it is injected into a cold mold. The mold has a tube set within it, which has a particular shape when inflated. So, while the plastic is molten, air is blown into the tube and the plastic is formed around the tubing. It is then left to cool and removed from the mold.
GIF Source~
http://i.imgur.com/lRKZO64.gif
Compression Molding
The most labor-intensive type of molding process is compression molding. Therefore, it is only used for large-scale production purposes, and not for mass production. For example, boat hulls and car tires are made using this method. Molten plastic is poured into a mold. Then a second mold is pressed into it. This squeezes the plastic into the desired shape before being left to cool and removed from the mold.
GIF Source~
https://makeagif.com/gif/compression-molding-3-drKFTq
- Open face (1-part)
- Two part mold
- Multi-part mold
- Vacuum forming
- Direct 3D-printed ABS / PLA
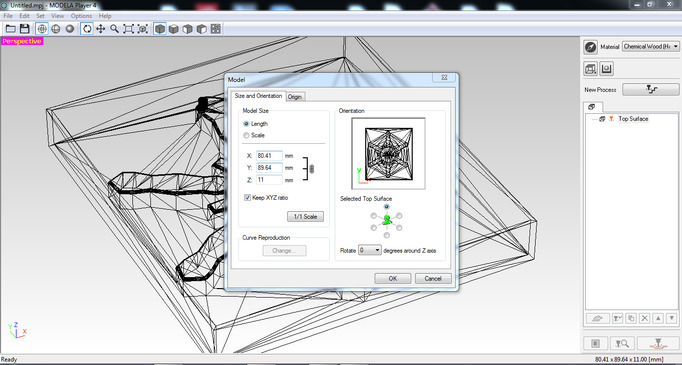
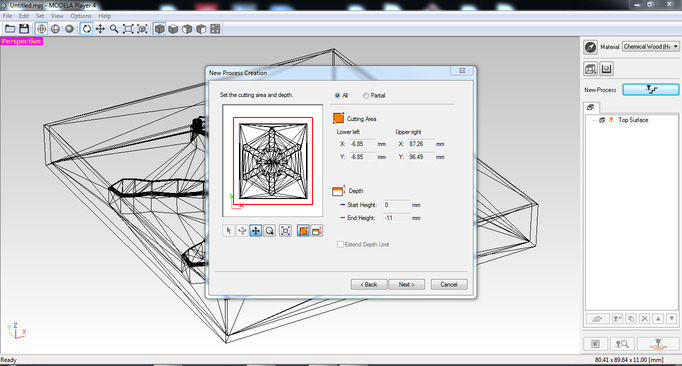
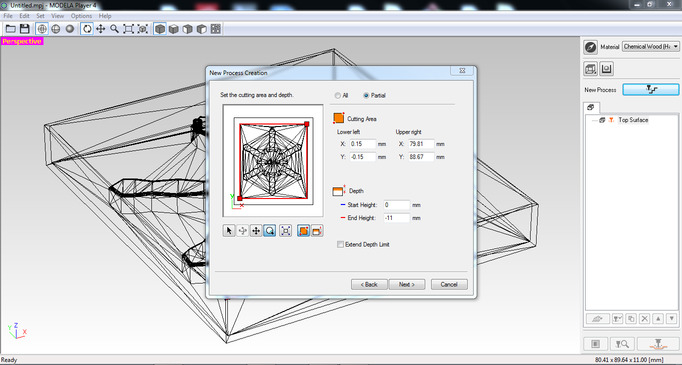
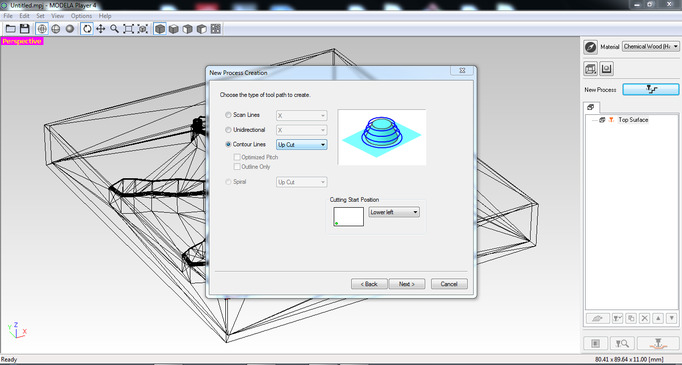
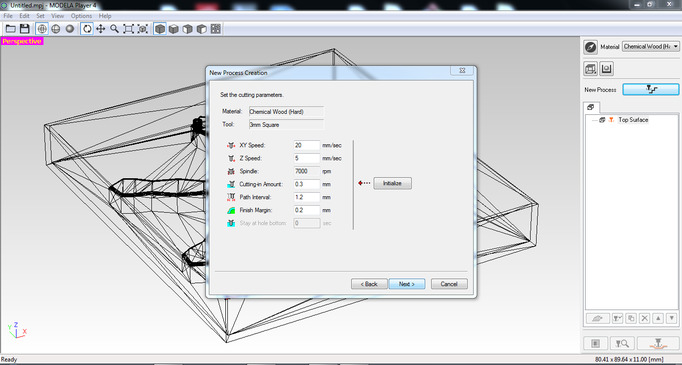
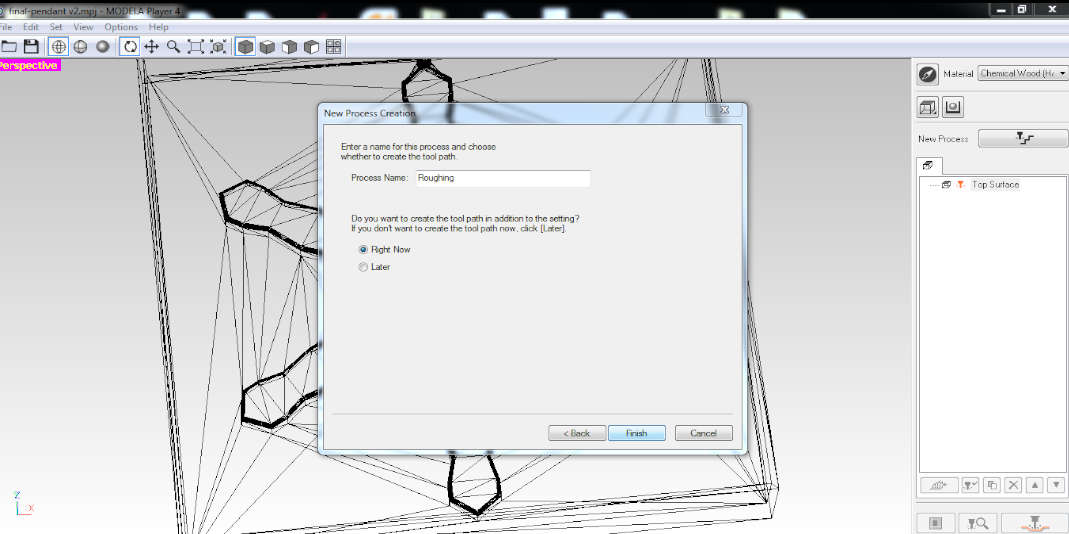
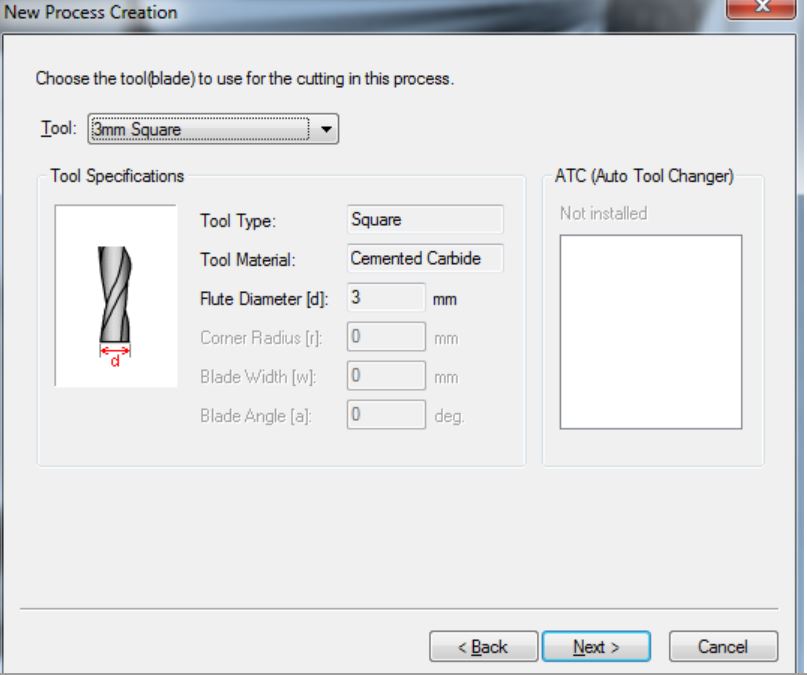
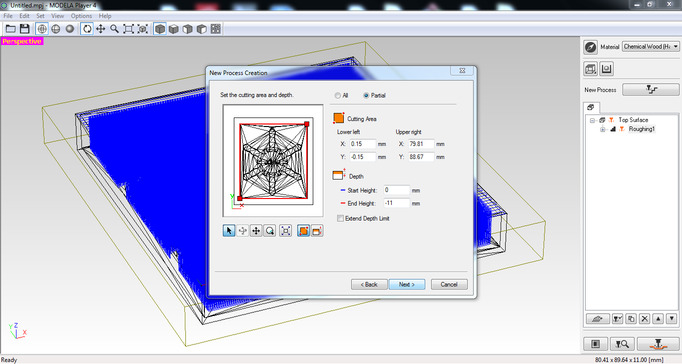
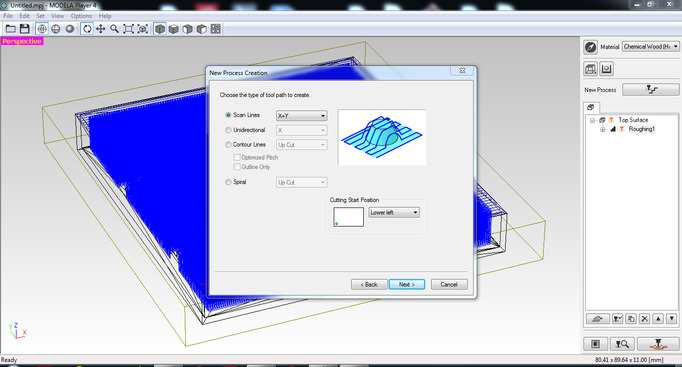
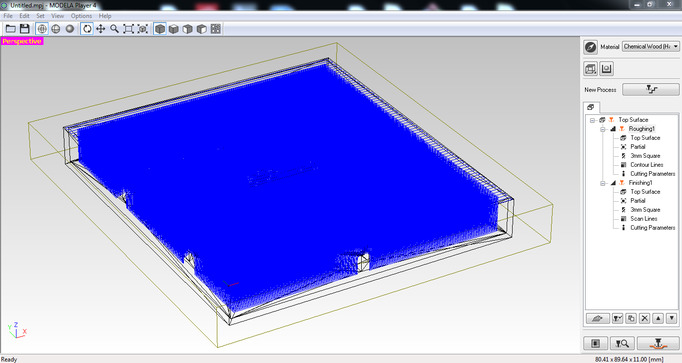
- CNC Milling
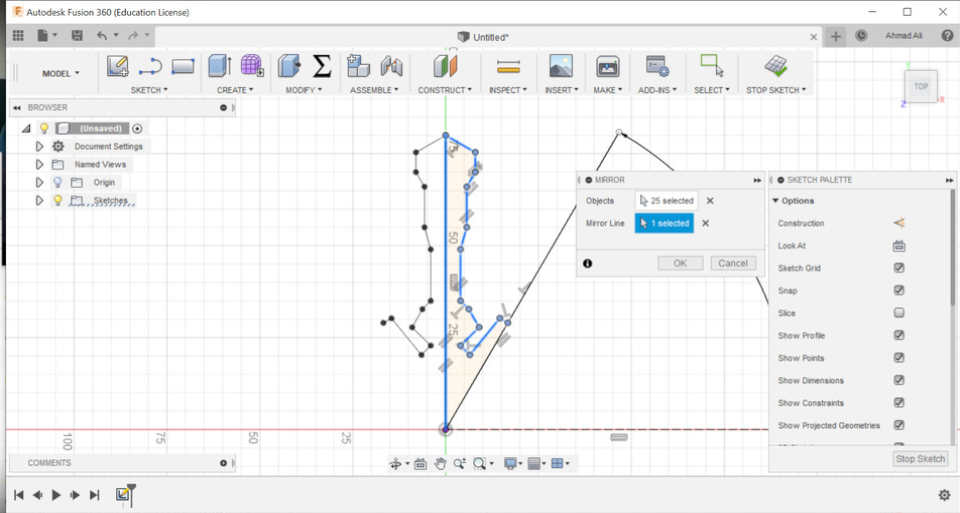
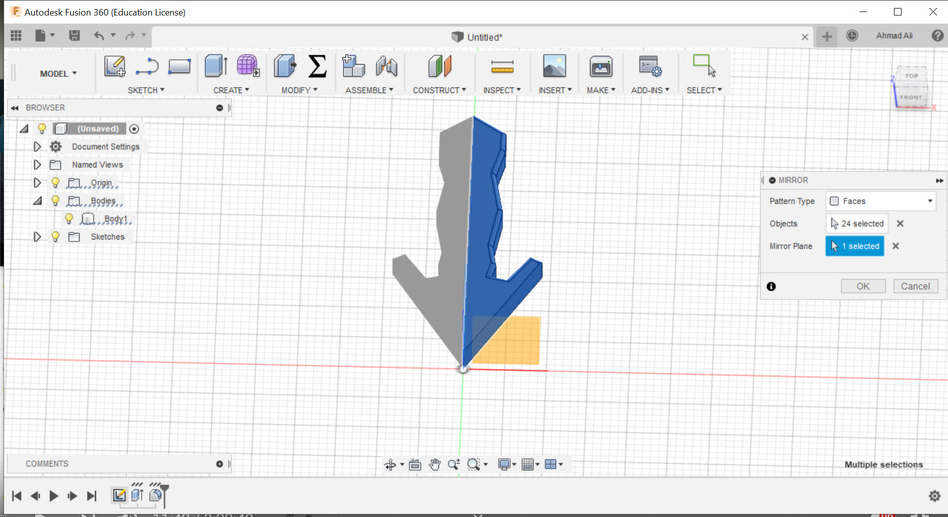
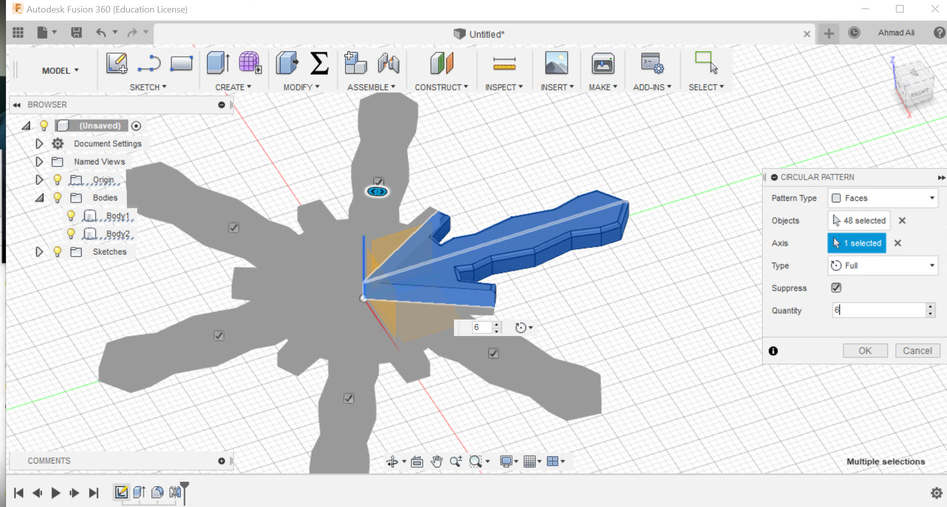
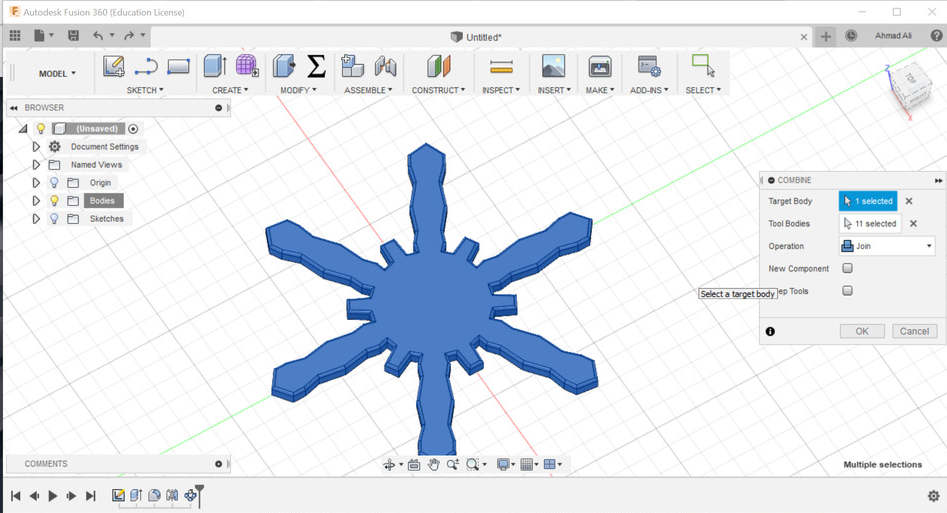
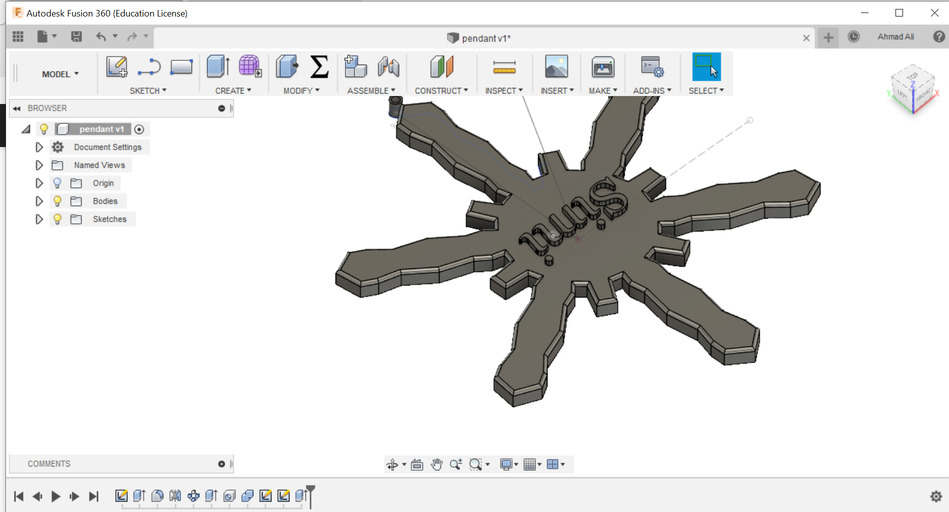
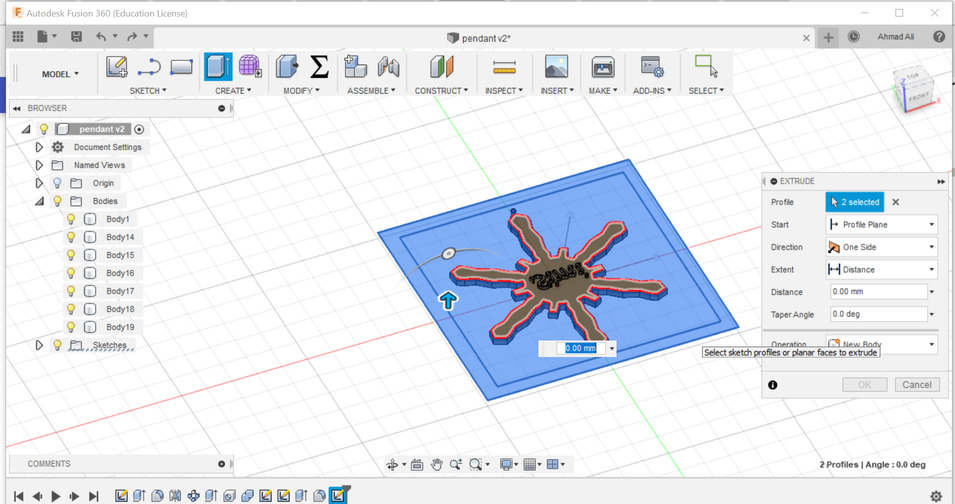
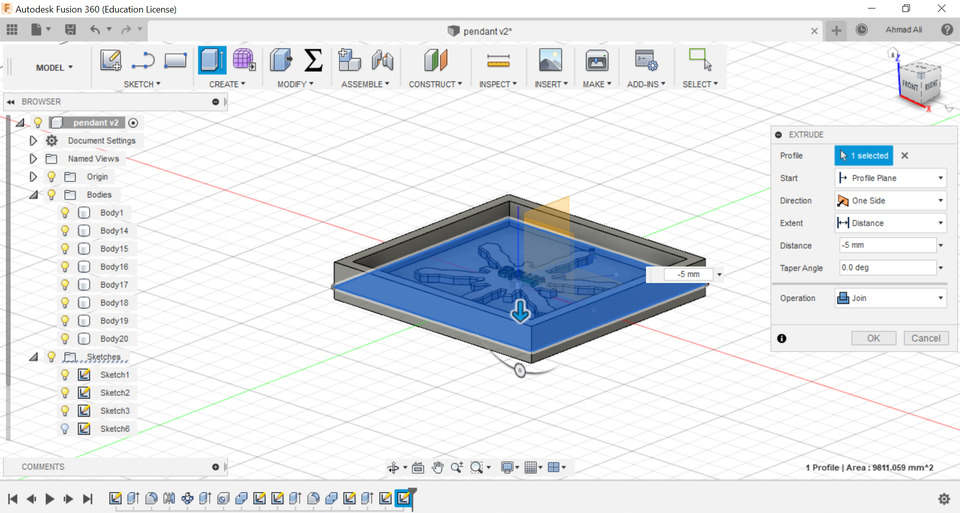
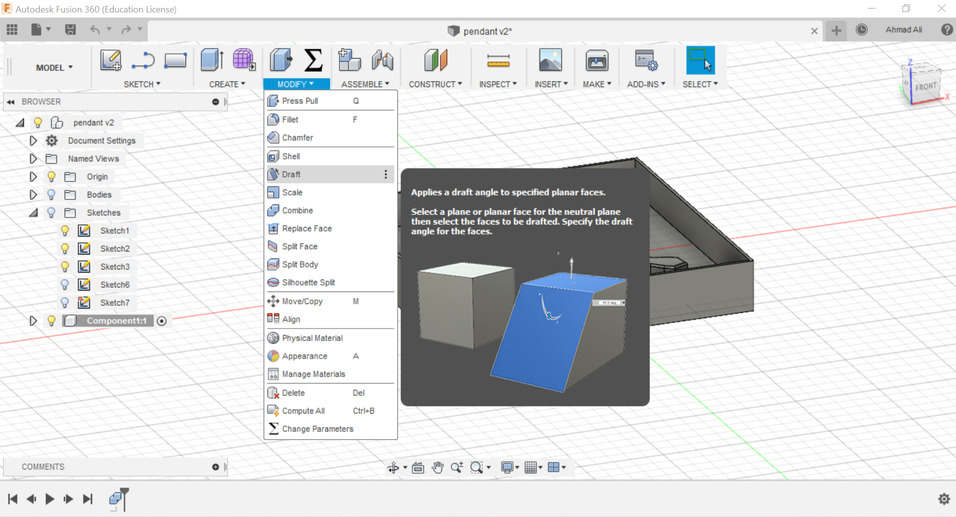
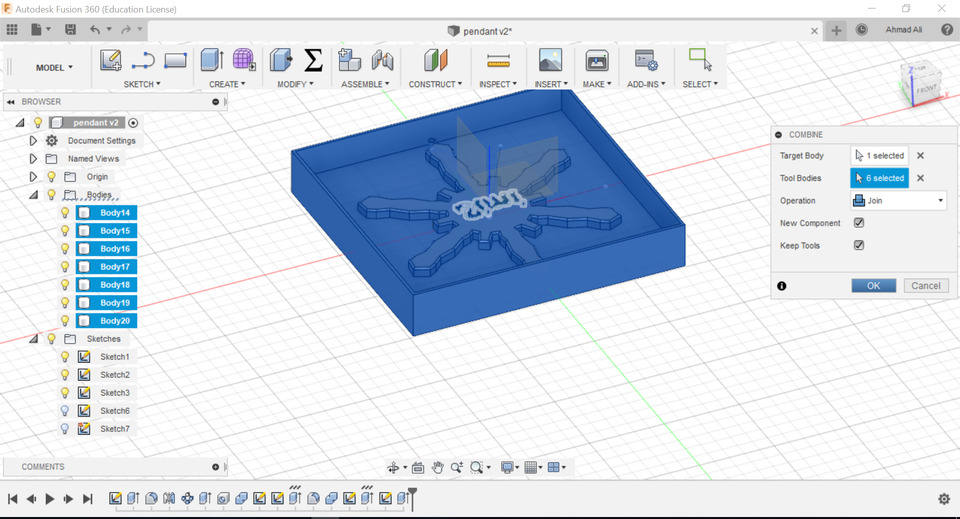
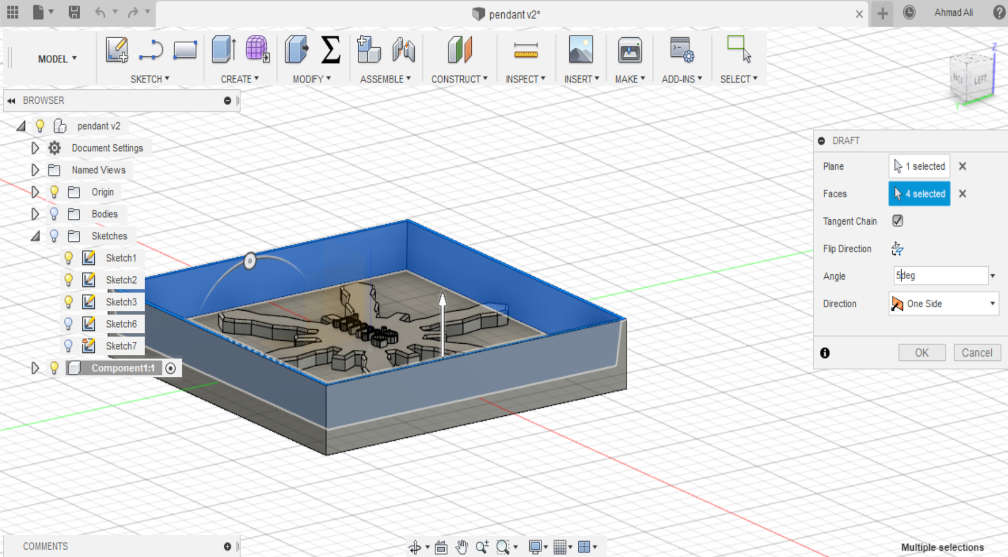
Mold making techniques
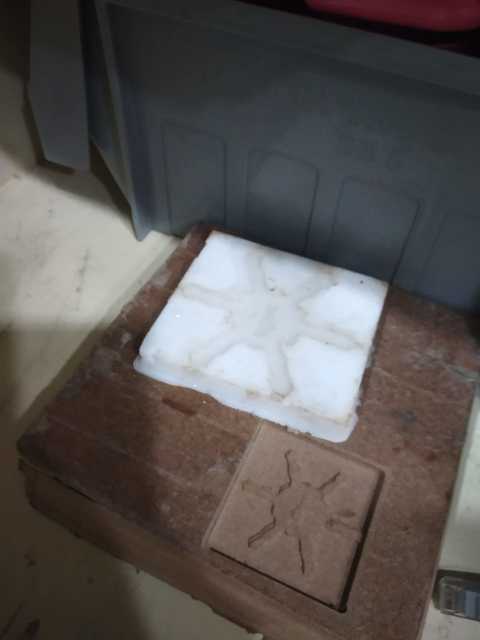
I made one part mold here for my design did not require a two part mold. Although it could be made uing a two part mold too.
Source- https://sciencing.com/types-molding-processes-7651143.html
Casting
Casting is a manufacturing process in which a liquid material is usually poured into a mold, which contains a hollow cavity of the desired shape, and then allowed to solidify. The solidified part is also known as a casting, which is ejected or broken out of the mold to complete the process. Casting materials are usually metals or various cold setting materials that cure after mixing two or more components together; examples are epoxy, concrete, plaster and clay. Casting is most often used for making complex shapes that would be otherwise difficult or uneconomical to make by other methods.

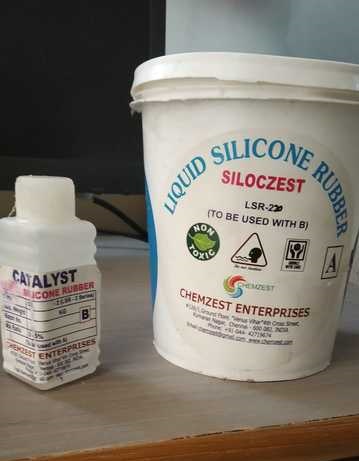

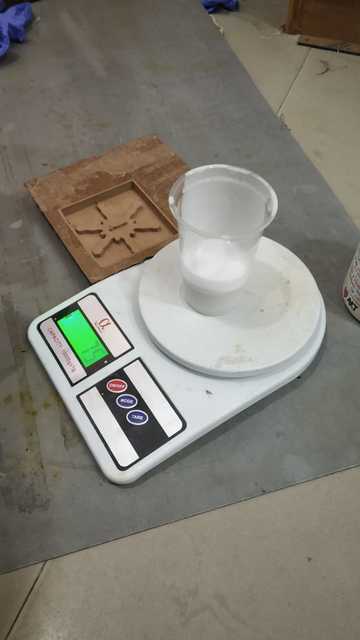 Pouring Silicon on Weighing scale
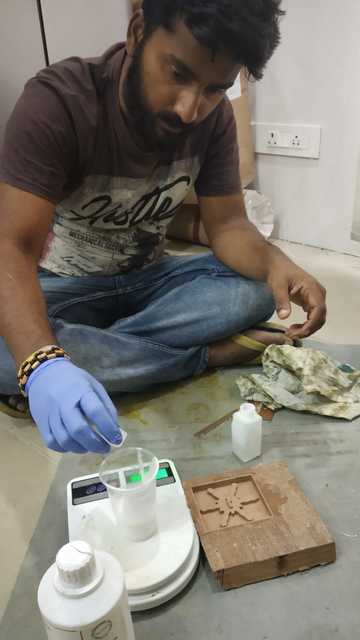 Adding the hardener in 100gms 3-5 ms hardener.
 Stirring them well to remove any bubbles.
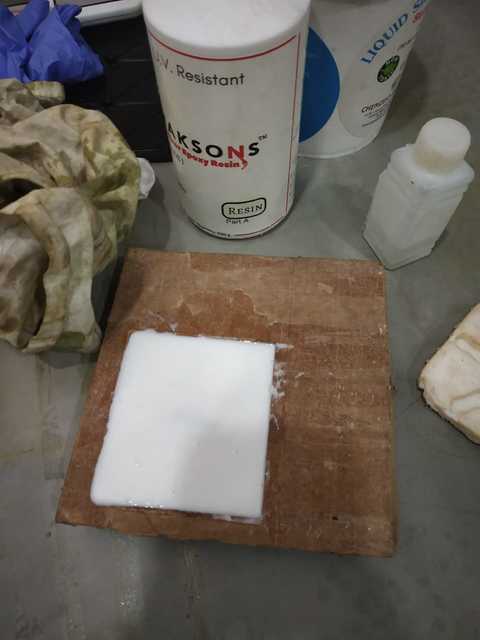 Pouring them on the MDF milled positive.
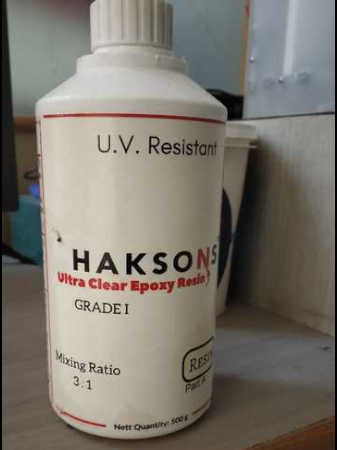
 Pouring Resin on Weighing scale
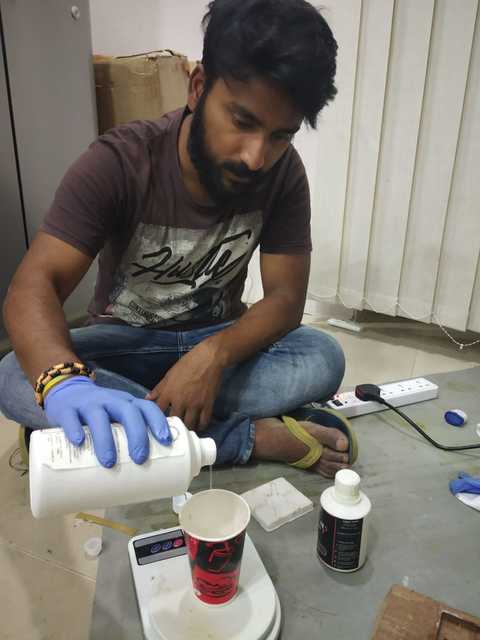 Adding the curing agent the ratio is 3:1 by weight
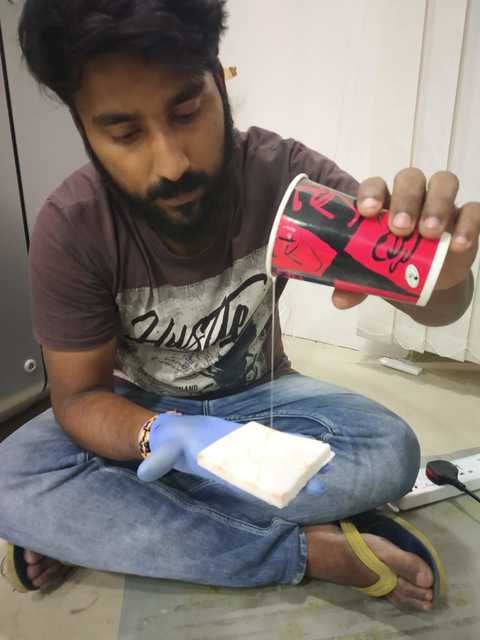 Pouring them in the silicon mold in such a way to form the minimum bubbles
 Leaving it to settle the curing time is almost 24 hrs.

