3D PRINTING - 3D SCANING
The group assignments are more followed. Well for this week they asked us to identify the rules when we scanned and the rules when they were printed in 3D, they also put a challenge on us, which was to create a piece or a difficult figure of fabrical in a subtractive way. For this challenge I will use fusion. It's the first time I'm going to use a 3d printer so I have a lot to learn.
Group assignment
* Test the design rules for your 3D printer(s)
- 45 degree rule
- Design To Avoid Using Support Material
- Know the limitations of the printer
- Adjustment tolerances for interlocking parts
- For the best resolution
In the network I found the different rules to the 3D printers
A very important rule, if you go beyond 45 degrees you will need support material. It is better to create our own objects as well as to avoid the use of support material.
It is better to create our own objects and avoid the use of support material. Sometimes, the support material may leave marks on the outside of the print. The support material can also take a lot of free time. Try to create a printable 3D design without support.
Know the details of your model. An important variable, and very forgotten, is the width of the thread, is determined by the diameter of the nozzle of your printer. Most printers have a 0.4mm or 0.5mm nozzle.
For objects with multiple parts, design in your adjustment tolerance similar to the press fit kit. You have to test the model to determine what is the correct tolerance.
You always have to orient the model to obtain the best possible resolution. The models can be cut to pieces if necessary and then reassembled. To prevent prints from breaking when force is applied; the model must be oriented to minimize the stress in the piece, orienting the model so that the printing lines are perpendicular to the point of pressure applied.
The print
 |
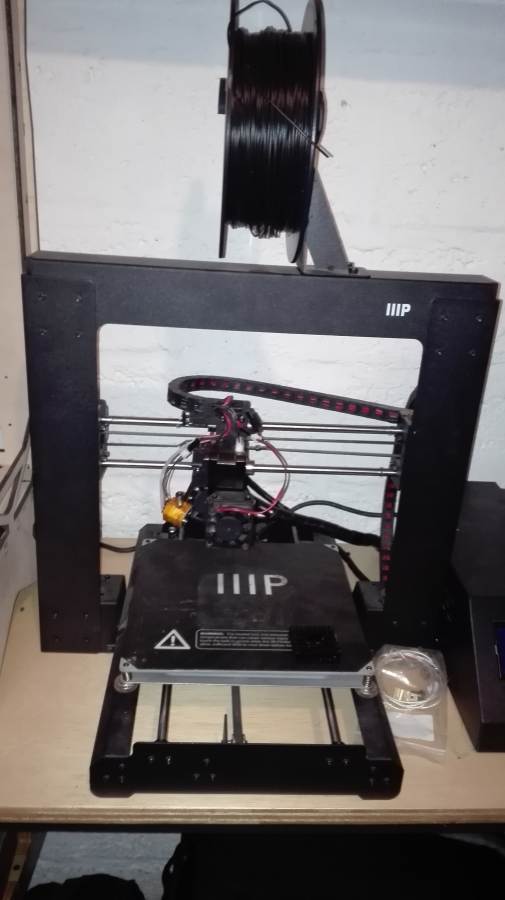 |
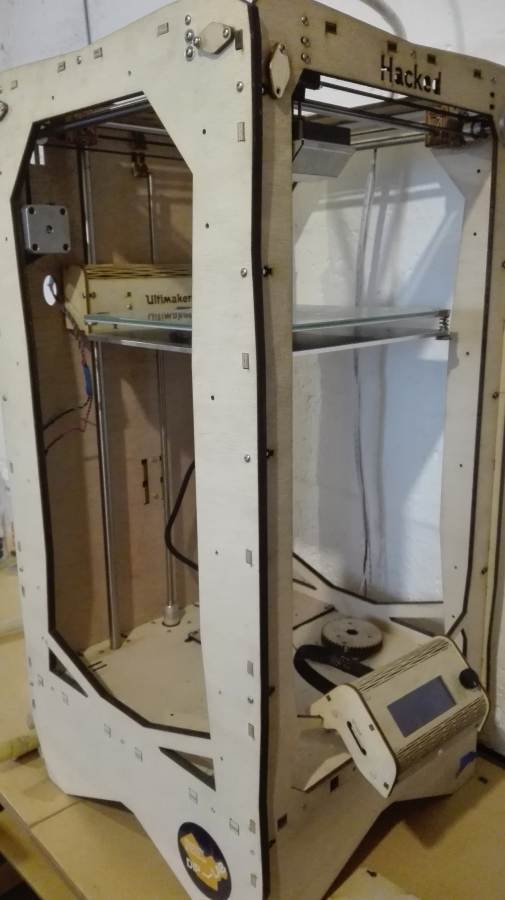
The two printers are called FDM stands for Fused Deposition Modeling, the most common printing technique of 3d printers.
The main element of the FDM printer is the point where the filament is melted and extruded through the nozzle.
Melted plastic adheres to the material, cools and hardens again. To construct the model the nozzle moves in the x, y and z according to a generated pattern.
In past weeks we learn to manage CAD softwares. The next step to print is to export the file in the correct format can be in .obj or .stl
STL (acronym from English "'Standard Triangle Language'" ') is a computer-aided design (CAD) computer file format that defines 3D object geometry, excluding information such as color, textures or physical properties that do include other formats CAD.
OBJ It is a file format used for a three-dimensional object that contains 3D coordinates (polygonal lines and points), texture maps, and other object information. It contains a standard 3D image format that can be exported and opened by several 3D image editing programs. Object files can be in ASCII format (.obj) or in binary (.mod) format however it does not contain color definitions for faces. Due to their format, they are readable. It supports both polygonal objects and freeform objects. Polygonal geometry uses points, lines, and faces to define the goods while the free-form geometry uses curves and surfaces.
The software
.png)
 A software widely used by 3d printers for segmentation is the Ultimaker Cura.
After opening the Software cura and opening the stl file, enter its configuration mode. You can change the parameters shown on the right side.
A software widely used by 3d printers for segmentation is the Ultimaker Cura.
After opening the Software cura and opening the stl file, enter its configuration mode. You can change the parameters shown on the right side.
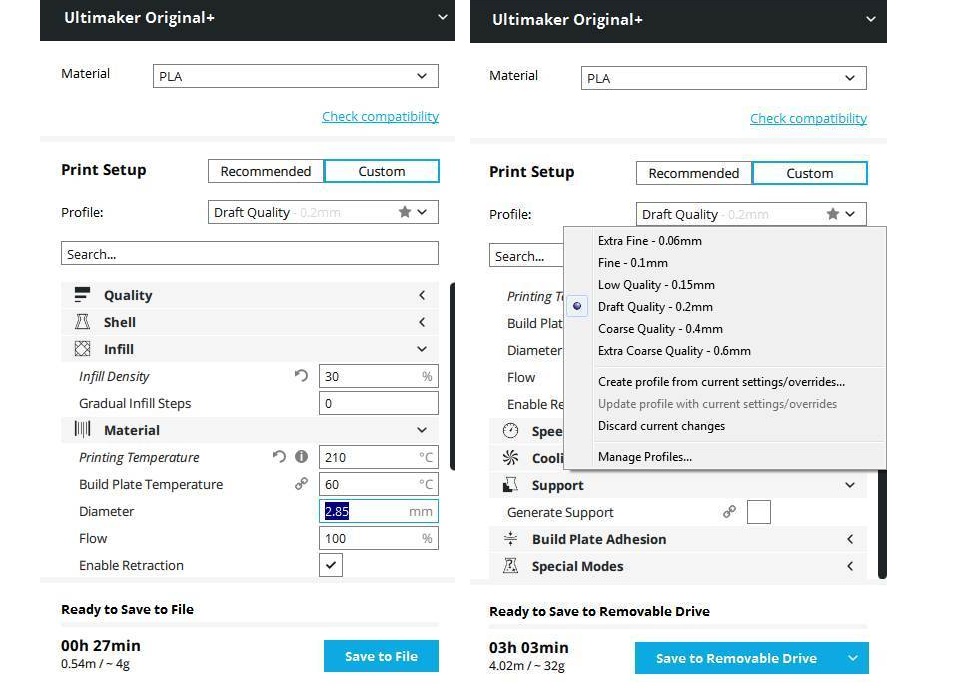
Here you can adjust the printing temperature, the height of the layer, the speed, you can activate or remove the supports, if you want the adhesion table for the construction plate. The predefined parameters work for an impression. if you want to change the values you need deeper knowledge
Undoubtedly the most important value is the printing temperature, since it must be adjusted for different materials.When printing on PLA the recommended value is 200 ° C.
Most of the other materials are printed at higher temperatures, although one advice from my instructor, was not to print while you do not know the characteristics of the filament. An unknown filament can damage the nozzle. To print you have to check the characteristics of the filament.
It must be taken into account that the environment can change the characteristics of the filament if it is in a humid environment it can have problems.
Steps to print in ultimaker 3d
We downloaded the test that neil showed us and we printed one. We discussed the points to keep in mind when printing and how to solve some of the problems. 3D Printer Tolerance Test
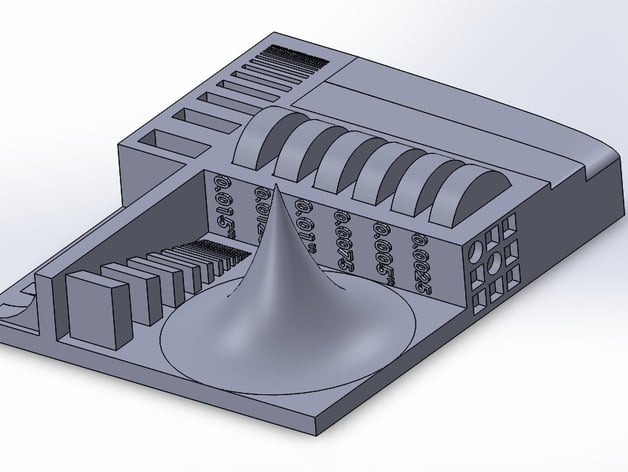

To perform the test with the 3d printer we use the file shown before, our steps were:
- Load the stl or obj file in the Cura Software
- General configuration (size, material)
- Save the file on the SD card
- Prepare the 3d printer
- Heat the bed and the filament
- Select the file and print
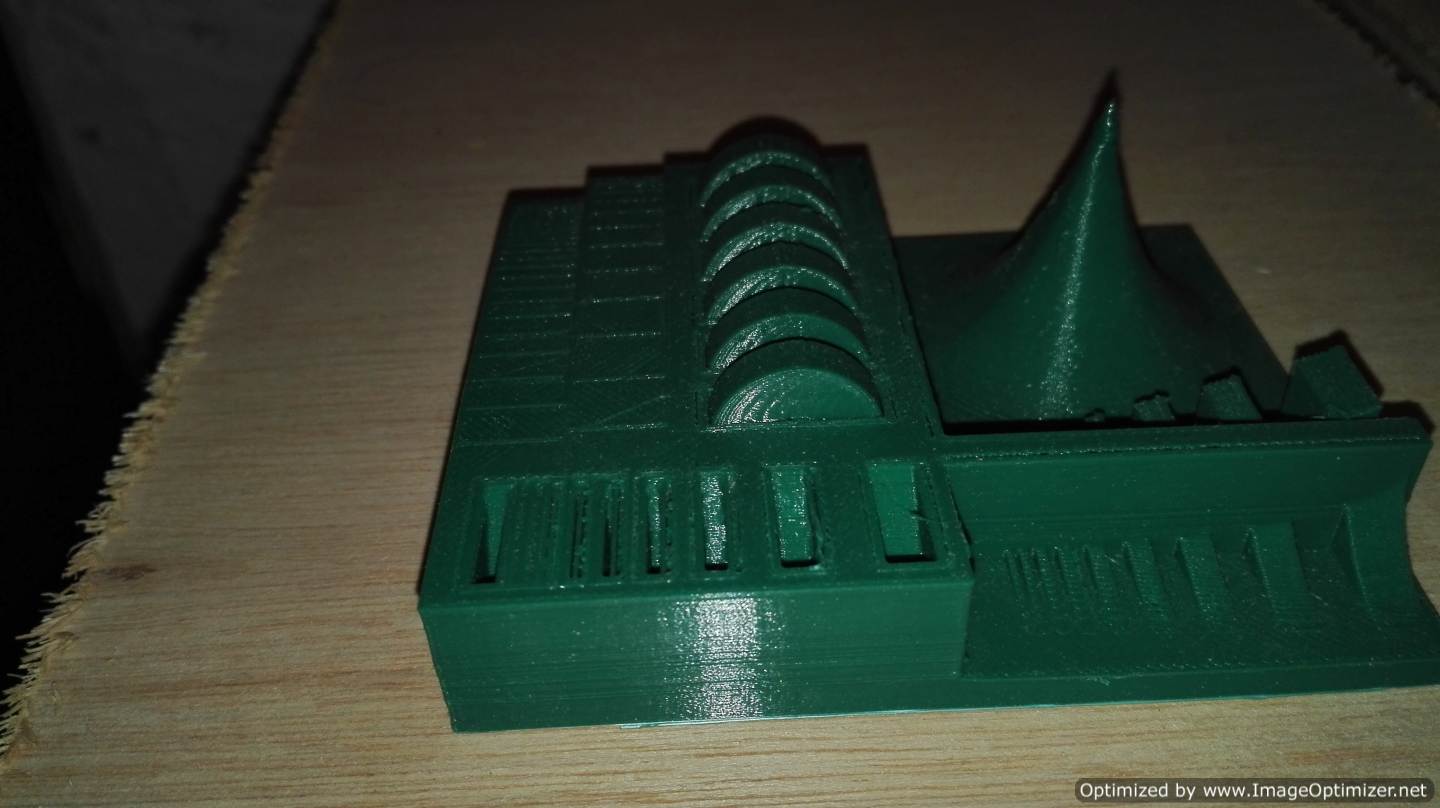
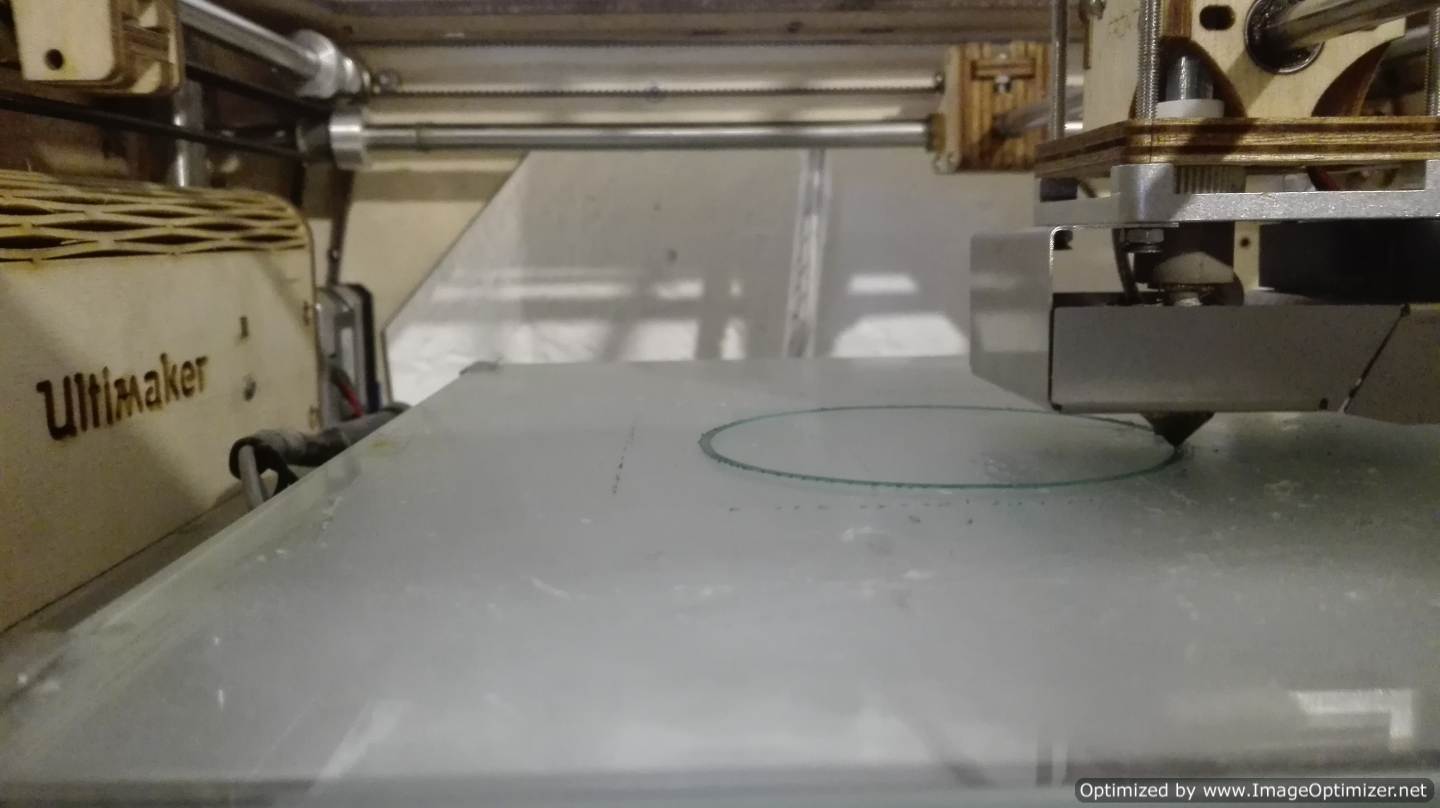
Luckily our impression went right the first time, there are times when it does not stick to the surface. When this happens you have to perform a pre-cleaning. At the end our results were the following:
| The resolution is correct | The letters are not noticeable |
|---|---|
 |
 |
Individual assignment
* Design and 3D print an object (small, few cm) that could not be made subtractively.
* 3D scan an object (and optionally print it)
Designing the object
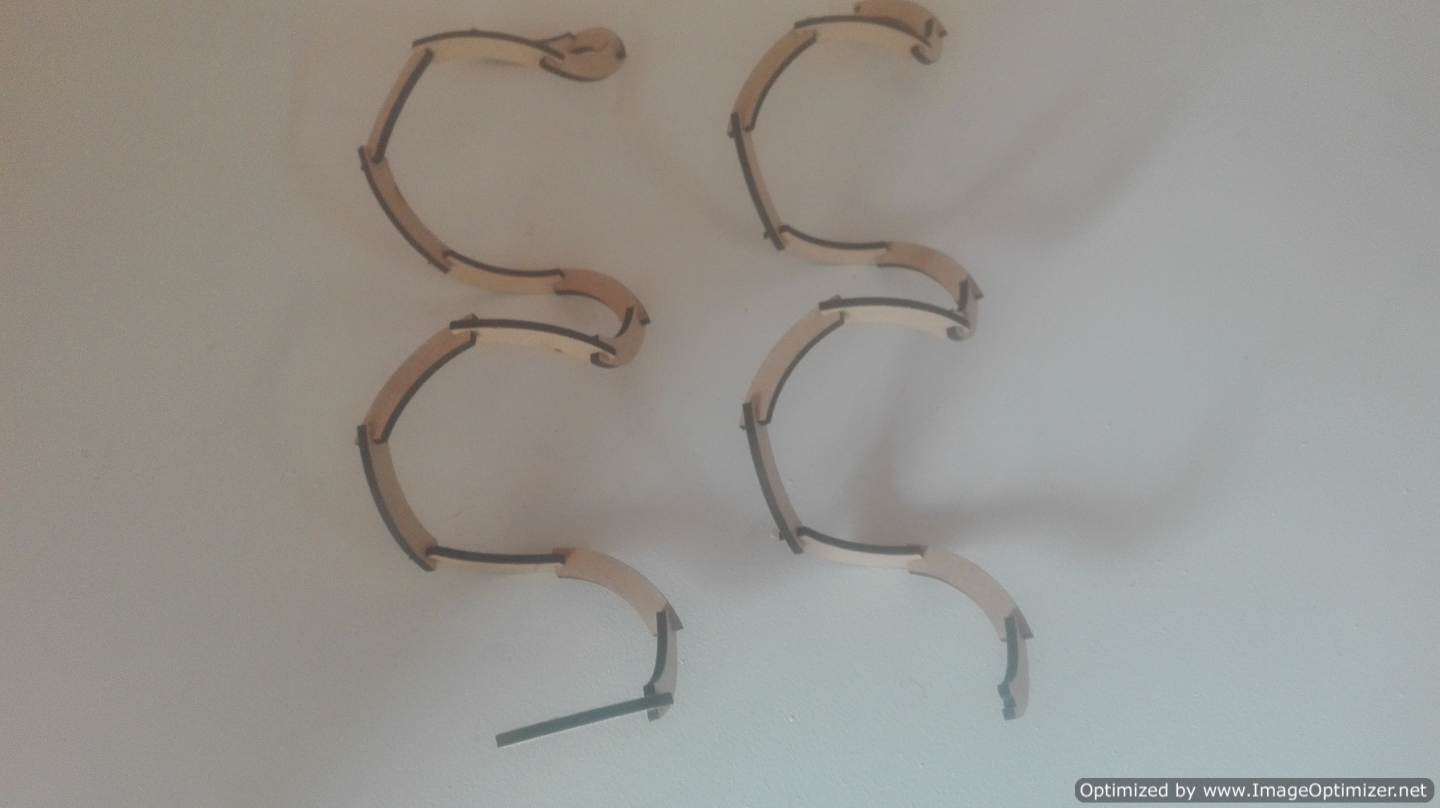
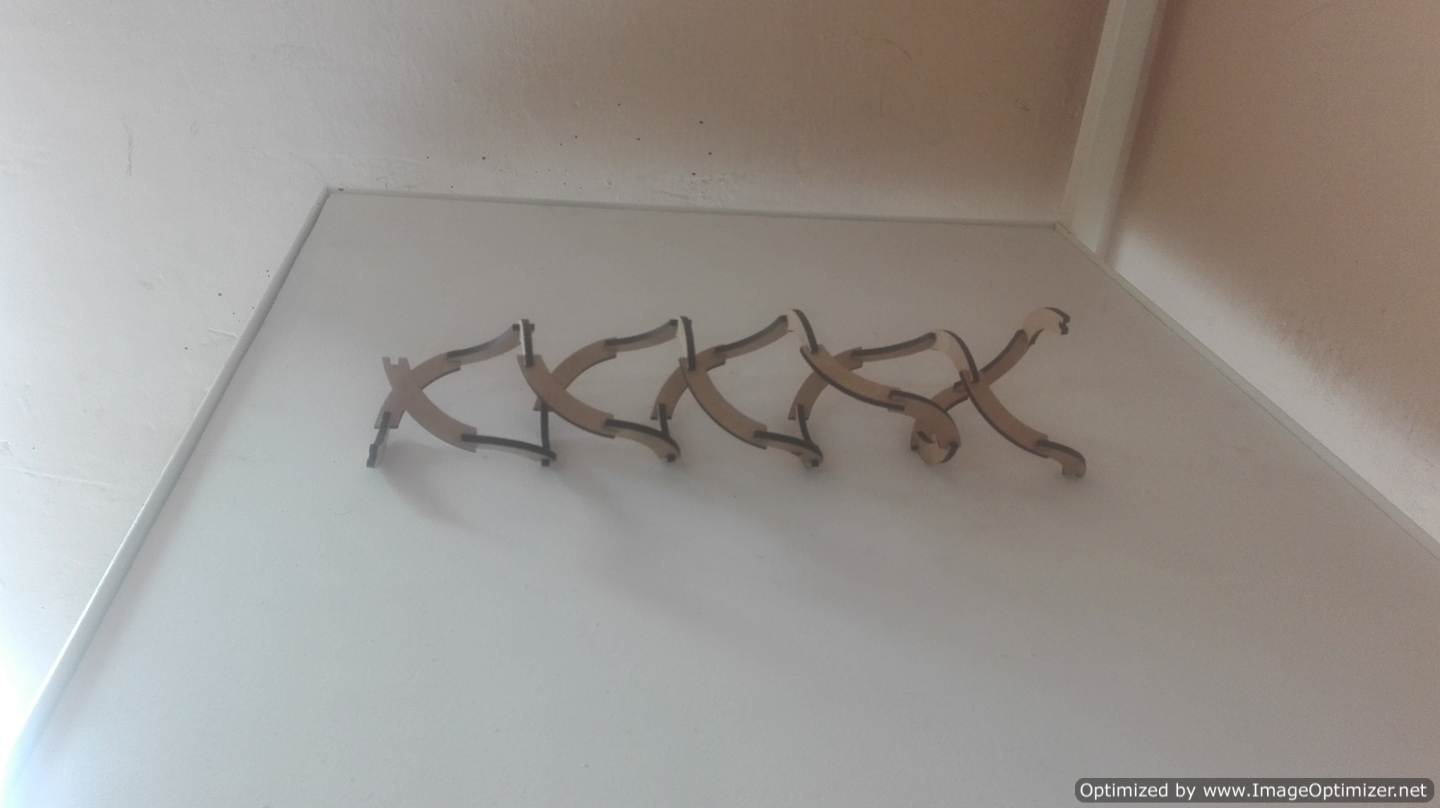
I put the pieces with which I made the pressure adjustment equipment. You can see how it resembles the design you wanted to achieve.
 |
 |
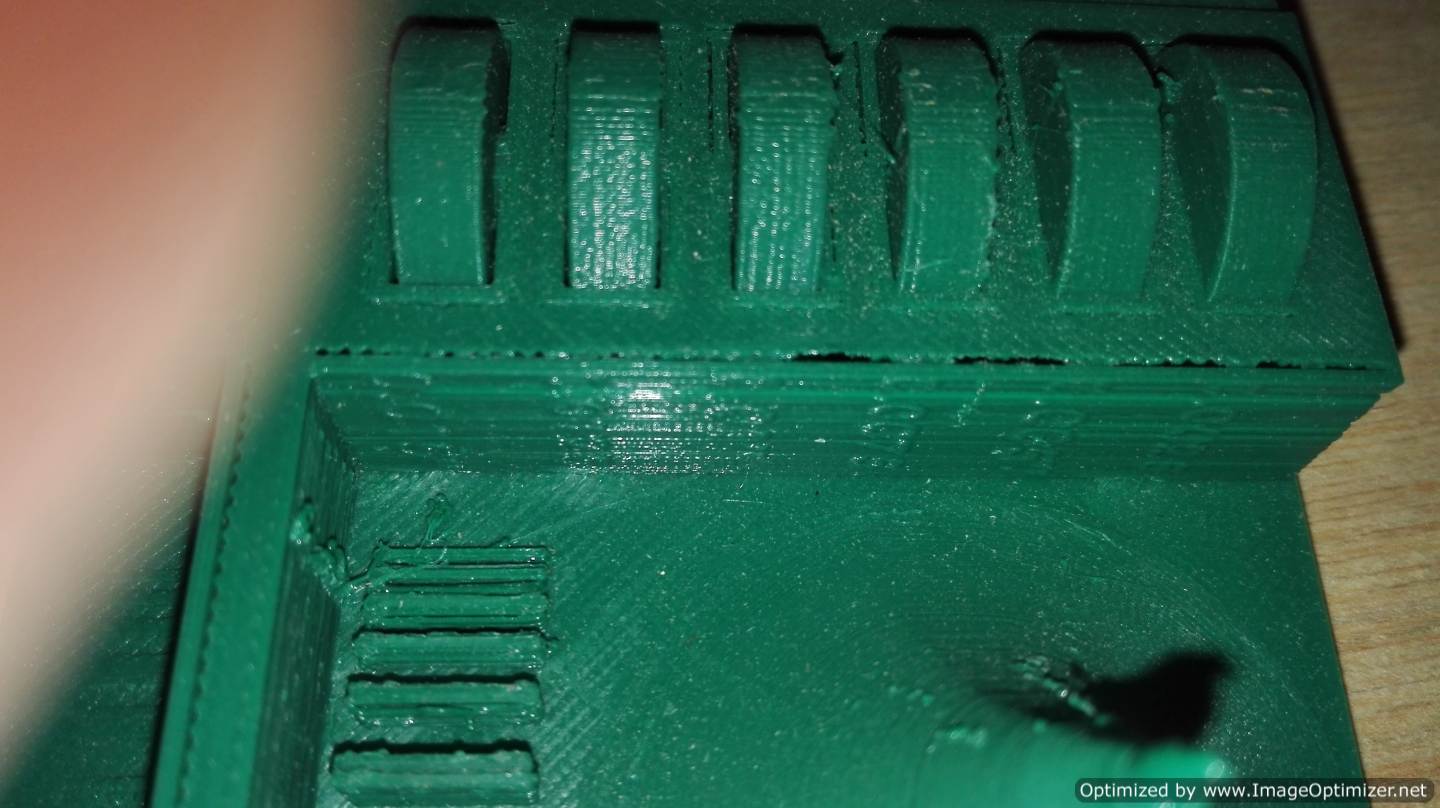
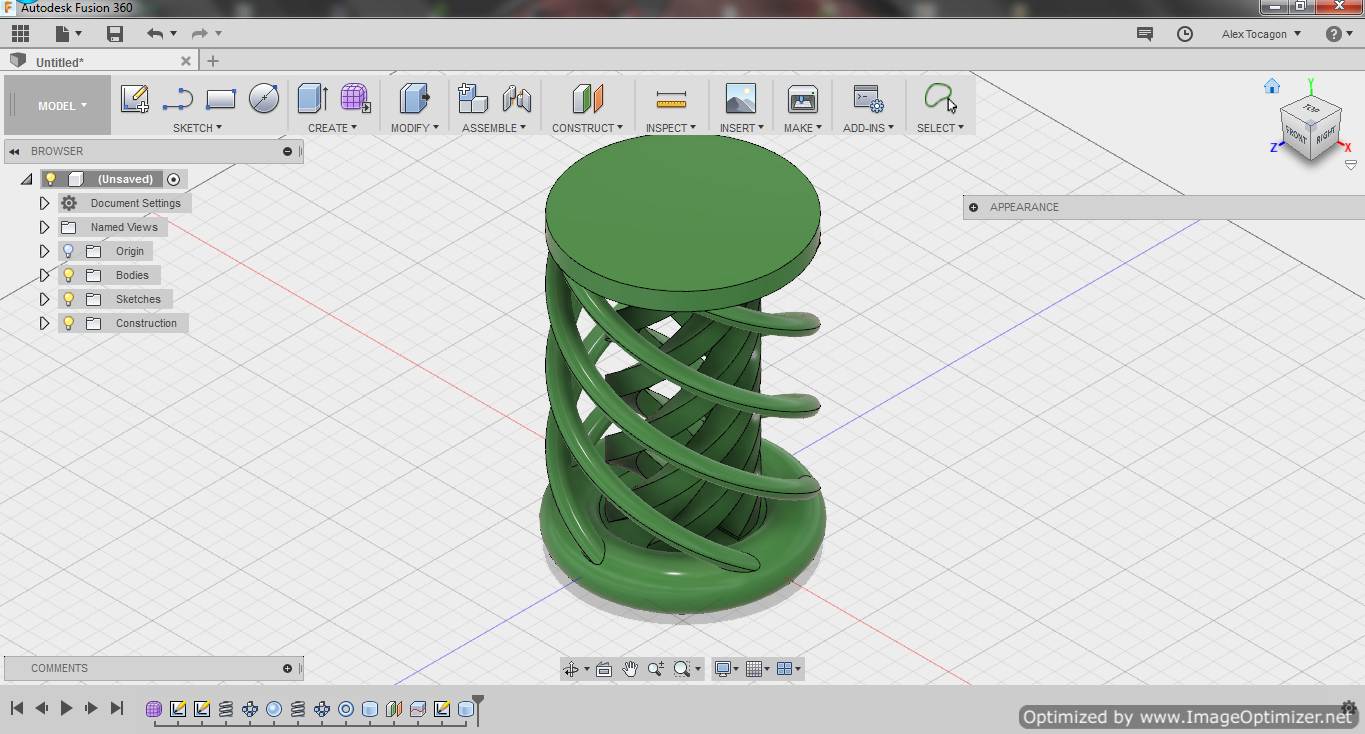
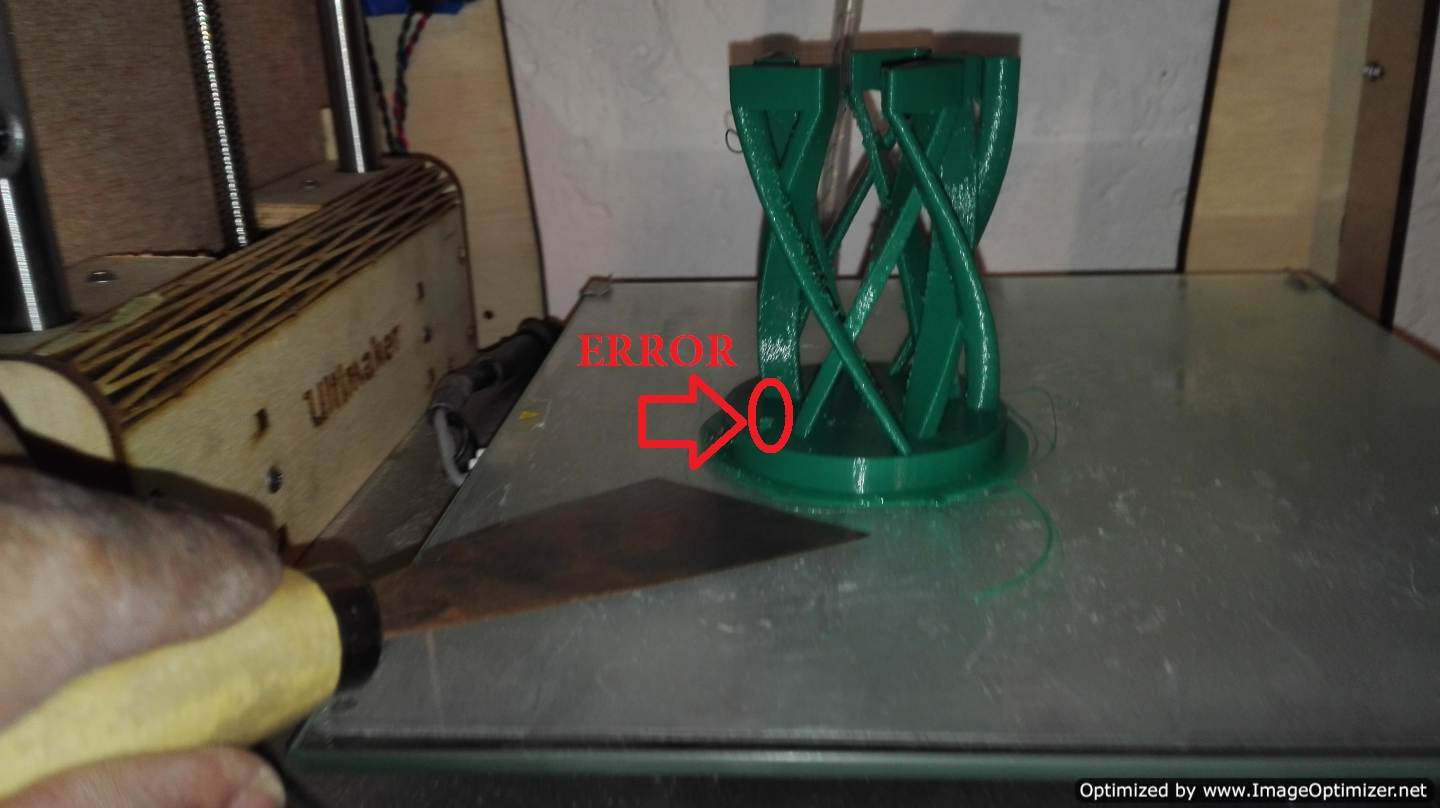
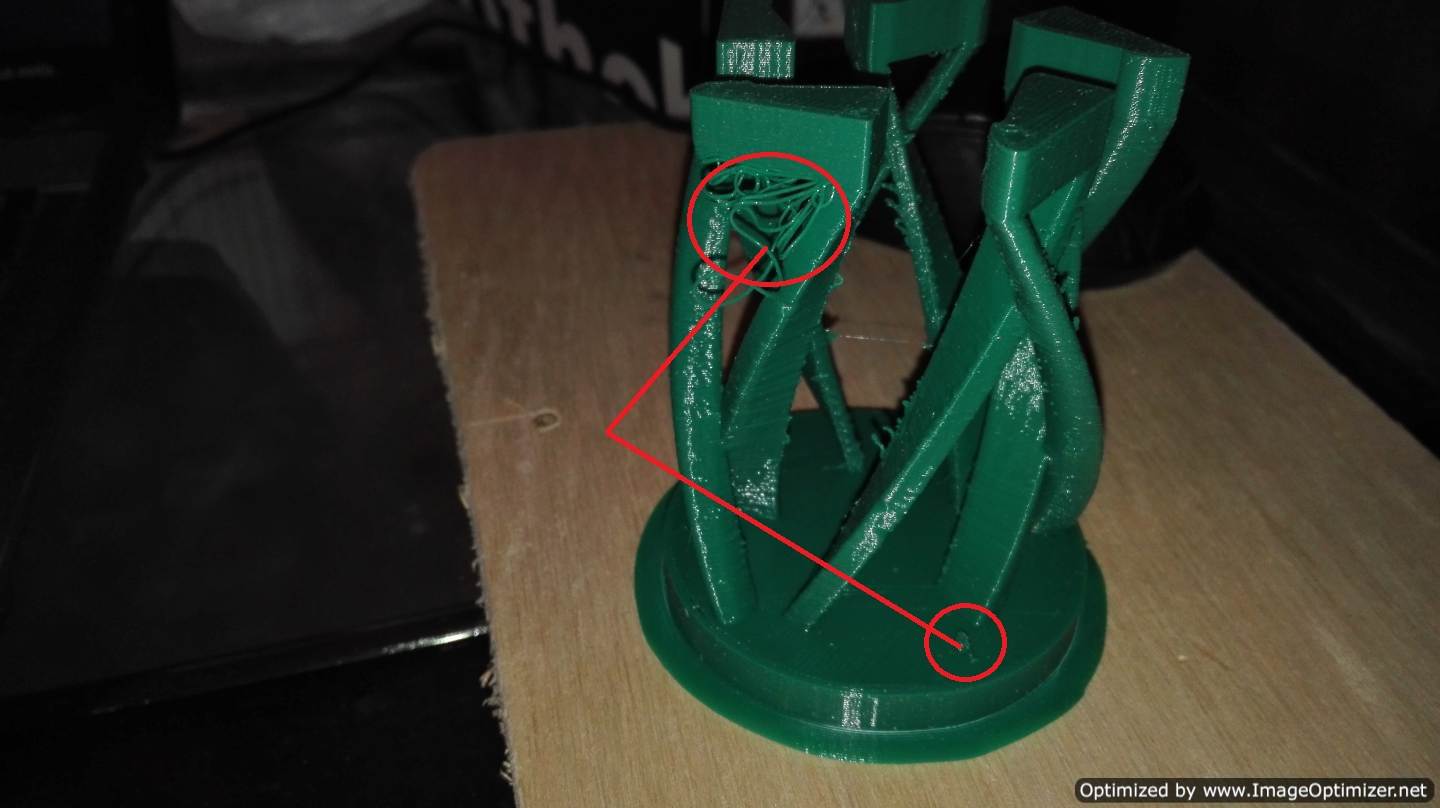
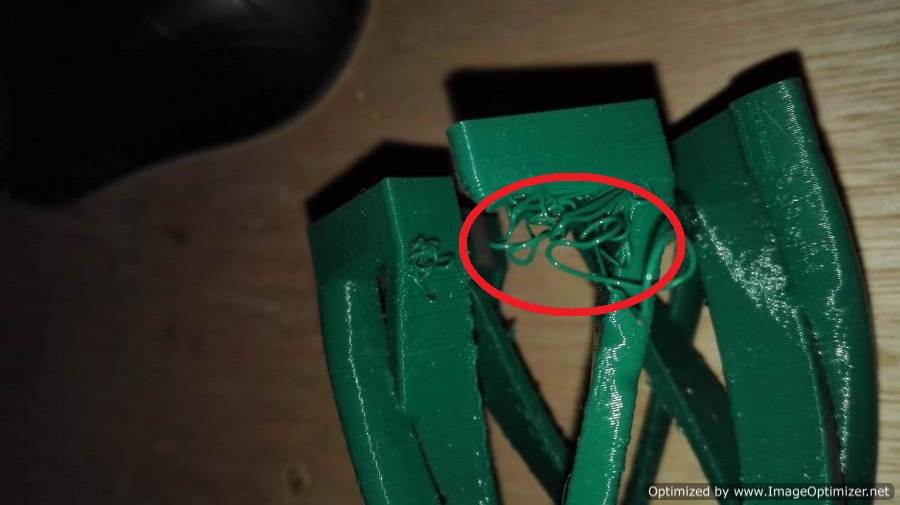
They asked us to 3D print an object of the 3D design week that was difficult to do with subtractive manufacturing techniques. I wanted my design to be a bit more complicated, so I created 2 tubes in the shape of a spring. Stretch the tubes look for the right angle to not generate supports. I designed the 3d object in the fusion software. I have problems exporting the file. the software does not have the stl and obj option. The only way is to export directly to meshmixer.Something strange happened when exporting the file: one of the pieces was lost, when the object finished printing it was noticeable
| First design | Generates support |
|---|---|
 |
 |
Change design
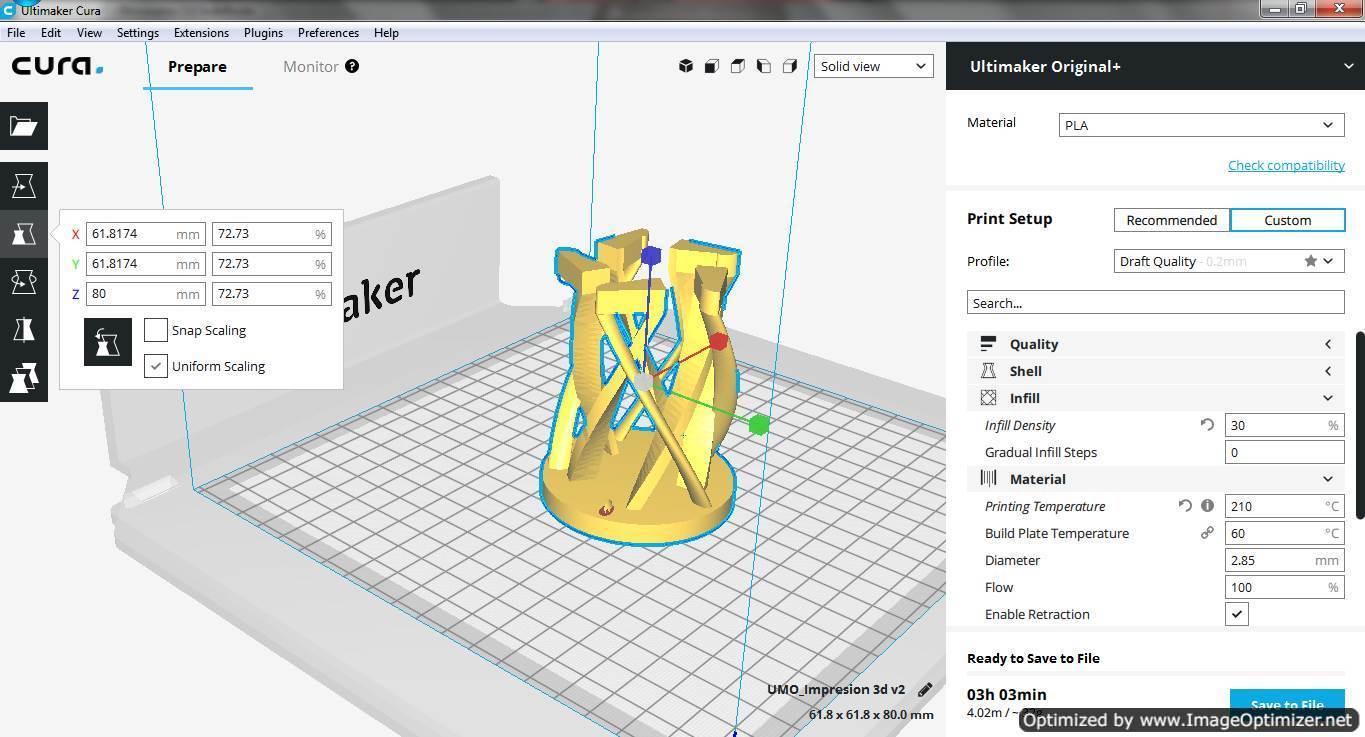
Parameters in software Cura
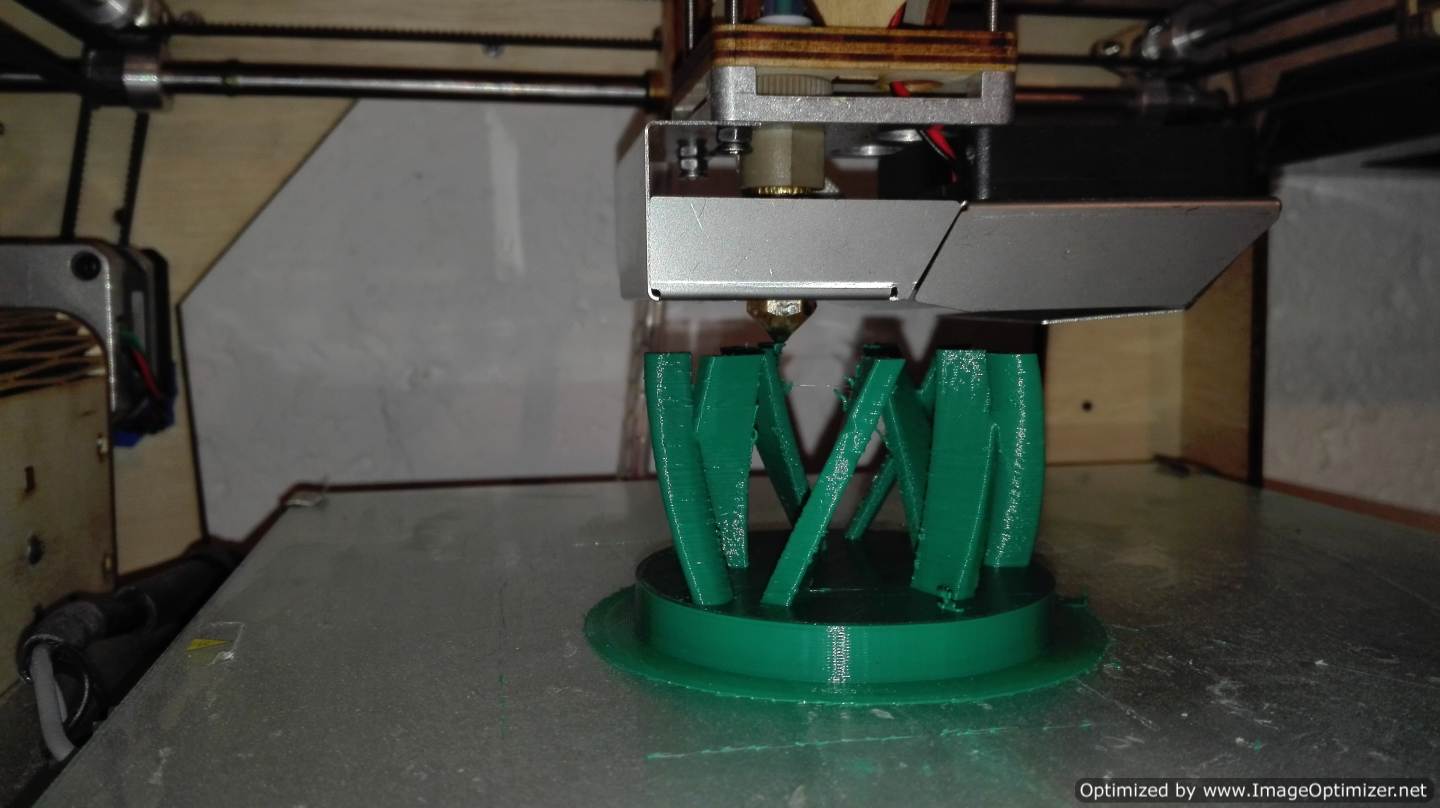
Already configured saved the file on the card and performs the settings on the 3d printer
To finally print the object 3d
 |
 |
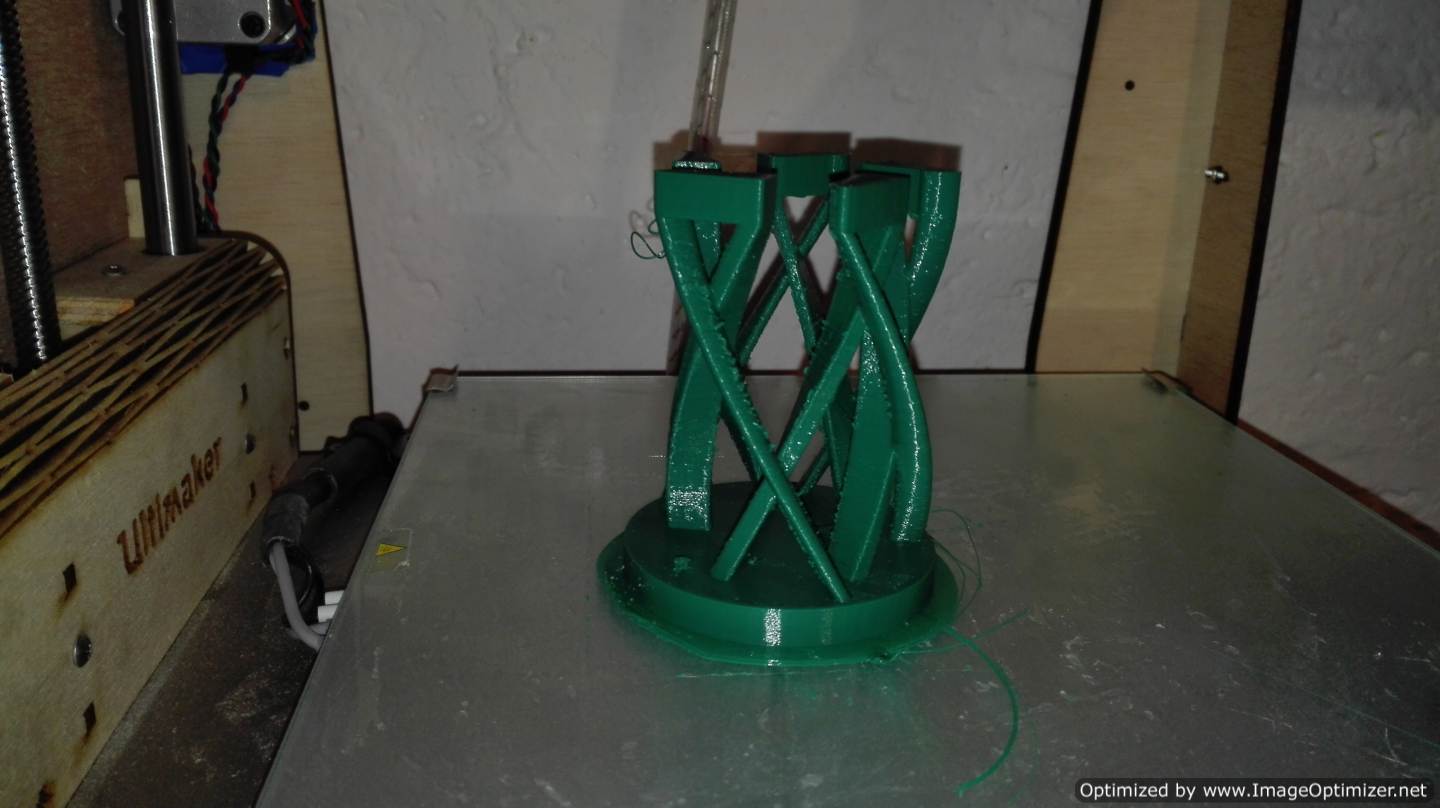 |
The error when printing the 3d object occurred because when exporting an object was deleted I do not know why it happened this was something strange
After printing my first design, I realized that the design can be manufactured in a subtractive form. With my second design, the idea is clearer and it is more evident that the object is not possible to manufacture in a subtractive form. But. Why is the second design correct? I have two ideas: I put a tube around the figure that I previously believed and when placing a base; I can affirm that it is more difficult for a mill to enter to do the milling. The second I can affirm that the height of the tube makes it a more complicated figure to be milled
3D scan
Try using 2 systems to scan one through a series of photos and using an application for my phone. I think it's the number of photos because when you rebuild the file, it does not come out completely. I did 2 tests with my cell phone.
3d scan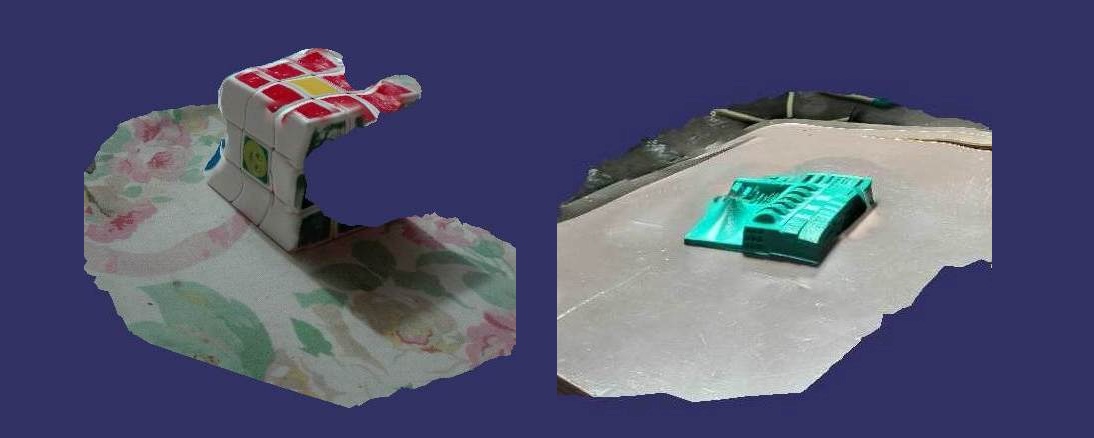
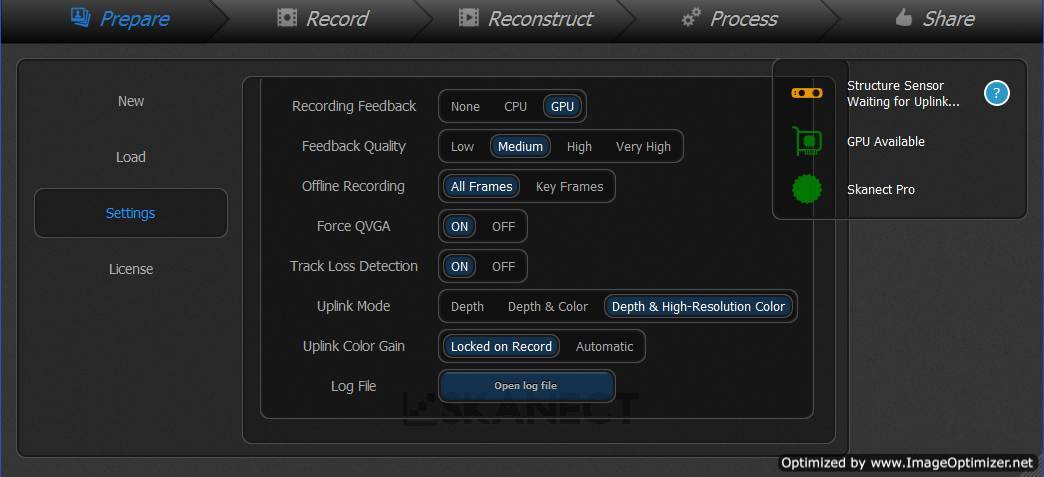
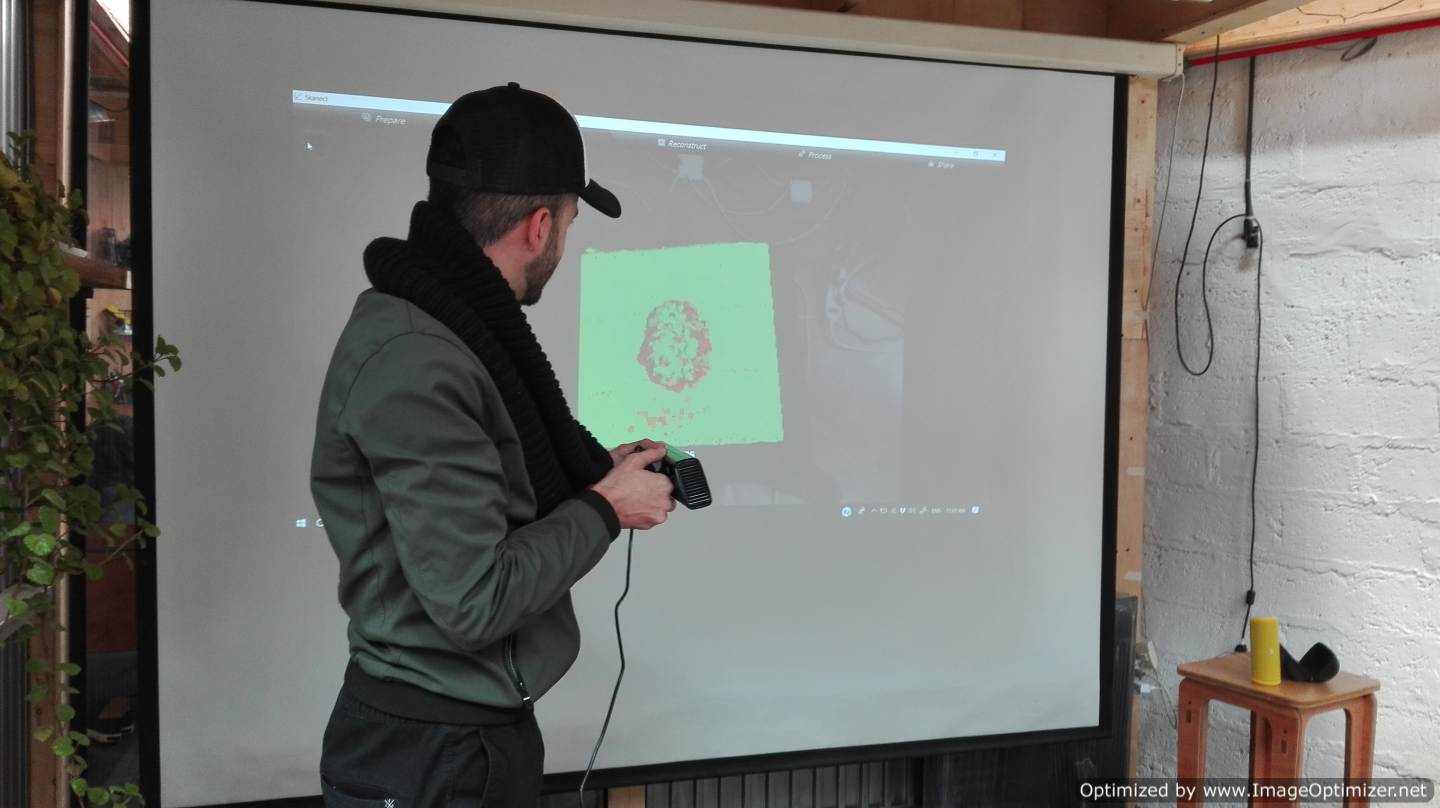
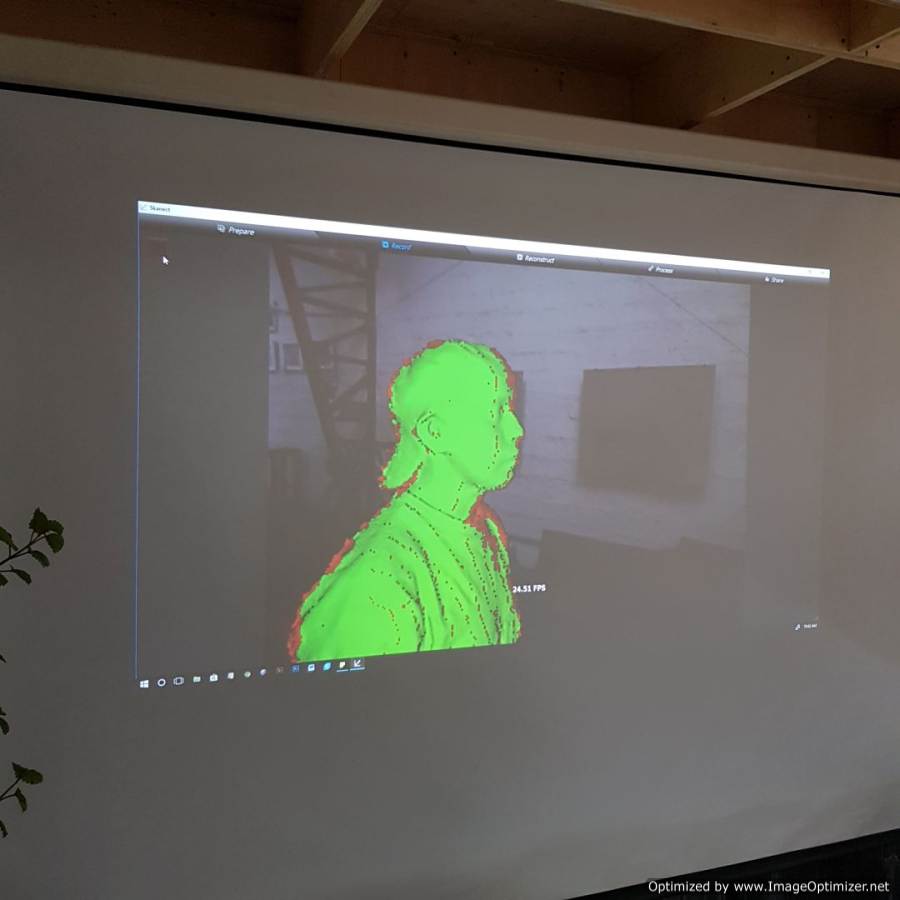
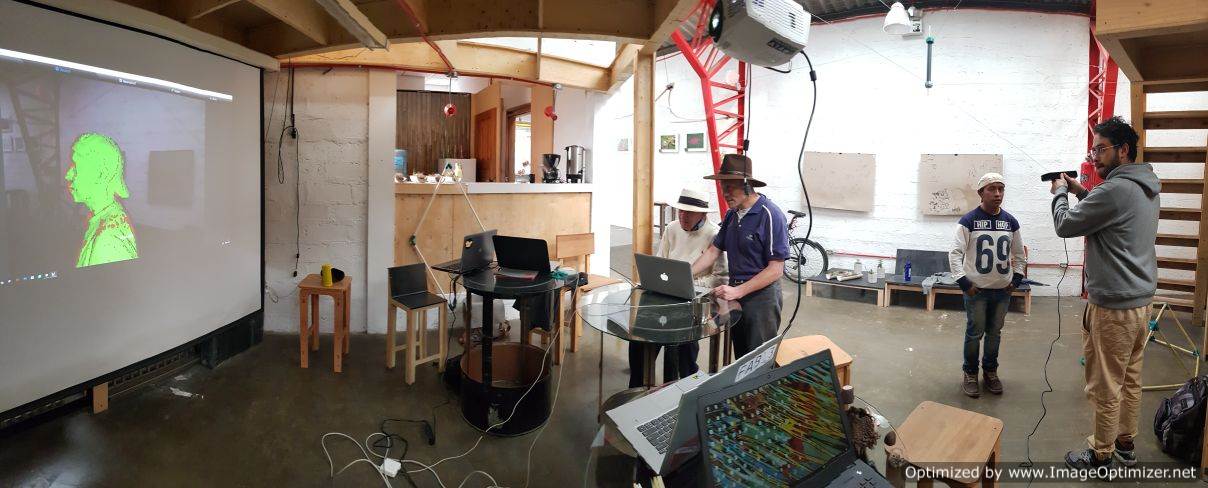
My instructor has the skanect program which helped us carry out the group assignment With the group we performed the scanner with the kinect device. We each scanned and tried to test the scanner for small objects. You have to take into account the light that reaches the object when the scanner is performed.
In the group assignment, we try to scan several objects. The first object to try was the hand of Fabio Lopez. You can see my test.
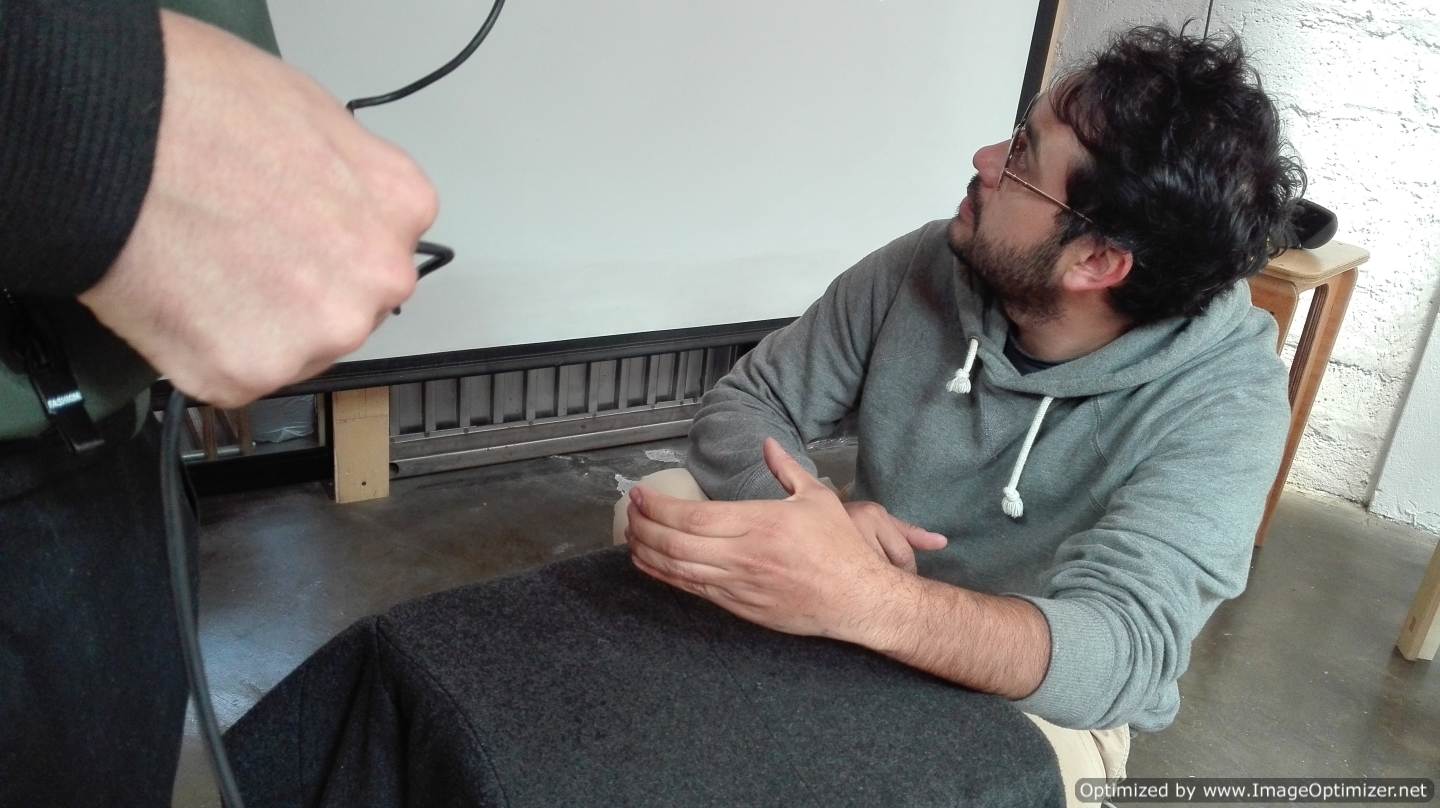
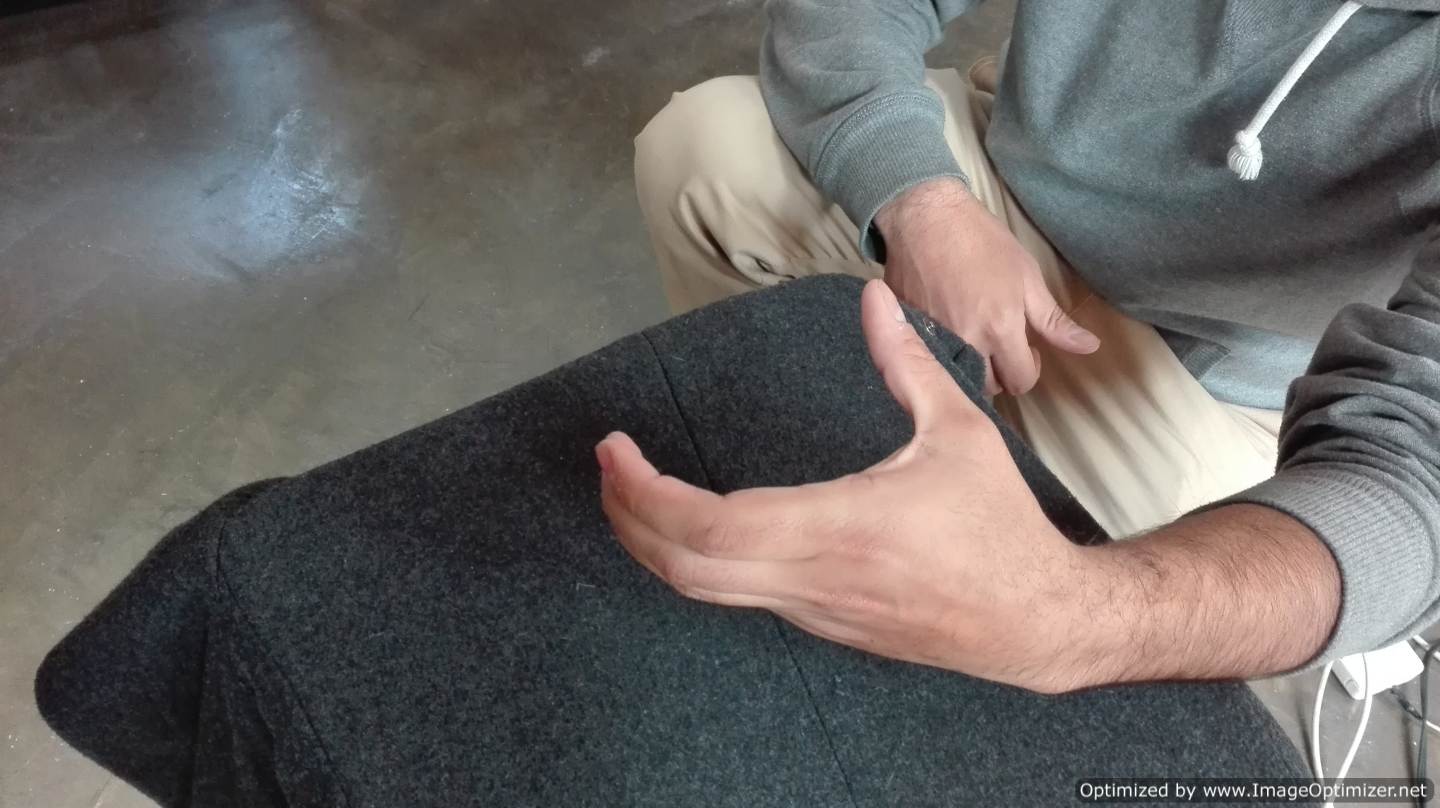
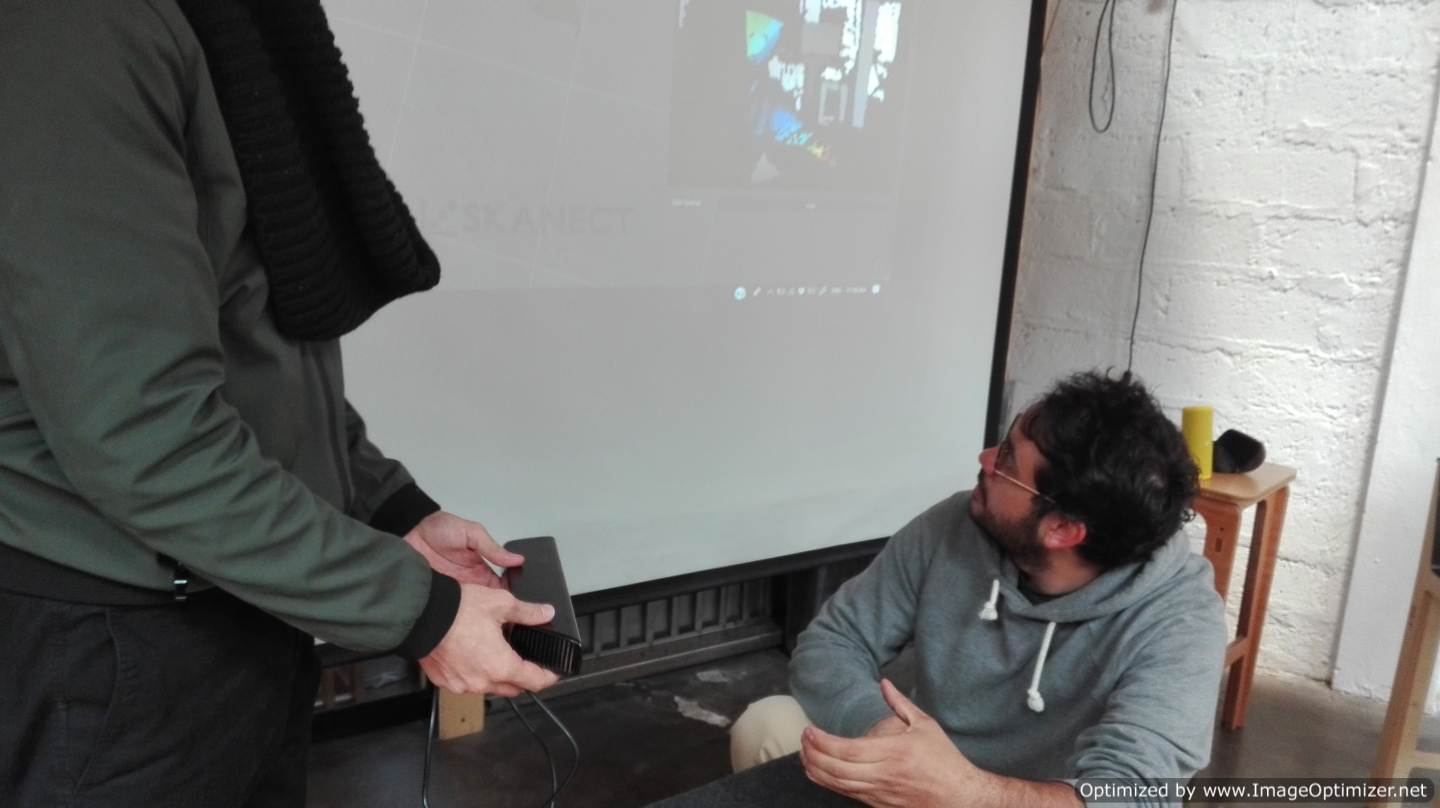
We realized that we did not get a good result, it could be due to light problems or because of the size of the object to be scanned.
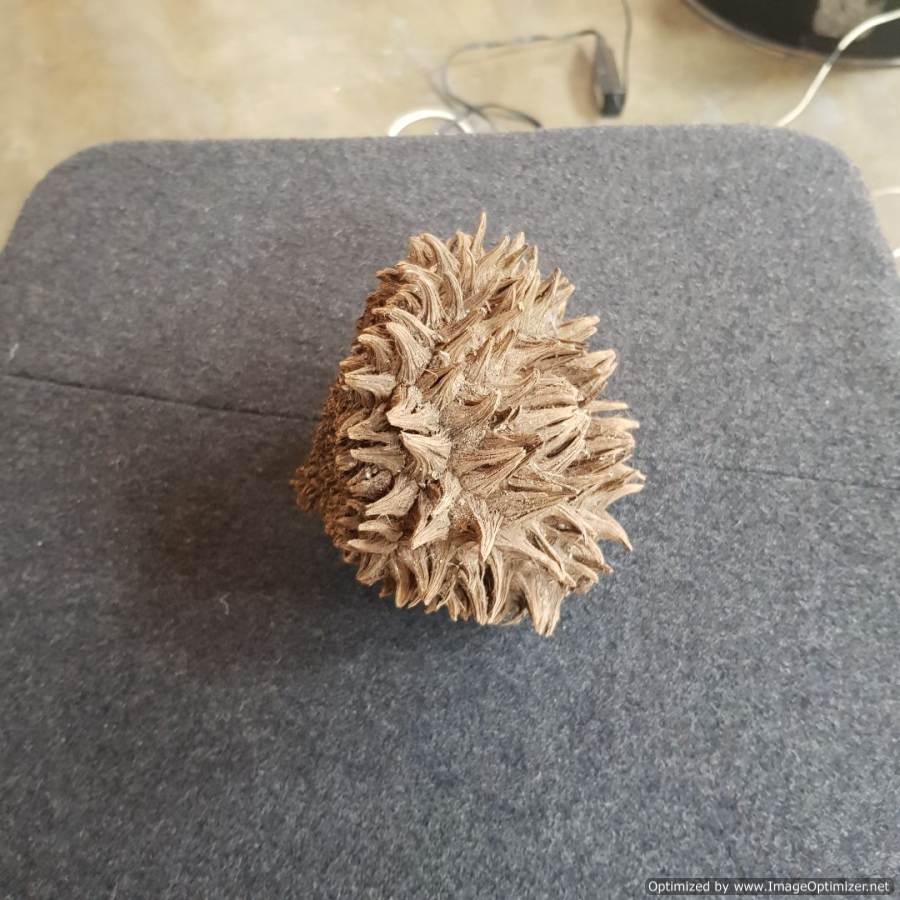
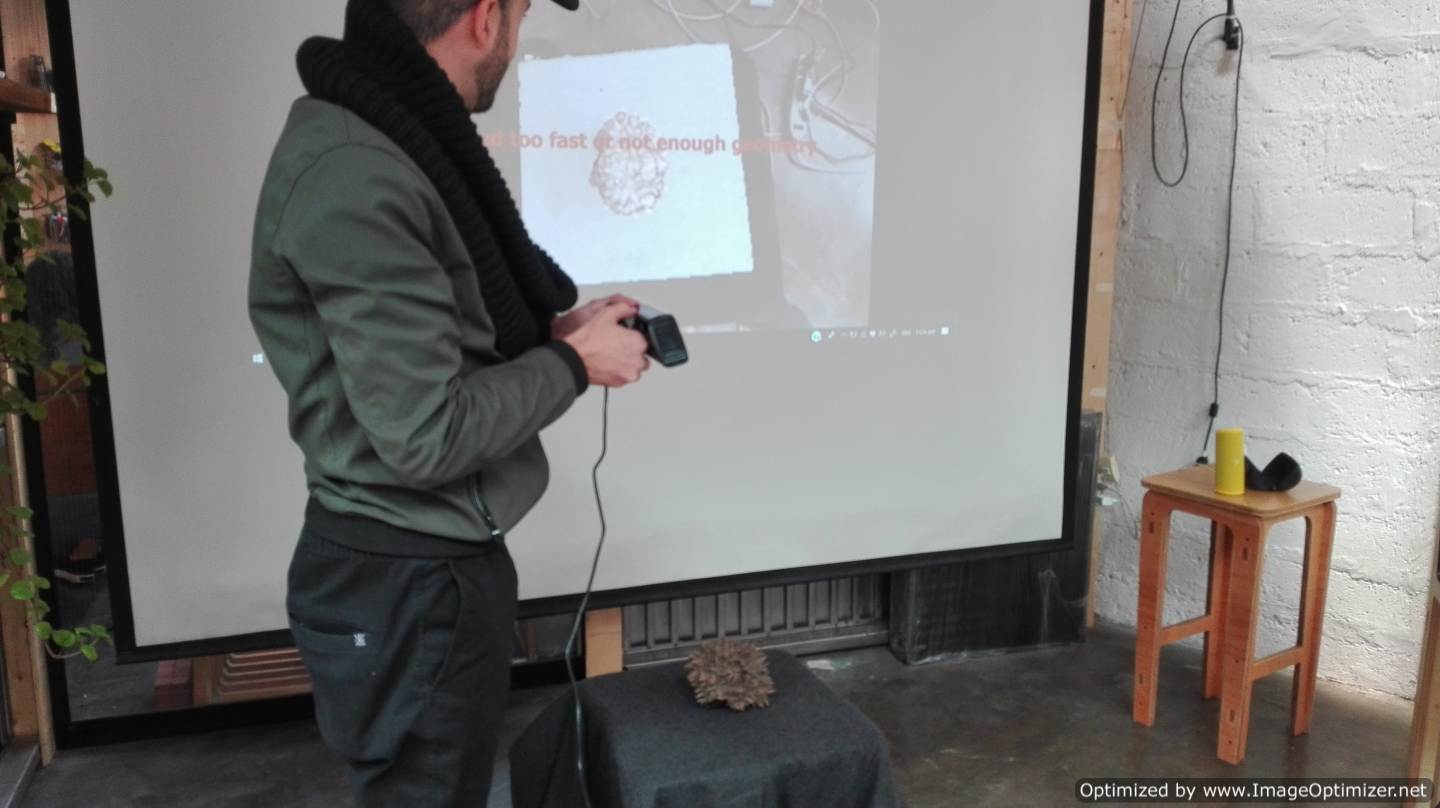
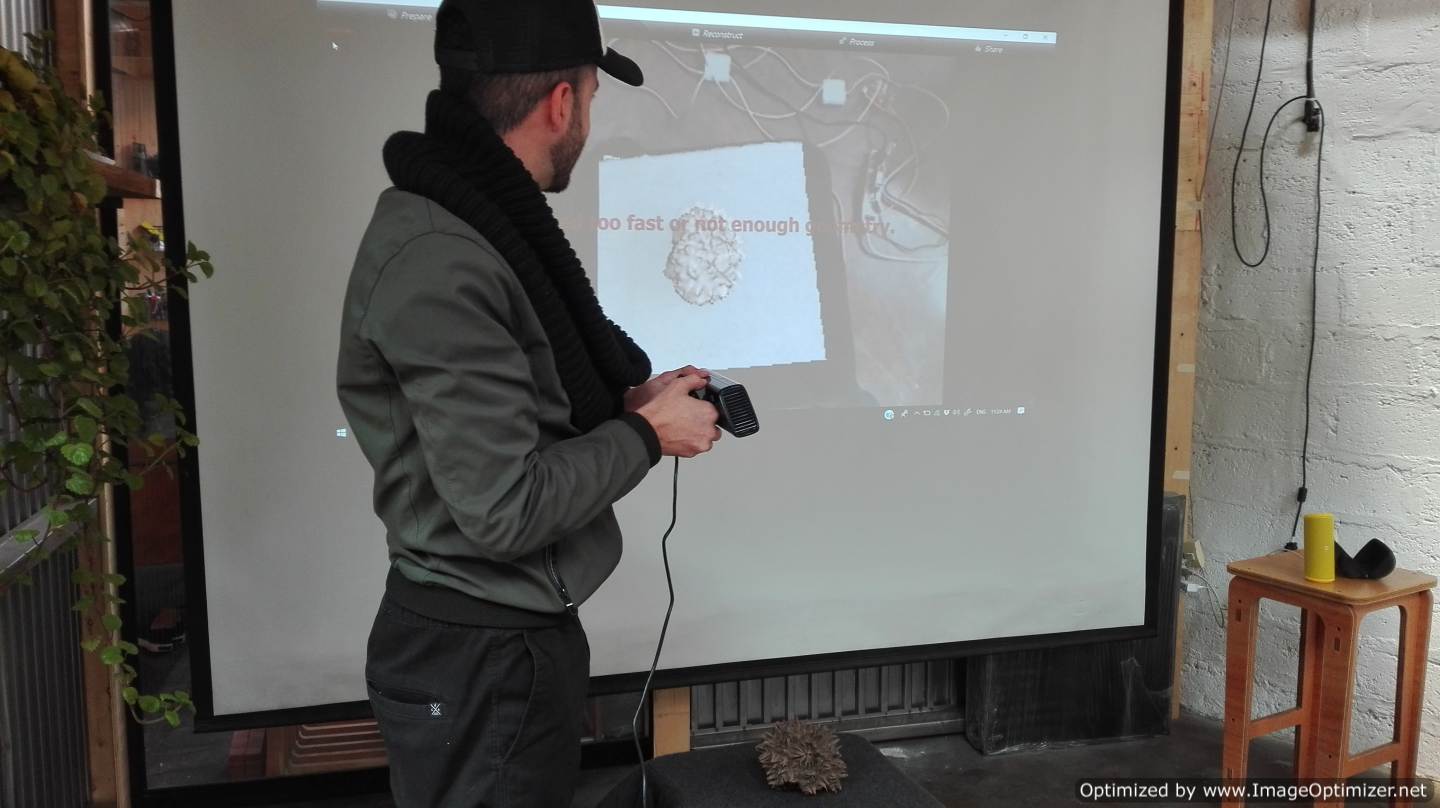
The second test we did with a piece of tahua its shape is very irregular and its size very different from the previous scanner.
EXTRA ACTIVITIES OF 3D SCANNING.
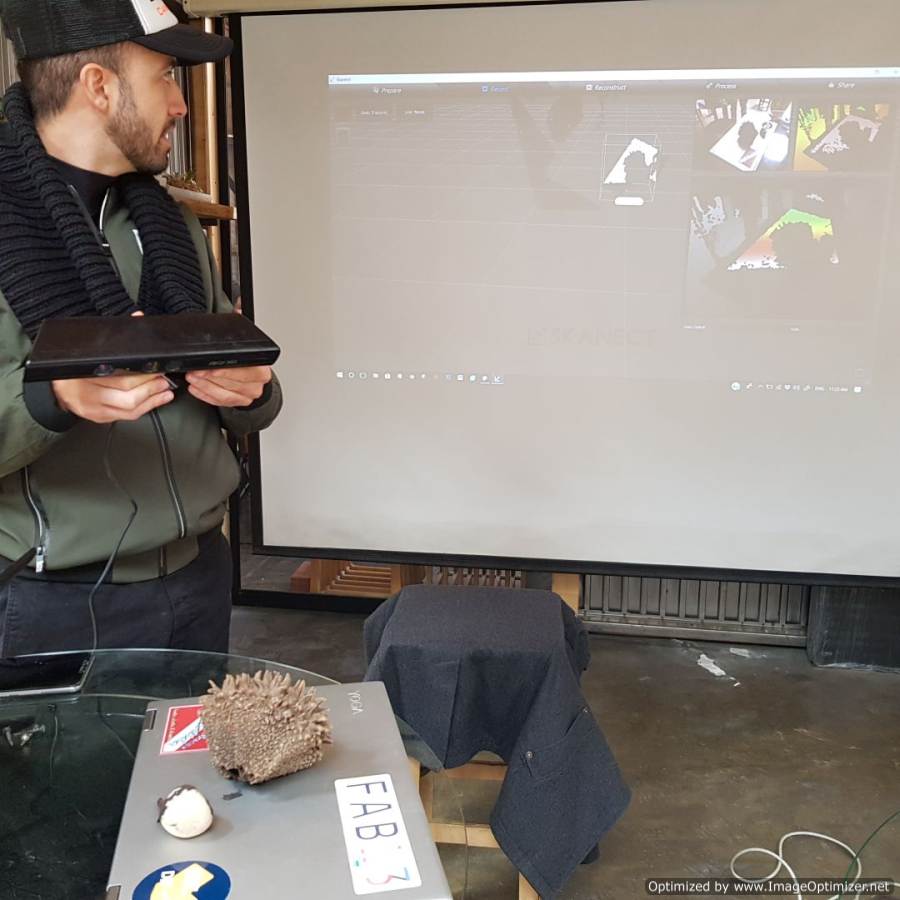
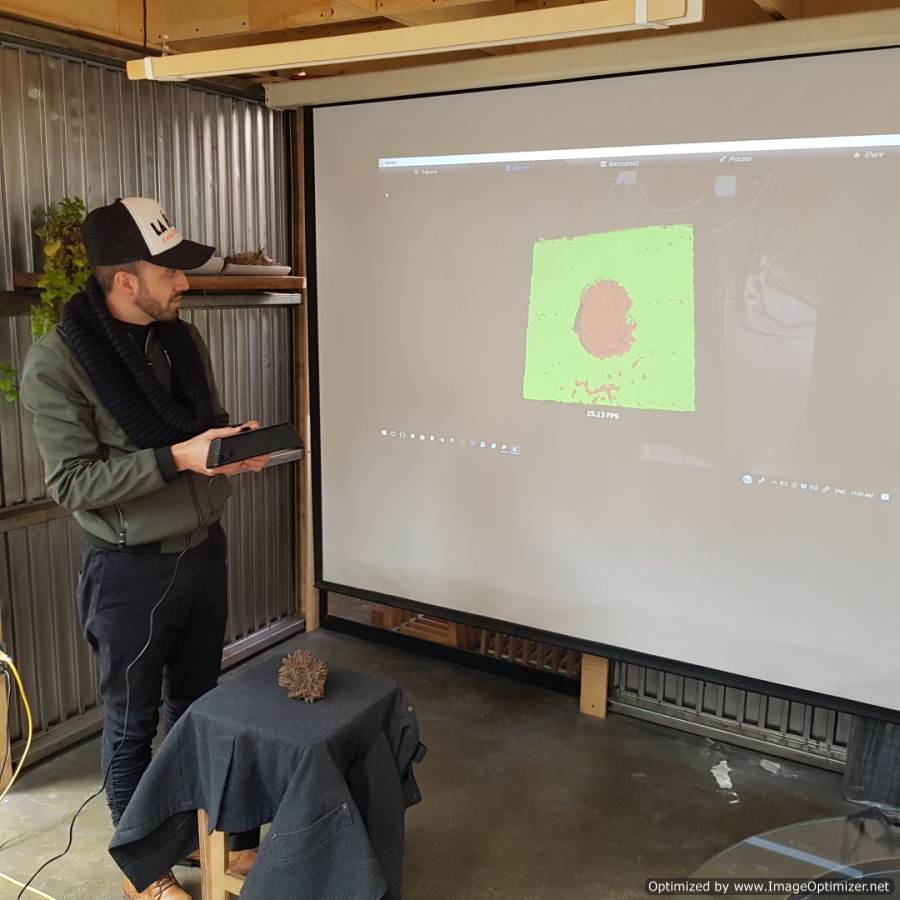
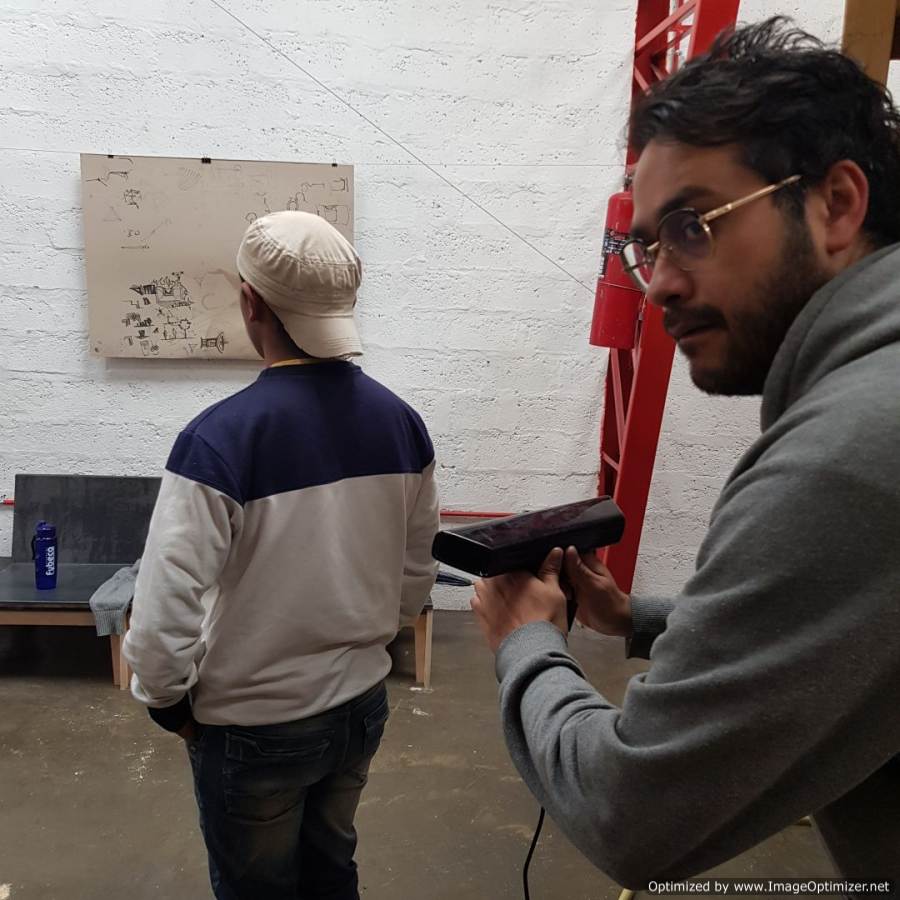
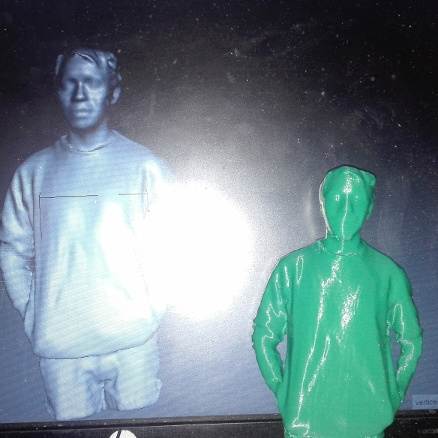
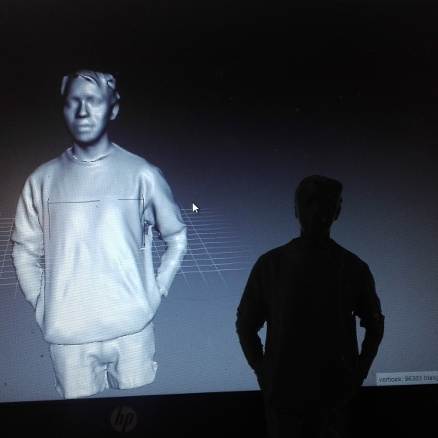
In the third test I scanned, well my colleagues helped me.
First we have to place ourselves at an adequate distance.
Second have a correct light.
Third, with the ready parameters, we begin to turn little by little.
Very important, avoid leaving spaces without scanning, an example the top of the head.
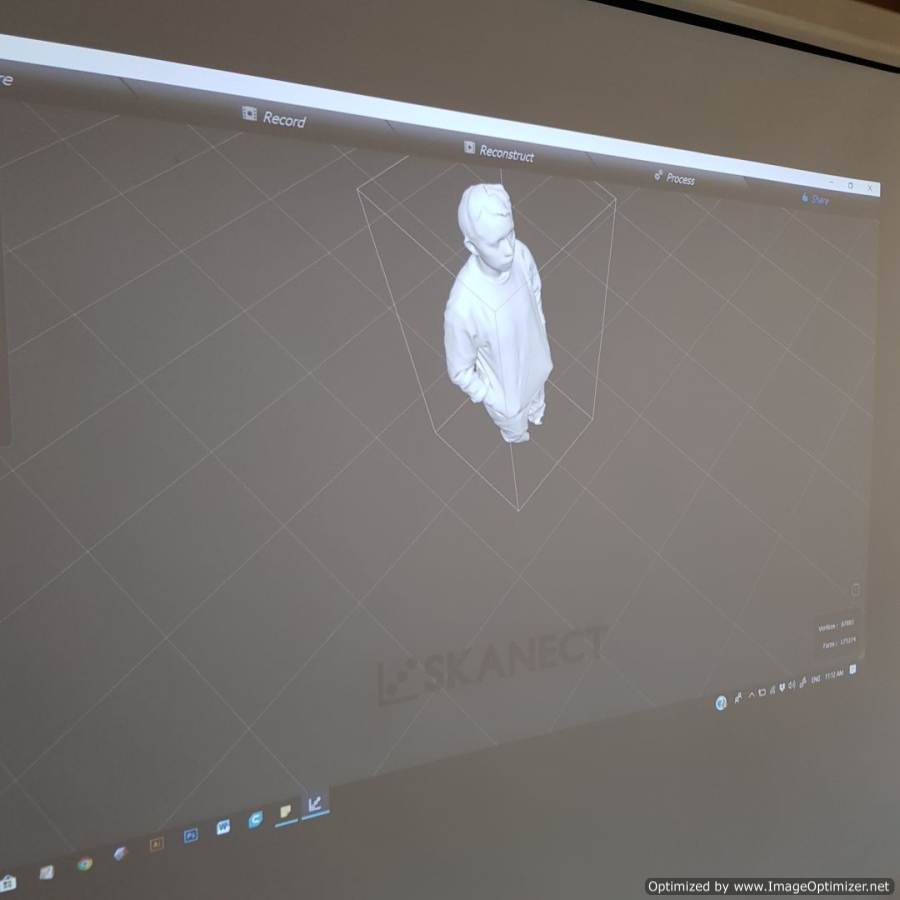
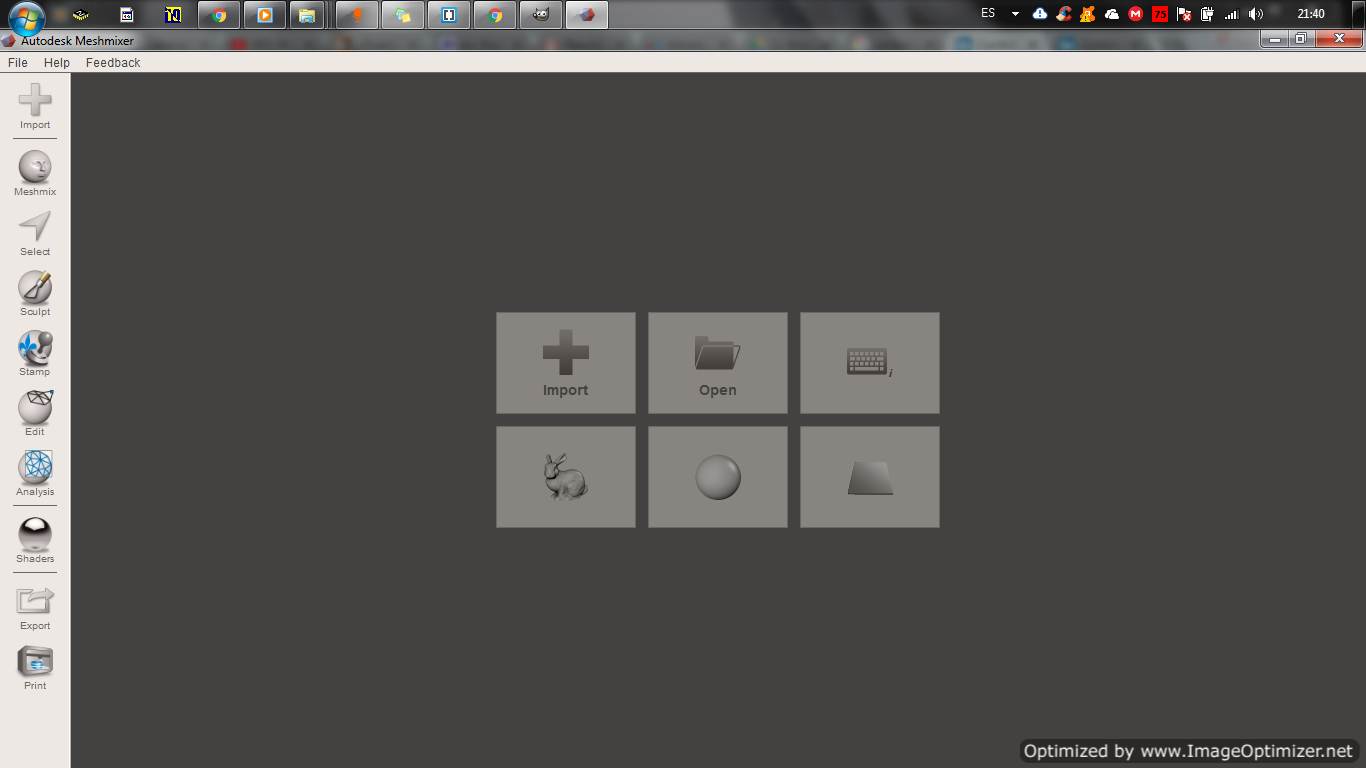
Finally. I edited my figure with Meshmixer, I had to fill in the hollow parts and the parts that were deformer, for that I used the sculpt tool. Then export it in obj format to print it later.
.png)
.png)
.png)
.png)
.png)
I printed the figure that scanned me. In the 3d printer configuration.
In the cura software I need to edit the file, first because the scale is too big.
Second the orientation of the file is correct.
In the cura software I need to edit the file, first because the scale is too big. I changed the value from 100% to 10% to scale it properly. I changed the orientation of the figure to be correct.
.png)
.png)
.png)
.png)
.png)
.png)
.png)
.png)
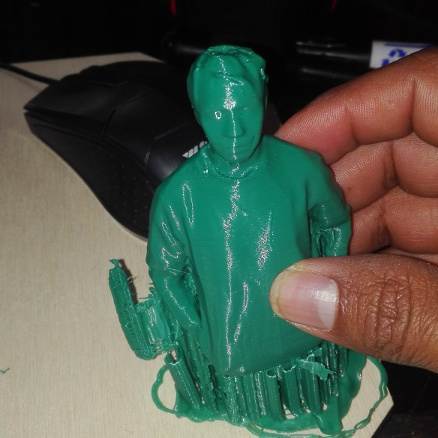
Printed the figure generated after the scanner and after editing.
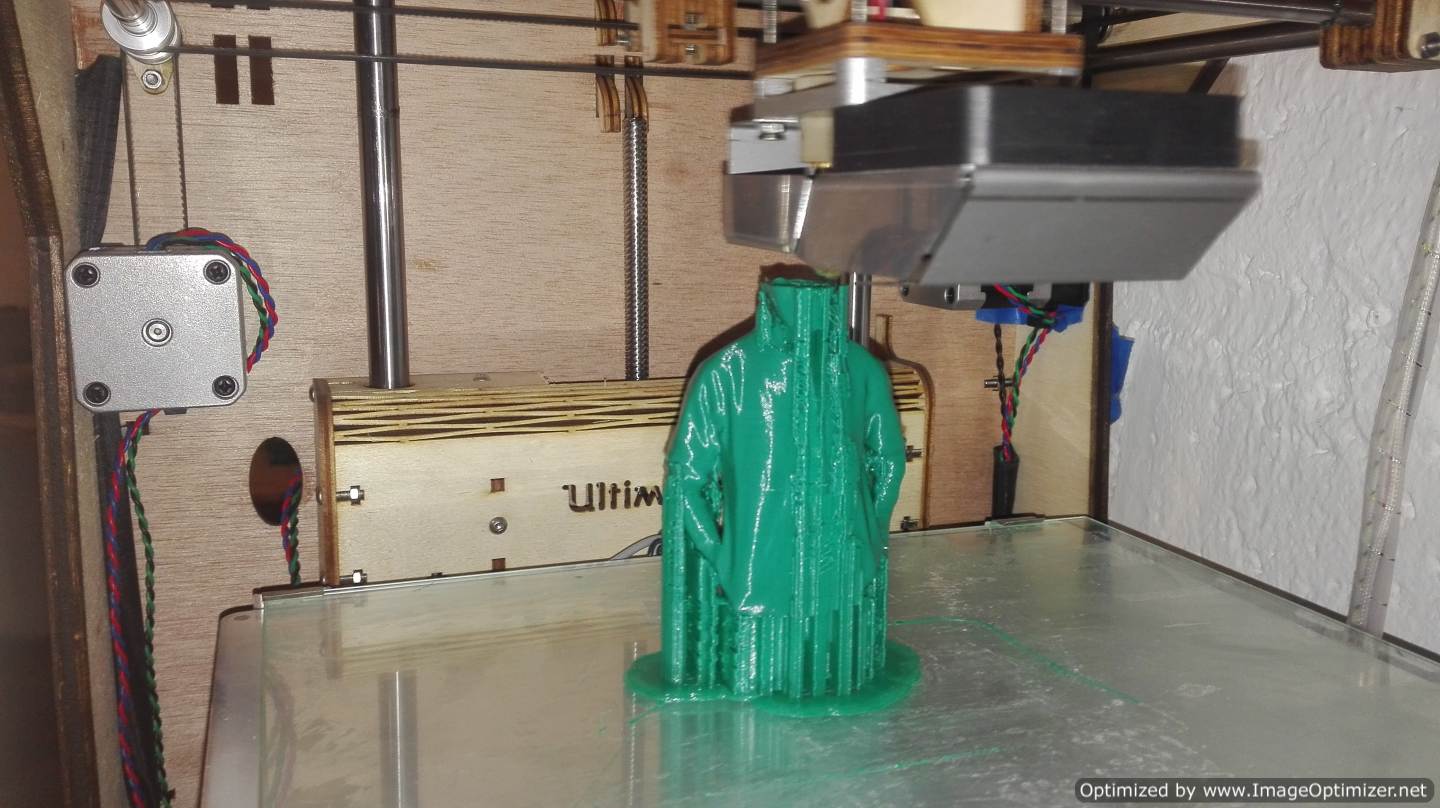
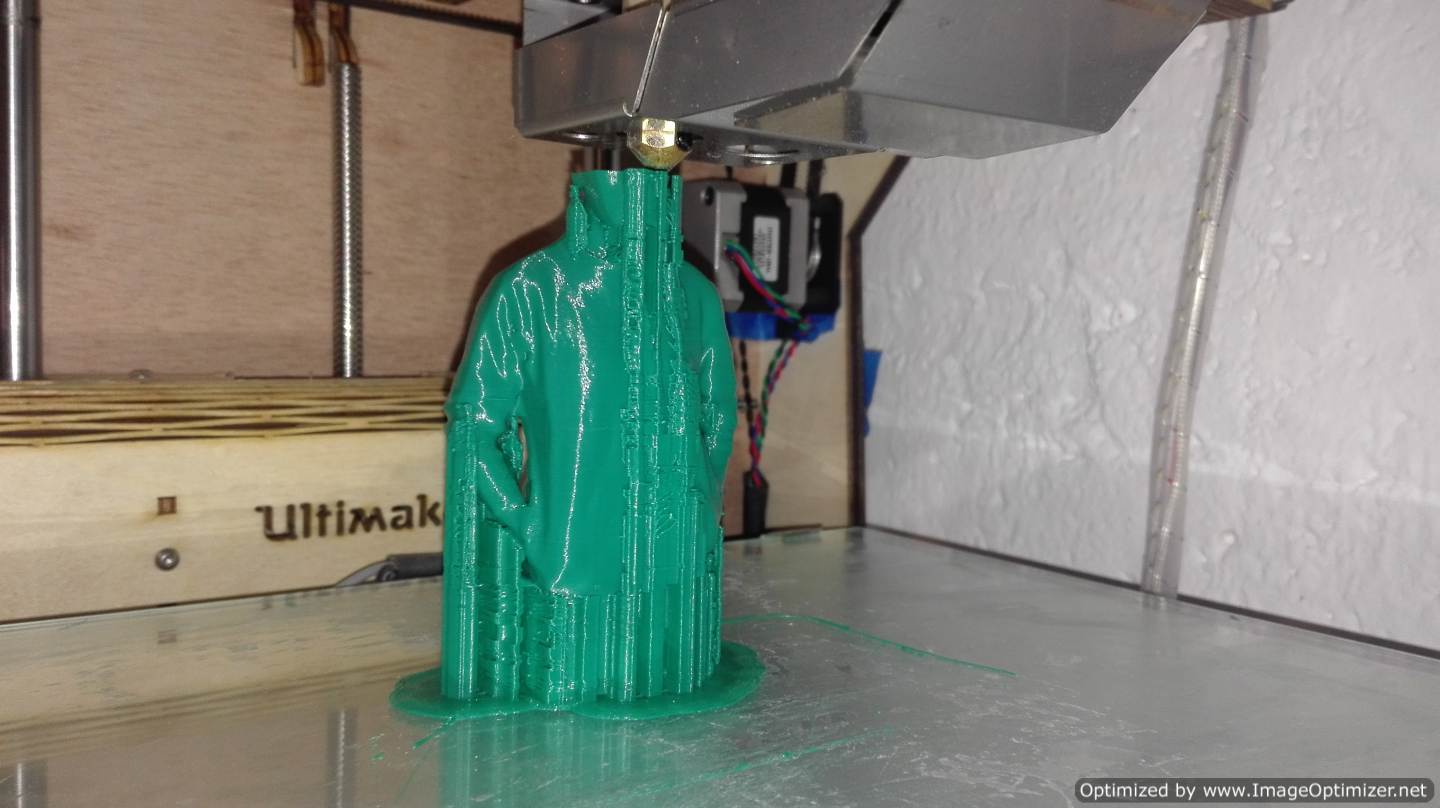
After printing the figure I had to remove the generated supports.
CONCLUSION
The 3D printer opens many doors, can do things and objects that normally a CNC machine would take a long time or even could not do. With 3D printing we can make our equipment have a box that has a better presentation, many of them have already dedicated their lives to 3D printers, such is the case of the use of the printer to make jewelry. Something crazy that occurred to me was that if someone prints a filament to create clothes, I do not know if it exists, but it would be something incredible. The 3D scanner is still another point that should still be explored, but increasingly they are reducing the size of their treatment, there is a variety and printing, but in general we will always use it to obtain data in the form of volume.