MOLDING AND CASTING
This assignment is the most complex for me I have never made molds and the truth I want to learn, I will try to advance part of my final project, and I also want to make a small mold, I want to understand the process the logic, the sequence of the process
Group assignment
Review the safety data sheets for each of your molding and casting materials, then make and compare test casts with each of them
In this week I have to learn something that is very new to my "Make molds".
This class I like because I apply bases of design, mechanized, molds a little of compounds besides it is something that I have never done, maybe with gelatin but this is new.
We start by reviewing the materials that we have the limitations for our design and a lot of rules or standards to create a mold.
Important note: Use of protective gloves, glasses, etc.
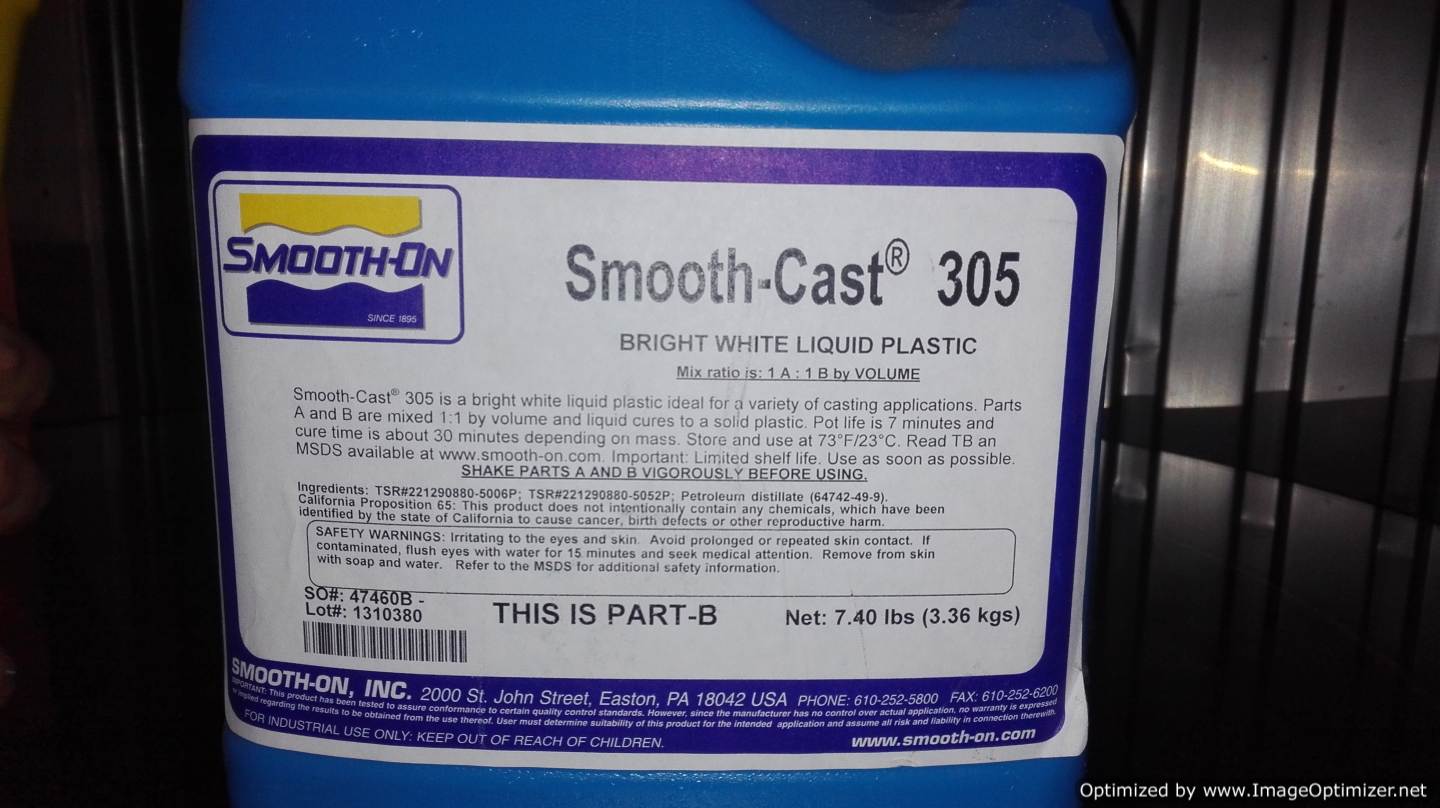
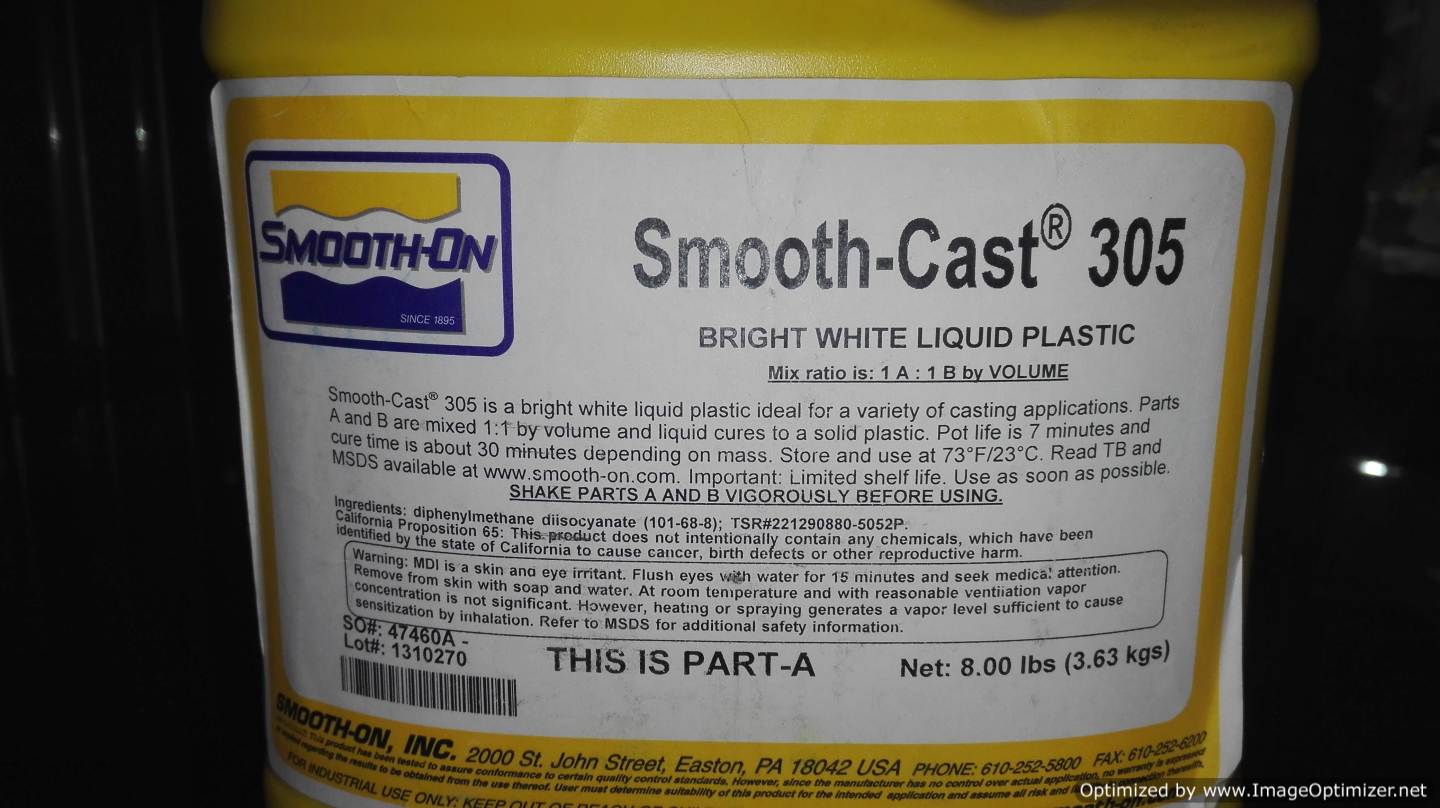

Look for the information needed to work with these materials, I found the worksheets for Smooth and I think for the silicone rubber
Part A and B of the smooth materials need adequate ventilation. If contact was made, wash the part in contact for 15 minutes with water and go immediately to the doctor. Especially these compounds are kept out of reach of children.
When combining the part A with the B can reach high temperatures be very careful, to avoid burns.
Something very important that must be taken into account is that the curing time will depend if the mixture A and B have been correct, as well as that the material is not expired. I believe that over time these materials lose their properties or decrease their effectiveness.
Individual assignment
Design a 3D mold around the stock and tooling that you'll be using,machine it, and use it to cast parts
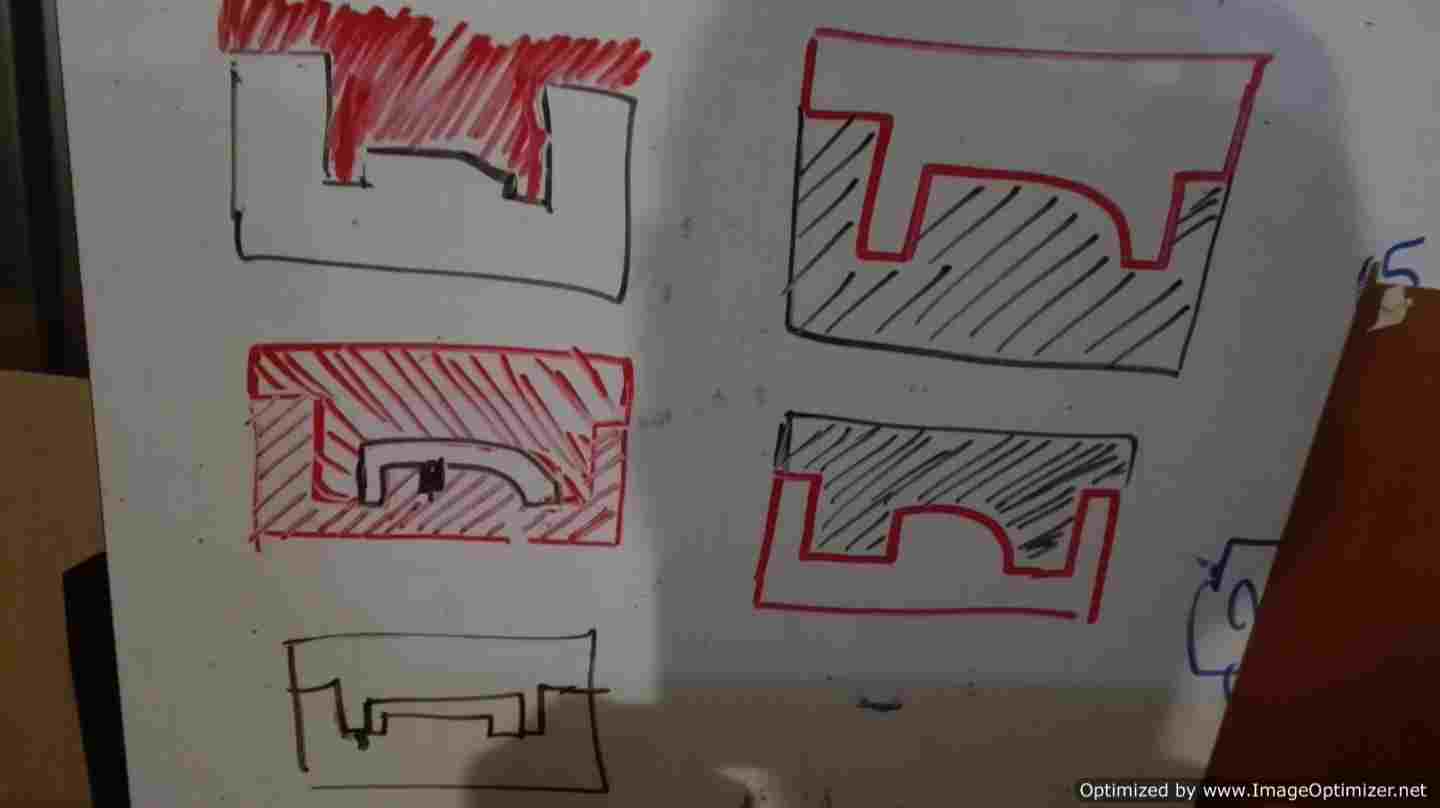
For the practice of the molding and casting week I decided to create a mold and move forward in a part of my final project, using Rhinoceros to design my handle. At this point, I had a lot of time since I did not understand how to make a mold. Our instructor gave us a challenge, which was to make a sketch of the mold. After several hours thinking. I finished
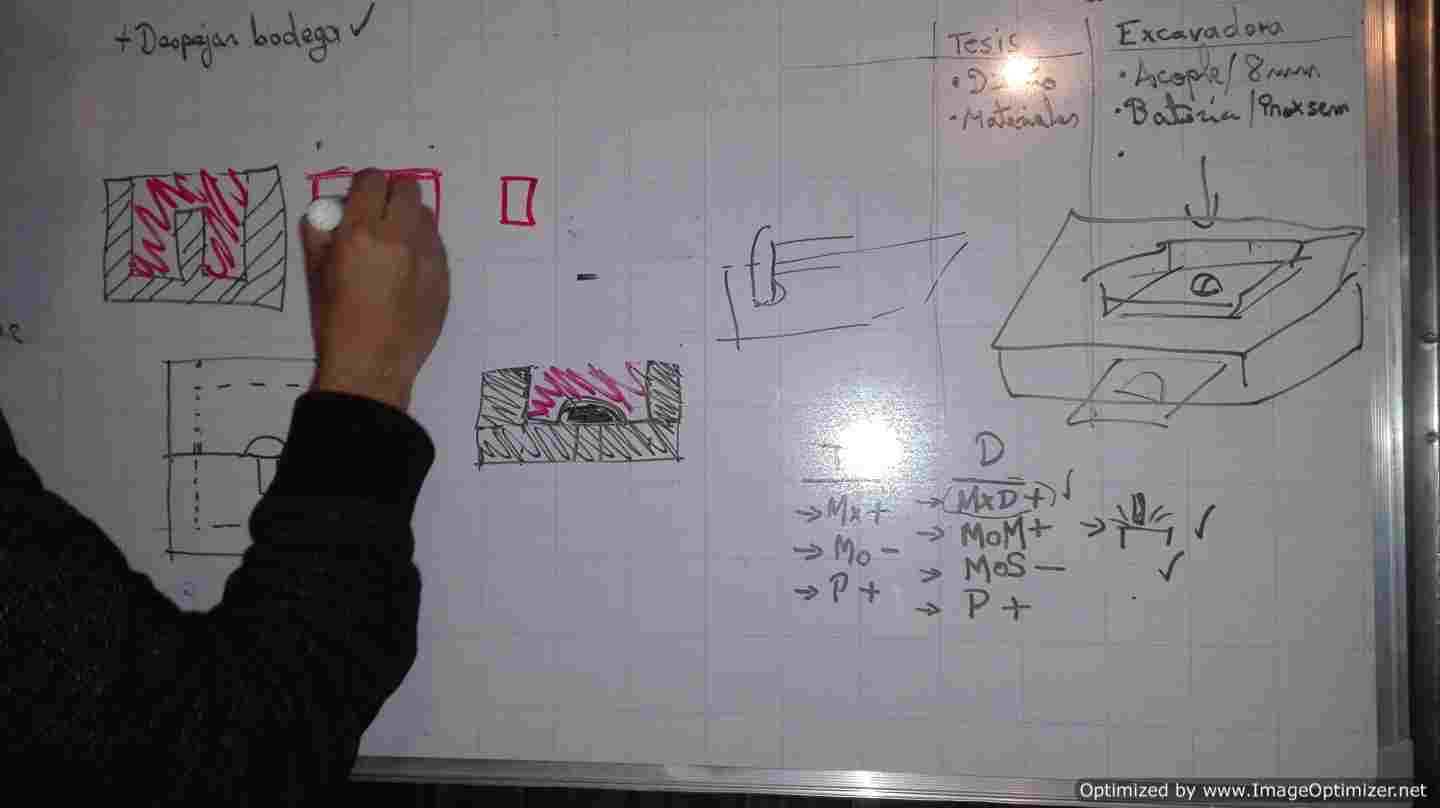
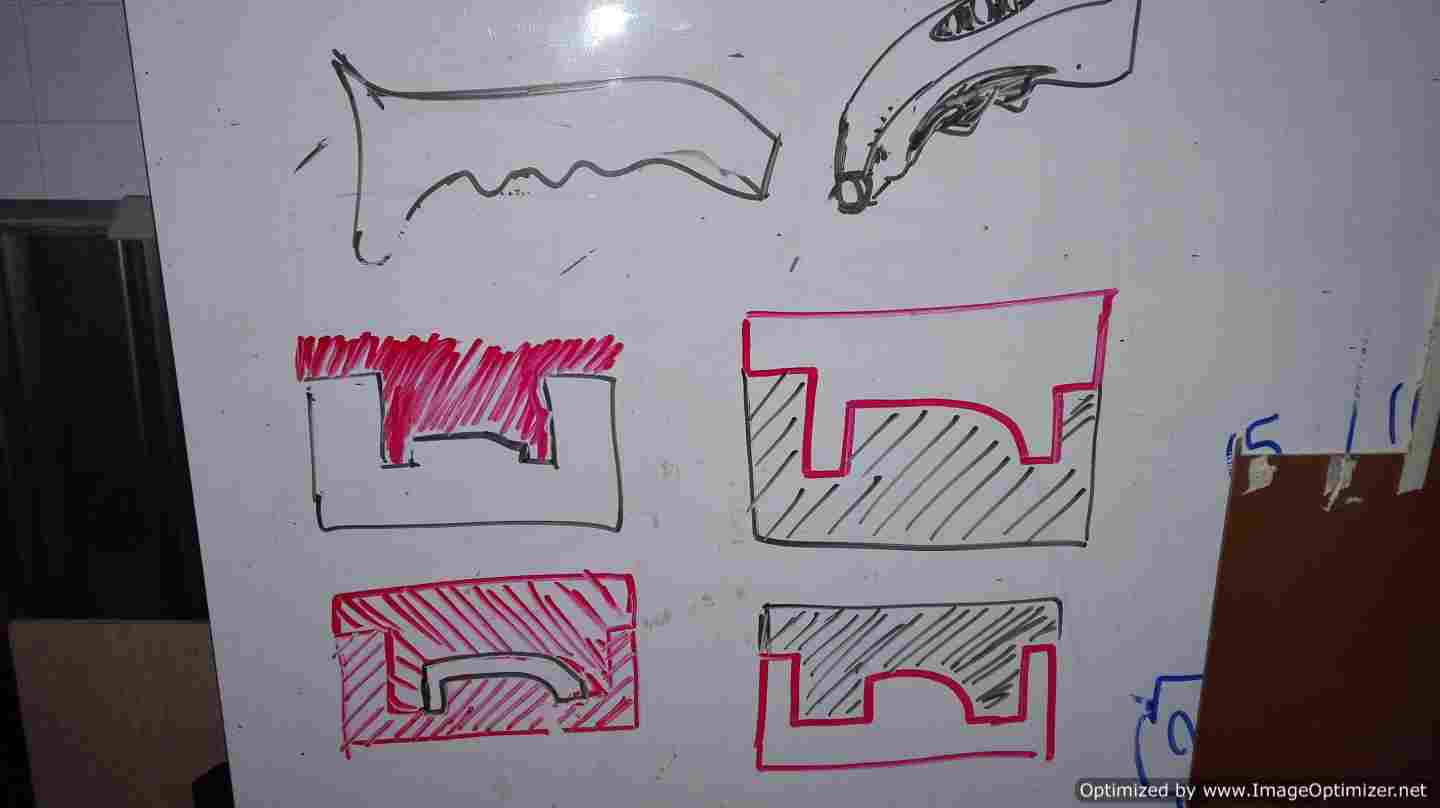
Modeled with Rhinoceros
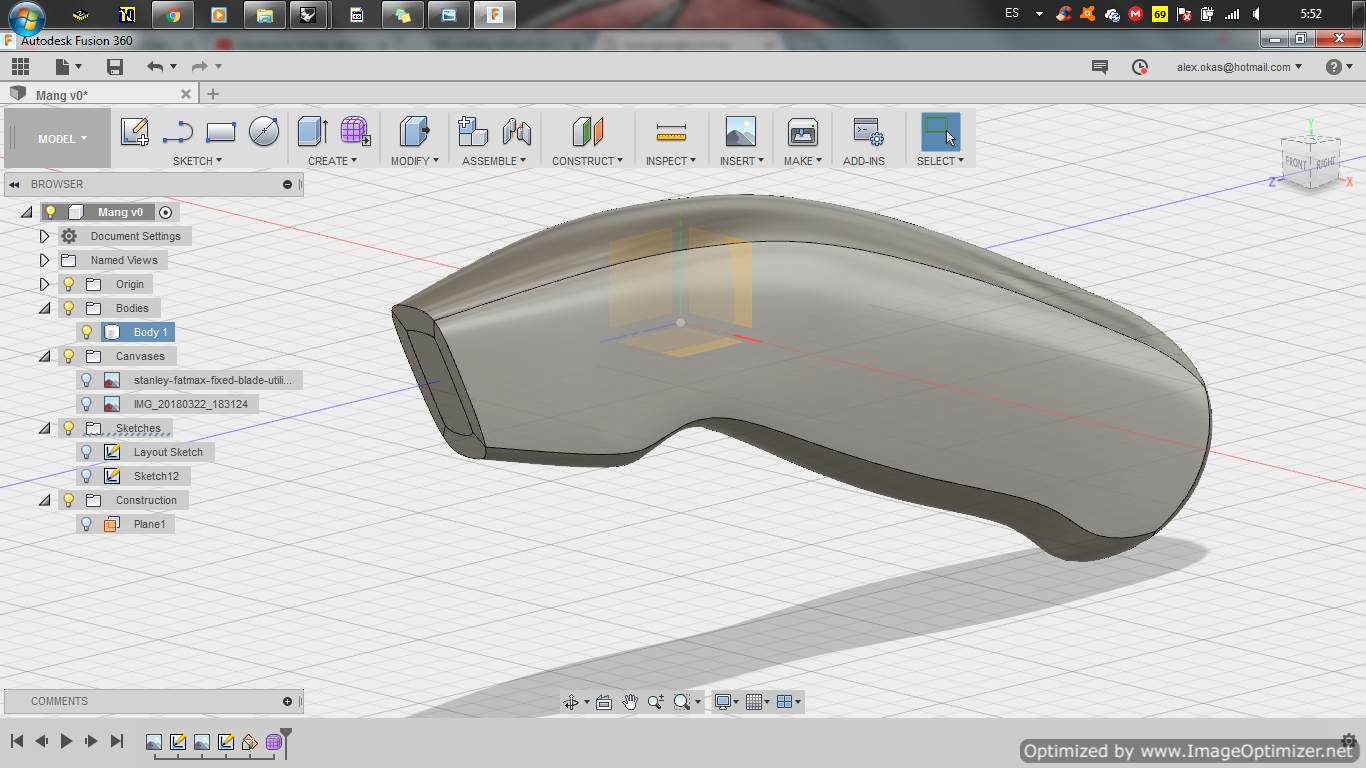
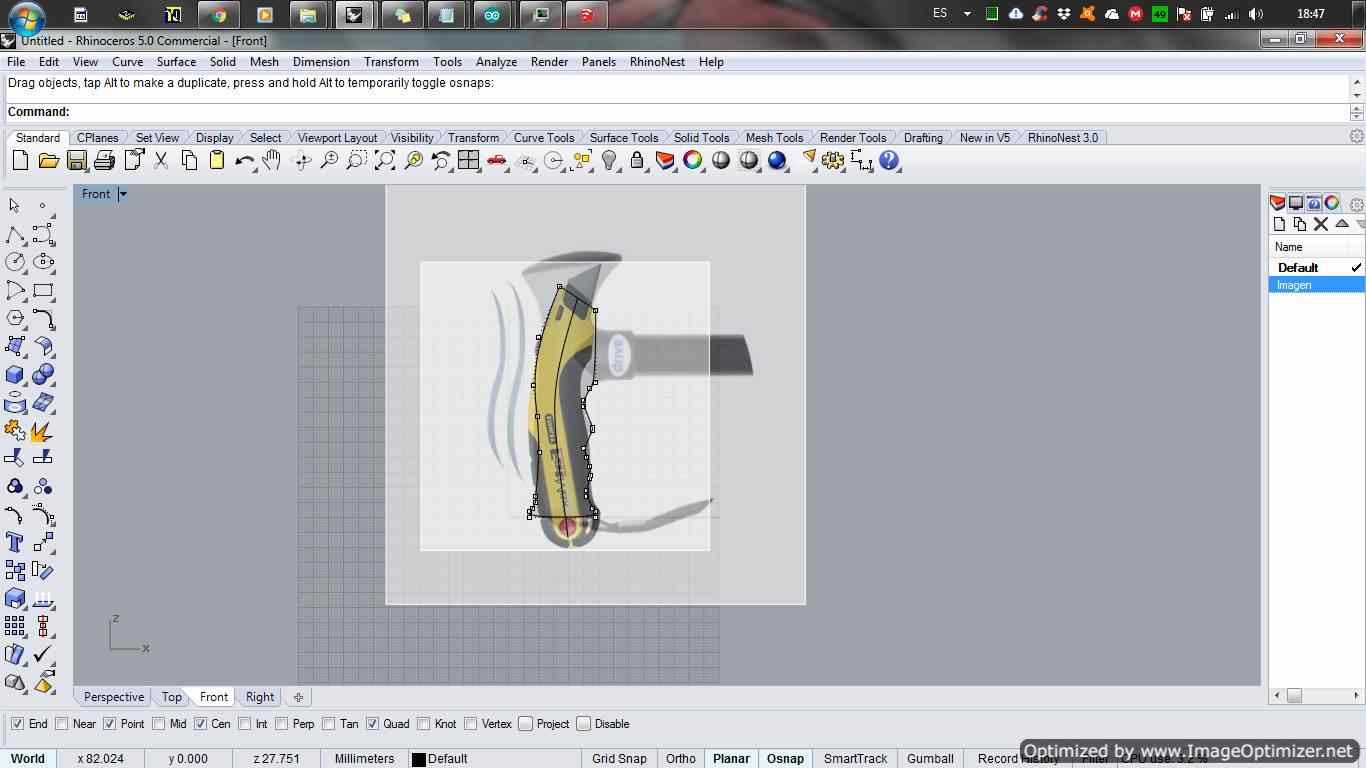
My handle is similar to a cutter so start with a similar image and trace its outline. Although it also starts with fusion, I will leave my captures as a sample, I can not handle fusion very well, Rhino I am trying to master but I still lack.
In fusion I managed to make the figure but not the ready design of the mold, I choose to change the rhino because my computer does not support Fusion, and here I began my process to place several images to try to guide me and make contours and lines in 3D
My learning process was long but I managed to make the figure from surfaces, extrusions, cuts and joints.
.png)
.png)
.png)
.png)
First I followed the outline of the image with a curve, in the command window you can type curve to start.
Then change your view and create a thickness on the handle. For the handle to be symmetrical use the mirror command

With several curved lines try to give volume to my figure, but an effective and faster way was to use sweep 2 rails

After a long process I managed to generate the figure, using offset tools, edge curves.

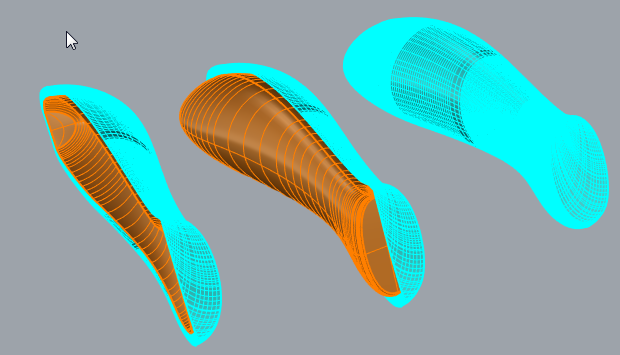
Finally the faces both internal and external are as shown in the figure, also as I need only a short face the figure in the middle
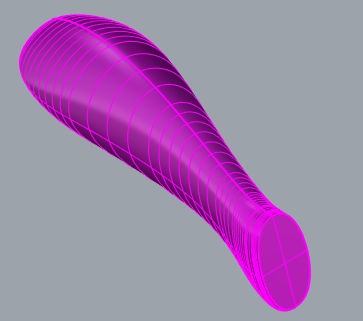

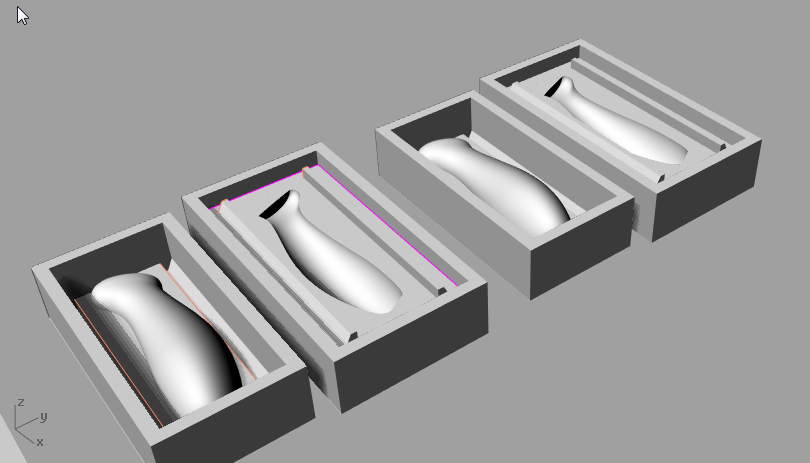
To generate the mold I must start to build under one face and with the tool Boolean difference, at the end the mold is of the following form, I leave it with the flat walls, but I read that it is better to leave the walls inclined.
One advice from my instructor was to leave it without walls and put acrylic sheets, a suggestion was also to take into account the size of the mill cutter.
This is my design for my final project, but for the moment I'm going to try another design, I really like the fablab logo, so I'll start from this point.
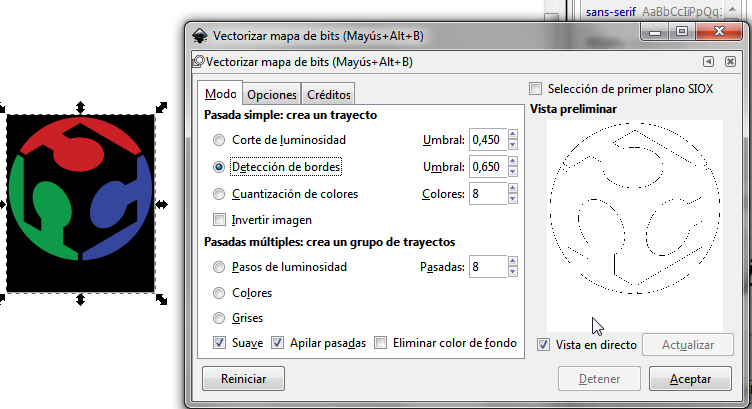
First I select an image from the web and edit it with inkscape.
To edit the image I use the vectorize bitmap tool, with this I get the outline. In the logo there are 3 identical figurines, so with the "draft" tool I eliminate the 2 remaining figures.
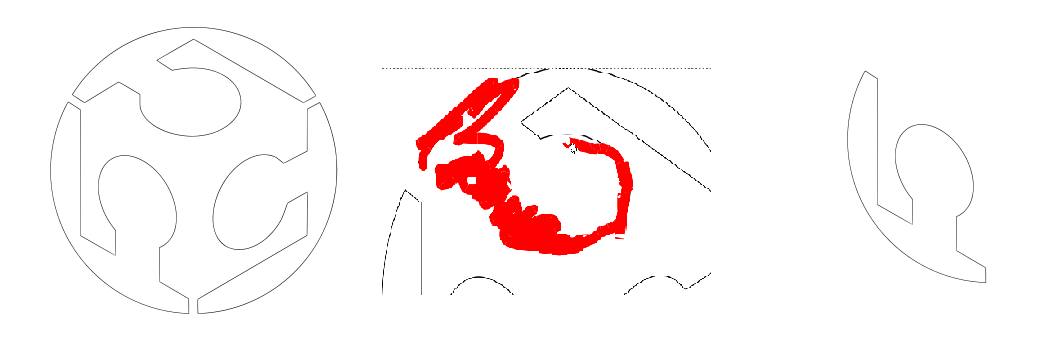 With the figure ready I save the file in .dxf format, so that Rhinoceros can read it.
from Rhinoceros we open the .dxf file, it will show us an import window, accept the default values, the figur will appear in the 4 screens, here is a problem, I generate 2 contour lines, to solve this problem, manually delete the internal line.

In the end I got a very good design I like to present the process.

With the 3d figures ready I export it in STL format, I tried to export it in .OBJ format but the figure was distorted.

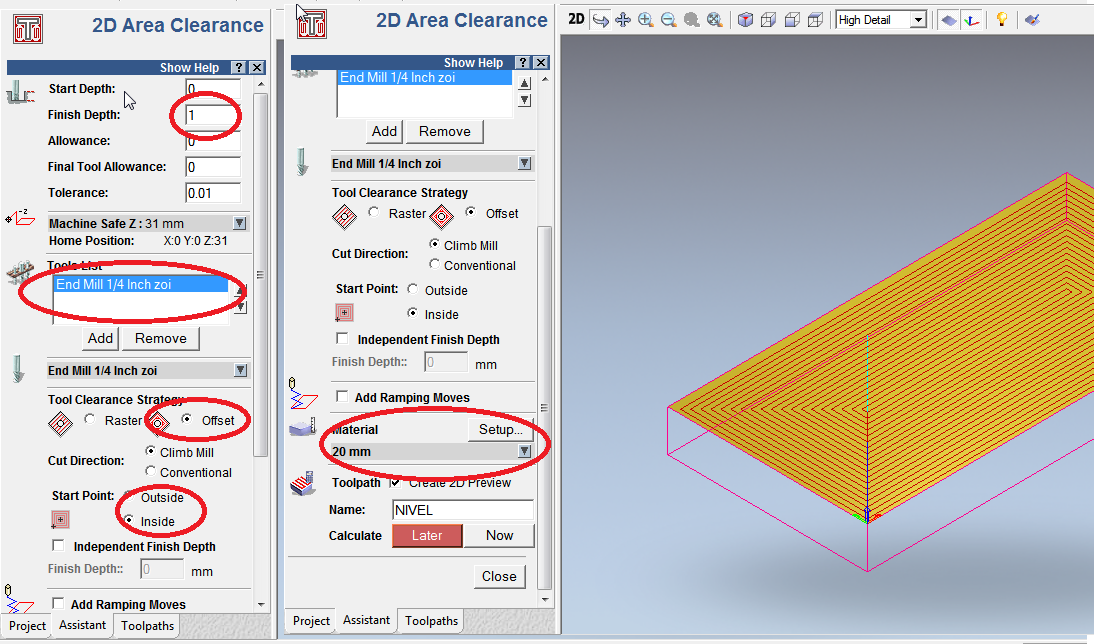
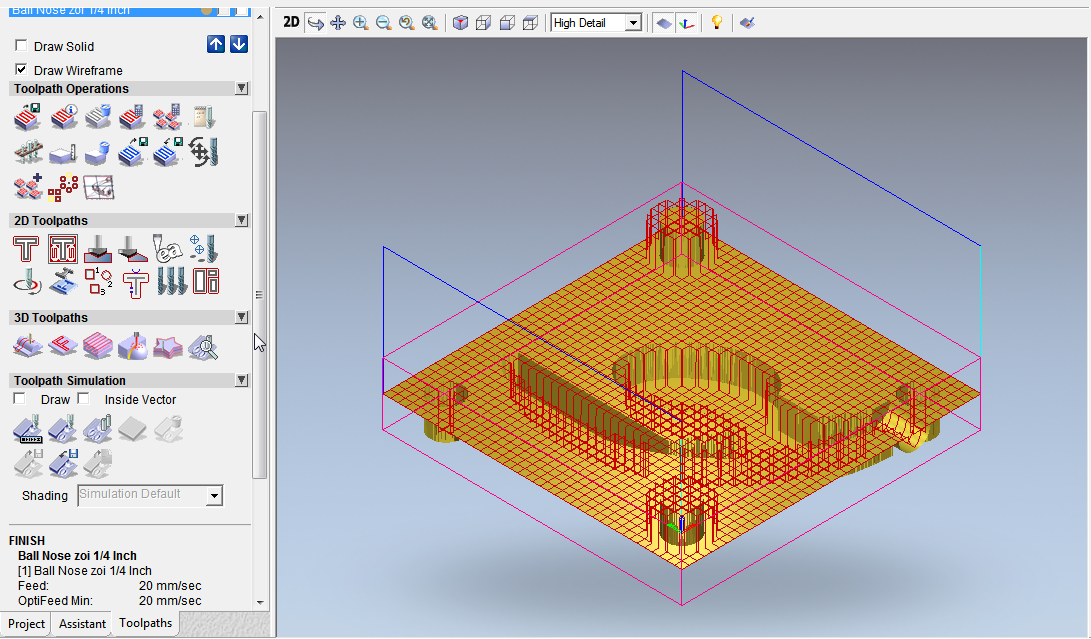
I do a previous leveling, for this I generate a file of roughing of 1 mm of depth, I choose the mill of 1/4 and in the strategy of cleaning I put offset, climb mill and inside, this so that it goes from inside to outside. When I select the material I remember that it has a measurement of 20 mm
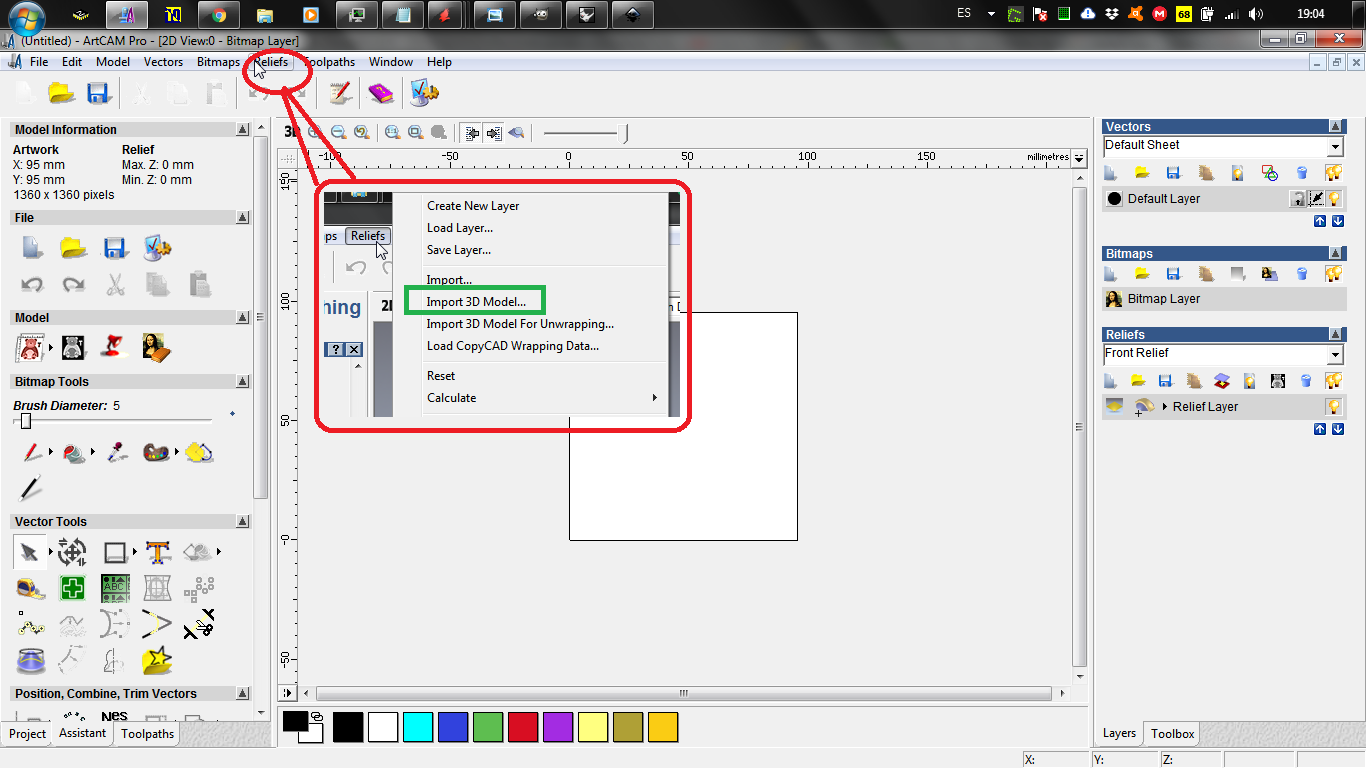
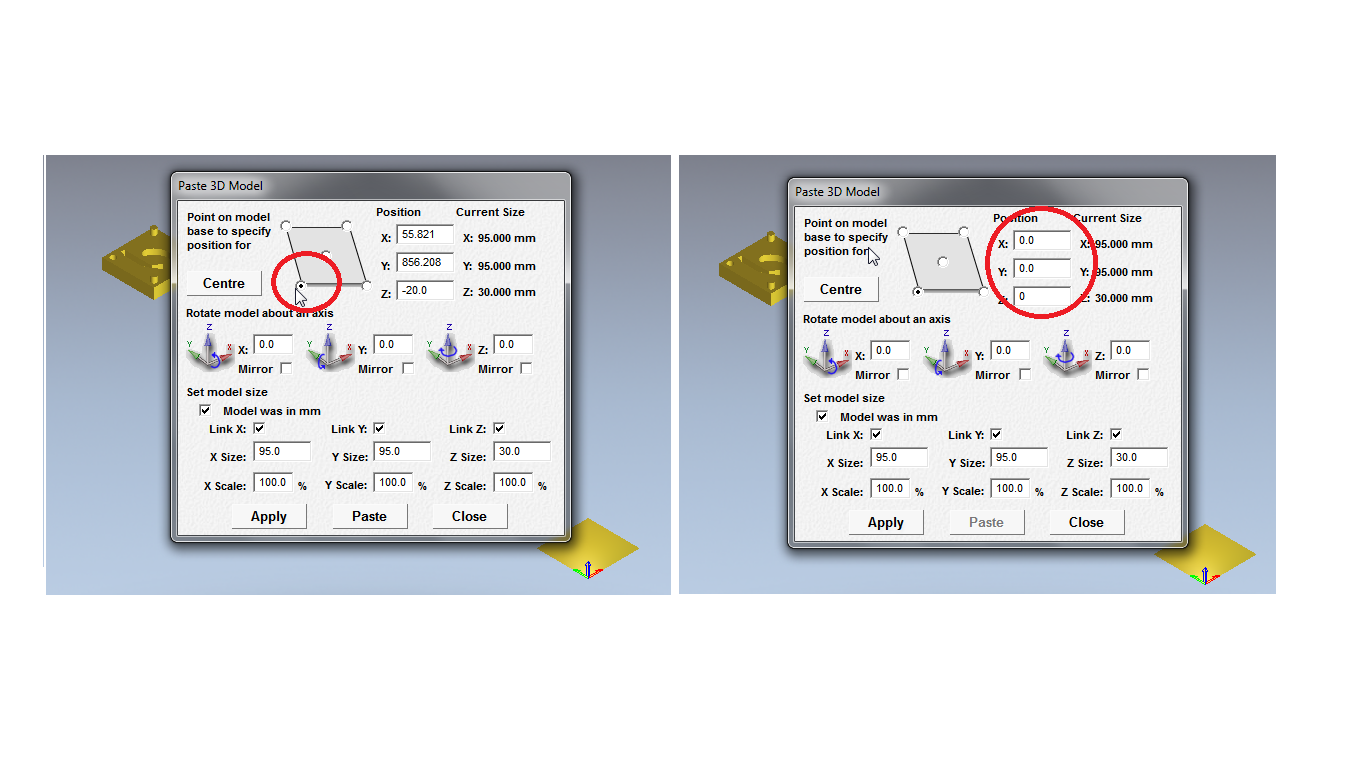
I create a new model and add the dimensions in my case 95 by 95 mm, then in the Reliefs tab I select import 3d model, when doing this step then it shows us the location of our model, here a very important point is to correctly locate the origin. To leave all corrector click on paste and the settings will be ready.
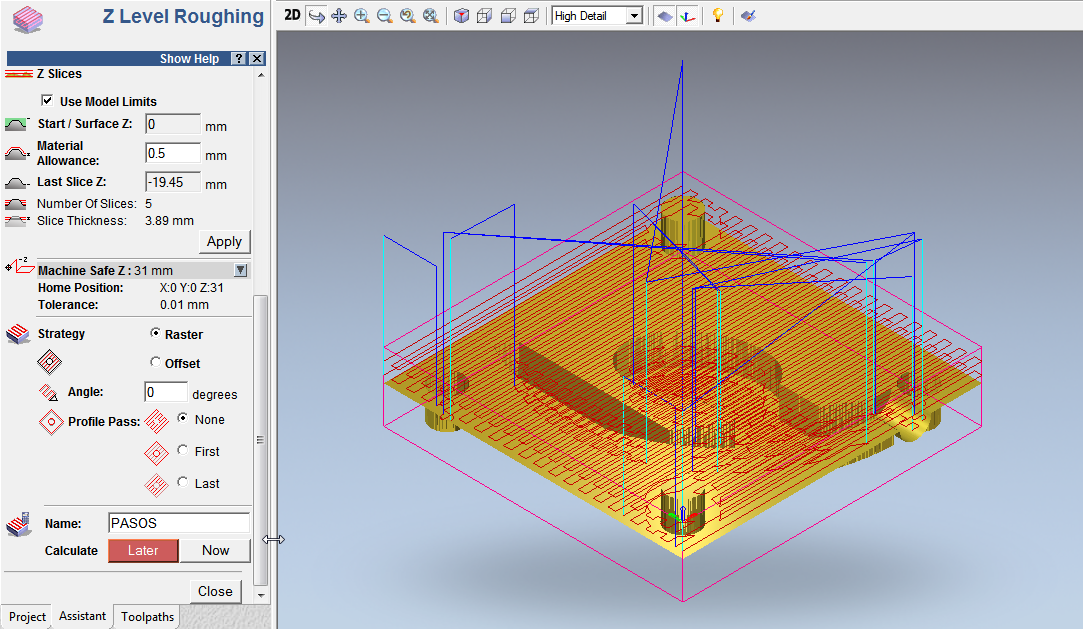
He made the roughing with a large milling cutter to remove the material, we have the 1/4 milling available, in the setup material, I select the zero in the upper point and I set the value of 22 left 2 mm lower offset.

Note very important to verify the safe machine z, do not exceed the maximum milling, in the strategy I leave it by default but there are more options, finally we put a name of the work, and the roughing is ready.
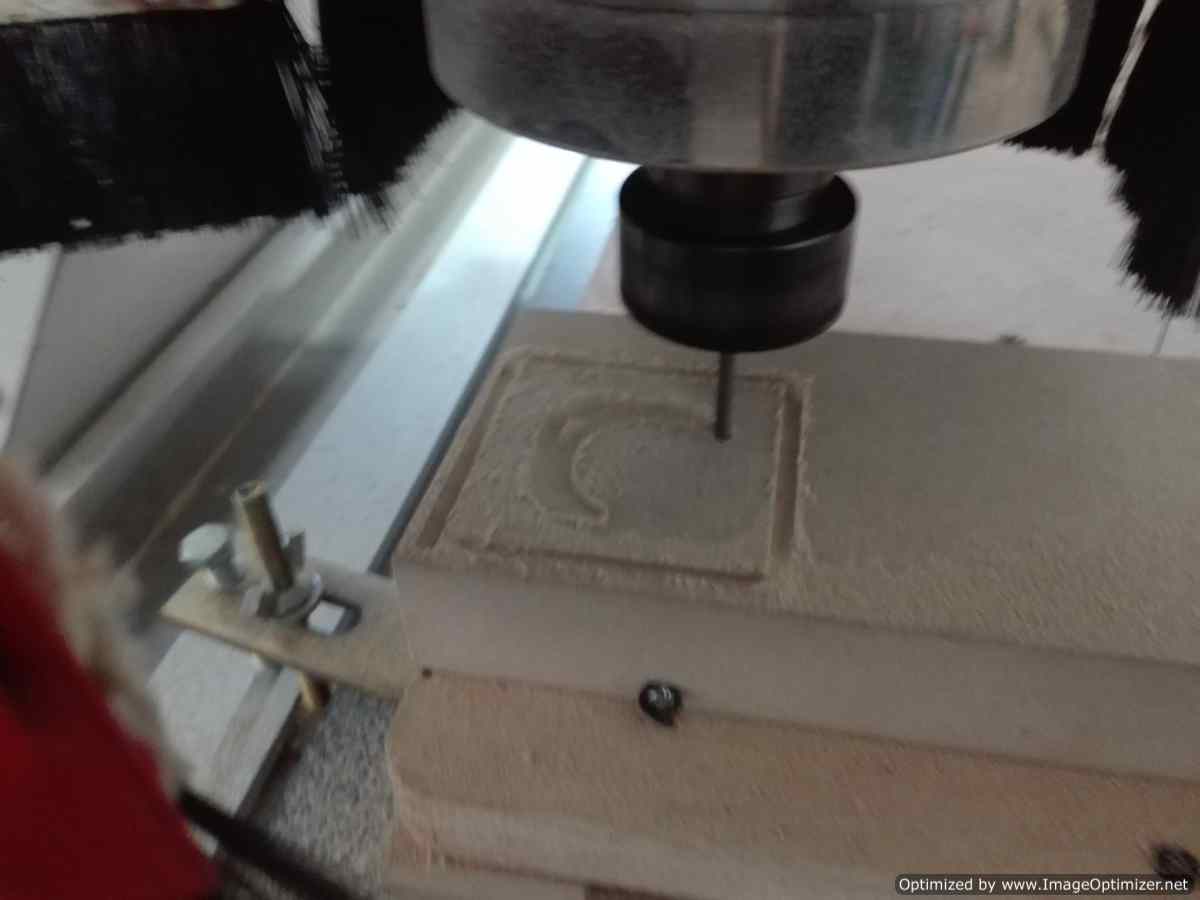
For the final finish in artcam he calls it Machine Relief, this time we use a thinner milling 5/32, careful to break the milling, again set the material, here a very important point I did not know how to return the zero, with the previous roughing my change reference, also change milling was something complex since I also eliminate some support that were my guide, My instructor recommended me to change the speed of displacement. The work is completely in MDF

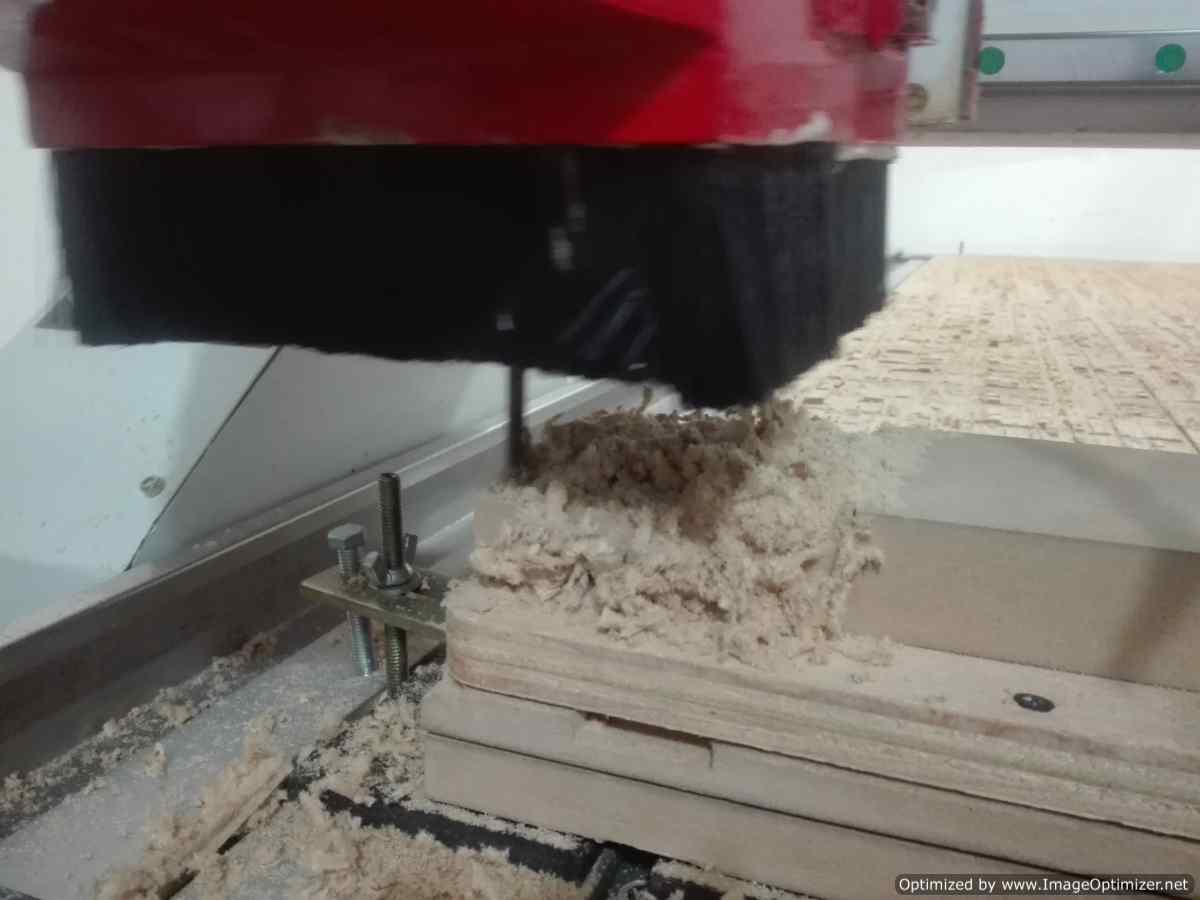
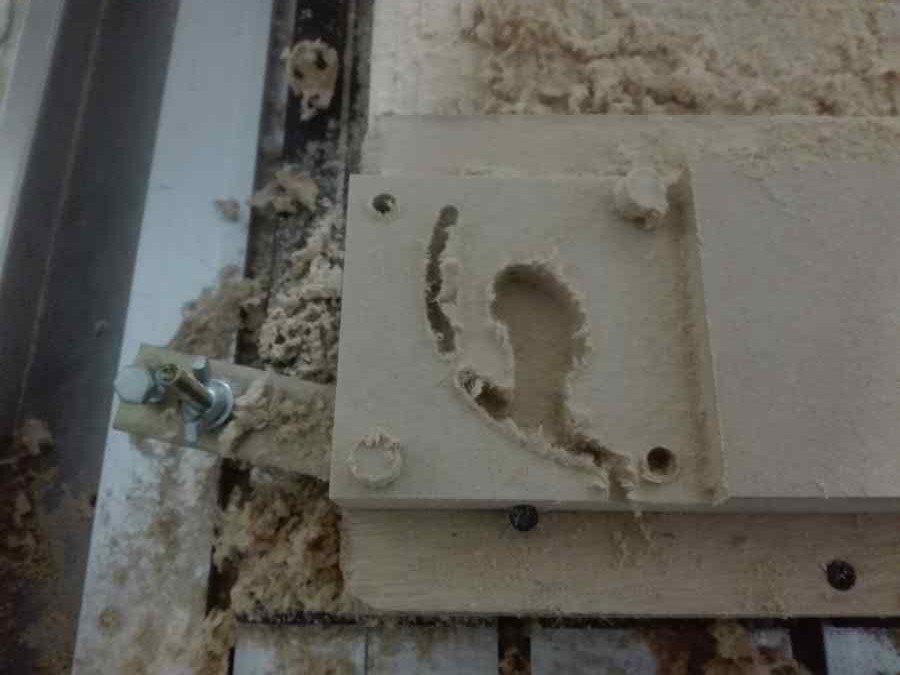

When finishing this process I realized that the mold was wrong, I wanted to generate the rubber mold, the way I did was not the correct one. Well I got down to work and start again with the design, the important thing of the whole process, I can now make the same process for this new design. With the same configurations in the roughing and relief.

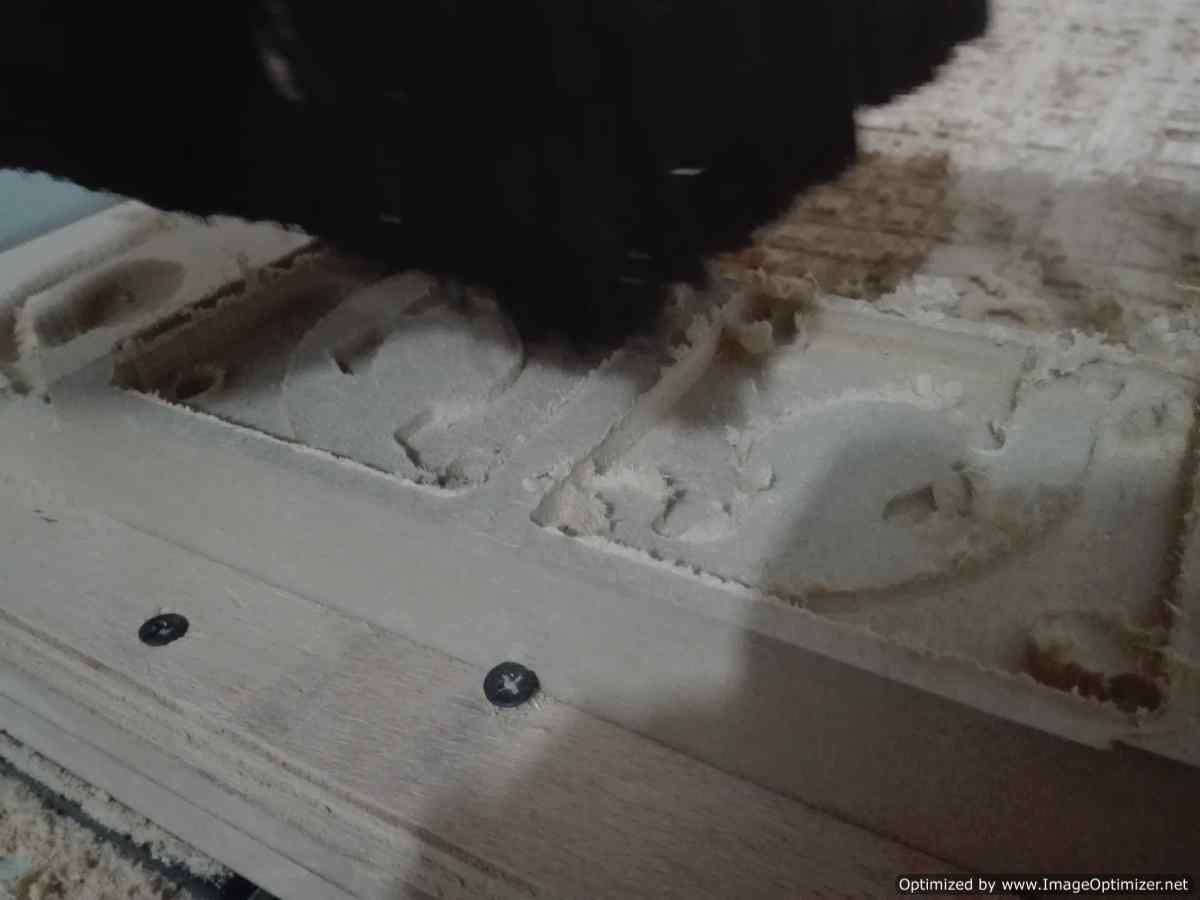
First the leveling to eliminate the error of the machine. Second the roughing with the mill of 1/4, with this step I generate the first face and the most important one. The third is the time to finish with the mill of 5/32, with this mill the object has the ideal shape.
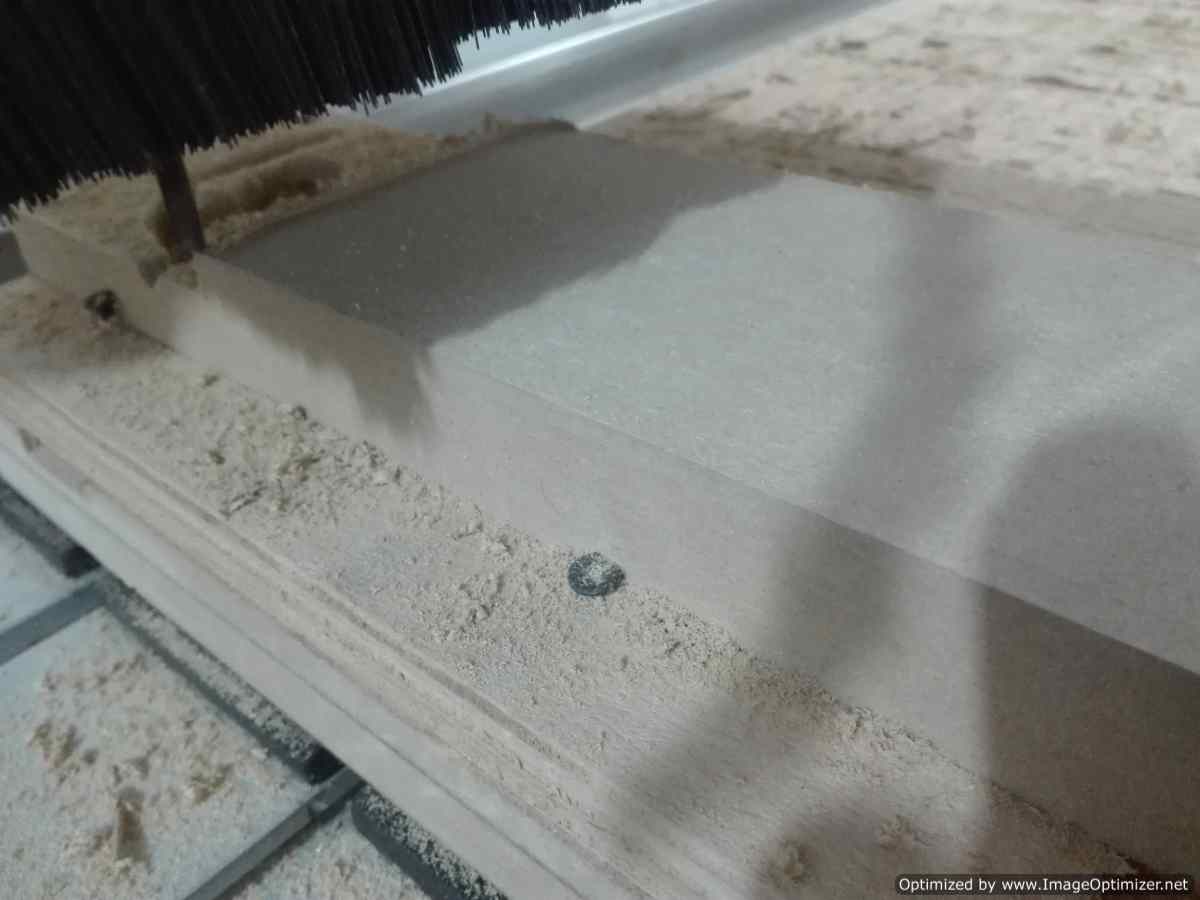
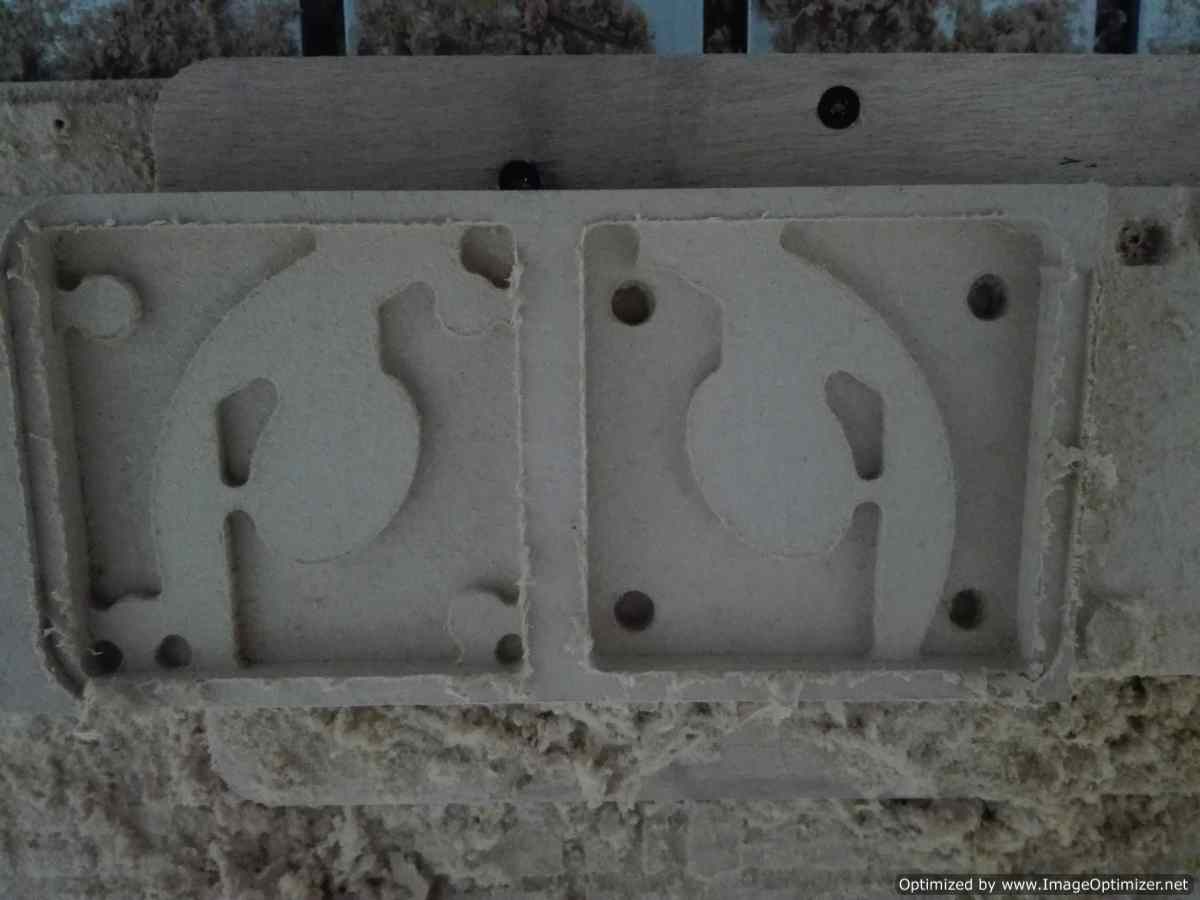
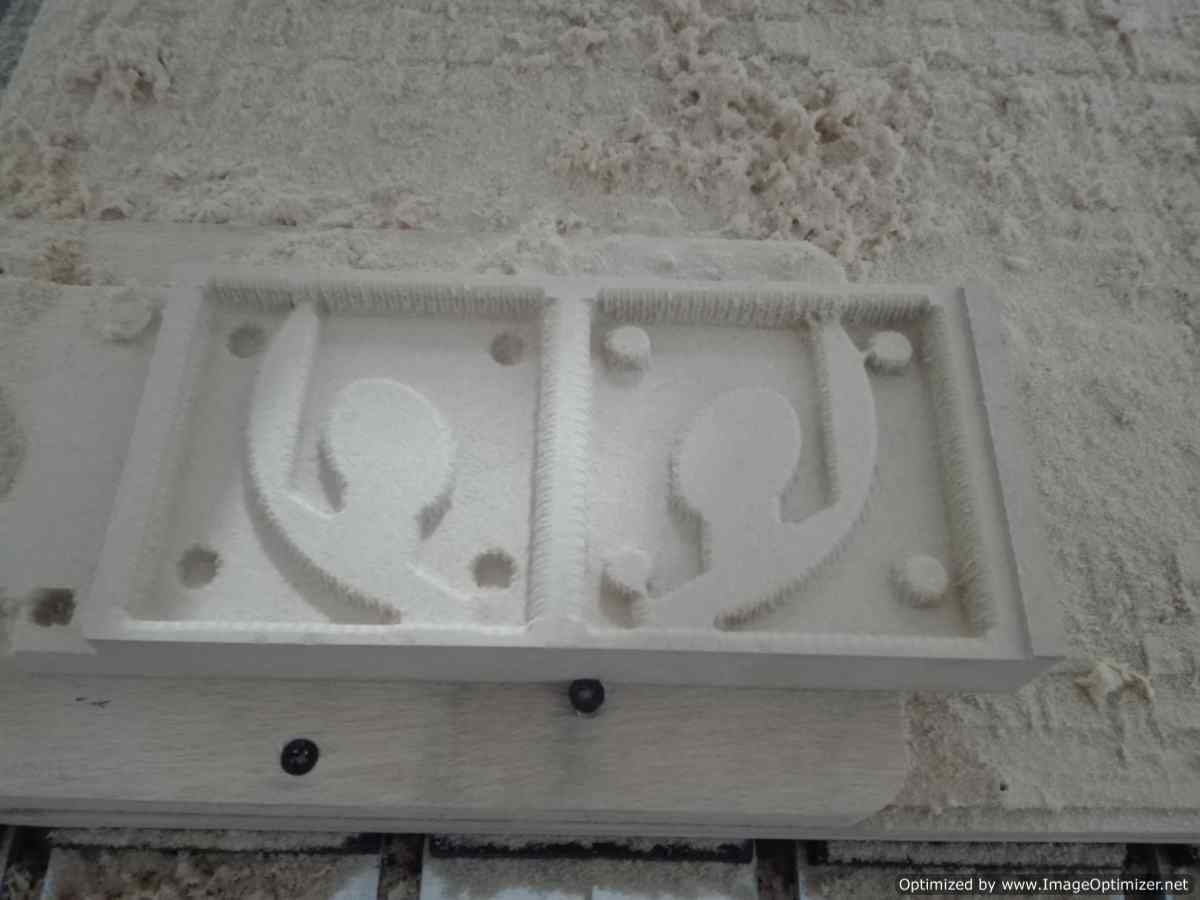
The final mold

The next step is to start with the rubber and silicon mixture. At this point, I do not understand, what is the most appropriate method to combine these products?
Ideal is to combine 1 tank of silicone rubber with the additive, one by one, but if one decides to combine a different volume, the concept is very difficult, for me it is difficult.
My mixing technique is not good, i use a one wood the idea is don't create bubbles, the recommendation of my instructor is move the mixing in form of eight.
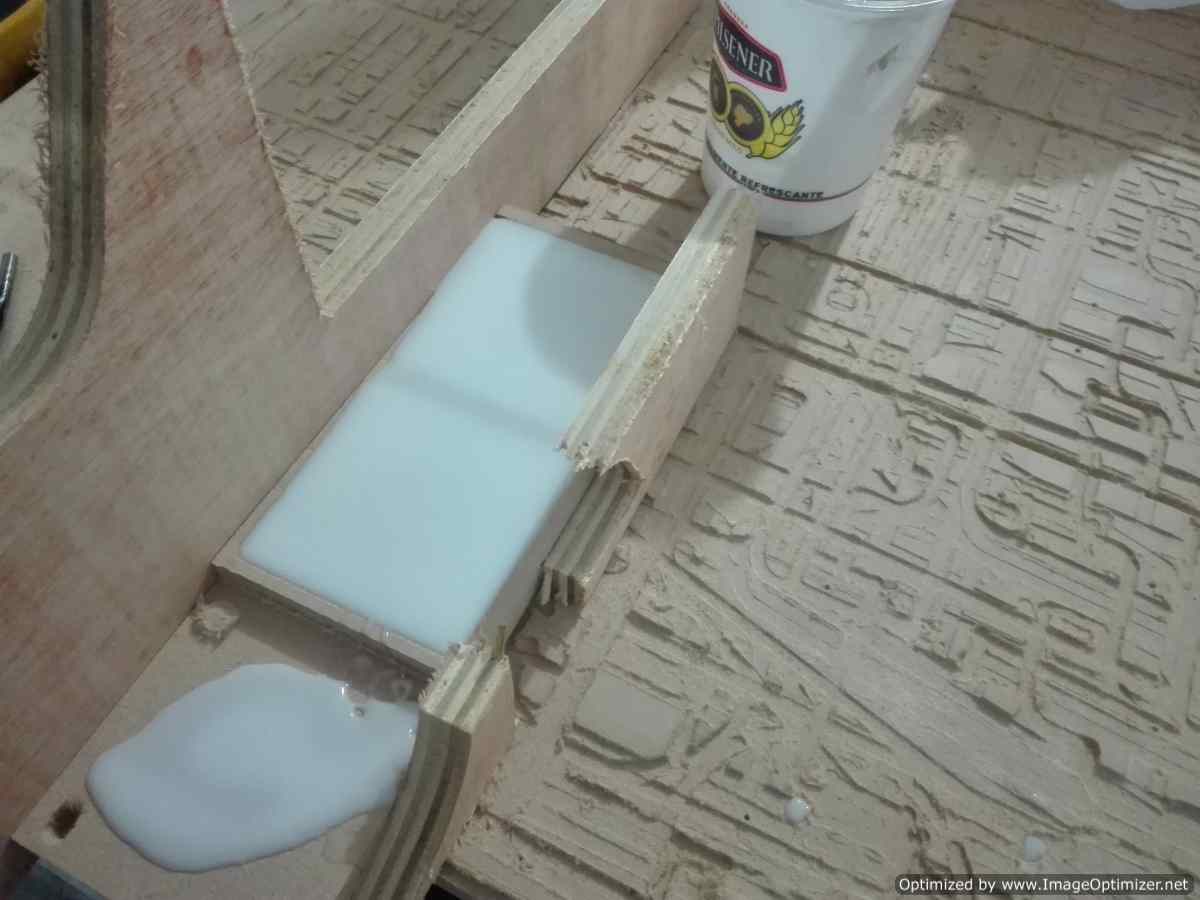
My mixing technique is not good, i use a one wood the idea is don't create bubbles, the recommendation of my instructor is move the mixing in form of eight. To finish adding the mixture in the mold, try covering all the parts. I added the mixture to the mold afterwards to do this. My instructor asked a question. Have you added the release agent? my answer "No", I forgot it, but I did not know it. I hope my effort works .
After 24 hours I have a problem with the mixture, I used very little catalyst, even the mixture is fresh. I decide to continue with a new smaller design; but with this finish the molding. I make a new smaller design since the previous one stayed with the silicone rubber and as it is without demoulding, because it stuck very strong.

Again I did the milling and finishing processes this time I did it faster, with a small difference, when I made the finish I use a round head milling cutter.


This time I did the curing process but not with the release agent. Use petroleum jelly and cover the entire mold, avoiding excess of petroleum jelly. In my first design I did not do this process, that is why my mold is damaged, I make the mixture again, this time a friend helped me, he is the expert in this type of projects.


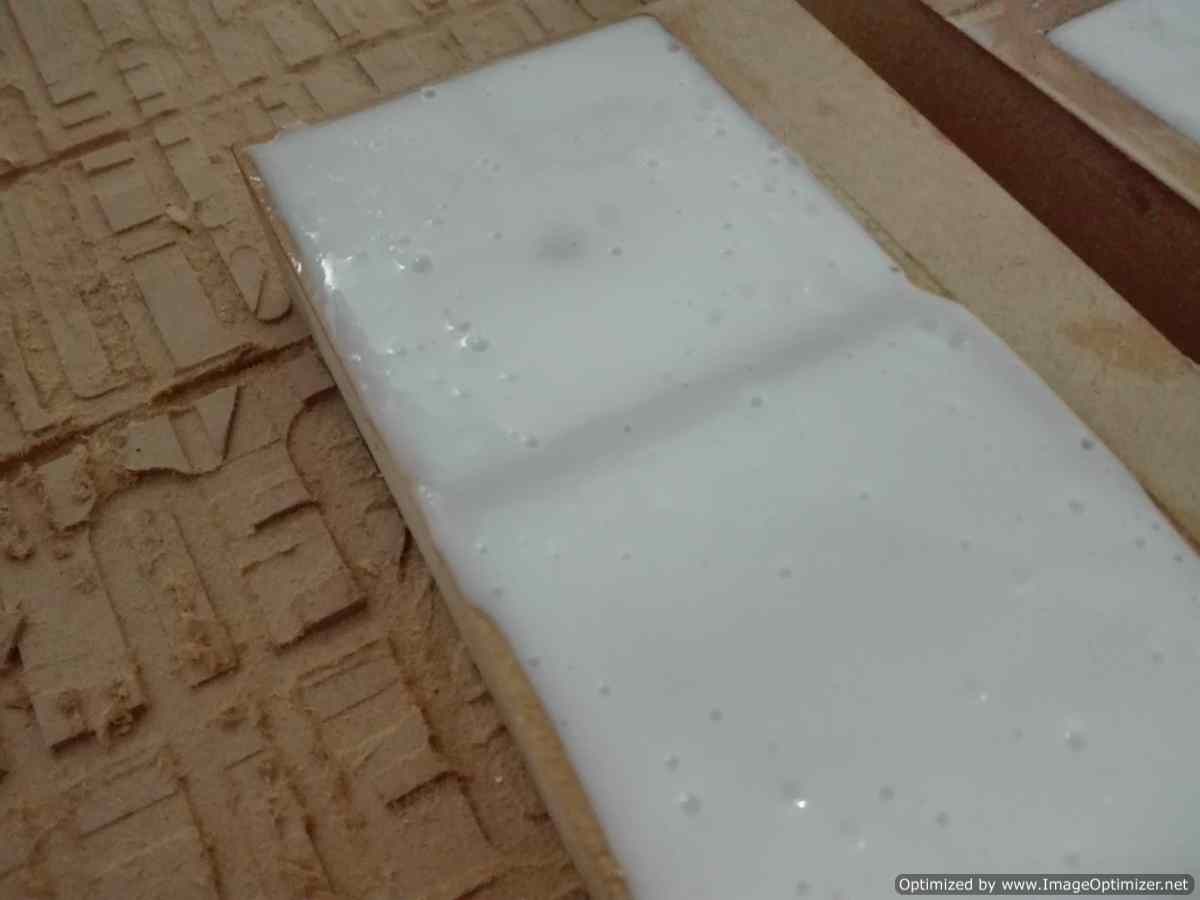
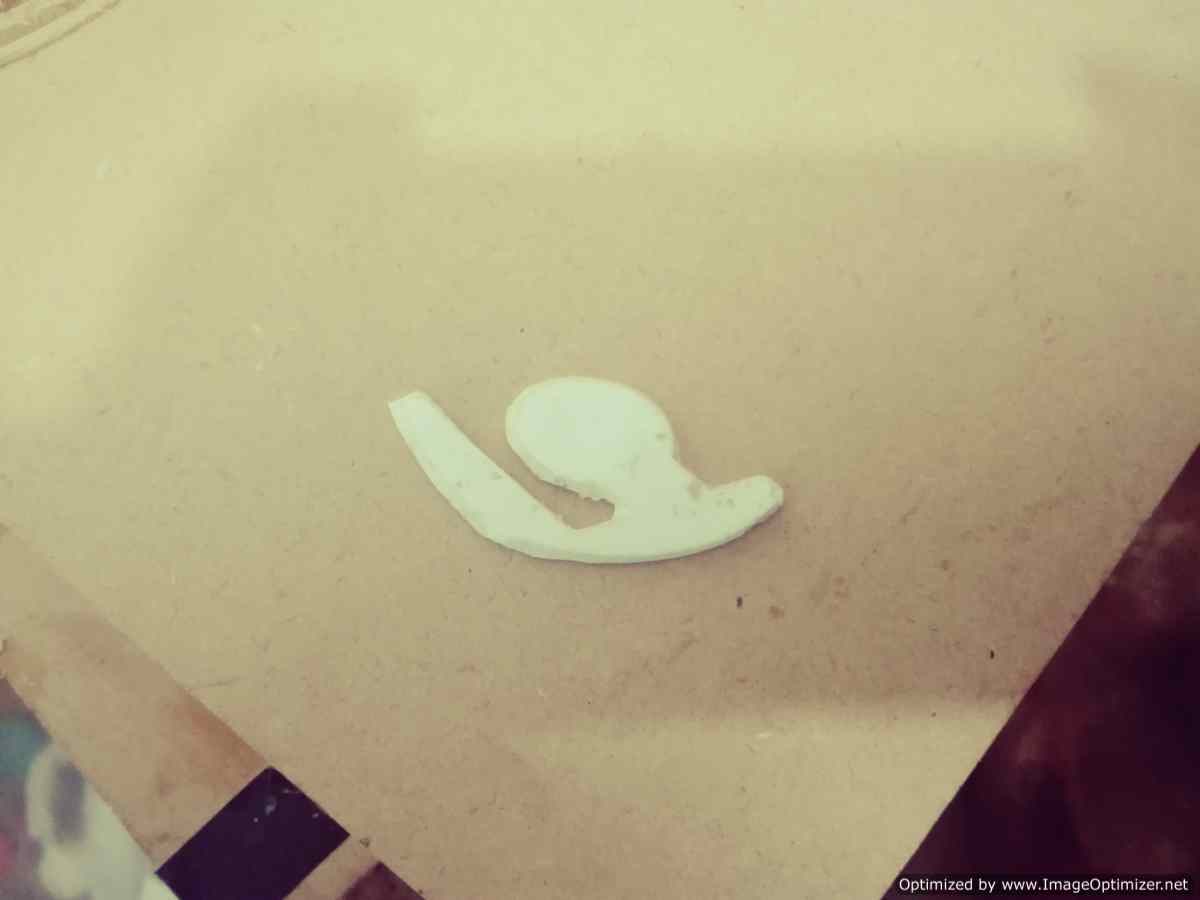
At the time of mixing, I need to eliminate as many bubbles, after mixing take the compound and add it to the mold, with a few hits we try to deleted the most of bubble. It's great, I have my first silicone rubber mold, now i need created the final piece, to this step i use the the smooth .cast, the mixing is one by one of the part A and B,. I use masking tape to close my mold, I remember leaving space to add the new material.
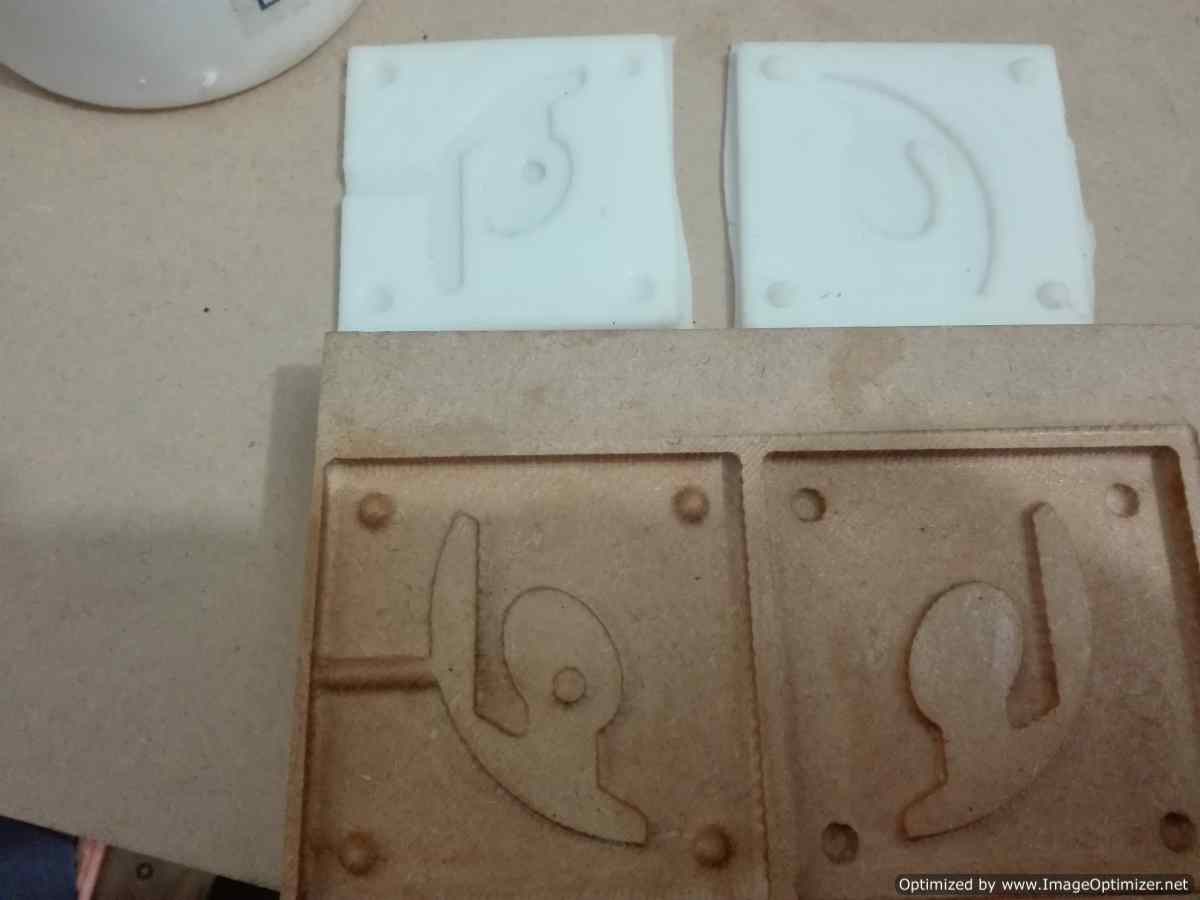
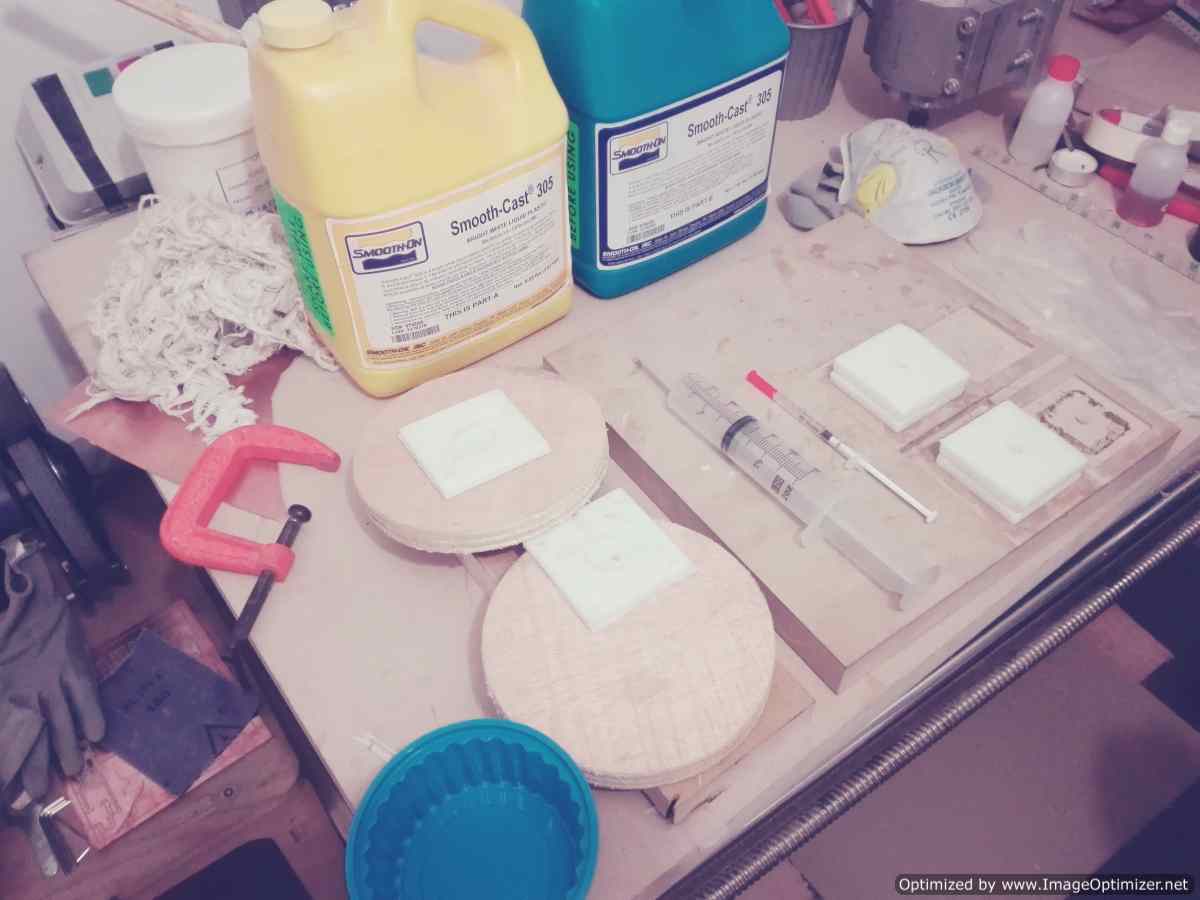
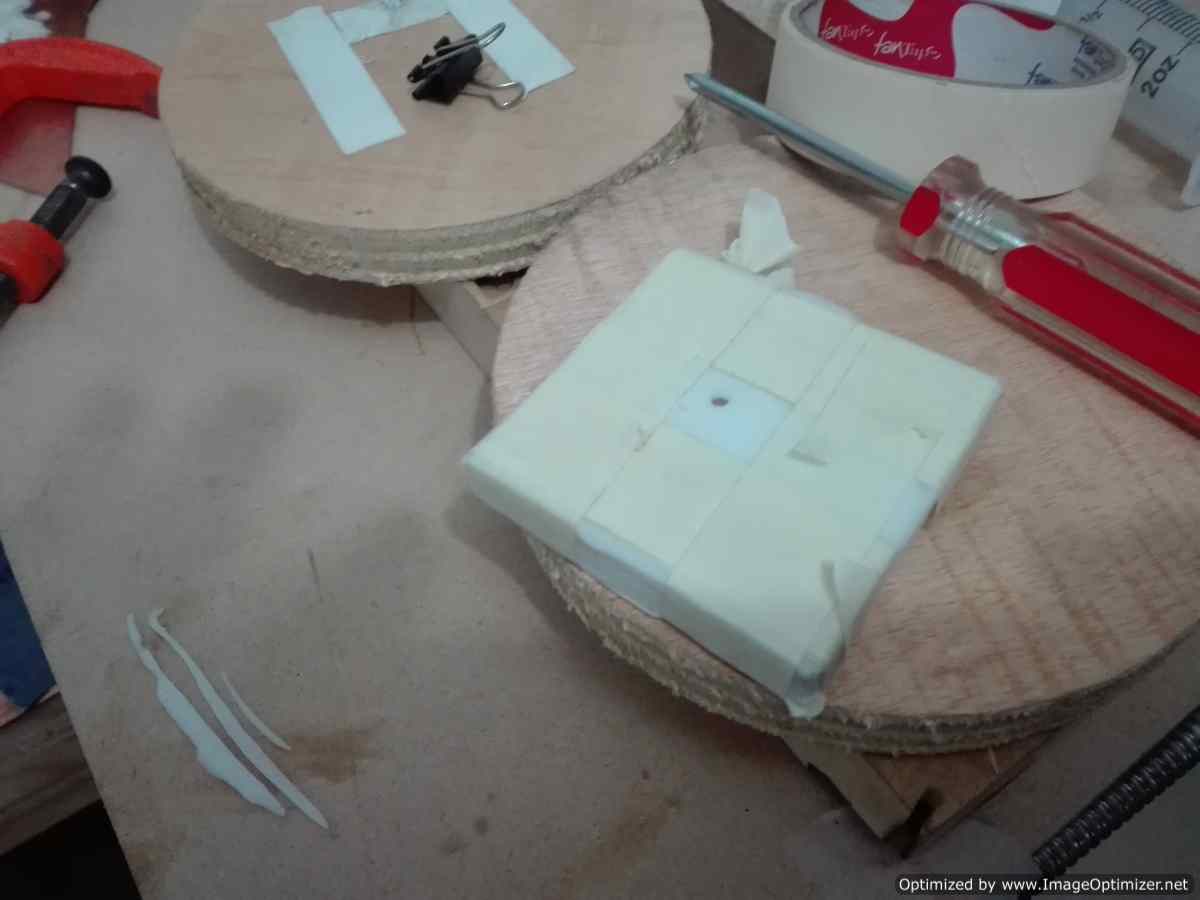
With the new material he mentions that we have 7 minutes of work and 30 minutes of healing, so be very careful. After combining the materials and pouring into the mold, something very important is to press so that the figure is ideal so in my case I press it with a press.
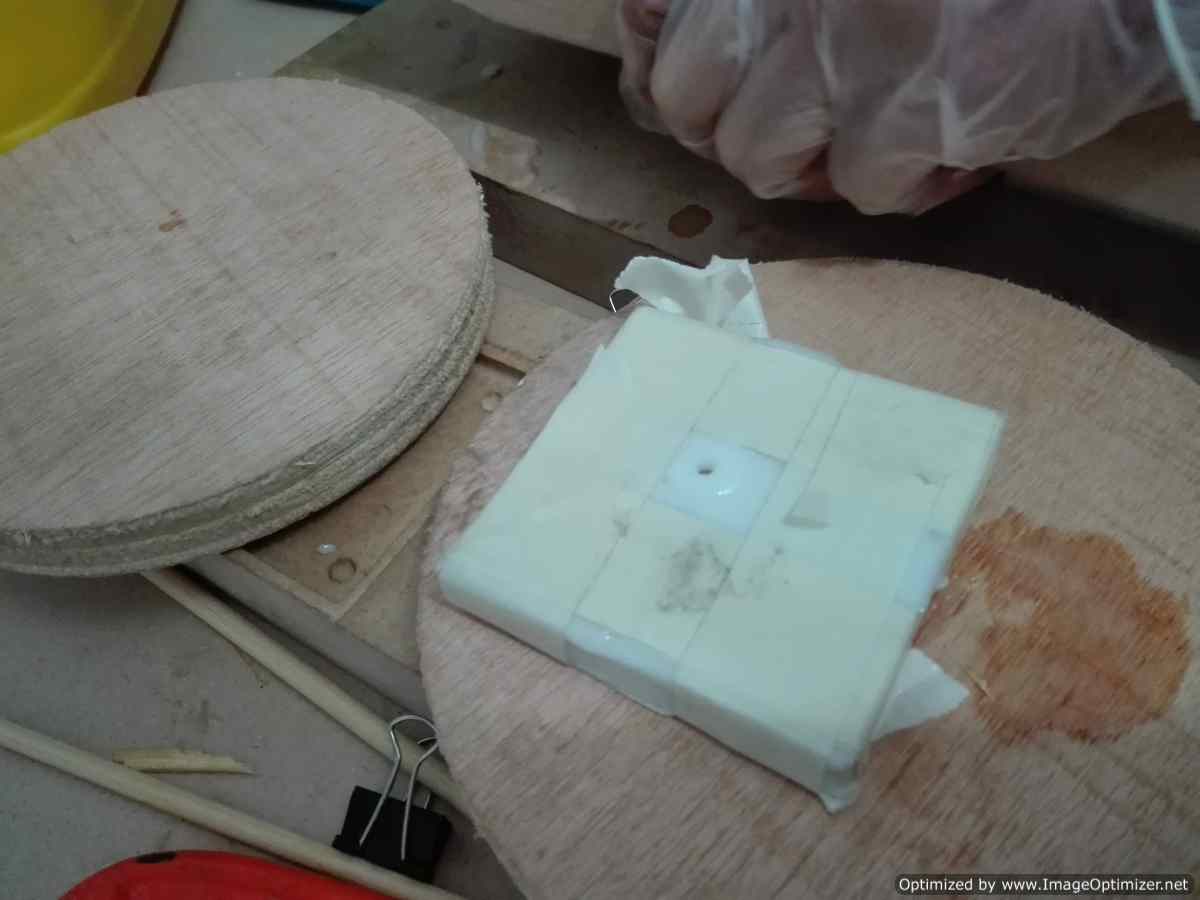
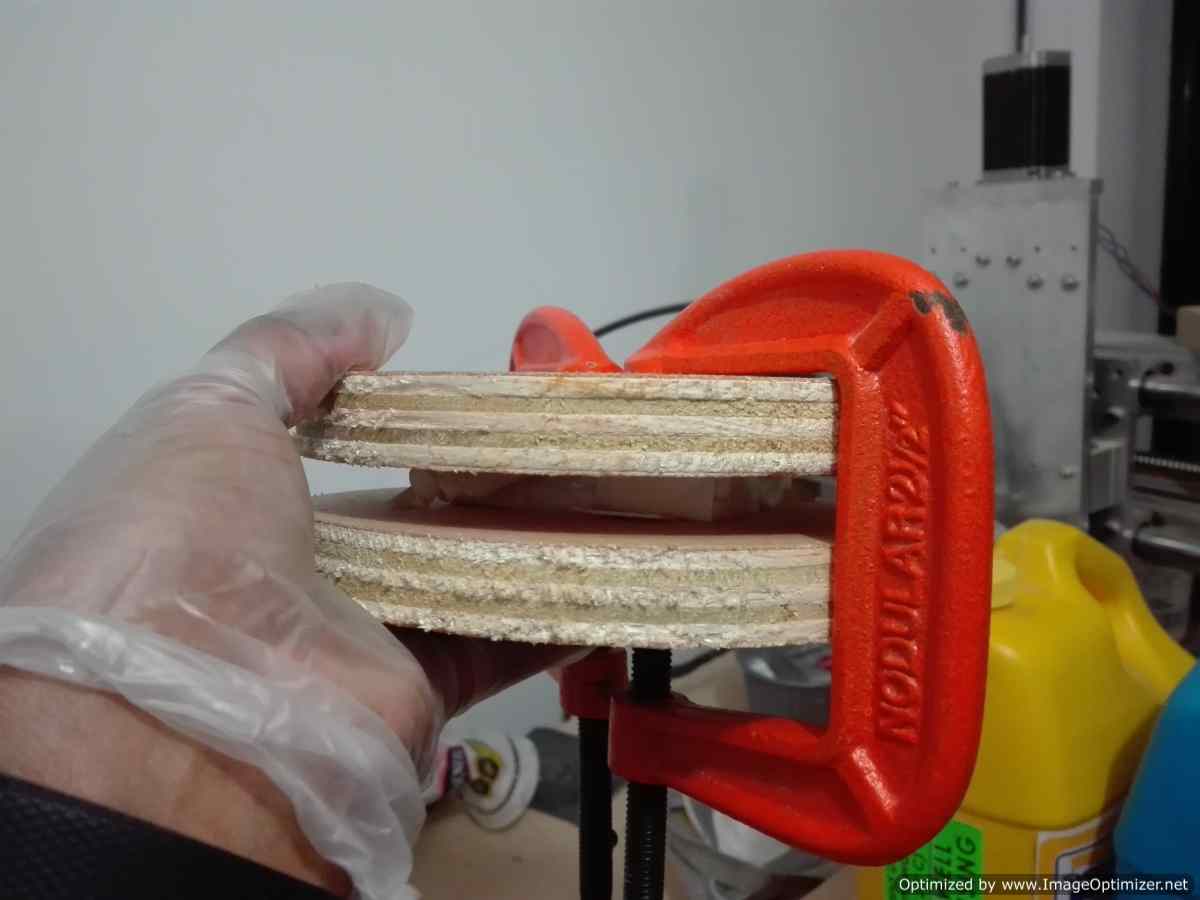

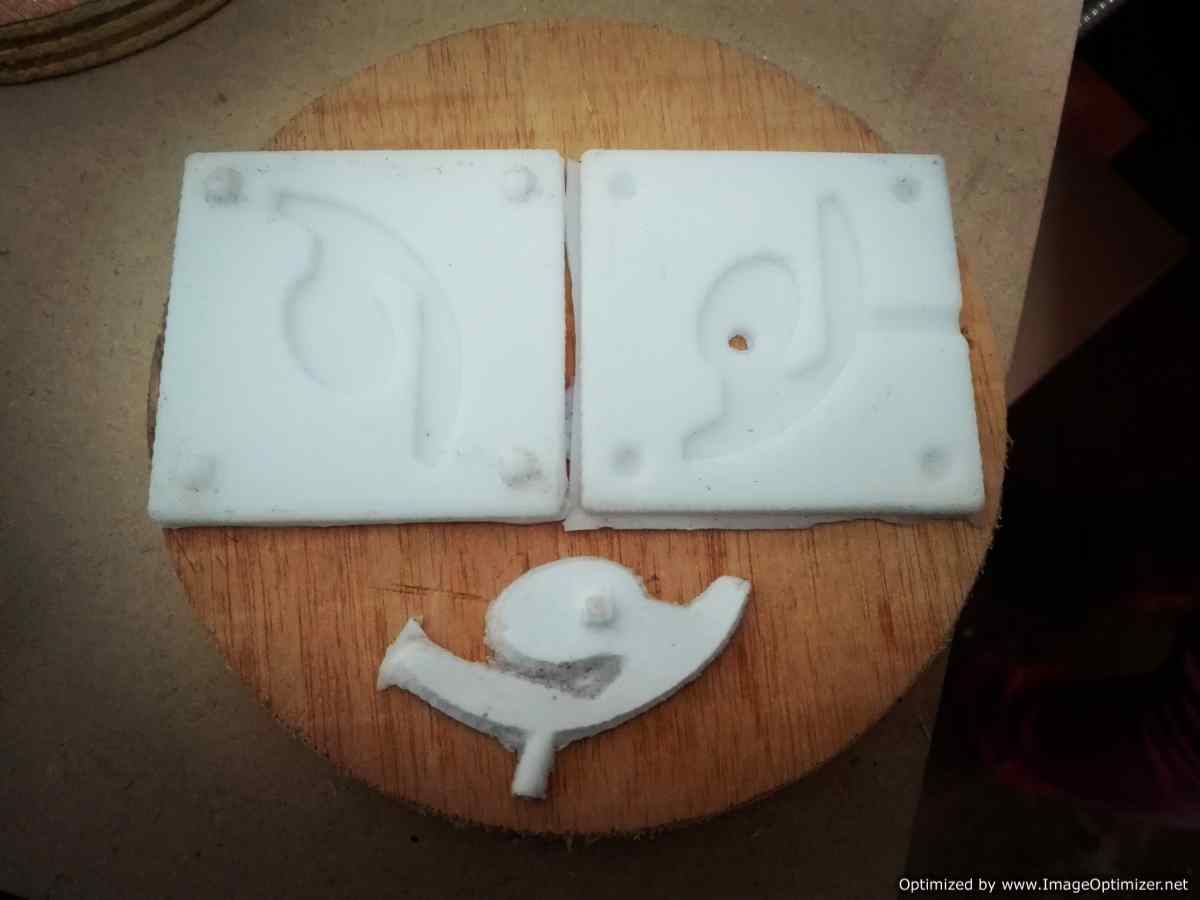
After about 30 minutes the figure is ready, we remove the presses, the masking tape and we check. My surprise was that I was finally able to achieve this assignment. I just remove the excesses and it's ready.

Conclusion:
Conclusion:
To design the mold you have to take into account the material in which the roughing and finishing is done, this will depend on the quality of our final piece, the finishes with the milling cutter while thinner will be better.
Always finish with the curing process with the base mold, either adding wax, vaseline or other release agent.
During the mixing of the components take into account the amount needed, if the values are different the work will take too long, mix properly to avoid bubbles, this is ideal
It is good to have a counter-mold to prevent the rubber mold from moving.