Week 5
-
ELECTRONICS PRODUCTION
Group Assignment
Characterize the specifications of your PCB production process
Individual Assignment
Make an in-circuit programmer by milling the PCB.
PCB production process characterization (GROUP ASSIGNMENT)
This process is documented here.
Making circuit (INDIVIDUAL ASSIGNMENT)
According to the assignment, We will make this board.


The first image is the cut out and the second has the traces needed to connect the components of the electronic circuit.
To start the process, we need to put a new PCB on the milling machine. Then with the right milling tool (1/64") we set the origin of the milling job.
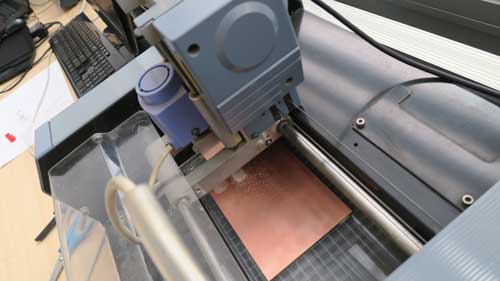
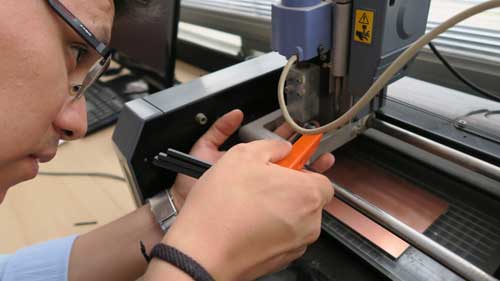
The other important step is set the height of the milling tool. At my case, I used a piece of paper to ensure the milling tools is in touch with the PCB surface.
The next step is use the "fab modules" on the PC connected to our milling machine. The command to acces from the terminal is:
$ sudo fab
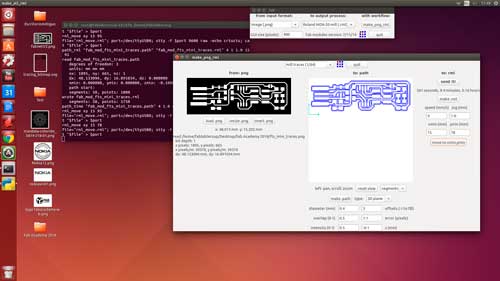
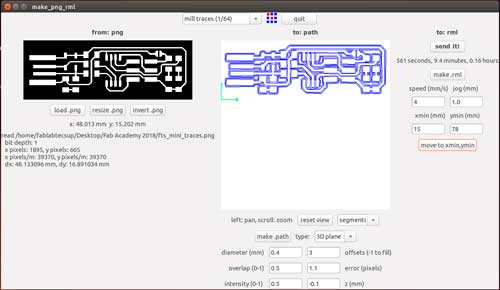
On the window we choose the next options:

And the last window, you need define your own start point (xmin, ymin). The result is something like this.
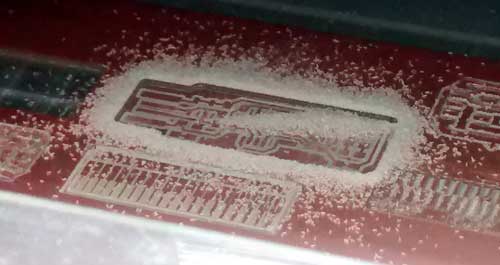
After the cut. The result is a brand new board.
The result of that process is this.
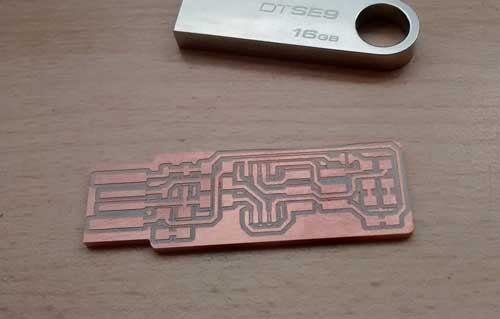
But it's just the beginning. The next process is solder the components to the board.
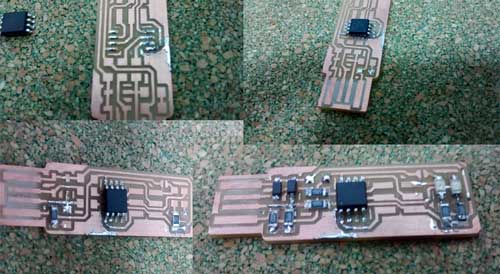
Finally, we get this:
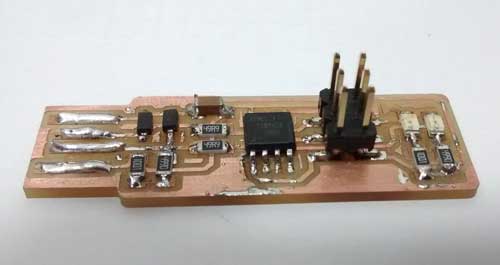
The final part of the assignment is board programming. to do this I follow the tutorial described here.
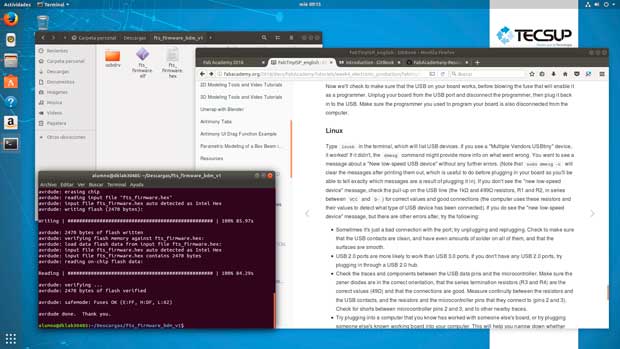
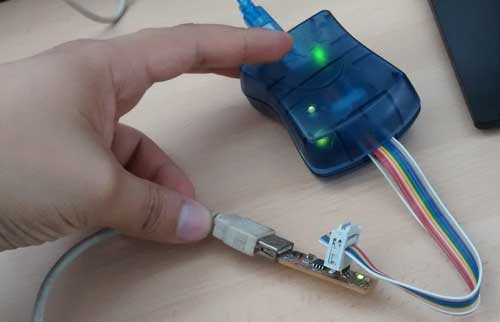
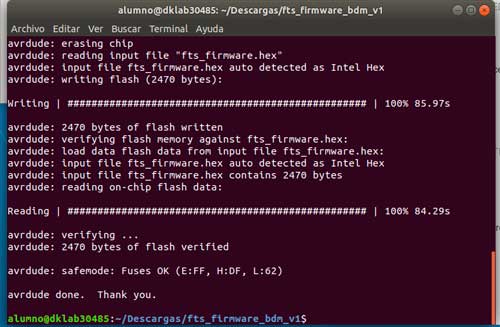
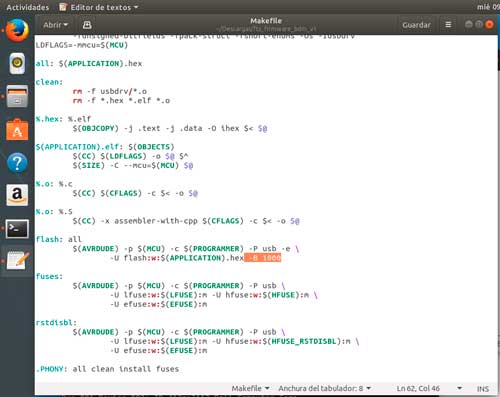
On the code of this files, we must to do a change. We don't know the reason but, in our case, the frequency of the board must be changed.
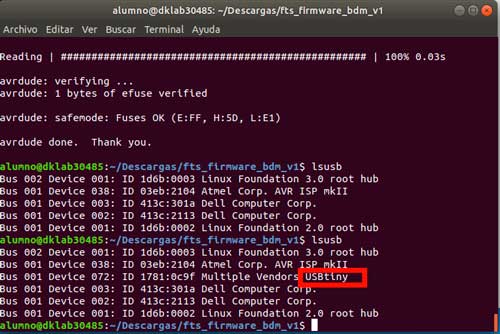
Finally. My first circuit board is done.
To get the files for this assignment, please visit my repo on Github: https://github.com/CarlosNinaOchoa/fabacademy2018/tree/master/Week-Assignments