| Seonghee Kim | |
| 5. Electronics Production | |
| HOME | ABOUT | ASSIGNMENTS | FINAL PROJECT | CONTACT | |
Week5
Assignment
-group assignment
characterize the specifications of your PCB production process-individual assignment
make an in-circuit programmer by milling the PCBHardware and Softwares used
-Fab modules
-Atmel GNU toolchain
-Roland's SRM-20
Outcome
This week's assignment is totally new world for me. I never heard of ISP, never see those tiny litte SMDs, and evne never think of I would do soldering in my life! But I found out It is not that bad. I learn about nmils, Roland's SRM-20, SMD, datasheet.
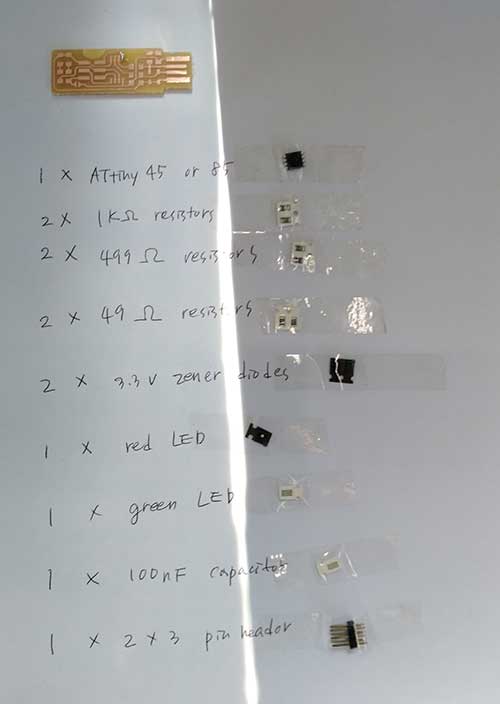
FabISP
My referances of FabISP is Brain's ATtiny45. I only had to know sevral menus to cut the vinly sheet. It has very simple interface. But to find a right value, I had to try many times.
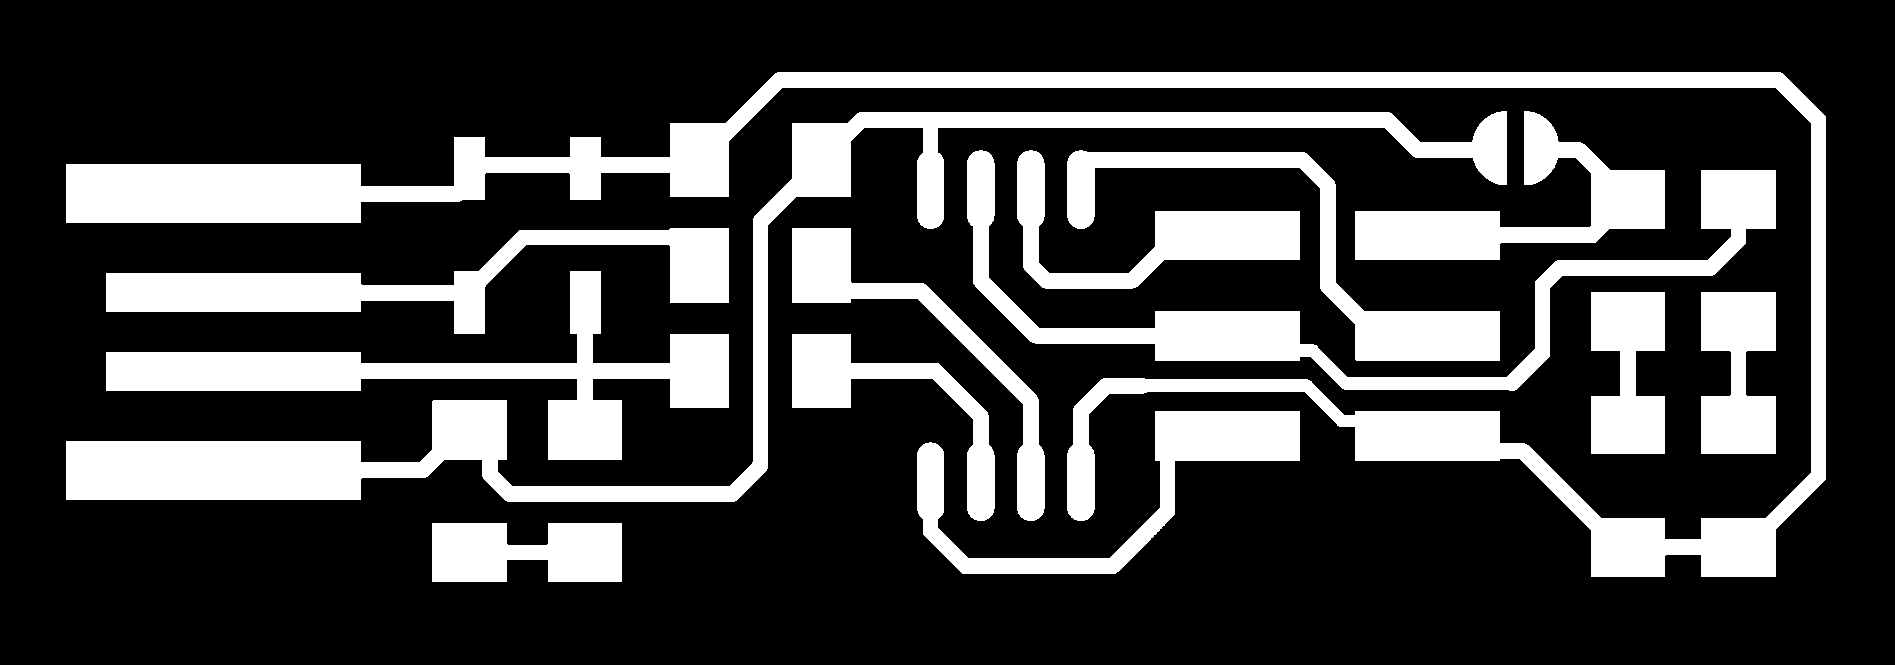
-download Brian's the PNG files
Traces(1000dpi)
Outline Cutout(1000dpi)
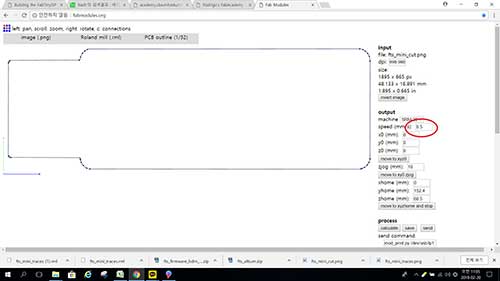
Fab Modules
I made .rml file from Fabmodules.org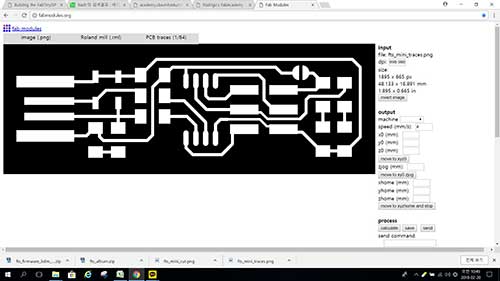 -Select images I download
form Brian's ATtiny45 page, and choose Roland's mill.
-Select images I download
form Brian's ATtiny45 page, and choose Roland's mill.-1/64 nmil is for trace.
-machine SRM-20, Speed 4, X0=0, Y0=0, Z0=0, zjog=10, number of offset=-1
- number of offset=-1 : it takes awas all the black colored area.
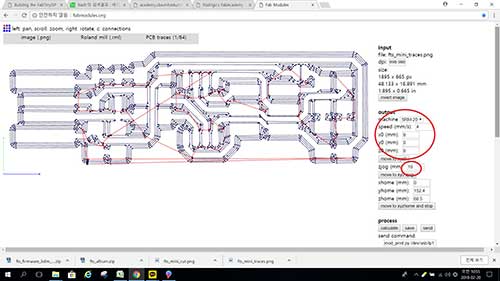
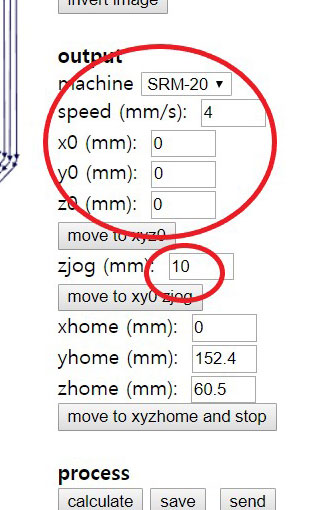
-select 'calculate', and 'save' to get '.rml' file
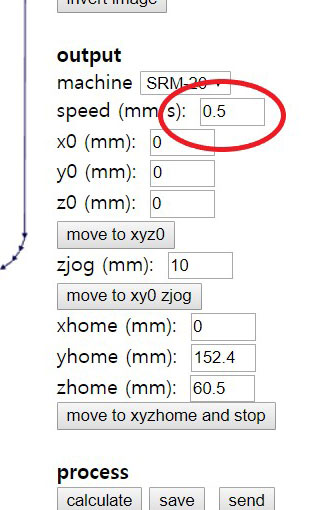
-1/32 nmil, speed=0.5, number of offset=1
-other options are same with trace
VPanel for SRM-20
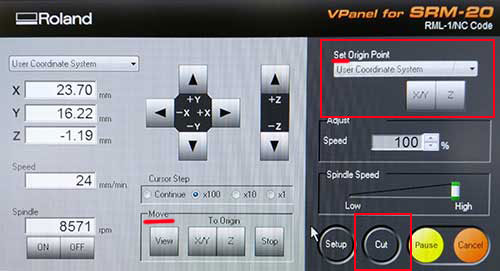
 -when I changed the end mill, hold the collet with thumb and second fingers and using 3th(or 4th) finger hold the shaft of end mill so not to drop while I screw off the collet.
-milling with Roland SRM-20.
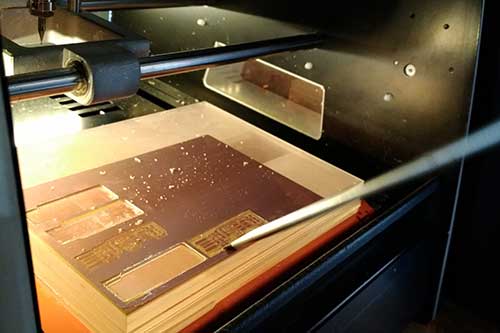 -When milling done, take it off from the cnc machine with flat head screw driver.
Soldering
Because soldering is first time to me, I watched videos about soldeing before doing it.
-
ipchandsoldering
(with Korean translation)
- Collin's Lab - Surface Mount Soldering
 -because every SMDs are very small, attach everything on one paper.
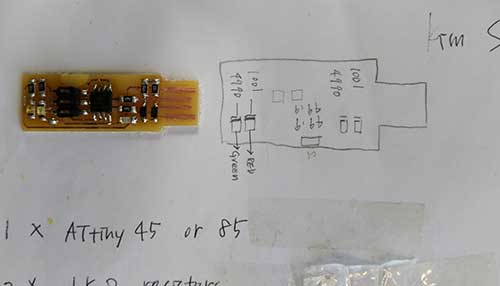 -I drew simple drawing next to PCB.
-soldering center to side, small to big.
-attatch one leg first to find it's place. and after put SMD in right place, solder other legs.
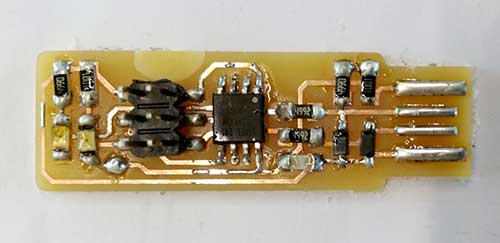
-This is my first Sodering work!
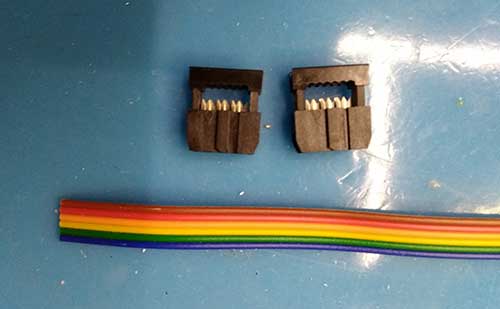
-I made a cable for programming.
Install Softwares for windows10
referances here-download Atmel GNU toolchain
-download GNUmake
-download avrdude, and copy the files to c:/Program files
Update your path
-Advanced setting at windows10, click Windows logo key + R, and type sysdm.cpl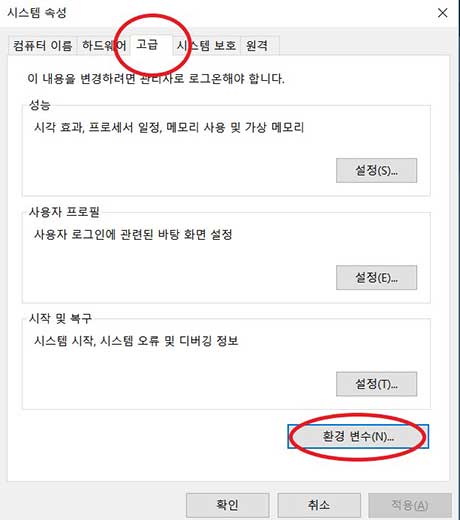 -Click advanced>Environment Variables
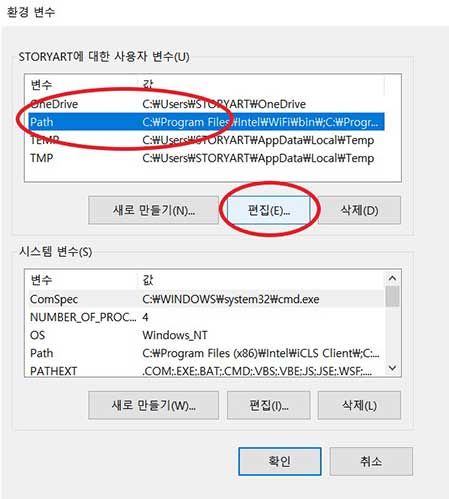 -Select path>Edit
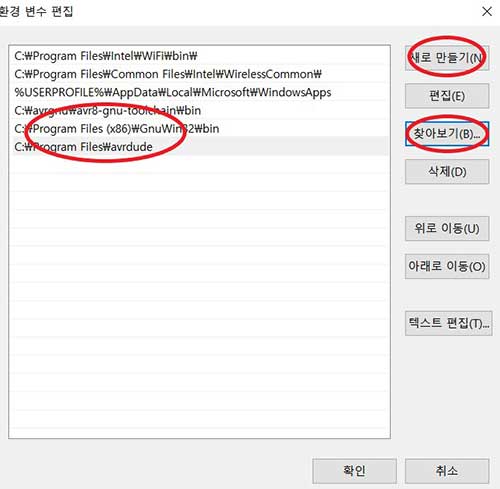 -Add 3 values:
 - C:\Program Files\avr8-gnu-toolchain\bin
- C:\Program Files (x86)\GnuWin32\bin
C:\Program Files\avrdude
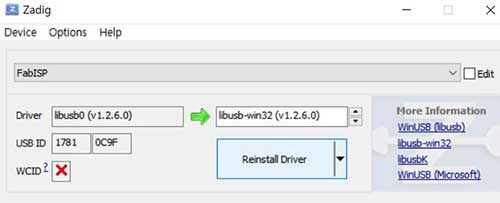
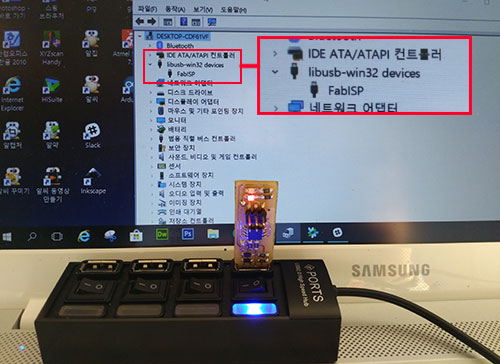
Install my programmer at windows10
-download Zadig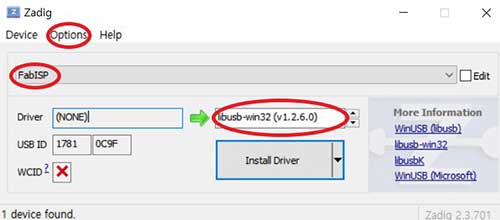 -Plugged the programmer with my FabISP.
-Select options> liste all devices
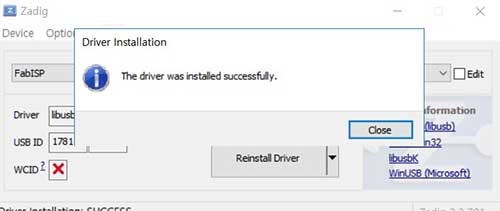 -Press install!
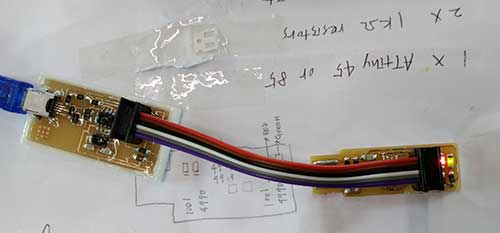
-Turn Red and Green LED at the same time!! Somethings wrong.
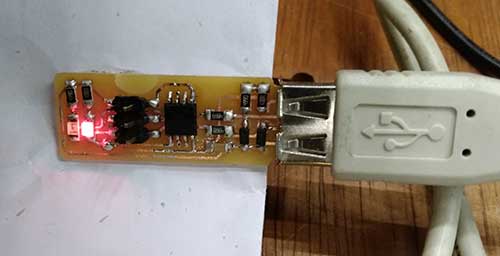
-I did soldering again. 499resister, capacity, red, green LED. Finally I got the right LED on!
Sanity Check
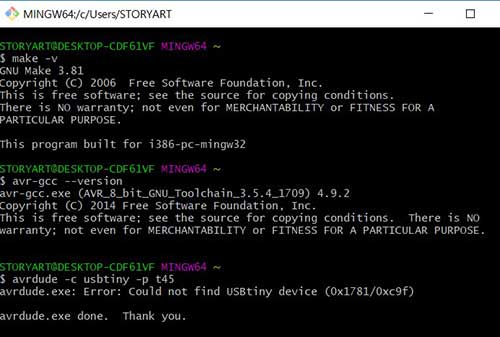
-type command at git bash in order.
make -v
avr-gcc --version
avrdude -c usbtiny -p t45
-I could not find usatiny device, so I did zadig again.
I failed to program my FabISP this week, but I kept trying so I did it on week 7. Click this link to see how I solved it.
Date: 2018-02-21 Author: Seong Hee Kim @ Fablab Seoul