| Seonghee Kim | |
| 10. MOLDING AND CASTING | |
| HOME | ABOUT | ASSIGNMENTS | FINAL PROJECT | DOWNLOAD FILES | CONTACT | |
Week10
Assignments
-group assignment
review the safety data sheets for each of your molding and casting materials, then make and compare test casts with each of them-individual assignment
design a 3D mold around the stock and tooling that you'll be using, machine it, and use it to cast partsHardware and Softwares used
-Roland SRM-20
-fusion 360
-fab module
Outcome
I have done molding and cast once before. At that time I just duplicated a plastic toy dog I bought for my daughter. This time I started from modeling for mold and milling wax. Modeling mold with fusion was a little bit complicated even though the object I want to cast was simple marble. I start to admire the bronze aged people. I am sure they are as smart as this aged people, or even smarter!
Datasheet
MOLD: Mold Star 16
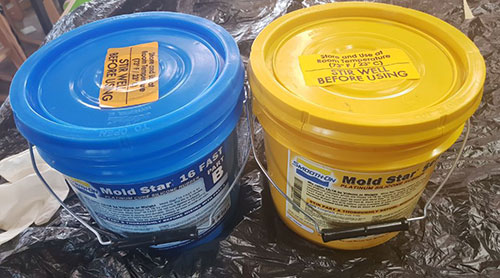
https://www.smooth-on.com/products/mold-star-16-fast/
-From right side of linked page, I downloaded the technical data.
-This chemical can make silicon allergy for rest of my life, so I looked through the datasheet carefully.
Pot Life: 6min (mix 3min + pouring 3min)
Mix Ratio: 1:1 by weight
Cure Time: 30min
-wear 3 layers of latex gloves.
-keep the trash bin close.
-wear the mask.
-be careful for the alchohole tissue.
CAST: Urethan task resin
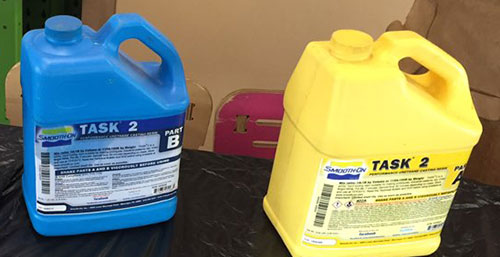 https://www.smooth-on.com/products/task-2/
Pot Life: 7min
Mix Ratio: A:B = 115:100 by weight
Cure Time: 60min
Design mold
Fusion 360
 -I designed mold for the marble. I made a hole for pouring the cast.
Fab modules
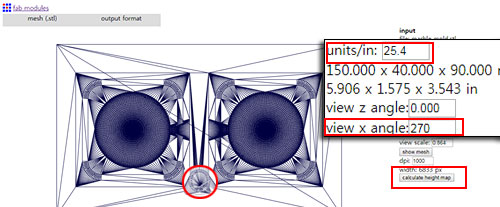 -input format>mesh(stl), output format>roland mill
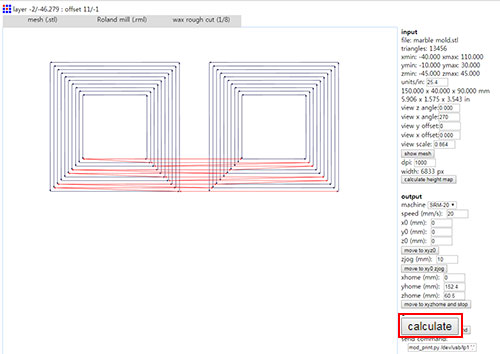
-I put 25.4 for units to change it form inch to mm.
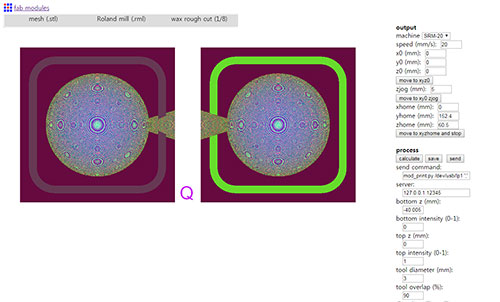
-I typed the 'Q' at fusion360 to check the position at fabmodule. Put view x angle 270 so that 'Q' goes to right position.
-press 'calculate hieght map', and I could get the layers with colored images like in this image file.
Milling

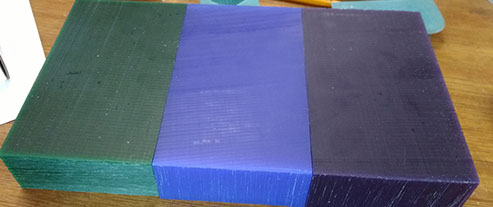 -ferris wax has 5 colors depending its hardness. Blue was ok for cnc milling.
-Hardness Blue is 52, green and purple 55. Blue wax is good for hand carving but it was good enough for cnc milling. green is most good for cnc among 3 of them.
 -Jinhyeok told me put the shank of endmill enough into the collet, he broke it because he just put it upto end of the collet. We learn from each others mistake. Thanks to share his mistake for me. you also can learn from his site.

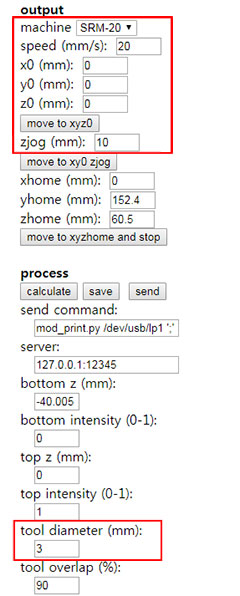
-When I changed the x,y offset at fabmodule input, the millig start wrong place. Do not change it!
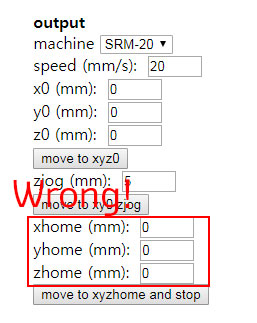
-Third trial, I changed fusion 360 x,y,z axis to '0', but it still not working well.
-Conclusion: do not change x,y,z offset at fabmodule input, x,y,z home at fabmodule output. and x,y,z axis at fusion doesn't effet to milling so never mind for fusion axis.
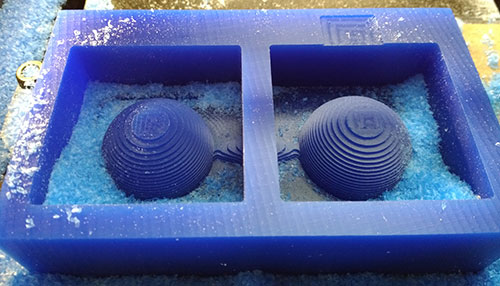
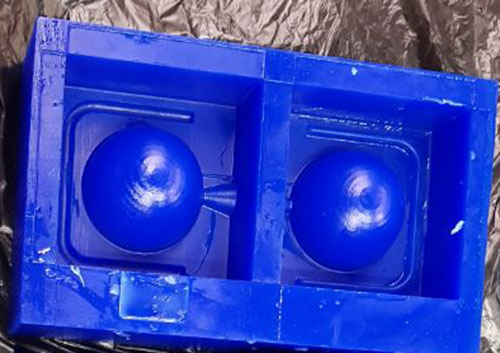
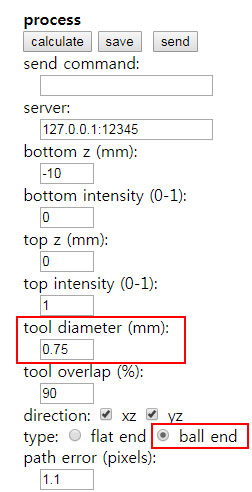
-My rough cut and finish cut.
Cast1: Mold Star 16
-
-Because I want to cast hard marble, I need to make a soft mold first with Mold star 16. Soft object need a hard mold, and vice versa to take out easily.
 -spray oil to wax mold for detach well later.
 -stir well befor start.
 -measure the weight of mold star A same with B and mix it for 3 min.
 -pour it to the wax moling for 3min. pour thin to avoid make bubble in the cast.
 -After 30 min, I could get this nice mold!
Cast2: task2
 -measure the weight of tast2 A 115, B 100(or 1:1 by volume)and mix it for 3 min. After 3 min, I could feel the mixture became warm(and will warmmer as time passed).
 -pour the mixture using syringe without needle. I put acrylic because the center was weak.
 -After 60min, I got the marble! little bit crushed.
-Second trial, I did not press the mold but just hold it togeter. And the marble looks great!
Download files
-marble.stl
Date: 2018-04-01 Author: Seong Hee Kim @ Fablab Seoul
