Week 14
Mechanical Design

assignment
GROUP ASSIGNMENT
1- design a machine that includes mechanism + actuation + automation
2- build the mechanical parts and operate it manually
3- document the group project and your individual contribution


Build a CNC
Fab Academy Week 14 - Mechanical Design
Case file for top sandbox 40cmx42cmx5cm .SVG Download
Machine Design group page
Design a machine (mechanism+automation), including the end effector build the passive parts and operate it manually document the group project and your individual contribution
Throughout the course we have been trying to decide which machine we should build, some options we had in mind were:
- Chocolate Printer
- Ceramic Printer
- Plasma cutter
- Augmented Reality Sandbox
We really liked the printers but decided upon something that could be built and used immediately and consistently with a local material: sand.
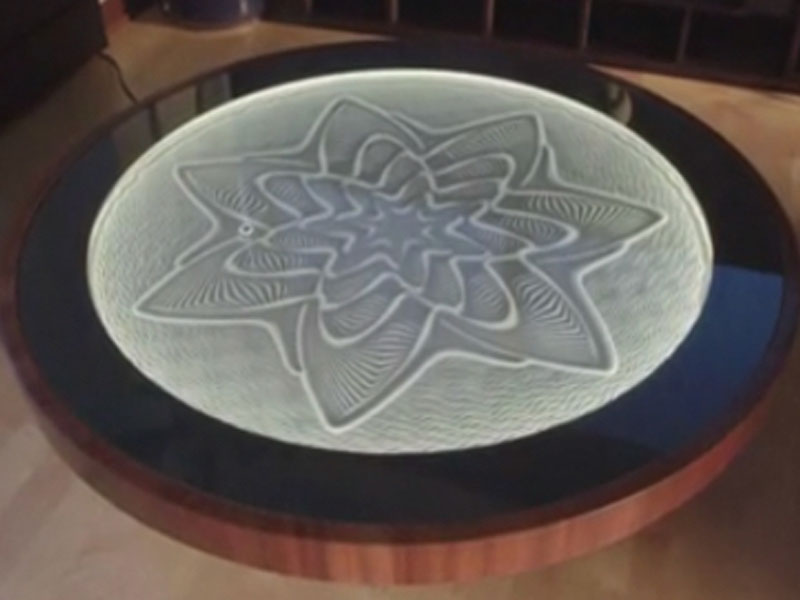
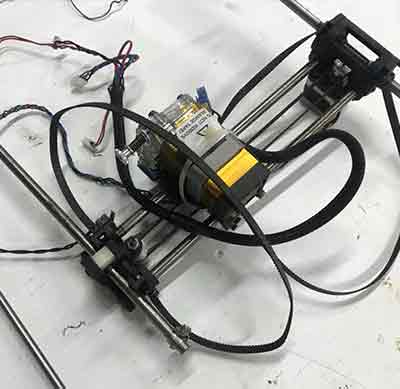
CORE XY SAND PRINTER
Sand Plotter - CoreXY
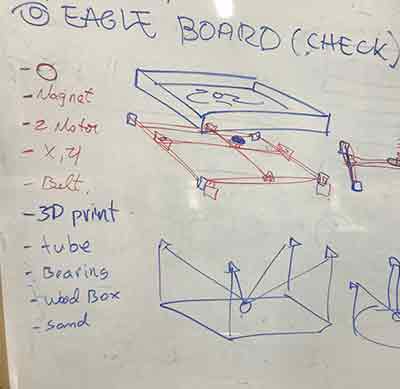
Materials:
- 4steel rods 50cm long from a recycled 3d printer
- two motors for x and y axis
- arduino microcontroller with motor driver shield
- 3d printer
- acrylic 3mm transparent
- wood 1/4" plywood - fine grain sand
- strainer
- metal ball
- magnet
- 3d printer board Melzi Version 2.0
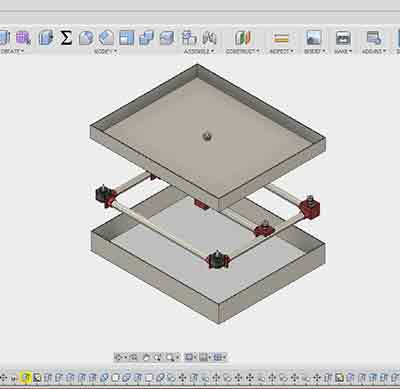
Individual contribution Building a container to house the sand.
We watched tutorials of how an xy printer works.
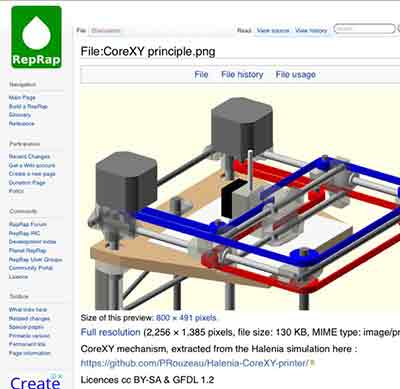
We downloaded available files to study how the machine would work.
We prepared a list of materials and divided the work up among the students.
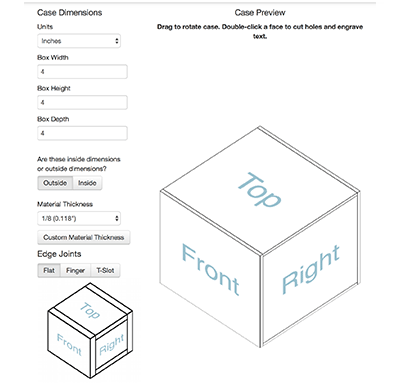
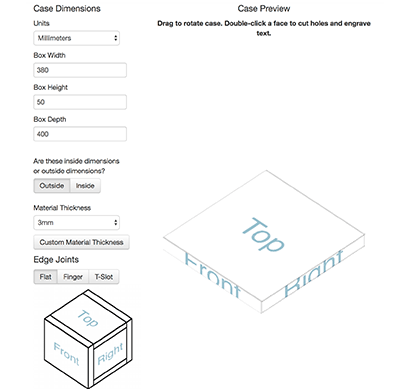
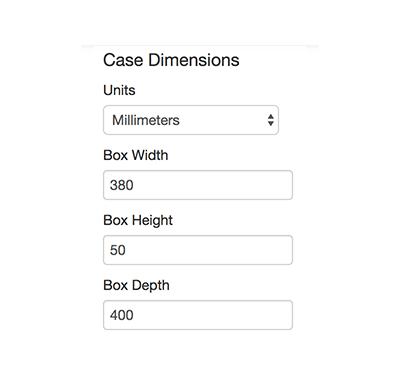
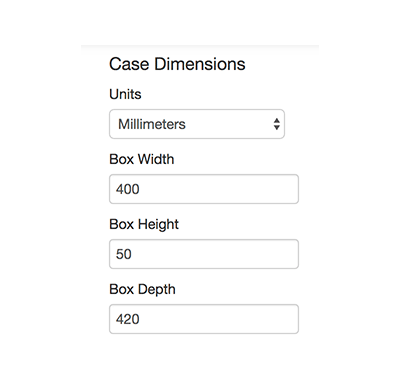
I used http://www.makercase.com to layout the two boxes measuring 38x40 and 40x42cm.
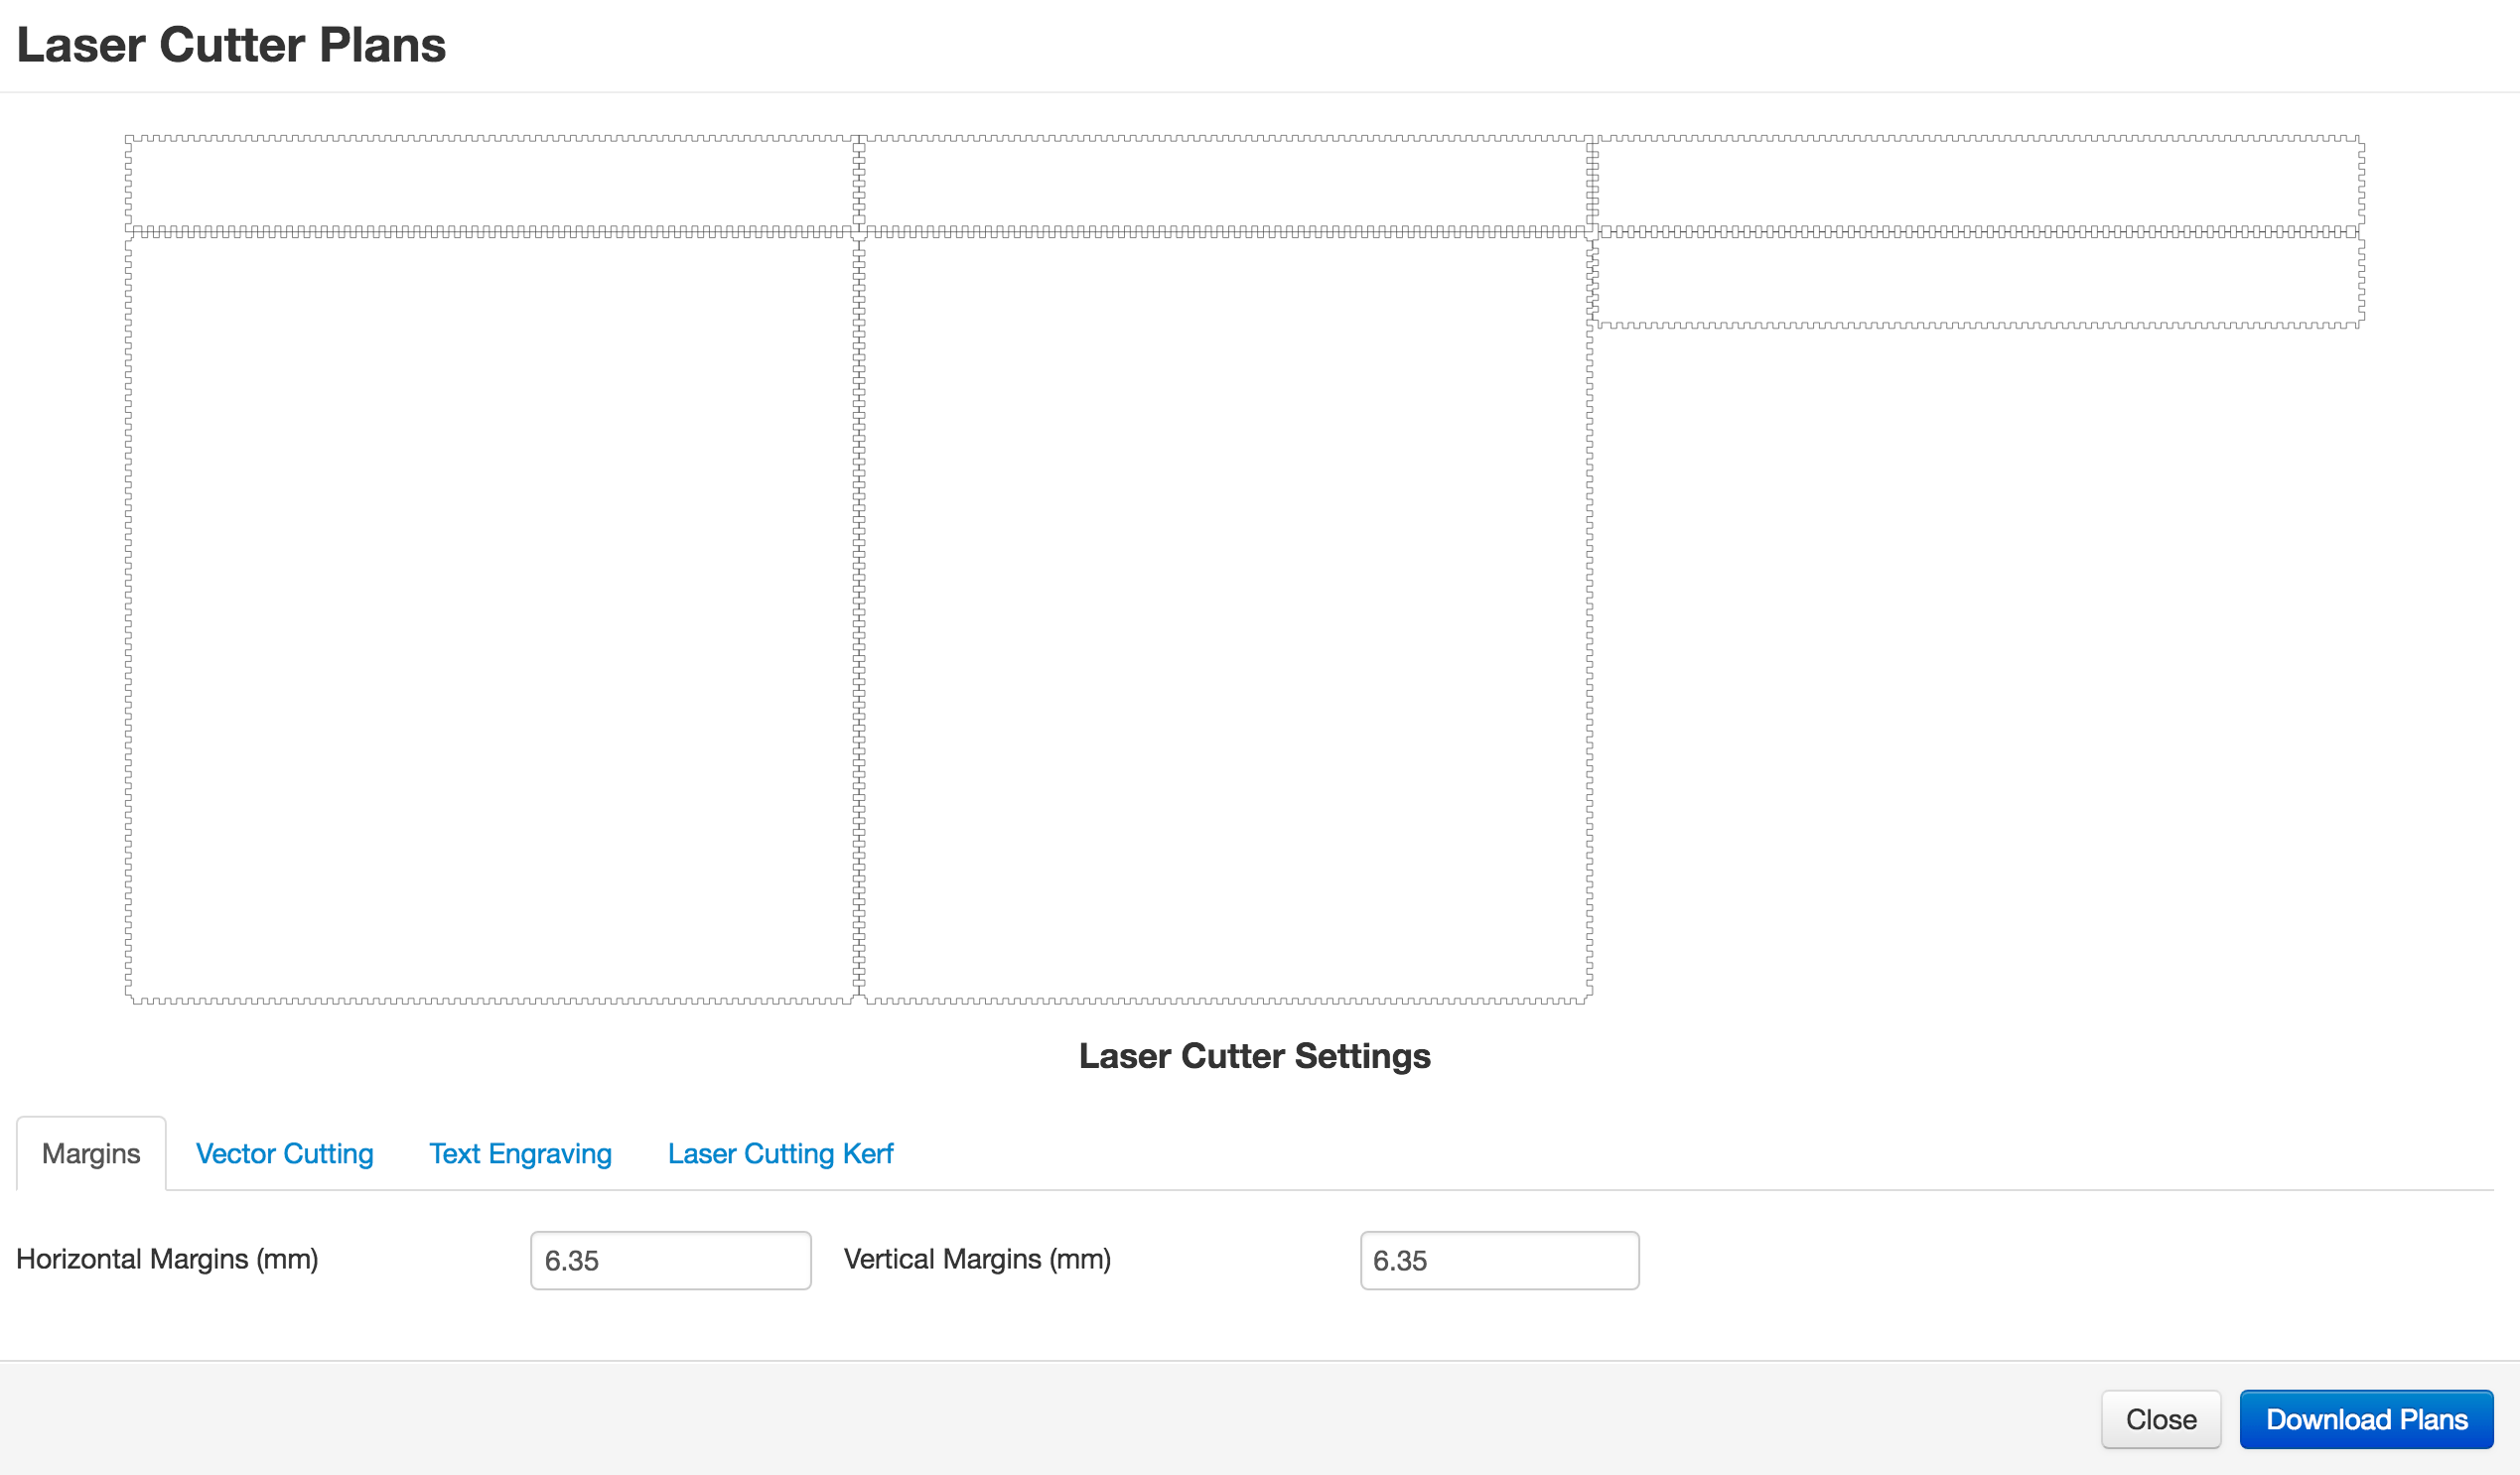
Next I laser cut the boxes and we assembled them together.
We sourced some of the components from local providers.

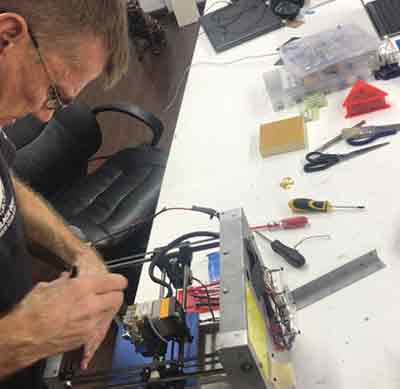
We had an old 3D printer that hadn't gotten any use in the last year and decided to take it appart to salvage what we could.
Lucky for us the printer had 6 pulleys that would work perfectly for the project.
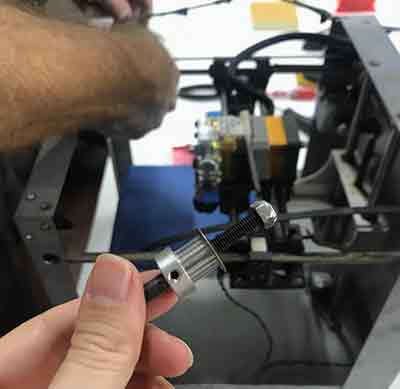
We were also able to repurpose the motors and rods that would hold the magnets and bearings for the belts.
1- design a machine that includes mechanism + actuation + automation
2- build the mechanical parts and operate it manually
3- document the group project and your individual contribution
Software Used
SketchUp,Fusion 360, RD Works V6, AutoCAD, Adobe Illustrator, Google Chrome, Sublime Text, Photoshop, Git
Tutorial Used
CoreXY CNC PlotterBuild a CNC
Fab Academy Week 14 - Mechanical Design
Files used:
Case file for bottom case 38cmx40cmx5cm .SVG Download
Case file for top sandbox 40cmx42cmx5cm .SVG Download
Machine Design group page
Walkthrough
GROUP ASSIGMENT:Design a machine (mechanism+automation), including the end effector build the passive parts and operate it manually document the group project and your individual contribution
Throughout the course we have been trying to decide which machine we should build, some options we had in mind were:
- Chocolate Printer
- Ceramic Printer
- Plasma cutter
- Augmented Reality Sandbox
We really liked the printers but decided upon something that could be built and used immediately and consistently with a local material: sand.
CORE XY SAND PRINTER
Sand Plotter - CoreXY
Materials:
- 4steel rods 50cm long from a recycled 3d printer
- two motors for x and y axis
- arduino microcontroller with motor driver shield
- 3d printer
- acrylic 3mm transparent
- wood 1/4" plywood - fine grain sand
- strainer
- metal ball
- magnet
- 3d printer board Melzi Version 2.0
Individual contribution Building a container to house the sand.
We watched tutorials of how an xy printer works.
We downloaded available files to study how the machine would work.
We prepared a list of materials and divided the work up among the students.
I used http://www.makercase.com to layout the two boxes measuring 38x40 and 40x42cm.
|
|

|
|
|
Next I laser cut the boxes and we assembled them together.
We sourced some of the components from local providers.
We had an old 3D printer that hadn't gotten any use in the last year and decided to take it appart to salvage what we could.
Lucky for us the printer had 6 pulleys that would work perfectly for the project.
We were also able to repurpose the motors and rods that would hold the magnets and bearings for the belts.