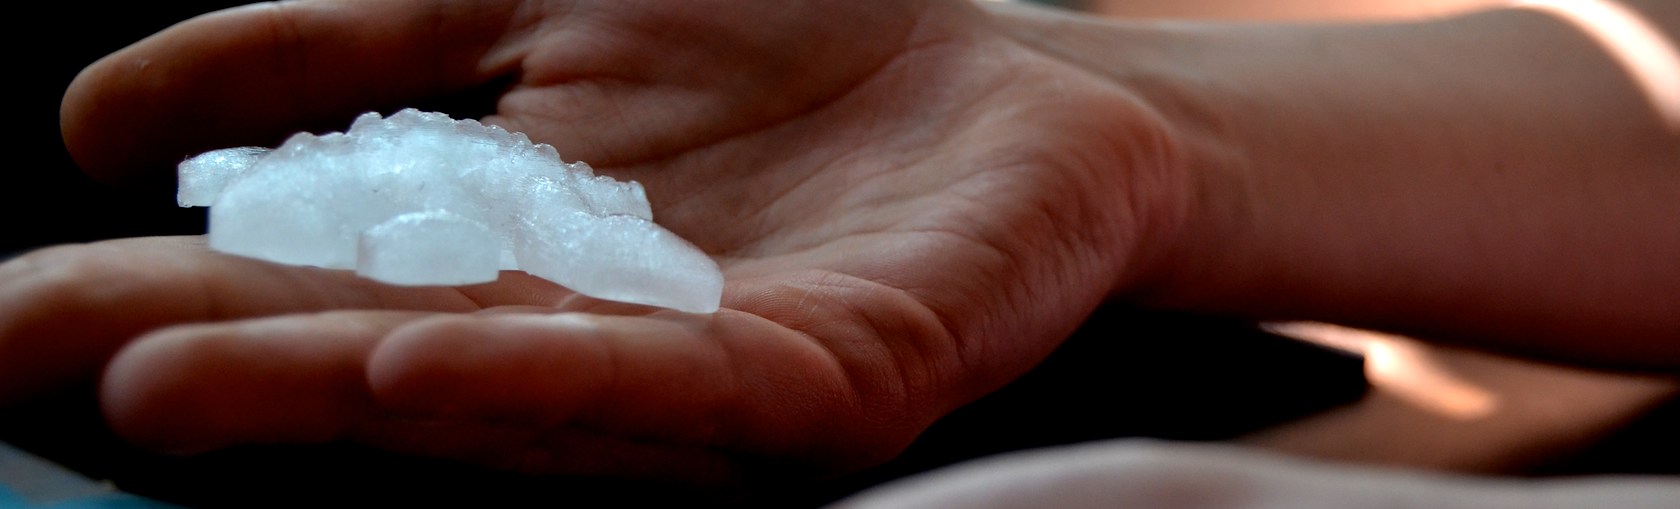
 There were going to be cookies. For now, there are ice cubes
Molding and Casting
Creating models with wax or 3d printing, molds with silicone or sand, and final casts with ice, resin, cookies,
and forging and fun with aluminum
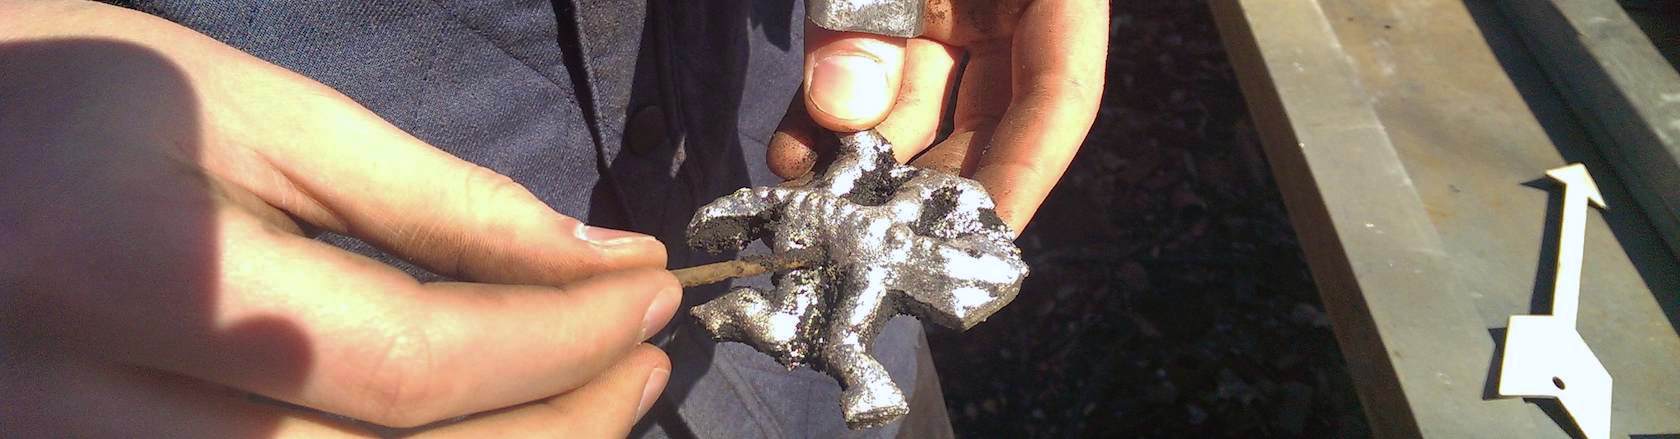
Casting aluminum!
More on that later. It was fun, and worked out great!
First, I used a model that I'd made earlier this spring for another project. It started with some old art by Escher, then I traced and edited the reptiles till they accurately tiled space and still looked very reptilian. I did this in Inkscape, which is like open source and free Illustrator (adobe). Then I took that svg and extruded it in TinkerCAD (autodesk). Then I took that stl and imported it into Sculptris. In THAT I edited it manually to create muscles and a spine on my little alligator lizard hybrid. Then I imported the obj back to tinkercad a final time, to chop off the bottom, and chop off the sides to make it tesselate perfectly once more and give it a little bit of a "puzzle" look to it. This I 3D printed.
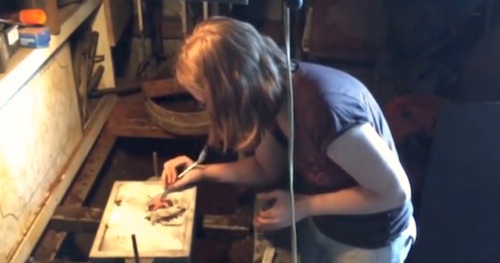
We have the amazing luck to be friends with a blacksmith and past fab academy grad, Dean Rose, so most of us went off to his smith one day and each of us got to create a sand mold from our shapes, which Dean then filled with molten Al for us.
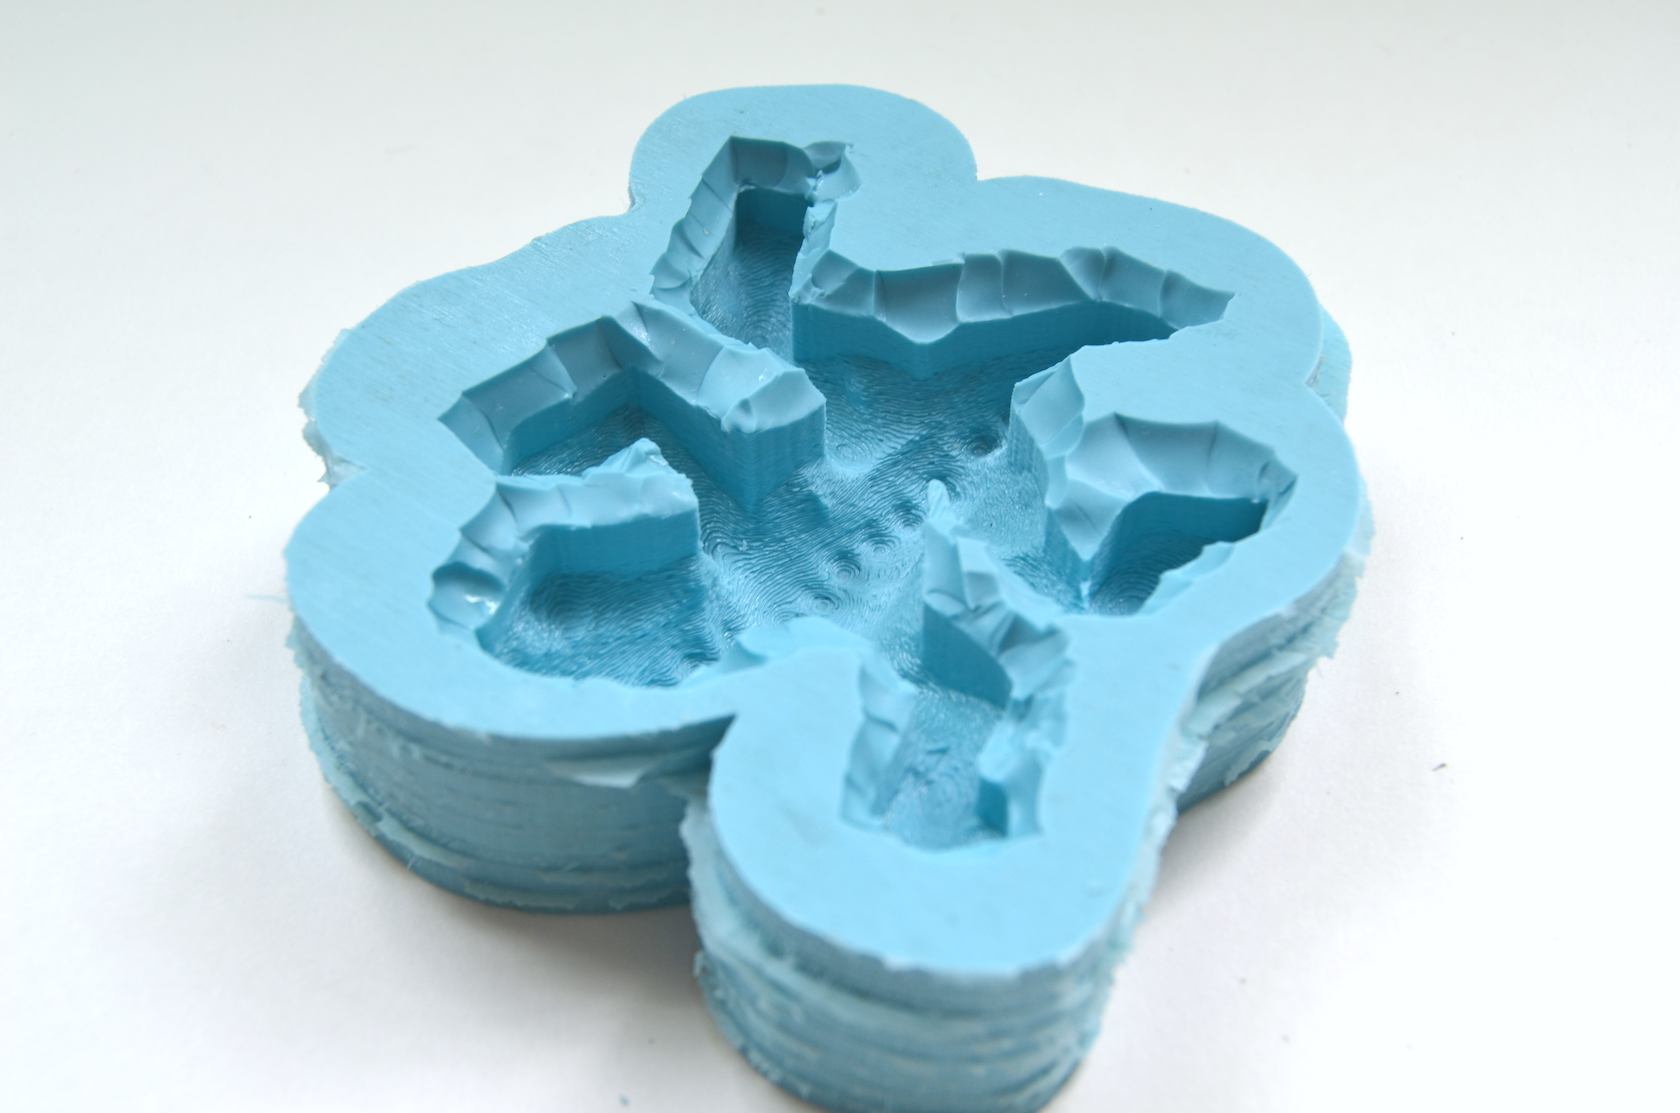
I also wanted to get this eventually to a sheet of cookies and/or ice cubes so that people could draw their own ice cubes. So for my mold I chose silicone for its food safe and temperature hardy qualities.
Molds in SiOx
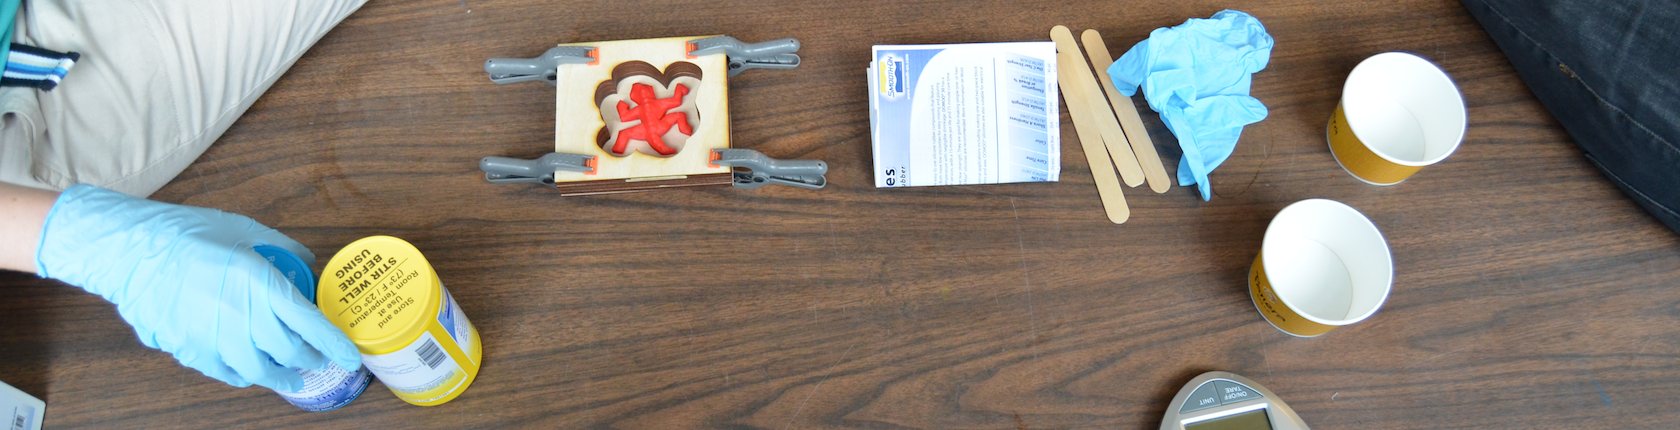
Measure and mix well according to the directions on your particular material. I used smooth-on brand silicone omoo 25 (so called because it's got Shore 25A hardness) and that requires 75 minutes to set and a 1:1 by volume mixture. Be exact with your measurements. Some people in the lab have been less exact and ended up with pockets of un-reacted goop inside their mold the next day.
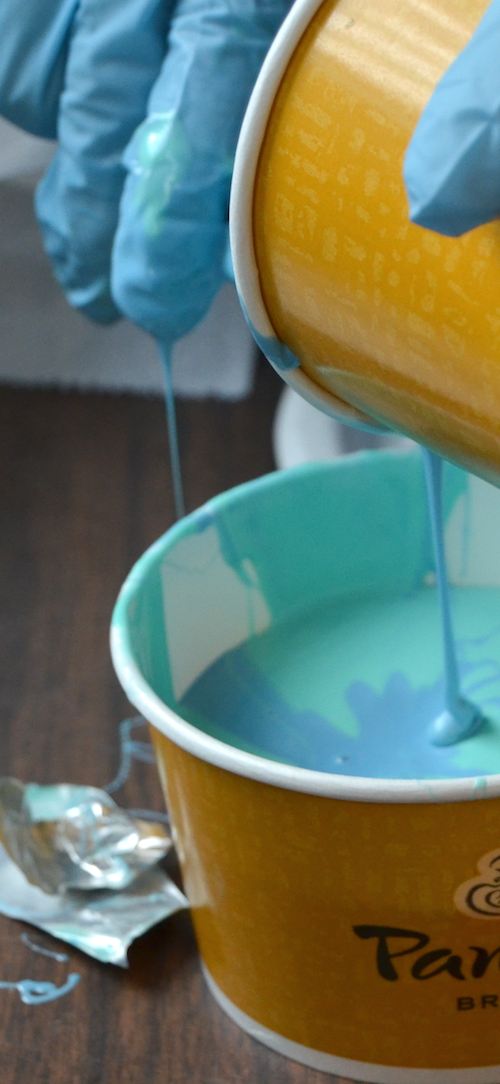
You have a couple minutes after mixing to pour your mold before it begins to gel.
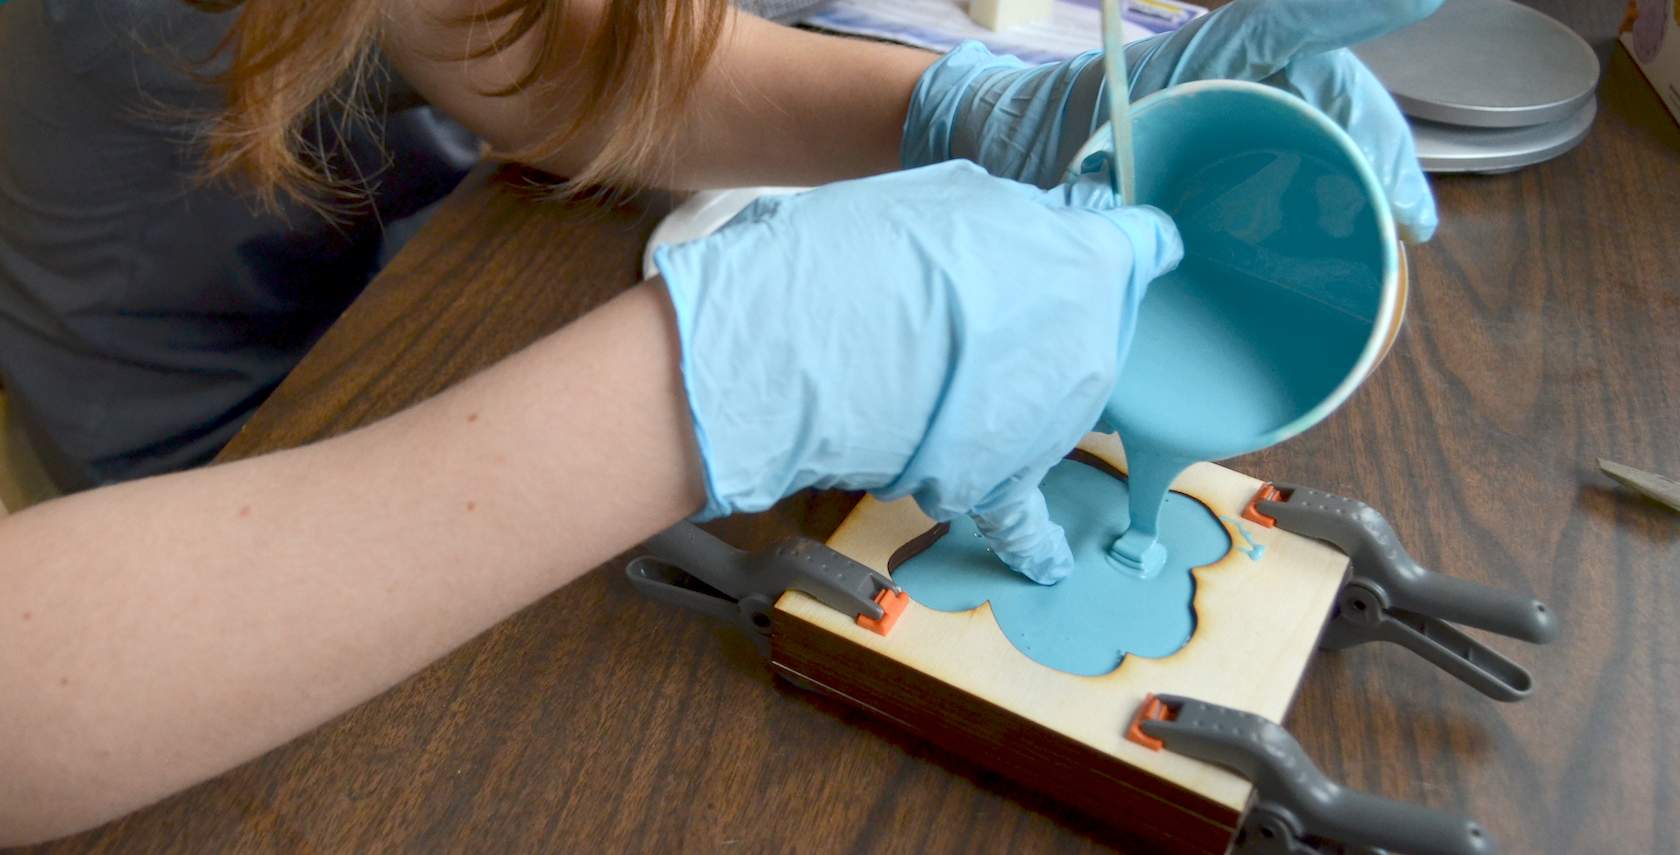
I created a shape bigger than mine out of wood. This turned out to be sort of silly. It didn't save very much silicone versus just making a press fit box. Next time I will either make it much much closer to the size of the real object, or go ahead and 3D print a box close to the size needed.


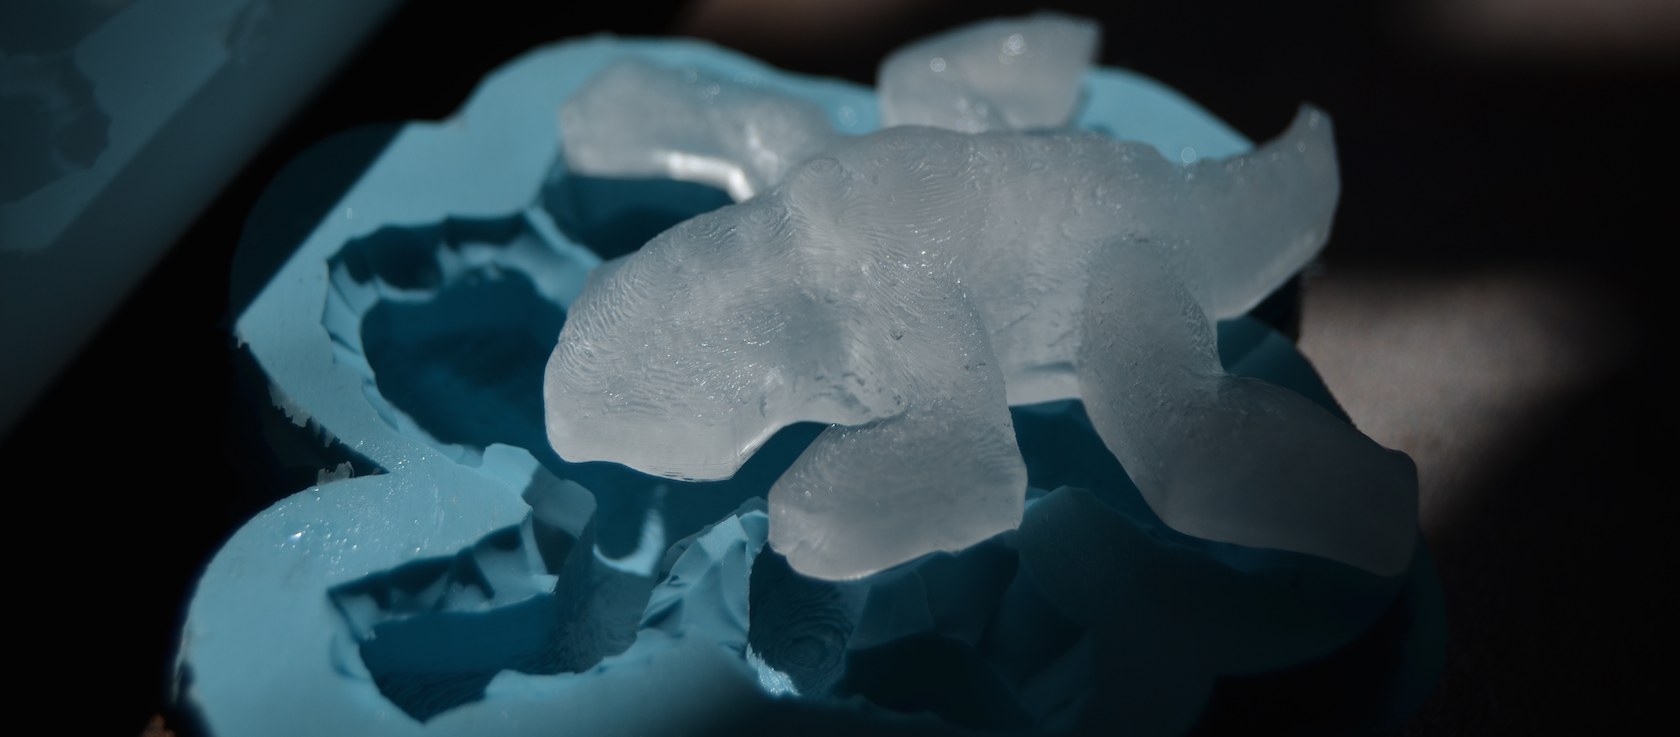
Use the mold: I'm melting!
Cast resin
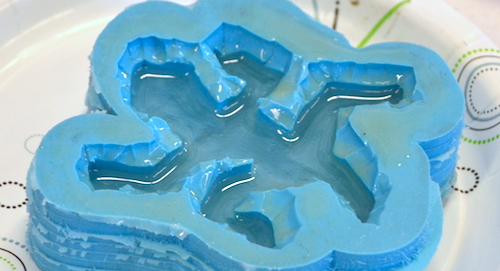
The resin took much longer to set, so we left it overnight. The silicone was hard enough to remove after less than two hours. The resin needed exact measurements again, and took two minutes of bubbles mixing both starter compounds together before pouring. During mixing the components got hot and more viscous/gooey. The kind we used was a 1:2 by volume mixture eco resin called super sap from a company called Entropy Resin in the EU. It is the same stuff we also used for our composite projects. It looked great in the end. My mold with all its little nucleation points made a ton of bubbles at the bottom. This turns into the top of the lizard. And then the little bubbles on the skin look a little like lizard scales, which is a quite pleasing effect!
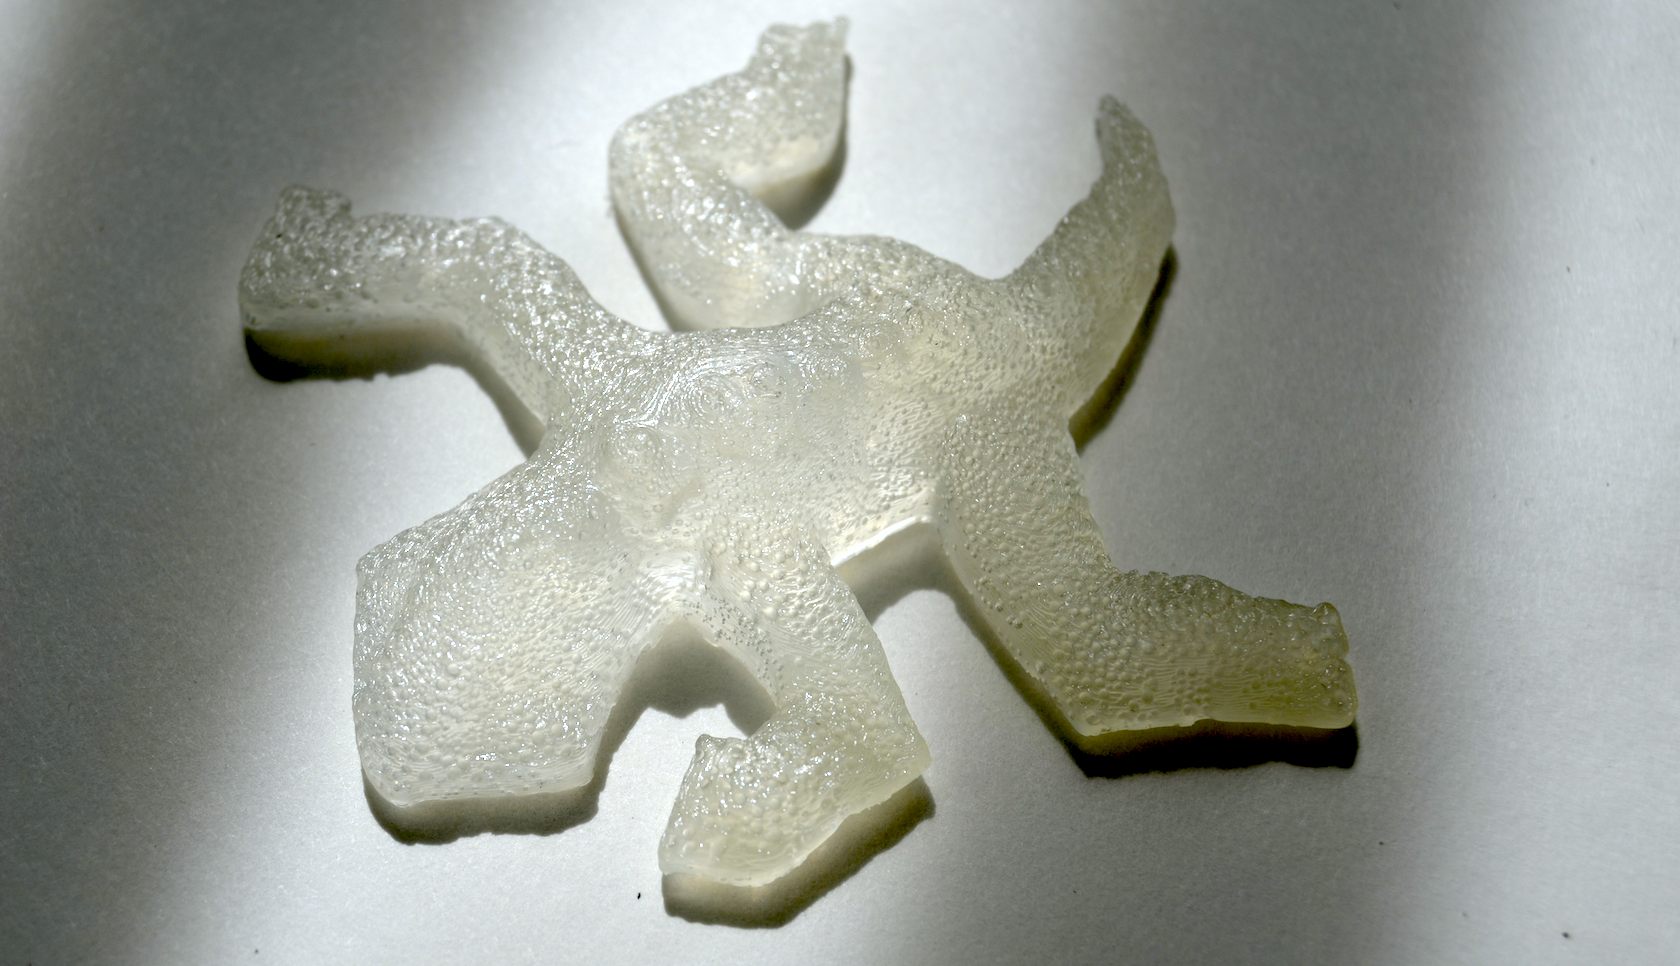
Some of us used chap stick, and I used PAM cooking spray to make sure the epoxy resin would release easily after hardening.
Ready for more ice an cookies... :) Next time I may file off the grain pattern to remove the characteristic 3d printed layers for a smoother effect.
Casting aluminum in a smithy!
There were lots of pictures but I haven't gotten ahold of them yet, unfortunately. So check out the video!
Mix the sand, clay, and motor oil, dust your model in the casing with not-cornstarch, break up clumps with a large sieve as you put the sand mix onto your model, pack it tightly, turn the whole thing over, dig out trenches for the Al to flow through, pack the other side, take it apart and remove the inverse of your trenches, put a pipe in where your trenches were and remove the plug. Now you're ready to pour! Or at least your friendly, neighborhood blacksmith (Thanks Dean!) is ready to pour on your behalf.
Downloadables:
- Vector file of the copied salamander. I took the artwork, tilted it, traced, then took my reptile and turned it around next to itself until it tessellated properly! It took quite a while to do by hand, but I'm satisfied with the results.
- the box is made of a solid square and a bunch of layers. If you want to do it that way, too, these are the two files for the laser in pdf format. They are at the top because I was using the scrap pile.
- Last, but not least, here's the final salamander 3D file after sculpting some spikes and muscles then cleaning it up!