Make Something BIG
Cutting and assembling things made on large CNC routers
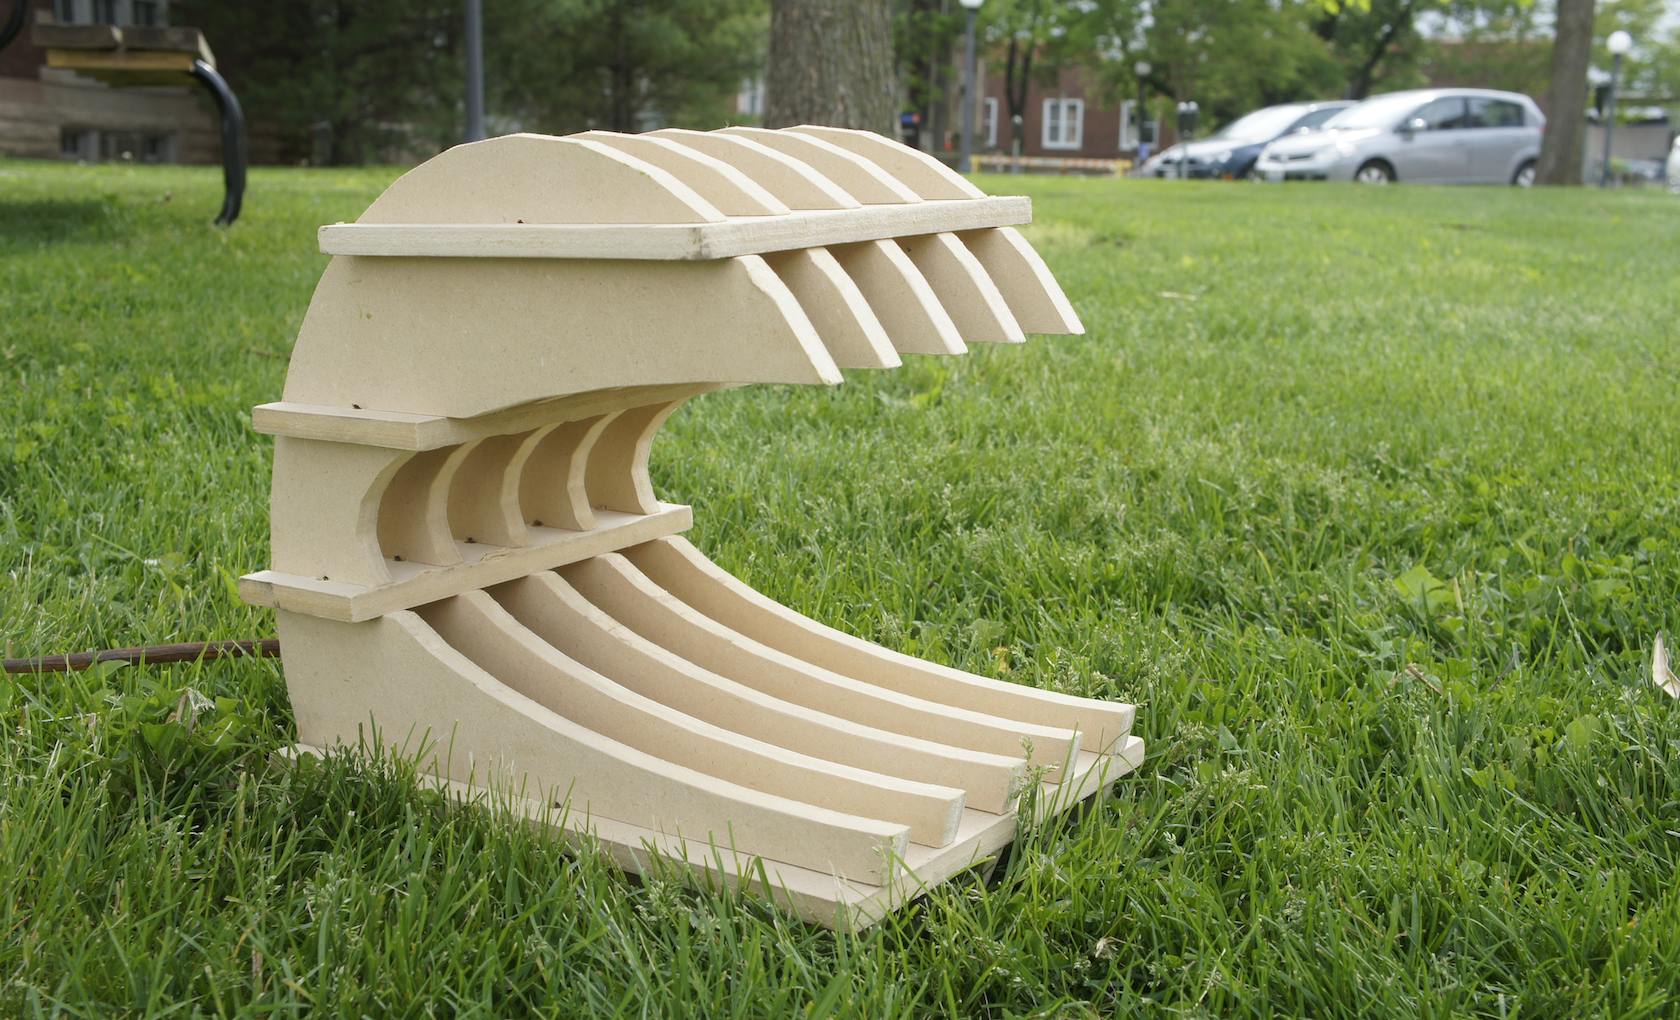
two speed racer/pac-man stools
A pair of over sized speed racer helmets that make excellent stools. This was not what I planned on making for this week. What I planned will probably be made at some point, but it got lost in the planning stages. I was inspired by a toy I made a few years ago that a mathmetition/sculptor made and then had released the design for and I don't think I overstate when I say it has captured the interest of the fab-ing community ever since. His page shows him making a giant musical instrument in the form of one of his sculptures that was taken to a big festival and apparently people went around asking for him by name because they recognized the frabjous sculpture (he wasn't there). Anyway, I noticed from his write-ups that some of his work is flat drawings on stellations of regular polyhedra, which is absolutely right up my alley. So I wanted to make a program that people could import a sketch, and the program would draw it onto a stellation (which is like a 3D star cut from a solid shape with planes), cut off the edge appropriately to link to the next corner, and tell you if it intersected (given a certain material width) so that you could iterate a design. Well... it's lost in planning stages and deciding which corners are the prettiest to connect.. but I did discover some new functions in both Mathematica and Rhino/grasshopper along the way.
What I actually did was much, much simpler, but still really fun.
Pac man alive
When I want to make something fast that looks exactly like I want it to I usually go to Tinkercad for at least the logical sums and subtractions. I wanted a stool that had a rounded look to it, but also had directions, so it wasn't symmetric. I played around with several shapes till I settled on a squashed sideways cylinder, and another cut out, and a flattened bottom. Export as .stl, import into 123DMake and set some options to 0.51" thick material that's 4'x8' then play around with the direction of the sliced lines that will form the grid then export the pdf or dxf. I found that dxf's imported into rhino as solid, which I then had to flatten, but pdf's imported perfectly as flat. Make sure you get the units correct. It helps to have the rectangle around it to check and re-size it if you have inches instead of mm or vise versa. I moved things around in the pdf in inkscape first to make them fit in a smaller space because my rhino short-cut fingers are not very well trained yet and moving and editing was very slow for me still. Then I added points in Rhino, which will get imported as commands to drill out the corners so that the slots will fit into each other.
How-to
Some notes on using this giant CNC. Basic feeds & speeds settings with our MDF material: feed rate 10, speed 3000, 3/8" straight tool bit: this to drill all the corner holes. Then feed rate 200, spindle speed 18k with 3/16" cuts (half the drill diameter).
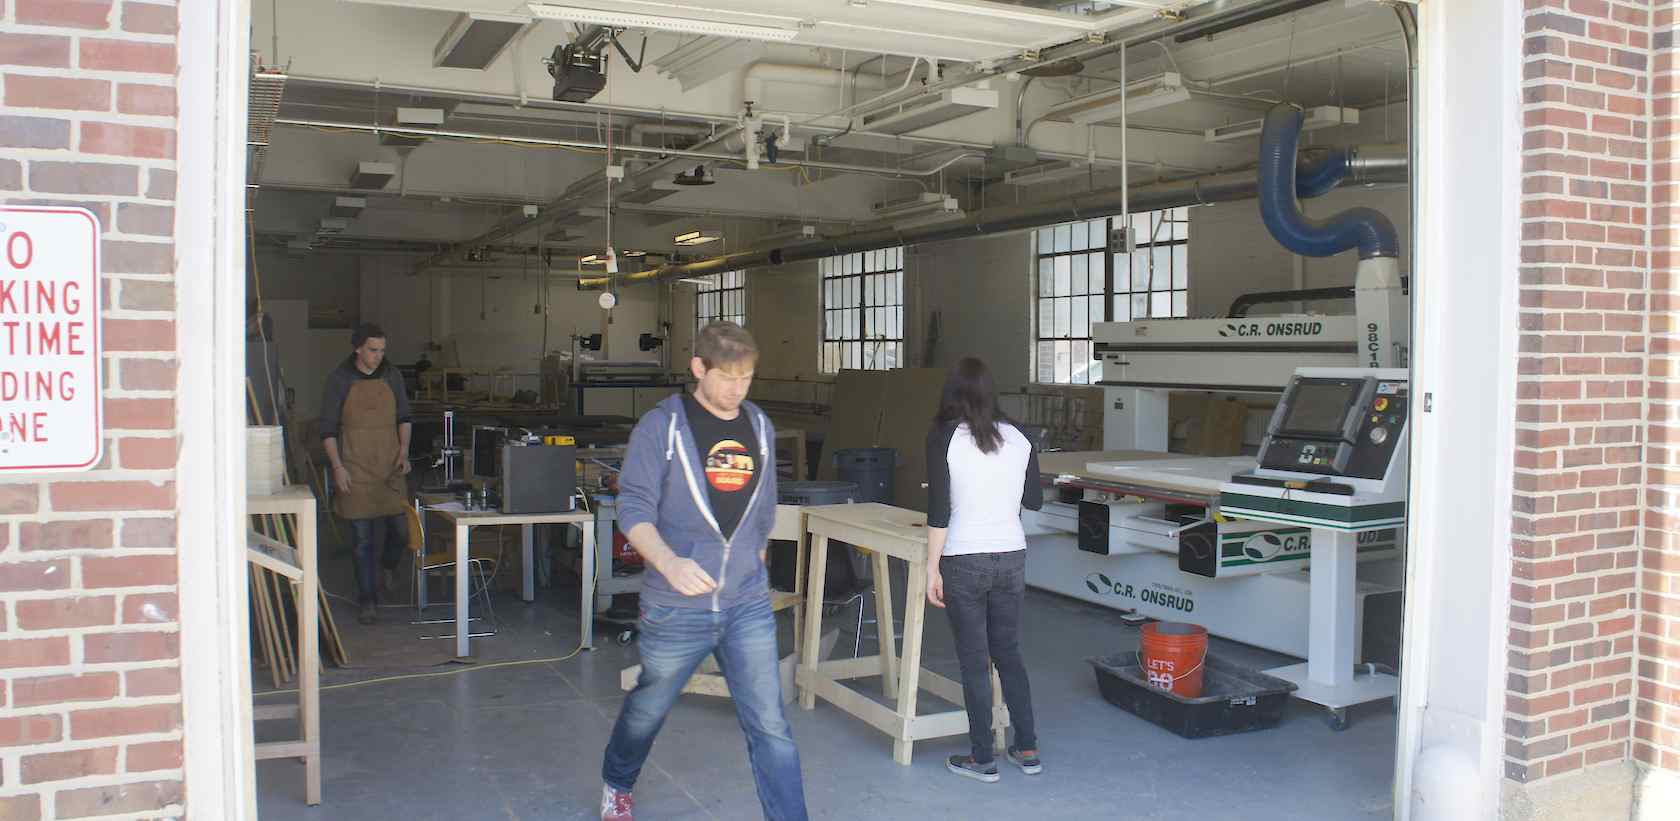
I took a video of the training we got to use the CNC, but it's a hard to hear because the mic is picking up woodworking in the background. So, instead here are some basic notes. It was a super fancy small ("small") professional grade CNC, a C.R. Onrund. It had lots of cast iron etc. to dampen vibrations, a system to pick up and load different bits (drill bits) for different parts of the job, and a wonderful vacuum surface that pulls the sheet being cut down onto the bed and keeps it there while the job is going.
Steps to control the CNC: From console, turn machine on, raise bed, allow it to warm up at 9k rpm for 10-15 minutes (18 rpm is too fast before everything has warmed up), pick up a tool and go to a position (G2 xyz). Export to IGS or IGES file format. Open, set router type: dual tube fixed gantry, stock 96, 548, 1/2". Open the file by going to the menu item file->merge and selecting the Rhino IGES file. Then click Make toolpath. Parameters that you should note! Cut drill point, window (to select all the points), normal drill. Select bit 3/8" bit: normal, peck (to reduce heat). Set drill height 1/2, 0. Tool setting to note! Tools are on a carosel of holders with different bits. Use tool #9 (in our setup) for drilling with feed rate 10 and speed 3000 (rpm). In the toolpath contour window! Cut parameters: window->select all. Tool: 3/8" straght bit--check that it's in the right place on the machine as well. Compensation-> left (may have to reverse it). Absolute depth 0.02, feed plane 1/2" or move over plane. Check compensation, change to right side if it's not on that side already. Feed rate 200, spindle speed 18k. You should be more conservative (slow) for plunge/retracting from the material. Depth cuts 3/16" (1/2 of drill diameter to be safe). Next! Export as an nc. And send it to the CNC, hooray! Take a look at the code. ctrl-f for z-, M7 is the command to pick up a particular tool, m3 to spin.
Set up your material on the bed. Pull out any staples in the mdf. The bottom right corner is (0,0), so put one corner there. There is some LDF backing spoil board. The vacuum holds it down in place. Use command z-shift=1" to test the file 1" above the surface. Mostly you are testing the plunge rate (that it's not too fast and might break not only the bit but might also damage the whole assembly.
When the cutting is done, turn off the vacuum to release the material from the bed and pop out your pieces. If all went well, all the pieces will be held to the mdf frame by a paper thin layer that's left. Mine were just about perfect. Some of my pieces were more paper thin than others.
Cut, sand, assemble, sit!

It may only take a few moments to sand each edge, but it really adds up when you have press fit objects with tons of edges! Especially the notches, which it helped to use the sanding sponges on. The corner of the sponge would go in the notch and then get both sides at once. The wood is pretty uncomfortable in the end I find, but with a pillow it's just the right height. I cut a pair of them, so that two people can sit together outside, or around our new TV-coffee table that will, someday, play pong with your pitch. But that's another story.
Downloadables:
Note: check the dimensions when you load them. The slots are half an inch. Worked great milled in light MDF board. The CNC was a C.R. Onsrud. Basic feeds & speeds settings with our MDF material: feed rate 10, speed 3000, 3/8" straight tool bit: this to drill all the corner holes. Then to mill out the parts: feed rate 200, spindle speed 18k with 3/16" cuts (half the drill diameter).
- Download the general pdf without the drill holes and/or the Rhino file with drill points marked in all the interior corners.