 Fab Academy 2014
| Fab Academy 2014
|
| Jeff Opichka |
|
|
Computer Controlled Cutting This week were instructed to use the laser and create a press fit construction piece. Press fit construction or friction fit uses no mechanical fasteners to hold the piece together. Mortise and jointery used fine furniture in one example of press fit construction. A variety of materials can be used in press fit construction. For this project we were instructed to used cardboard because it is cheap, recyclable and easy to machine. The following images depict my process of making a press fit box. 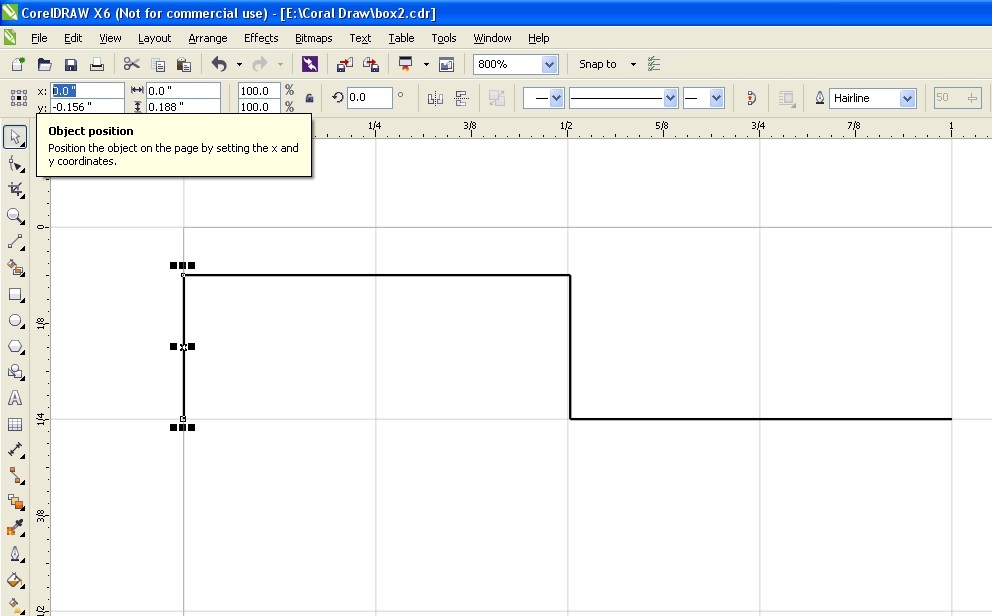 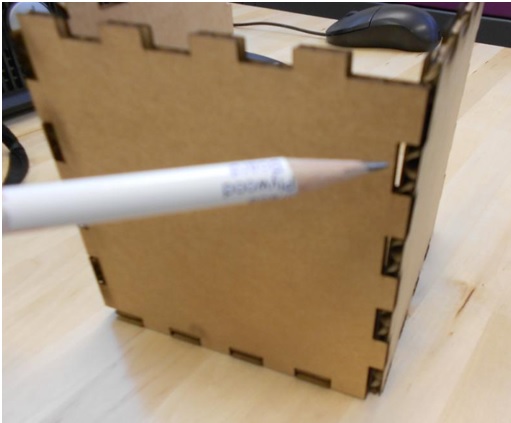 To start this project I activated the grid and object snap in CoralDraw. I designed a box to be about 4 inches by four inches. (Figure 1) shows the size of the tabs that I designed to be 3/16 in height and 1/2 inch wide. The height of the tab has to match the thickness of the material you are cutting while the width can vary. For this project I used 3/16 cardboard. I then took that piece and duplicated four times to make one side. One entire side was duplicated three more times to make the rest of the box. Figure 2 shows the six sides cut out and put together. As you can see from the image, the box has very loose fit joints, not good press fit construction.(Figure 2) 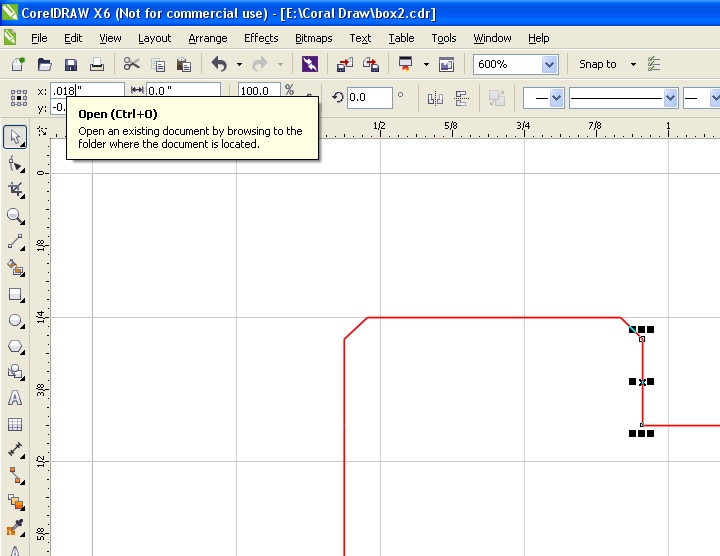 To properly make a press fit box you must take into consideration the kerf (amount of material removed) of the laser. To compensate for the laser kerf I made the width of the tab bigger than the original. The original tab width was 1/2 inch. I made three test boxes, each time changing the width of the tab. The vertical piece of the tab was moved over on the x axis .006 of an inch at a time.(Figure 3) The final box I constructed had the tabs .518 of an inch in width to properly fit together with out coming apart.(Figure 4)  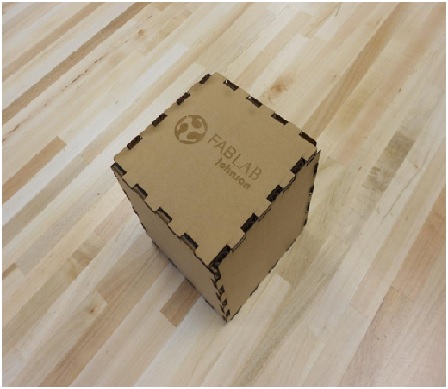 Figures 5 and 6 are the finished products with press fit at the correct tolerances so it doesn't fall apart. 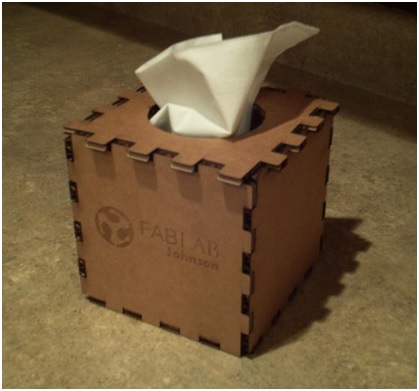 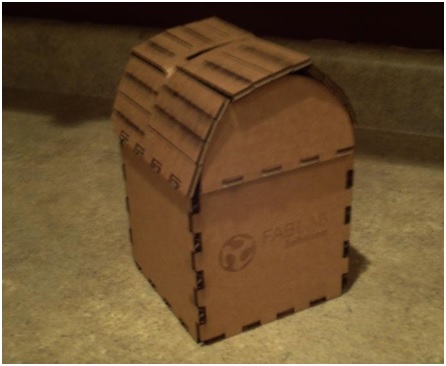 The above two images are other possible uses for the press fit box. The first box is used as a decorative Kleenex box. Store bought Kleenex boxes will easily inside the press fit box. The second image was constructed with a top that was arched to make a piggy bank. As you can see from the image, I still need to modify the top to make it fit. |