 Fab Academy 2014
| Fab Academy 2014
|
| Jeff Opichka
|
|
|
3D Scanning and Printing Along with the Aerospace Technology teacher, we designed an air foil on Autodest Inventor. Below you will find two pictures of the airfoil in Inventor that would later be 3D printed.  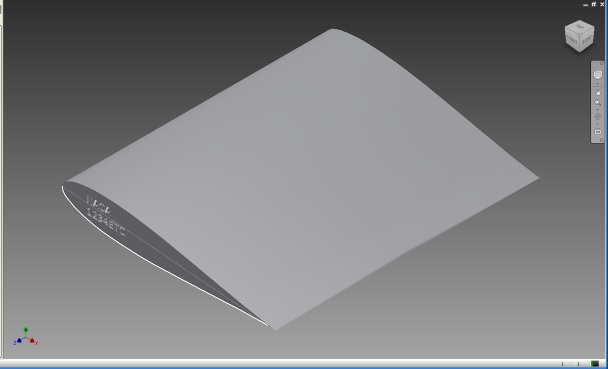 There are a variety of printers on the market that offer that offer a wide range of capabilites. Our lab is fortunate to have three different brands of 3D printers; Projet 1500, Stratasys and Makerbot. I chose to do my prints on the Projet 1500 and Makerbot. The first picture below left is the Projet 1500. This machine is a pricey machine that uses VisiJet plastic material. The build plate is lowered into a tray of liquid plastic material as the image is project up to the plate for several seconds. Once the image stops projecting the build plate raises up while more VisiJet material is put on the tray. This process will continue for each layer of part. When all said and done the whole process had over 400 layers, took 12 hours to complete and used alot of plastic material. This unit is a one material process so it can not produce moveable parts. The second picture is the same airfoil scaled down half the size using the Makerbot. Makerbot is a economical friendly 3D printer that doesn't have all the bells and whistles but produces quality parts. To import the air foil into the Makerbot I needed to install Makerware, which is a open source software. Makerware easily lets you manipulate the file to your particular needs. Start up took only minutes and the machine was making the model in no time. Total build time was a little over an hour. 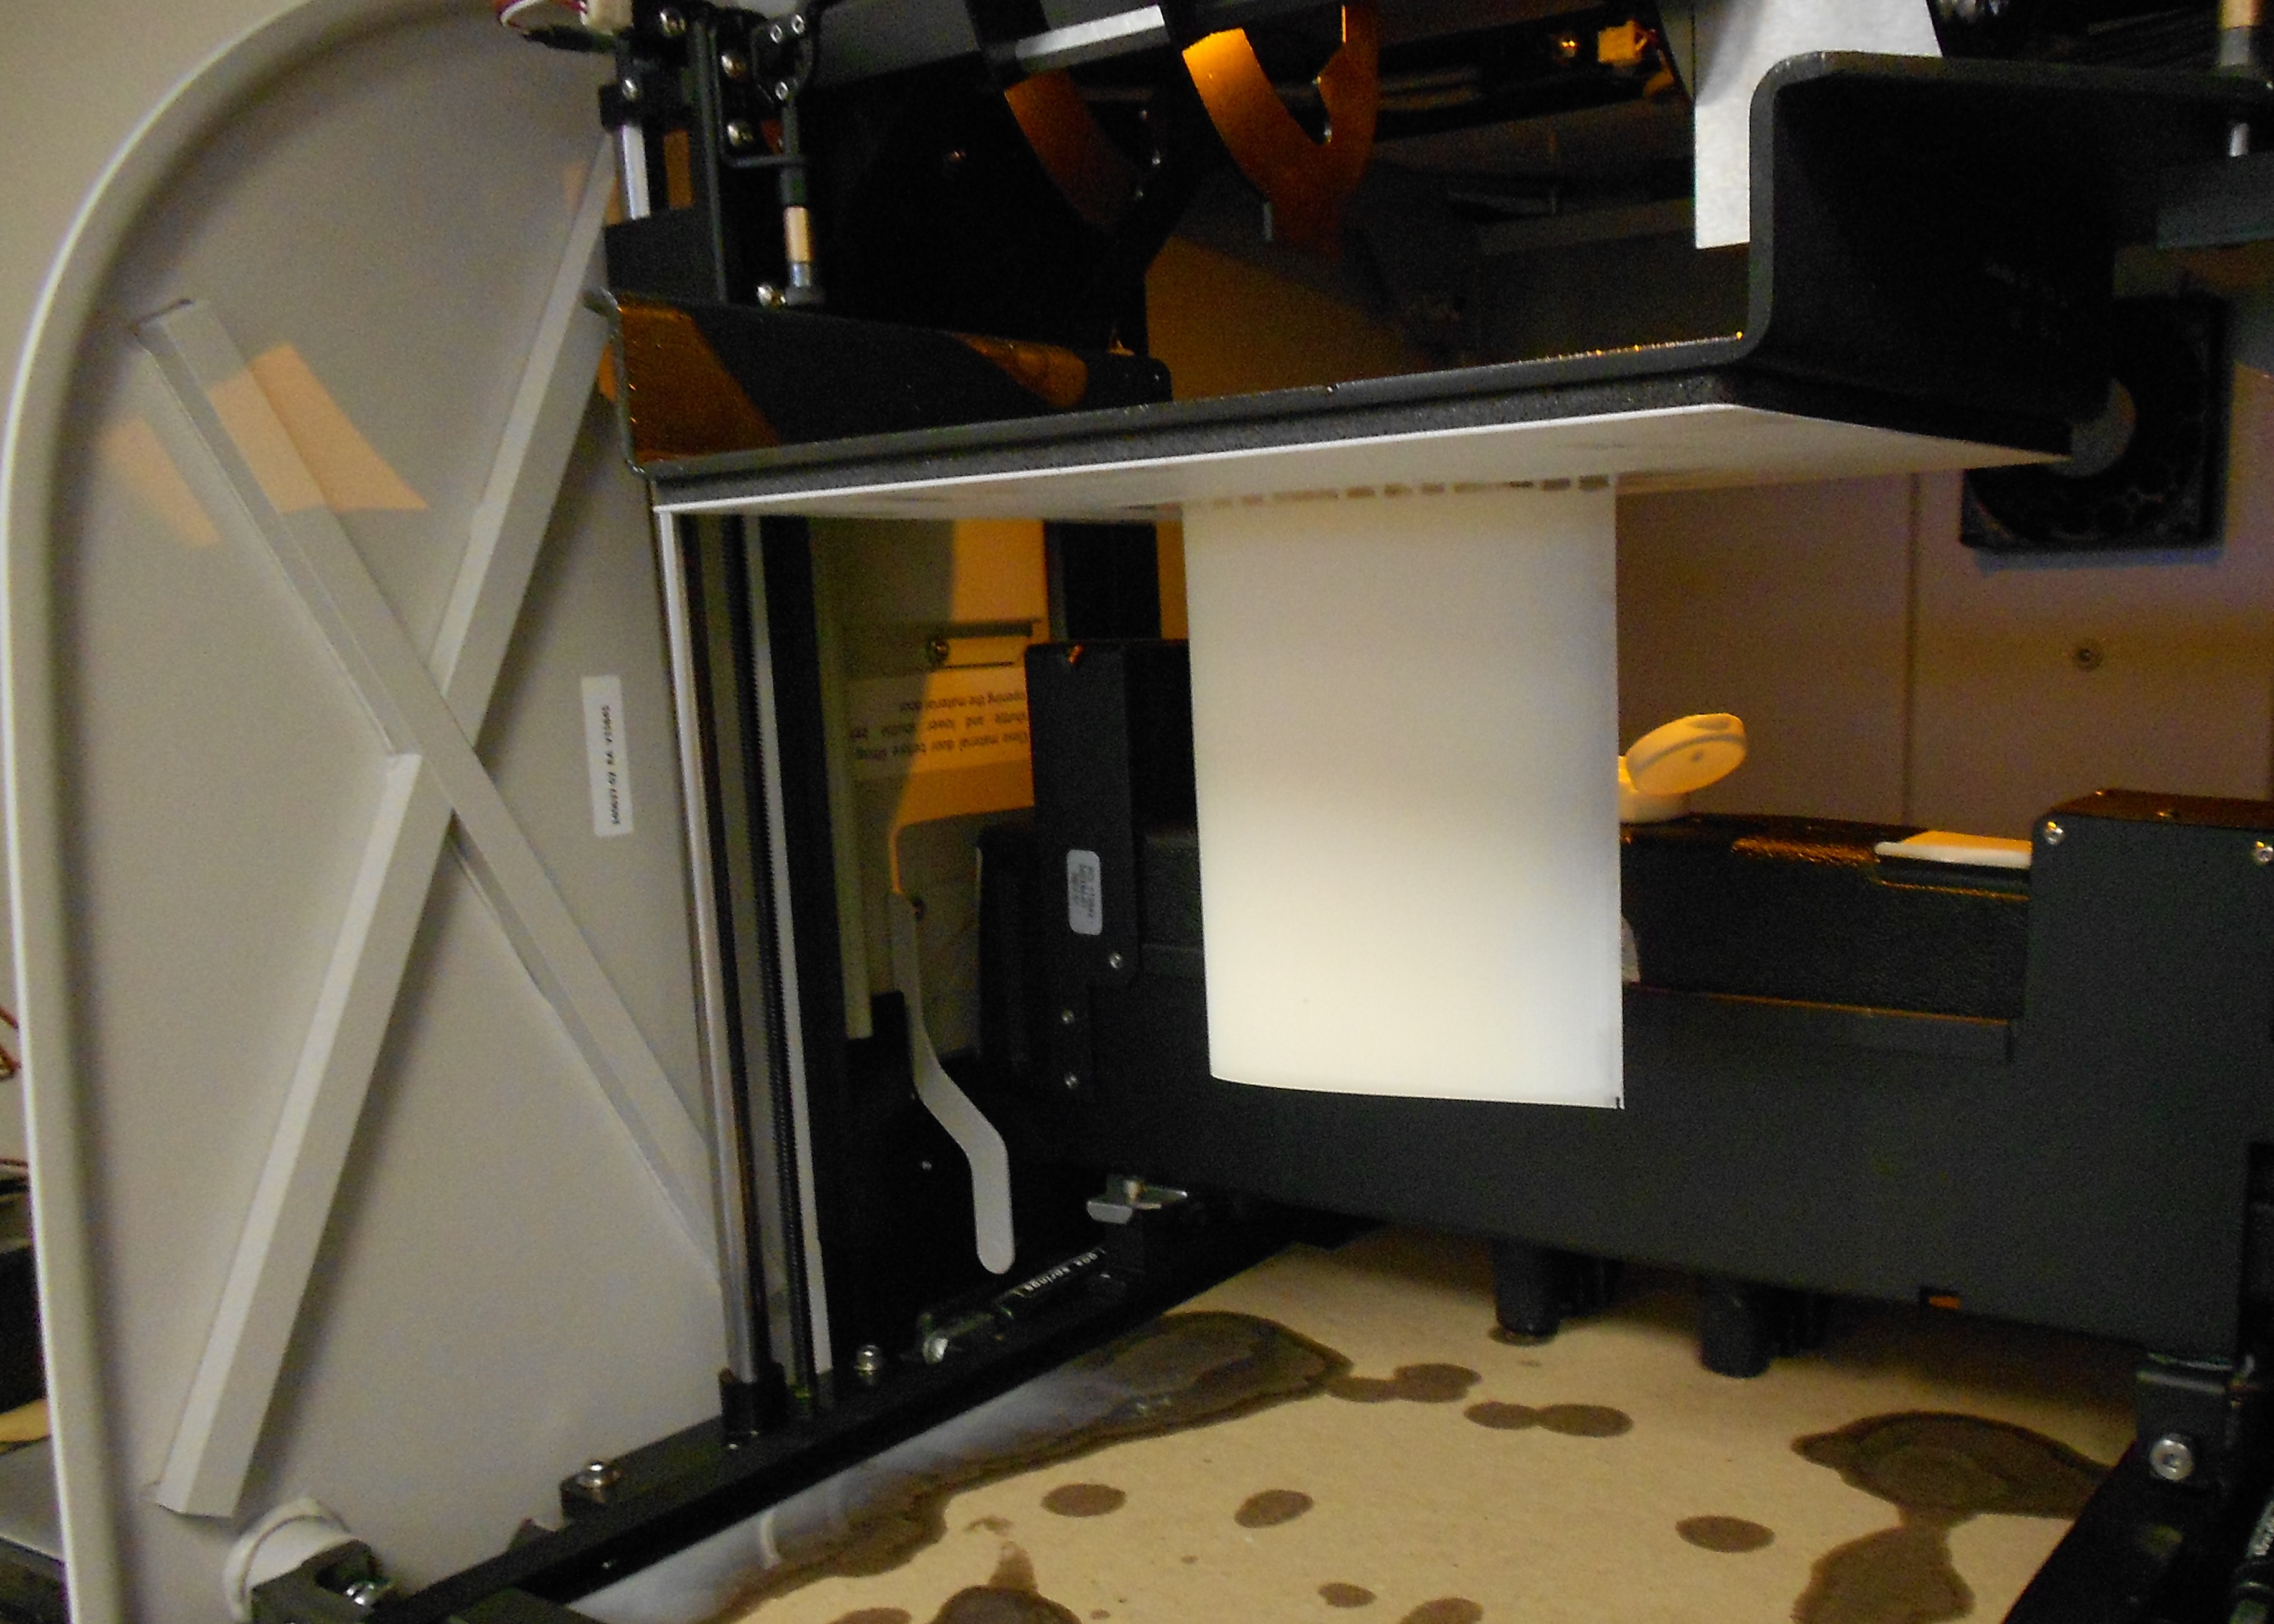 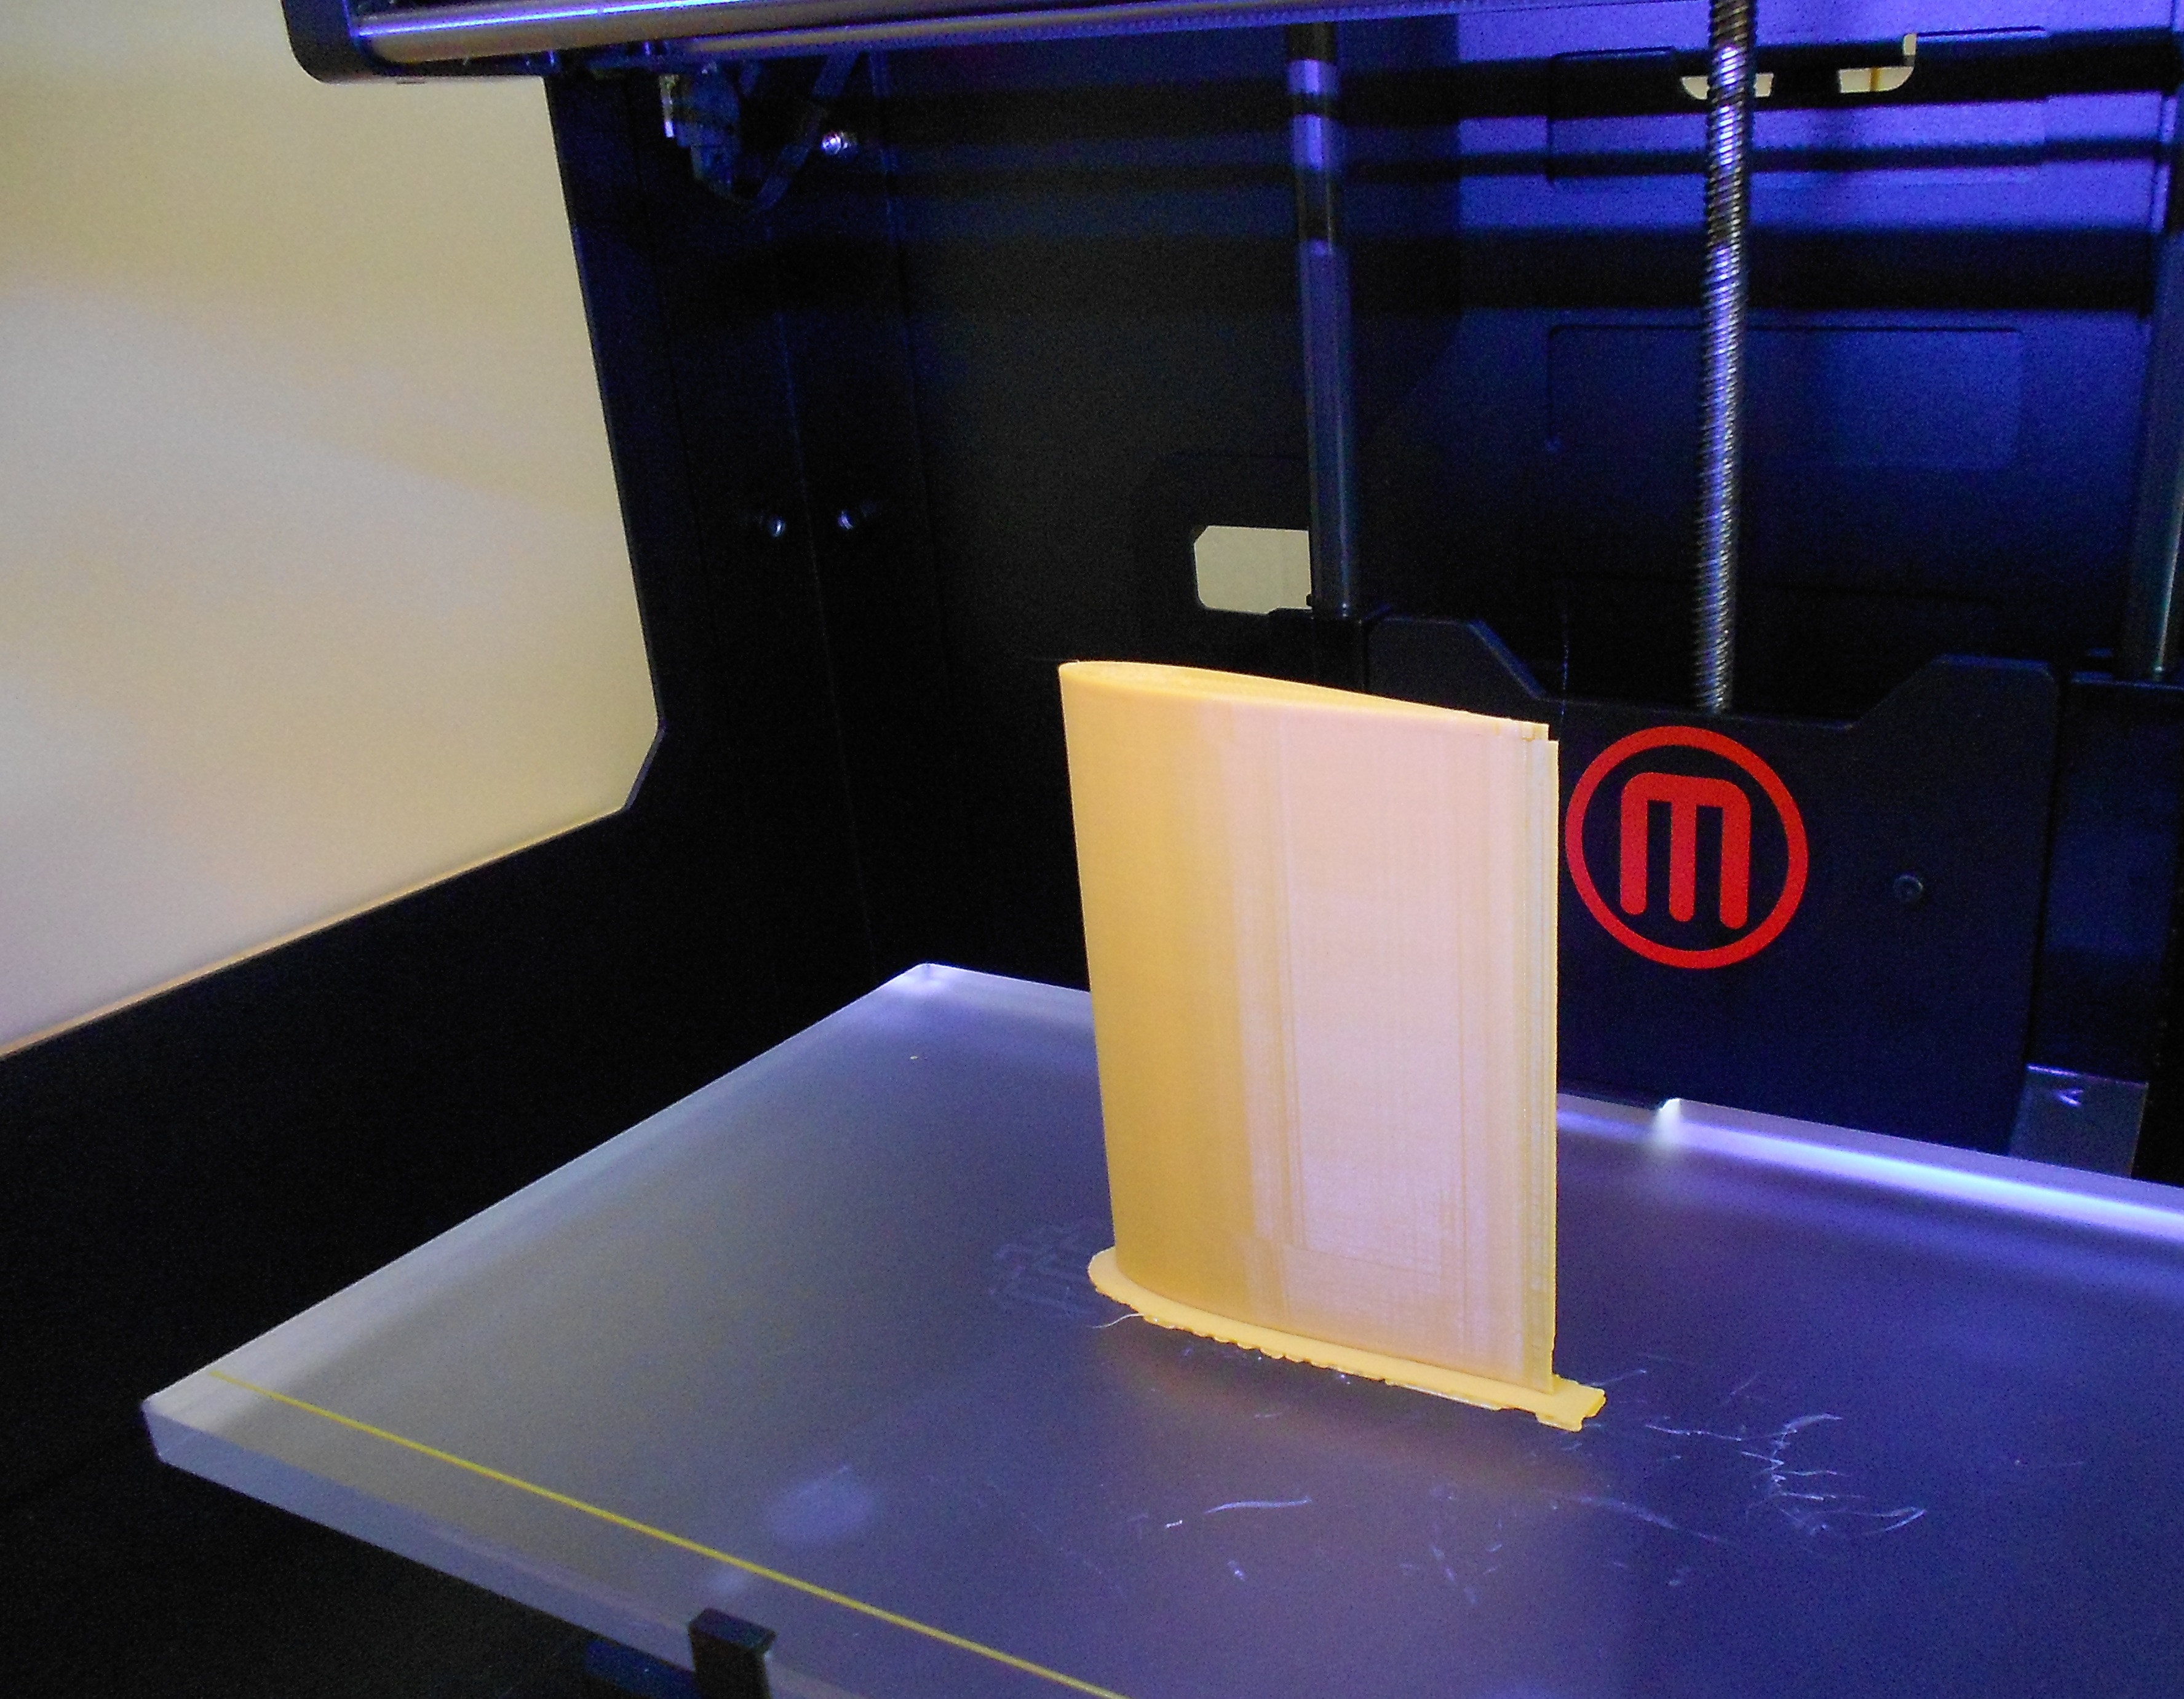 The two picture below show finished product. The white air foil was produced by the Project and the yellow air foil by the Makerbot. 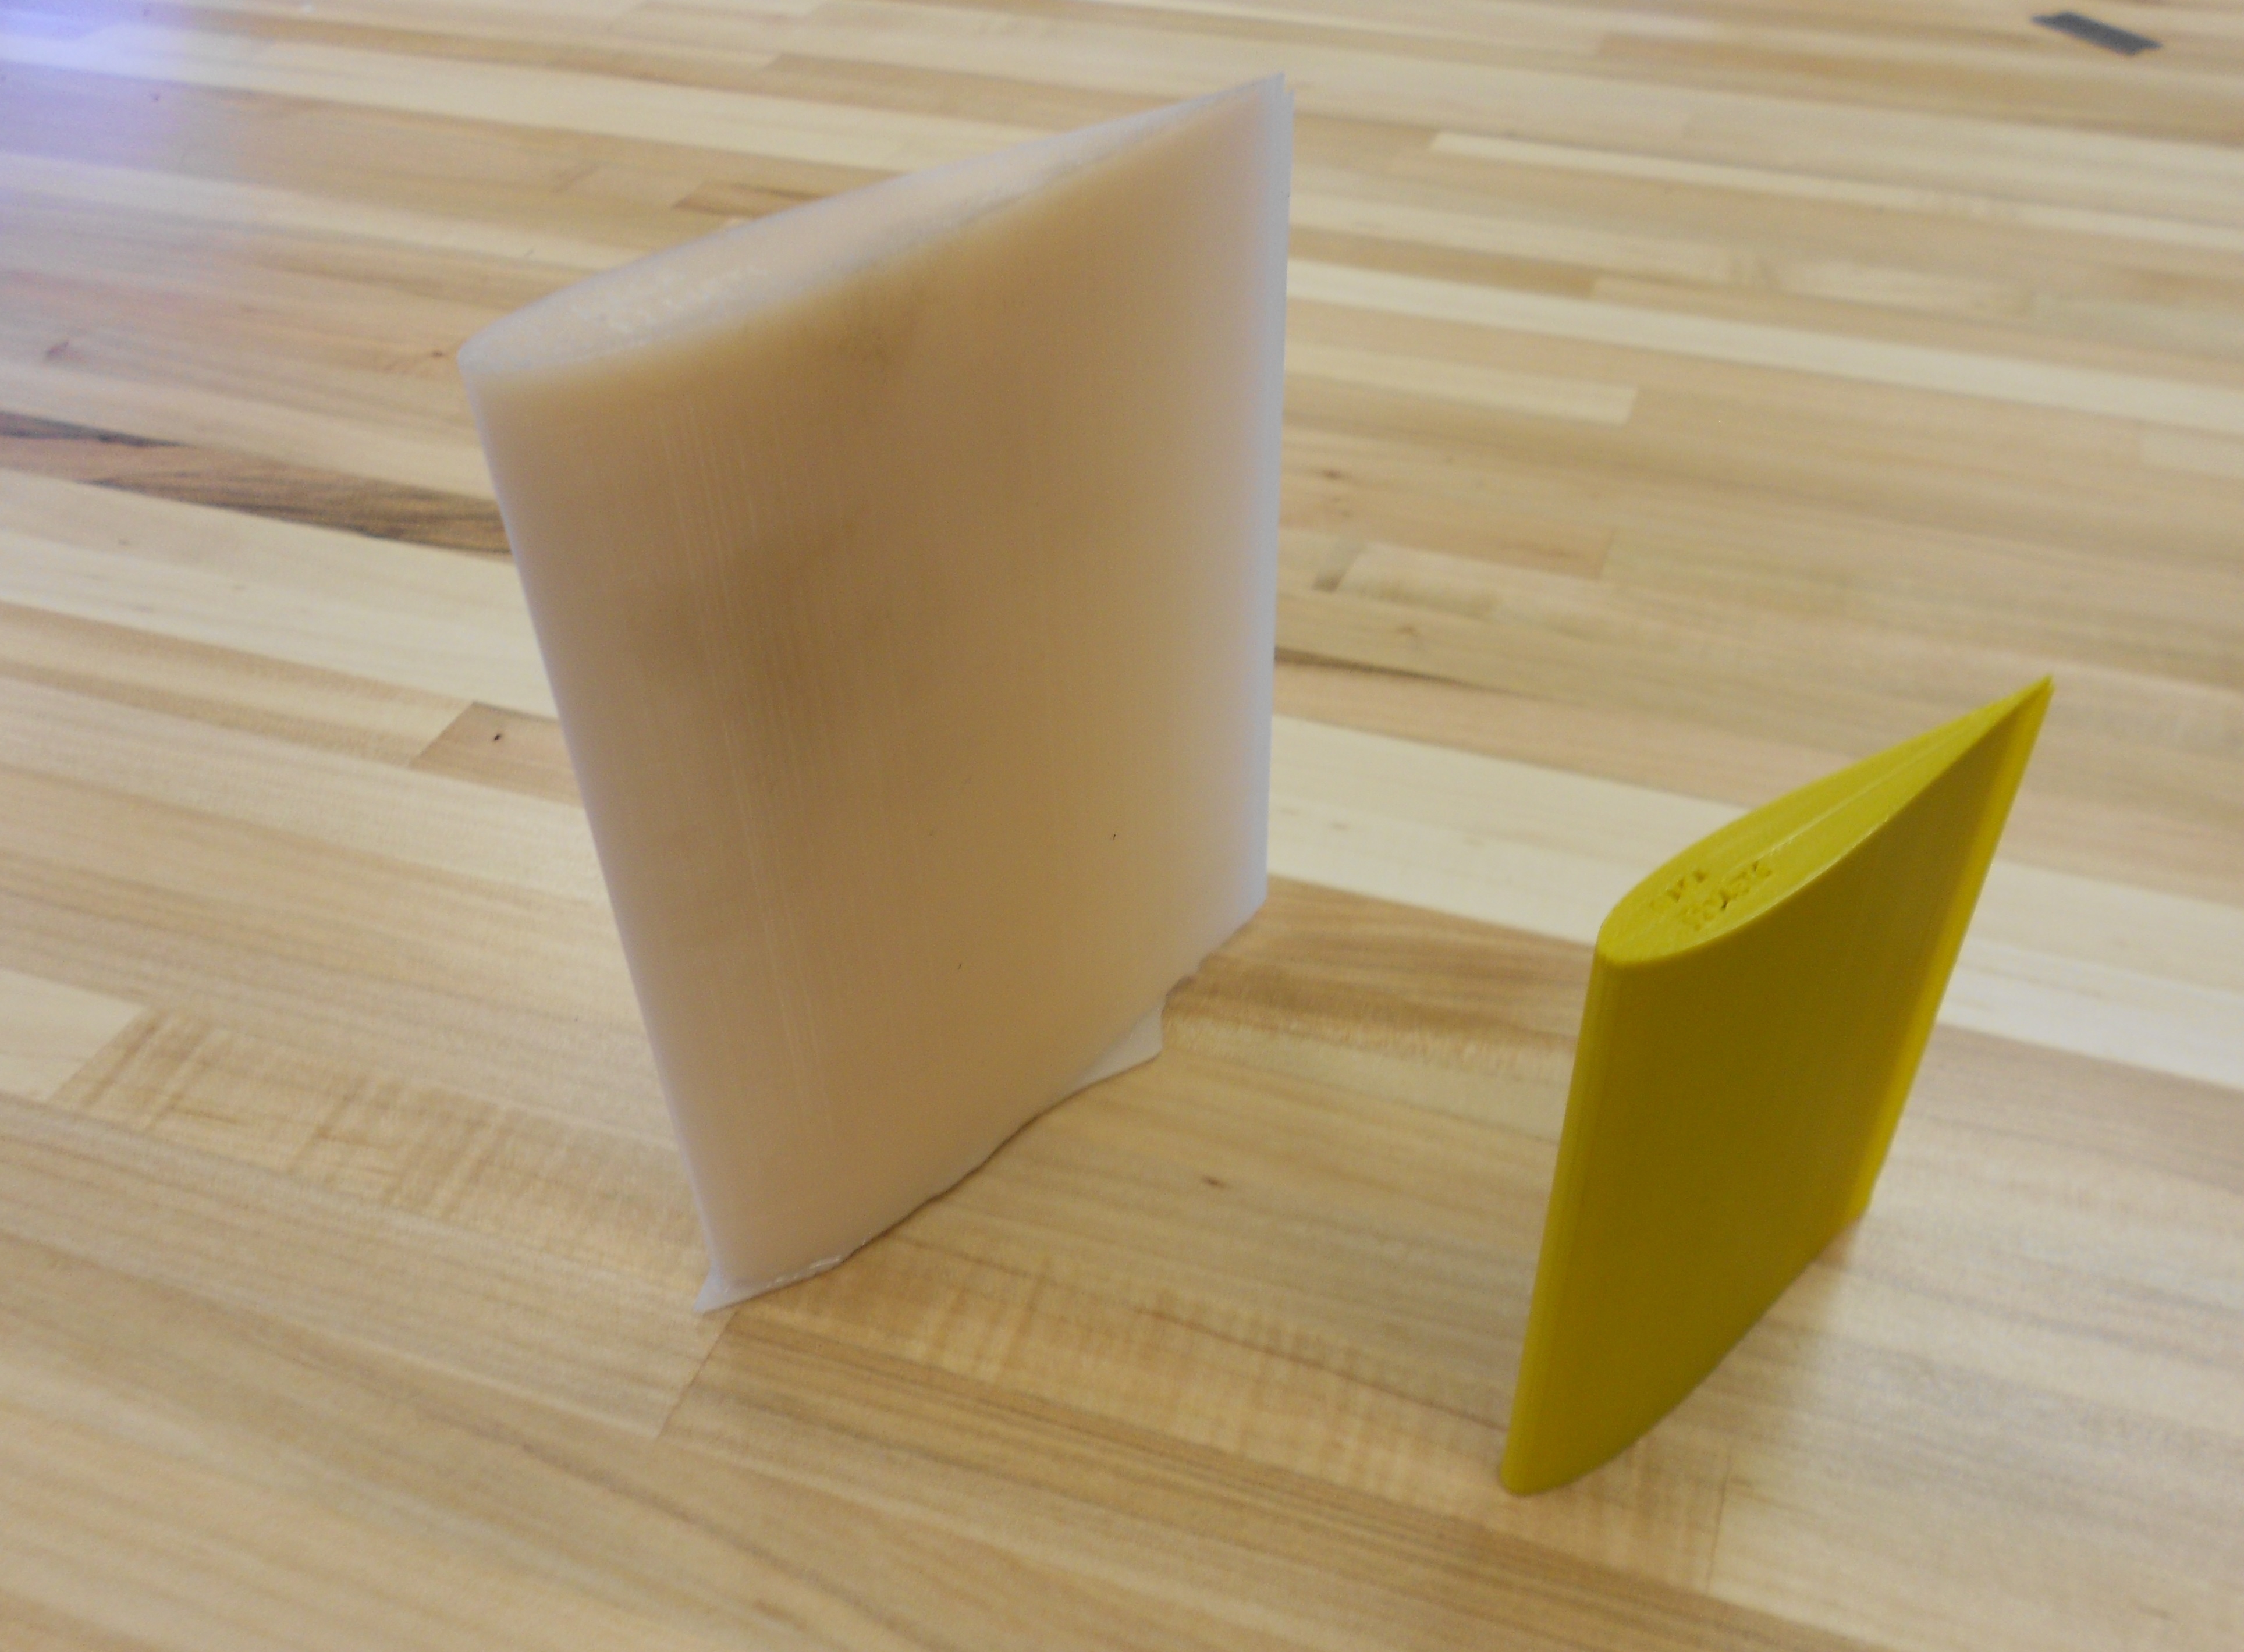 For the 3D scanning portion of the unit I used the Roland LPX-60 and scanned King chess piece. 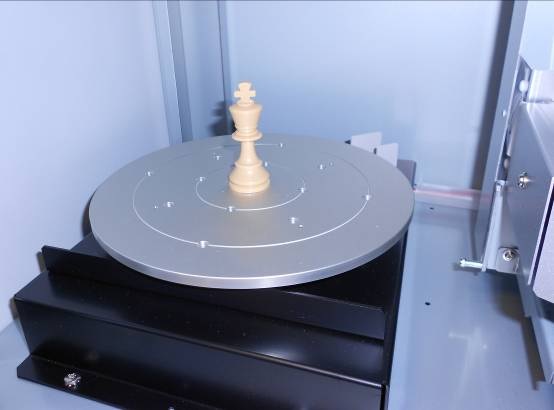 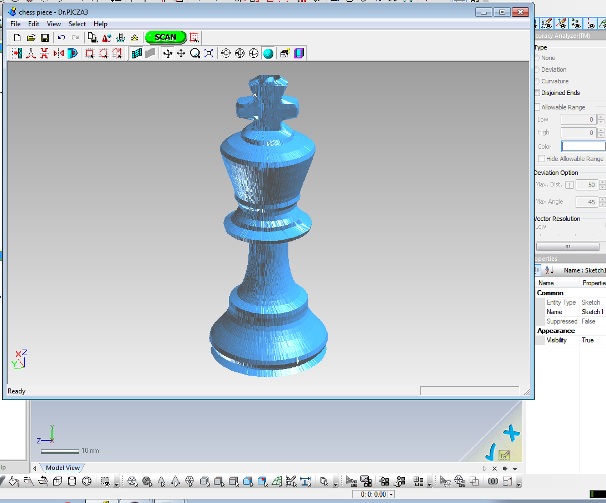 |