
Prepare the Deep Platform
After adding the plane to the Blender Space -| At this stage, we have a solid rectangular geometry,
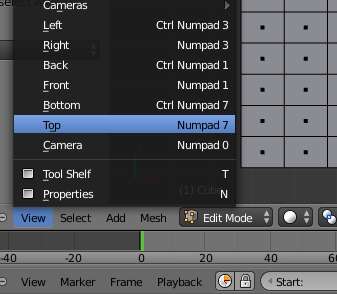
disintegrated in number of surfaces, for finer detailing. Before moving on to the next process, let me show how to change view angles,
especially in the case when one does not have a num-keypad!! Under view click on top or other views as applicable. In this case, it is top. |
|
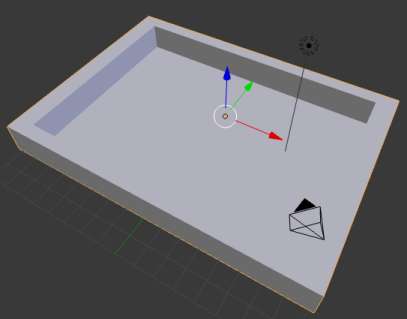
| At this point in time, based on the measurement done earlier
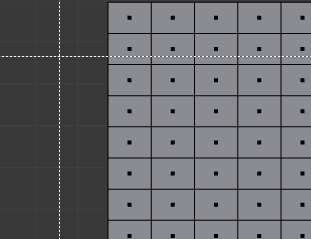
(Part 4), we know that wall thickness can be achieved using the outer most subdivided blocks of this rectangular solid. Hence, keeping those
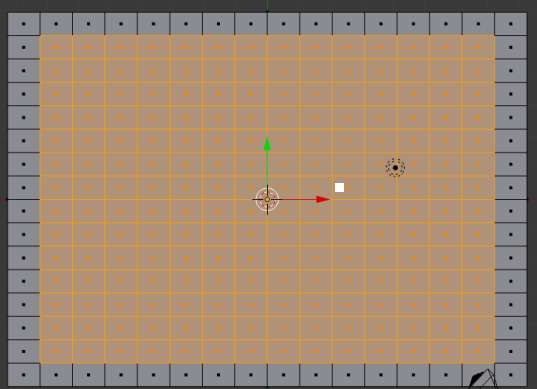
intact and pushing down the rest of the subdivisions, will create a deep part. To do this 1) Selecting the desired subdivisions is next steps. To do so, click B. The image besides shows a paire of dotted lines, which acr as a Selector Tool. Press LMB and hover the mouse pointer now to select the desired subdivisions. |
|
| At this point we are ready to extrude
(push/pull... whatever we want to do..). Press E to extrude. A push or pull of surface is essentially an Extrusion, in one of the directions along the normal to the surface. Hover the mouse downwords to Push down the subdivisions we had just selected. |
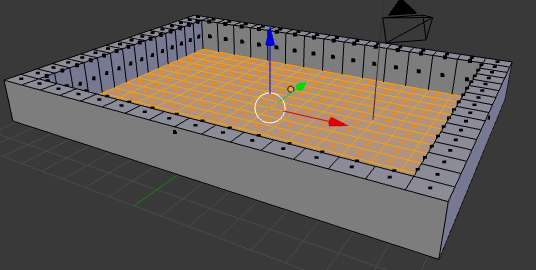 |
| At this point, the hmaf part of mold is ready... |
 |
Yet to complete ...
Move on to Blender Basics - Part 1 Part 2 Part 3 Part 4