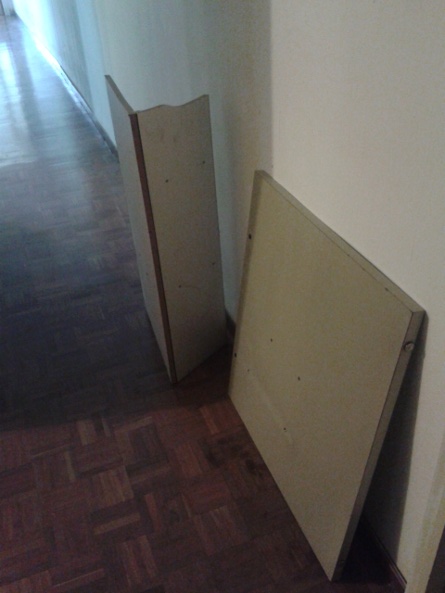
So, it took me awhile to write this post on making something big. We were given the challenge on making this homework with waste material. In Barcelona every neighborhood has a "día de trastos" or "day of junk material" where people leave old material like furnitures in the sidewalk for a special truck to pick up. I used this day to get some possibly useful materials (whatever the Romanians would leave behind). Below you can see some pictures of scrap material and old furnitures that I found.
Using the material found, which was not much, I had trouble deciding how to make something of a decent size out of it. The idea came of seeing how at IAAC they used several beams to unite them and create longer beams. I decided to use that concept and originally wanted to do hanging rack for hanging...whatever. It would have circular base and top with eight columns or beams made of two separate pieces each. Below is the Rhino drawing of my furniture.
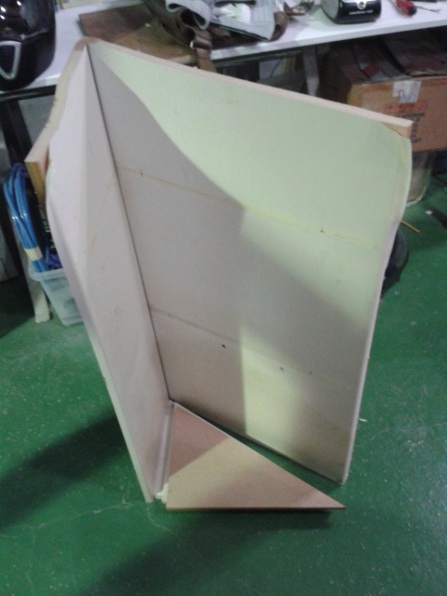
However, I encountered some problems in the way of making this piece of furniture. The first one was that after a couple of days the triangular part that can be seen in the picture below got lost. That was my mistake for misplacing something that was actually of some value. That triangular part was necessary because the testing part was going to be milled out of it, to be able to decide which hole sizes fit better for the MDF material that I was using. I lost that part, so I only had enough material to mill everything once, and I decided to size the holes exactly as the parts that were fit in them. That was a mistake that I would regret. Once I milled everything, I found out that I would have to sand everything in order to make a proper press-fit of the pieces. That required a lot of sanding. After that horrible amount of sanding, I managed to fit everything properly, except for the arms in which everything was supposed to be hanged. As I mentioned earlier, this was supposed to be a hanging rack. In the end I left the arms out and ended up having a nice table, or desk that could be used for decoration or for placing anything randomly.
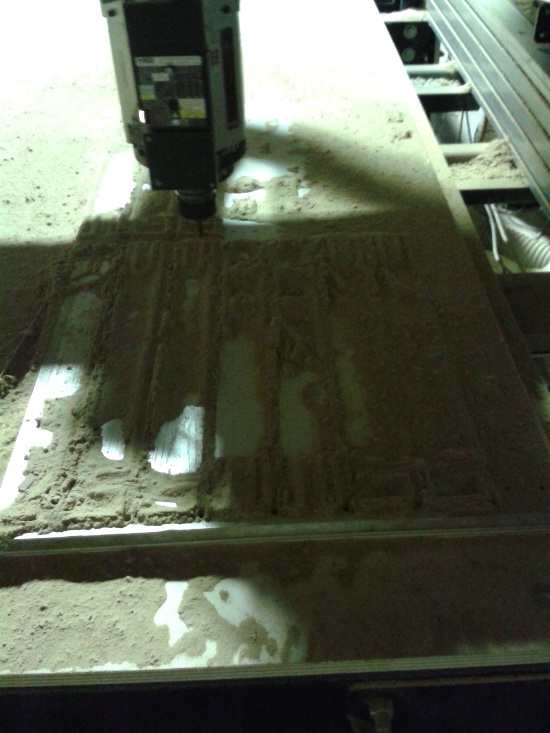
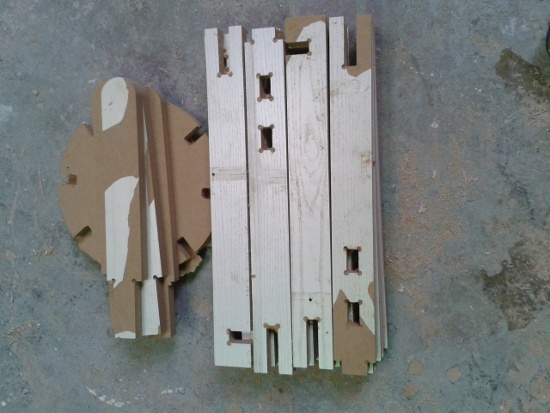
Below there are pictures of the milling process, milled pieces, and initial assembly of the pieces.


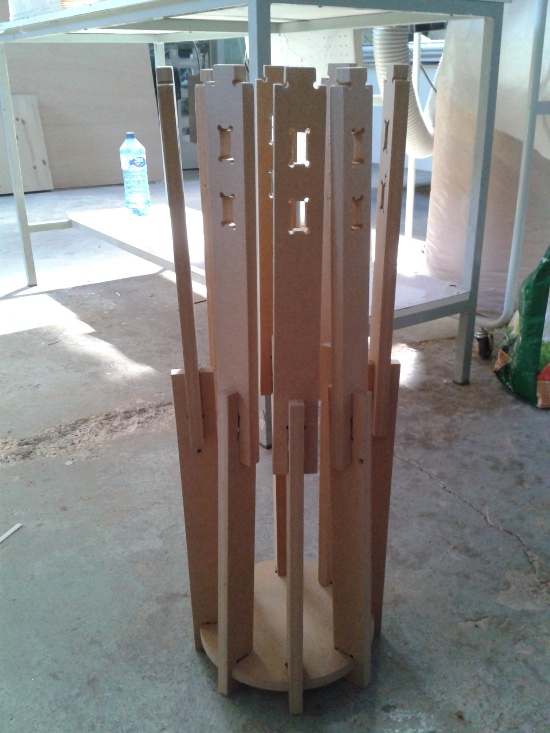
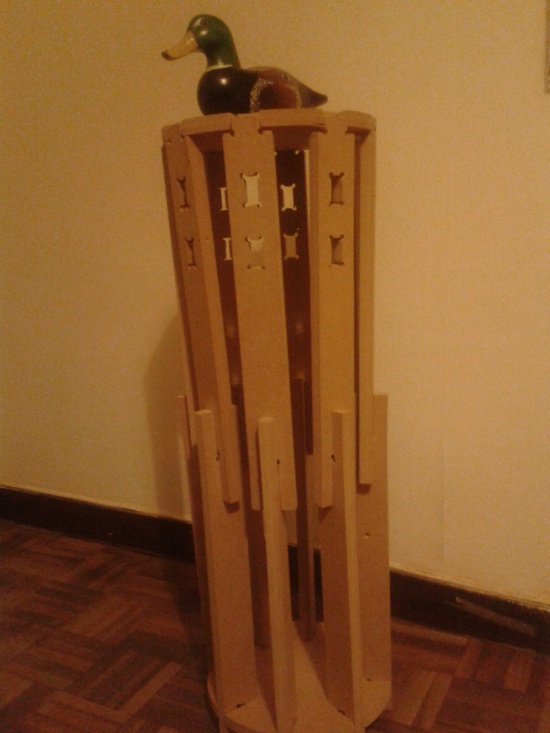
Below there is a picture of the whole work assembled together.
