3D scanning and printing
Week 5 Overview
This week Fab Academy covered 3D Scanning and Printing. For 3D scanning software options were also covered as well as considering how scanning actually
works and what might be most suitable for different objects depending on their size, textures, details and location.
For 3D printing we
mainly focused on different 3D printing options and considerations when 3D printing such as
different materials, costs, file formats, various software options, time investment and final finish desired.
The assignment for the week was to
- 3D scan an object
- and design and 3D print an object
3D Scanning
For 3D scanning I decided to try a few different scanning option to compare the results of the different applications and hardware. The scanning options I tried was:
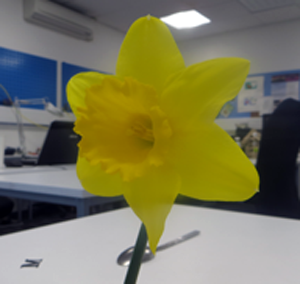
I also wanted to try scanning the daffodil by using the pin sensor on the roland modela but decided not to because it takes so long to scan, even though the results are amazing. I was really tempted though considering the great results another student got with a strawberry. Link to the strawberry scan here
3D Scanning - with the Makerbot Digitizer
Link to the Makerbot Digitizer website
Overall using the makerware digitizer software is quiet easy but the results are quiet disappointing in most cases.
First of all I tried scanning a clip for my bicycle pannier bag. I guessed it would be quiet
hard to scan because it's so small and a dark black plastic surface.
Here's an image of the different ways I tried to scan the clip with the makerbot scanner. I tried
painting it in matt or different colours. The frustrating thing about this was that when it was mid way through the scanning
process it looked like it was doing a better job as you can see if the right most image. But
the end result when it merged all the multi-scans together wasn't any good.

Download the first scan of the bike clip here
Download the second scan of the bike clip with paint on it here
3D Scanning - with AutoDesk 123D Catch
Link to the AutoDesk 123D Catch website
Using Autodesk 123D Catch you take lots of photographs around an object and then upload them to create a 3D model of the object.
Step 1 - take up to 70 photographs from all around the object you want to make a 3d model of
Step 2 - Download and install AutoDesk 123D Catch
Step 3 - Open 123D catch when it's installed
Step 4 - Select Create a New Capture
Step 5 - Select the photographs you took of the object
Step 6 - Select the big green tick to 'Create a project'
Step 7 - A window will pop you that you need to enter the relevant details for your model. Then press create
Step 8 - The software will start uploading the files to an online data base from autodesk where it will then go an generate the 3d model .
This can take anything from 5 minutes to 1 hour depending on your internet connection and the complexity of the model.
Once it's done you'll be able to download the model and view it in 123D catch on your computer
Step 9 - You can save the model as an stl files if you want to bring it into any other software program to edit it.
I've used Mesh Mixer for this but I prefer to edit models in
Solidworks. However, trying to get the model in solidworks is a mission
because there are so many surfaces. I've yet to figure out how to do this or find software that I find as easy to edit models in as
Solidworks.
I've created a pdf of this process that you can download here
Download the model of the daffodil scanned using 123D Catch
here
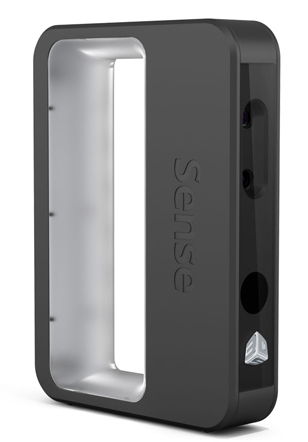
3D Scanning - Cubify Sense Scanner
Link to the Cubify Sense Scan Website
This was great for scanning people but it was very difficult to get good results for
smaller objects.
Download a scan of me using the Sense scanner here
3D printing
3D printing document of using the software - step by step of using software For 3d model making there is also a vast amount of different free or subscription programs.I've used google sketch up before for messing around but I find it really difficult to make anything precise, even if it is organic. But my favourites are :
More professional one's are the likes of:
I find it quiet hard to use solidworks for organic shapes or free form modeling (like hand clay modeling)but overall I really like solidworks for making precise pieces.
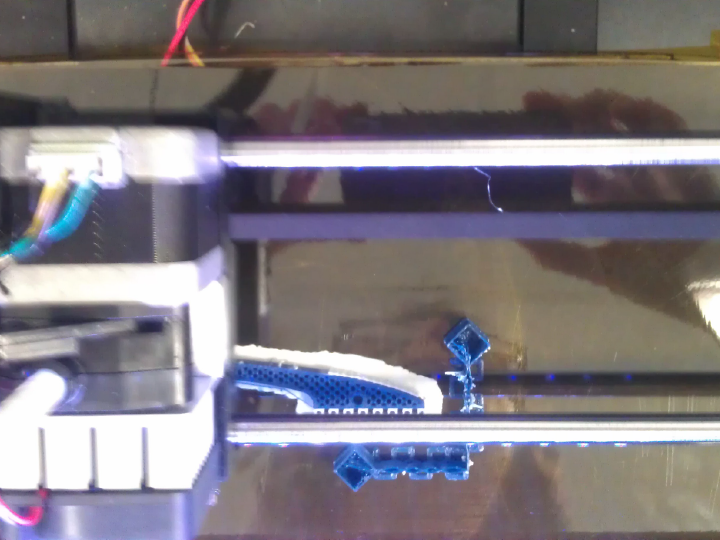
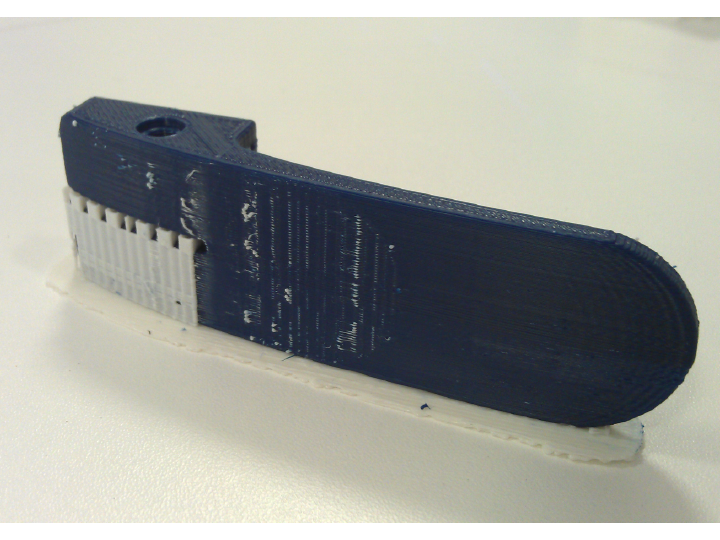
3D printing a clip for my bicycle pannier bag
This week I decided to print a clip for my bicycle pannier bag. I had lost one of these so need a new one.
I've already made the 3D model so now I'll print it.
Here's an image of the 3D model for printing

Download the model for 3D printing here
I used the Makerbot Replicator 2X and printed in ABS because I needed something quite strong to work on the bicycle bag.
This website seems quite good for explaining the difference between ABS and PLA
The Difference Between ABS and PLA for 3D Printing
When you have the model in the makerware software you need to make sure it's on the bed of the printer. When using the R2X with2 nossles
you need to select the object and then click on the objects icon. This allows you to select what nossle will be used for printing.
The settings I used are:
- I want to: Export to File
- Export for: The Replicator 2X
- Material: Makerbot ABS
- Right: Makerbot ABS
- Raft: Left Extruder
- Supports: Left Extruder
- Resolution: Standard
- Infill: 30%. This is typically 10% but I increased this because I need the clip to be quite strong
- Number of Shells: 2
- Layer Height: 0.20mm
- Temperature - Left Extruder: 230
- Temperature - Right Extruder: 230
- Tick Heat Build Plate
- Build Plate: 110 degrees
- Tick the box that Asks for preview before printing
Then press export. The software will slide the model into layers and generate
code to communicate with the printer what to print.
Apparently the R2 is good for PLA and the 2X is good for ABS.
I found this out from this website -
Best Printing Practices on Makerbot Replicator 2 and 2X
This website was really useful for helping me to get the temperature right for PLA when I've printed other things
-
How To Succeed When Printing In PLA
These are some guidlines I made for printing in PLA on the Makerbot R2 from an SD card
here.
Download Machine Files
Download the first scan of the bike clip here
Download the second scan of the bike clip with paint on it here
Download the model of the daffodil scanned using 123D Catch
here
Download a scan of me using the Sense scanner here
Download the model for 3D printing here
Week 5, Feb 20
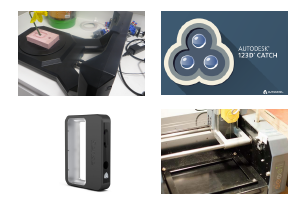
Different software and hardware I tried out for scanning