3D Scanning and Printing
Task:
Design and 3D print an object (small, few cm) that could not be made subtractively & 3D scan an object
Description:
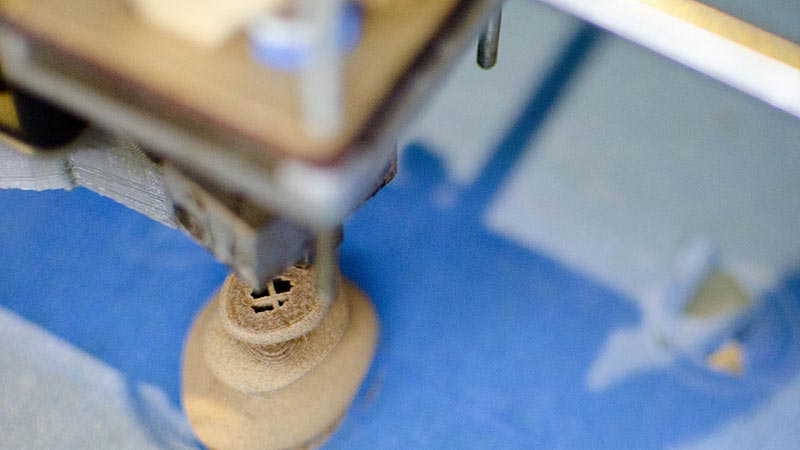
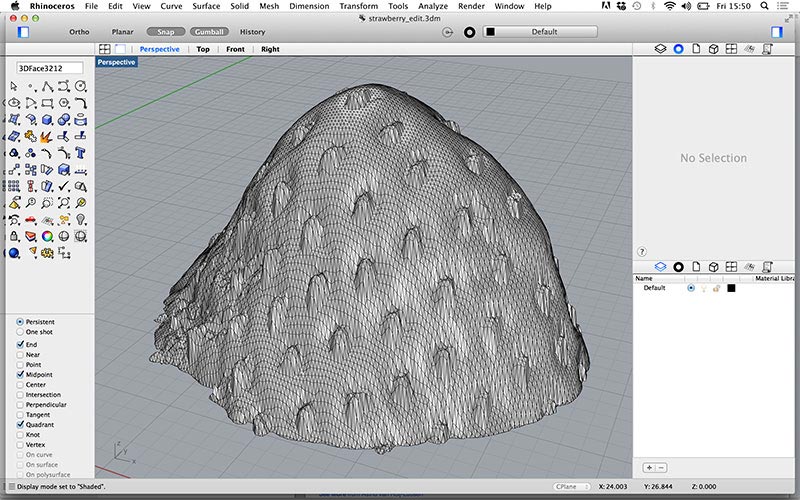
For the 3D assignment I used the model I designed in Rhinoceros for the CAD assignment. This shape is a prototype of what my final lamp could look like. The interesting part about printing this object was the overhang of the different shapes. For the 3D scan assignment I scanned and printed a strawberry.
3D Printing:
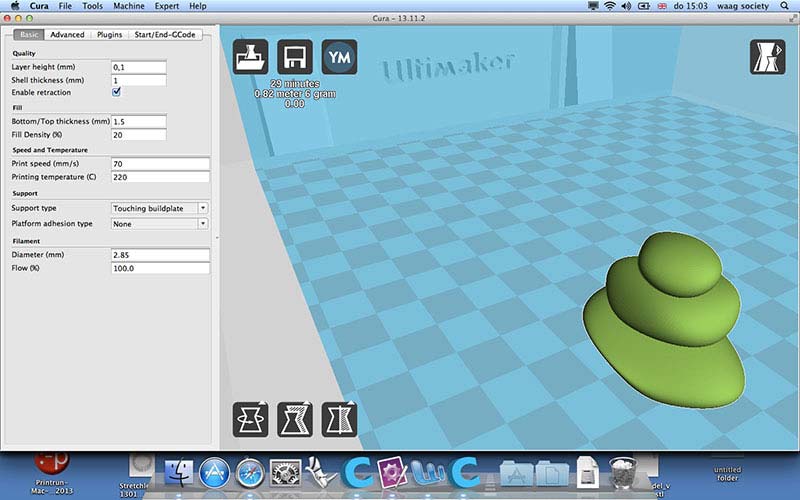
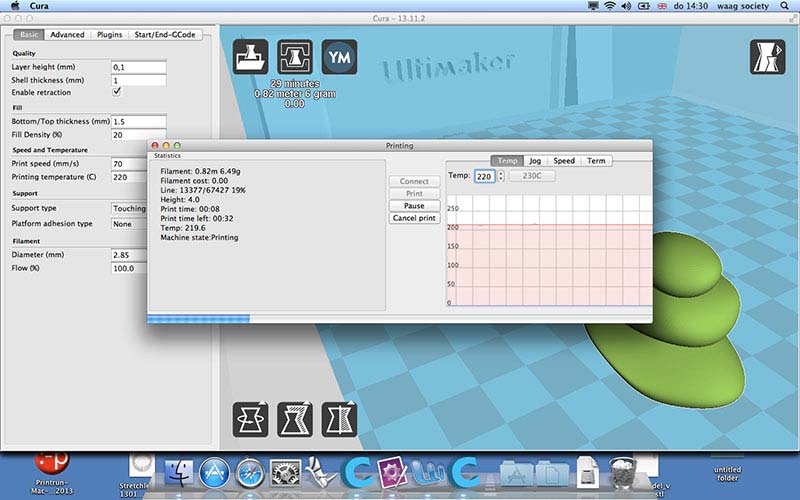
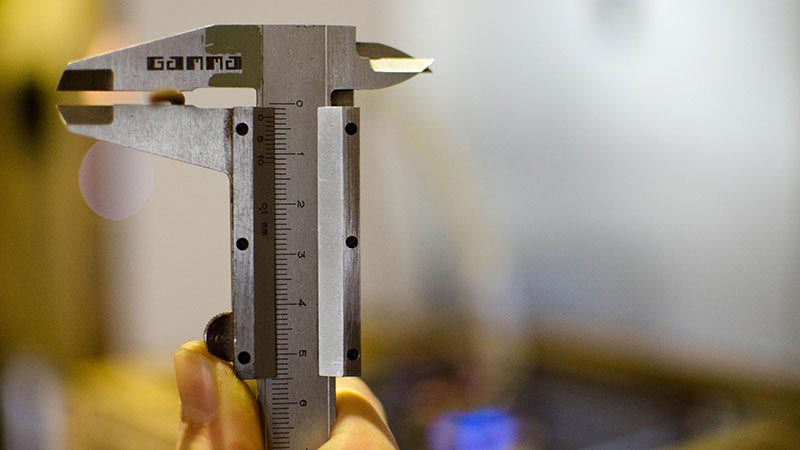
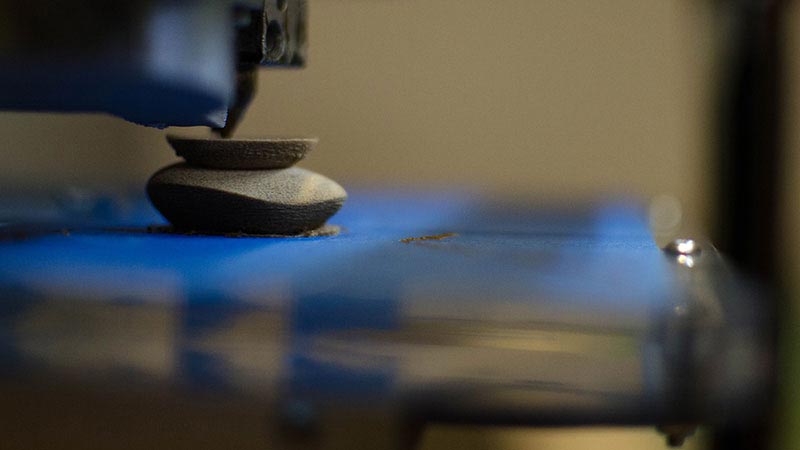
I exported the model I designed in Rhinoceros on Mac to a STL file. I imported this file into Cura, in the first two pictures you can see the settings I used for the wood Filament(image.2). The wood filament is quite hard to setup correctly, I used the basic printing settings for this (image.1 & image.2). I measured the filament to set the right diameter in the settings (image.4). The Ultimaker I used also needs some calibrating when you start printing. We need to adjust the hight of the platform to get a good print. For the printing of the strawberry I used PLA red filament.
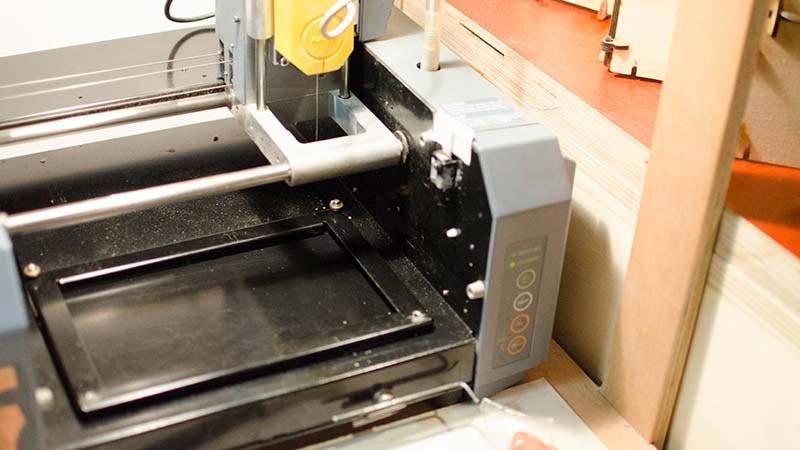
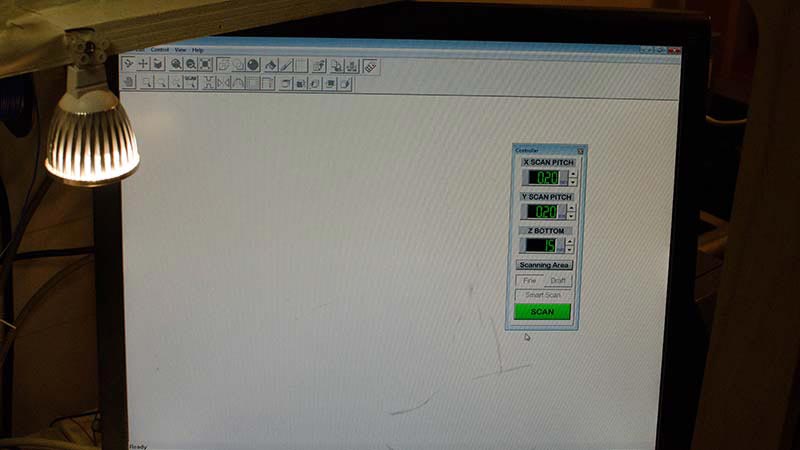
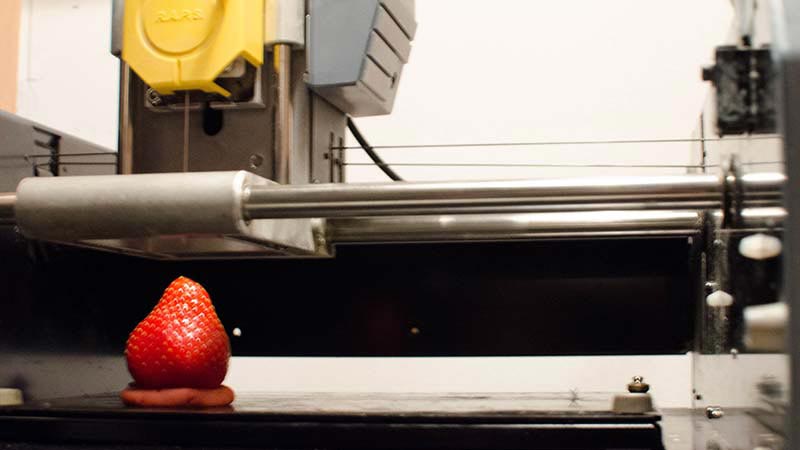
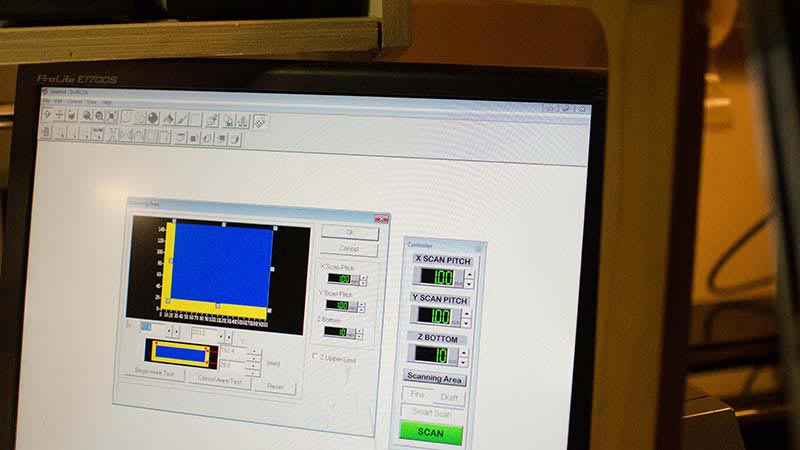
3D Scanning:
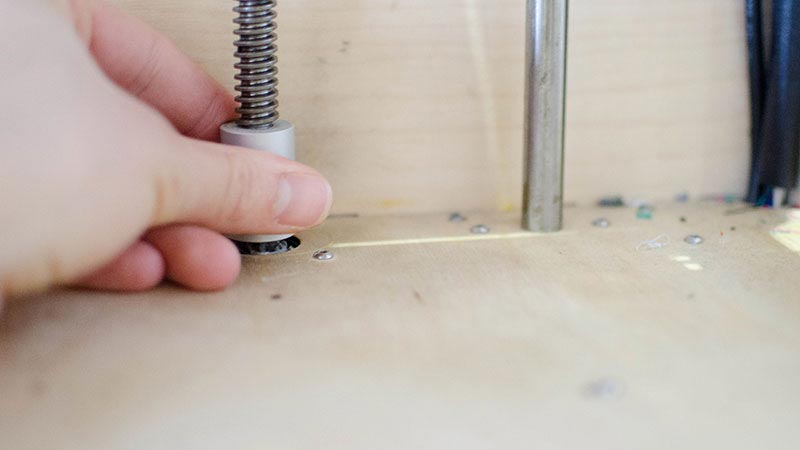
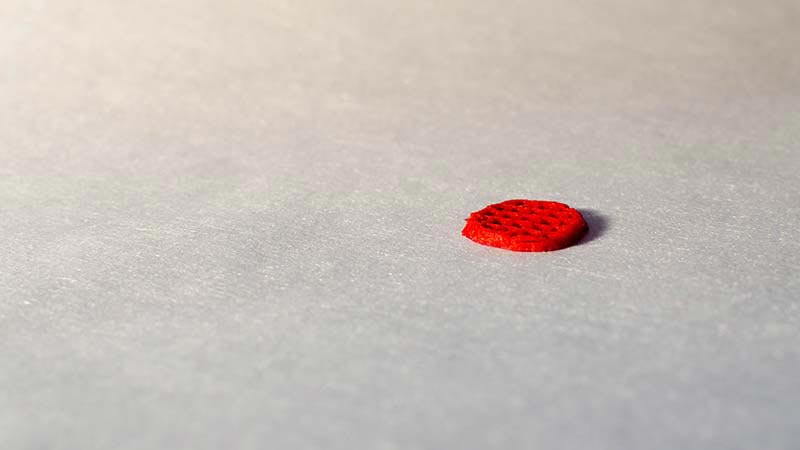
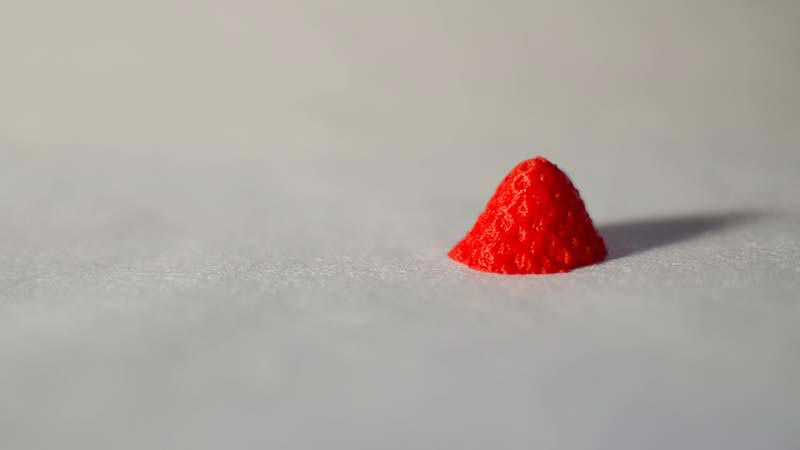
For the 3D scanning I used the Roland Modela MDX-20. Alex explained how to setup the 3D scanning in a short class. I scanned a strawberry because I wanted to try out how the scanner works with something soft and with an organic texture. The scan came out quite nice especially at the top. The more the scan came to the sides of the strawberry, the less precise it became. The setup of the 3D scanner can be seen in the images below (image.12 & image.14). I setup the scanner with steps of 0.1mm and the full scan took around six hours. This is one of the few machines you can let run during the night without paying attention.
Meshlab:
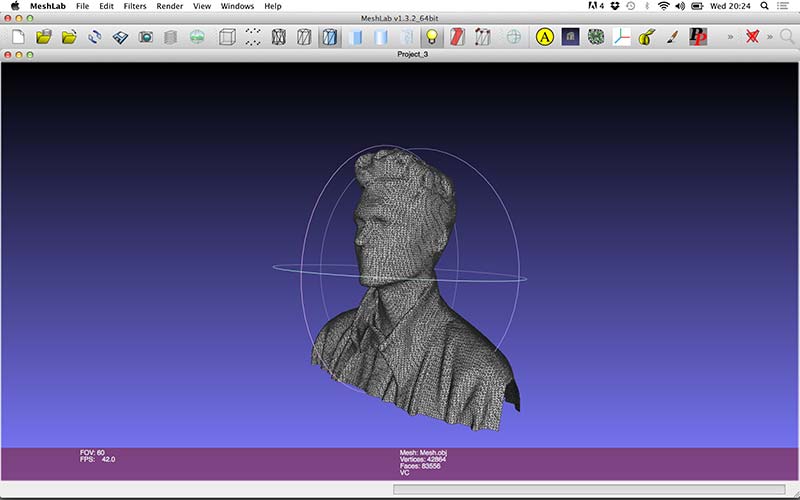
I played a bit around with Meshlab trying to fix some holes in my 3D scan (image.17), but I found the program to be unstable. It crashed often when I tried to fix the holes in the mesh object. Also, I could not figure out how to select all the holes at once to fix them.
Assignment images:


Conclusion:
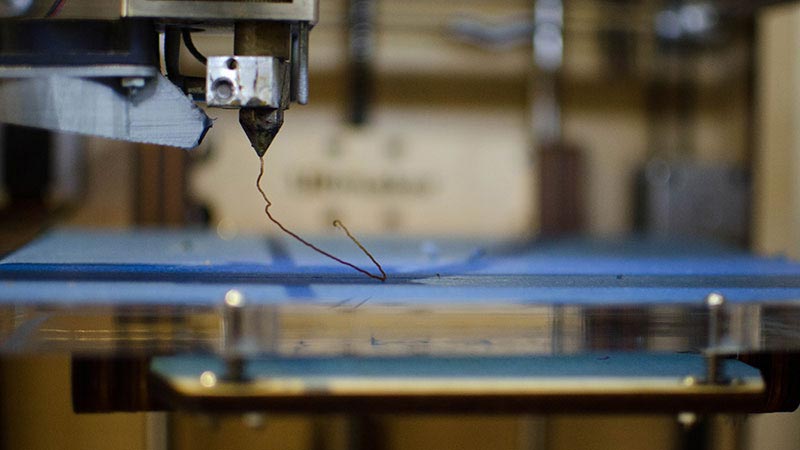
The 3D printing process went quite well, I do think the Ultimaker could use some calibration to make the overall printing process easier. It took a couple of tries before I was able to calibrate the printing platform the right height manually. The wood filament is hard to setup, this because the filament burns sometimes and get stuck in the nozzle. Extruding a lot or a pincet can help to get the stuck filament out of the nozzle.
The scanning went better than I thought, the needle is very precise this is what one can see in the end result picture (image.16). One thing that I wanted to see was if the scanner would damage the strawberry , which did not happen with the small steps of 0.1mm. The bad thing about this scanning technique is the amount of time the scanner took (+/- 7 hours) and what Neil already said it scans 2.5D actually because it can not scan around corners.