
Molding and Casting
Part OneMaking the Design using Inkscape and Blender
Part TwoMilling the Wax
Part ThreeMaking the Mold
Part Four The Files
Making the Design using Inkscape and Blender

My instuctor, Ferdi, told me of that his Brazilian friends own a restaurant and they want a mold for Paçoca, a Brazilian sweet made out of ground peanuts, cassava flour, sugar and salt. It is typical of the Caipira cuisine- never heard of it!
I happily obliged in creating a mold for them to use for their homemade peanut sweets.
It was agreed to make the mold in the shape of an "M" from the packet:
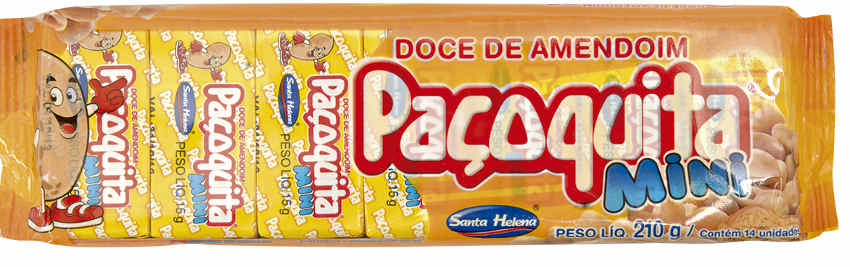
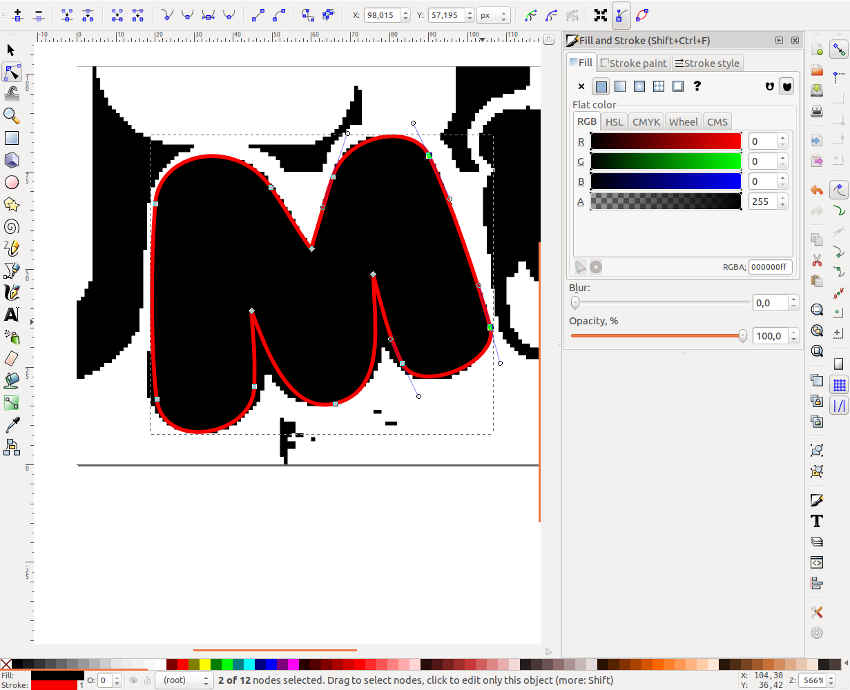
First I downloaded this image from the internet and cut out the "M" from Mini and made a black and white image- easy for tracing.
Next I imported into inkscape and set about vectorizing the letter M, using the Edit path by Nodes. The correct combination of vector points and click drags - and using click-drag -shift to create sharp corners, I traced the outline:
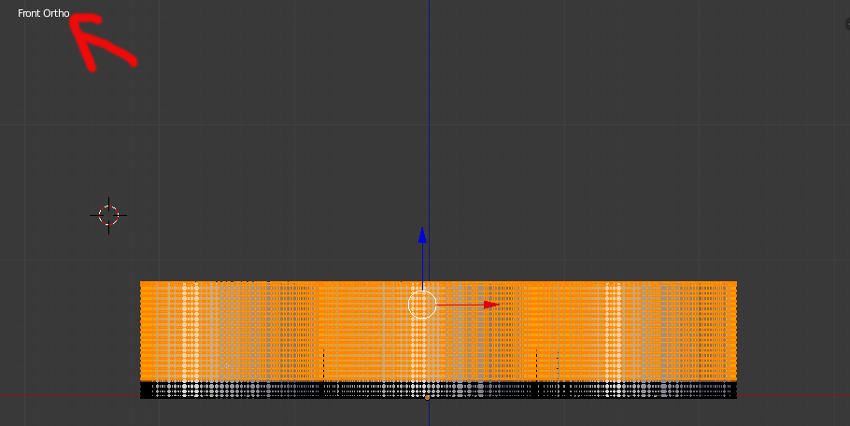
Then importing as a .SVG file to Blender, I:
- make a mesh from the curve.
- extrude to create a volume shape
- add modifier- Remesh
- remove doubles
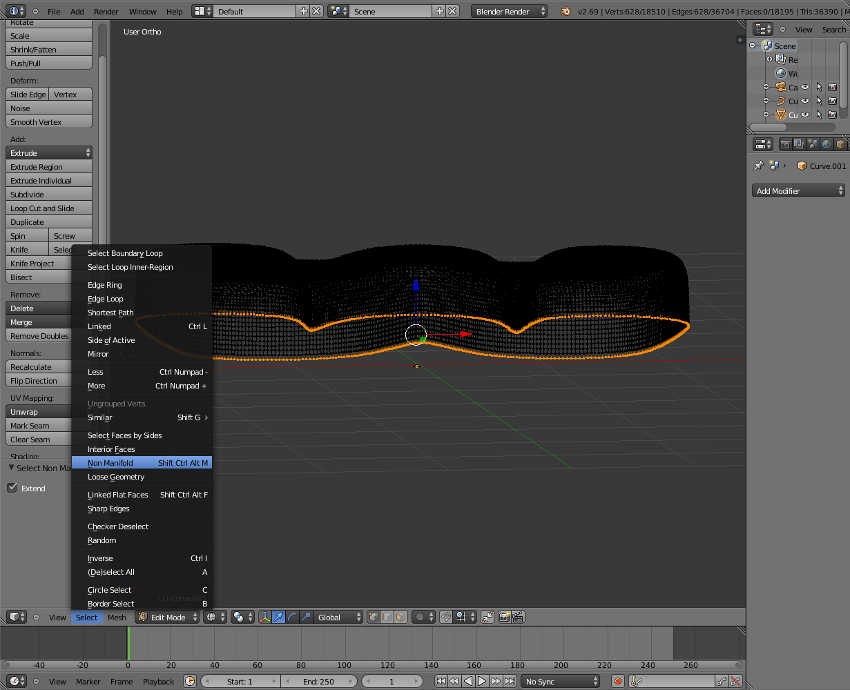
- go to edit mode/ wireframe, in Front Ortho View.
- remove doubles
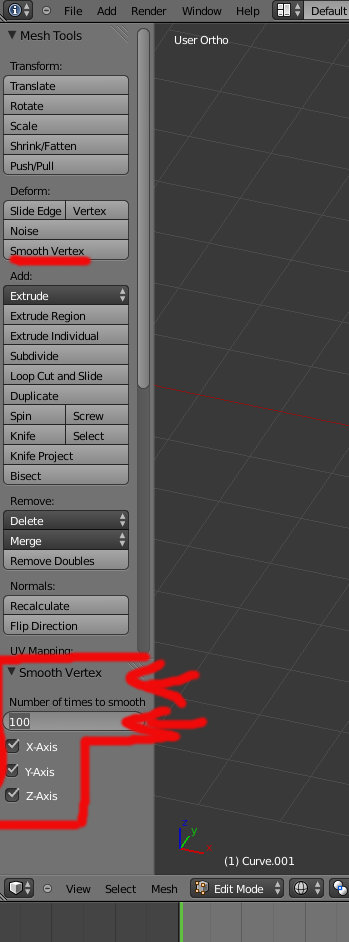
- use "B" to box select the area that I want to smooth out
- smooth vertex, x 100, I do this 5 times (so x500 in total) to get a nice rounded shape.
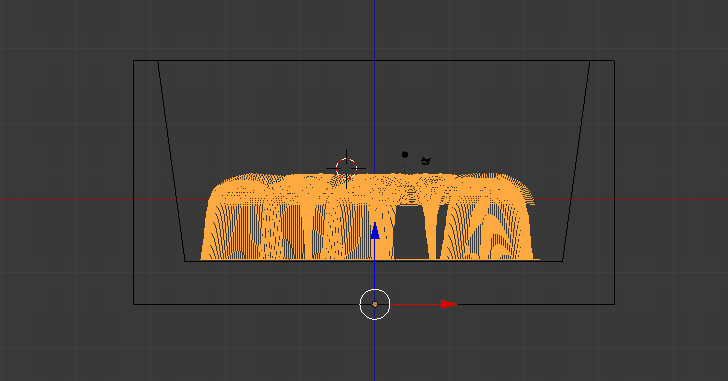
- cut out the bottom by box selecting and deleting all vertices
- select non-manifold to select the open edge
- hit "F" to create a new face
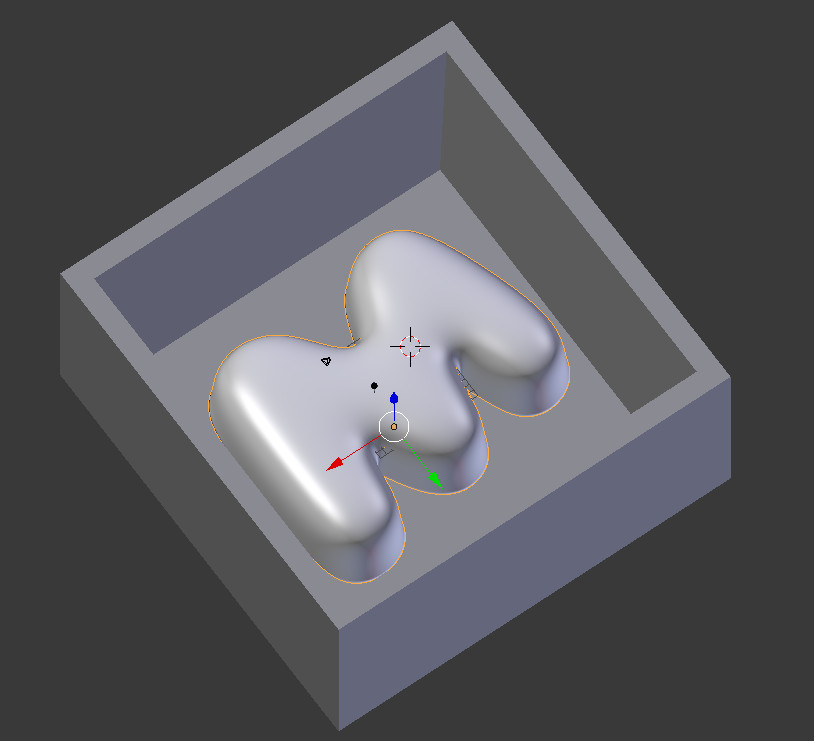
Next I added a molding box, which had to be lipped inside to allow easy removal of the cast.
Milling the Wax
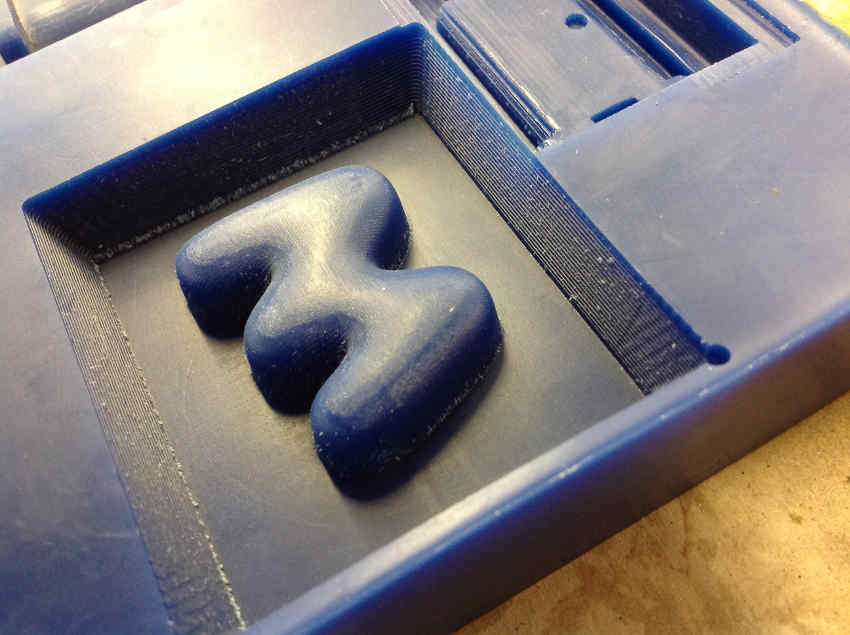
I used the Roland SRM-20 milling machine. I sent the .stl file to Modela Player 4. Unfortunately when I exported the .stl file, I forgot to "j" for join the box to the M shape, so only the M got imported. Fortunately the Modela Player 4 has options to create the box also. The box was adjusted to be a trapezoid, to ease the pulling out of the final mold.
Roughing stage was made with the 1/8 mill bit, and the finishing with the 1/32 mill bit. For the finishing we had decided to do along the X and Y axis (two passes) which I think is why the resulting piece has such great resolution.
Milling would stop when the computer went to sleep, so I changed the computer's settings and let the machine mill overnight as my time was up...if only Fab Lab Bcn could be 24h!
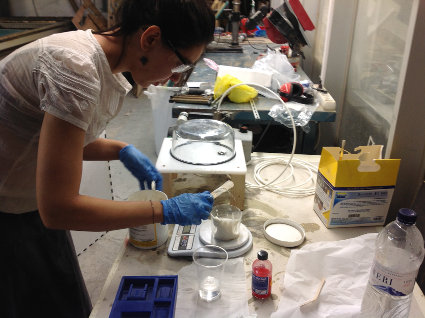
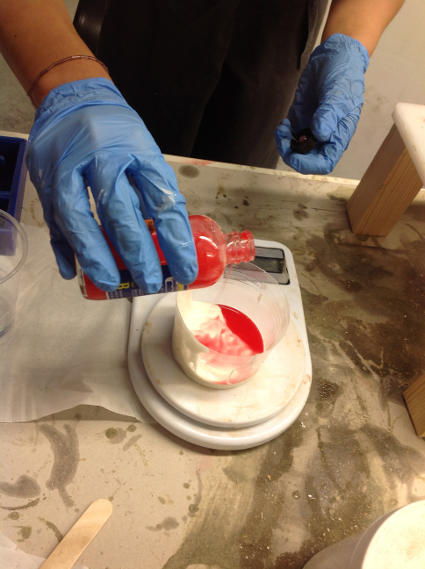
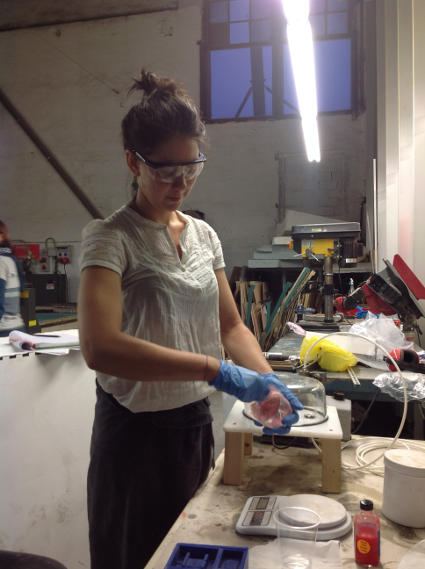
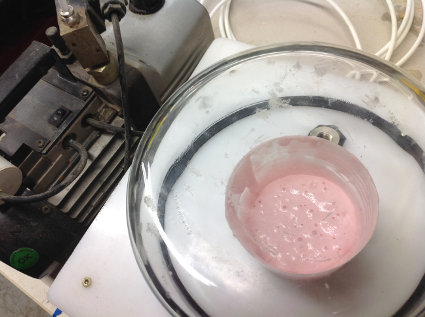
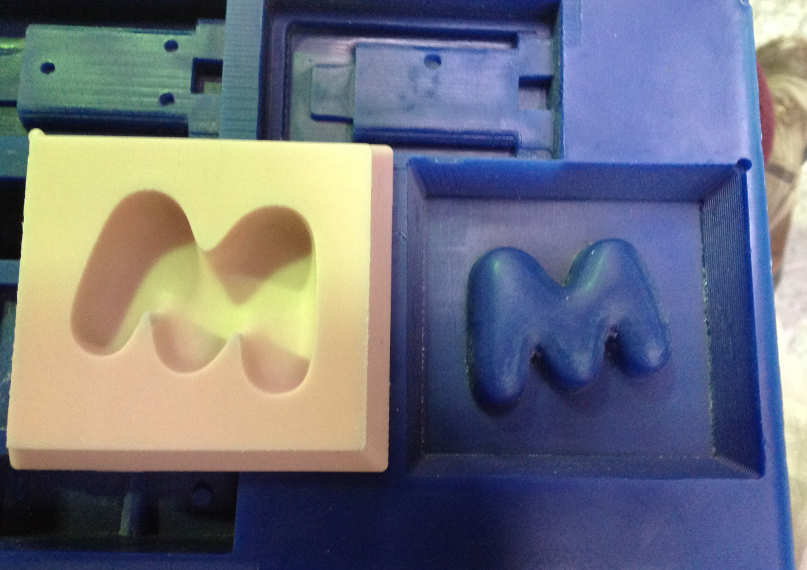
Making the Mold
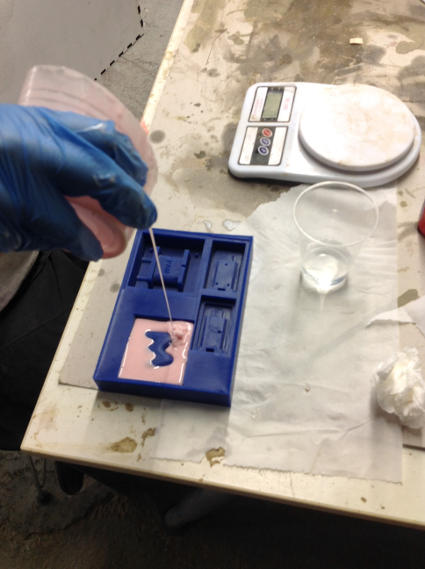
I am making a food mold, so I am using Smooth- Sil 940 Platinum Silicone Rubber Compound for food related applications. I mix 10 parts of A with 1 part B. After measuring out the mixture I give it a good stirring, ensuring even mixing. Then place the mixture into the vaccuum to remove bubbles, before pouring it into the wax mold.
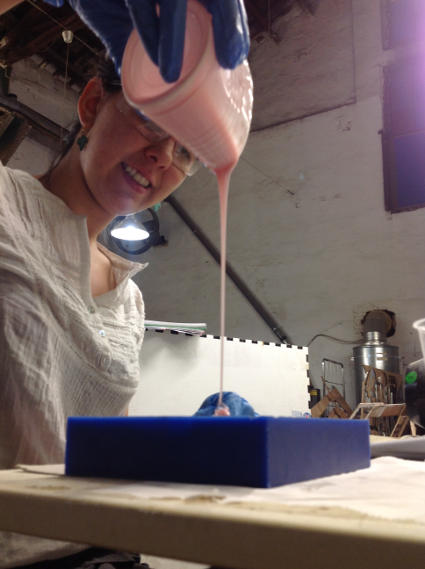
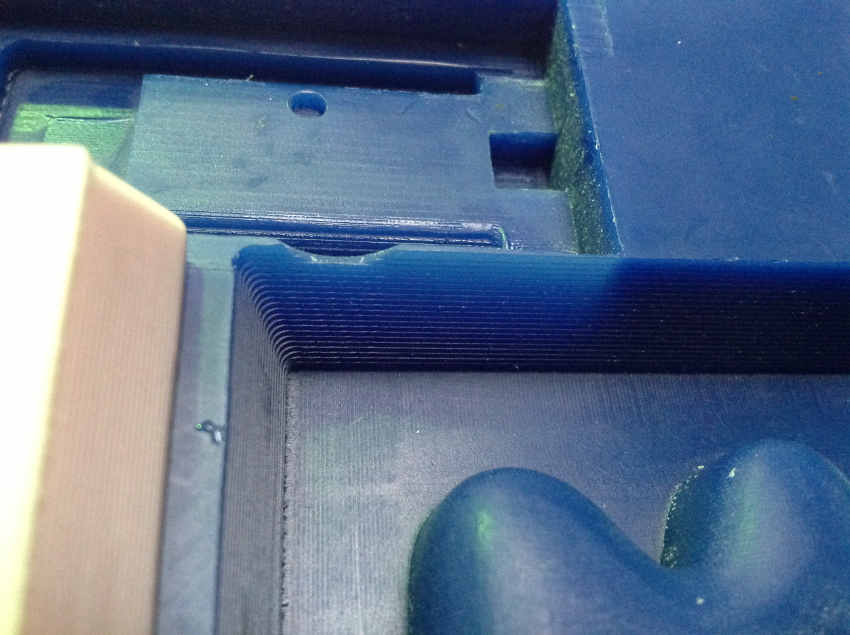
It apparently takes 4 hours to set. I left it over night and took it out the next day. However while taking it out I managed to break off one edge of the wax model. It is an interesting note to ensure sufficient distance between the edges of other molds.
I am really amazed by the result I hope in Brazil it will serve its purpose.
The "M" mold form can be downloaded here