Week 16/17 |
Mechanical Design, Machine Design - May, 20th 2015
The Proof Of The Pudding |
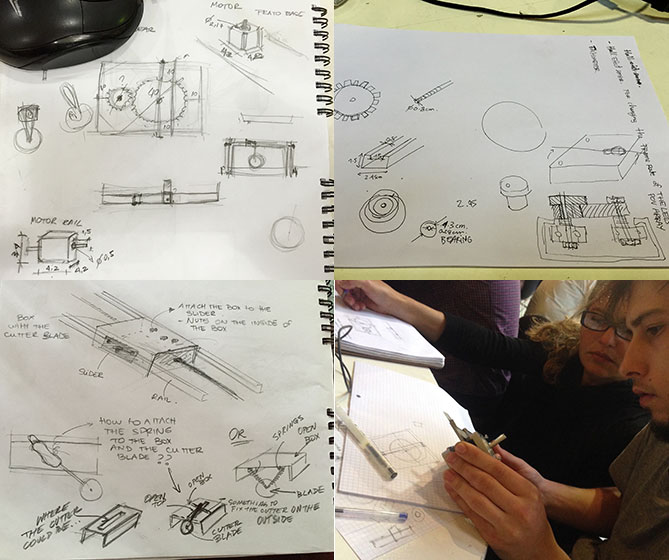
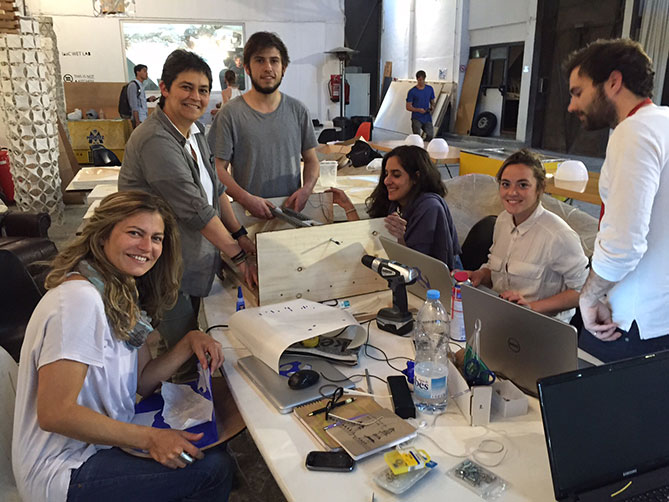
The week's task although fun and comforting (exchanging doubts and anxiety with colleagues) was also an acid test. In this assignment we had to connect/group basically everything we've learned so far and synthesize that knowledge to build a machine that works. As the Barcelona class is a large group, we split into subgroups. My Group: - Alessandra Müller - Josefina Petrini - Kalil Ventura - Mariona Ciller - Milena Orlandini - Pamela Chami Brainstorming Our first step was to brainstorm trying to be as focused as possible, following these premisses: 1- Find an object, a machine which all group members would be interested on working 2- Have an open mind to new and different ideas and be willing to adjustments tht could help achieving better performance. 3- Divide work streams equally among members searching for the best use of individual qualities (actually, everybody is working in every step of the project). After talking and sketching a lot, we've decided to make a "Pizza Cutter". Developing
|
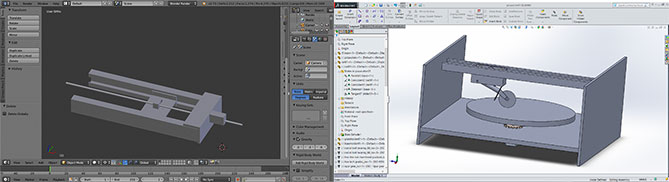
From Paper To The Screen |
The ideas were coming and we kept trying to figure out how to make the machine work. We've designed the pieces in Solid Works (with much help from our instructor Ferdi), others in Blender and Rhino, and settled the material that we should need:
Materials: |
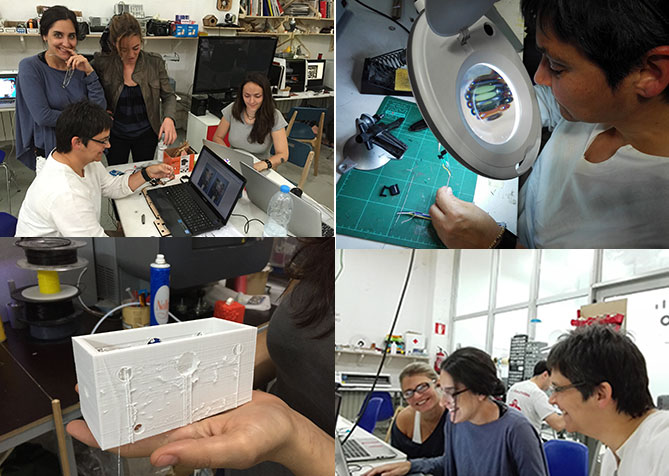
From Screen To Real World |
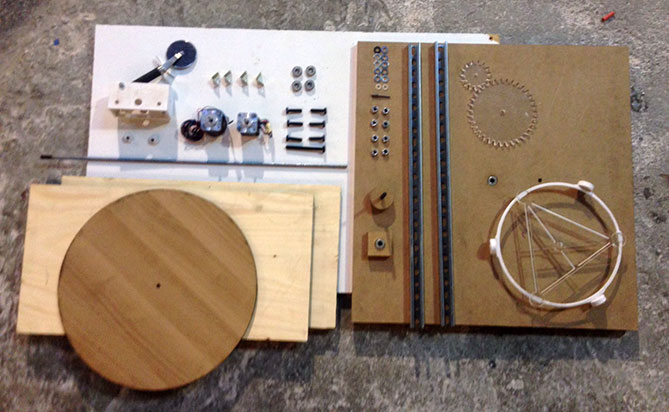
We are starting to build a machine from the scratch, so we couldn't waste time. Two weeks is definitely not that much... In two days we had made all the pieces that we need. We've begun to assemble the pieces and unfortunately we've found some errors. And it is now time to fix them!
|
Some Lessons That We've Learned Working In Group |
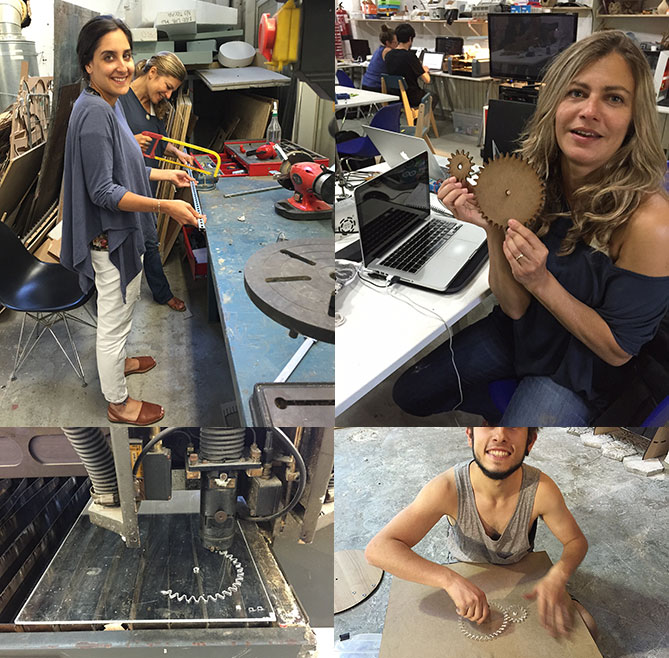
- Try to measure before, in between and after; - Even if you are sure you know all the components you need, think once, twice, three times. You might be forgetting something. - If you have little time and someone is quicker, leverage from it, try to learn, not leaving the task. - Before saying it will not work, you should have another solution to it, or just let people try. You might be surprised... The Pieces That We Have So Far
|
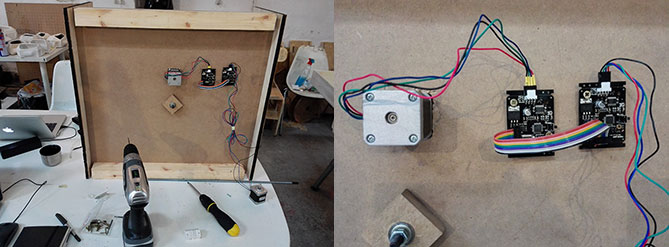
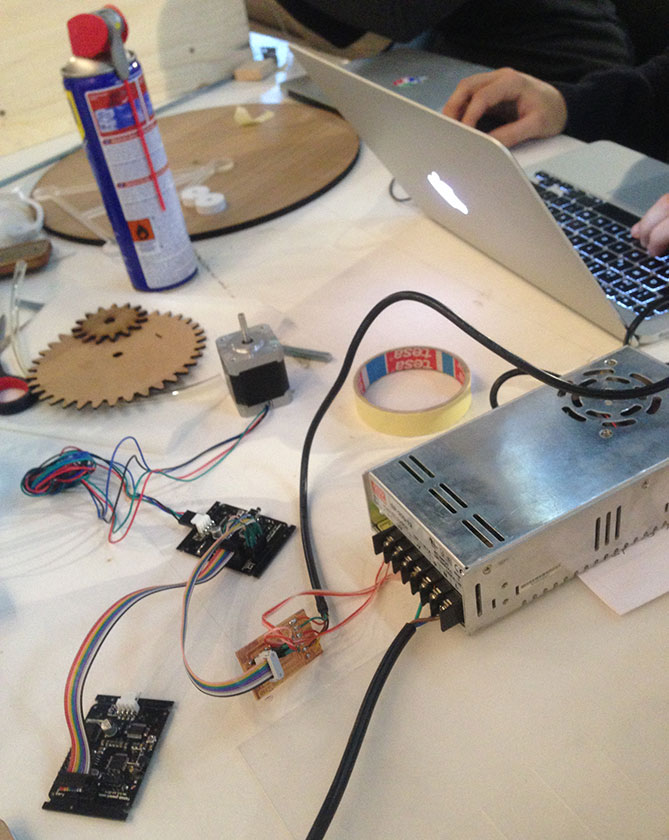
Programming it |
We started to assemble the pieces and now we had to program it. Our goal was to make the pizzacutter walk in one axis and rotate the plate in many different degrees that we wanted to cut as many pieces as we which (we started with 90 degrees to make four pieces). We used in the beggining the phyton file from Neil. The problem that we had was to find out the main reason why the motor was turning off and suddenly stopping in the midle of the path making it impossible to complete the job. That took us a lot of time, and after many attempts, nad lots od help from Santi, Our structor, what came out was the fact that we should program both motors together.
|
Where Is The Pizza?? |
After one week and a half our "PizzaBot" was almost ready and now we needed to make it look nice. I created then a little Bit of "makeup" at the vinyl cutter and it was done! We worked a lot, everybody was in to it and I worked in every step of the process to make a machine, especially designing parts. Waiting now for a opportunity to eat pizza!
|