Week 04 |
Eletronics Production - February, 18th 2015
Hanging On Every Word |
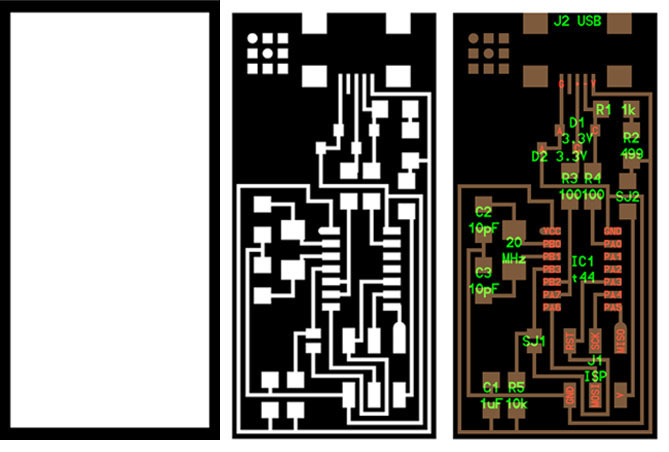
Although this week's assignment didn't demand much creativity or much to think about, it required a lot of attention to complete the process. When dealing with a fragile machine, and many minuscule pieces, such as electronical components, the main lesson, in my point of view, is to maintain a huge focus on organization and cleanliness. Each of us selected one of the available templates and started the production of an electronic circuit that would be programmed later. Board Files
|
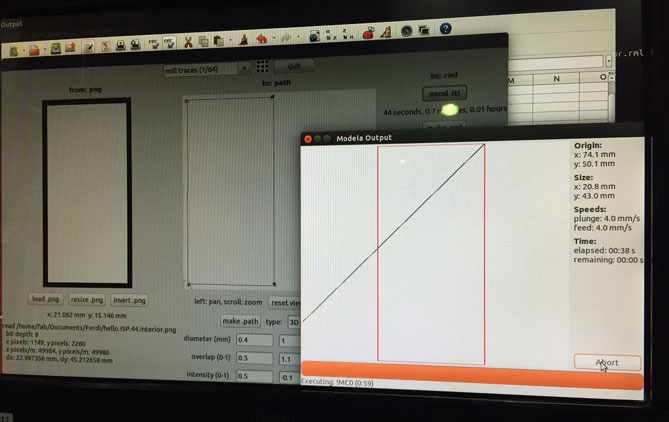
Milling |
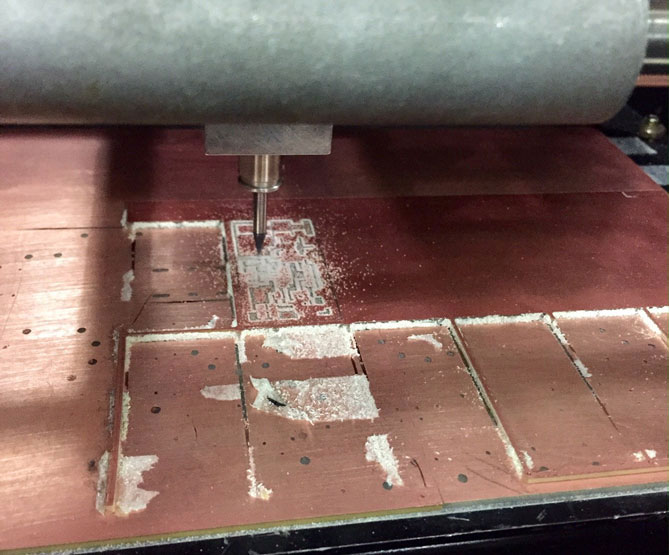
After following the step by step instructions and setting up the machine, the work had finally begun. At one point, the needle broke and I had to take a break, replace it and restart where I left off. Fortunately everything went well until the end of milling process. Setting In The Modella
|
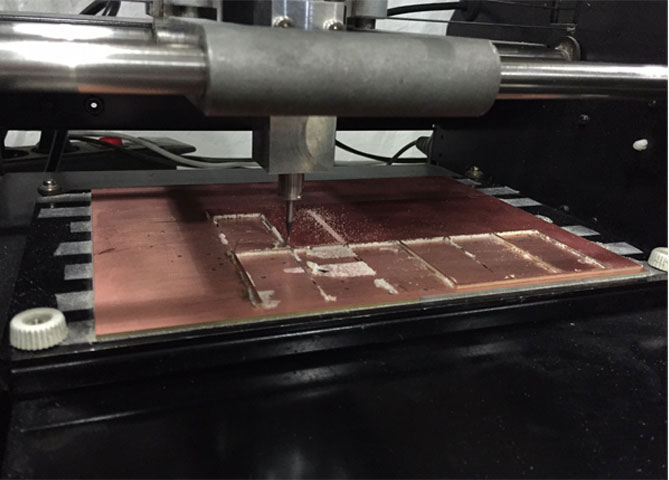
| Milling Machine
| |
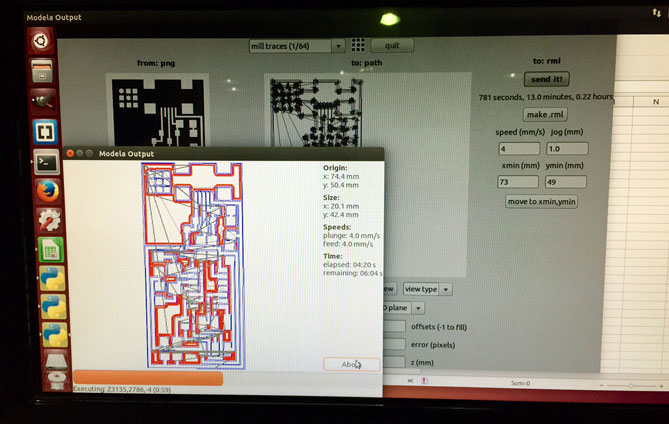
Milling |
After making the first test and completing the outline, I've returned to Modella to set the circuit board traces.
Setting In The Modella
|
Welding |
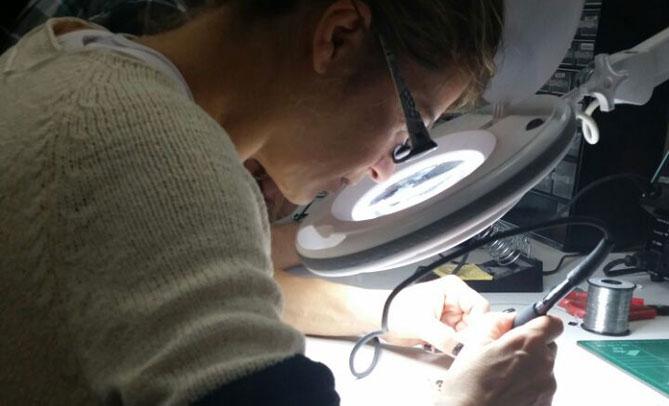
Secondly after completing this first part of the process, I should solder the components on the board and program it later on. It was the first time that I had contact with this kind of thing, and after some disasters such as placing components at the wrong position, choosing the wrong ones (I must admit), or not putting enough weld on most of them, I saw my board literaly smoking! So I started all over again (as usual). Trying To Be Accurate
|
Fixing Errors |
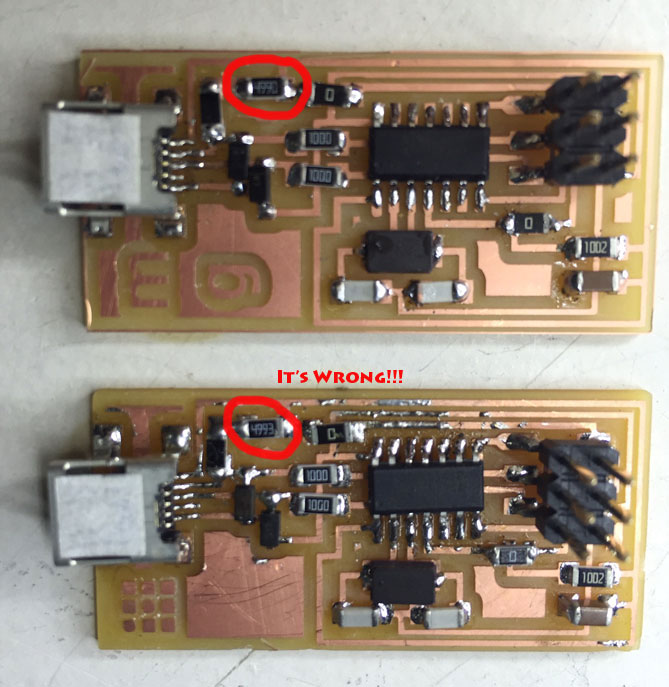
I followed a pattern for the components: first USB, the resistor and capacitor (from top to bottom) and finally, BergStik Headers 3x3P. This time, paying more attention. I took a picture correlating both boards, and... Bingo! I finally found my initial error: one of the resistors was wrongly chosen. After adjusting the demand, I could finally see, like magic, a green light revealing that my board was really working! Just A Tiny Piece Can Make You Crazy
|
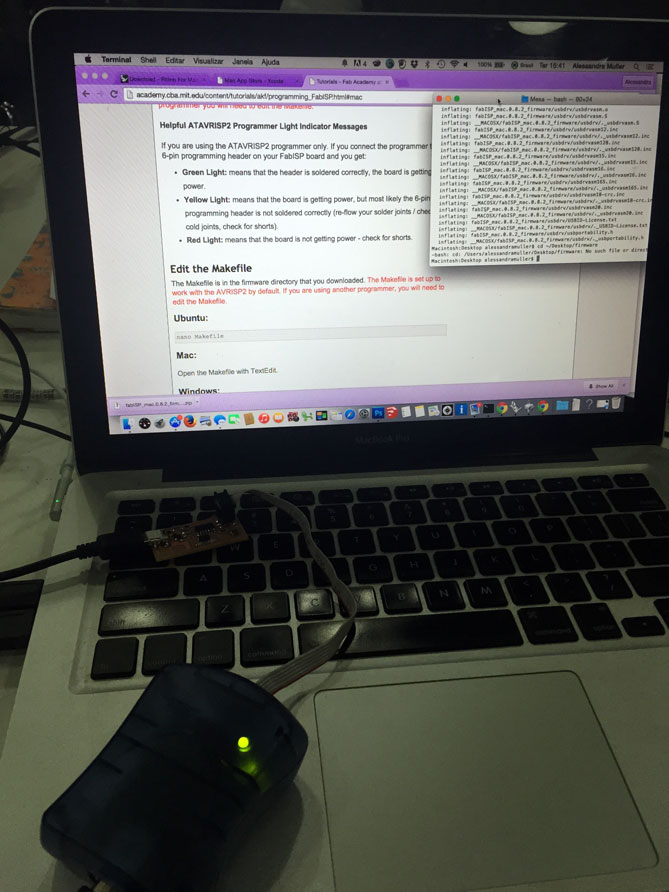
Setting The Board |
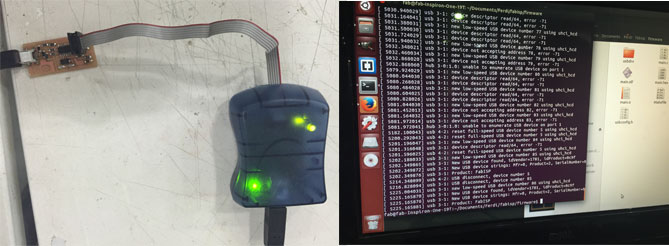
Now I just needed to program it adopting step by step the tutorial that was available. At the end of the paragraph a pleasant phrase: "avrdude done. Thank U." Yup !!!! Tutorial here Programing
|
|