This week's assignment is about designing a 3D mold, machine it and, then, cast a piece with it. The incubator has a lot of parts that can be made out of plastic or polymers. But, as the structure is made of wood and the designed hinges cannot be made using molding and casting techniques, I decided to use this technique to make the bed fulcrum.
The design
Once I designed the axis, I modified the design to be machined. The dimension of this part is similar to the wax block in which I am going to machine it. Therefore I had to be very careful with the clearances and the XY zero of the CNC machine.
I exported the design in two parts:
- STL file: the piece and its base is stored on this file. The base is 2cm smaller on X and Y axis and 5mm than the wax block.
- DXF file: this file has the information of the holes for the screws. I did this separately to use a smaller mill.
The mold
Once set the origin of the CNC machine it cannot be changed, because we are going to remove the material using two mills, first using a rough mill and then a ball mill.
To set the origin I used a technique that kills two birds with one stone. By creating the shape of the wax block in a MDF board I set the origin wherever I want and it will also match with the origin of the wax block. This technique allowed me to hold tight the block while milling.
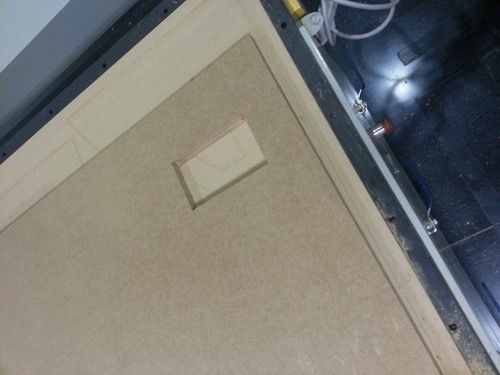
The wax block must fit very tight inside. You might need to use a rubber hammer to fit it inside.
I programmed two paths to mill the design. The first one removes the extra wax quickly but with a very rough result. I used a 6mm two lips flat end mill at 3,000mm/s.
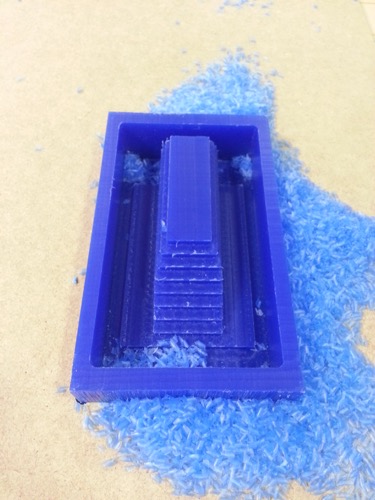
The second tool path uses a ball mill and overlaps between passes, obtaining a very smooth shape (1200mm/s). Finally, in order to perfect some details of the figure, I sanded the wax using a fine grit sandpaper.
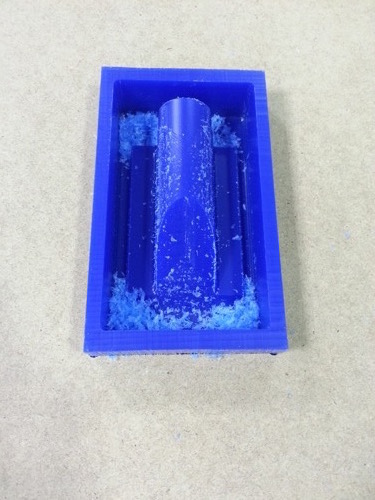
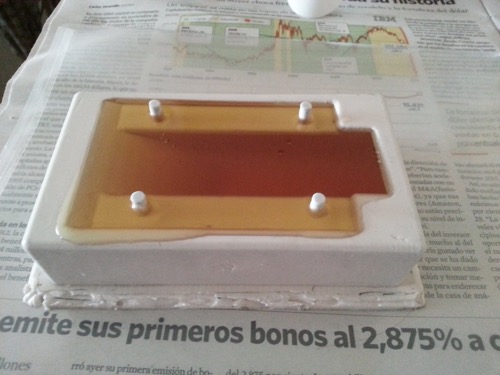
At this point I realized I made a mistake, I set the origin of the Tool-Path on top instead of on the bottom part of the wax block. This means that I am going to need a box around the mold to generate the negative silicon mold.

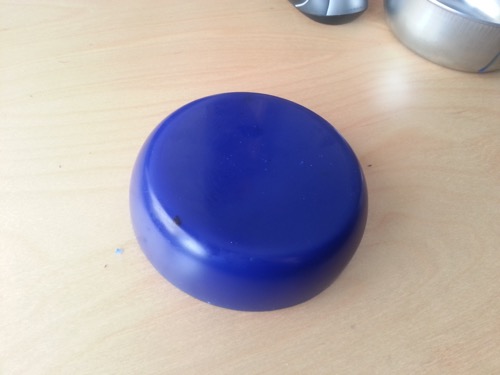
Once mixed the components (the catalyst must be a 5% of the silicon in weight) and pured them into the mold. Its time to wait. But before letting it cure, I removed all the bubbles inside the silicon hitting the mold from different angles.
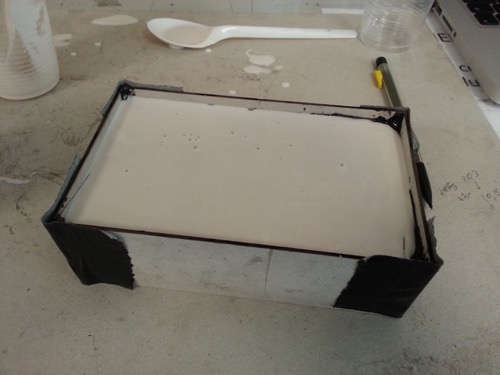
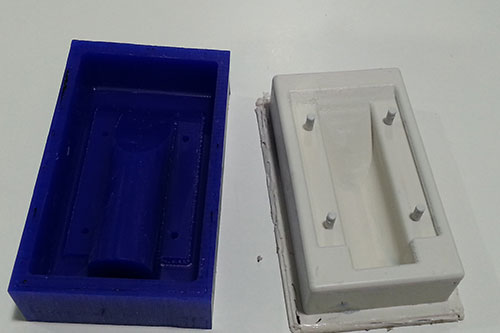
24h (aprox.) after mixing the components, the mold was completely catalyzed.
Reproductions
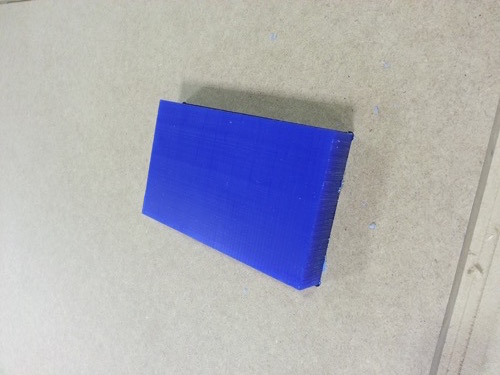
Once the mold is ready, is time to apply vaseline to its walls and pour the resin mix (the same amount of each resin must mixed this time).
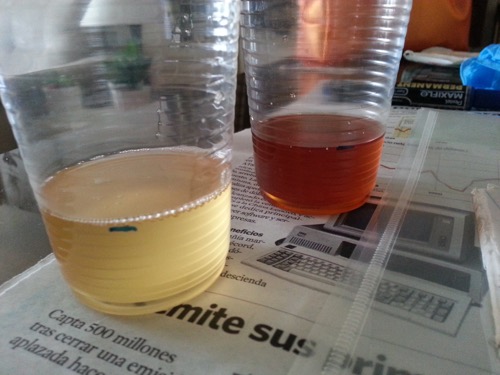
A few seconds after puring the mix, an exothermic reaction will change the color of the liquid brown to light yellow and hardening it.
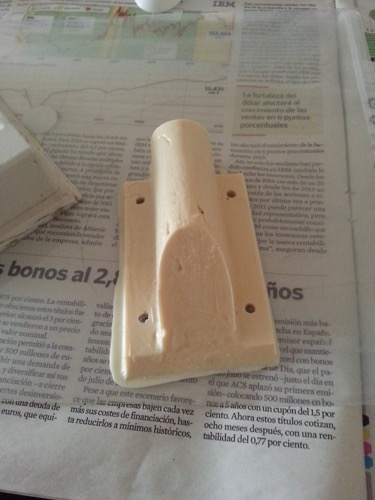
The first cast piece was not as smooth as expected, This was because I applied too much vaseline before puring the resins without spreading it properly.
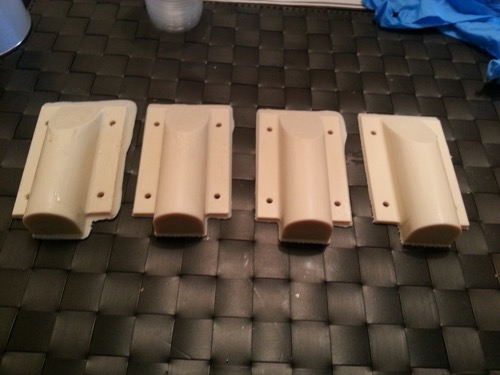
The next few pieces were much better.
Putting all together
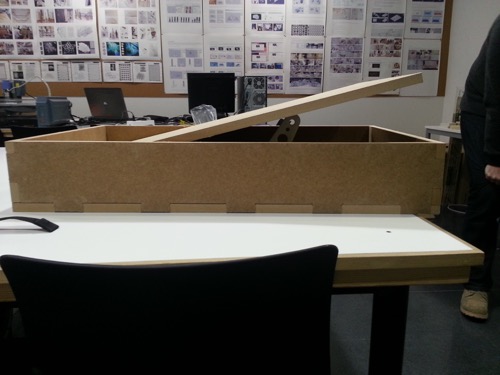
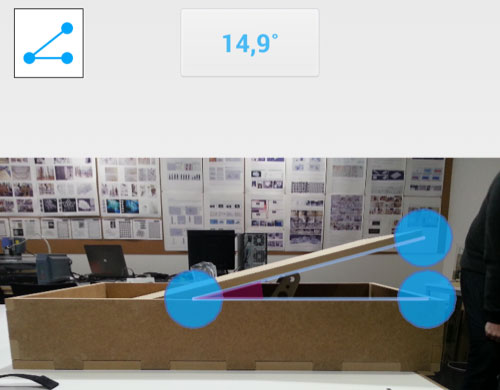
Using the designed incubator box(computer controlled machining) and the axis pieces, I checked that the bed was able to tilt at least 15º.
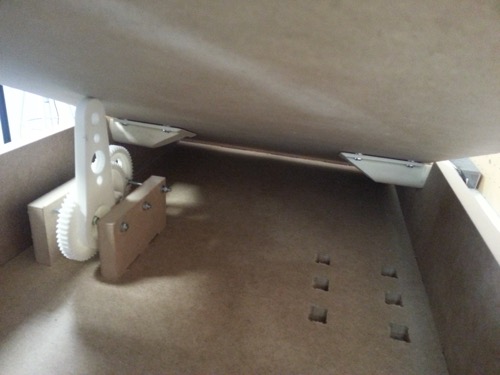
As it can be seen above, I am still figuring out which mechanism is the best one to tilt the bed. During the Computer Aided Design I proposed a mechanism based on gears and a piston. After a few simulations I got to the conclusion that I should improve the design. The new design consists of 3 gears and a connecting rod.
After building this second prototype I am pretty happy with the result. In any case, still have some ideas to improve it.
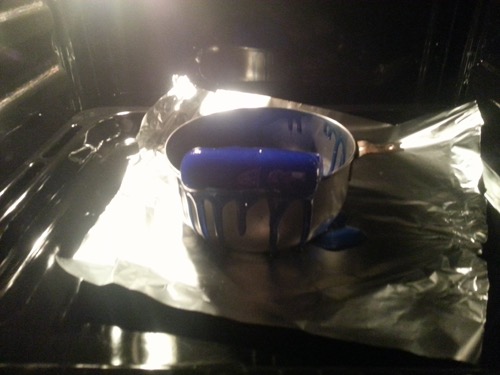
Melting the wax
I want to experiment a little bit more with this technique (molding and casting), so I decided to melt the wax mold into a new block. I used the oven at 200-250ºC and a pot.