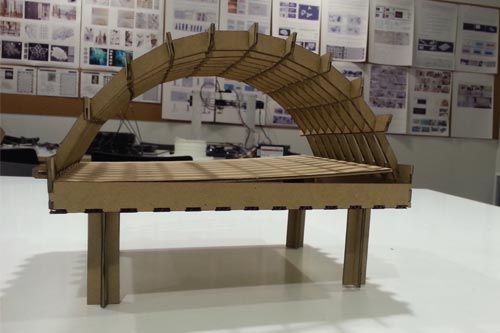
This week's goal was an awesome opportunity to create a scaled version of the first design. Having a physical model of the incubator allows us showing it to doctors and specialists.
Laser cutting
The first prototype
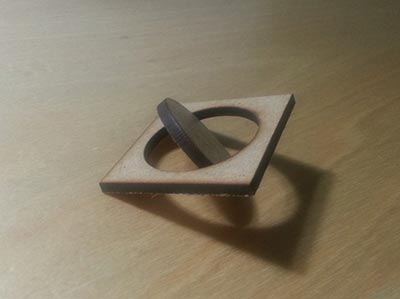
Before designing or planning anything I learnt how to use the machine cutting two basic pieces of wood.
The model is going to be built using 2.5mm cardboard. It will be lightweight and small enough to be moved around. At this point we want to get as much feedback as possible.
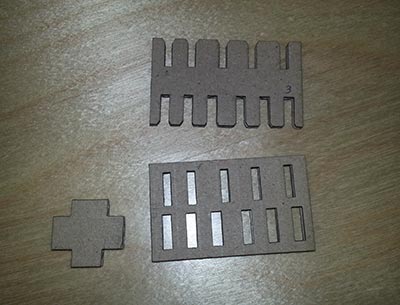
The first step is getting the measures of the notch. With that information I was able to design the prototype without using any other materials than cardboard.
In order to do that, I designed and cut (using the same laser cutting machine that is going to cut the incubator pieces) a template using notches of different sizes. Once cut it’s time to try different joint combinations.
Finally I got to the following values:
- The thickness of the notch should be 2.1mm.
- The width of the notch should be 1mm greater than the width of the hole it should match.
Taking this into account it was time to start designing the press-fit incubator.
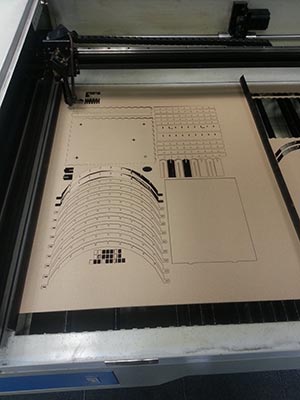
Using the Paneling Tools Plugin for Rhino I designed the arches and crosspieces of the dome. Using those pieces as reference, the other ones were designed (legs, box and bed).
At first, I used volumes to remove the unnecessary parts splitting the piece. This seemed a good idea at first glance, but after unrolling those sections, and exporting the design into a laser-cutter compatible file (*.dxf) the program was not reading it properly. Later on I discovered that the surfaces that were being exported were not closed.
Using closed polylines I created the shape of each piece. I got a pretty nice result.
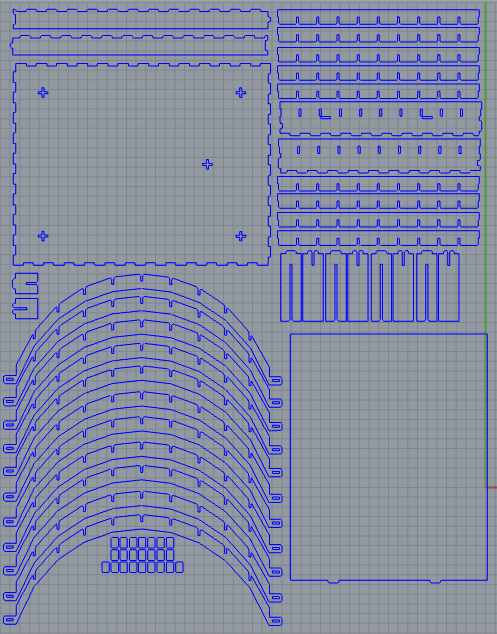
Worth mentioning that the inner closed curves must be cut before the outer ones.
Now the program could read the file and cut it. Before cutting everything I decided to do it just with some pieces to check that everything was fitting properly.
Despite all the pieces were matching correctly, I decided to make some modifications in the dome and do a fillet on some areas of the design.
Performing a fillet in all the notches and hooks was not a good idea. I think that in the smallest ones I shouldn't have done it. It still holds correctly and you can build it as a press-fit construction, but the joint was a less solid than before.
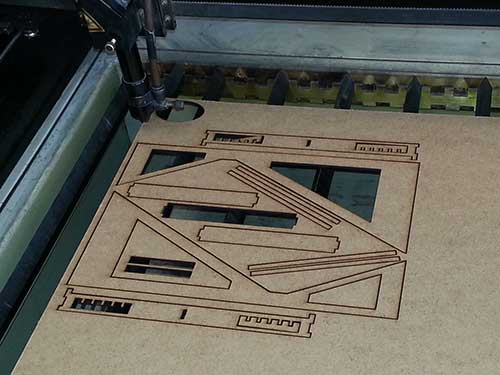
A few minutes later, the first prototype of the incubator was cut and assembled.
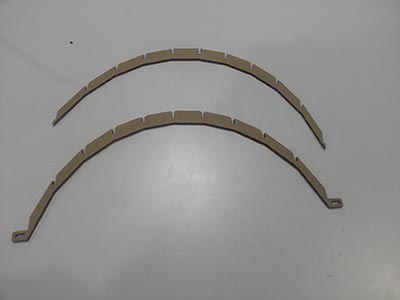
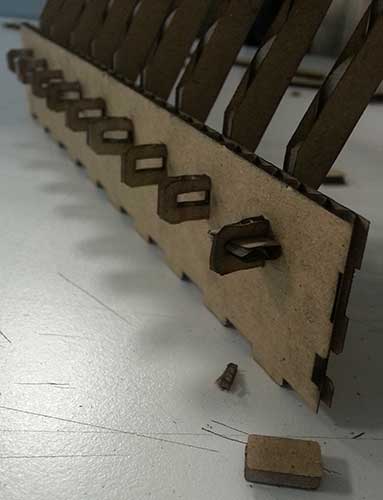
It's interesting to take a closer look at the dome hooks. Those improve the joint between the dome and the base.
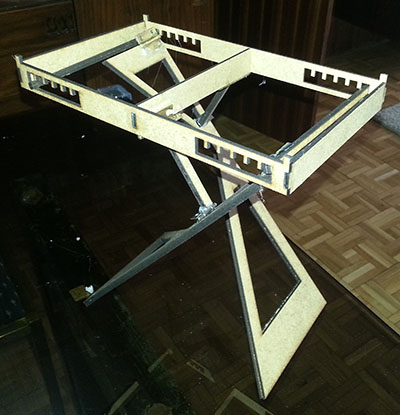
The legs
Last week I proposed a second design for the legs of the incubator. This designs makes the legs independent of the incubator, making the design modular.
I want this design to be rigid to see if it is solid enough. Instead of using cardboard I used 2.5mm wood. Again, before cutting I made a single joint to establish de dimension of the hooks and the notches of the press-fit.
This design has moving parts, to make those joints I used six hinges and hotmelt adhesive.
First attempts were a complete failure, because the pieces were not aligned. The angular momentum of the structure was huge. Once all the pieces were aligned, that problem disappeared.
Building this design made me find the weak points of the structure. I will make a few changes before building a real scale model. For example the inner supports are weak and some areas of the legs are not strong enough.
Laser engraving
Engraving can be very useful to label some pieces before cutting them. This technique makes the assembly process faster.
Of course, the power applied to each point of the material must be lower while engraving and higher if we are cutting the same material.
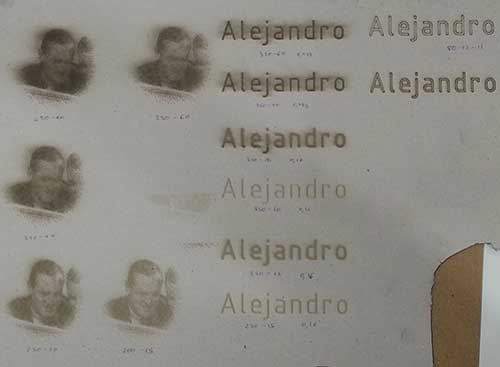
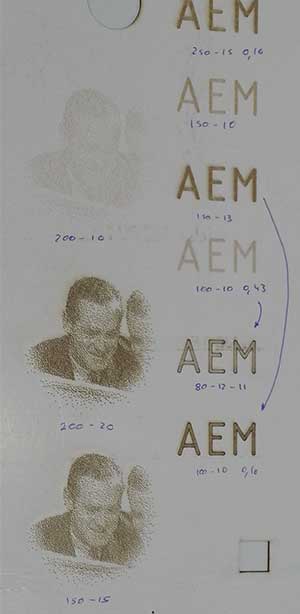
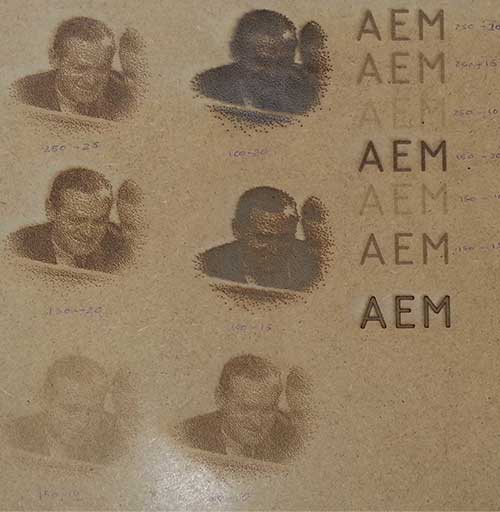
As seen, the photos show three materials with different configurations for engraving images and text on its surface. The numbers below or next to the engrave represent the speed and the power of the laser beam.
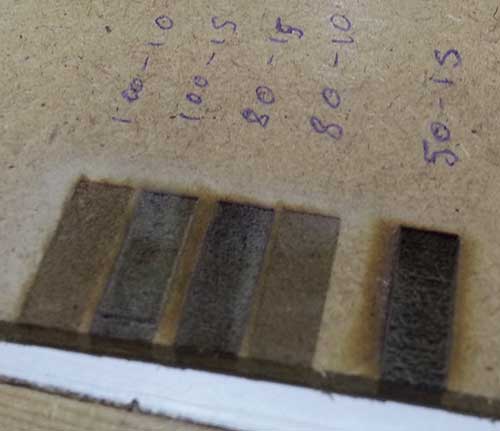
Finally, in order to better understand the engraving process, I did some testing in the edge of the wood. Taking a closer look to the image, you can appreciate how the depth of the notch variates with the speed and the power of the beam.
Vinyl cutting
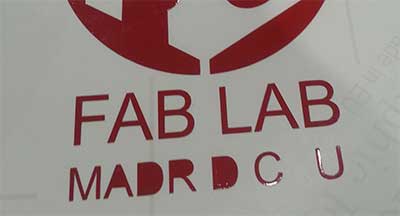
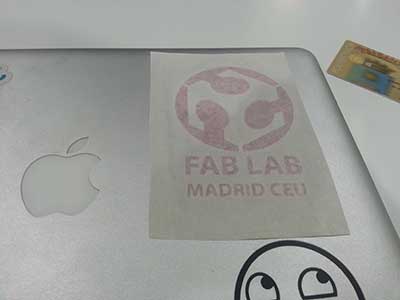
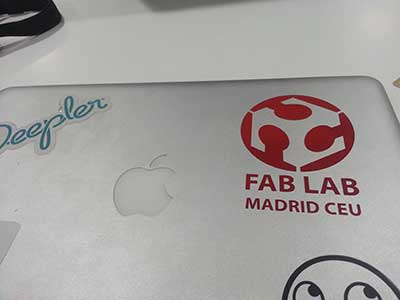
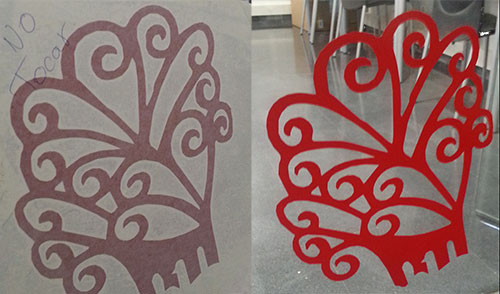
Time to cut some vinyls. As all my friends know, I have stickers all over my laptop, each one of those remind me of a project or a period of time. That's why I decided to create a sticker with the Fab Lab logo.

Once I created the logo using Adobe Illustrator, I realized that some letters were too thin, so when I was removing the extra vinyl, I had some problems.
In order to fix this, I changed the font weight. Now the letters are thicker. This time everything went straight forward. Finally, I used some transfer paper to stick the logo.
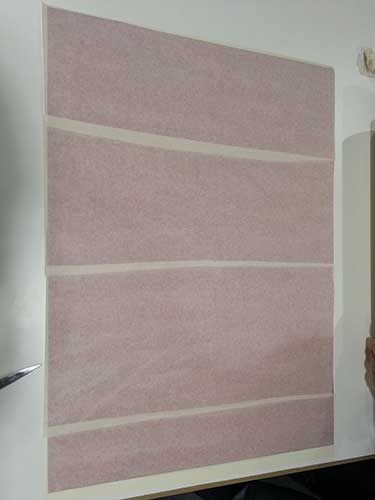
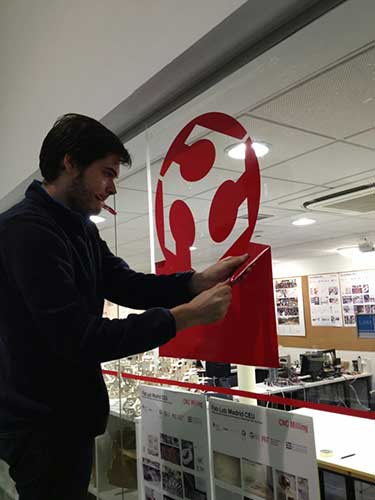
As the *.ai file uses vectorized shapes, it can be scaled to whatever dimension you want, I decided to cut a bigger vinyl for the window of the FabLab Madrid CEU.
Once scaled and cut, using transfer paper and with help of my instructor, I stuck the vinyl to the window and removed the extra pieces.

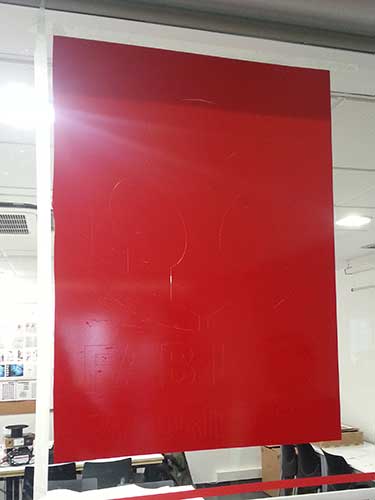
This huge sticker was very difficult to paste over a vertical surface. In fact, once stuck, there were some air bubbles between the vinyl and the glass. To fix this I decided to try two different approaches:
- In the logo I pierced the bubbles and extract the air behind the vinyl.
- With the letters I faced the problem differently. Instead of sicking the whole piece and then remove the extra vinyl, I decided to remove the extra vinyl before moving it to the transfer paper.
I tried yet another approach. I heard that wetting the glass with water and soap before was a great technique to orient the whole vinyl and remove the air without any worries. This technique was told to me by a man that was used to do it using outdoor vinyls. Anyhow, I tried it using indoor vinyls.
After drying (24 hours later) the result was incredible good, in fact, the best one.