week 8 moulding and casting
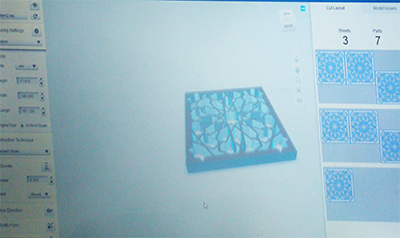
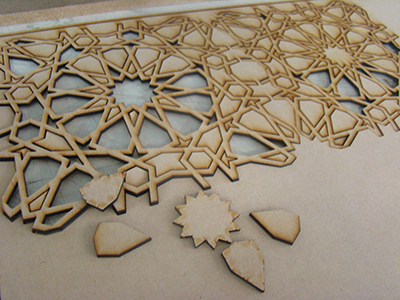
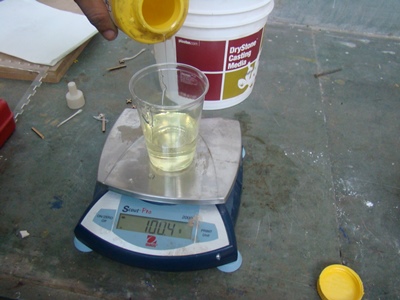
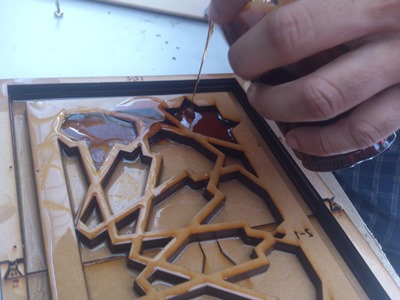
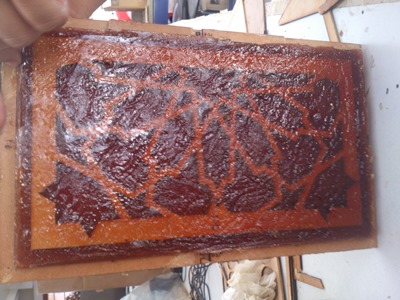
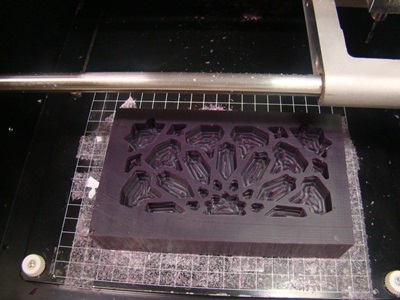
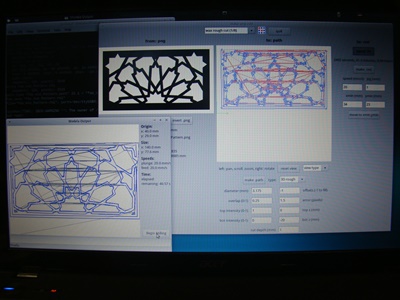
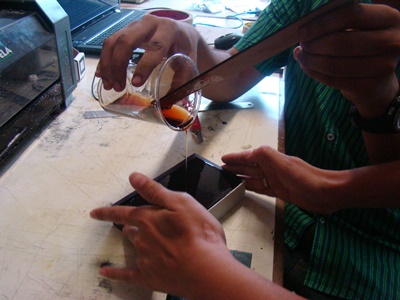
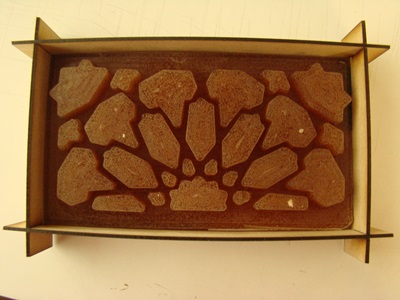
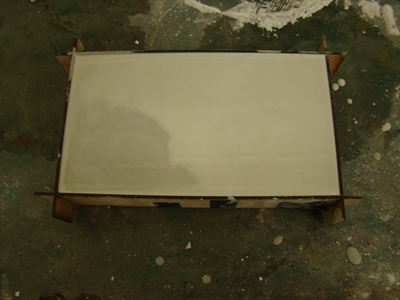
For this assignment, we (Ashris Choudhury and myself) chose to cast an Arebic pattern. Base pattern (2D drawing) was downloaded from internet. 2D drawing was simply extruded 10mm. This model was then taken to AutoDesk 123D Catch to make horizontal sections for laser cutting. 1.5mm MDF was cut in the same pattern and stuck. Entire mould was then soaked in machine oil for 2 hours. To hold material edge frame of 20mm depth with press fit construction were made. This was also dipped in oil for 20mins before casting. Once the mould was completely ready, we mixed primex (POP based material) and water in ratio 1:4. The semi-solid made was then poured in the mould. While pouring, it was constantly vibrated. We left it to settle over night. Next day we tried to remove and we could only remove the edge frame. Entire mould is tightly embeded in the cast!

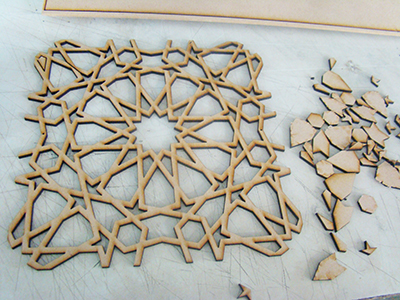
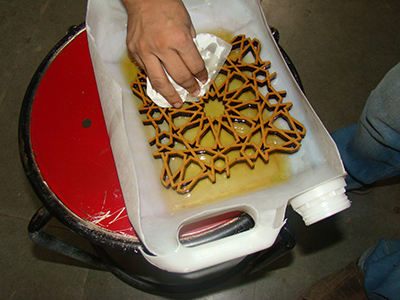
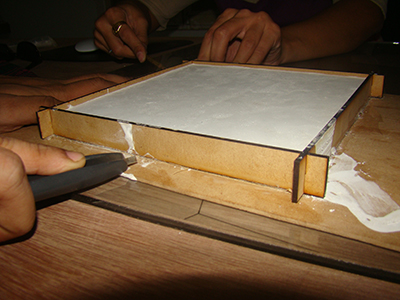
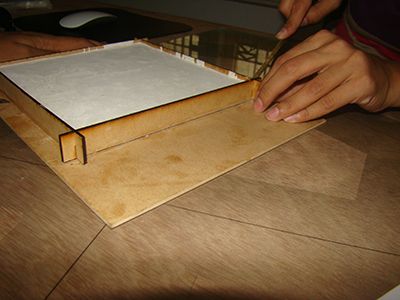

Cast with embaded mould
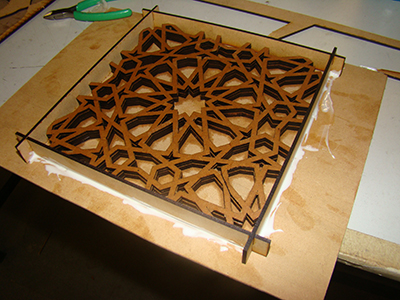
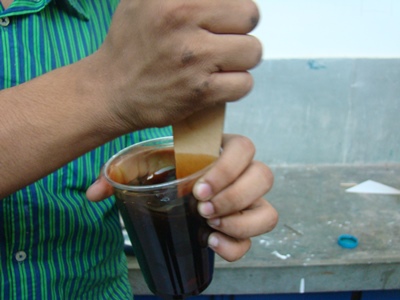
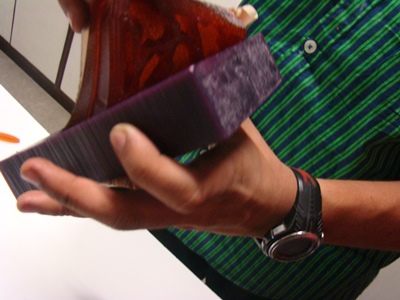
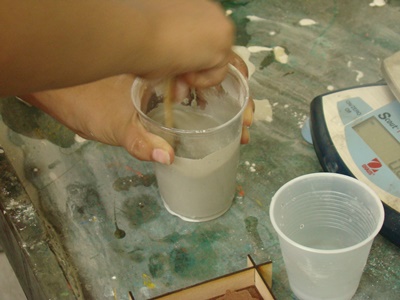
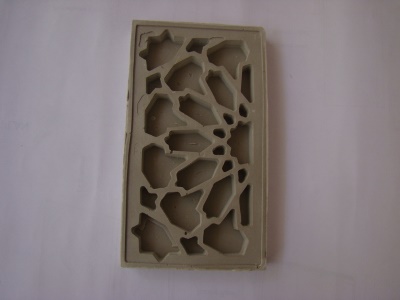
First trial failed. So we made another mould
exactly half the size and tried to experiment with Liquid Rubber compound. UPDATES yet to come. At this point we feared that we didn't have enough rubber compound so we decided to use exactly half of the pattern. We again laser cut various layers, stuck them and tried pouring rubber compound.

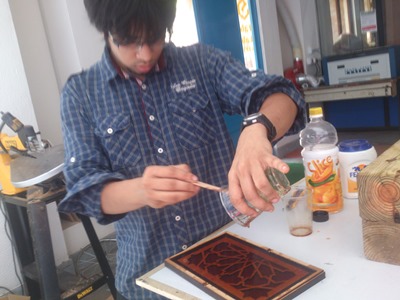

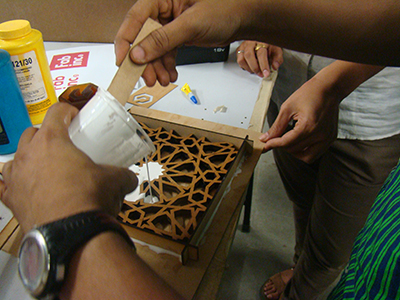
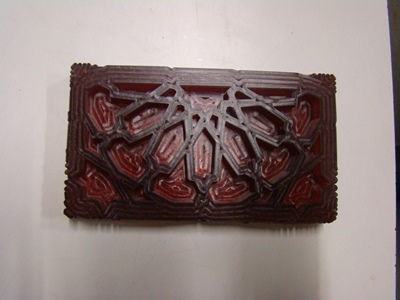
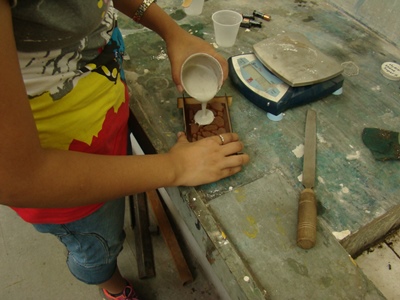
Having done first 10mm negative mould, we milled another 10mm positive pattern without realizing that we had to pour rubber compound in negative pattern milled.
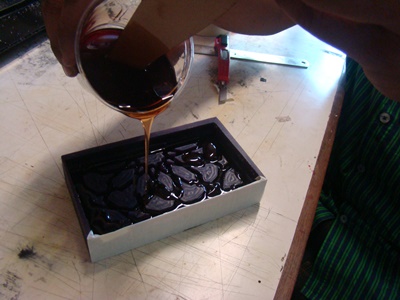
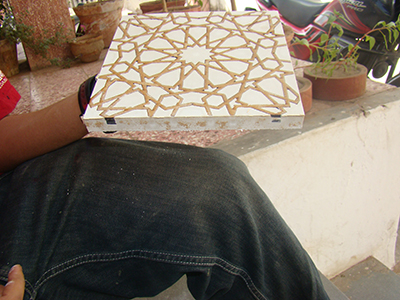
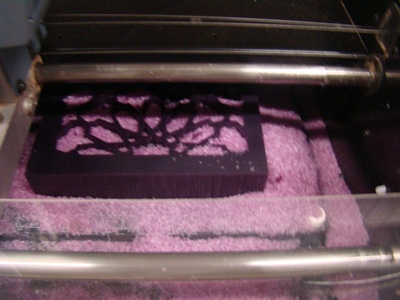
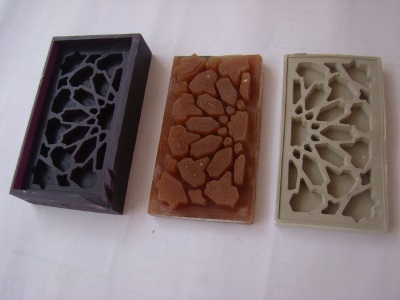
Removing settled cast from the wax mould.
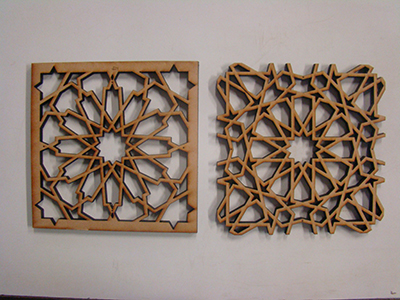
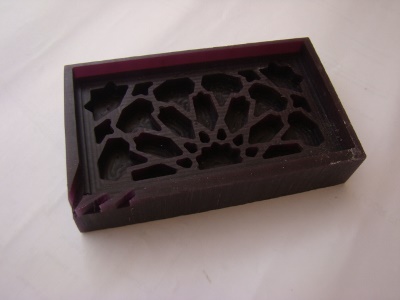
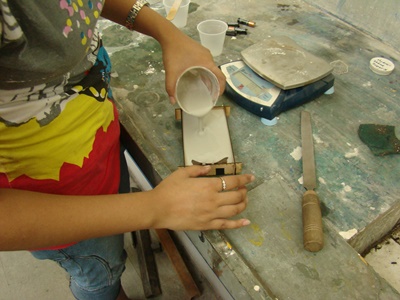
First successful mould in terms of making. Then we realized that we made a mistake. Mould finally made is ready to cast negative of desired pattern. that means pieces. And we start all over again.

Text goes here1

Text5
Text6
Text7
Text8