week 4: 3D scanning and printing
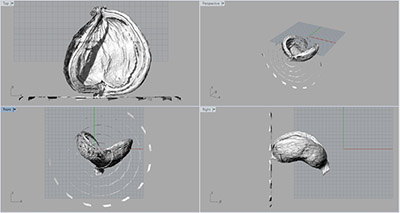
I am highly inspired by the forms in nature. At times it is only possible to make proportionate sketch and not able to measure them. With 3D scanning it would be fun to record these objects and understand geometry. Therefore, I chose all the organic objects for this exercise. Above picture is a fruit of a tree in the CEPT University. I am so fascinated with its texture and details. Thought it would be nice to scan and 3D print the same. I tried scanning this at default (standard) settings of the 3D scanner. It did not scanned very little portion towards the core which is little hard surface (seed). The outer surface is quite spongy.
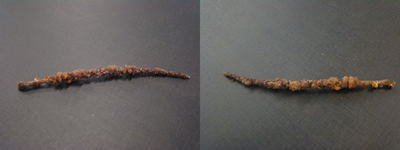
This is a strange formation on the twig. Machine could scan this but the computer hanged up after that so do not have the file for this. Would try this once again.
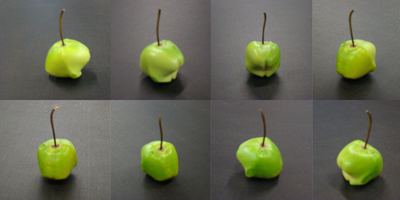
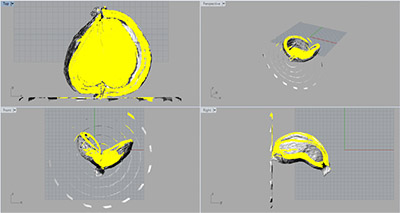
This is a bud of a plant. It turns in a yellow flower (very beautiful and common in this reagon). This was first successful scan with the complete surface development.

Unlike first object scaneed, surface of the bud is continuous and hard (not furry). A beautiful mesh had been generated. The portion on which it was resting to scan was left out. This was patched and closed in the same interface as scan.
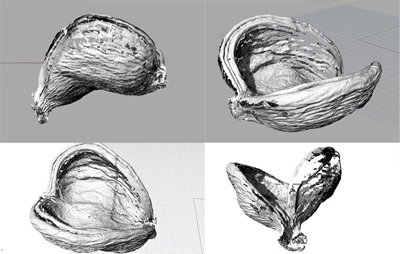
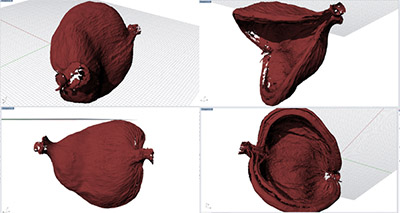
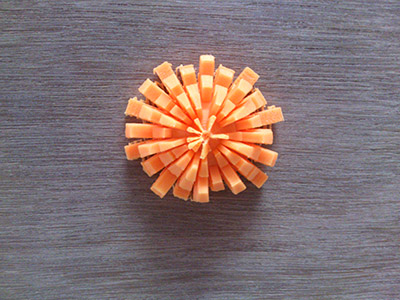
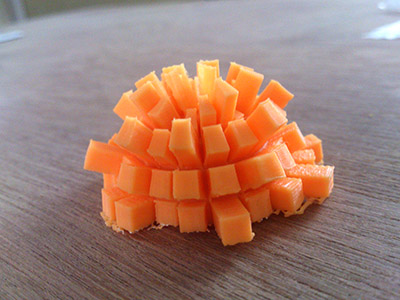
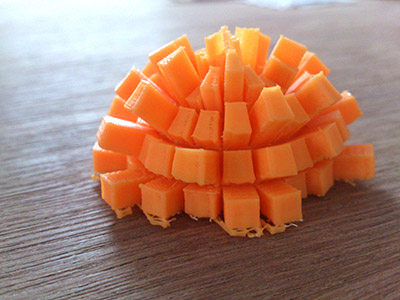
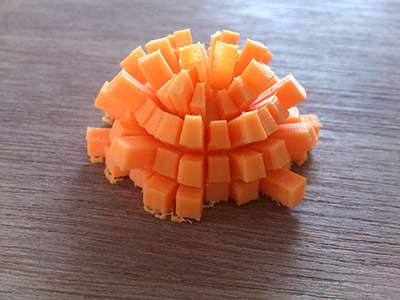
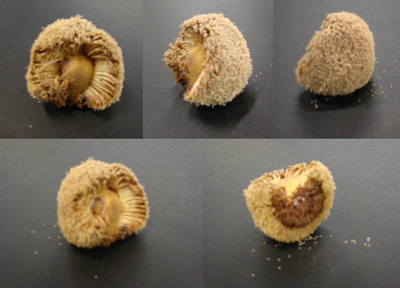
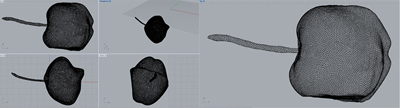
This is a shell of a fruit. Five such shells make a complete cover, normally like a bunch of patels in a flower. A student of mine named Chandra was measuring and modeling as peart of her Visual Reperesntation course. I was fascinated to scan this because of very interesting texture on the surface. It is a hard surface (like walnut shell) with fine texture. To model the overall shape in Rhino would be possible by measureing. However to add details of the texture in the exact model by measuring manually was the challenging. To capture these details, I scanned it at high resolution.
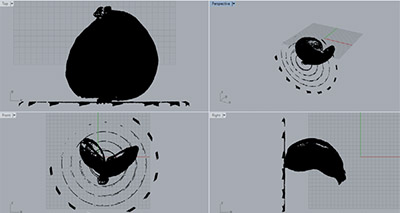
Scan with the support table. The unwanted items can be removed in the program where scanned, but the commands are really remote hence time consuming. It is much faster to edit in Rhino.
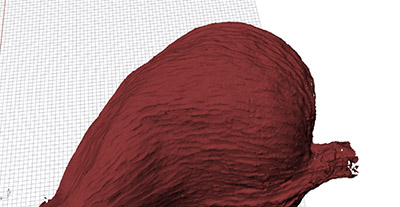
Model is made in meshes. So Ungroup OR Explode makes surface selection difficult. Placement of object for scanning is important because it will leave hollow parts where laser beam can not reach easily. Placing object as much exposed to the scanner only makes editing easier..
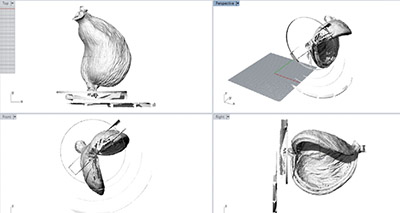
This was by far best result closest to expectation.