WEEK 5
[3D SCANNING AND PRINTING]
In this week, the task was to turn atoms into bits through scanning and then again into atoms through 3d printing.
There are several technologies for 3d scanning from line lasers to 360 photos, piezoelectric sensors, projectors, and kinnects. Some are more dificult to generate good results at first than others, but all can do their job quite nicely.
So I began with the photo scanning for generating a 3d model of my head. I asked my collegue to take some photos around me. Actually, he took lots of photos around me and in different places because the conditions in which the software processes them correctly is very sensitive. So we needed to be very careful with some details:
- number of pictures (between 50 and 70),
- color preservation,
- avoid burned spots and high exposure,
- use point focus,
- discard blurry photos and
- if you are taking photos of yourself, do not even think of sneeze.
After around 500 pictures, I finally got it right. I uploaded my files to 123D_Catch and the software processed my images in the cloud. During the processing time, you sould go grab a coffee or something because it will take a while to generate your 3d model. Download my .3dp file if you want to check the final result.
After Autodesk make the dirty work for you, unveiling the rough model, its time to polish it using a sculpting software like the commercial Z-Brush, the open source Sculptris or even Blender with its sculpt mode.For this project I chose Blender because of its powerful mesh engine with texture maping and essential sculp tools.
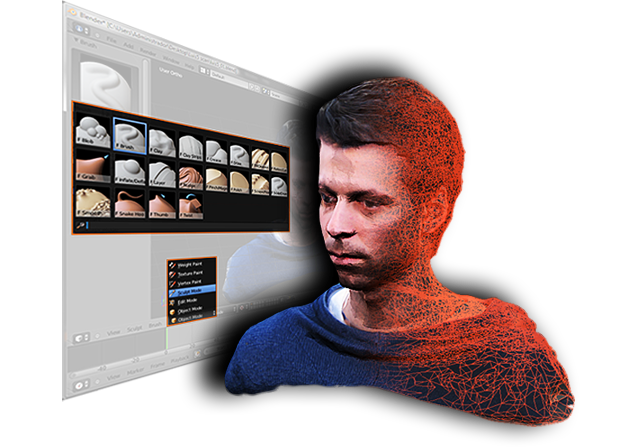
With these tools you can shape your model, mask some details in your mesh or even rebuild the entire model.
After I finished my plastic operation it was time to increase the surface subdivisions for a smoother result. Just go to Object Modifiers > Add a Modifier > Subdivision Surface and change the number of subdivs in the View slider. Just be careful about the number you're giving, because it will make your file heavier and sometimes without any visible improvement.

As you see, for high quality results I can use Subdivs: 2, but for a good relation quality performance, I chose Subdivs: 1.
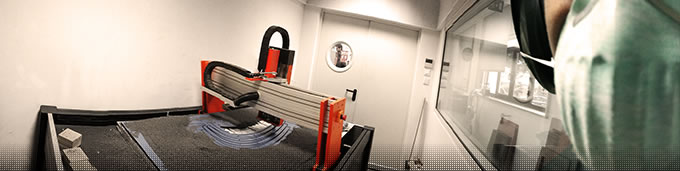
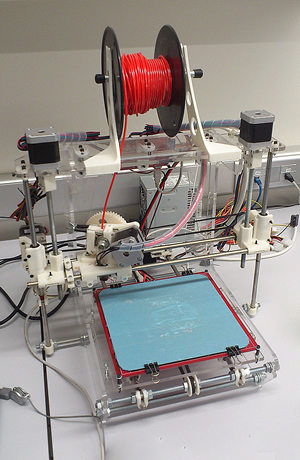
Now it's time for 3d printing myself! So I bought a Ultimaker 3d printer and started its assembly process. I also made a small market analysis that I can proudly share with you. Take a look here.
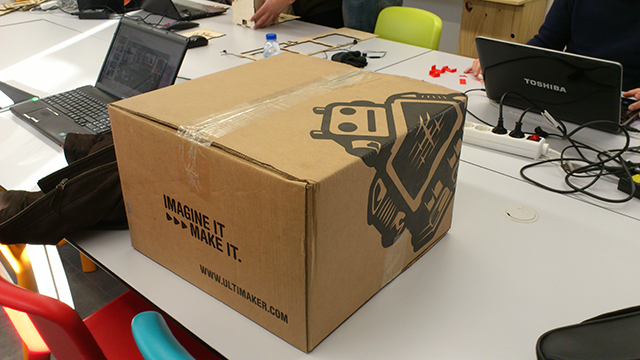
The assembly process was pretty easy. With very detailed instructions online http://wiki.ultimaker.com/Main_Page we took around 48 hours to complete the task. Then, we needed to install Marlin, Skeinforge, CURA, etc... and calibrate the printing settings. It's a tinkering challenge because you need to print the same model a dozen times to adjust correctly all the settings. My advice is to check all the blogs and sites referring to Ultimaker user xp. Start with their Wiki.
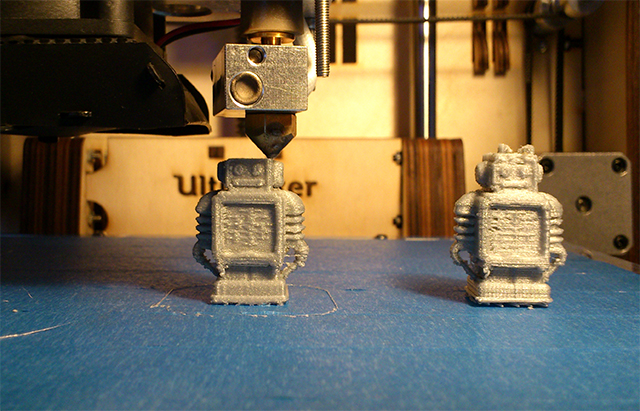
Now that I have a soccer team of small robots it's time to print my head. The settings I tested earlier will be crucial to the final result. If you increase, for example, the working speed you'll sacrifice quality, if you increase the amount of infill, you'll have a heavier, more expensive model and it will also take too much time to print. It depends on the strengh that you pretend in your model.
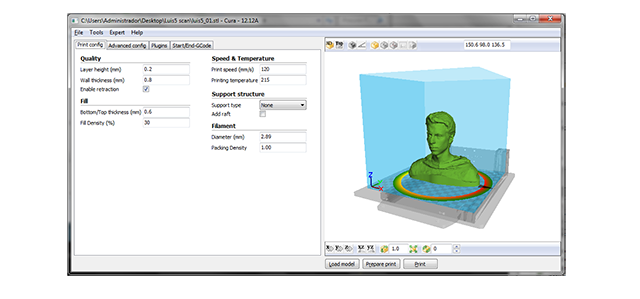
Well, I'll share the values I've used for my 3d print.
[print config]
QUALITY
Layer height: 0.2
Wall thickness: 0.8
Enable retraction: yes
FILL
Bottom/Top thickness: 0.6
Fill density: 30
SPEED & TEMPERATURE
Print speed: 120
Printing temperature: 215
SUPPORT STRUCTURE
Support type: none
Add raft: no
FILLAMENT
Diameter: 2.89
Packing density: 1.00
[advanced config]
MACHINE SIZE
Nozzle size: 0.4
SKIRT
Line count: 0.6
Start distance: 6
RETRACTION
Minimum travel: 5.0
Speed: 60
Distance: 4.5
Extra length on start: 0.0
SPEED
Travel speed: 200
Max Z speed: 3.0
Bottom layer speed: 40
COOL
Minimal layer time: 10
Enable cooling fan: yes
QUALITY
Initial layer thickness: 0.3
Duplicate outlines: yes
I could go deeper with more expert printing settings, for example adjusting Skeinforge, but with these you already can make the difference. There is still room for improvement, don't stick to my values, run more tests!
So this print took me around 10 hours to finish. The material I printed with was PLA, a biodegradable plastic. Here are some characteristics about the material:
- prints with lower nozzle temperatures (180º - 210º),
- doesn't require heated bed,
- less warping problems when printed,
- weak to high temperatures,
- biodegradable,
- a bit less dangerous when inhaled than other plastics,
- doesn't melt with acetone,
-
lightweight (1210 - 1430 kg/m3),
-
and less resistant, avoid printing structural parts with PLA.
The final result was not that impressive, there are still lots of fine tunnings to make to the softwares it uses, althought the scale and the the time it took to print was quite impressive!

After 3D printing with Ultimaker, I wanted to try other technologies and materials, so I tested printing my head model with RepRap_Prusa_Air_2. One of the cheapest machines in the open source market. This printer comes with a heated bed so it can build with ABS and around 30 percent of the machine parts can be printed by another one, although has a smaller build volume and prints slower than Ultimaker. It's also less robust and uses acrylic plastic for the main frame, just one of the most horrible plastics to work with...
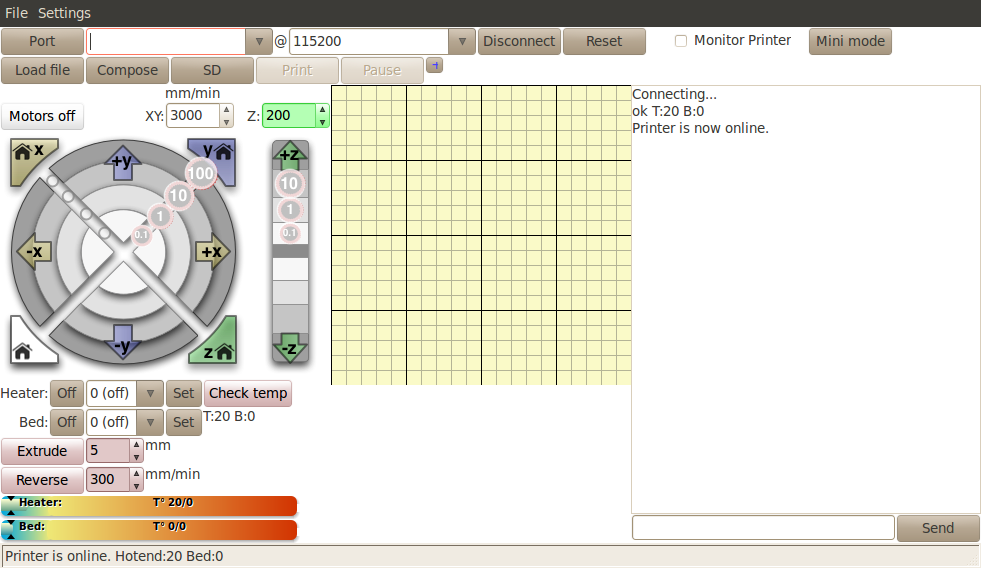
For controlling this machine I used a set of softwares called Printrun and Slic3r for G-Code generation. My personal evaluation of this combo is an A+. It needs some time to understand all the workflow, but after that, you can generate very clean models very easily.
As I wrote before, this time I was going to print with ABS. It's not as easy as PLA, although it has some advantages for the end user. I'll enumerate some characteristics:
- high extrusion temperatures (220º - 250º),
- requires heated bed or equivalent (around 100º),
- lots of warping problems if the right technic is not mastered,
-
very resistant to high temperatures,
- environmentaly dangerous,
- dangerous when inhaled in high concentrations or durations,
-
melts with acetone,
-
very consistent "you just can't break it!", adequate for structural pieces.
As I expected, the printing time was a bit higher than Ultimaker, even with a shrunken model, but for my surprise the printing quality was superior. Well, not satisfied with the good quality print, I decided to try a "slick trick" to polish my model. A technique developed by Austin Wilson and Neil Underwood that uses acetone vapour at 90º to melt the exterior walls of the model and smooth them. http://www.wired.com/design/2013/03/3d-print-smoothing
So, after a few testings with other 3d printed objects, I decided to put my head on the jar, not literaly. And this was the final result after 10 to 15 minutes of acetone vapour:
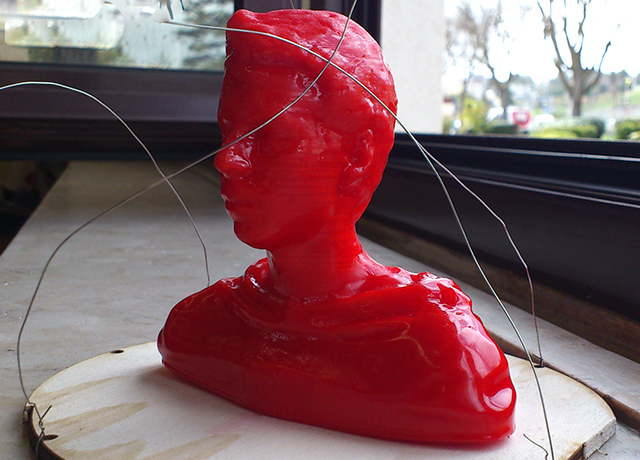
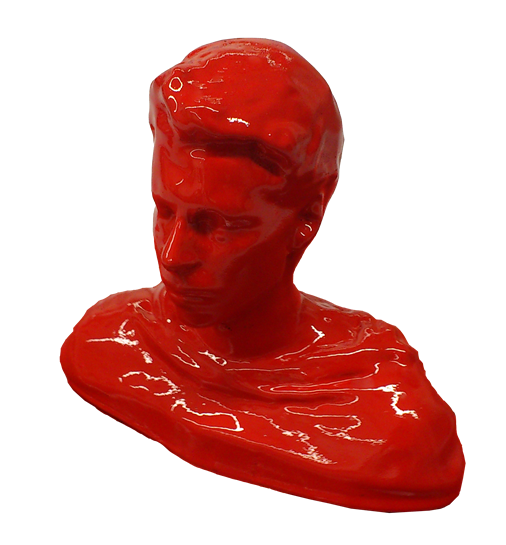
Looked like a lolipop! But the horizontal stripes have been gone. So for the rest of the polishing work, I just needed to apply two or three layers of red paint. And voilá, a nice polished model!
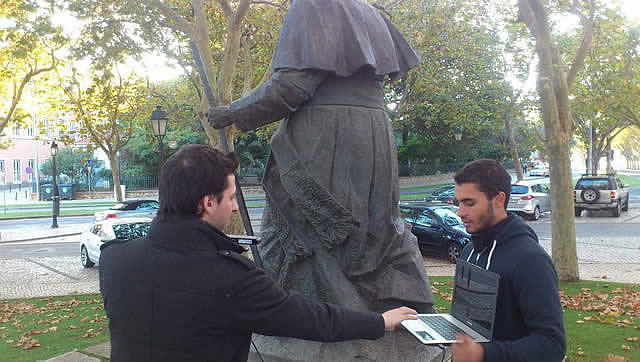
Another interesting project that I developed, was the scanning and printing of a 3 meters tall statue of pope João Paulo II. A priest from Cascais asked me if I was able to print small popes for selling to his community. I accepted the challenge and the result was quite interesting.
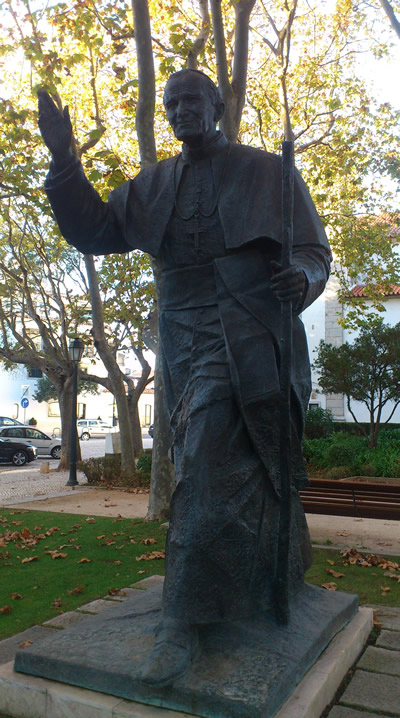
So, this was the basic kit I used for the job:
-ASUS Xtion Pro Live, scanning hardware
-Skanect, scanning software
-Meshlab, post-processing software