
Week 02
Computer-Aided Design
2D, 3D, AI, Video and Media Optimization
1. Checklist
- ✅ Used at least two raster software tools
- ✅ Used at least two vector software tools
- ✅ Used at least two 3D design software tools
- ✅ Explored AI-based image generation tools
- ✅ Created a short edited video
- ✅ Documented media optimization / compression workflow
- ✅ Included screenshots and downloadable source files
2. Software Overview
During this week, I explored different software tools for raster editing, vector design, 3D CAD modeling, AI-assisted image generation, video editing, and image optimization. The purpose was to compare workflows and understand how each tool supports design development for digital fabrication.
| Category | Software | Main purpose | Output / file type |
|---|---|---|---|
| Raster | GIMP / Photoshop | Image editing, masking, composition, appearance adjustment | XCF / PSD / PNG |
| Vector | Inkscape / Illustrator | Image tracing, vector cleanup, scalable geometry | SVG / AI |
| 3D | Inventor / SolidWorks | Sketch-based modeling, solid design, assemblies | IPT / SLDPRT / SLDASM |
| AI | DALL·E / ChatGPT | Visual ideation and concept generation | PNG |
| Video | Premiere Pro | Timeline-based video editing and export | MP4 / PRPROJ |
| Compression | Photoshop | Visual integration and appearance optimization | PNG / JPG |
3. Raster Design
In this section, I explored raster workflows using GIMP and Adobe Photoshop. These tools allowed me to work with bitmap images through selections, layers, masks, textures, and blending modes.
3.1 GIMP
Version used: GIMP 3.0.8.1
In this exercise, I used GIMP to combine images through selections, layers, and masking logic. The objective was to reveal a second image only inside a selected region and improve the final visual integration.
Workflow
-
Importing the image:
I imported the PNG image
GIMP_logo.pnginto the workspace as the base image of the composition. - Selecting the target region: I used the Free Select Tool (lasso tool) to manually select a specific area where the second image would be displayed.
- Creating a new layer: I created a new layer and inserted another image to place it over the original composition.
- Using masking logic: The selected region defined the visible area for the inserted image, producing a masking effect.
- Improving appearance: I changed the blending mode to Multiply so both images would merge in a more natural way.
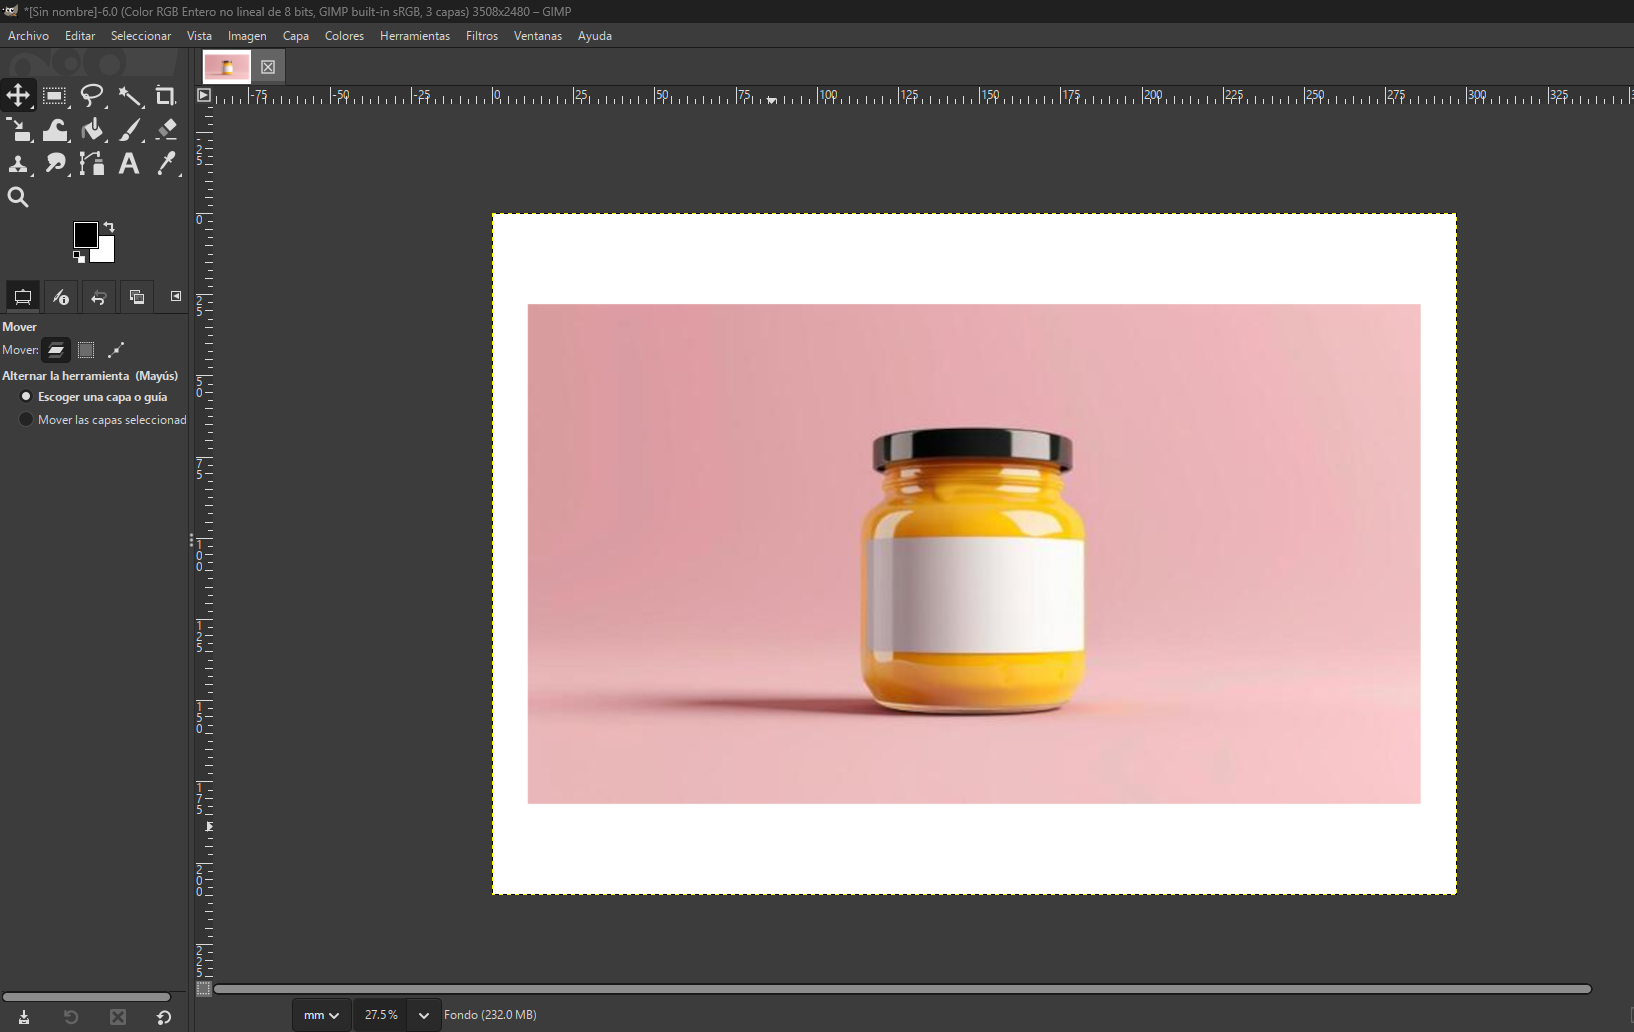
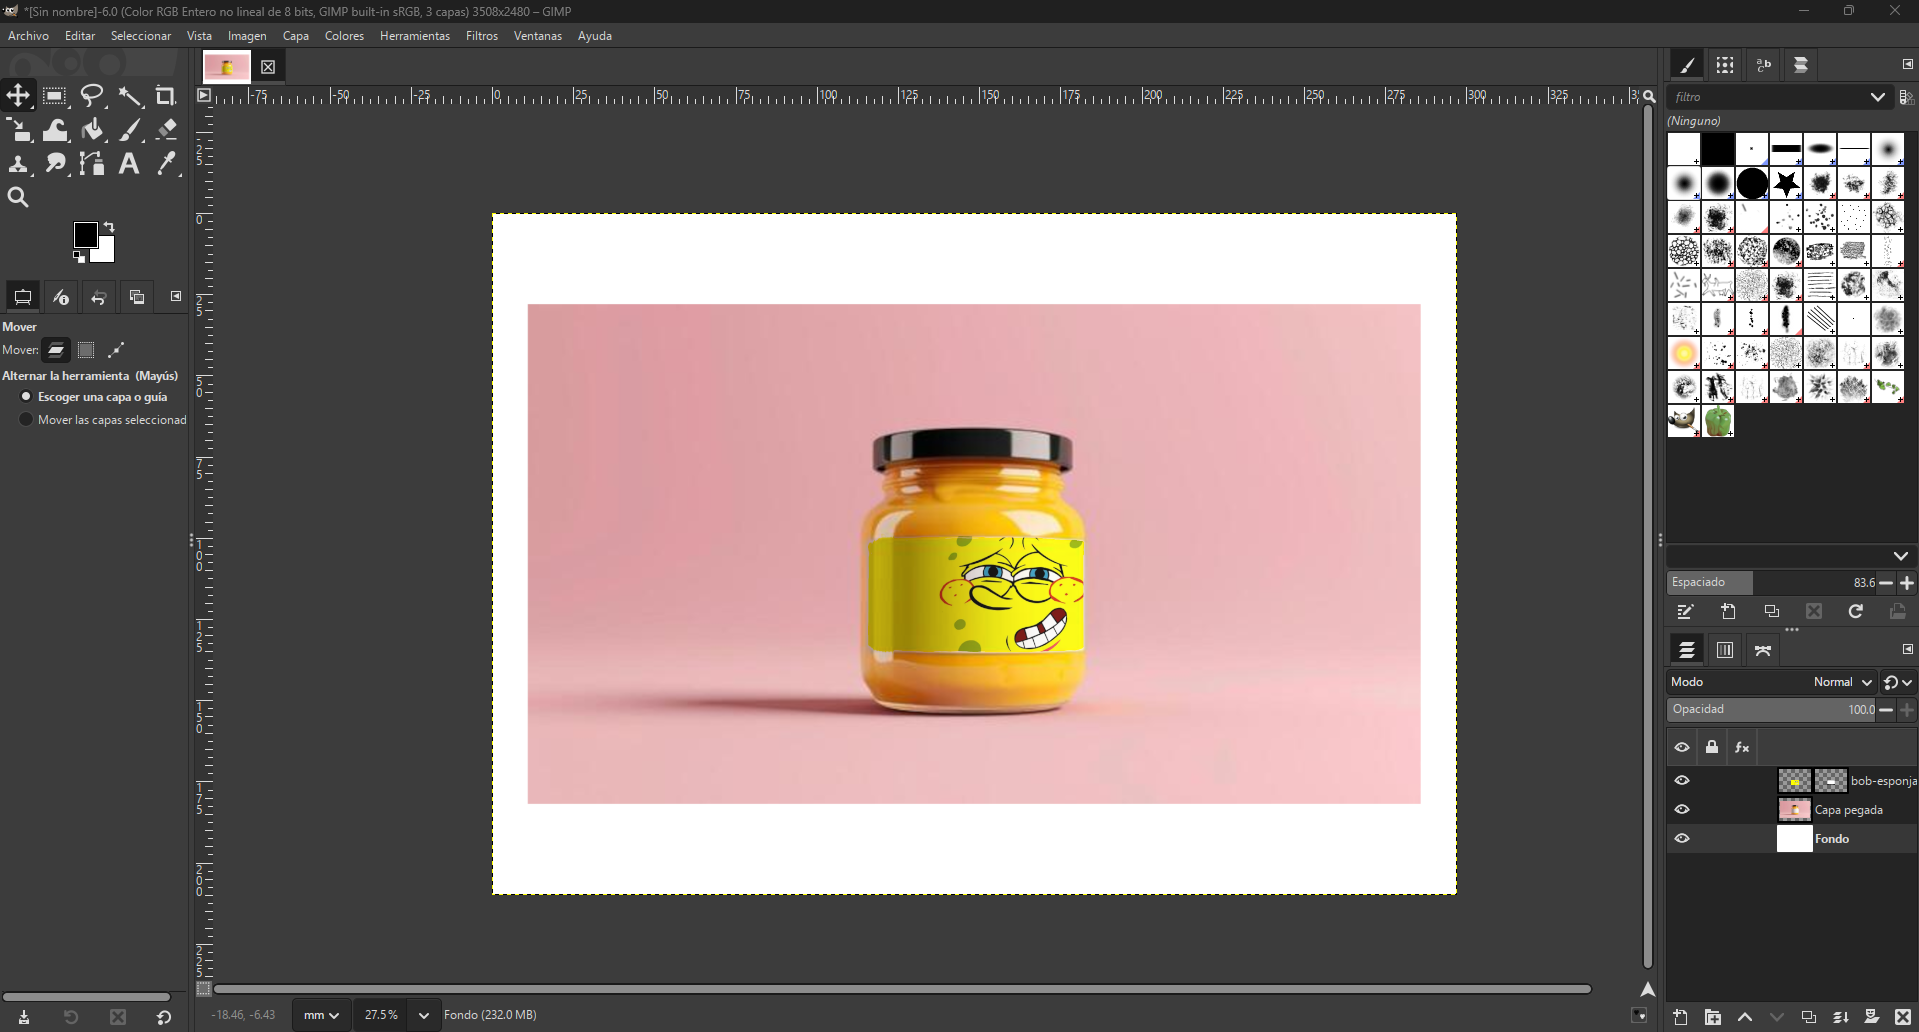
Image sources:
Image 1:
https://share.google/ccq1ST2bMRzPmYQn2
Image 2:
https://share.google/JlkLrq3csZwL0JvhI
3.2 Adobe Photoshop
In this exercise, I used Adobe Photoshop to apply a texture or graphic onto a selected object using selections, duplicated layers, clipping masks, and blending modes.
Workflow
- Importing the image: I opened the base image in Photoshop.
- Selecting the t-shirt: I used the Object Selection Tool and changed the mode to Lasso. Then I manually selected the t-shirt area.
- Duplicating the selection: With the selection active, I created two separate layers containing only the selected garment.
- Importing the texture: I inserted the new image that would be applied to the t-shirt.
- Creating a clipping mask: I restricted the texture so it would only be visible inside the shirt area.
- Applying blending mode: I changed the blending mode to Linear Burn to preserve the folds and shadows of the fabric.
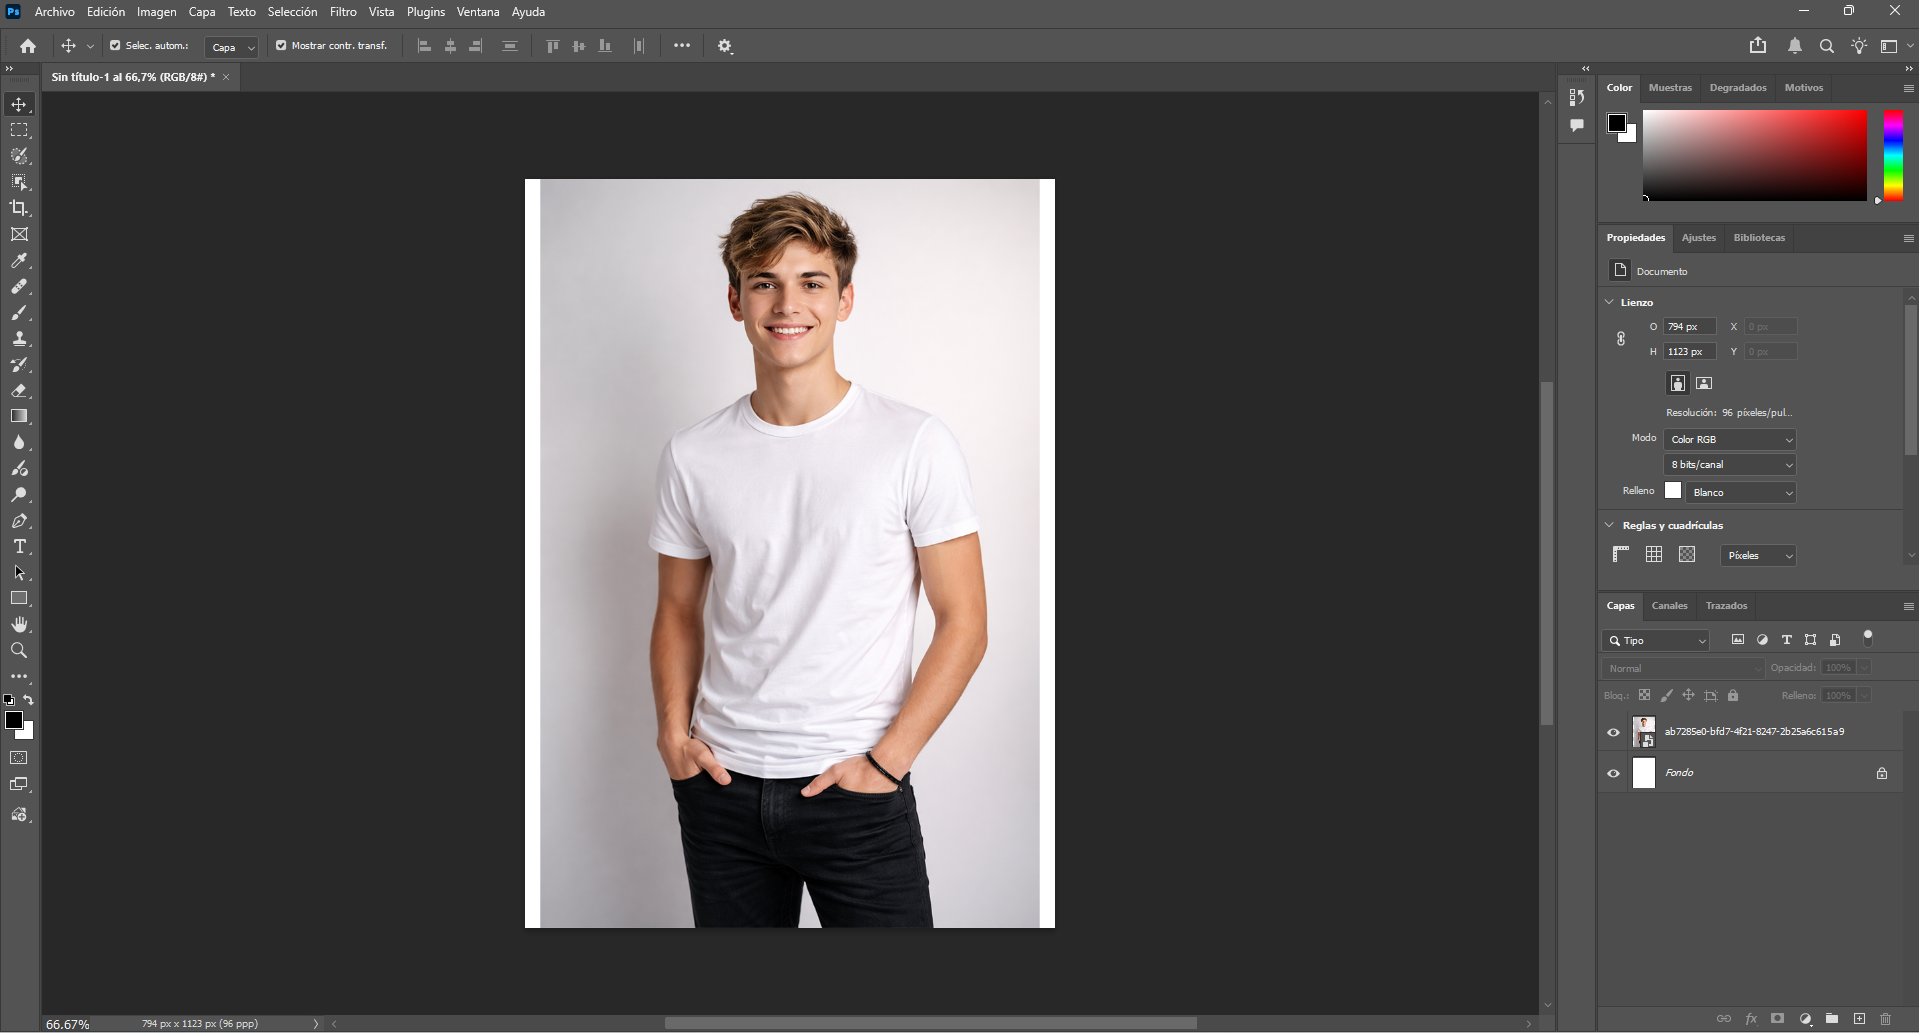
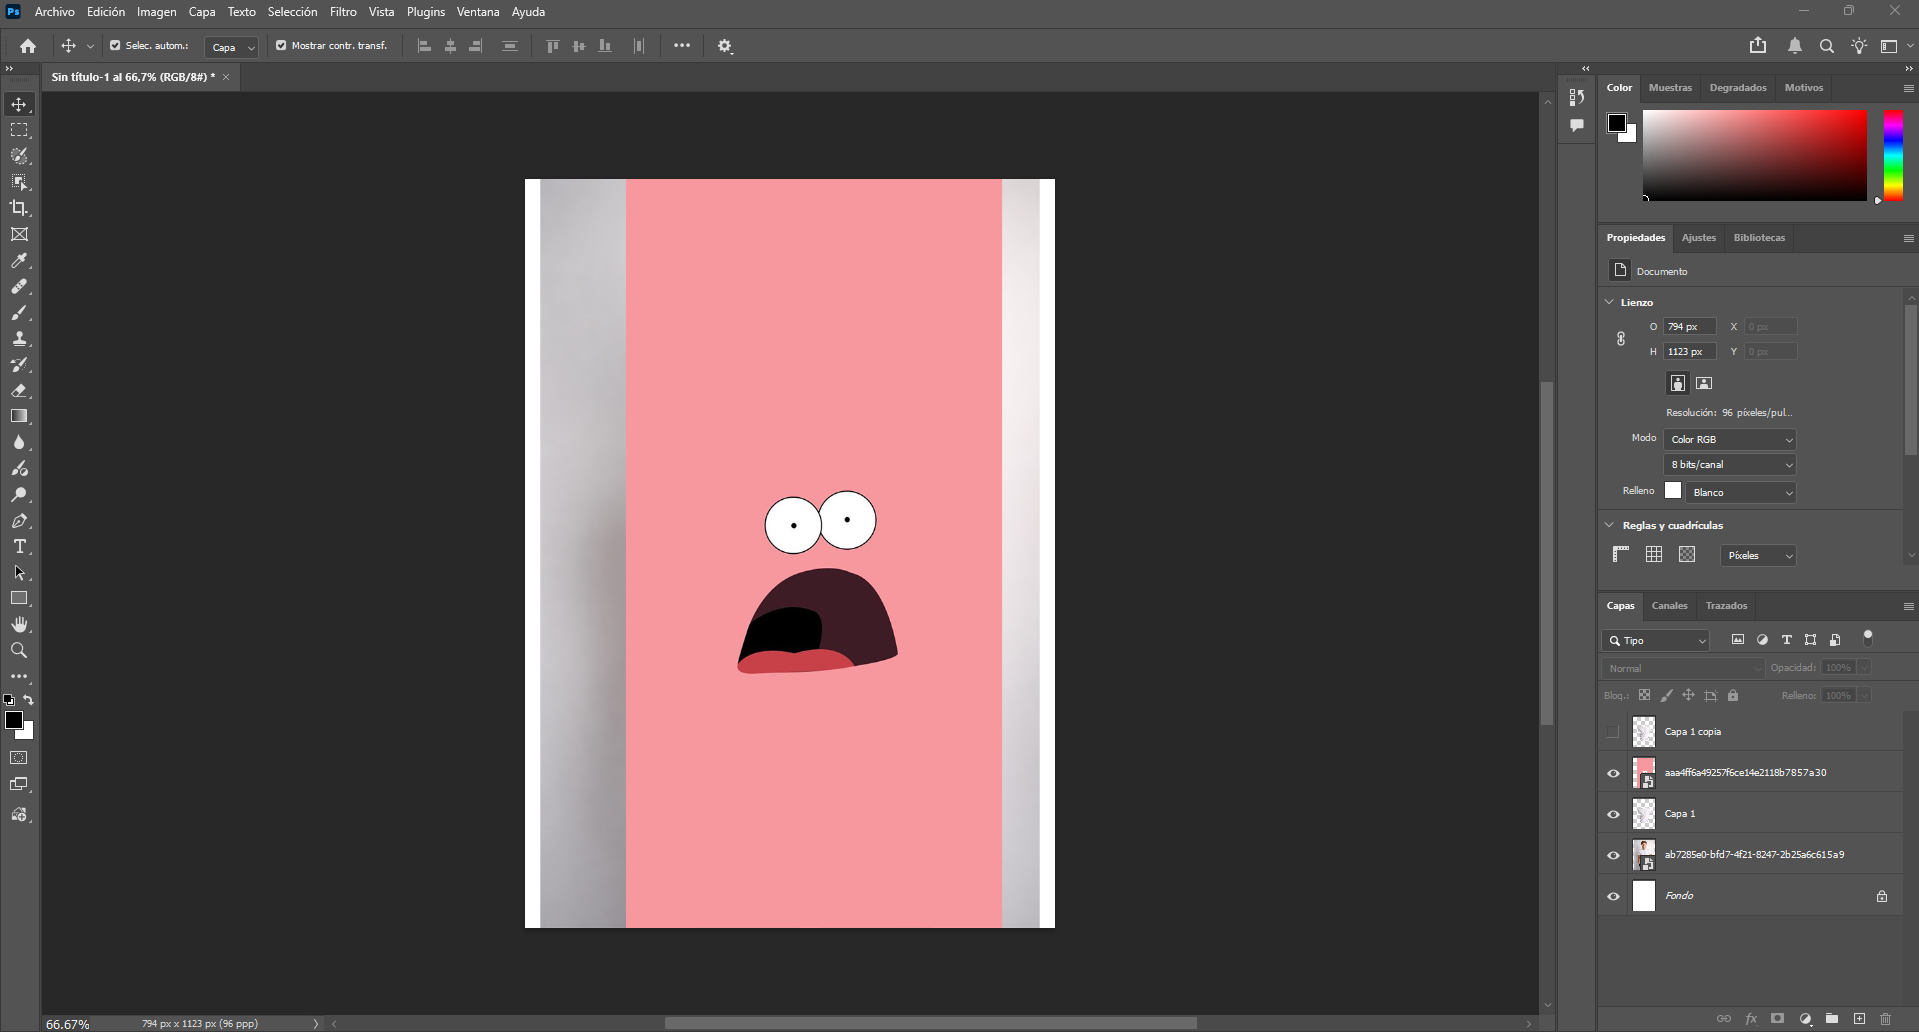
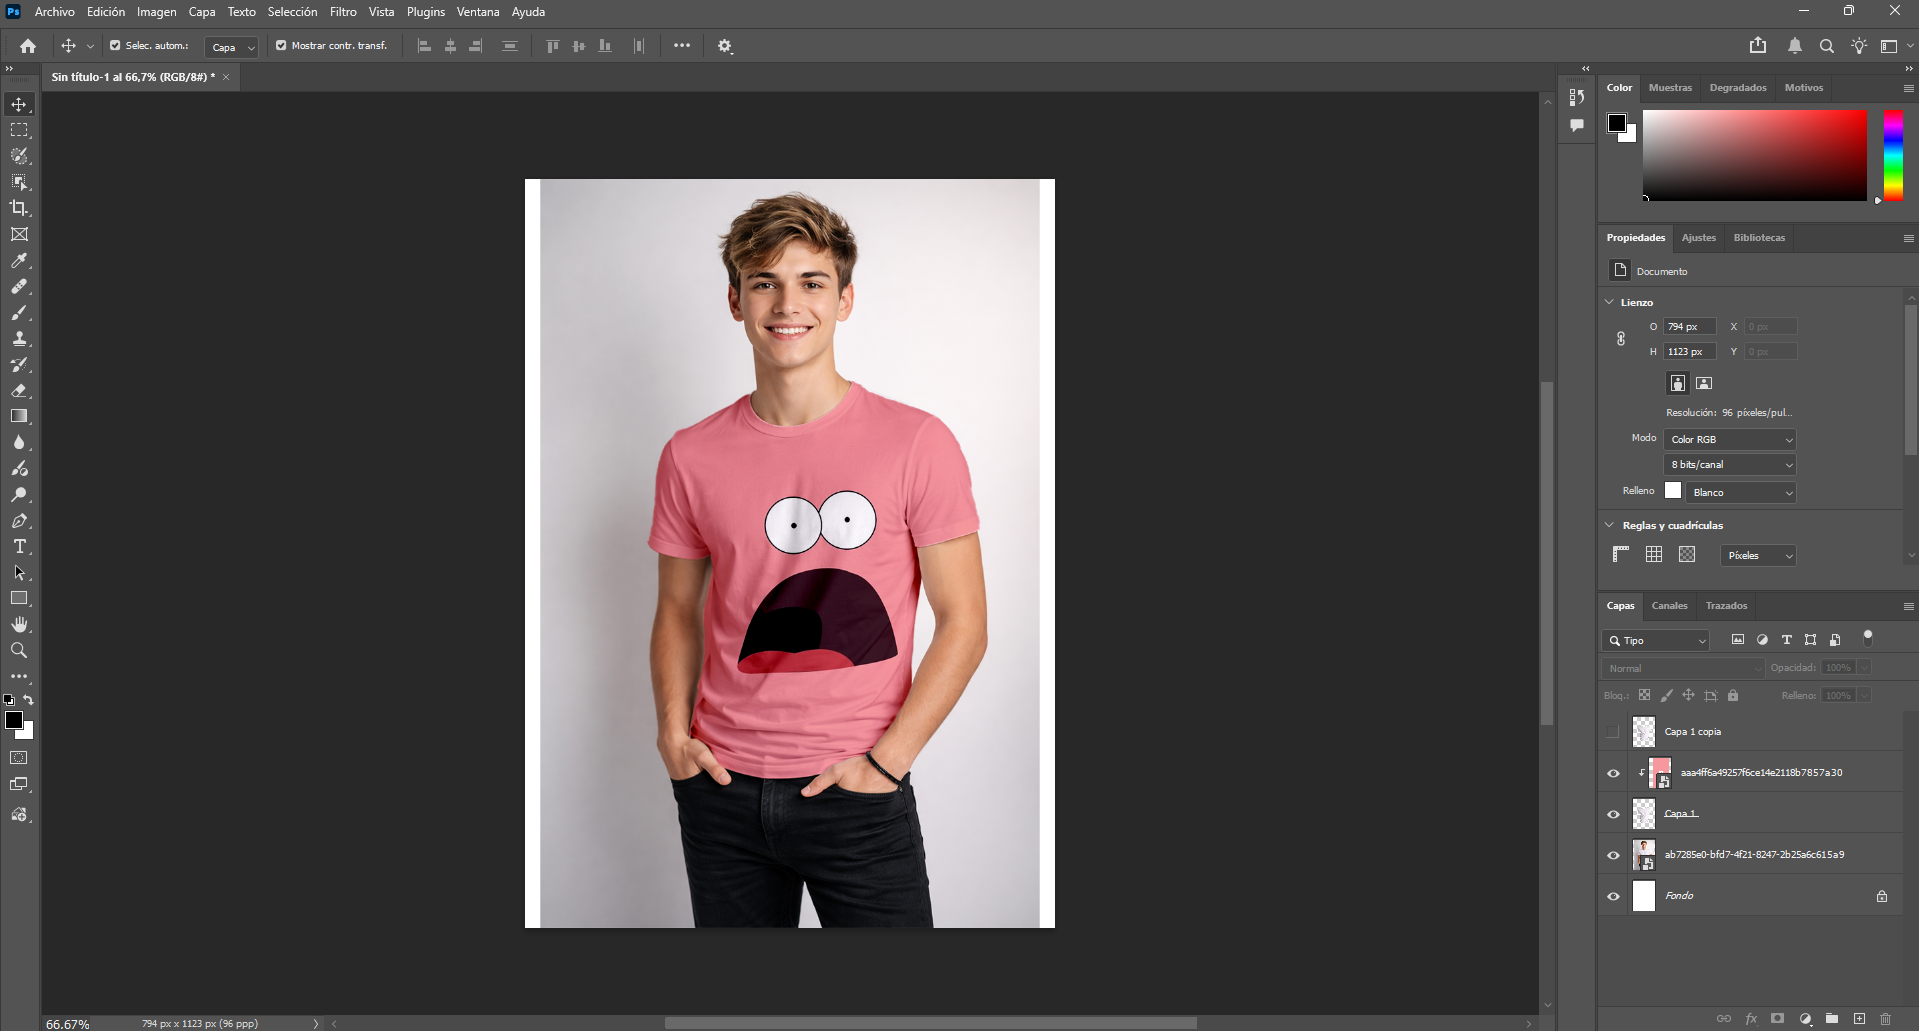
Image sources:
Image 1 (young man with white shirt): AI-generated image created with ChatGPT using a hyper-realistic prompt.
Image 2:
https://share.google/LhJSqjTlQgzAHayTo
4. Vector Design
In this section, I explored vector workflows using Inkscape and Adobe Illustrator. Both tools were used to transform raster images into scalable vector graphics.
4.1 Inkscape
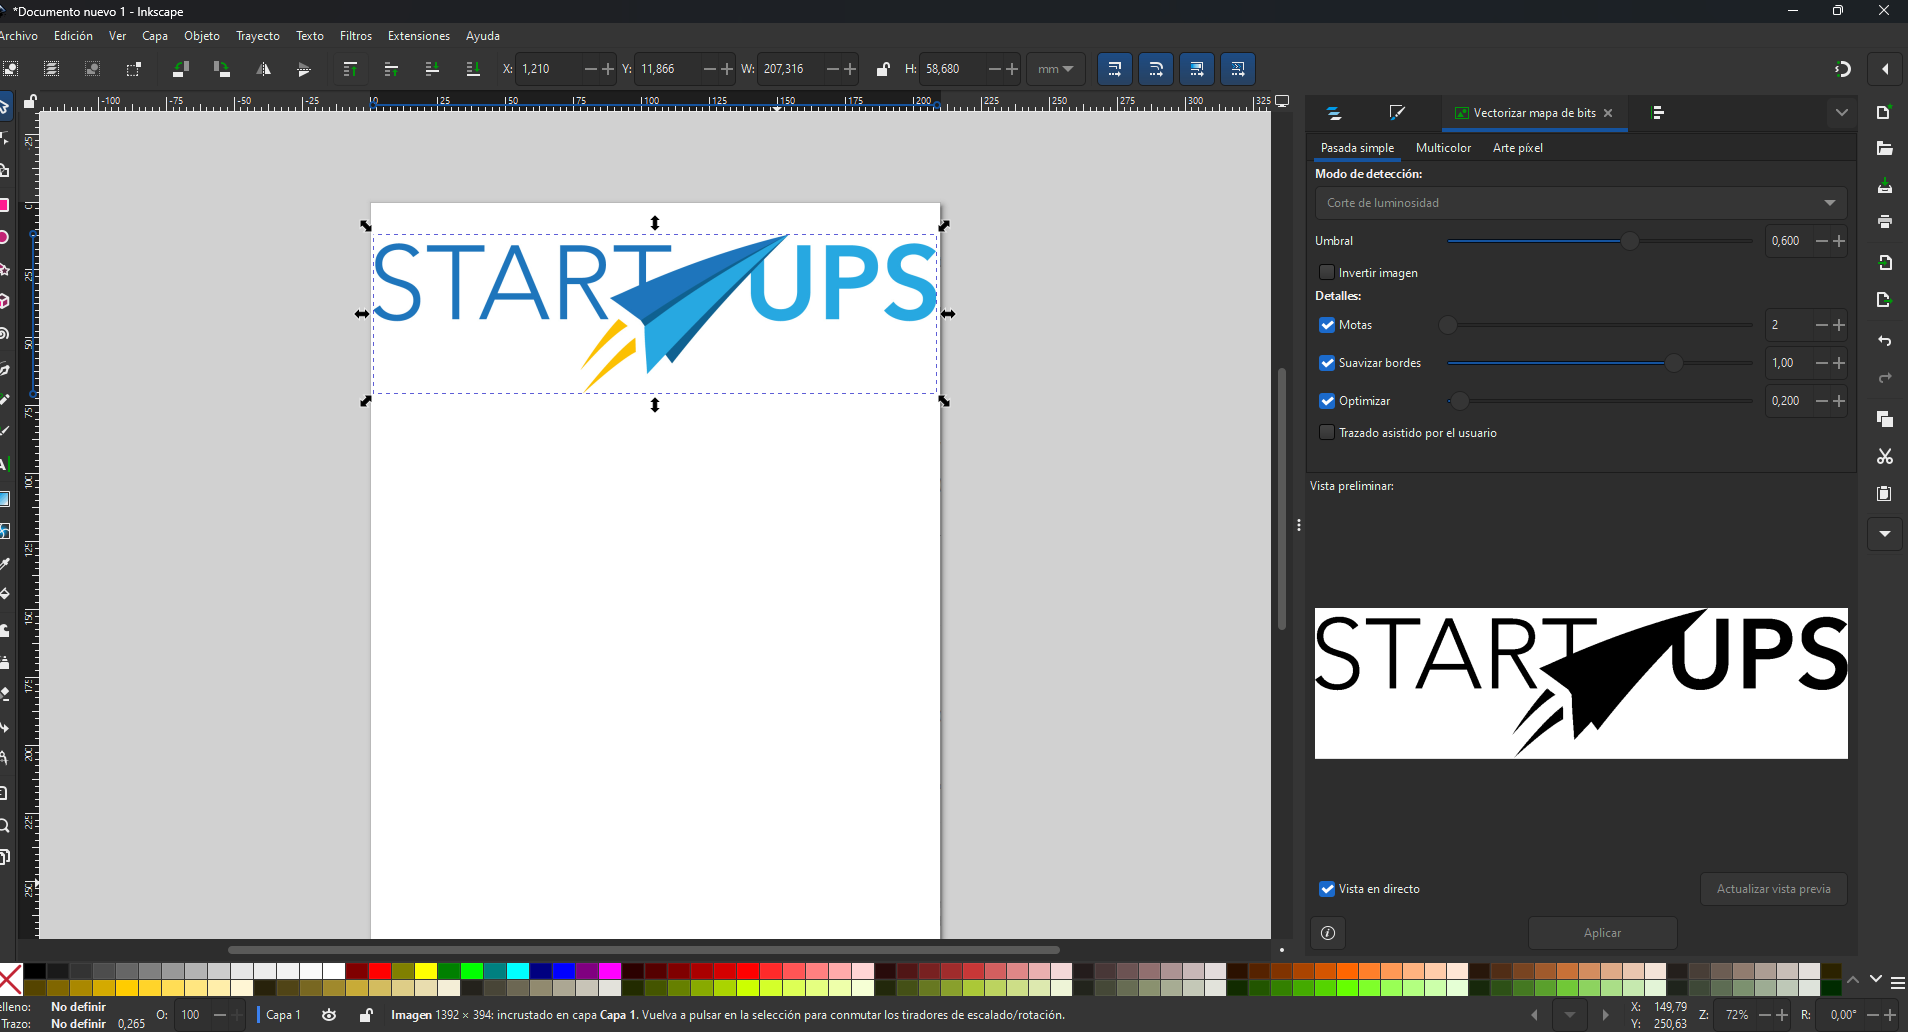
In this exercise, I used Inkscape to vectorize a raster image and compare different tracing results before preparing a contour-oriented version.
Workflow
- Importing the image: I imported the original raster image into Inkscape.
- First vectorization: I used Trace Bitmap with a black threshold result. The parameters were brightness threshold = 0.7 and smoothing = 1.
- Second vectorization: I repeated the process in black and white mode, obtaining more visible details.
- Contour preparation: Finally, I adjusted the image to show a white fill and black contour.

Image source:
Institutional image obtained from the UPS collaborator repository.
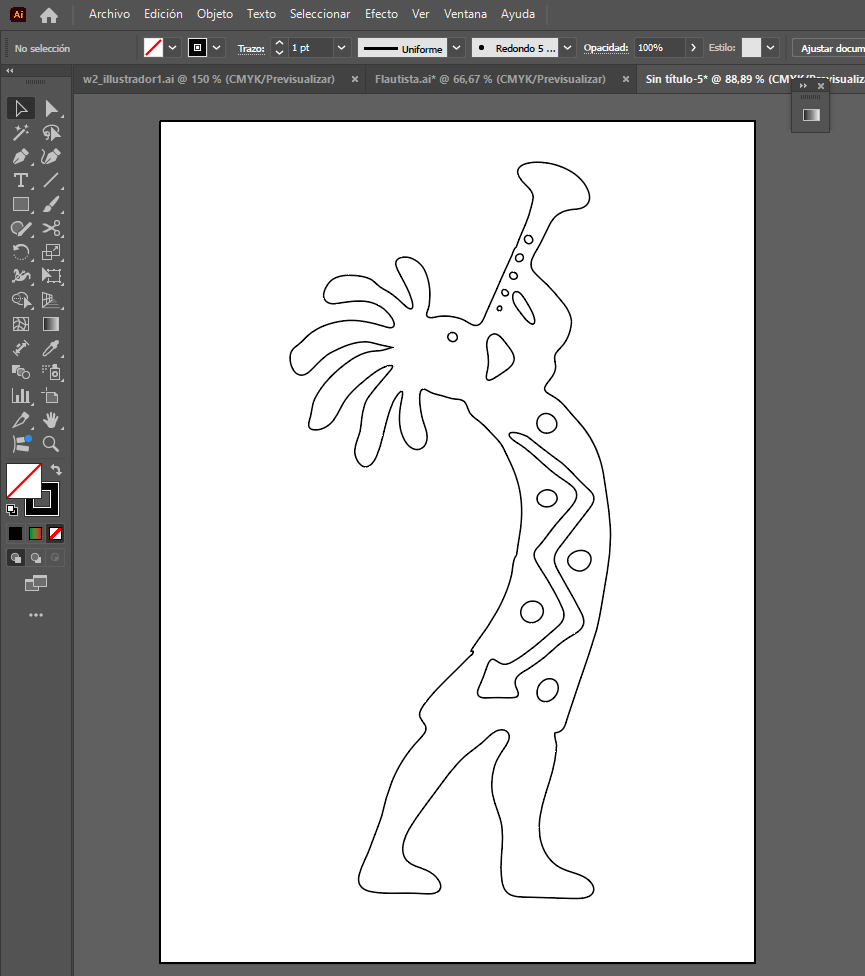
4.2 Adobe Illustrator
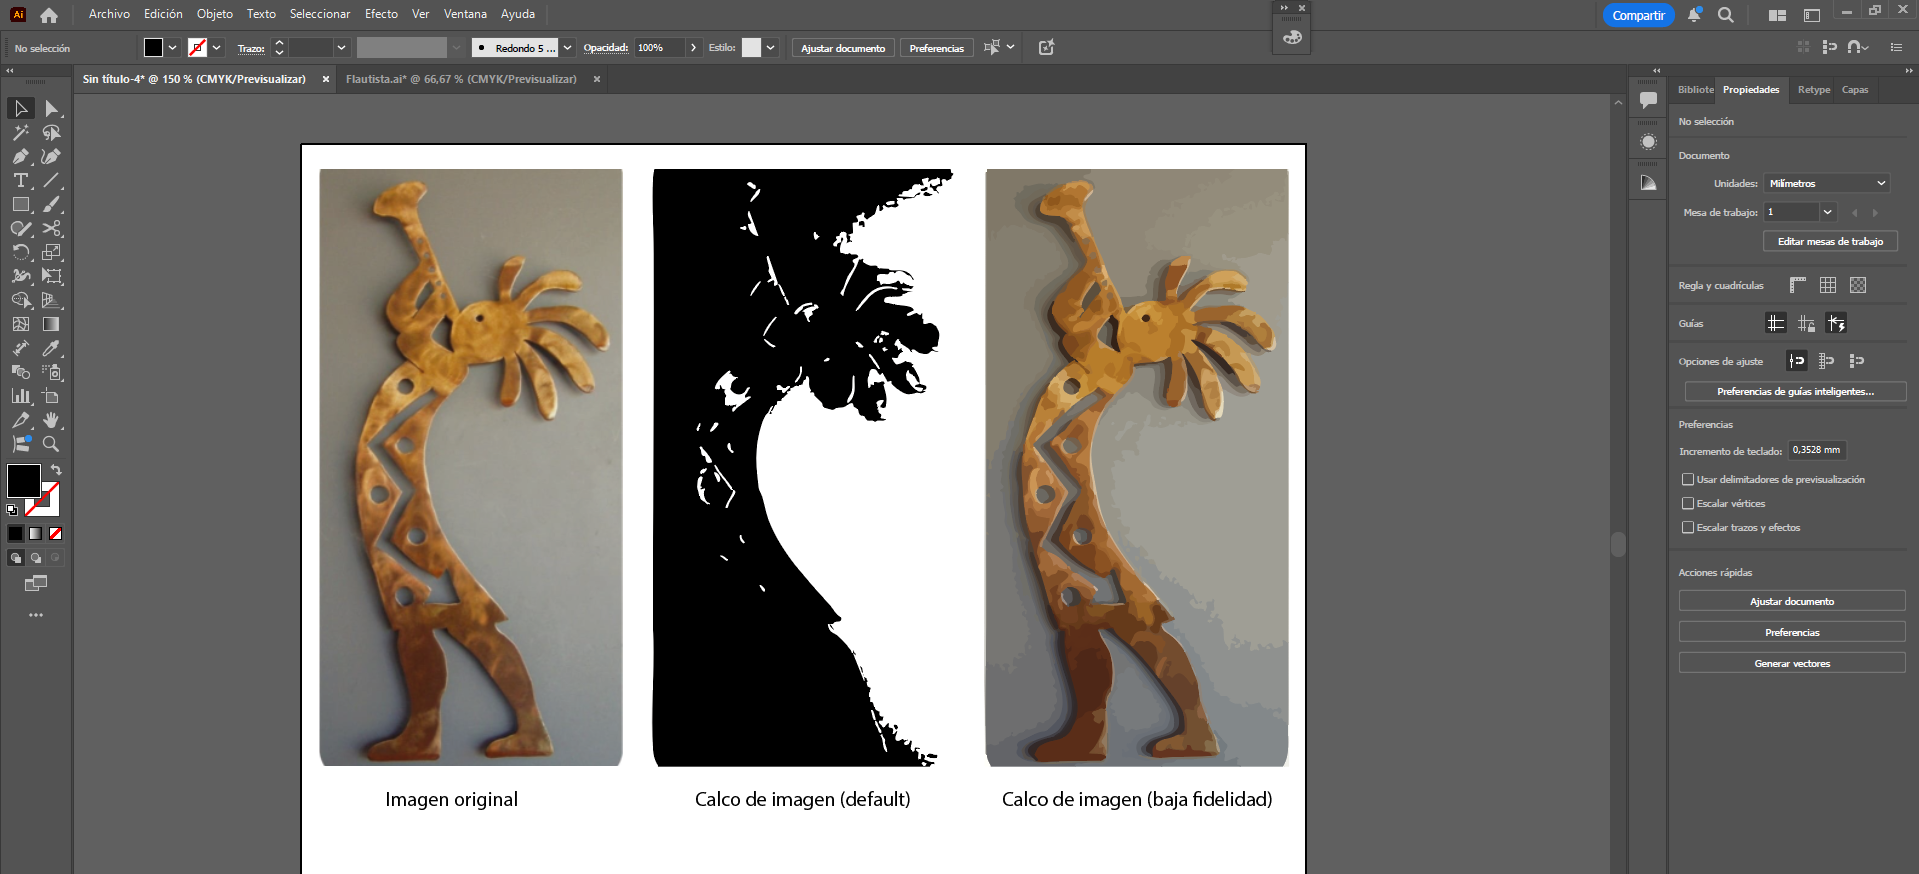
In this exercise, I used Adobe Illustrator to vectorize a raster image with Image Trace, refine the result, and create a mirrored composition.
Workflow
- Importing the image: I placed the raster image in the Illustrator workspace.
- Image trace: I first applied the default Image Trace result.
- Changing properties: In the properties panel, I changed the preset to Low Fidelity Photo.
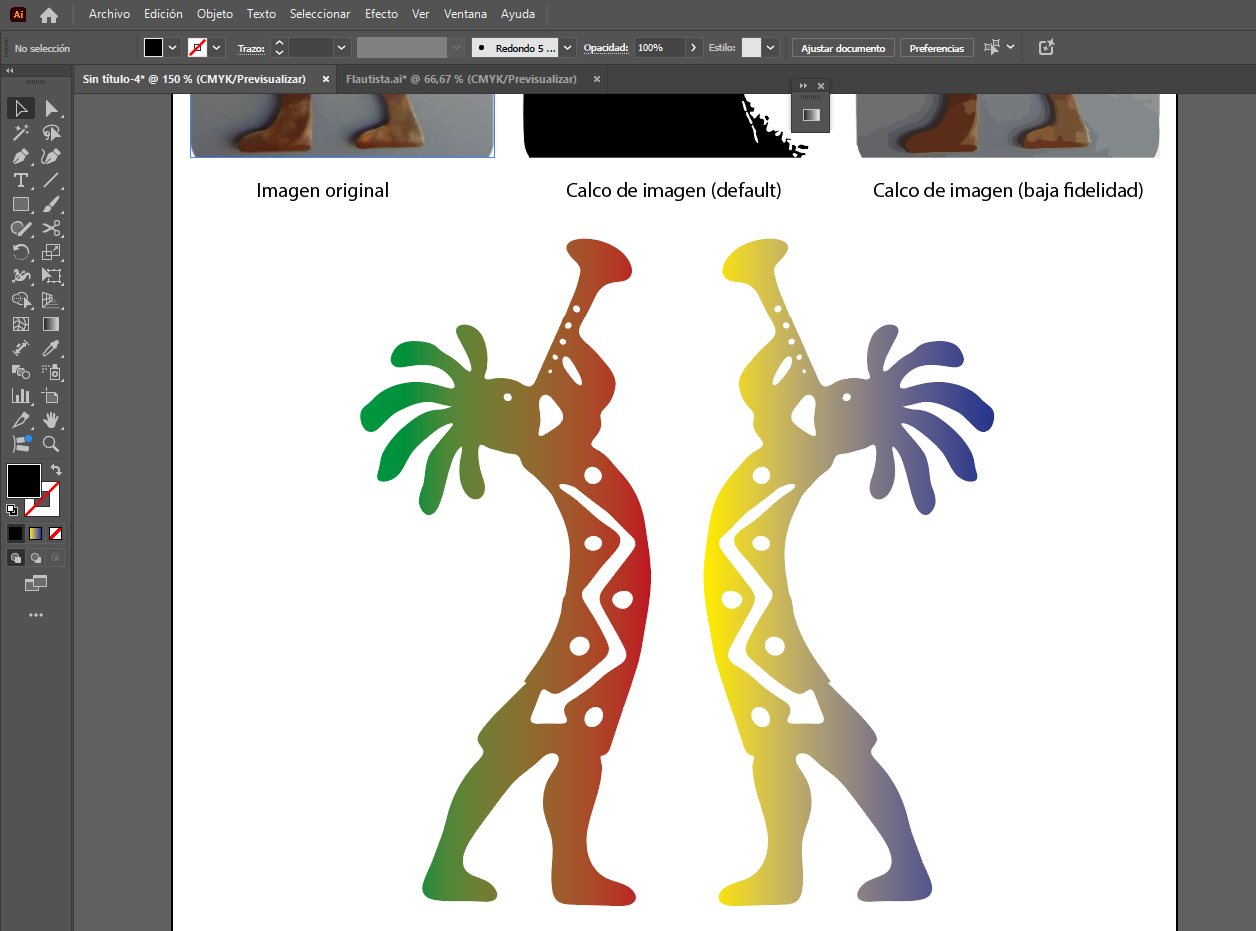
- Expanding the result: I expanded the trace to convert it into editable vector shapes.
- Ungrouping and cleanup: I ungrouped the result and deleted the unnecessary regions.
- Smoothing the contours: I used the smooth tool to improve edge quality.
- Creating symmetry: I duplicated the image and mirrored one copy to face the other.
Image source:
https://share.google/S6xfog6F2lsn4DVd5
5. 3D Design
In this section, I explored 3D modeling using Autodesk Inventor and SolidWorks, focusing on sketching, solid creation, and assemblies.
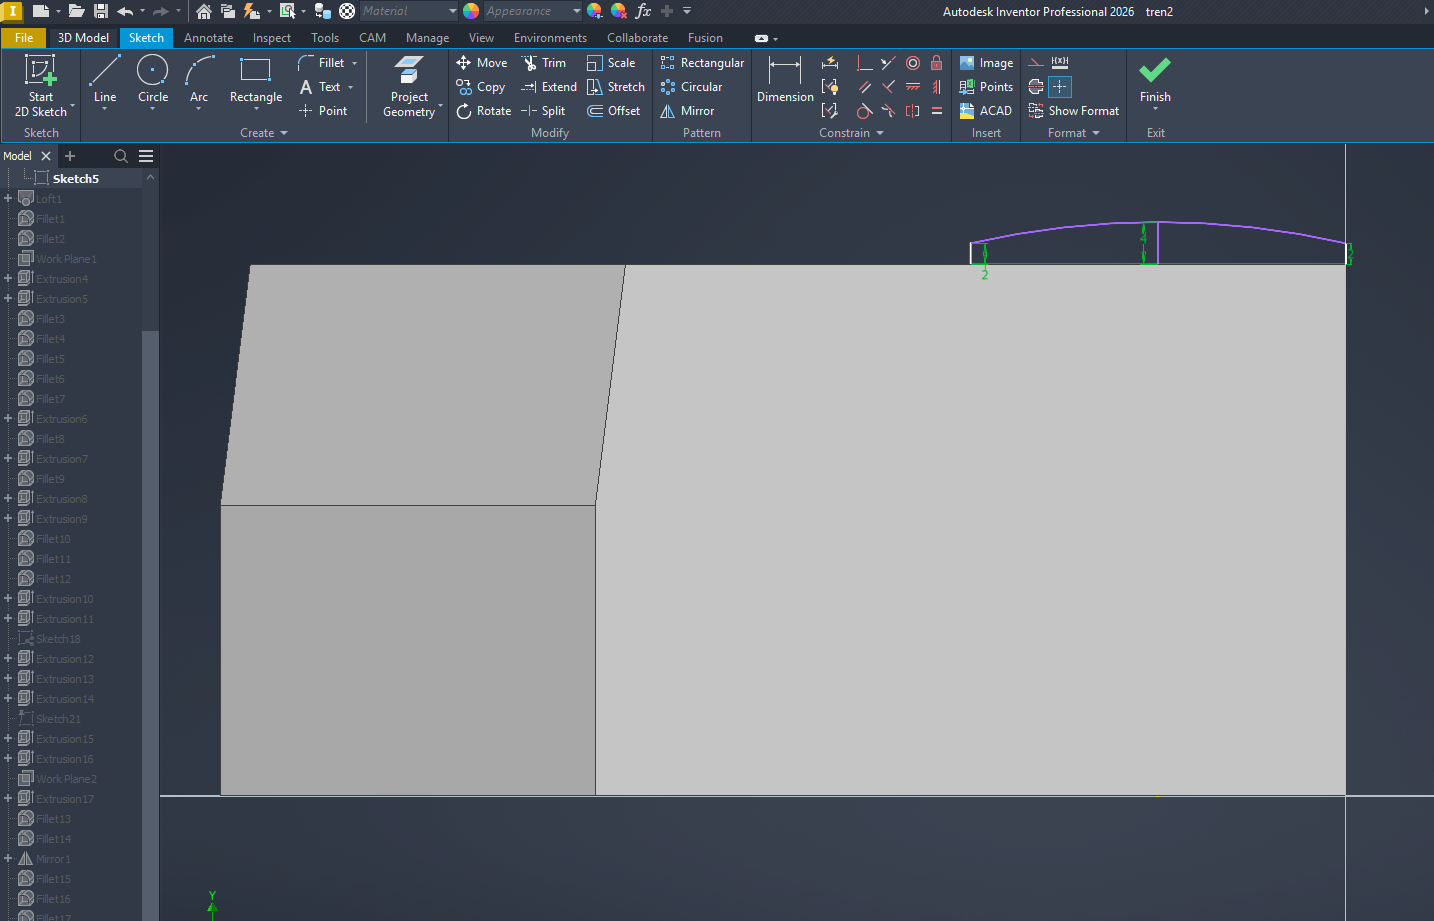
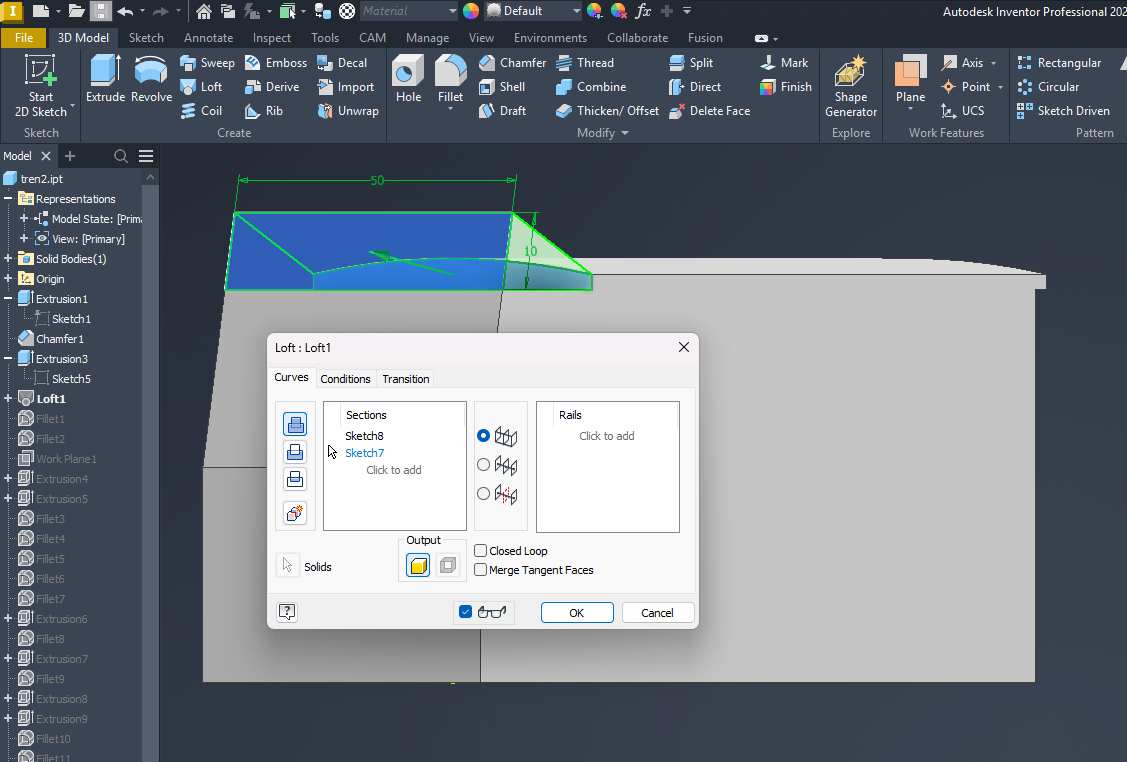
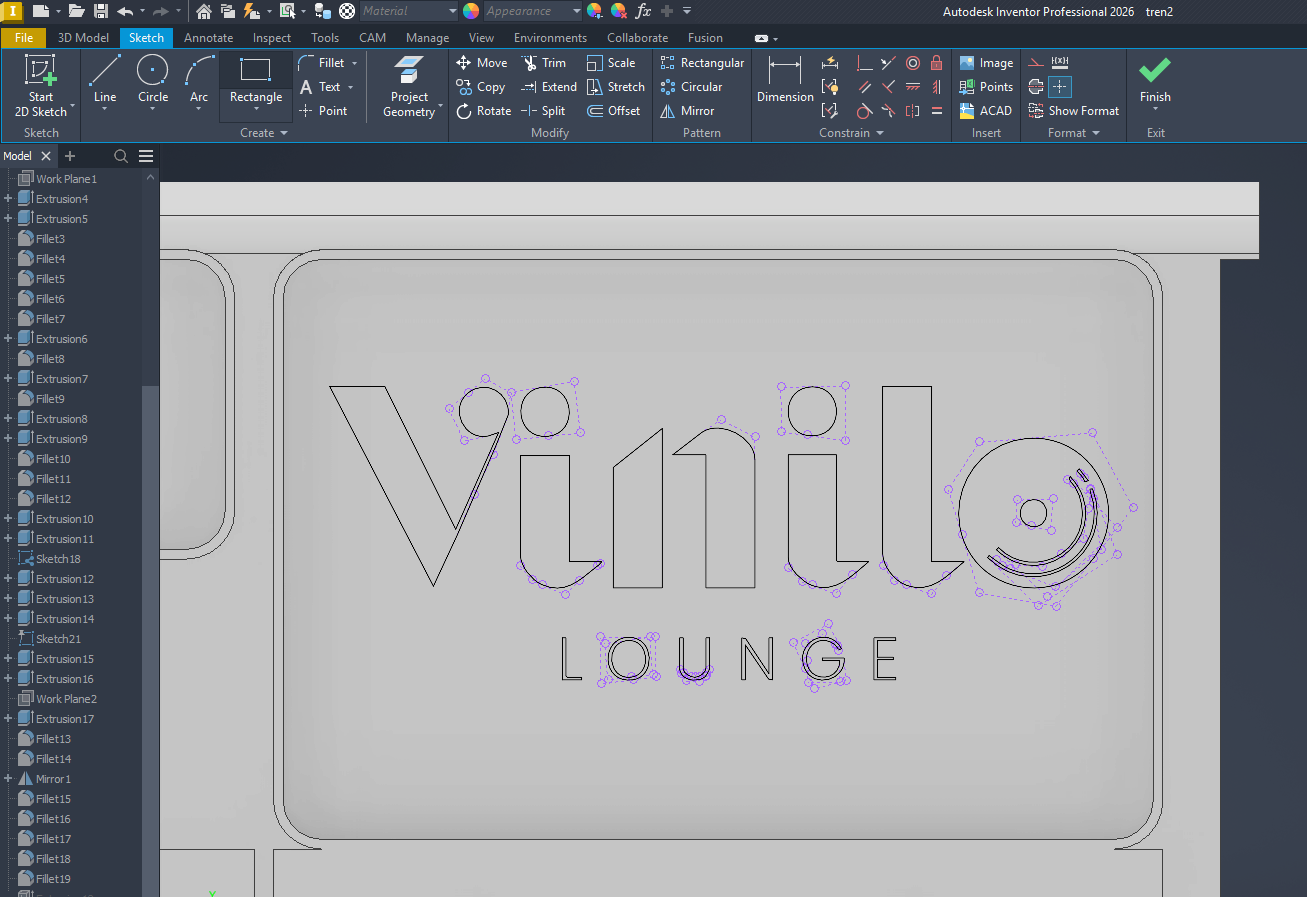
5.1 Autodesk Inventor
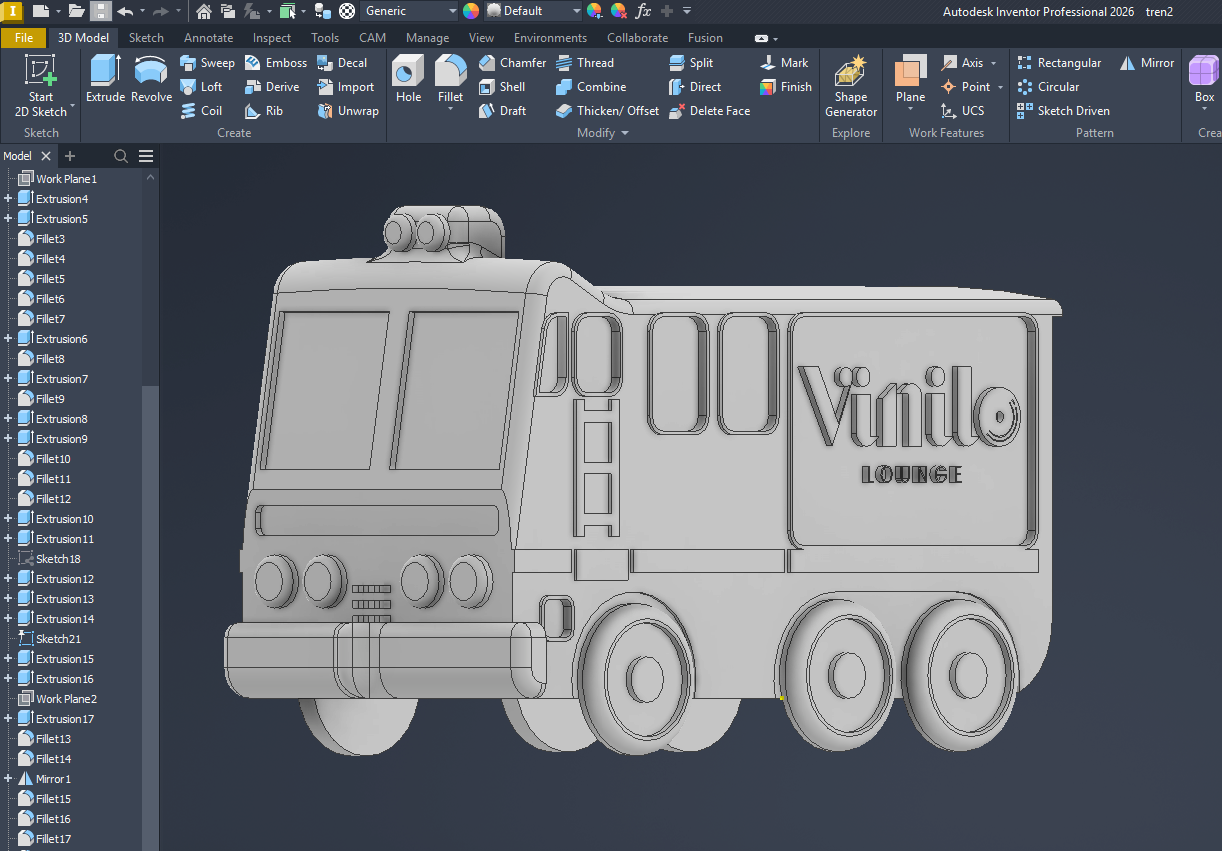
In this exercise, I used Autodesk Inventor to design a 3D train model, directly related to my final project concept.
Workflow
- Sketch creation: I started with a sketch using rectangles, circles, lines, and curves.
- Geometry modification: I refined the sketch using trim, mirror, loft, symmetry, copy, and move.
- Creating 3D volumes: I used Extrude from the beginning to generate the main volumes.
- Importing external geometry: I imported a DXF file through the CAD import option.
- Additional extrusions: I continued applying extrusion to complete the model.

5.2 SolidWorks
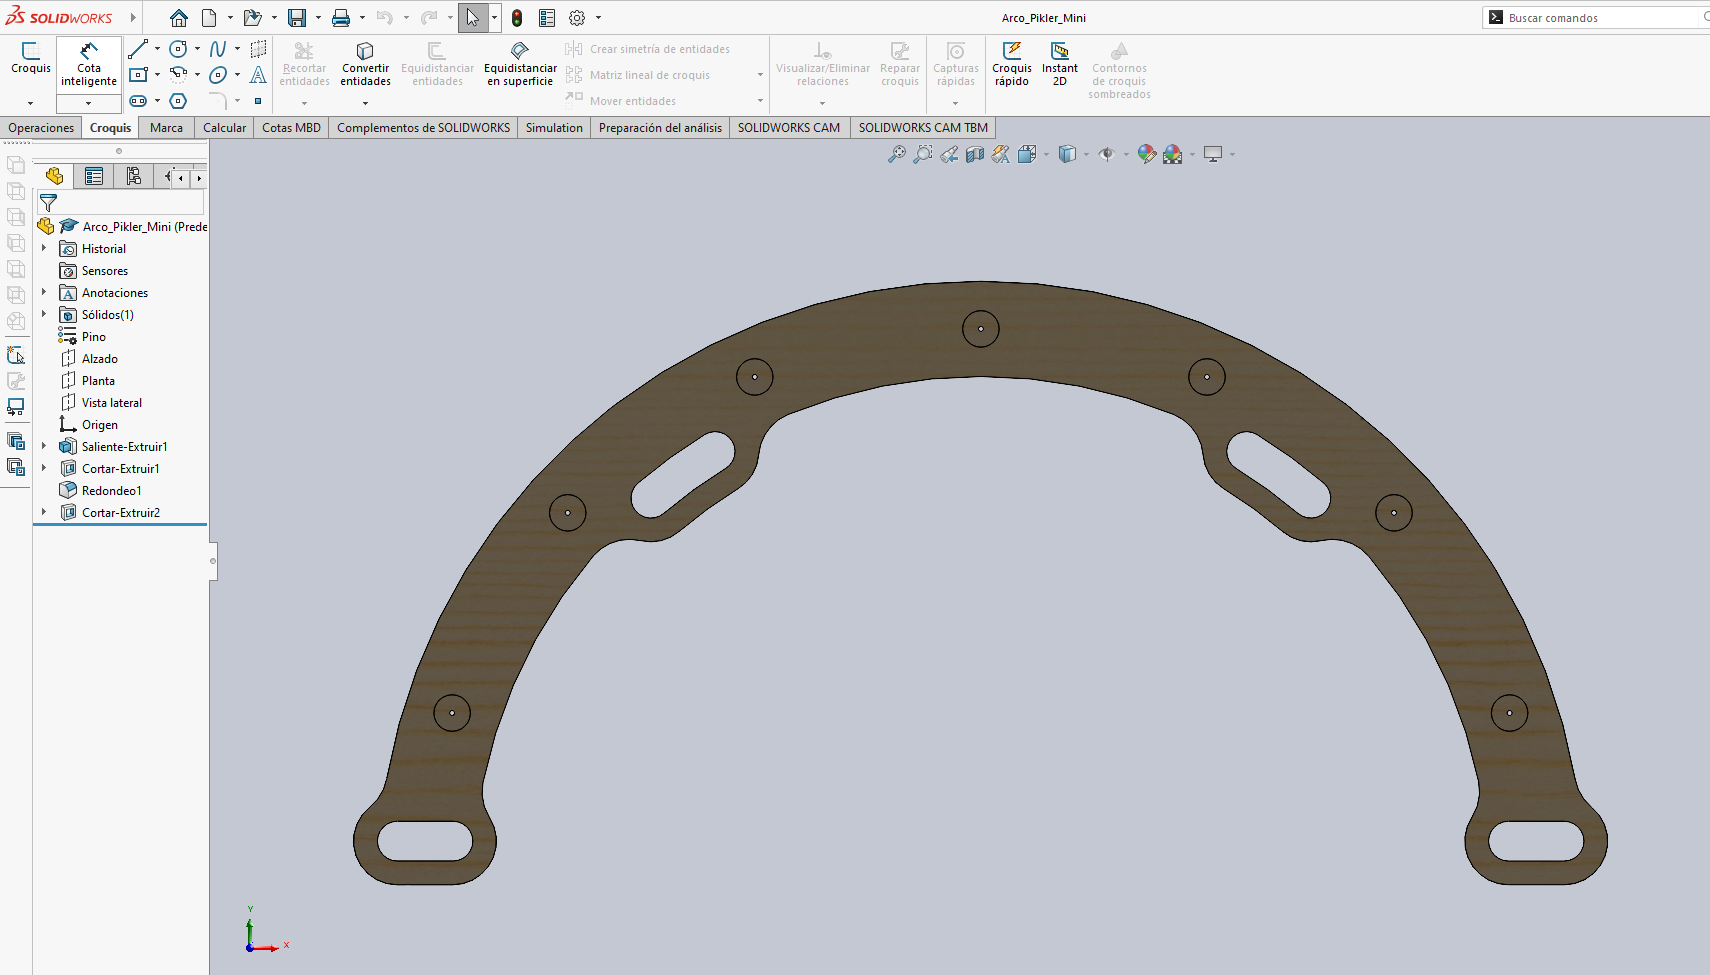
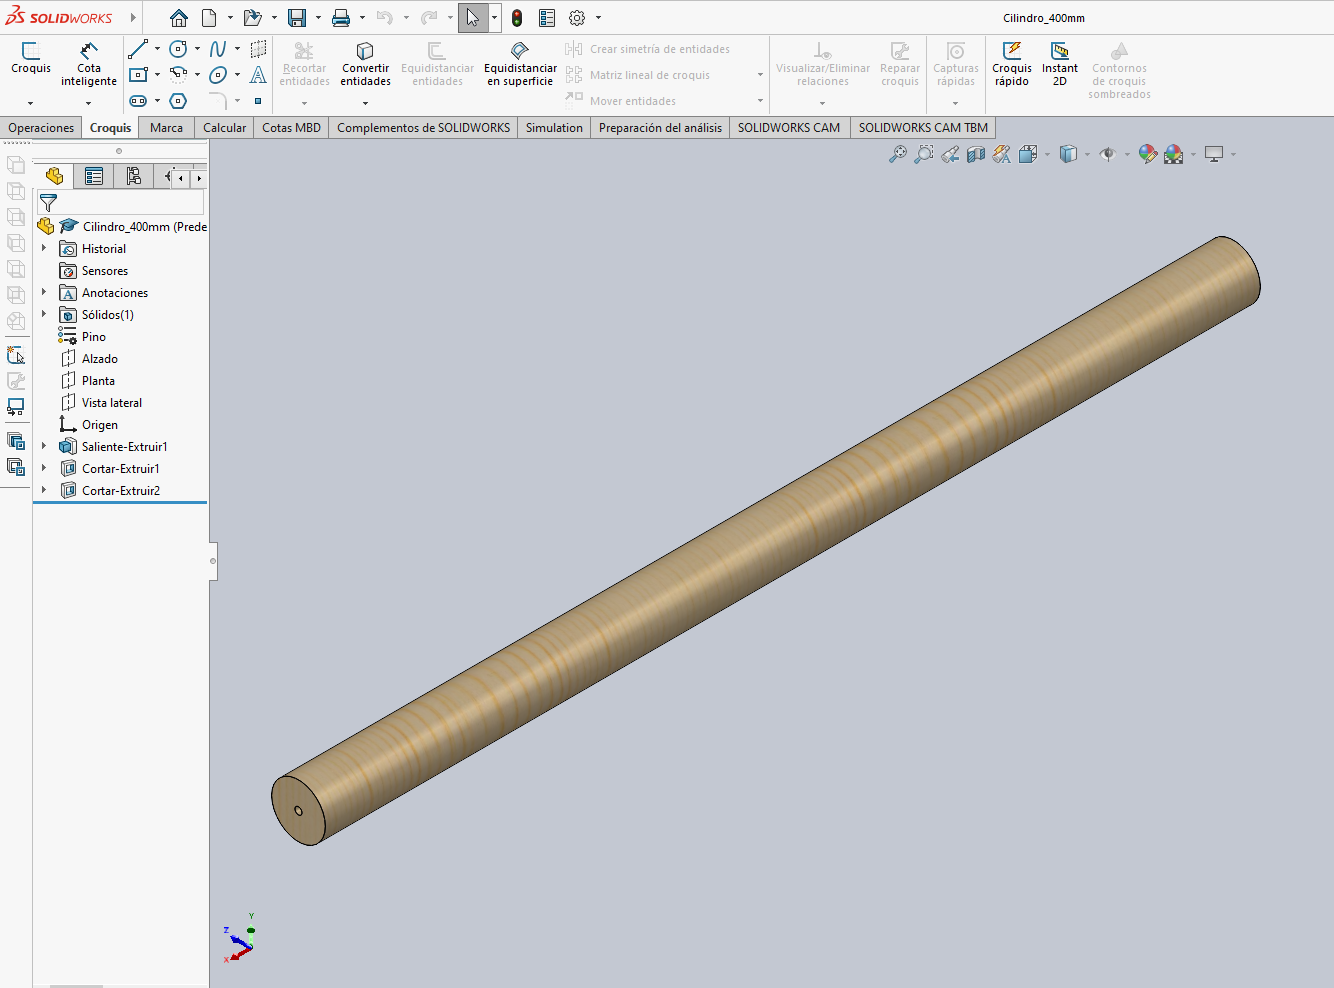
In this exercise, I used SolidWorks to create two parts and then assemble them into a complete system.
Workflow
- Sketch creation: I used circles, arcs, rectangles, and construction lines.
- Sketch refinement: I applied mirror, move, trim, and symmetry.
- Solid creation: I used positive extrusion and negative extrusion to add and remove material.
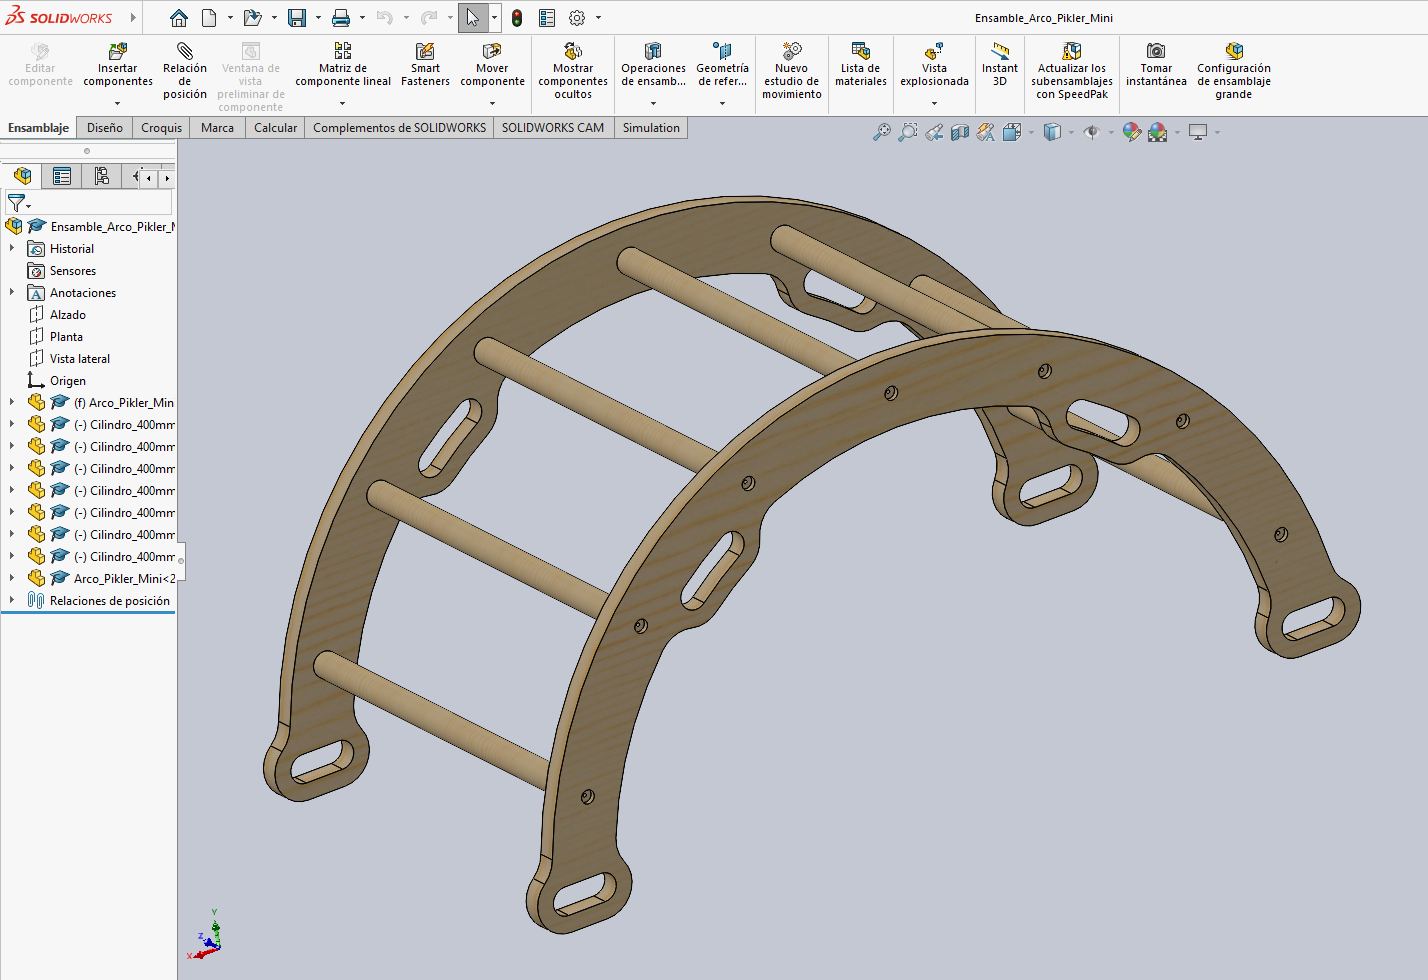
- Part generation: I created two separate part files.
- Assembly: Finally, I created an assembly to show how the parts fit together.

6. AI-Assisted Design
In this section, I explored AI image generation as a tool for visual ideation and concept development.
6.1 DALL·E
I used DALL·E to create hyper-realistic concept images of a wooden toy train placed in a warm educational environment.
Prompt used
A hyper-realistic scene of a wooden toy train with a modular wooden track placed at the center of a cozy, modern children's playroom. The train and tracks are made of natural light wood with visible grain, smooth CNC-like finishes, and subtle handcrafted details. The train includes a small locomotive and simple wooden wagons.
In the background, there are wooden educational toys inspired by Montessori and Waldorf styles, including a Pikler triangle, a wooden climbing arch, and a geodesic wooden dome. These elements feature soft pastel colors, arranged in a gentle rainbow gradient.
The train track forms a small loop on a clean wooden floor, positioned as the focal point of the composition. The environment is minimal, warm, and inviting, with natural soft lighting coming from a window, creating realistic shadows and highlights.
The scene should feel like a high-end product photography mixed with lifestyle interior design, with a Scandinavian aesthetic. Ultra-detailed textures, realistic wood imperfections, soft depth of field, 50mm lens, cinematic composition, 8k resolution, no visible electronics, clean and harmonious composition.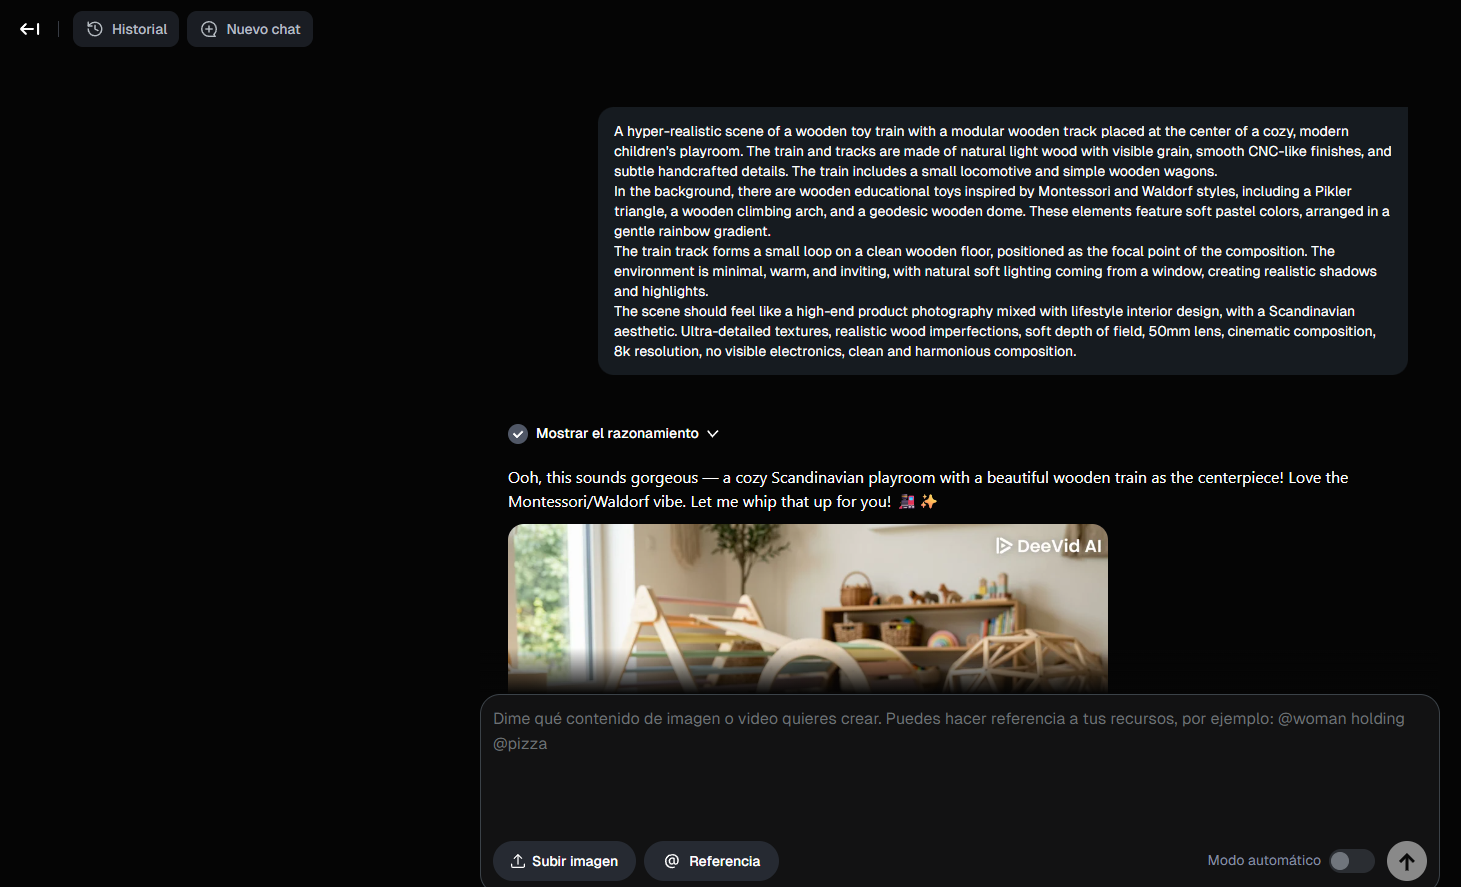

6.2 ChatGPT Image Generation
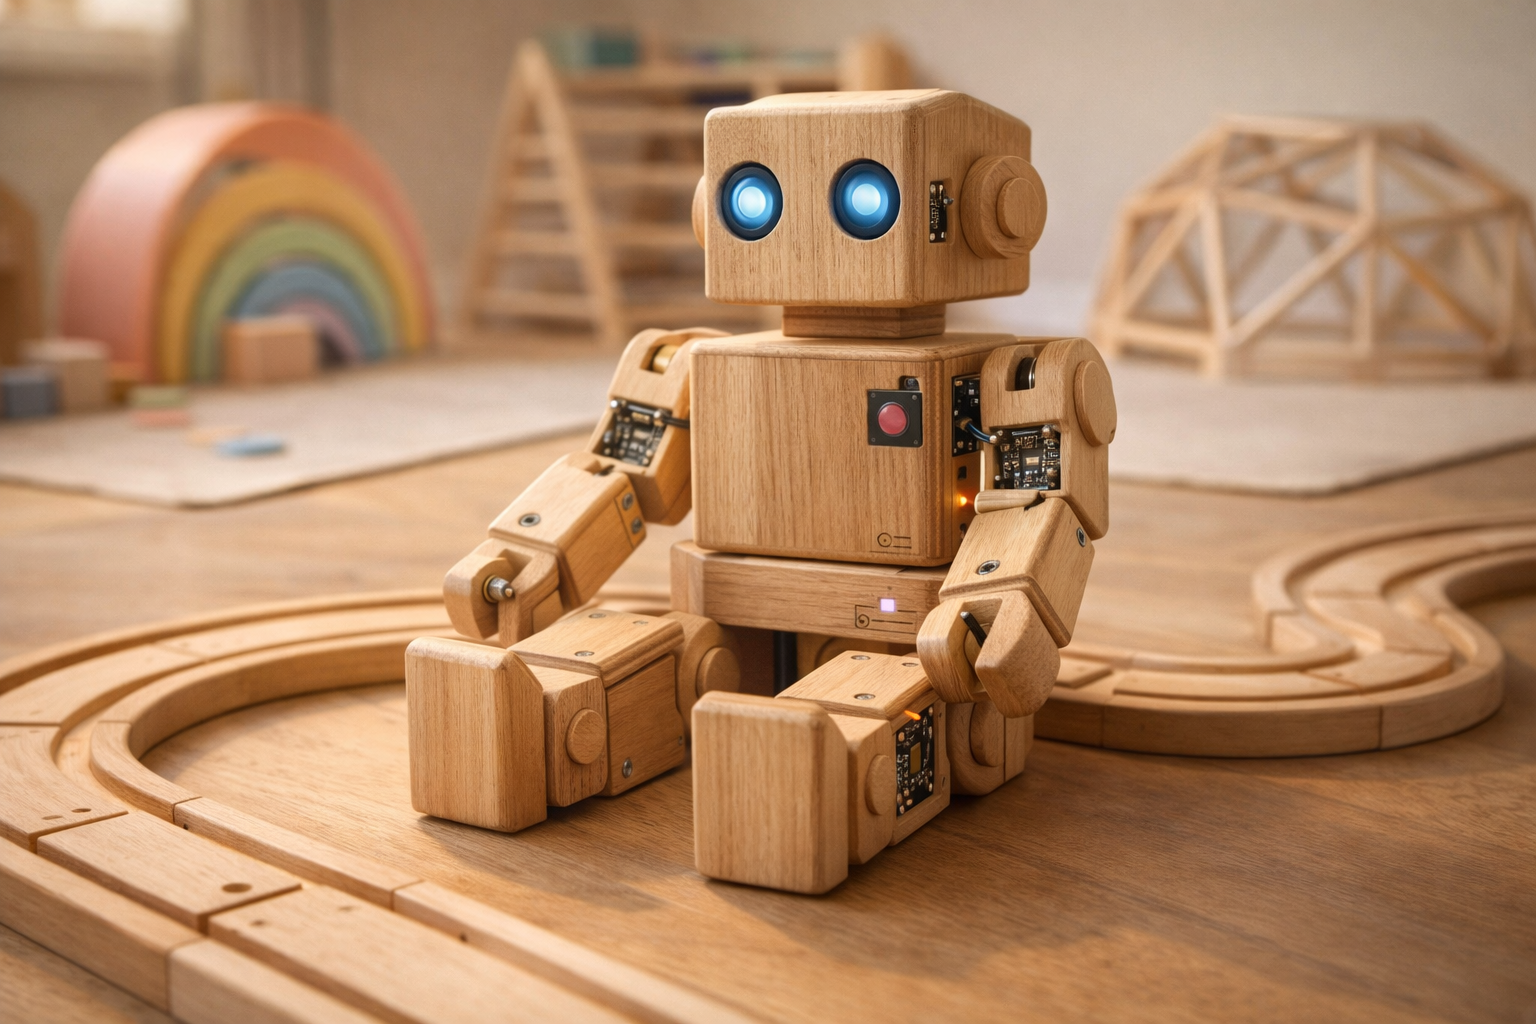
I also used ChatGPT image generation to create a hyper-realistic modular wooden robot with subtle electronic details.
Prompt used
A hyper-realistic wooden modular toy robot designed for assembly, placed in a warm and cozy children's playroom. The robot is made primarily of natural light wood, with visible grain, smooth CNC-like finishes, and precise handcrafted joints. The design is playful yet engineered, with articulated parts that suggest it can be assembled and disassembled. Subtle electronic elements are integrated into the design, such as small embedded LEDs, minimal circuit details, and tiny connectors, carefully exposed in certain areas without breaking the clean wooden aesthetic. The electronics should look intentional and well-integrated, not messy or overly visible. The environment is a soft, pastel-toned playroom inspired by Montessori and Waldorf styles, with warm neutral colors, wooden furniture, and gentle natural lighting. The robot is placed at the center as the main focus, sitting on a clean wooden floor or table. Soft shadows, shallow depth of field, cinematic composition, 50mm lens, ultra-detailed textures, realistic wood imperfections, soft reflections, Scandinavian design aesthetic, 8k resolution, product photography style, highly realistic, clean and harmonious scene.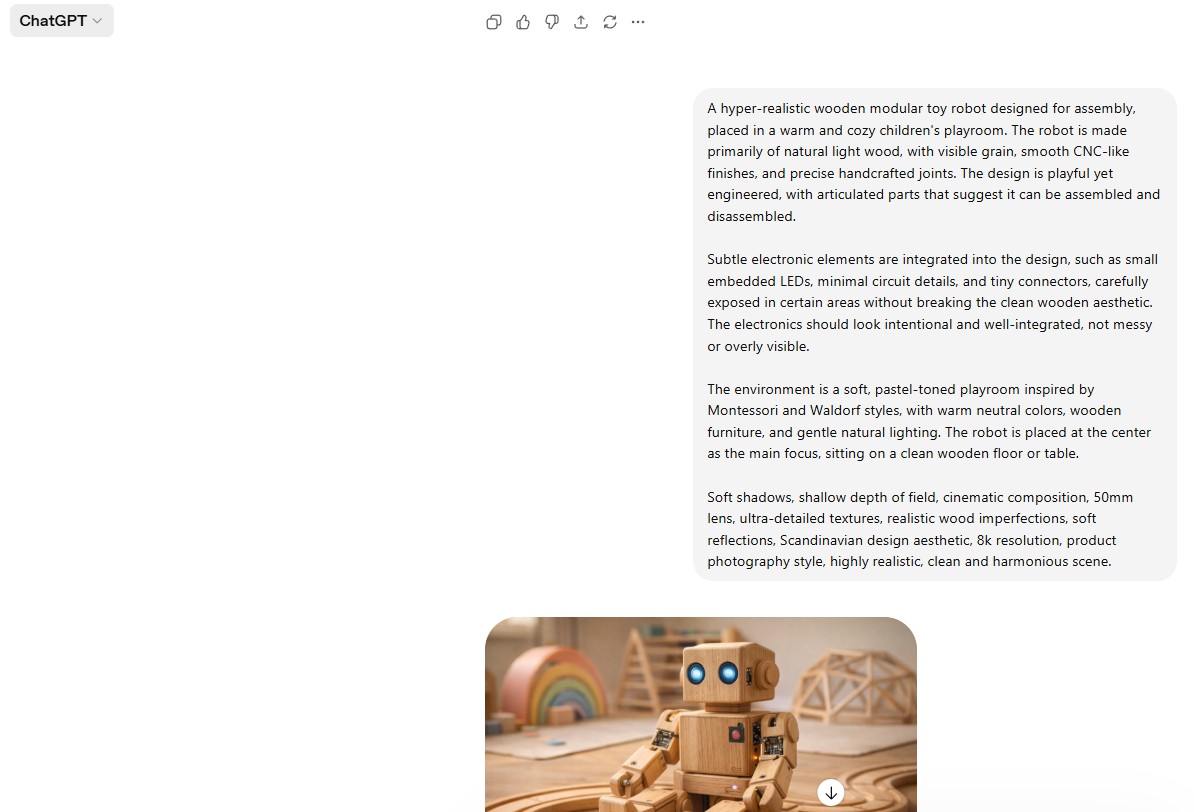
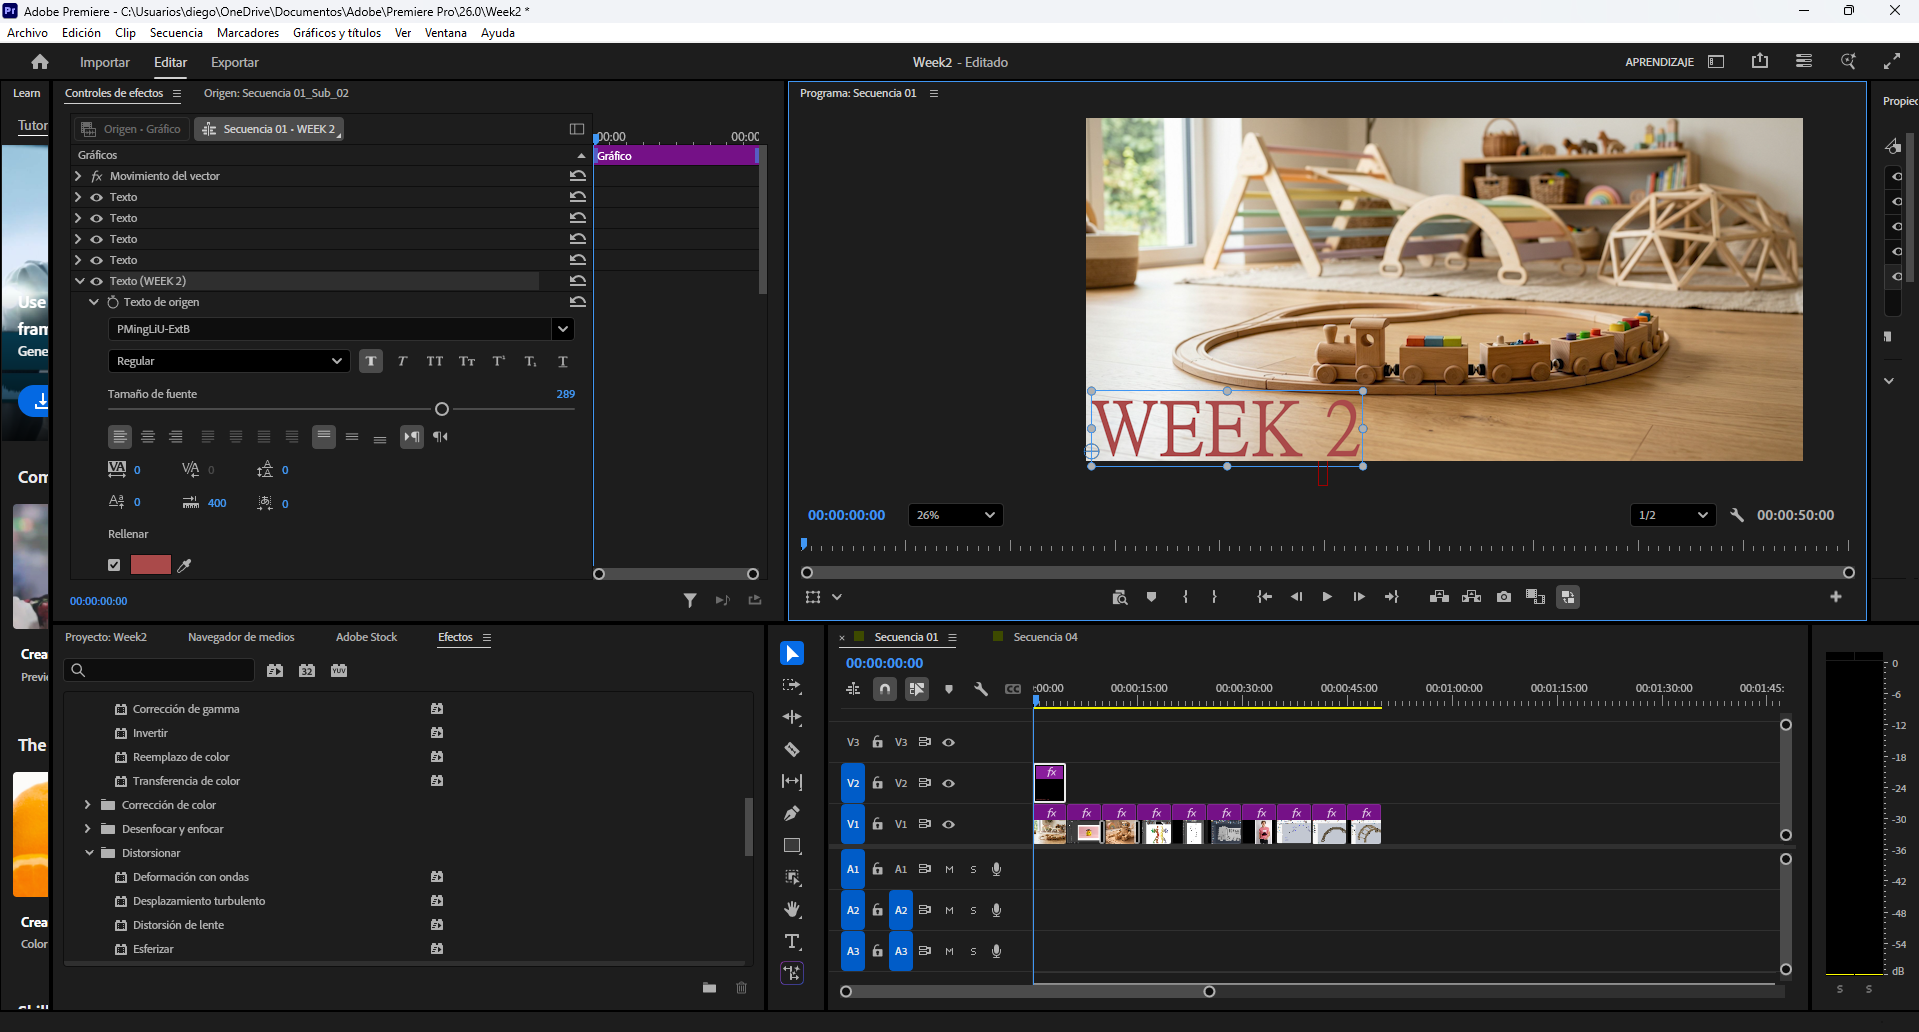
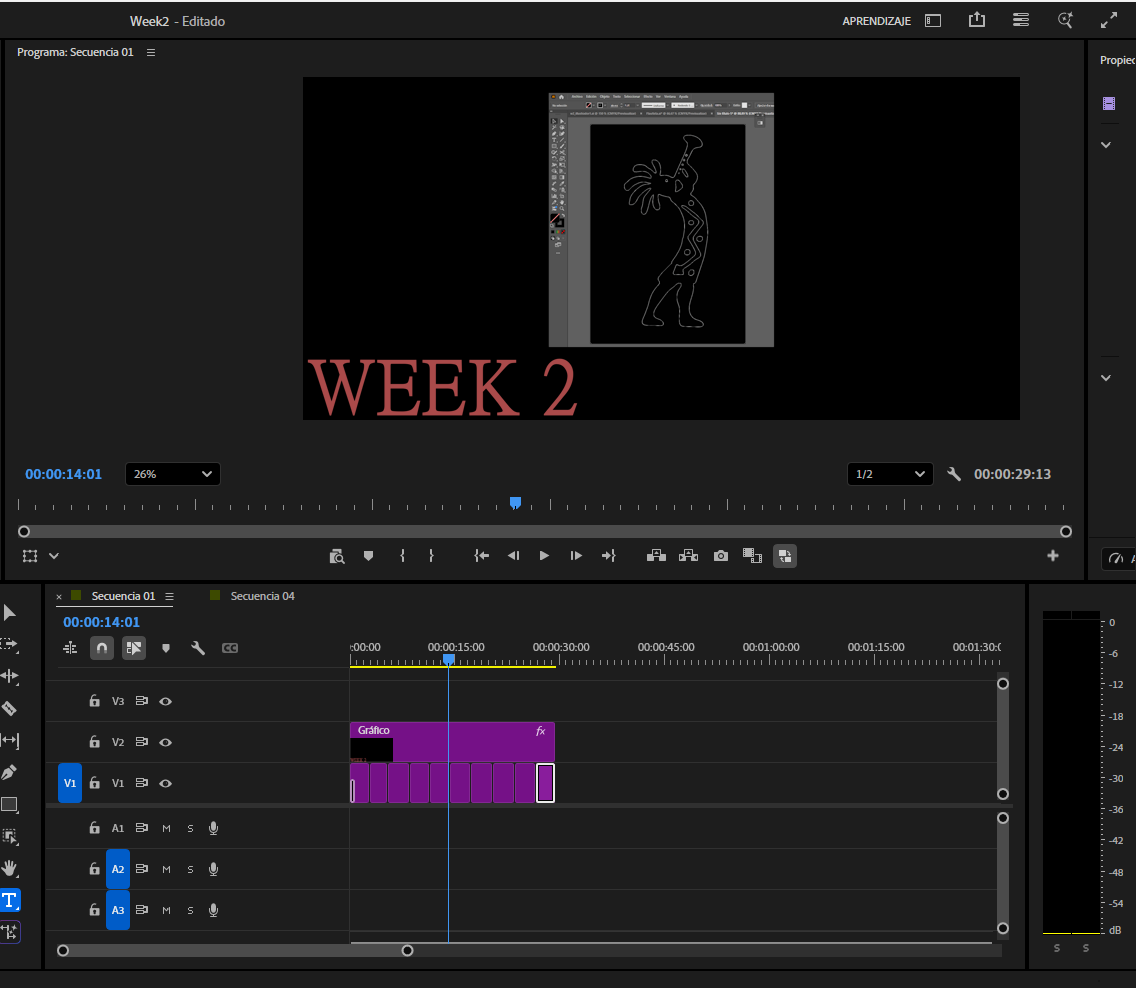
7. Video Editing
7.1 Adobe Premiere Pro
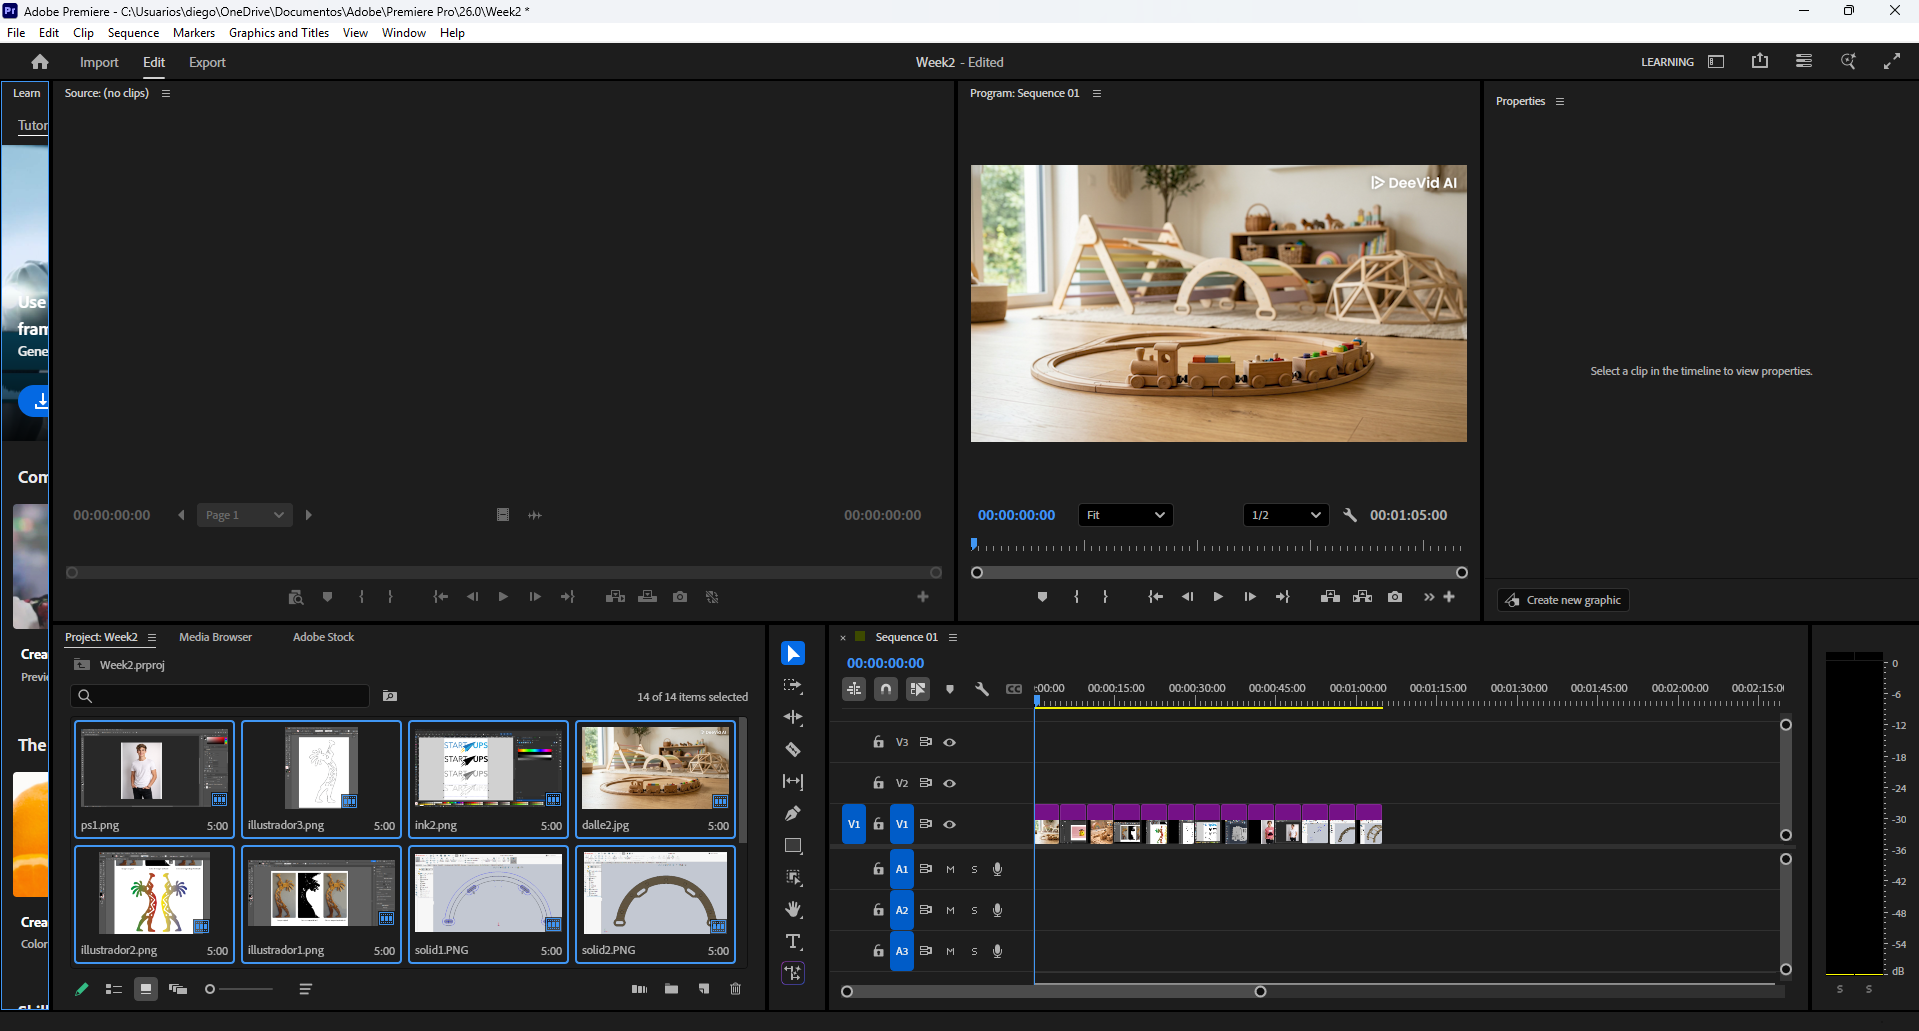
In this exercise, I used Adobe Premiere Pro to create a short video composition using images, effects, transitions, and text.
Workflow
- Importing images: I imported the image files into the project.
- Creating the sequence: I placed the images on the timeline in the desired order.
- Adding effects: I applied effects to each image to make the sequence more dynamic.
- Reducing timing: I shortened the duration between images.
- Adding text: I inserted text, changed the font, increased its size, and moved it to a suitable area at the beginning.
- Exporting the final video: I exported the composition as an MP4 video.
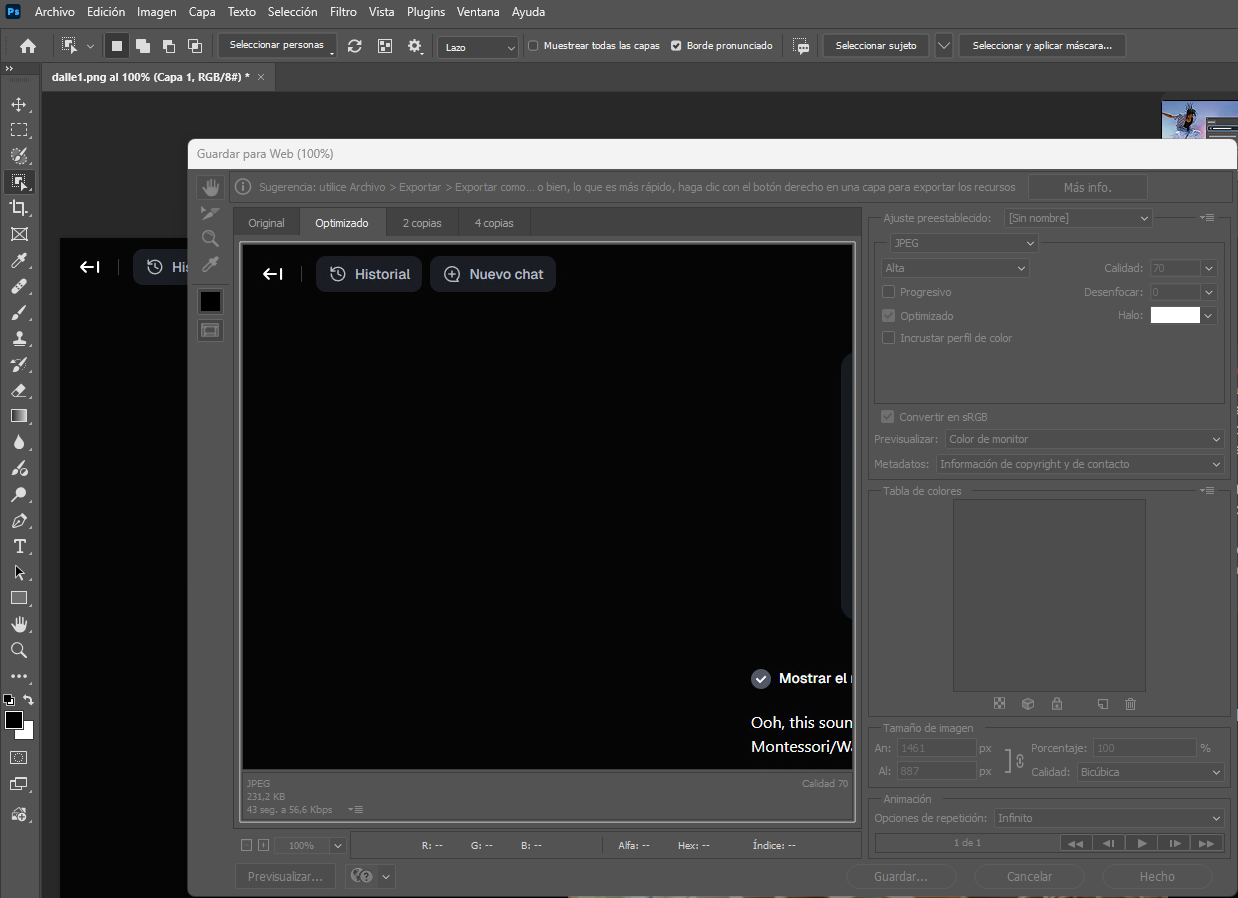
8. Compression / Appearance Optimization
In this exercise, I adjusted the visual integration of a label or design on top of an image to make it look more realistic. The main goal was to reduce the overly strong visual effect and blend the design more naturally with the original surface.
Workflow
- Changing the layer mode: I selected the design layer and tested different blending modes. I tried Multiply first, then Soft Light, and finally Overlay. Multiply gave the most realistic result for this case.
- Reducing opacity: I lowered the opacity of the design layer to 70% to reduce the strong and artificial appearance.
- Adjusting brightness and contrast: With the design layer selected, I adjusted the brightness and contrast to better match the original image. I reduced brightness slightly and increased contrast a little to improve integration.
9. Comparative Summary
The following table summarizes the software explored this week and the role of each tool within my digital design workflow.
| Category | Software | Main strength | Use in this assignment | Main output |
|---|---|---|---|---|
| Raster | GIMP | Layer-based editing and masking | Image composition using selection and multiply blending | XCF / PNG |
| Raster | Photoshop | Precise object editing and clipping workflows | Texture integration on a garment using clipping mask and blend mode | PSD / PNG |
| Vector | Inkscape | Open-source bitmap tracing | Image vectorization and contour preparation | SVG |
| Vector | Illustrator | Flexible vector refinement tools | Image trace, cleanup, smoothing, and symmetry composition | AI / SVG |
| 3D | Inventor | Mechanical 3D modeling | Train modeling with sketch, DXF import, and extrusion | IPT |
| 3D | SolidWorks | Part and assembly workflow | Part design and final assembly composition | SLDPRT / SLDASM |
| AI | DALL·E | Fast visual ideation from text prompts | Wooden train environmental concept generation | PNG |
| AI | ChatGPT | Prompt-driven concept generation | Wooden modular robot concept generation | PNG |
| Video | Premiere Pro | Timeline-based editing and presentation | Image sequence video with text and effects | MP4 / PRPROJ |
| Compression | Photoshop | Visual blending and appearance control | Adjusting blend mode, opacity, brightness, and contrast | PNG / JPG |
10. Conclusions
- Working with different software categories allowed me to understand how each tool contributes to the overall digital design workflow.
- Raster tools are essential for image editing, masking, and visual composition, especially when working with textures and realistic integration.
- Vector tools are fundamental for scalable graphics and fabrication processes such as laser cutting and CNC.
- 3D CAD software enables precise modeling, which is essential for functional design and manufacturing.
- AI tools significantly accelerate concept generation and visual ideation in early design stages.
- Video editing and image optimization are important to communicate ideas clearly while maintaining efficient file sizes for documentation.