✅ Added a page with sketches and description of project ideas
✅ Documented steps for setting up Git repository and adding files
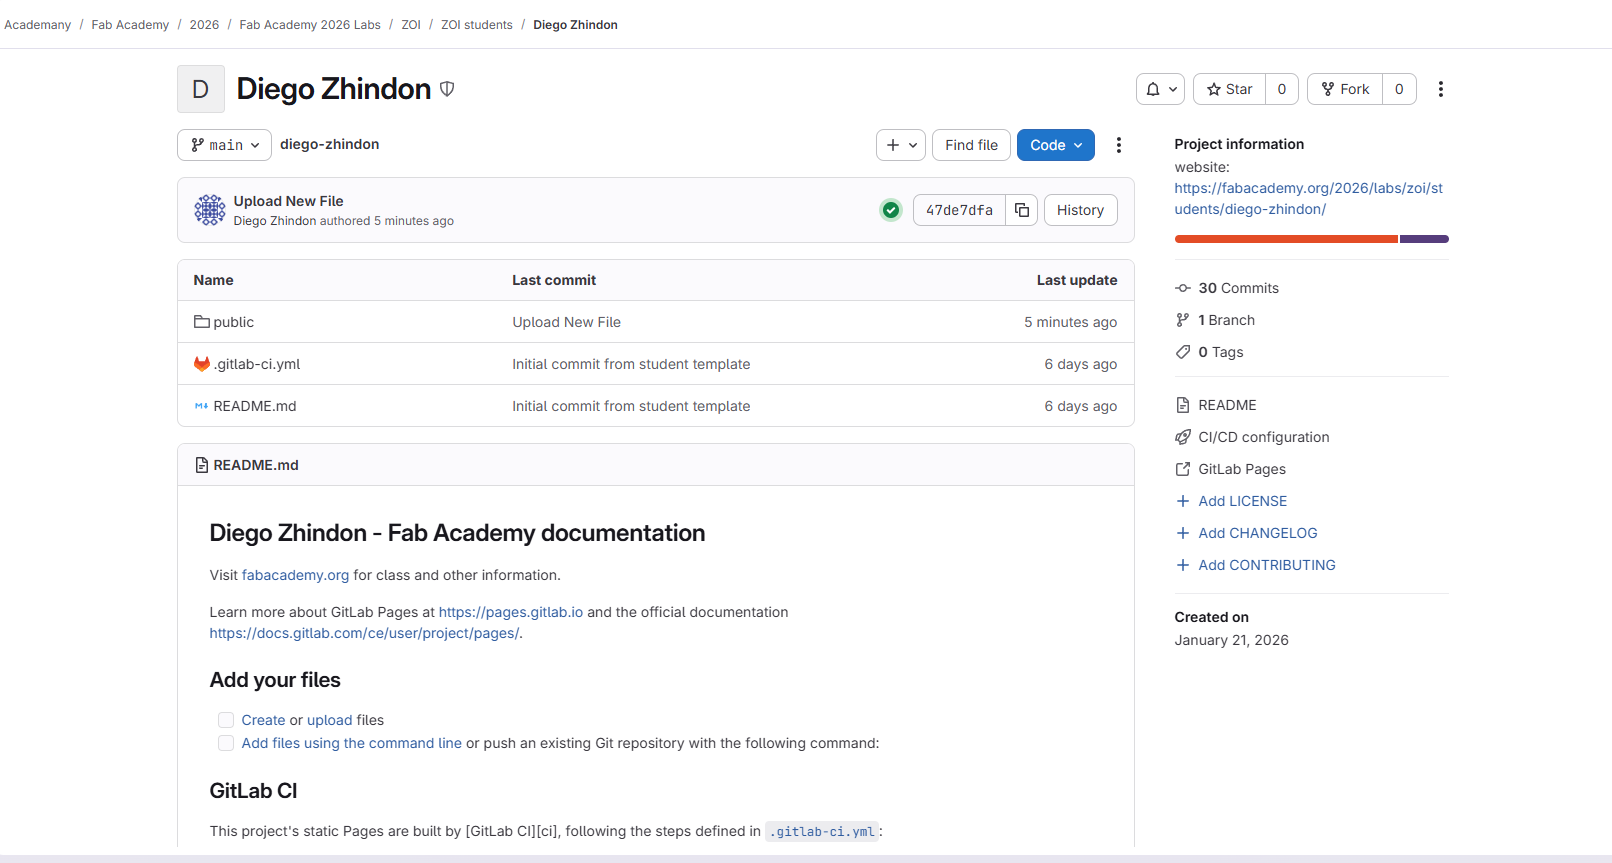
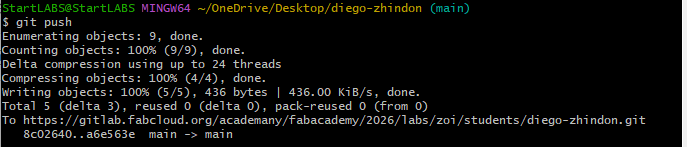
✅ Pushed to the class GitLab repository (with screenshot)
✅ Signed and uploaded Student Agreement
2. Thought Process
Overview and Motivation
My professional background is in electronic and industrial systems
engineering, with experience in IoT, automation for agriculture, and
prototyping for construction and education.
I am motivated by projects that combine digital fabrication,
electronics, and real-world applications.
For my Fab Academy final project, I want to develop a system that is
visually attractive, mechanically feasible, and rich in assignments:
combining CNC machining, embedded electronics,
sensors, actuators, and possibly
web interaction.
The direction I selected is a smart wooden train system:
a small motorized train running on a modular wooden track, with
interactive stations that can detect the train and trigger actions such
as light, motion, or object transfer. This concept allows me to merge
fabrication, mechanics, electronics, and storytelling into a single
final project.
3. Project Idea Exploration
Selected Concept
Smart Wooden Train with Interactive Stations
A motorized wooden train running on a modular CNC-made track, with
smart stations that detect the train and trigger interactive actions.
Description
The project is based on a wooden toy-train concept, inspired by
existing commercial wooden tracks, but redesigned and fabricated as
a digital fabrication project. The system includes a
small wooden locomotive with an internal motor,
battery, and switch, plus one or two wagons connected by magnets.
The train runs on a modular wooden circuit with
curves, bridges, and at least one interactive station.
What it will do
Move autonomously along a closed wooden track circuit.
Stop at a station when detected by a sensor.
Trigger outputs such as LEDs, sound, or a simple mechanism.
Potentially use a small servo-based loading system to place a
wooden cube into a wagon.
Optionally connect to a simple digital interface for monitoring
or visualization.
Main fabrication opportunities
CNC machining: track pieces, train body, wagons, station base.
Laser cutting / engraving: decorative or structural station details.
3D printing: supports, internal mounts, couplers, small mechanisms.
Molding and casting: train wheels or custom repeated parts.
Electronics production: custom boards for train or stations.
Visual Proposal
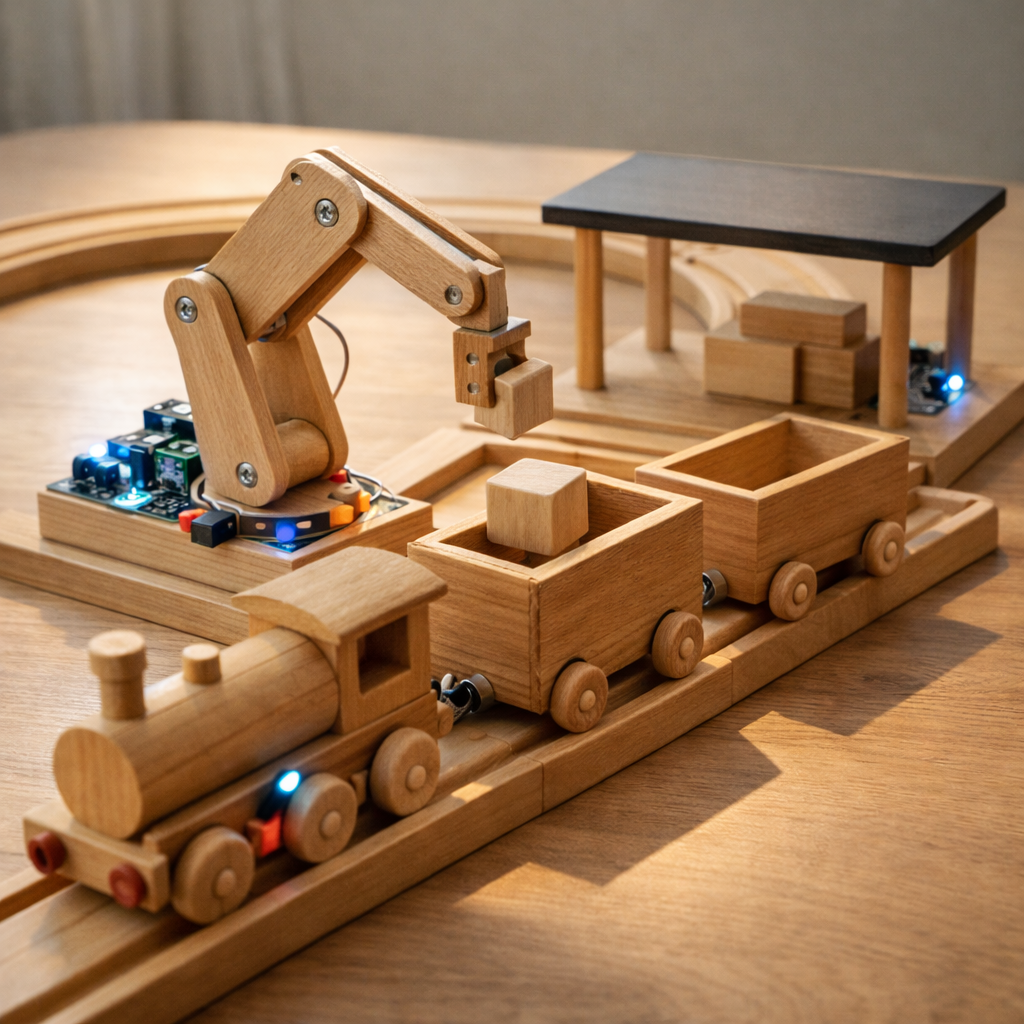
General system view — wooden closed-loop track, bridge, train, wagons, and station.
Station interaction — the train stops and a simple robotic arm loads a wooden cube.
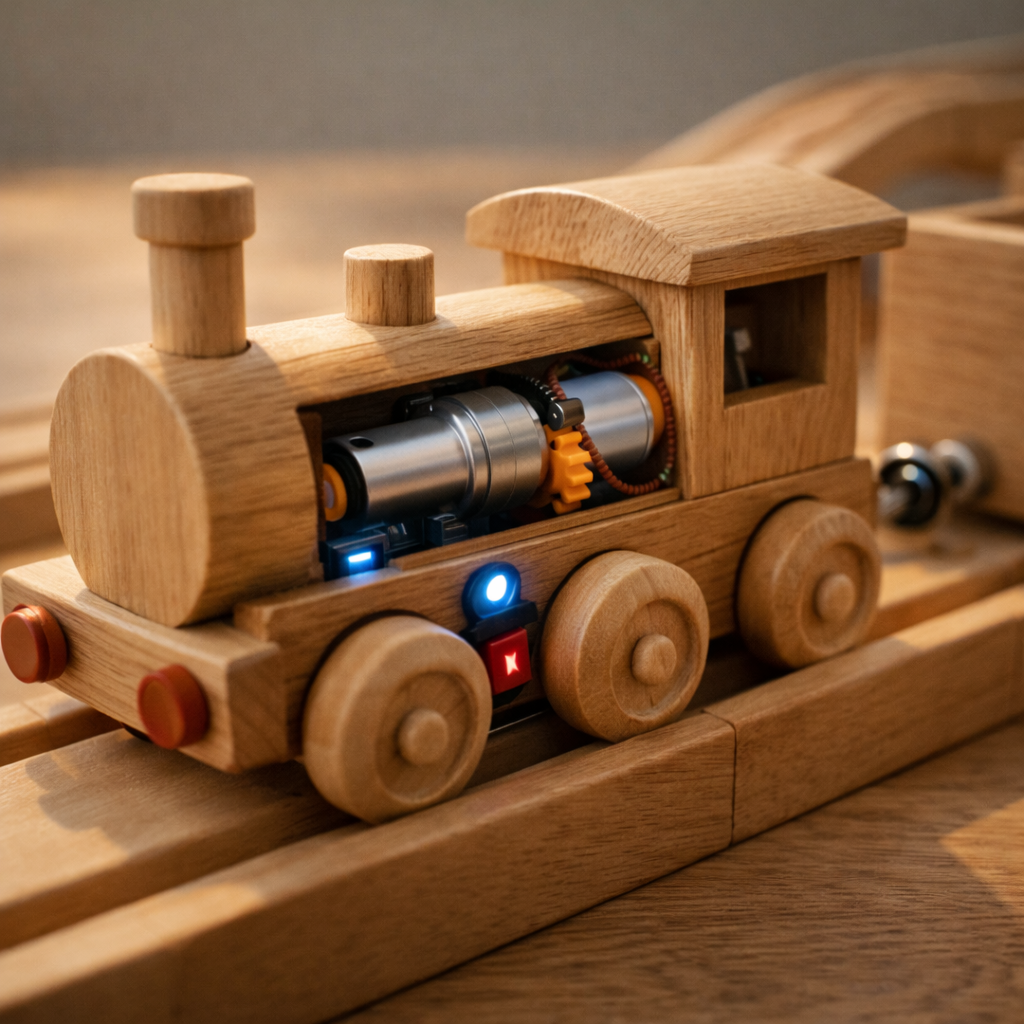
Engineering close-up — motorized wooden locomotive with discreet integrated electronics.
4. Defining My Project (Preliminary)
Preliminary selected option: Smart Wooden Train with
Interactive Stations.
I selected this concept because it is highly visual, demonstrative, and
well aligned with the Fab Academy workflow. It combines mechanical
design, digital fabrication, embedded electronics, and interaction in a
way that is easy to understand during presentation and final evaluation.
Initial system concept
Locomotive: wooden body fabricated in parts, with
internal DC motor + gearbox, lithium battery,
on/off switch, and magnetic couplers.
Wagons: one or two wooden wagons attached with magnets,
designed to carry small wooden blocks or objects.
Track: modular wooden rail system manufactured mainly
with CNC, including curves, straights, and possibly a small bridge.
Controller: a XIAO module is planned
for one or more interactive stations, and potentially also for train-side
control depending on final integration.
Inputs: station-based sensors such as magnetic detection,
Hall sensor, reed switch, IR sensing, or another compact method to detect
the arrival of the train.
Outputs: LEDs, a simple buzzer or sound feedback,
and a servo motor for a small loading or motion mechanism.
Mechanical interaction: one station may include a simple
robotic arm or pick-and-place mechanism to move a cube into the wagon.
Optional digital layer: a simple web visualization or
status interface could be added as an additional assignment integration.
Fabrication summary
This project is intended to integrate several assignments into one
coherent final prototype. The wooden track and structural parts can be
fabricated with CNC machining; decorative and flat
structural details can be made with laser cutting;
packaging or graphic details can be done with the
vinyl cutter; internal supports and small mechanical
complements can be 3D printed; the electronic control
boards for the station and/or train can be developed in
electronics design and production; and repeated parts
such as wheels can be explored through
molding and casting.
Success criteria:
the train moves reliably on the wooden track, stops at a station using
sensor-based detection, activates at least one output action, and demonstrates
clear integration of digital fabrication and embedded electronics.
5. Development Plan (4 Phases)
Phase 0 — Concept and Architecture:
define the final layout of the track, train scale, wagon dimensions,
station concept, and overall system architecture. At this stage I will
decide how the train will be detected and what the main interaction at
the station will be.
Phase 1 — Mechanical Fabrication:
design and fabricate the wooden track, train body, wagons, bridge,
and station structure using CNC, laser cutting, and complementary
fabrication methods. Test mechanical assembly, alignment, wheel behavior,
and magnet couplers.
Phase 2 — Electronics and Programming:
develop the electronic boards and integrate the XIAO module, sensors,
LEDs, and servo motor. Program the station logic so the train can be
detected, stopped, and used to trigger one or more actions.
Phase 3 — Integration and Final Demonstration:
assemble the complete system, validate train movement, station stopping
behavior, and interaction sequence. Refine aesthetics, structural details,
and optional web visualization if time allows.
6. Website Setup (How I built this site)
For this assignment, I created a simple documentation website based on the Fab Academy student template.
My goal was to keep the site clean and readable while reflecting the UPS identity (colors + logo) and
organizing the weekly documentation clearly.
Process (steps)
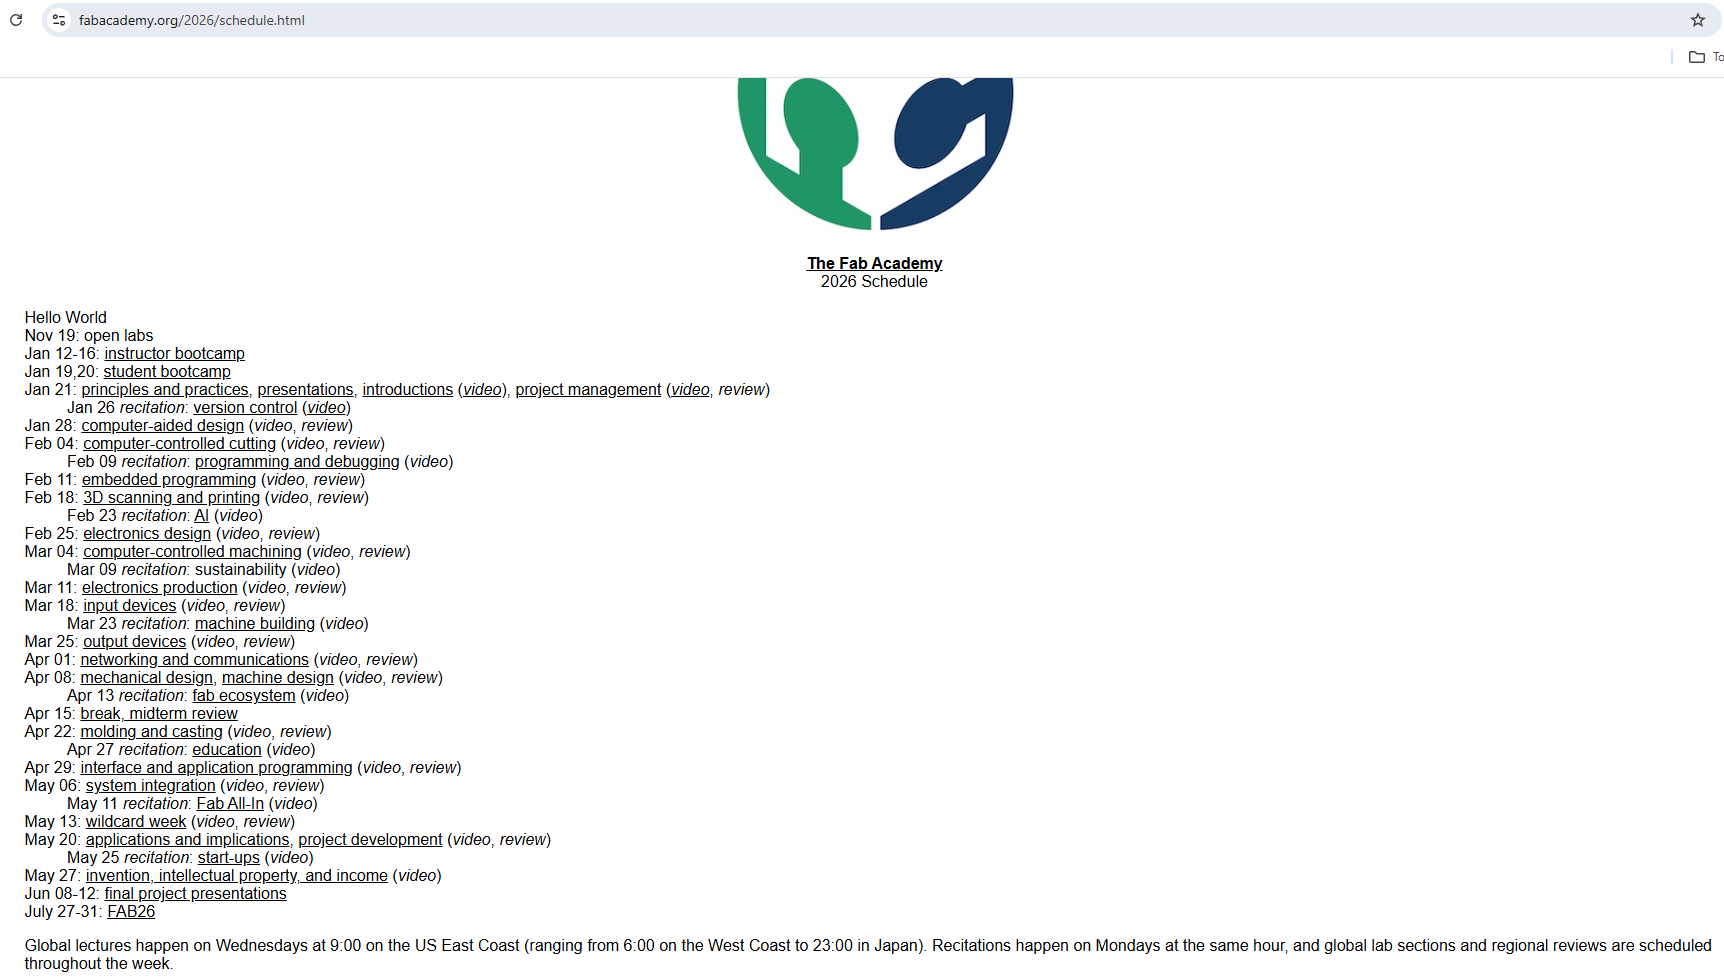
Gather course structure: I reviewed the Fab Academy 2026 schedule (weeks and topics),
and used it to plan the navigation and the list of weekly assignments.
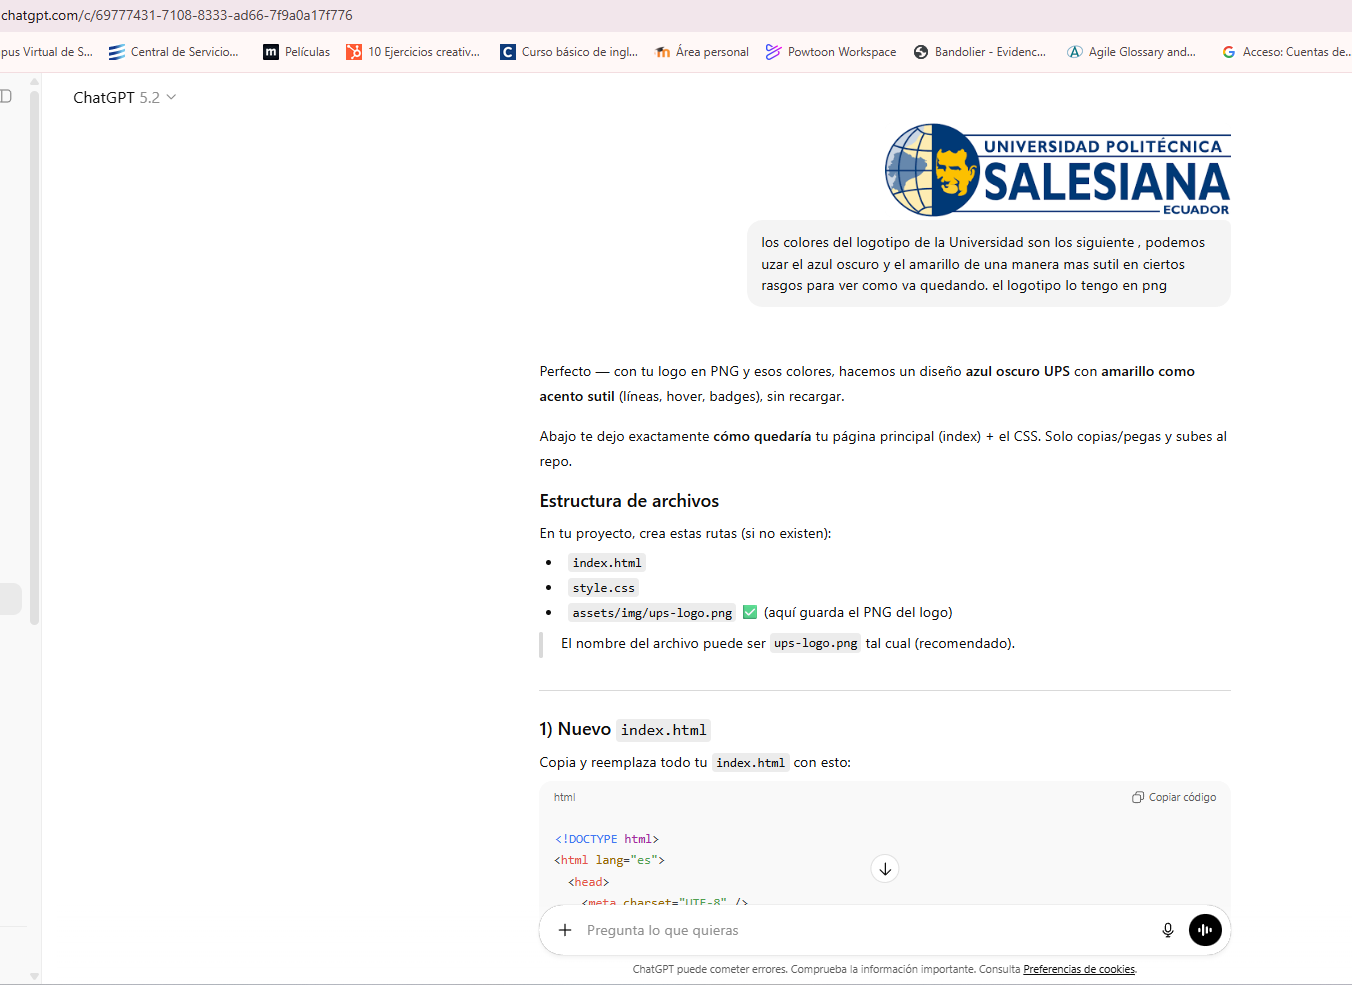
Define the visual identity: I selected a UPS-inspired palette (dark blue + subtle yellow)
and added the UPS logo in the navbar to keep a consistent brand feeling across pages.
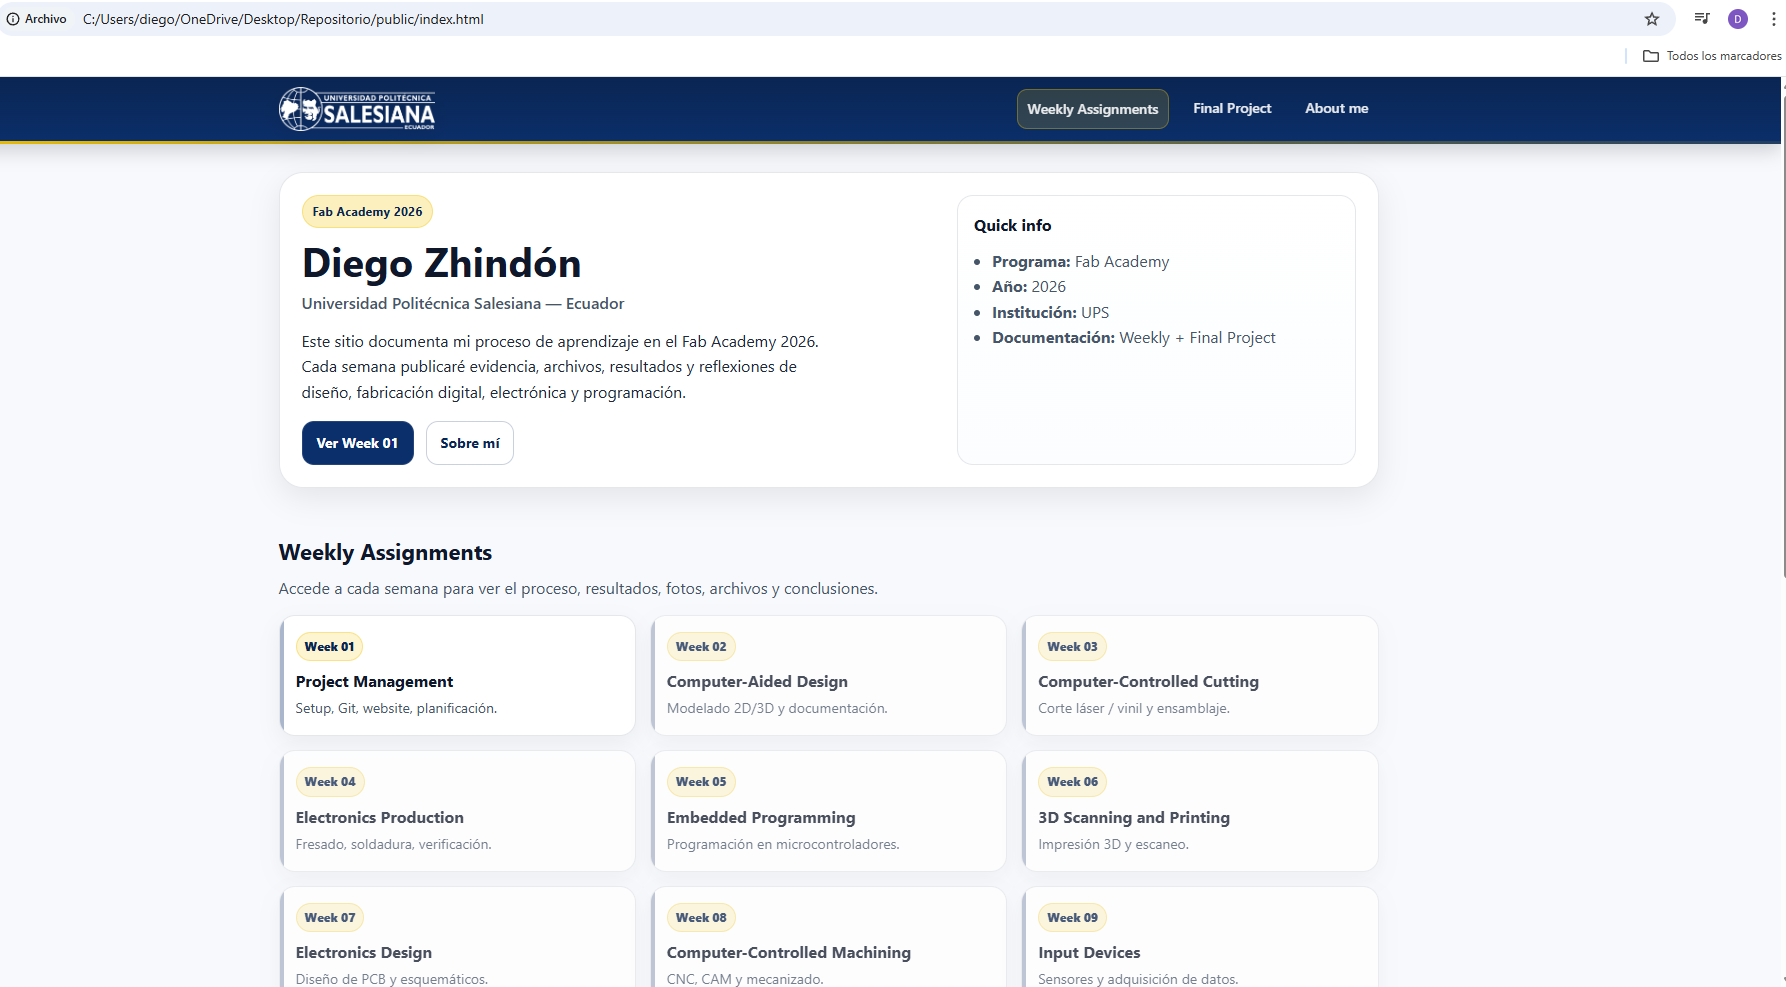
Build the landing page: I created an index (home) page with a hero section and a grid of weekly cards.
Weeks not completed yet are visually disabled.
Create core pages: I updated about.html, week01.html, and final-project.html
to match the same layout and footer structure.
Use ChatGPT as a structured assistant: I used ChatGPT with clear prompts about Fab Academy requirements,
Git/GitLab workflow, and HTML/CSS structure to accelerate writing and formatting — then I tested and adjusted locally
until the site rendered correctly.
Note: ChatGPT was used to generate and refine HTML/CSS blocks based on my requirements and the Fab Academy
documentation guidelines, but I validated file structure, paths, and Git workflow on my local machine and FabCloud GitLab.
Evidence (screenshots)
Step 1 — Reviewing Fab Academy 2026 schedule and weekly topics.Step 2 — Applying UPS branding (colors + logo) and layout structure.
Step 3 — Final layout iteration (index + about + week01) with consistent styling.
7. Local + Online Workflow (Step-by-step)
In addition to editing directly on FabCloud GitLab, I documented my workflow showing both
offline (local) work and online (web) updates.
Offline / Local
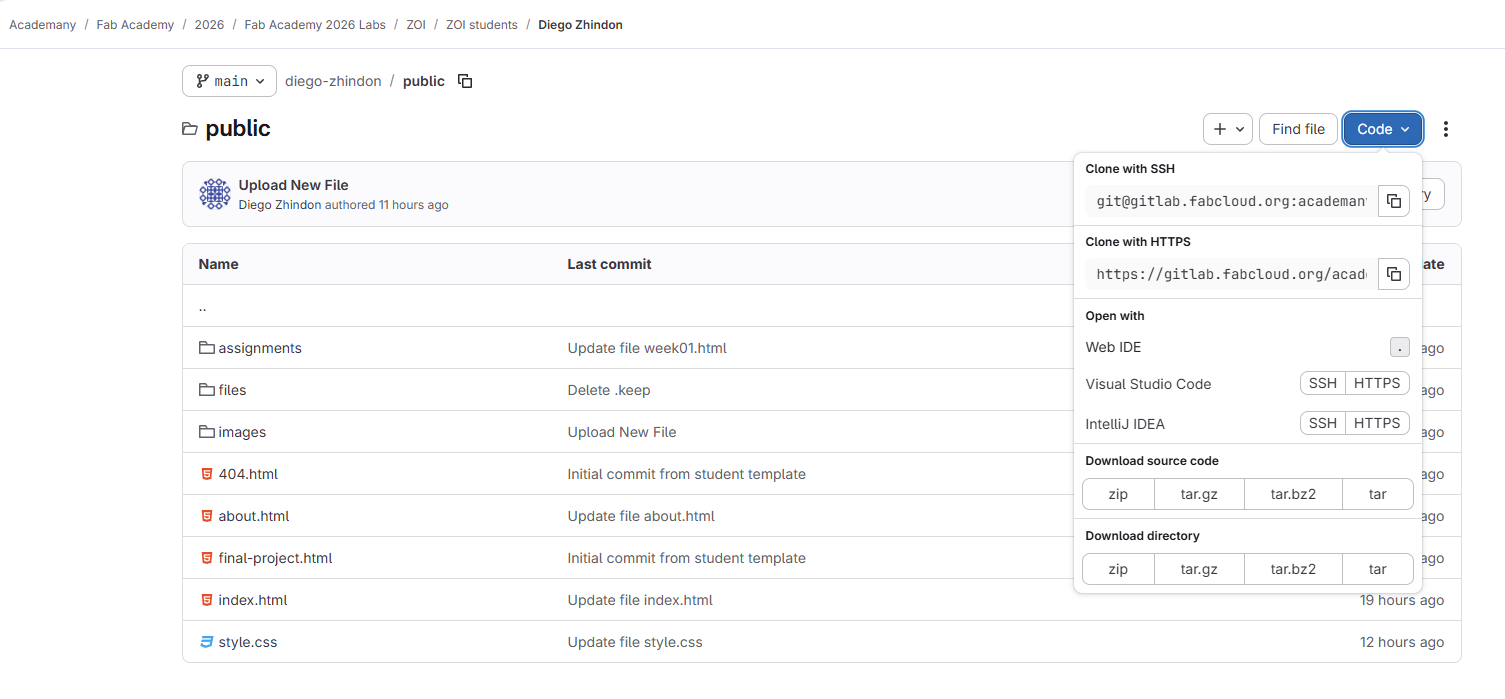
Download as ZIP from GitLab (Code → Download ZIP).
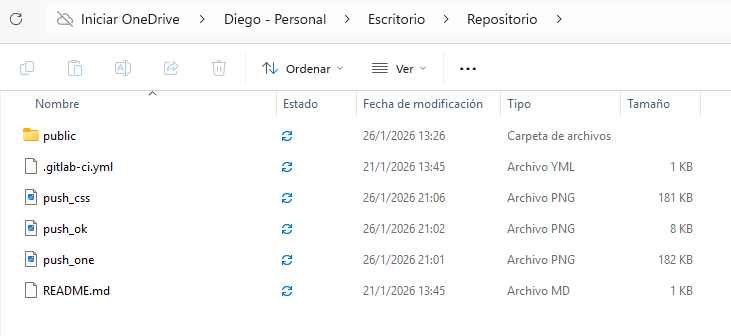
Extract the project into a local working folder.
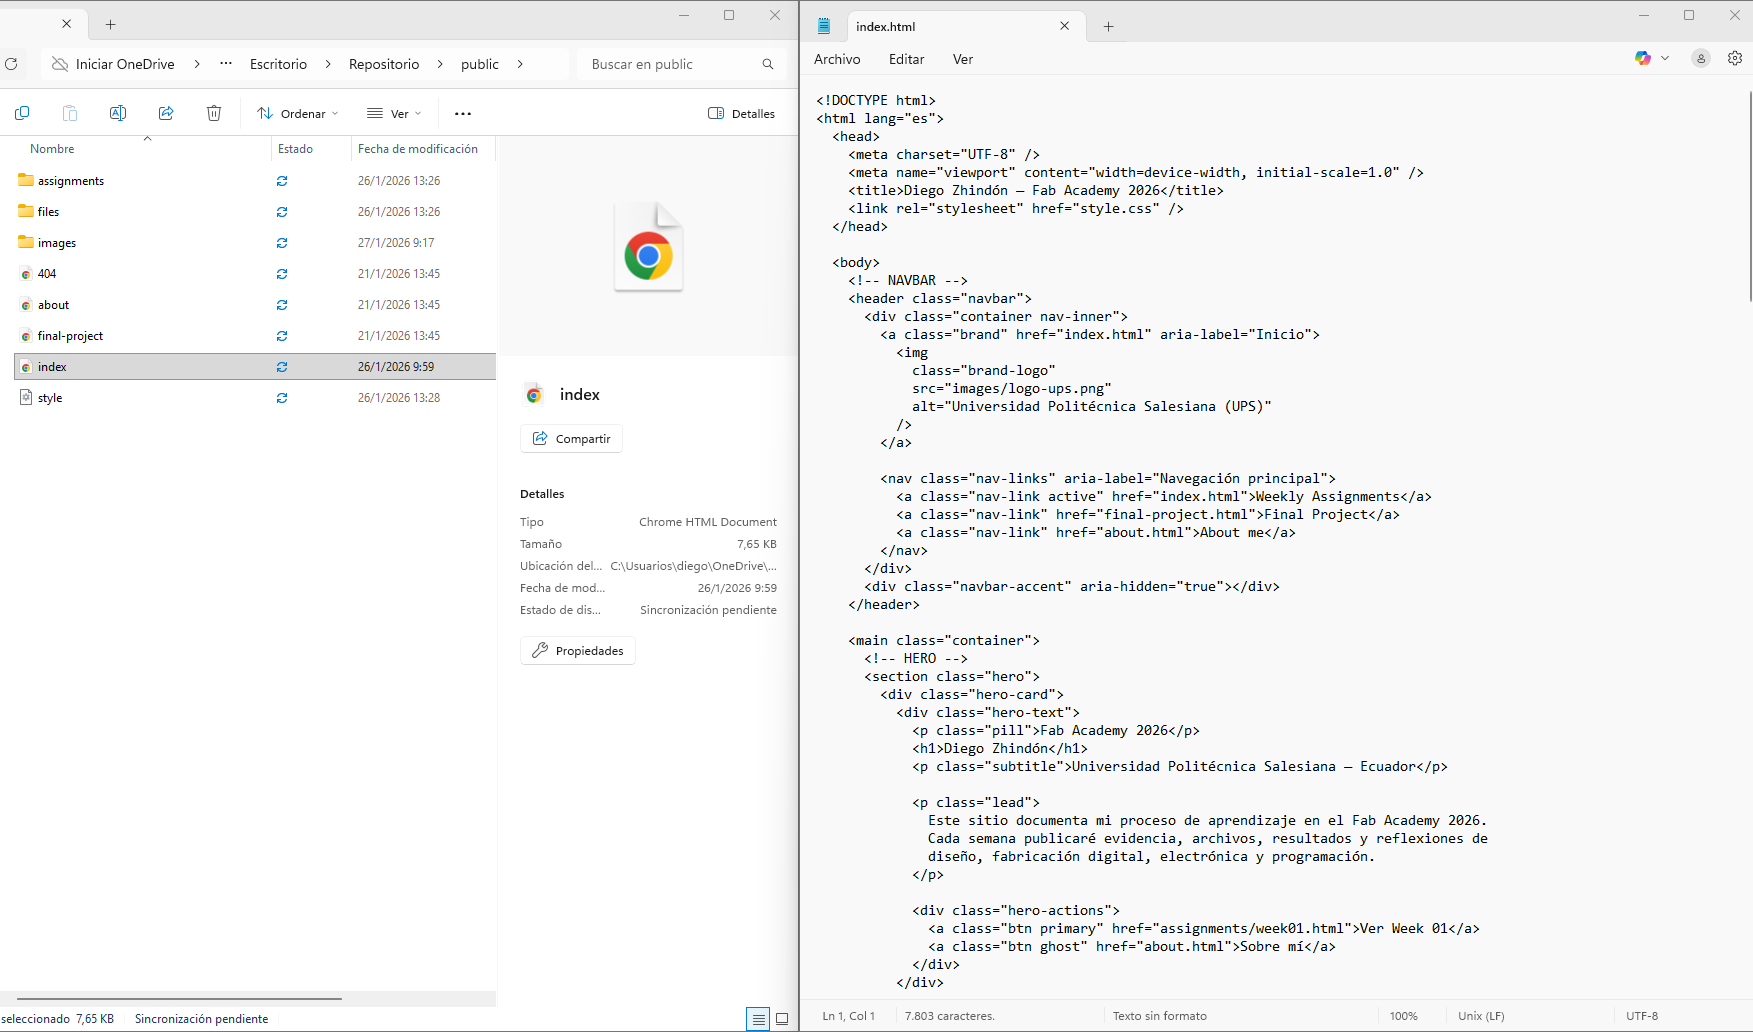
Edit HTML/CSS locally (Notepad / VS Code).
Test by opening the pages in a browser offline.
Download the repository as ZIP.Extract ZIP into a local folder.
Edit HTML locally using a text editor.Test locally by opening the site in a browser.
Online / Web
Upload files to the correct folders (images, files).
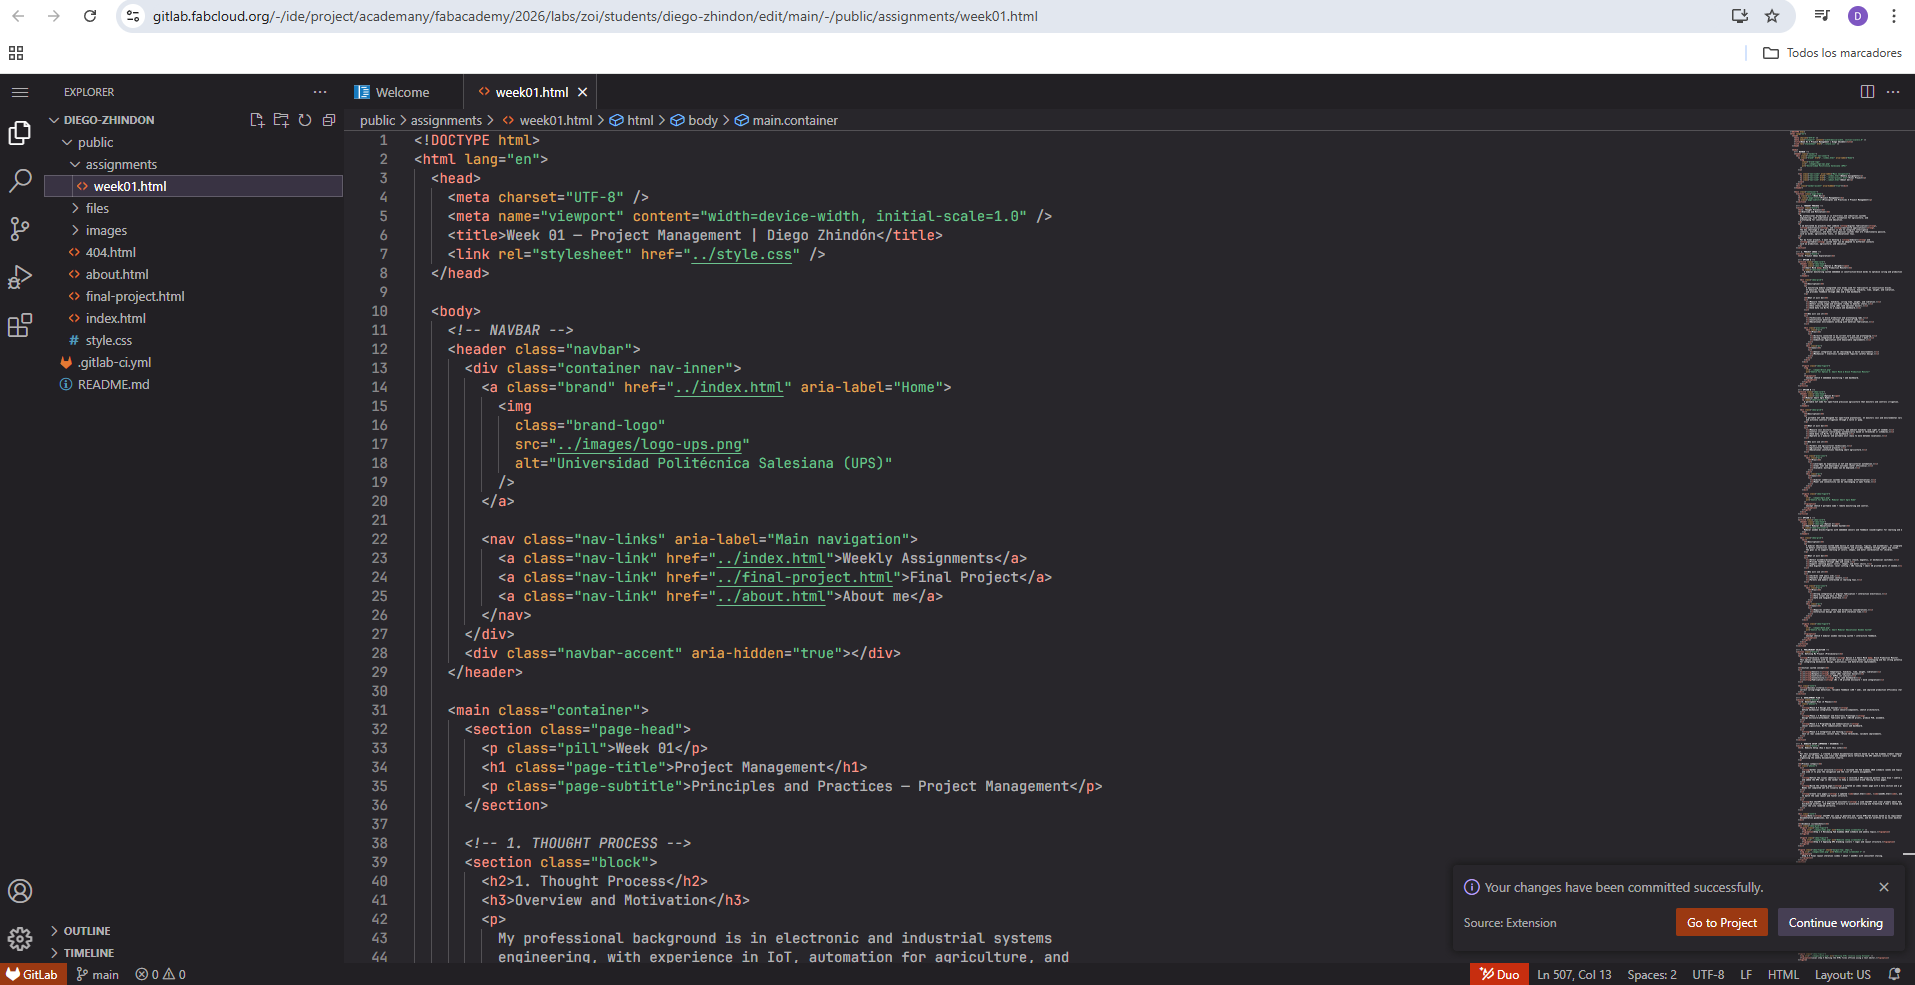
Edit pages online (Web Editor) by pasting verified content.
Commit / push changes to publish the website.
Online workflow — upload, edit in Web Editor, and publish changes.
8. Version Control (Git)
I use Git + FabCloud GitLab for version control and publishing updates.
My typical workflow is pulling changes, staging files, committing with a clear message,
and pushing to the remote repository.
The smart wooden train project is a strong final project direction because it combines mechanics, embedded electronics, digital fabrication, and interaction in a single system.
Planning the project from the beginning helped define how different weekly assignments can be integrated into one coherent prototype instead of developing isolated exercises.
The visual proposal and hero images were important to communicate the concept clearly and make the project easier to understand from the first week.
The website setup process was essential because it established the structure that will support all future weekly documentation and final project development.
Working with Git and FabCloud GitLab is fundamental, since version control ensures that documentation, images, and code can be updated and published in an organized way.
Defining fabrication opportunities early made it easier to identify how CNC machining, electronics, molding and casting, 3D printing, and laser processes can support the project.
This first week was useful not only to define a project idea, but also to build the documentation workflow that will be used throughout the entire Fab Academy process.