Fab2026 Bottrop

Personal picture taken during my runs in the morning. More info
I tried out different stuff but did not complete much. However wrote down some pointers for myself.
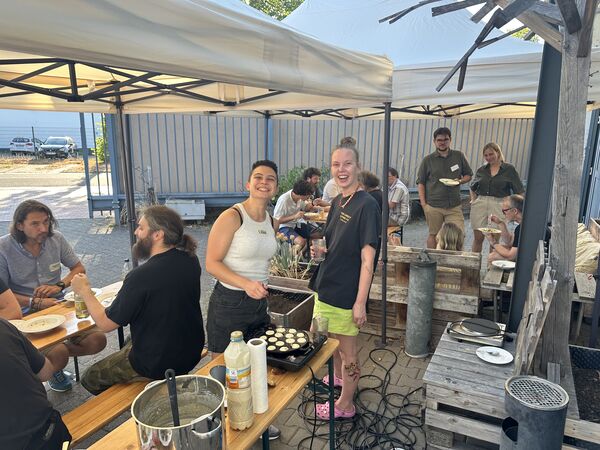
Bird net
In short: Joined the workshop of Luc Hanneus to create a bird recognition using a microphone. It required us to solder the components using also a flow technique using solder paste. I did not completely finish the work though yet.
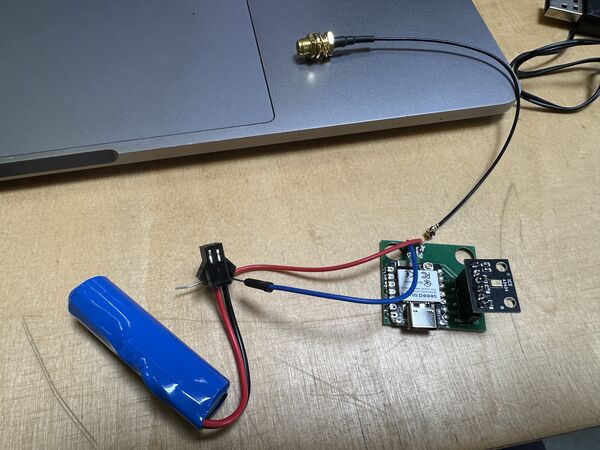
Managed to attach a small cable so that I can reuse a 3.7v battery that I already have.
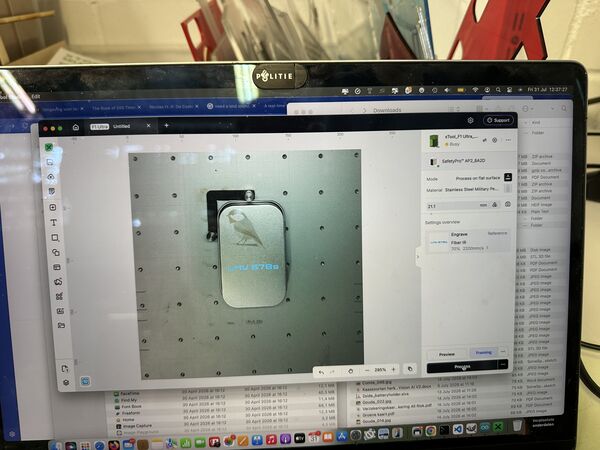
I added an engraving below the bird
Box already came with an engraved bird
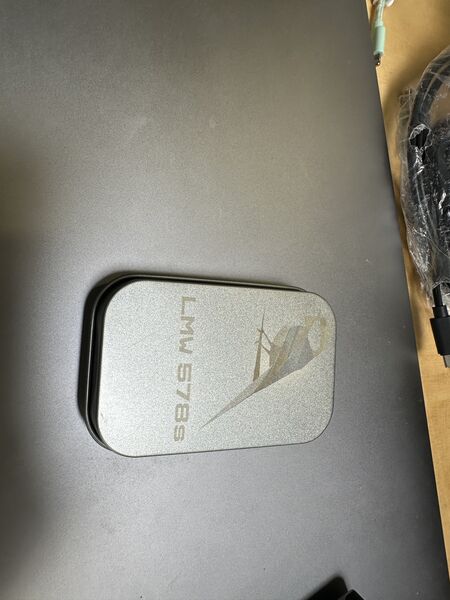
End result
What I learned
Soldering with paste is very nice BUT at the end I only managed to use it for the battery contacts at the bottom of the processor. I did try to use it for every connection but found that I used to much solder paste. Also DO NOT PRESS ON THE MATERIAL BECAUSE IT WILL BE ALL OVER THE PLACE.
Symphony
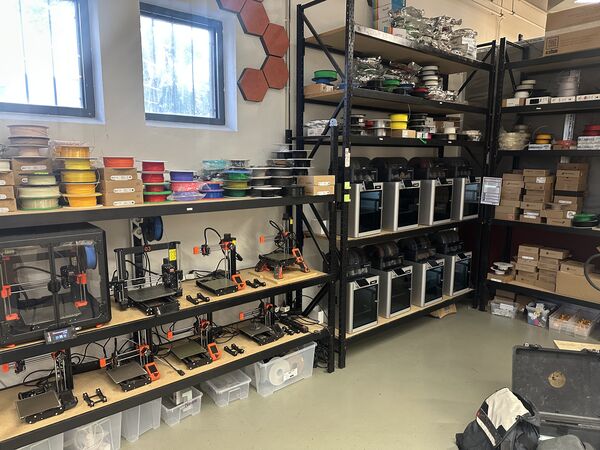
Someone was using the printers at the same time. A living organism
Graduation
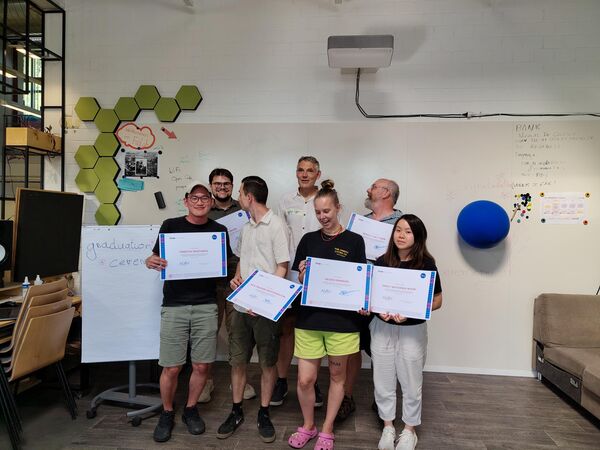
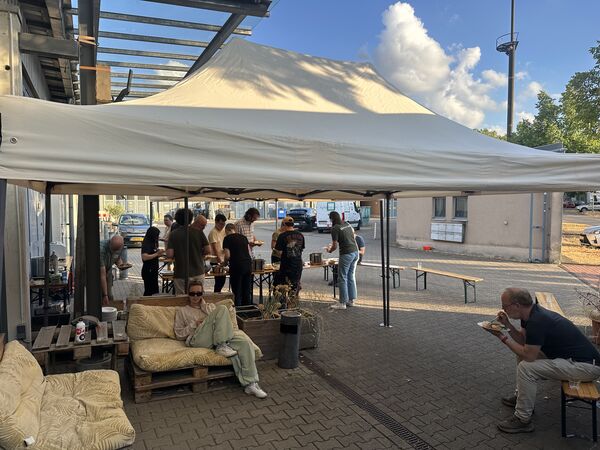
The instructors organized a local celebration. Very nice!!!
Excursion to Bochum
One day we spent in Bochum at the makerspace.
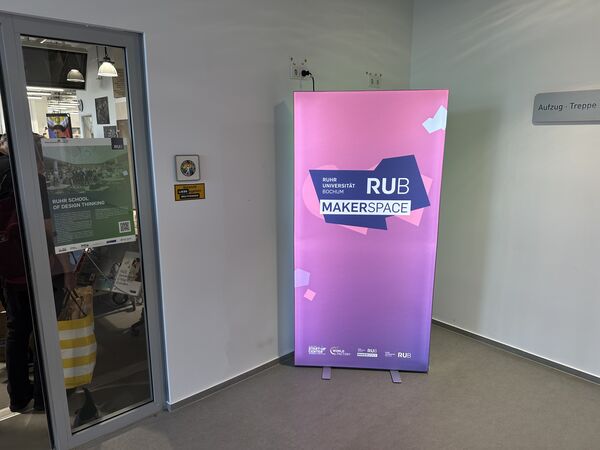
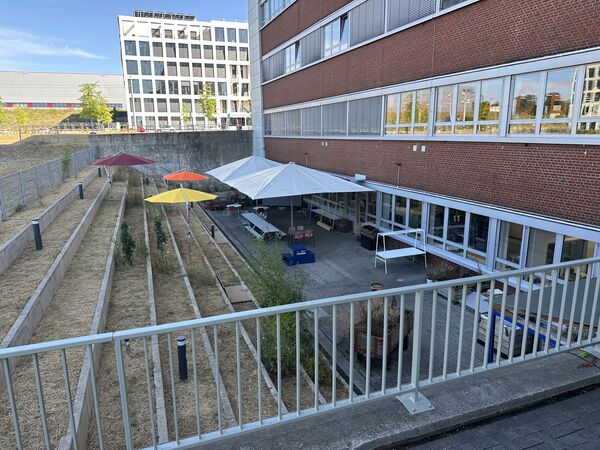
Using recycled filament as cast
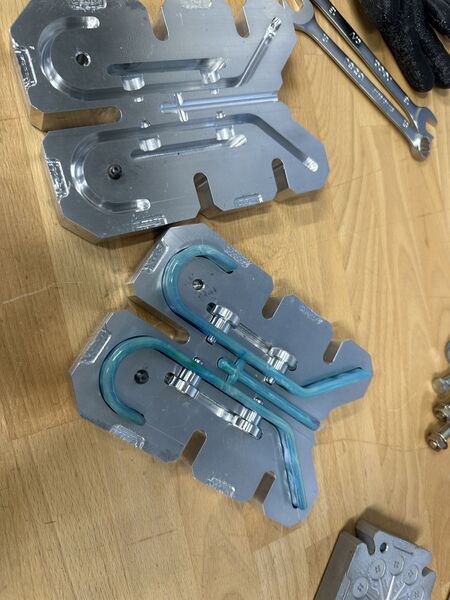
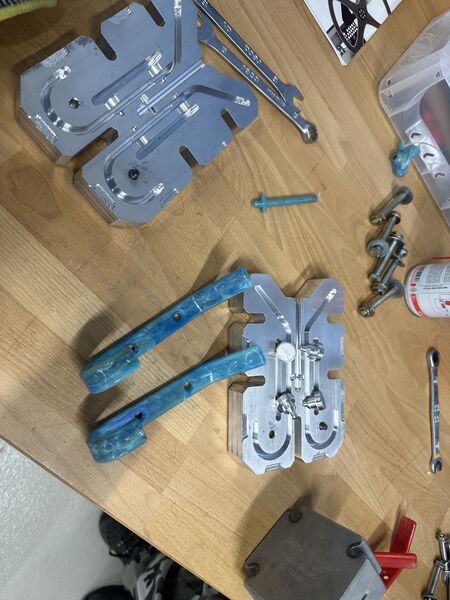
3D printing
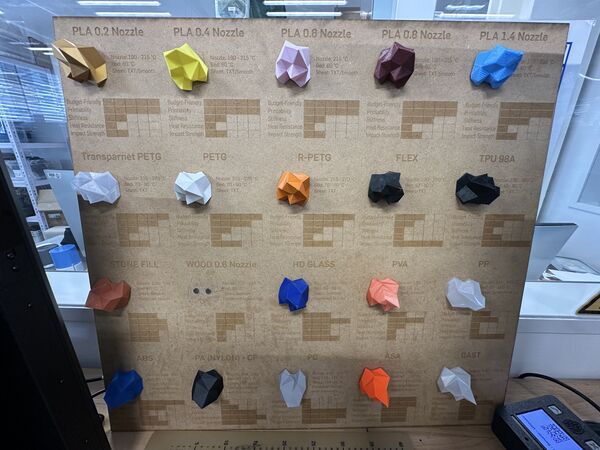
usefull info about each filament
Knitting demonstration
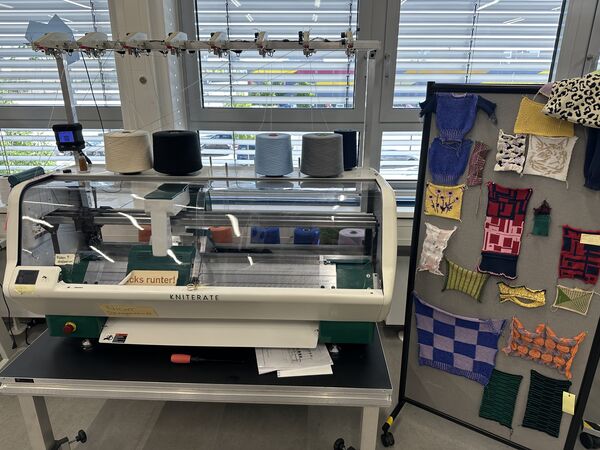
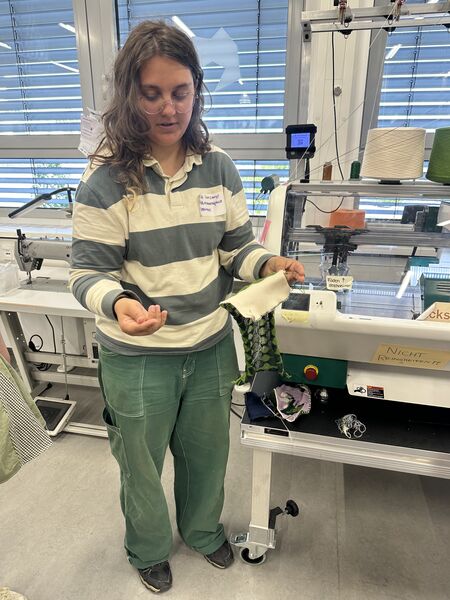
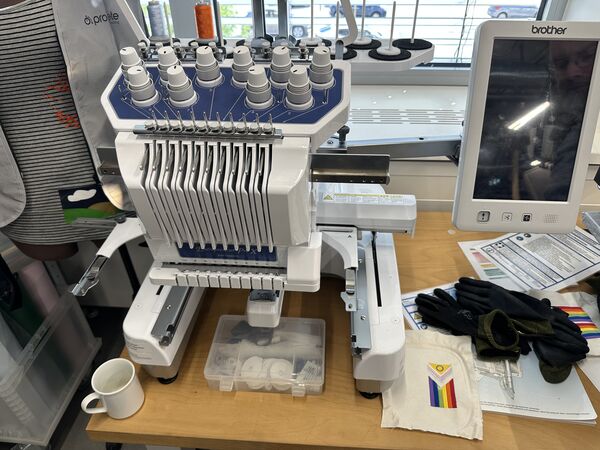
IR project
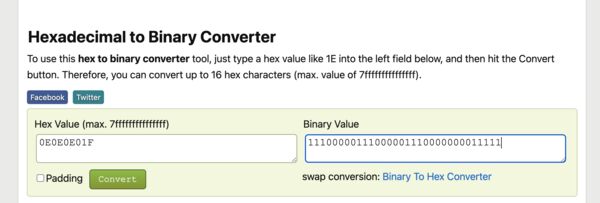
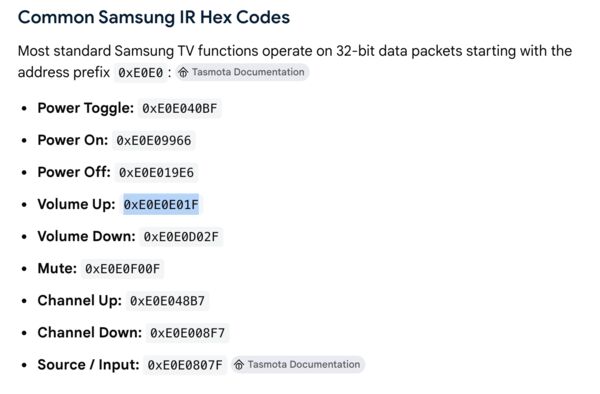
In short: Together with Remco/ Heleen we experimented with receiving IR from remote controls and sending it out again. Remco has written down the story.
What I learned
There are around 5 big vendors; each with their own protocol. It is based on 0 and 1 that are "timed". So nothing digital pure analogue.
Groove debug module
For all the info see
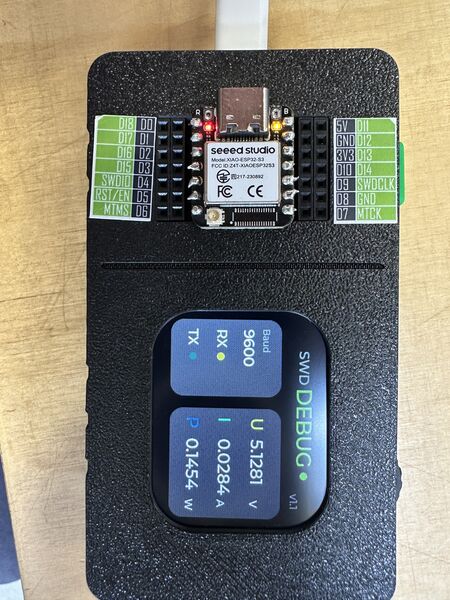
Seeed Studio XIAO Debug Mate is an open-source ESP32-S3 multi-tool that simplifies embedded system debugging with visual feedback. This all-in-one device features a standalone 2.01 inch TFT LCD display, LED status matrix, and native Seeed Studio XIAO support, delivering essential debugging functions: DAPLink chip-level debugging, built-in serial monitoring with UART passthrough, and accurate power consumption measurement.
Here the GPS sensor is connected using it's UART pins. The device shows the ouput from the RX on its own screen.
The device is in through-put mode so that you can use the serial monitor to look at the data.
I did not get the debugging working ... there's a full tutorial on this.
Screen printing
In short: you laser cut a pattern on a special screen of nylon. Then you transfer the negative image by pressing paint through the holes on a, for instance, a t-shirt/ bag, ... So you need:
- a frame (we used one from XTool)
- screen of nylon
- paint
- station to transfer
- laser cutter
laser cutter doing it's thing
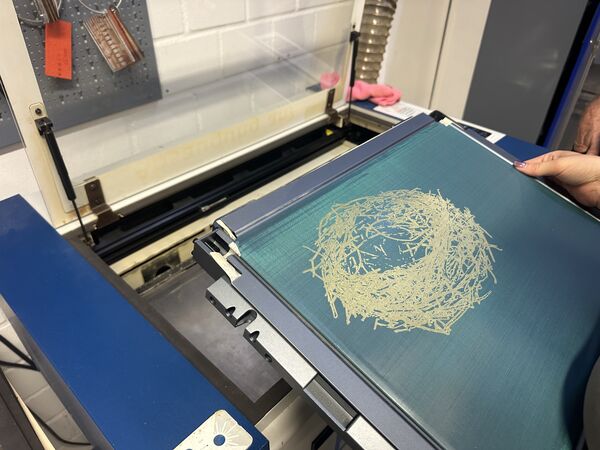
The frame with cut-out negative image
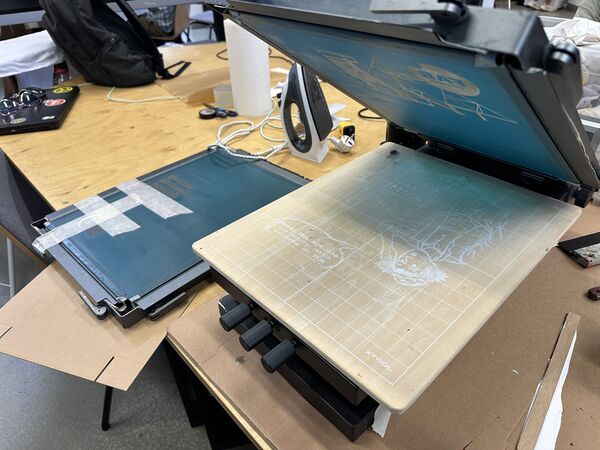
Then it's time to press the paint onto the fabric
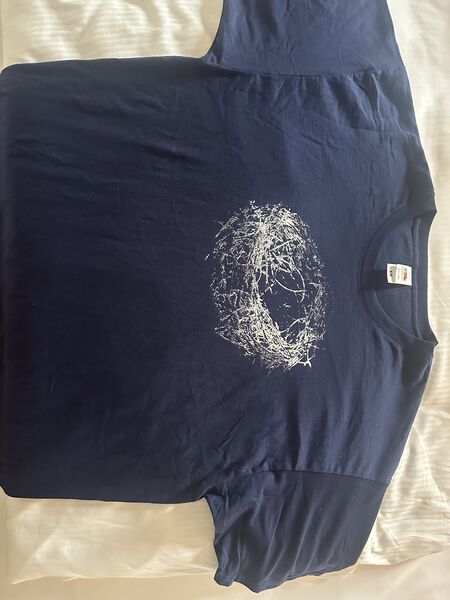
So it becomes a positive image again
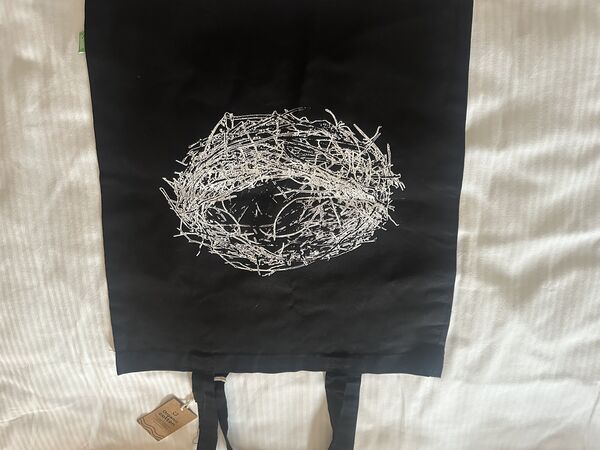
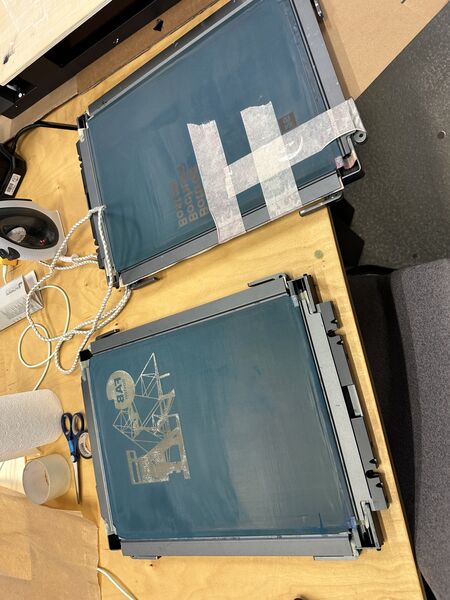
Other design made by Julia for this week
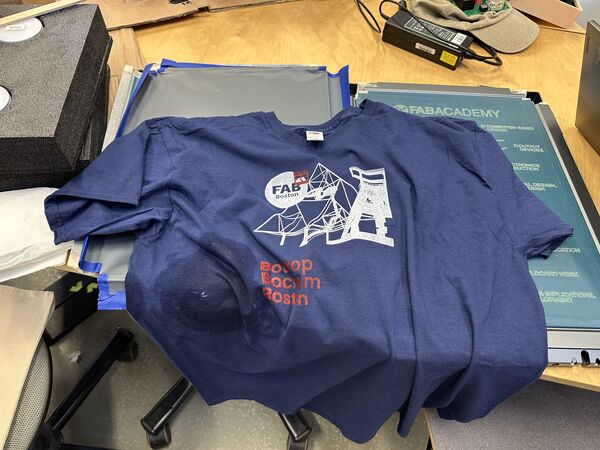
now I have 2 t-shirts 
What I learned
In general the process was already performed lots of time but there were issues with the first people that tried this. The density of the nylon somehow changed so the laser settings were not enough to create the negative image in 1 go. In my case we did the cutting twice using 80% of the power the 2nd time.
Transferring it on a t-shirt works best when you iron the shirt first; same for the bag.
The paint needs to be pressed through the holes but not to hard; otherwise it will spread to much outward beneath.
The paint inside the holes will dry while you are laying out the next item. So in my case the quality of the 2nd print was less already.
You can use a heat gun to quickly dry the paint afterwards; not too warm though.
Cleaning can be done using water and soap. Usually after 4 to 5 times depending on the paint.