Licensing
Lamperto is intended as an open, community-accessible project. All design files, firmware, and documentation will be released under the following license:
Creative Commons Attribution–NonCommercial–ShareAlike 4.0
This license allows anyone to share and adapt the project for non-commercial purposes, provided they give appropriate credit and distribute any derivative works under the same license.
- Attribution (BY) — Anyone who uses or builds upon Lamperto must credit the original design and author.
- NonCommercial (NC) — The project and its derivatives may not be used for commercial purposes without explicit permission.
- ShareAlike (SA) — Any adaptations or improvements must be shared under the same CC BY-NC-SA license, keeping the project open for the community.
What is Open
- All KiCad schematic and PCB layout files
- 3D models of the enclosure and lamp body (Fusion 360 / STL)
- Arduino firmware source code
- Full fabrication documentation on this website
- Bill of materials and component sourcing notes
Plan for Sharing the Project
The goal of dissemination is to make Lamperto accessible to three different audiences: fellow makers who want to build one, the Fab Academy community, and anyone interested in circadian health and DIY wellness technology.
This Fab Academy Website
Full documentation — weekly process, design decisions, firmware, fabrication steps, and downloadable files — is published here and remains publicly accessible after the program ends.
GitLab Repository
All project source files (KiCad, Fusion 360, Arduino code) are version-controlled in the public Fab Academy GitLab repository, making them permanently citable and forkable.
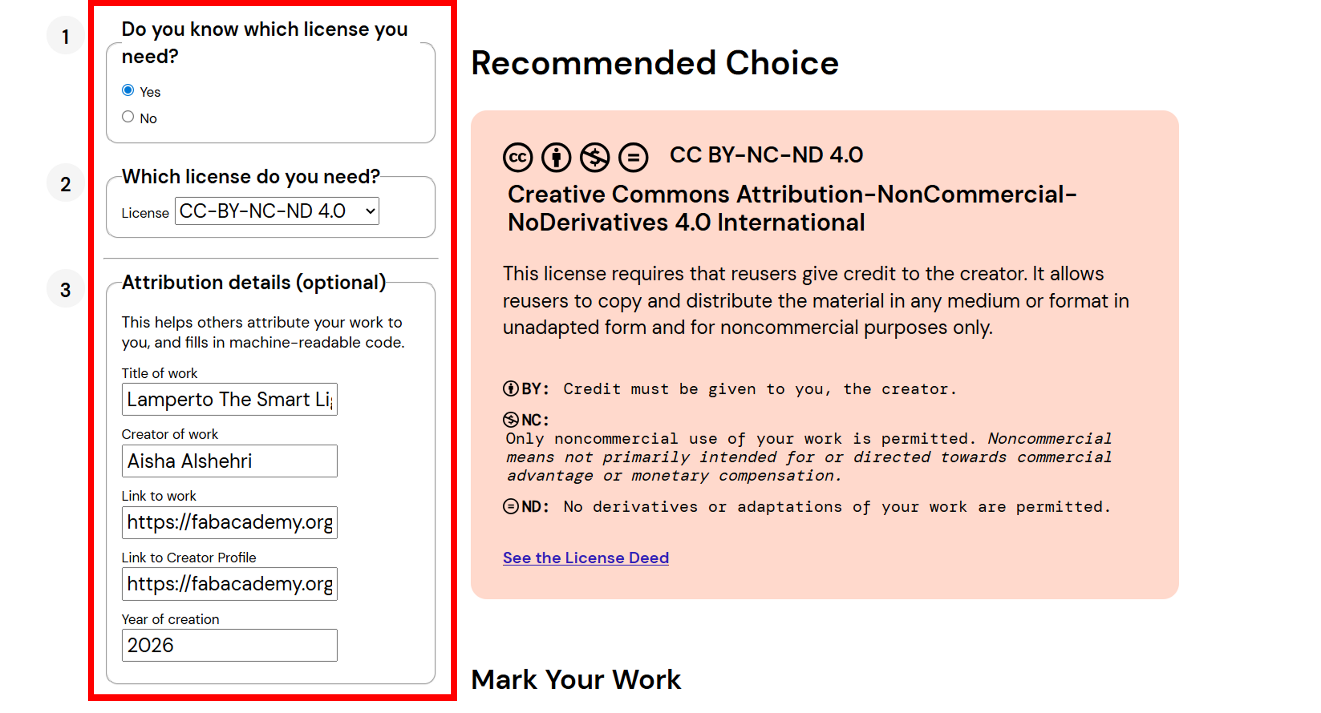
How I Applied the License
To formally license Lamperto, I visited Creative Commons and filled in three steps: (1) I already knew which license I needed, (2) I selected CC BY-NC-SA 4.0, and (3) I entered the attribution details — project title, my name, and links to the project and my profile page.
Step 1–3 · License chooser form
Result · Mark your work badge
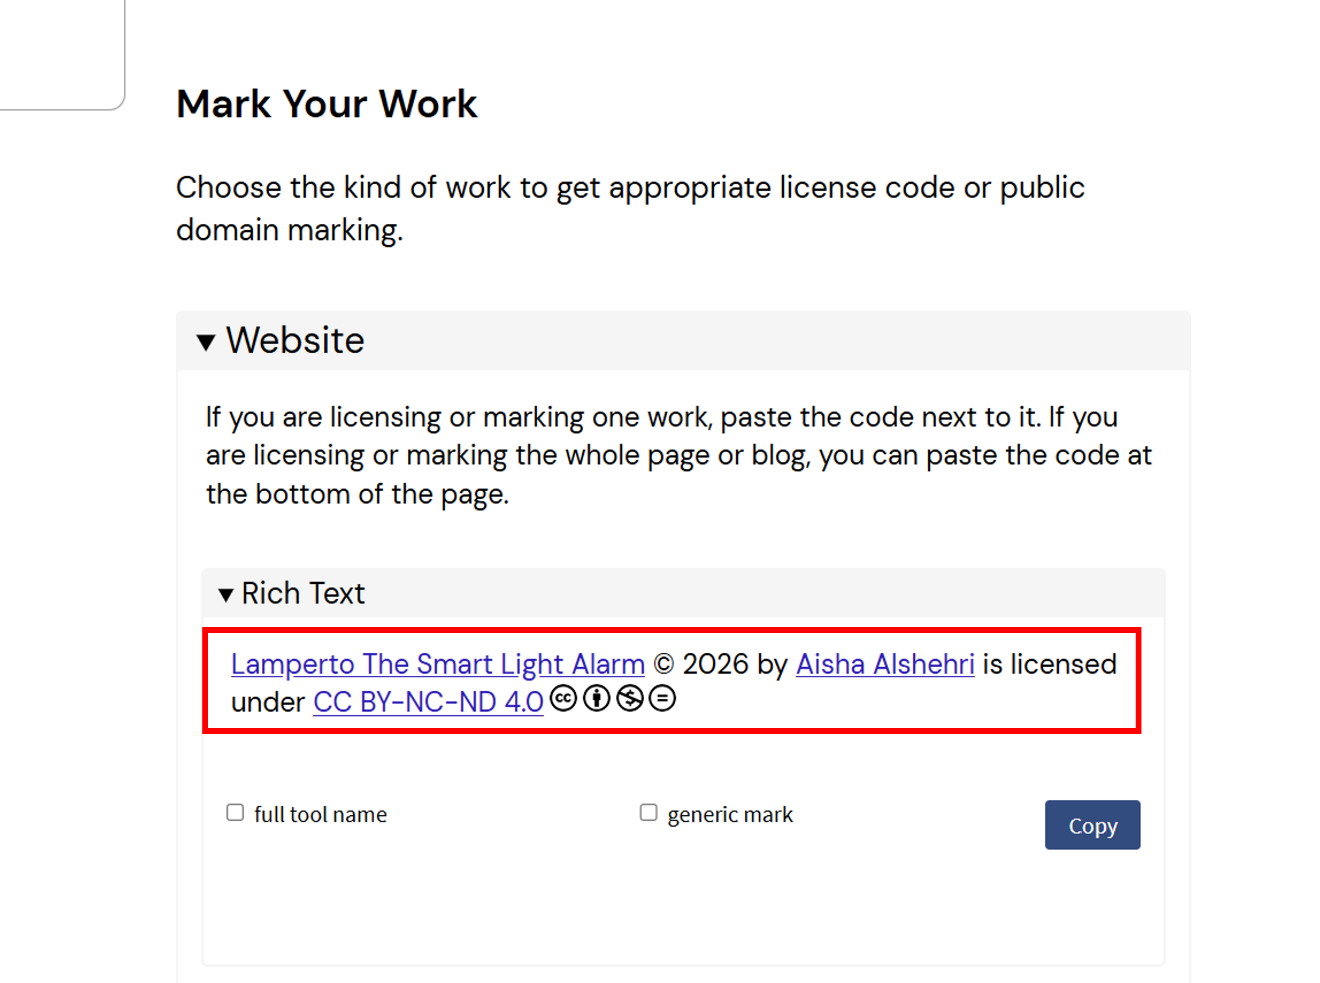
The site generated both a Rich Text badge and an HTML embed code for the website. The final license text is:
Plain Text Attribution
Lamperto The Smart Light Alarm © 2026 by Aisha Alshehri is licensed under CC BY-NC-SA 4.0. To view a copy of this license, visit https://creativecommons.org/licenses/by-nc-sa/4.0/
Official License Badge
Lamperto The Smart Light Alarm © 2026 by Aisha Alshehri is licensed under CC BY-NC-SA 4.0
![]()
![]()
![]()
![]()
Future Development
If Lamperto gains traction in the maker community, there are several directions worth exploring:
- A refined v2.0 with a fully custom PCB replacing the Blynk dependency with a local-only web interface for privacy-conscious users.
- A workshop format — building Lamperto as a two-day workshop at a Fab Lab, combining electronics fabrication, 3D printing, and IoT programming in a single project.
- A small-batch kit — if demand exists, producing a small run of PCBs and pre-cut enclosure parts that individuals can assemble at home, sold at cost to cover materials.
Final Project Progress
Tracking the completion status of each major component of Lamperto:
What's Working, What's Not & Open Questions
What's Working
- The sunset simulation dims the LED smoothly over the scheduled bedtime window — the gradual transition feels natural and non-disruptive.
- The sunrise alarm reliably brightens from 0% to full over the wake-up window, tested across multiple consecutive mornings.
- Mode switching via the physical toggle works correctly — one toggle activates Smart Mode, off-and-on switches to Manual Mode.
- Blynk app connectivity is stable over home Wi-Fi. Schedule changes from the app are reflected on the lamp within seconds.
- The 3D-printed enclosure fits all components cleanly and the lid attaches securely with no loose parts during use.
What's Not Working / Known Limitations
- The lamp depends on Blynk's cloud servers — if the service is down or Wi-Fi drops, the schedule cannot be updated remotely (though the last saved schedule continues running locally).
- There is no onboard display or physical feedback showing which mode is active — the user must check the Blynk app to confirm the current state.
- Brightness calibration is subjective; the current maximum brightness may be too intense for some users in a completely dark room.
Questions That Still Need to Be Resolved
- Can the Blynk dependency be replaced with a local-only web interface (ESP32 acting as its own web server) to remove the cloud requirement?
- What is the minimum light intensity needed to effectively trigger the circadian wake response — and does Lamperto's LED meet that threshold?
- How should the firmware handle a Wi-Fi reconnection after an outage without losing a scheduled alarm mid-cycle?
Planned Timeline — From Possibility to Probability
Turning the future development ideas into concrete actions requires committing to a schedule. Below is a realistic plan for what happens after Fab Academy ends:
What I Learned — Electronics, Fabrication & Integration
Fab Academy changed how I think about making things. Before this program, I could design objects in 3D and understand electronics in theory — but I had never gone from a blank KiCad canvas to a real, soldered, working PCB that I designed myself. That gap closed this semester, and electronics design and production were the skills that surprised me most.
System integration was where everything came together — and where it was hardest. Getting the PCB, the 3D-printed enclosure, the Arduino firmware, and the Blynk IoT interface to all work as one object required understanding how each layer affected the others. A firmware change could break the Blynk schedule. A PCB dimension error meant the enclosure lid wouldn't close. A power routing choice on the board affected LED brightness stability. Nothing worked in isolation. Thinking in systems — not just in components — is the real skill Fab Academy builds.
Lamperto works today because of everything I learned across those individual weeks: the wiring from W06, the input/output PCBs from W09 and W10, the 3D printing from W05, the IoT interface from W14. Week 18 is less a standalone assignment and more a moment to look back and realize the project is the sum of the whole program.