What We Were Asked to Do
Part 1 — Principles and Practices
Plan and sketch a potential final project.
Part 2 — Project Management
Read, sign, and commit the Student Agreement · Complete a Git tutorial and document the process · Build a personal website in the class archive · Upload Parts 1 and 2 to the class archive.
Final Project Planning
Concept & Motivation
Sleep has always been something I struggle with. Falling asleep rarely happens naturally for me, and most nights I find myself lying awake while my mind keeps racing. I noticed how much my surroundings affect this — especially harsh lighting and the habit of using my phone late at night, both of which make it harder for my body to slow down.
Rather than treating sleep as a simple on/off switch, I became interested in designing a gradual transition that aligns more naturally with the body's rhythm. This personal frustration became the foundation for my final project: a Smart Light Alarm that supports a healthier nighttime and morning routine through warm, controllable light — without abrupt darkness or jarring alarms.
I named the project Lamperto — a name suggested by one of my colleagues, and it immediately felt right. It's warm, a little playful, and personal — which matched exactly what I wanted the lamp itself to feel like.
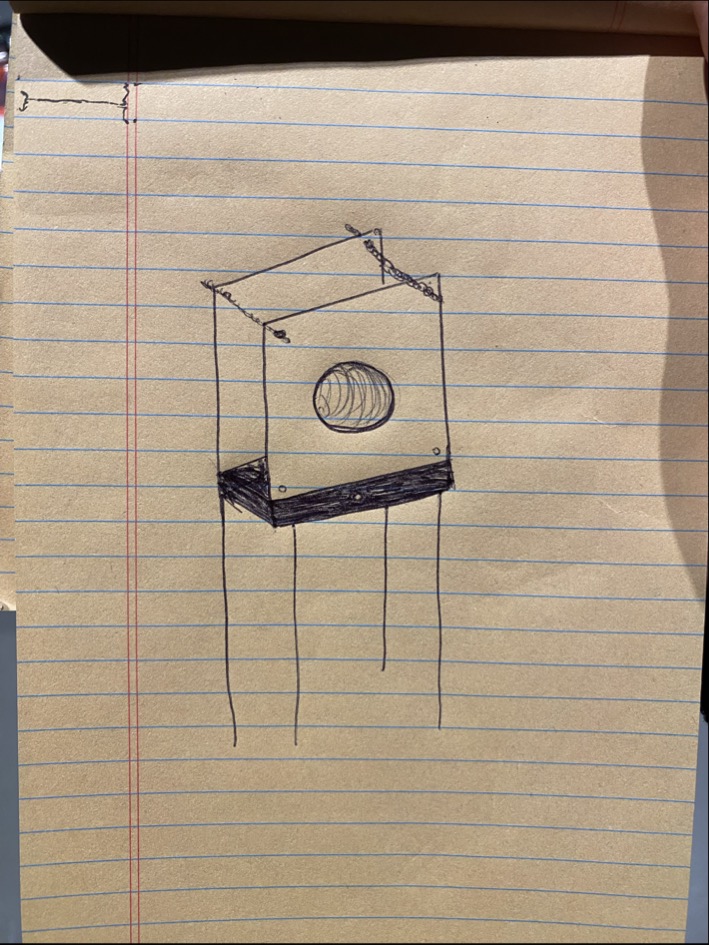
Initial concept sketch of Lamperto — exploring form, structure, and interaction
Development Timeline
Phase 1 — Concept & CAD Design
Sketching the lamp form, modeling in Fusion 360, defining the enclosure geometry and rod-and-nut structure
Phase 2 — Electronics Design & PCB
Designing a custom PCB with XIAO ESP32-C3, WS2812B LEDs, and toggle switch; milling and soldering the board
Phase 3 — Embedded Programming & IoT
Firmware for light control, color temperature transitions, and Blynk IoT integration for app-based control
Phase 4 — Fabrication & Assembly
3D printing the enclosure (PLA + TPU), laser cutting the acrylic upper box, and full system assembly
Phase 5 — Testing & Iteration
Testing light transitions, app control, and structural stability; refining fit and finish
June 2026 — Final Presentation
Presenting Lamperto as a complete, integrated smart lighting system
Learning Objectives
- Translate a personal problem into a meaningful design opportunity
- Break down a complex project into structured, achievable phases
- Understand how hardware, software, and physical form interact as one system
- Begin thinking about user experience beyond just functionality
Documentation Workflow Setup
Student Agreement
Before starting any technical work, I read through the Fab Academy Student Agreement — which outlines the expectations around documentation, attendance, open-source sharing, and academic integrity — and signed it.
Signed and committed to the repository
View Student Agreement →Repository & Live Website
Process Documentation
Setting Up Git
Git is a version control system that keeps a timestamped history of every change made to a project, so nothing is ever lost and progress can always be traced back step by step. That matters here because Fab Academy documentation is meant to be built up continuously, week by week — not written all at once at the end.
I followed the Fab Academy tutorial to install Git and set up Git Bash. The key insight was that Git isn't just a backup tool — it's a live record of how a project evolves over time, which is exactly what this kind of documentation requires.
- Downloaded Git for Windows from gitforwindows.org and ran the installer, keeping the default options.
- Opened Git Bash and confirmed the installation by running
git --version. Seeing a version number printed back confirmed Git was ready to use.
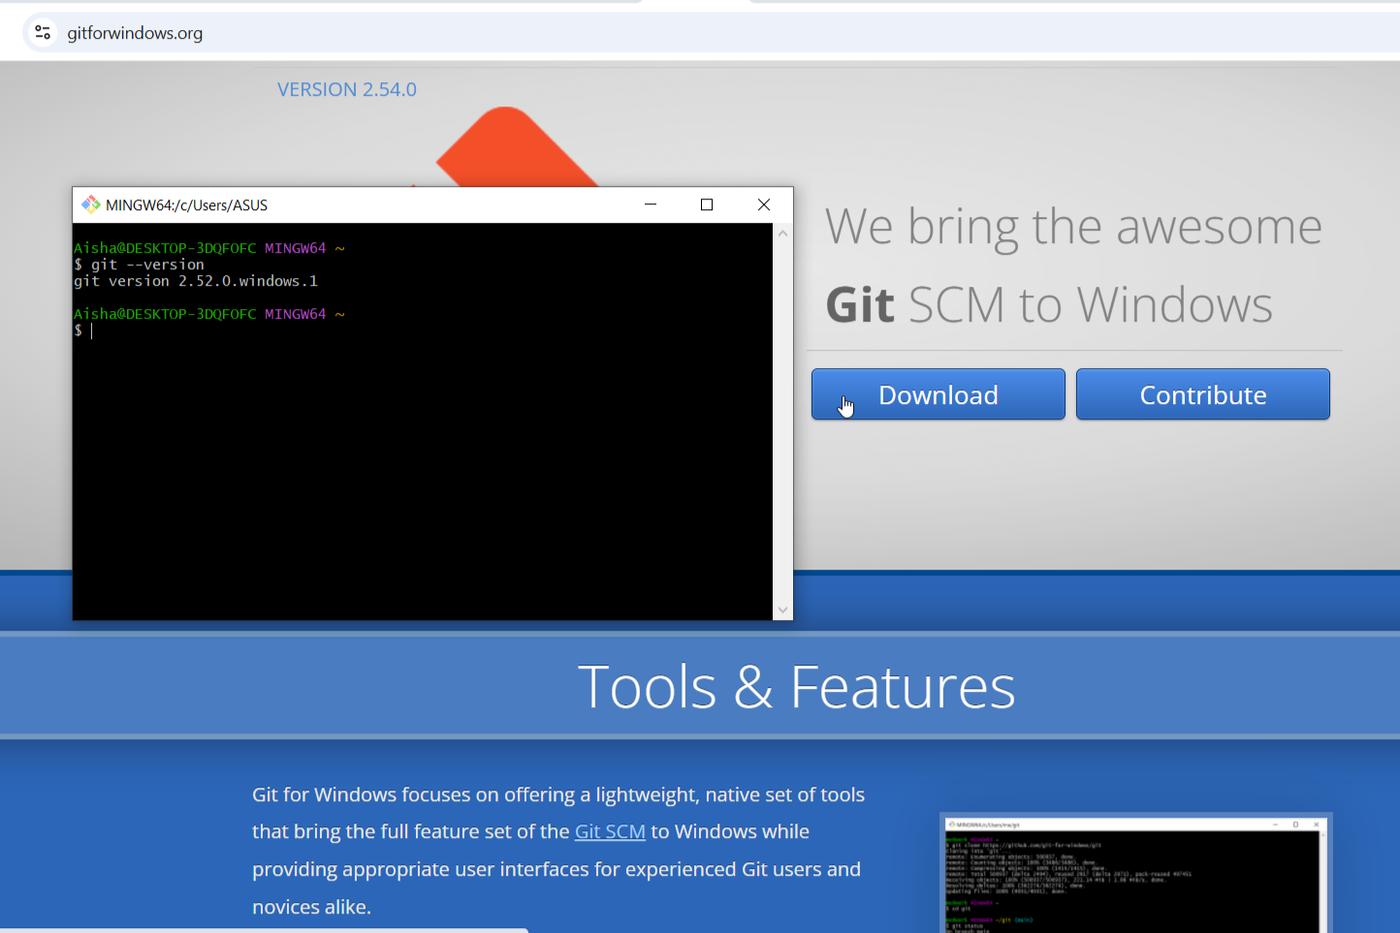
git --version confirms it's ready.Generating & Adding an SSH Key
An SSH key is a pair of cryptographic keys — one private, one public — that lets my computer prove its identity to GitLab without typing a password on every push. The private key stays on my machine and is never shared; the public key is uploaded to GitLab so any request signed by the matching private key is trusted automatically.
- In Git Bash, generated a new key pair:
$ ssh-keygen -t ed25519 -C "aishaalshehri@gmail.com" - Pressed Enter to accept the default save location and set an optional passphrase.
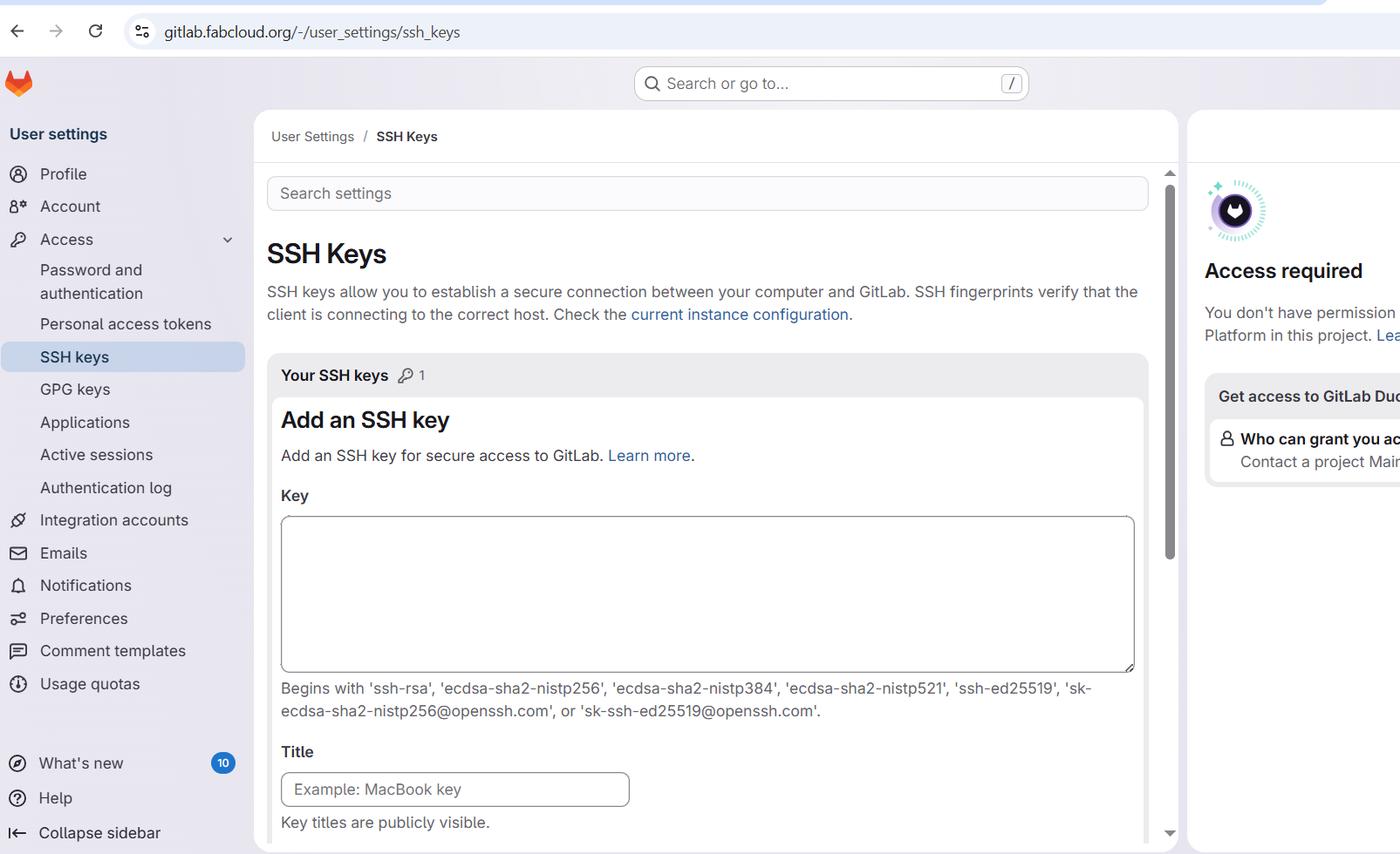
- Copied the public key to the clipboard:
$ cat ~/.ssh/id_ed25519.pub - On GitLab, went to my profile → SSH Keys → Add new key, pasted the key, gave it a title, and clicked Add key.
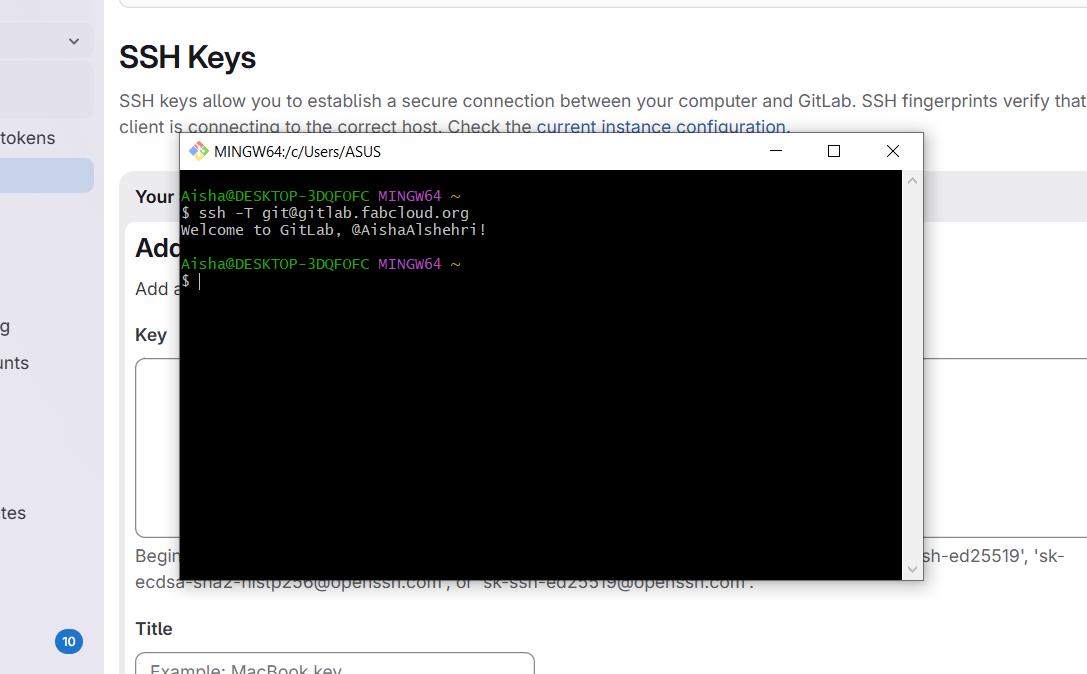
I confirmed the connection by running ssh -T git@gitlab.fabcloud.org — a welcome message back from GitLab confirmed the key was correctly linked to my account.
Git Commands & First Push
Git Configuration
Before pushing anything, Git needs to know who I am — this tags every commit with my name and email so changes can always be traced to their author. These commands only need to be run once per machine:
$ git config --global user.name "Aisha Alshehri"
$ git config --global user.email "aishaalshehri@gmail.com"
Cloning and First Push
With SSH configured, I cloned my Fab Academy student repository and made my first commit and push:
$ git clone git@gitlab.fabcloud.org:academany/fabacademy/2026/labs/vujade/students/aisha-alshehri.git
$ cd aisha-alshehri
$ git add .
$ git commit -m "first commit"
$ git push origin main
git add stages changed files, git commit -m "..." saves a labelled snapshot locally, and git push uploads that snapshot to GitLab. I now run git pull before every session to make sure my local copy is up to date first.
Building the Website
HTML (HyperText Markup Language) is the standard markup language used to structure content on the web. Headings, paragraphs, links, and images are each wrapped in tags that the browser reads and renders as a page — it's the skeleton every website is built on.
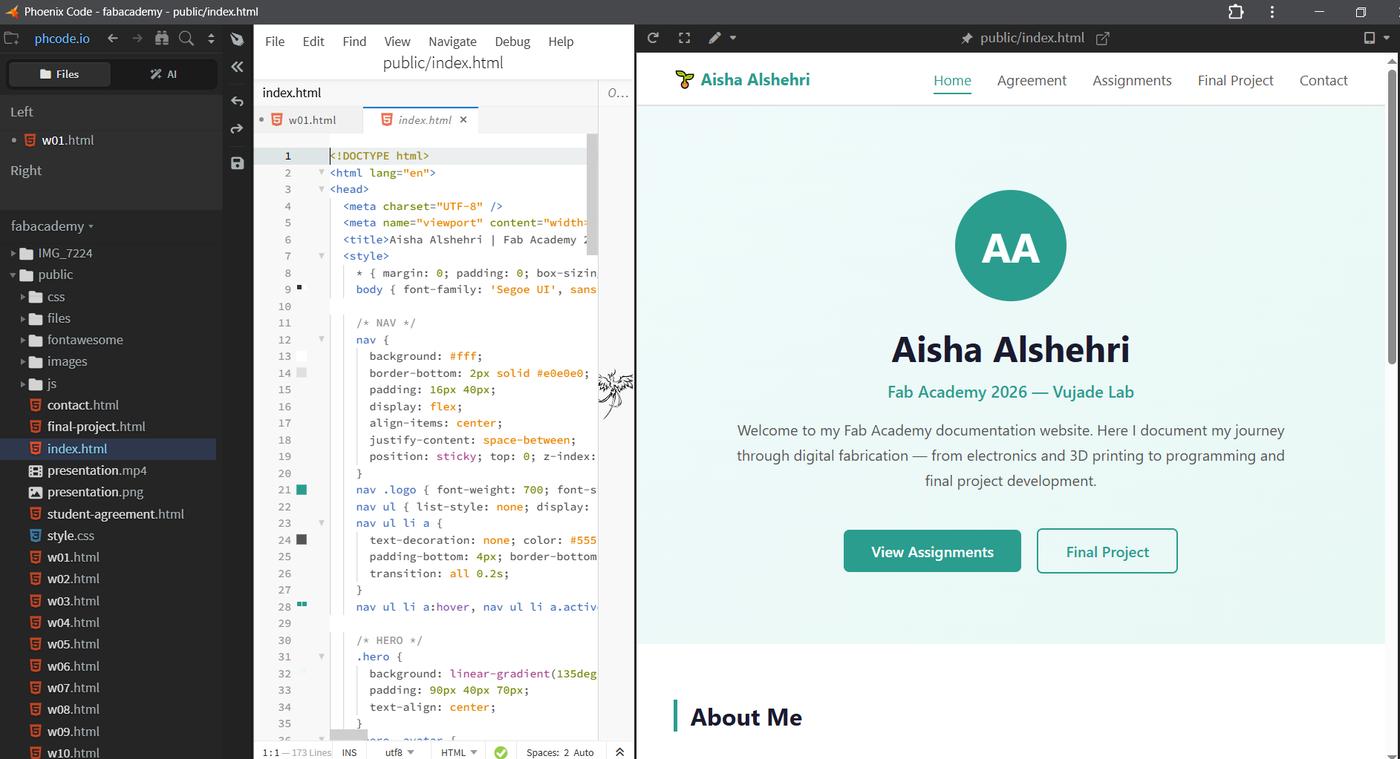
To build my documentation site, I used Phoenix Code — a free, open-source editor, with live preview and built-in Git support — and asked Claude for guidance on how to get started. The goal was a simple, clear structure that could grow week by week, prioritizing readability and easy navigation over visual complexity.
Along the way I learned how to add headings at different sizes, insert images, create links, write paragraphs with bold text, and adjust font sizes.
Installing Phoenix Code and Linking to the Repo
- Downloaded and installed Phoenix Code from phcode.io. (A browser-based version is available at phcode.dev with no install needed.)
- Opened the folder already cloned from GitLab via File → Open Folder, so the editor was pointed directly at my Git-tracked files.
- Created
index.htmlas the homepage, and built out the basic structure — navigation, headings, and placeholder sections for each week. - Used Phoenix Code's Live Preview (Ctrl+Alt+L) to see every change rendered in the browser instantly while editing.
Linking the Website to GitLab Pages
Because the website lives inside the same folder cloned from GitLab, publishing an update uses the same Git workflow as any other change:
$ git add .
$ git commit -m "update website"
$ git push
To make the site publicly visible, GitLab needs a .gitlab-ci.yml file in the project root telling it how to build and publish the pages. I set it up through the GitLab web interface: Code (left sidebar) → Repository → .gitlab-ci.yml. From that point on, every git push automatically rebuilds the site and republishes it at my GitLab Pages URL.
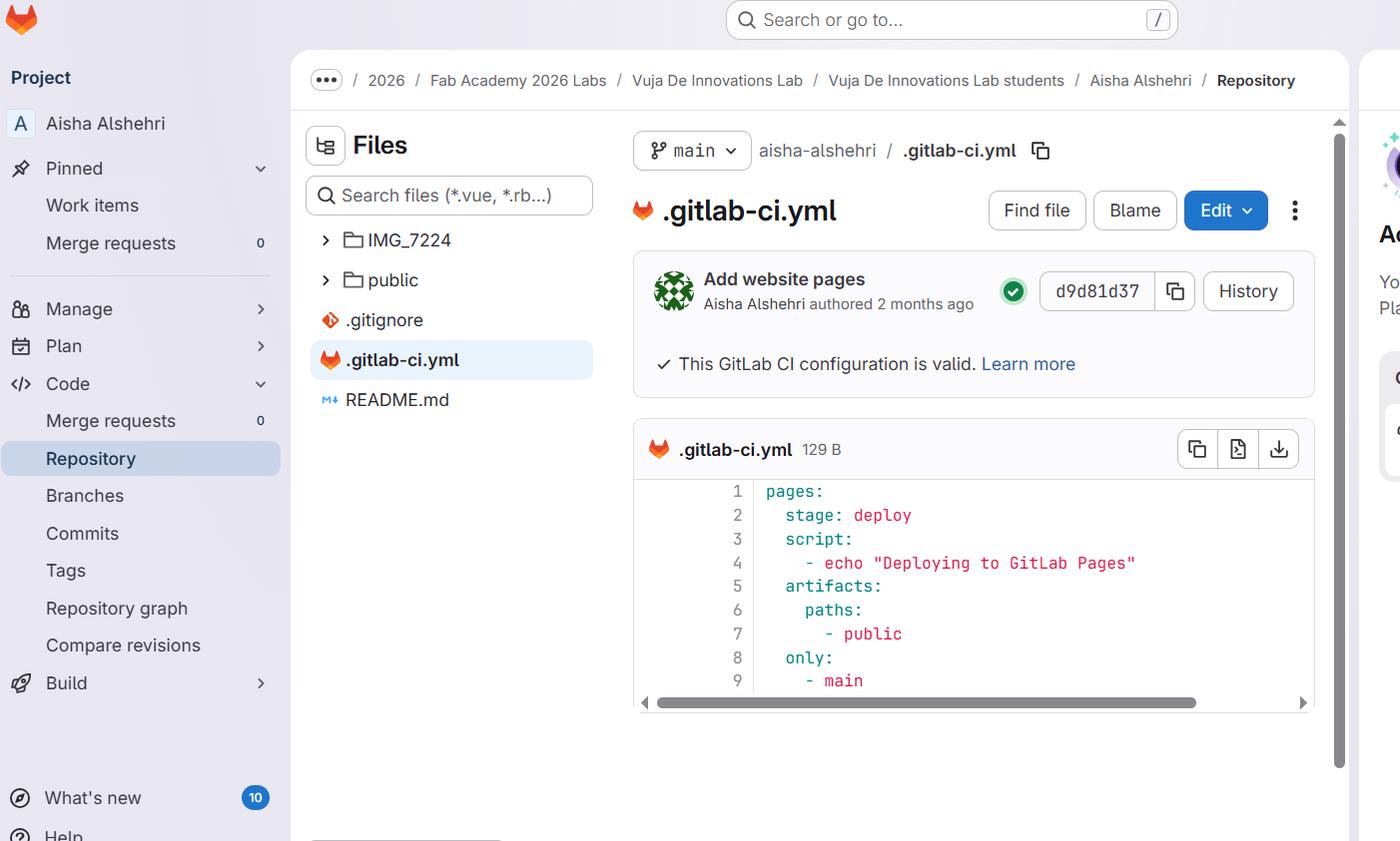
.gitlab-ci.yml file in the GitLab repository — this pipeline tells GitLab Pages to publish the public/ folder on every push.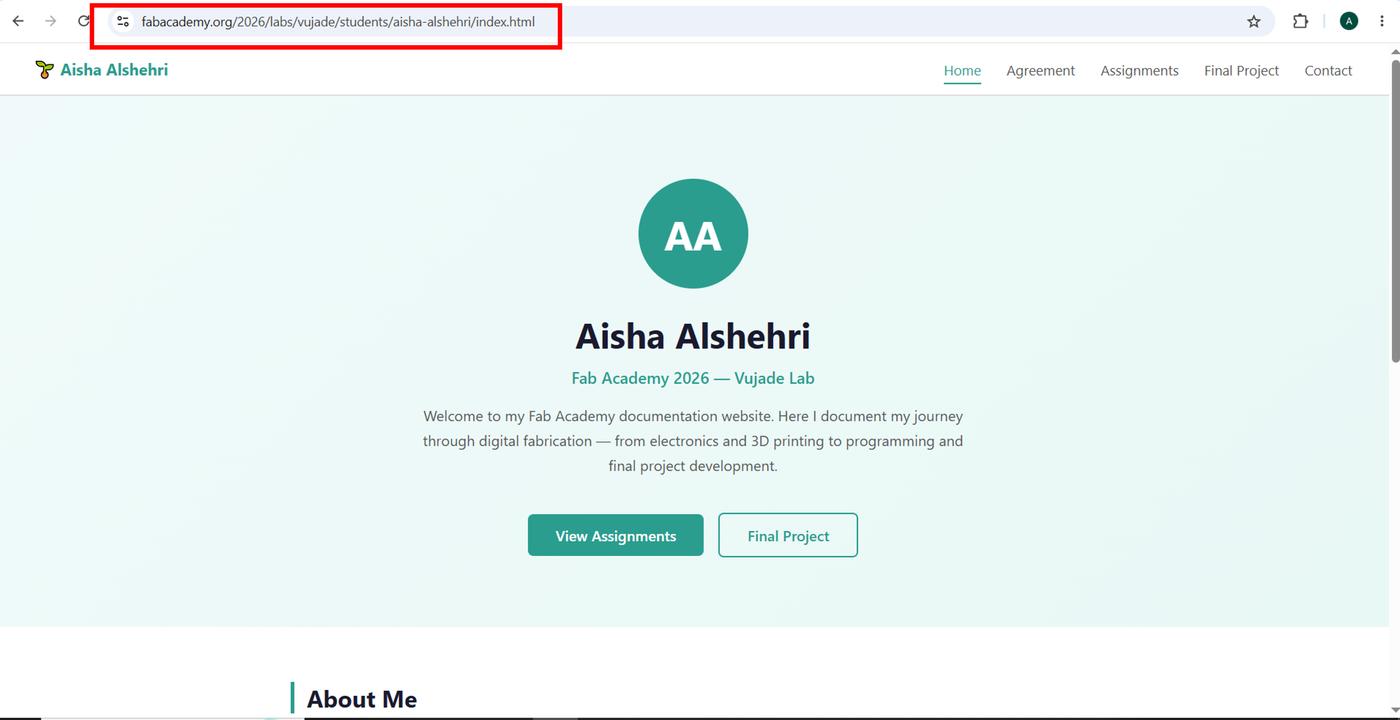
With Git, SSH, and the GitLab Pages pipeline all connected, the loop is: edit locally in Phoenix Code → commit → push → the live site updates itself. That loop is what this documentation runs on every week.
Media Optimization
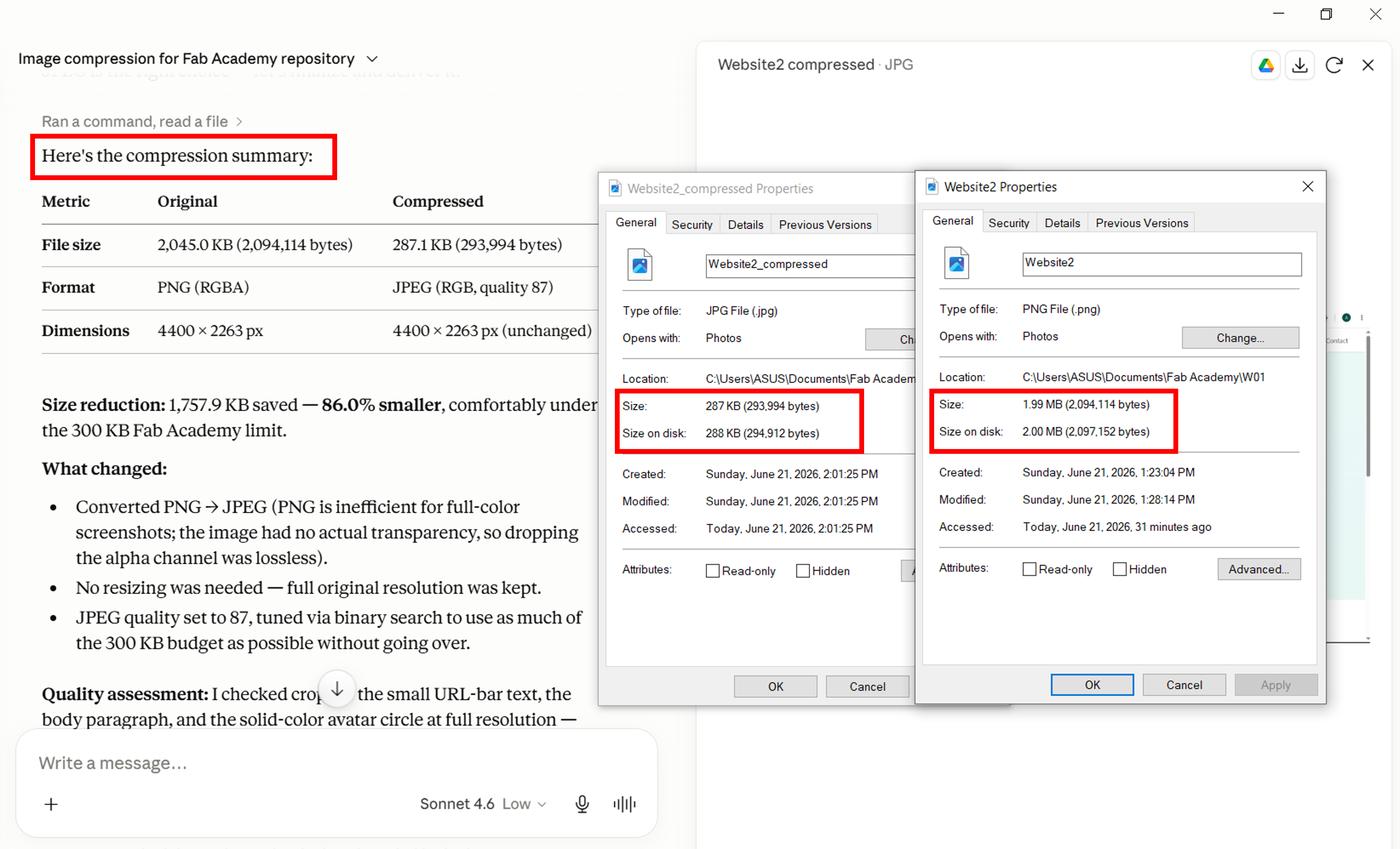
Documentation for Fab Academy involves a large number of images and videos, which can quickly make a website slow and difficult to use. To keep things performant, I used Claude as an AI tools:
Image compression Prompt: "Compress the attached image to 300 KB or less while maintaining the highest possible visual quality for Fab Academy Git repository limits, then report original size, compressed size, size reduction (KB and %), any changes to dimensions/resolution/quality settings, and a brief assessment of visible quality differences, ensuring the result loads quickly and stays clear and readable for web documentation".
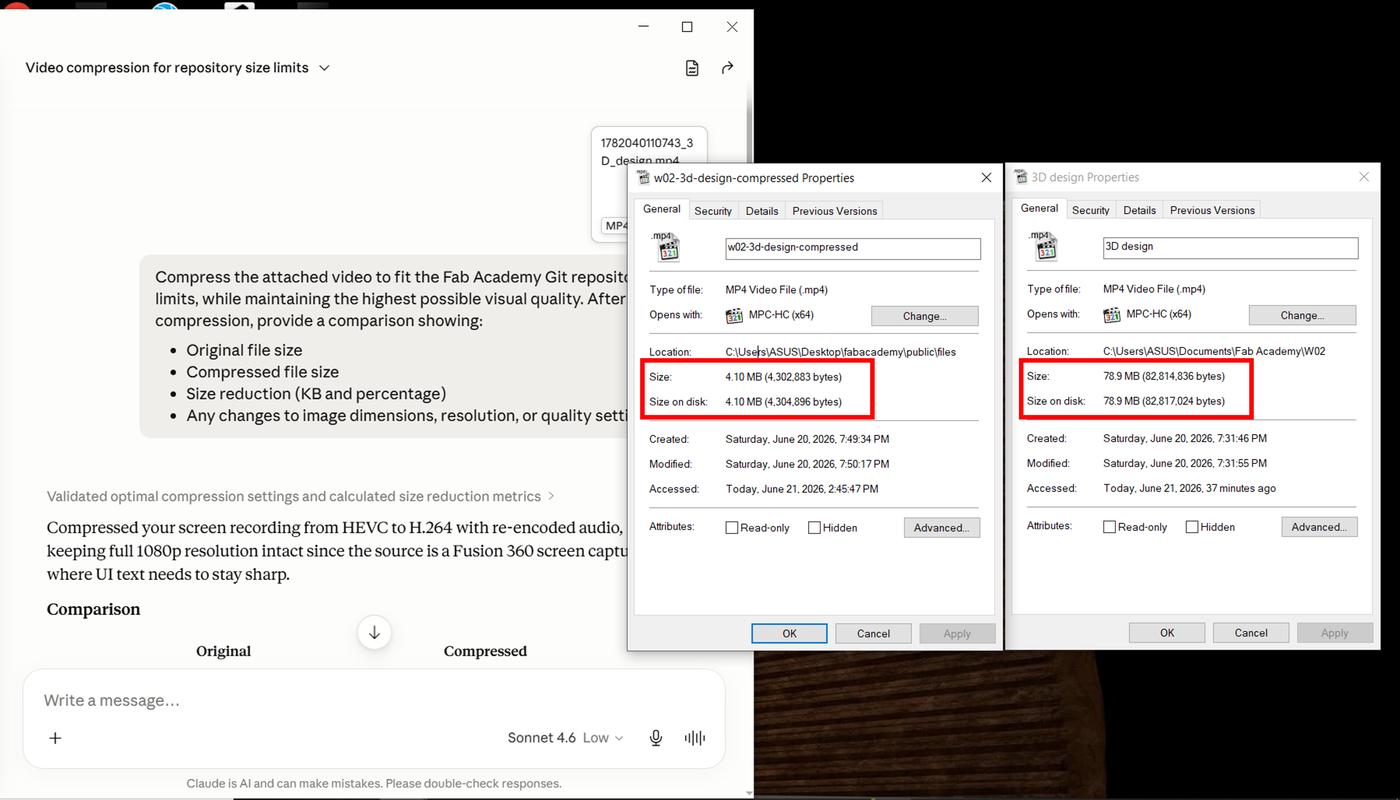
Video compression prompt: "Compress the attached video to fit Fab Academy's Git repo size limits at the highest visual quality possible, then report original size, compressed size, size reduction (KB and %), and any changes to dimensions/resolution/quality settings".
Key Learnings from Week 01
Documentation is part of the design process. Week 01 made it clear that documentation isn't a side task to be handled at the end — it's built alongside the work itself. Git enforces this by creating a timestamped record of every change, which forces you to think about what you're doing and why as you do it, not after.
Version control felt unfamiliar, then clicked. Setting up Git and working through my first push was uncomfortable at first — there are a lot of moving parts (install, configure, SSH, clone, add, commit, push). But the moment I saw my first commit appear on GitLab, the whole system made sense. It's essentially a reliable way to never lose work and always know where things stand.
Starting from a real need matters. Naming and sketching Lamperto in Part 1 wasn't just a planning exercise — it anchored the rest of the semester to something personal. Designing something I would actually want to use makes the technical challenges feel purposeful rather than abstract.
File size is a design constraint. Learning about media optimization early was an unexpected but important lesson. A heavy, slow-loading website undermines the documentation no matter how good the content is — so thinking about file size is part of thinking about how the work is experienced by others.
This week established the foundation for how I'll work throughout Fab Academy: not just making things, but documenting, organizing, and reflecting on them as part of the same practice.