Introduction
In this assignment, I explored interface and application programming by developing a mobile application using MIT App Inventor. The goal was to create an interface that communicates with a microcontroller board and controls output devices.
 |
 |
Individual assignment
Task:Build an application that interfaces with a board you made
Group assignment
Task:Compare different tools for application/interface development
Link to view group assignmentGroup Assignment
Tool used MIT app inventor:-
About MIT App Inventor:-
MIT App Inventor is a web-based application development tool developed by the Massachusetts Institute of Technology (MIT). It allows users to create mobile applications for Android devices using a simple block-based programming approach, without needing to write complex code.
The platform provides a drag-and-drop interface where users can design the layout of their application by adding components such as buttons, labels, images, sliders, and more. The functionality of these components is defined using visual blocks that represent programming logic.
It is especially useful for beginners and rapid prototyping, as it simplifies the process of building applications and enables easy integration with hardware devices such as microcontrollers (e.g., ESP32, Arduino) using communication methods like Bluetooth and Wi-Fi.

Image taken from MIT App Inventor
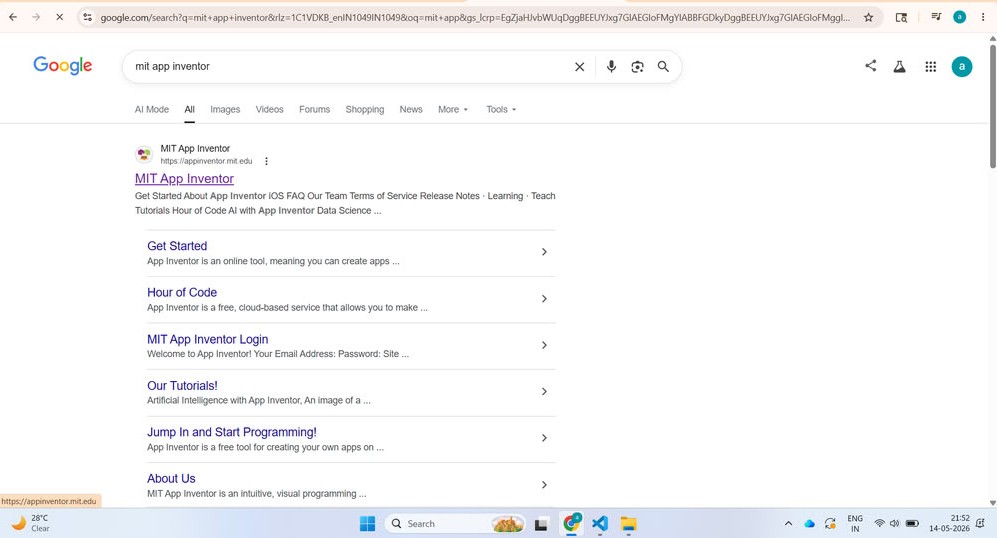
First, I searched for MIT App Inventor on Google and opened the website.
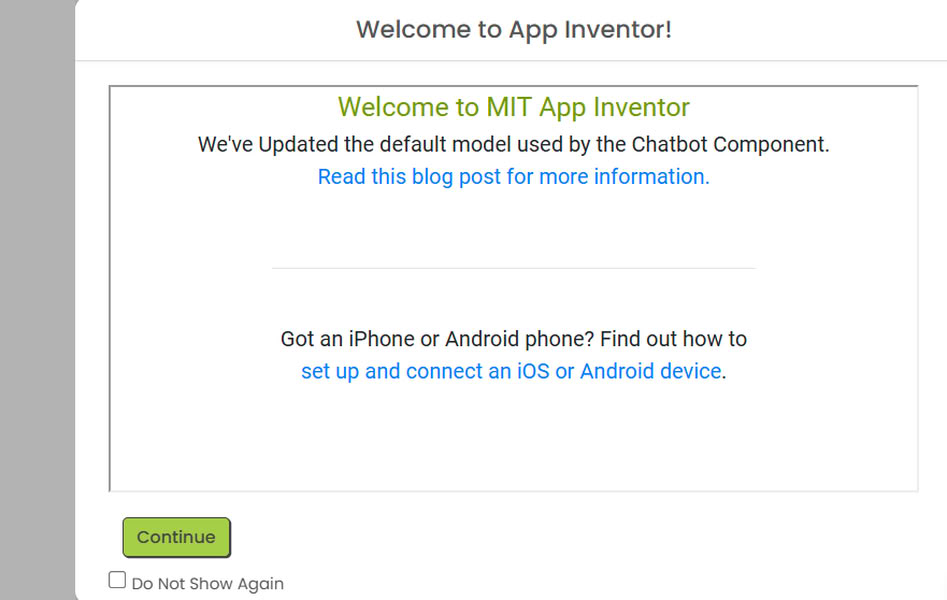
A dialog box appeared on the screen, and I clicked on Continue.
After that, I selected “New Project” to start creating the app.
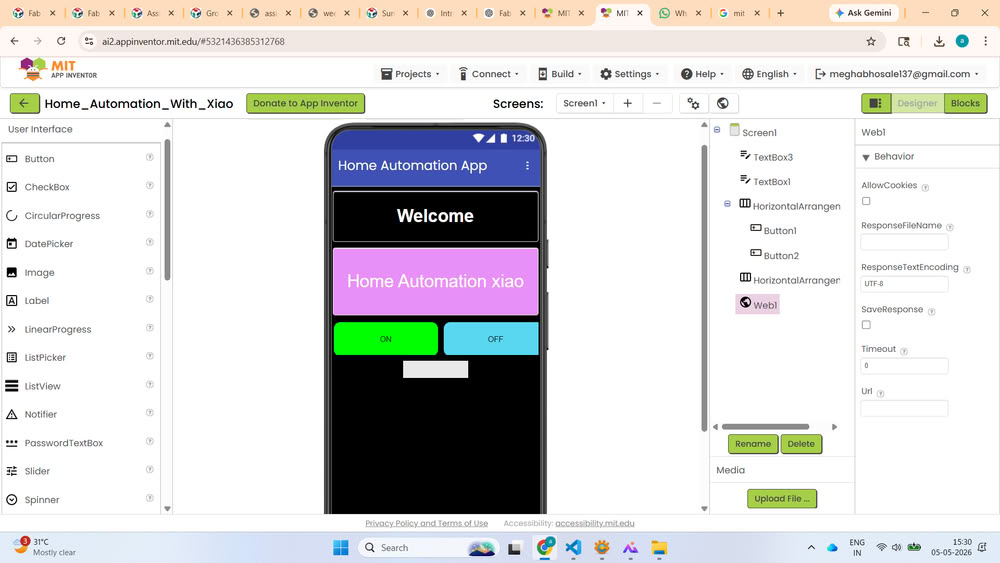
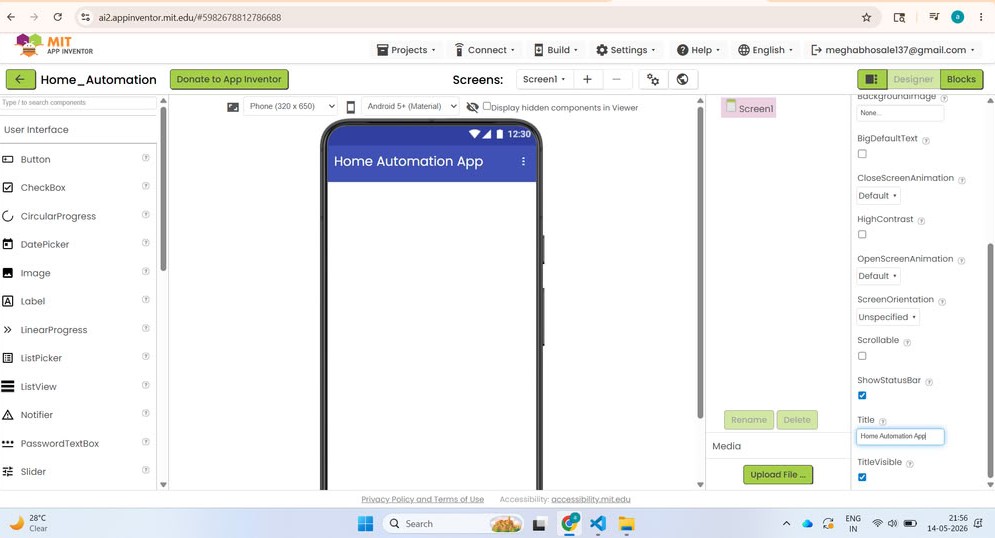
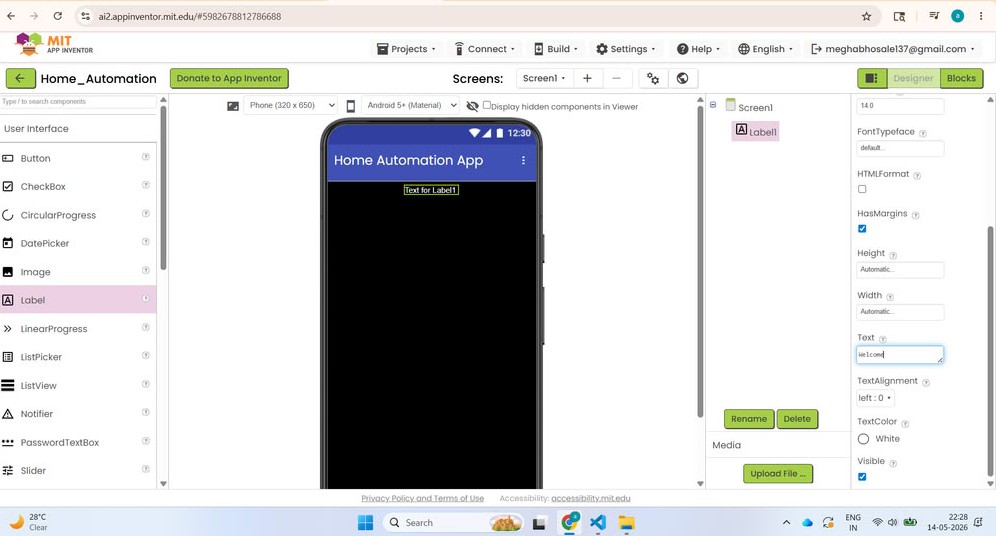
Once the project was created, the interface opened successfully. I first selected the screen component and gave a title to the app.
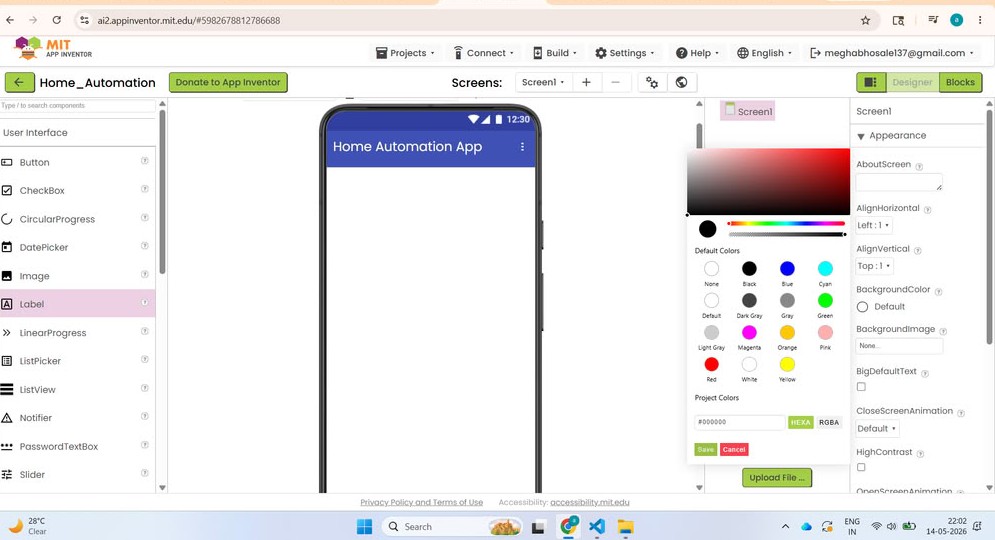
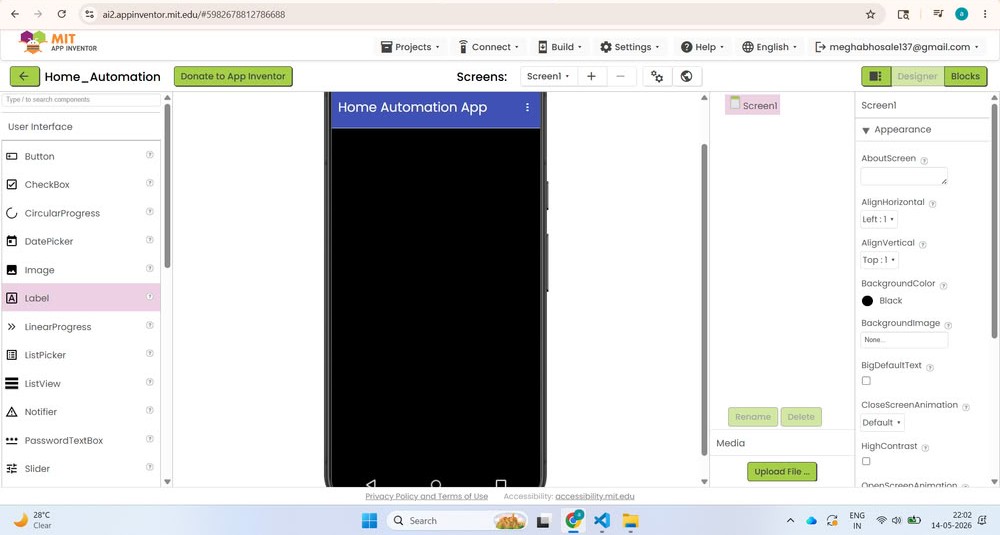
Then, I customized the screen by changing the background color.
After that, I added a label from the left-side component section and gave it the title Welcome.
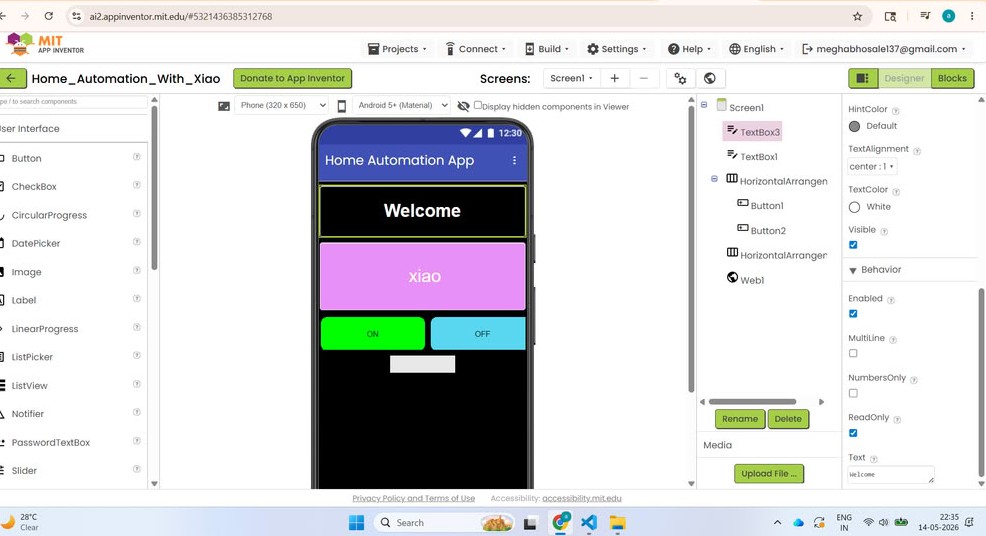
Similarly, I added another label named XIAO and modified its background color, font size, and alignment.Next, I added a horizontal arrangement component and placed two buttons side by side. I named the buttons ON and OFF. With this, the app design was completed.
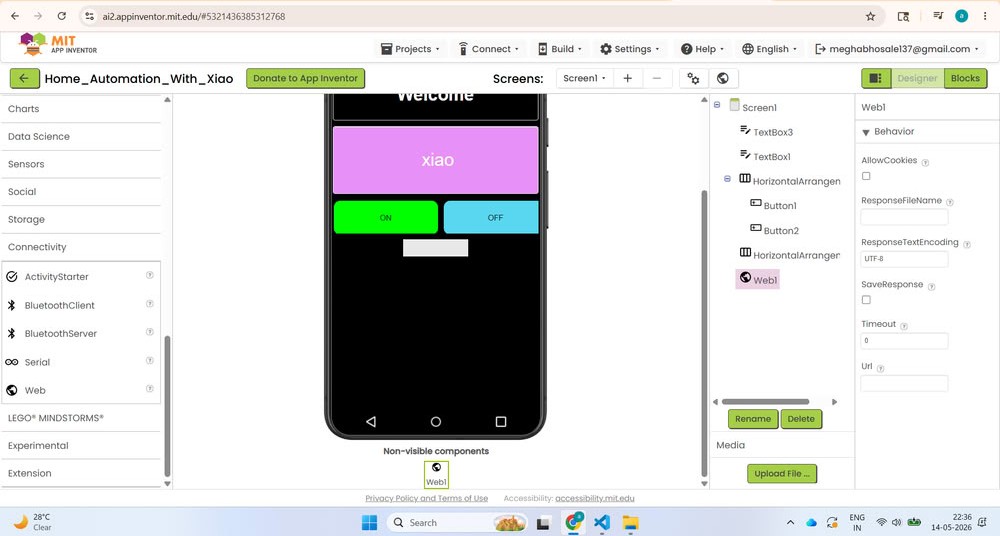
After completing the design, I added web connectivity to connect the application with the hardware through the internet. For this, I used a web component in the app and configured it with the required IP address and communication link. This allowed the app to send commands from the mobile phone to the microcontroller over Wi-Fi.
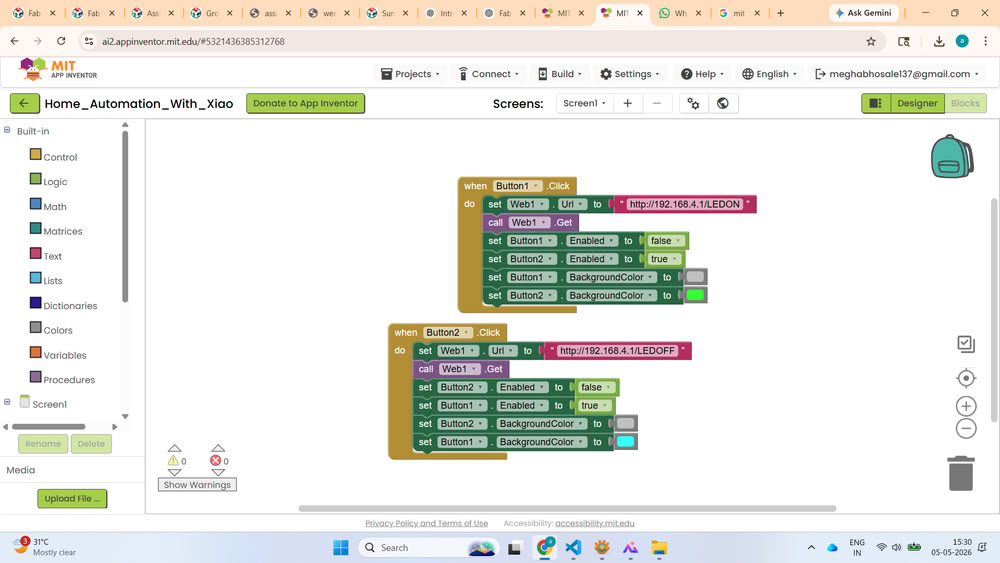
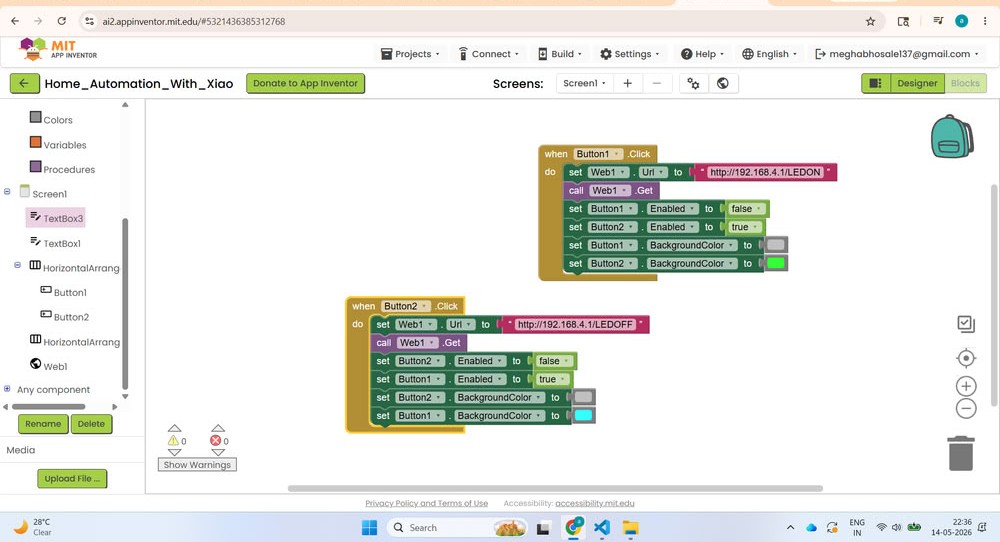
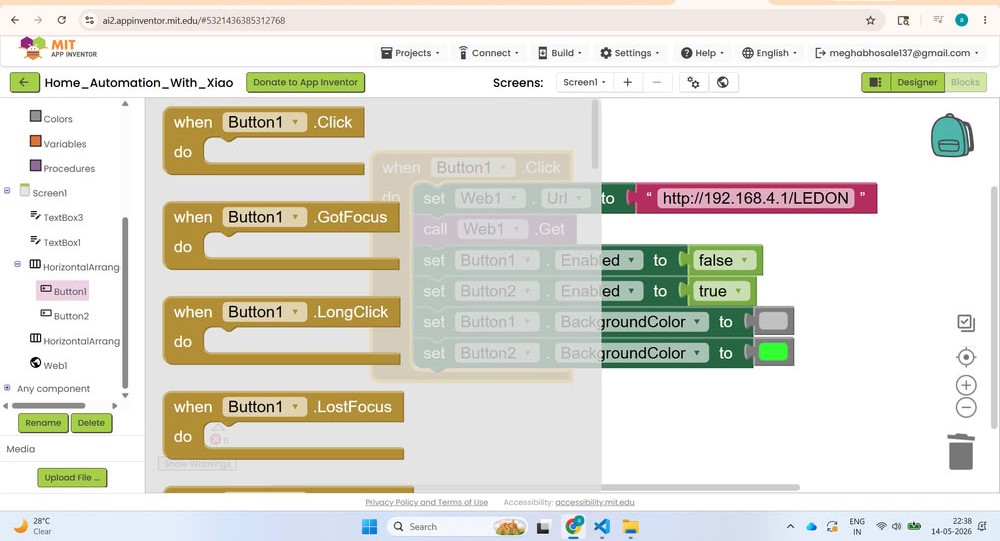
After setting up the connectivity, I clicked on the Blocks section to create the app logic and coding. I selected the required blocks to control the buttons. First, I created the blocks for Button 1.
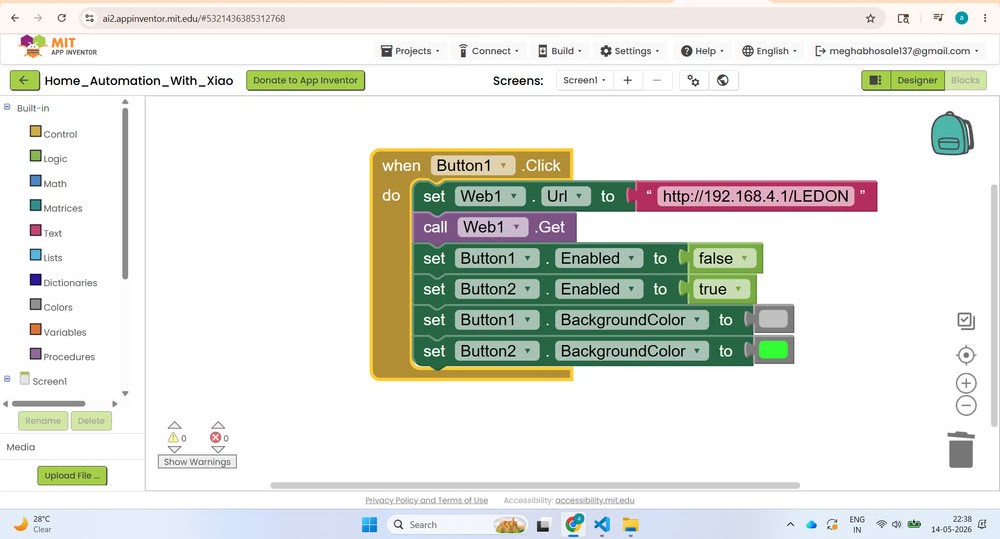
Then similarly created the blocks for Button 2. The blocks were programmed in such a way that pressing the ON button sends a command to turn the bulb ON, while pressing the OFF button sends a command to turn it OFF.
I picked blocks from left side panel.
Finally, I downloaded the APK file and installed the app on my mobile phone.
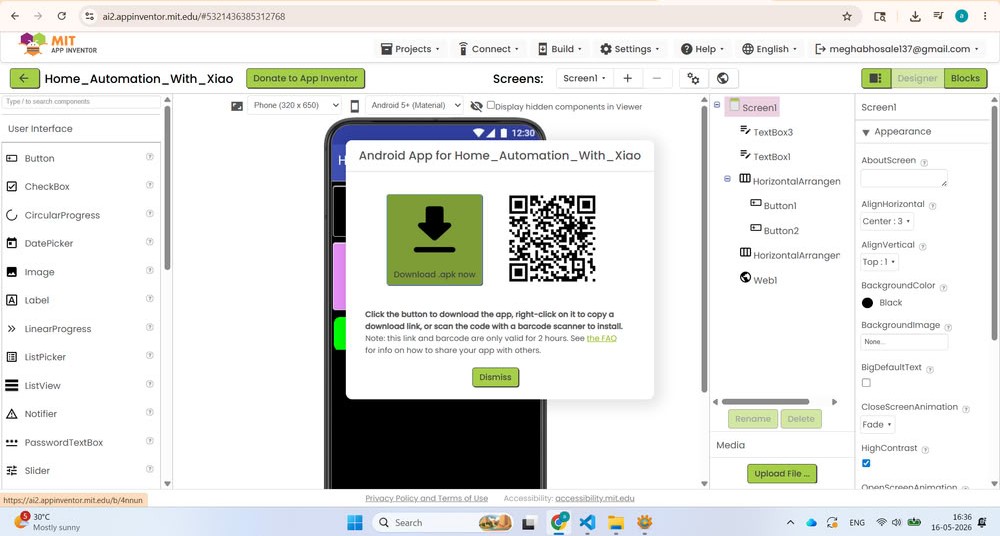
The application worked successfully, and I was able to turn the bulb ON and OFF using the mobile app.
The problem I faced during this assignment:-
The mobile application was not downloading properly on my phone during the interface and application assignment.To solve this issue, I checked the internet connection, cleared storage space on the phone, and tried downloading the app again. After restarting the phone, the application installed successfully.
Code files
Click here to download apk and source code files